Maroon Guest Bedroom Reveal
 I’m so excited to share our maroon (ish… it’s one of those chameleon colors) guest bedroom reveal with you today! It’s a space that has been evolving since we moved into our home– and it’s the guest room that gets the most use, probably because it’s the largest guest bedroom under our roof. It’s located upstairs, just next to the guest bath, and I have to say… I’m really proud of how this one came together. I primarily used furniture & decor I already had, tackled this space on a tight budget in a relatively short time period, and I think it ended up packed with personality, layers, and cozy comforts. Click through for the complete tour & sources! Step in and check it out…
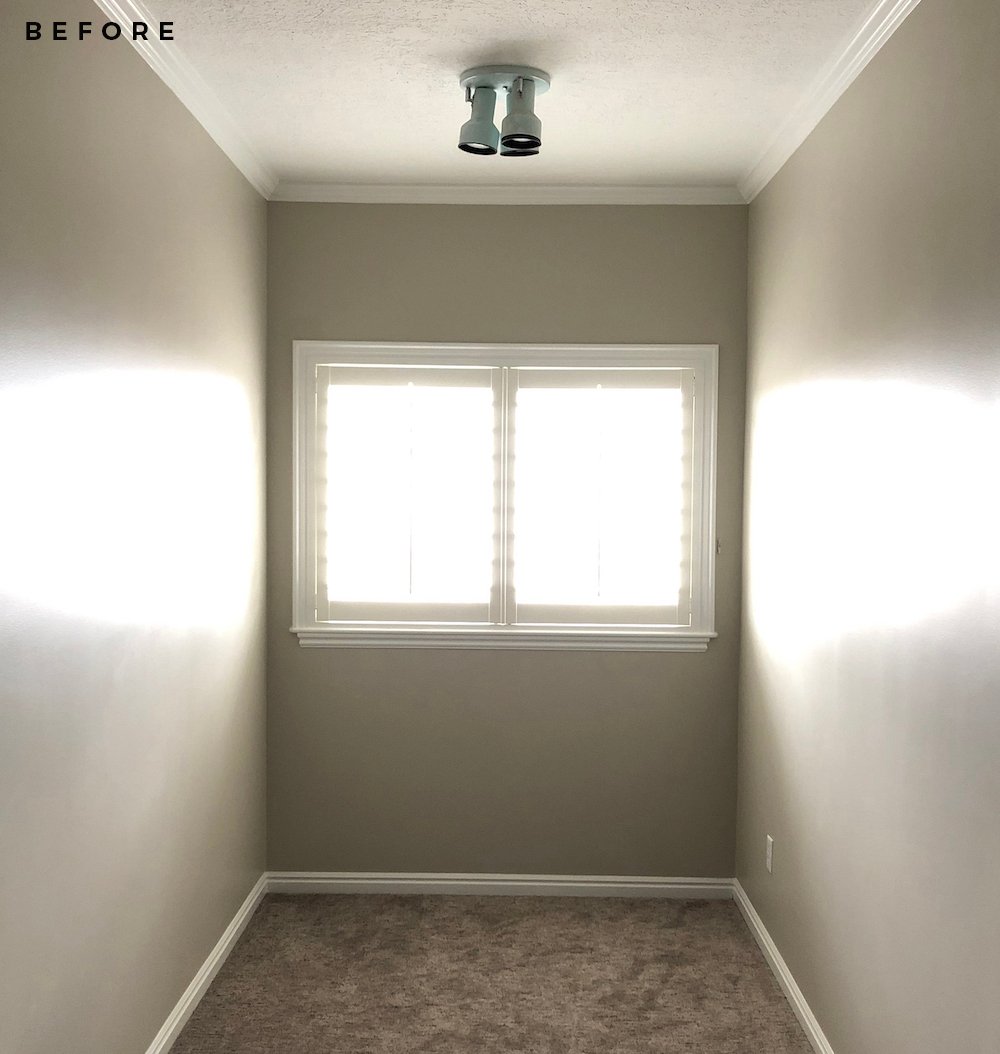
 Before we dive in, here are some highly pixelated reminders of what this space look liked when we first moved in… a shell of a room with gray carpet, weird corner shelves, and builder grade fixtures.
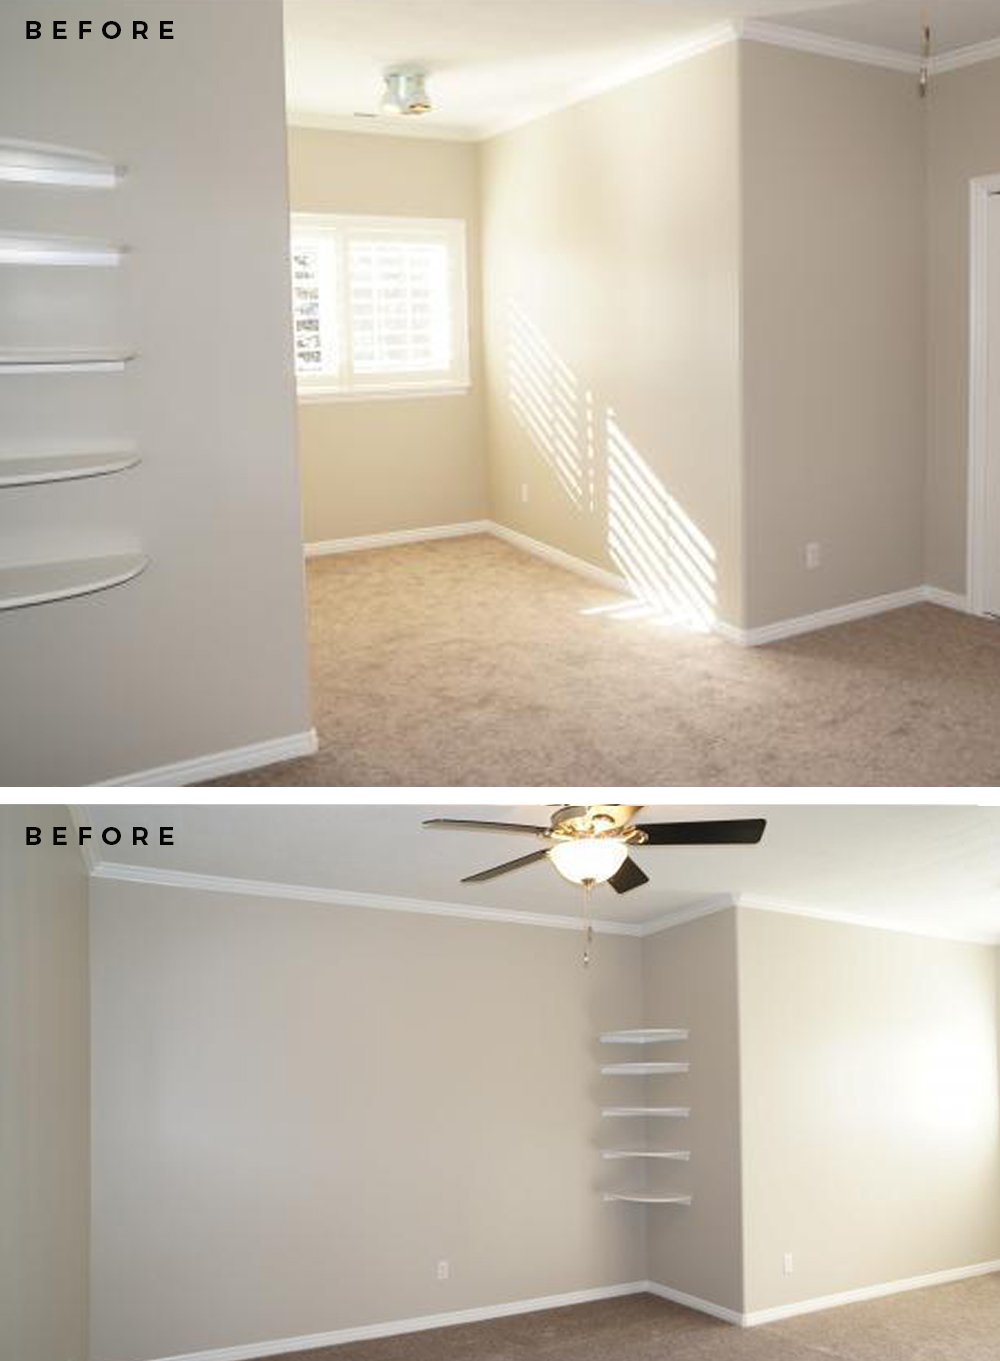 It has certainly come a long way since these real estate listing photos, but I have to say- we didn’t do anything too crazy in here, in terms of costly renovations. Aside from replacing the doors, carpet, and lighting, I think the paint treatment and styling really carries this space and makes it one of our more budget-friendly makeovers.
 We’ve already had our first house guests stay in this room- with rave reviews, in terms of functionality. My sister & brother-in-law visited a couple weeks ago and they were the first to enjoy this newly updated space. This is our only guest bedroom with a king size bed, so it’s typically the one we offer couples who visit. Our next guests will be Laurie Anne & her husband in a few weeks.
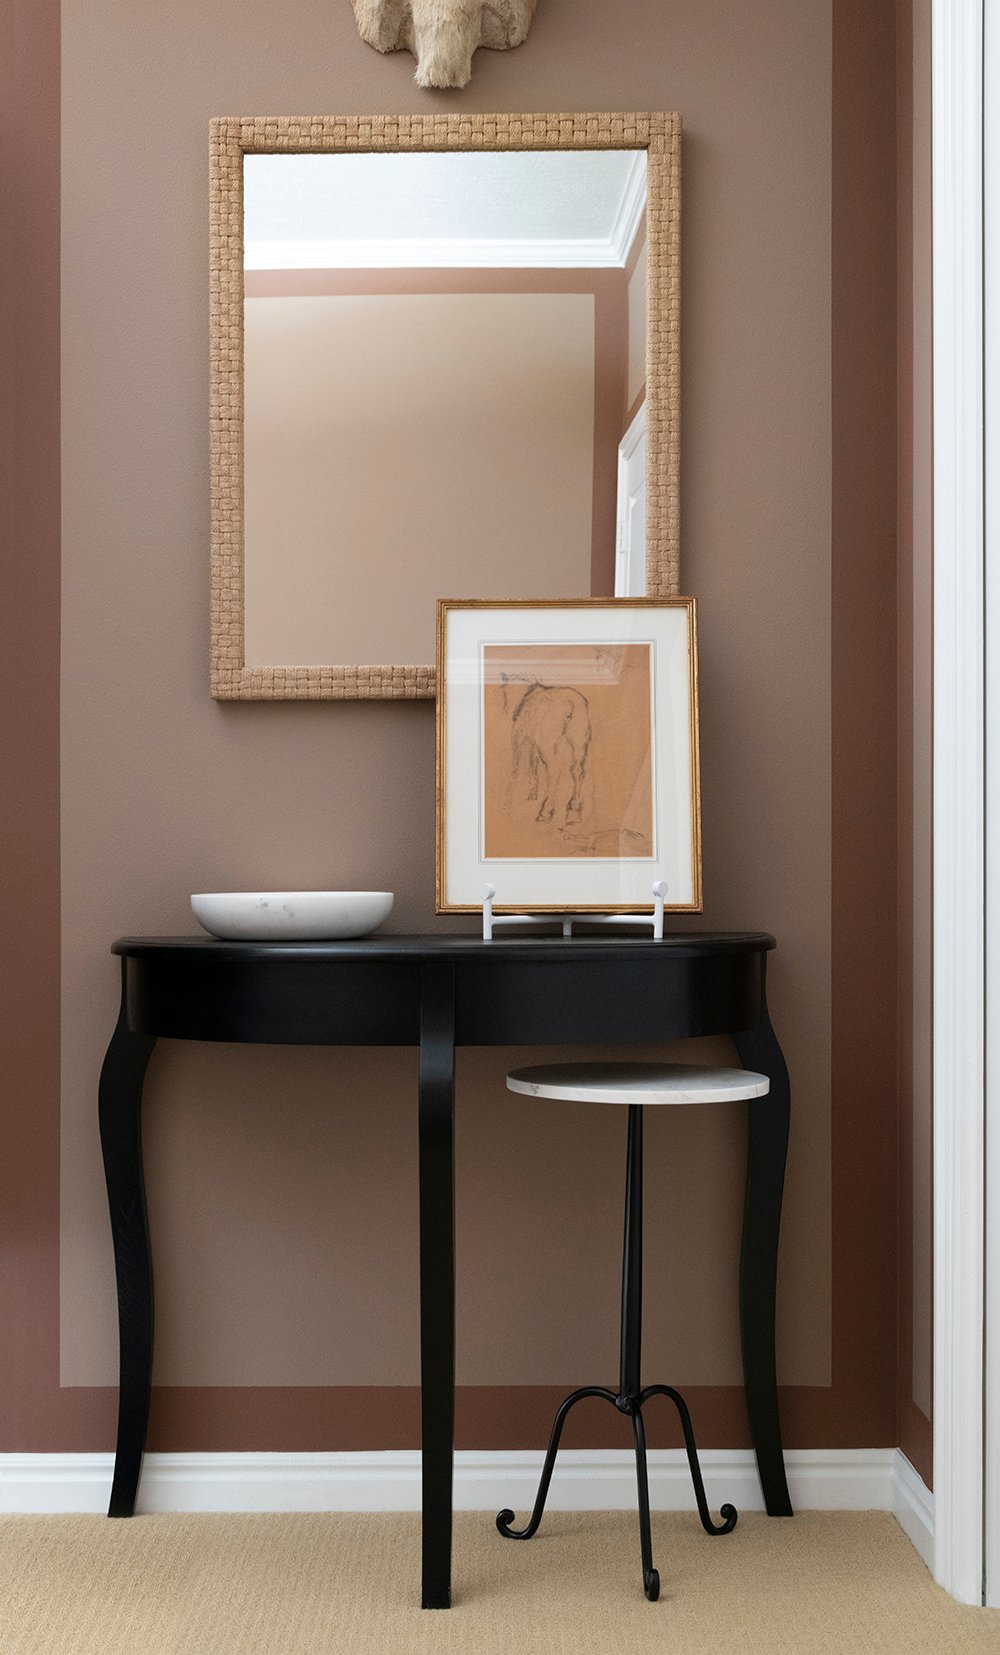
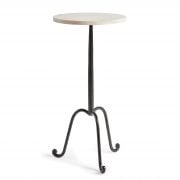
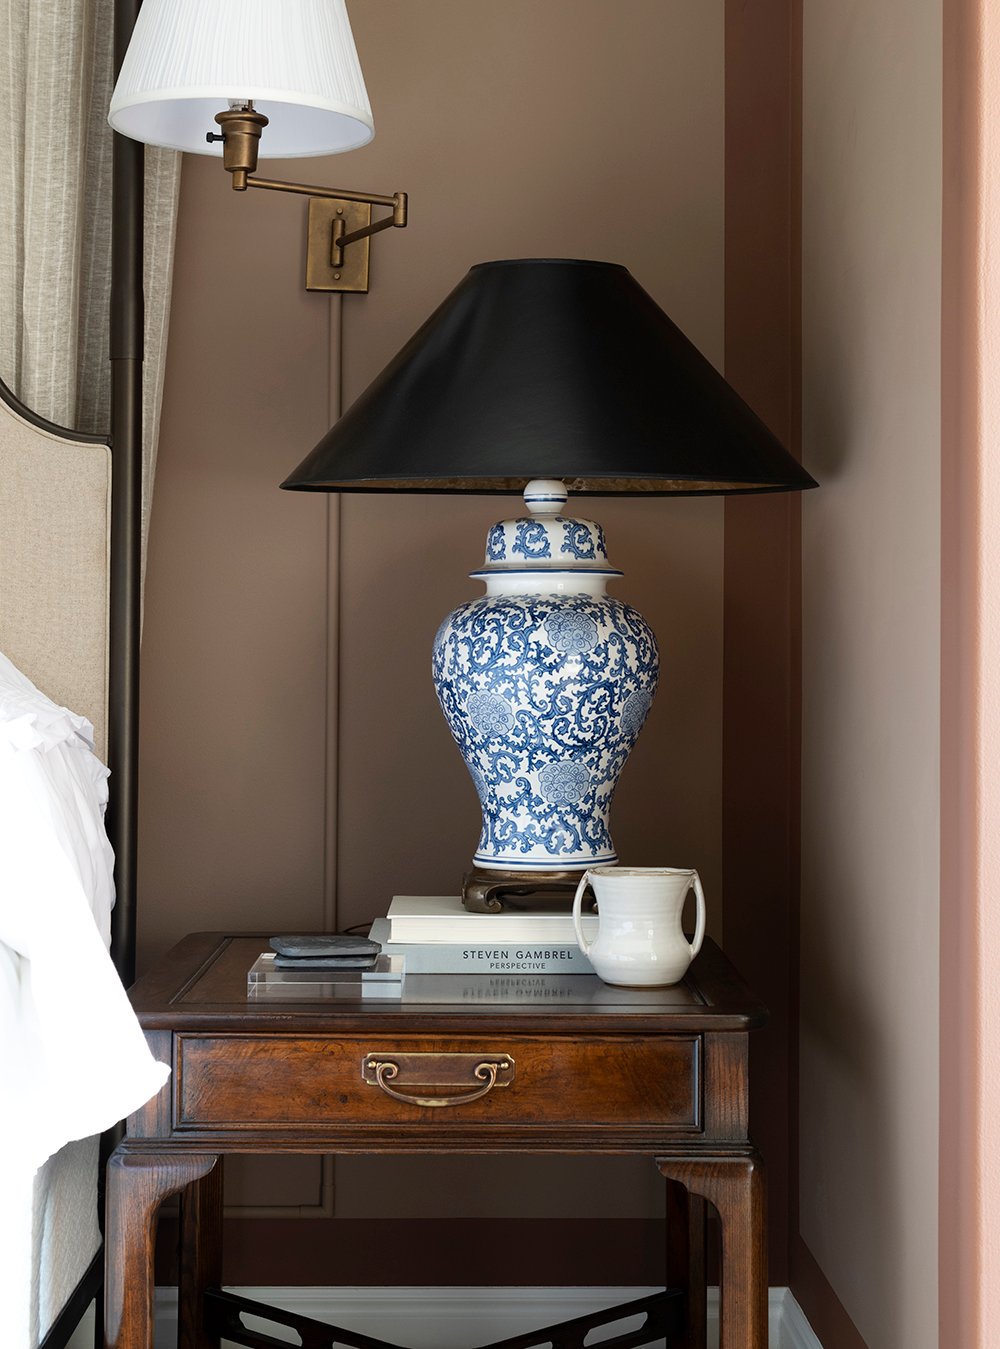 You probably recognize most of the furniture and decor in this room. It’s packed with vintage finds I’ve collected over the years (like the nightstands & my beloved blue lamp), a few pieces we purchased immediately upon moving in (the bed and armless sofa), and even some things that came with us from our previous homes (the bench, demilune table, etc). My plan was to knock this out on a budget and use things we already owned. I hoped I could make everything feel cohesive as my design plan evolved.
 I did most of the heavy lifting for this one, while Emmett continues to work on the labor intensive entryway renovation. I decided to forgo additional trim and work with the existing crown and base in this room. I didn’t want to add too much moulding, as I was planning to experiment with paint and line work in this space… adding too much millwork could have made this bedroom feel far too busy, so I decided to keep things simple.
 Speaking of paint- let’s chat color! I was really craving something warm, rich, and interesting in this room. This space only has one large window and it’s facing west. It’s also tucked back into a dormer nook that sits atop our garage. Aside from having the best view in our house that overlooks the city and mountain landscape, it does have a tendency to feel cold and dark for the majority of the day, given the placement. Late afternoon and evening is when this room really shines and feels warm. I wanted to paint it a color that gave it that same feeling all day long- whether light was streaming in, or not. Funny enough, last week I had my zodiac colors read at a party and my top color came back very similar to the darkest color in this room… kind of maroon. While I’m typically much more comfortable in the cool color family (navy, deep hunter greens, etc), I’m really enjoying the warmer hues that complement my existing cool palette lately.
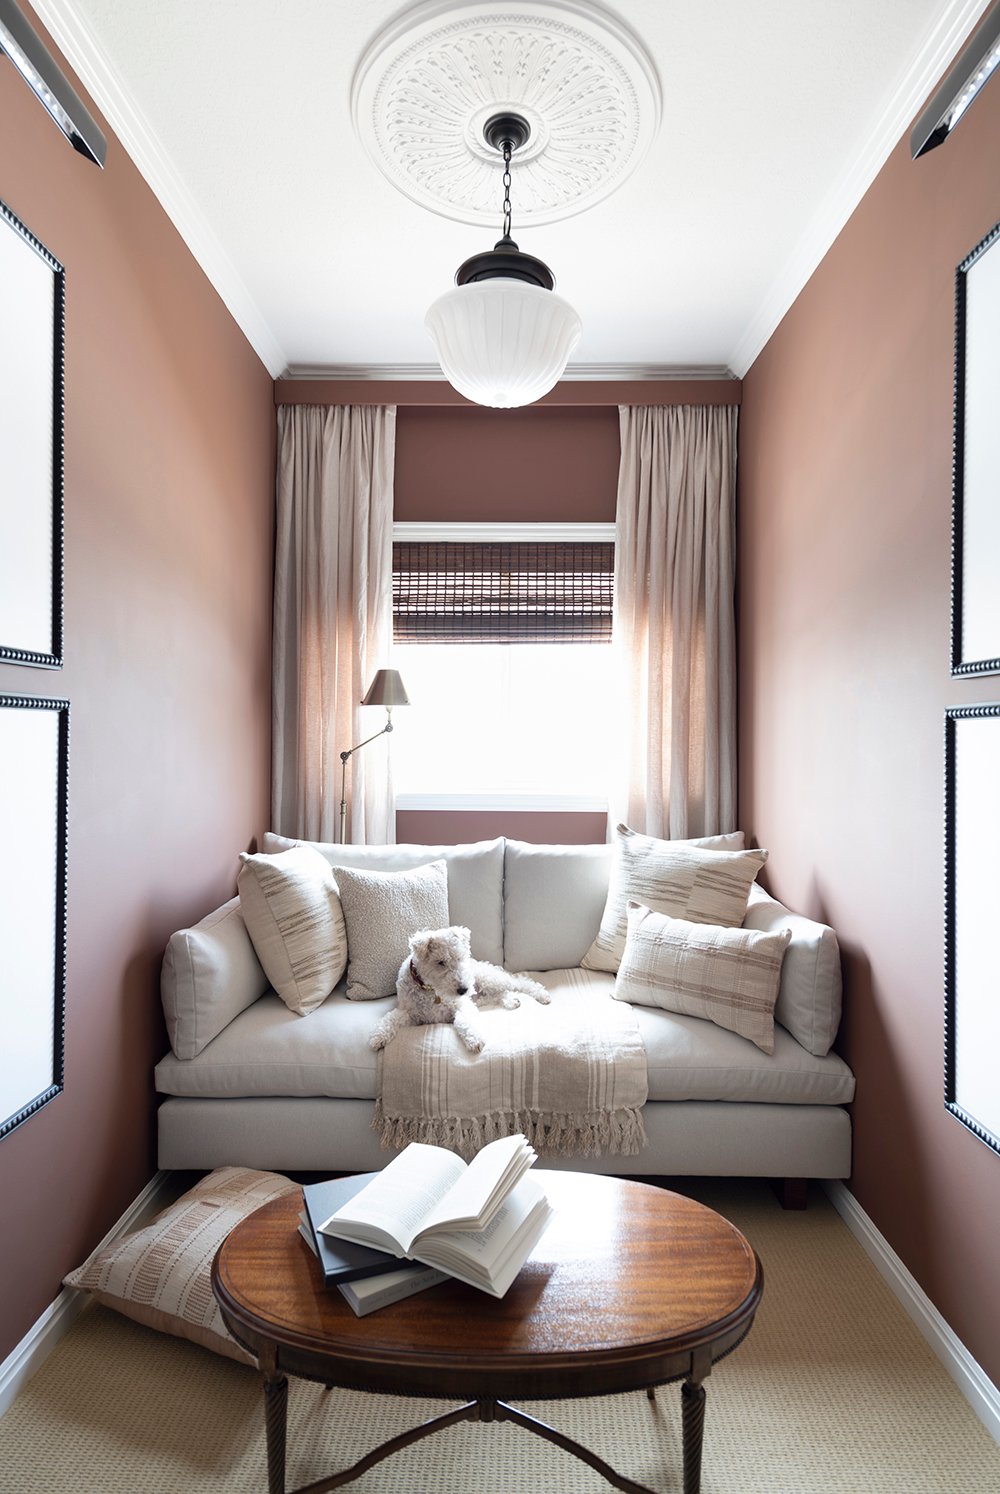
 I opted for two tonal hues (Benjamin Moore’s Arizona Canyon and Woodacres) and decided to paint a color blocked border that would add dimension & interest to this space. This treatment also helped to make sense of our radius corners that we didn’t want to square. Reworking the drywall and edge profile would have meant replacing all of the crown moulding and base throughout the room, which we had already decided we didn’t want to do. Allowing the darker hue to bleed into the window dormer helped the two radius edges look more intentional and less 90’s… which was the year our home was built.
 This room has a lot of contrast, a lot going on, and lots of fun lines that move your eye & focus all around the room. I think the paint treatment also helps to define each space and vignette. I’ve always been into a color blocked look- remember our old hallway? I know it’s not for everyone!
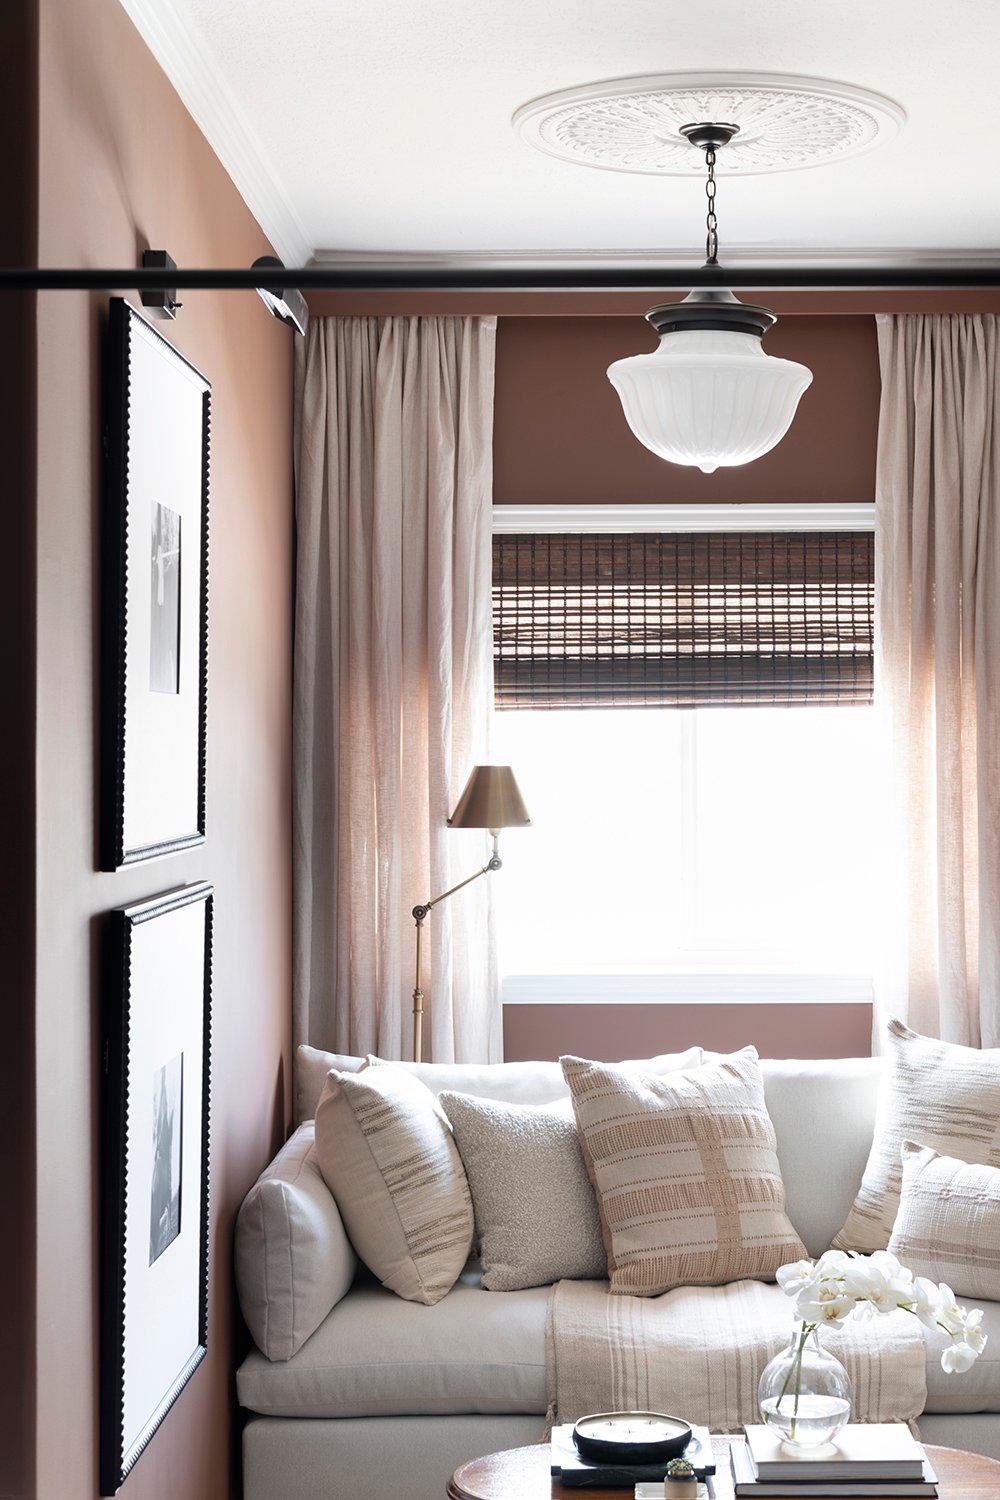
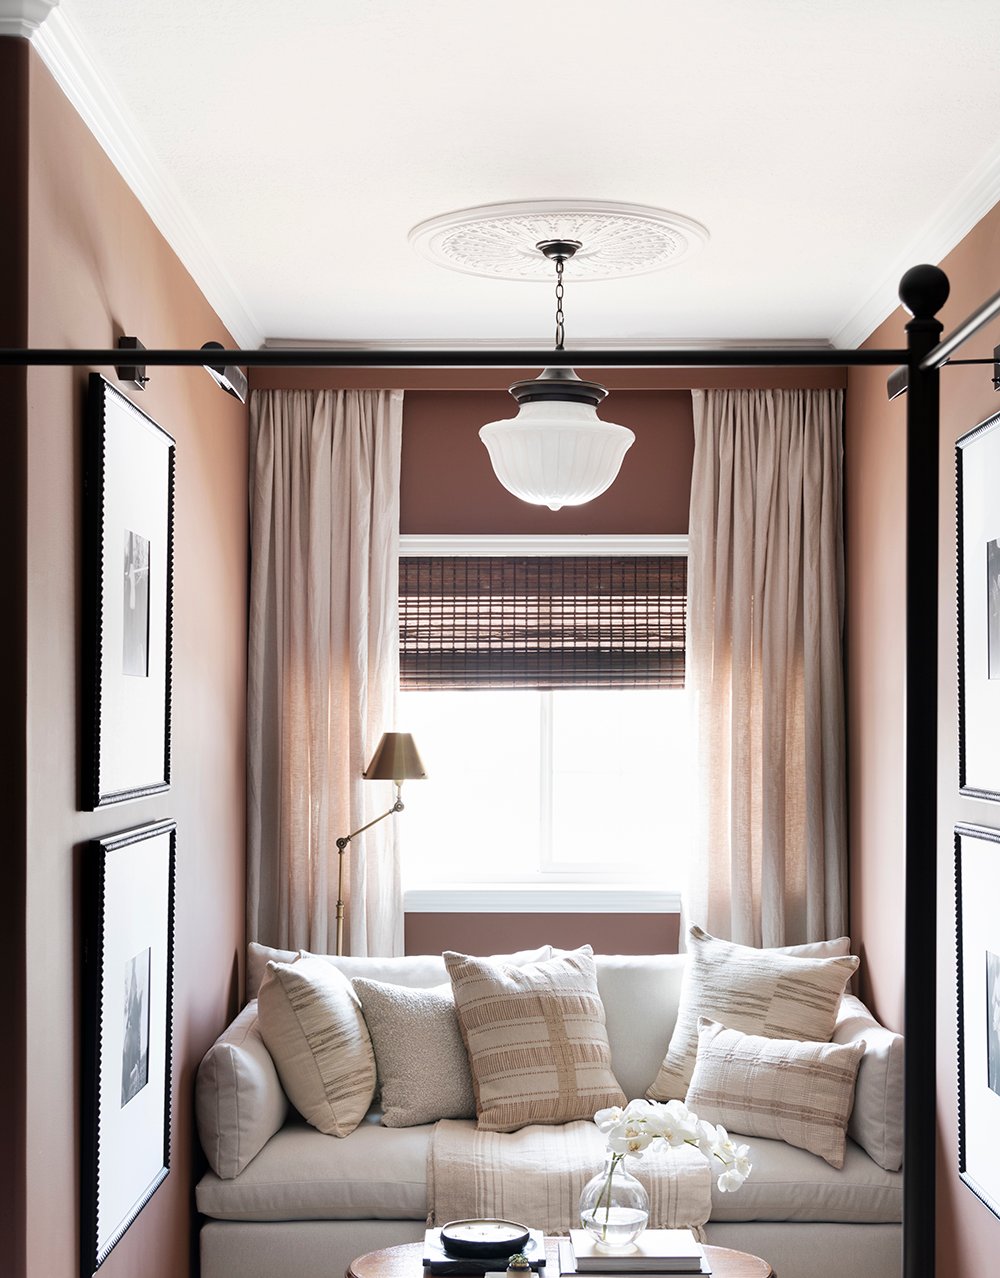
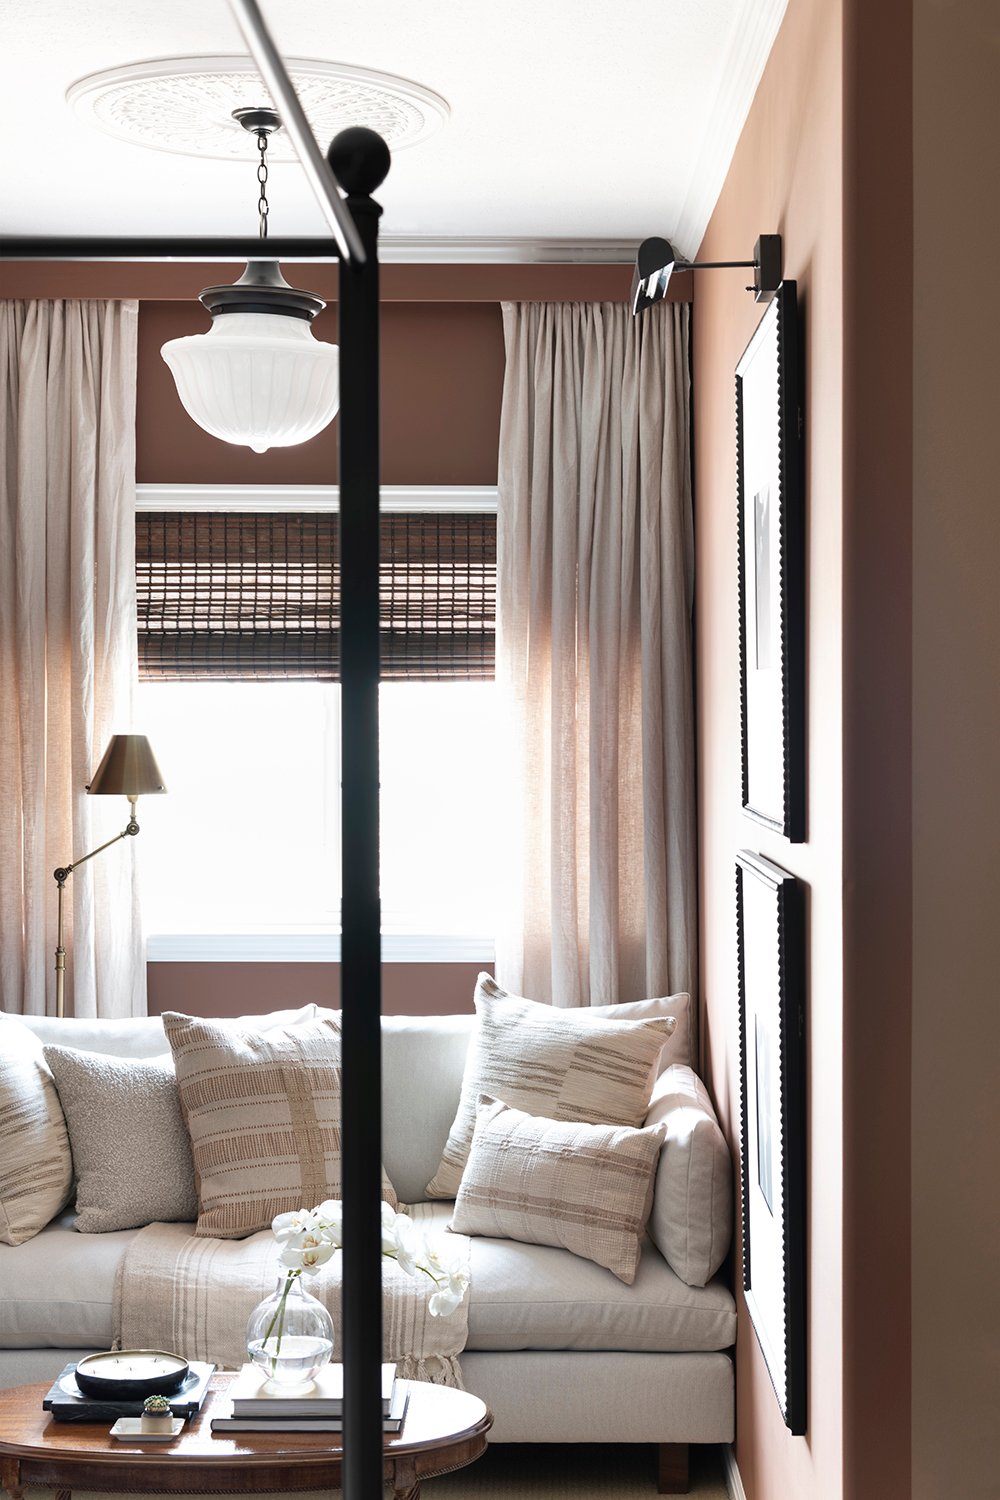 The window nook has always been my favorite part of this room! When we don’t have house guests, it’s a place I often find myself curled up in. It’s quiet, cozy, and thanks to the incredible view- it really is the best vantage point from our house. To remind you what it looked like when we moved in…
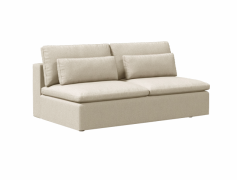
 I’ve always envisioned this spot to be casual, cozy, layered, and not too precious… pillows on the floor type of sleepover magic. I packed the armless sofa (that somehow perfectly fits wall-to-wall) with oversized pillows. There is something about jumping or snuggling into a sea of pillows that I’ve always enjoyed… they’re also great tossed on the floor for additional seating & lounging. When our family was here visiting, my sister-in-law, niece, and I had a girls night in and read our books in the nook, with our tea on the coffee table, and the cozy lamps aglow. It was exactly what I had in mind for this spot. Of course, the dogs also make themselves at home up here- when they’re not sprawled out on my office daybed.
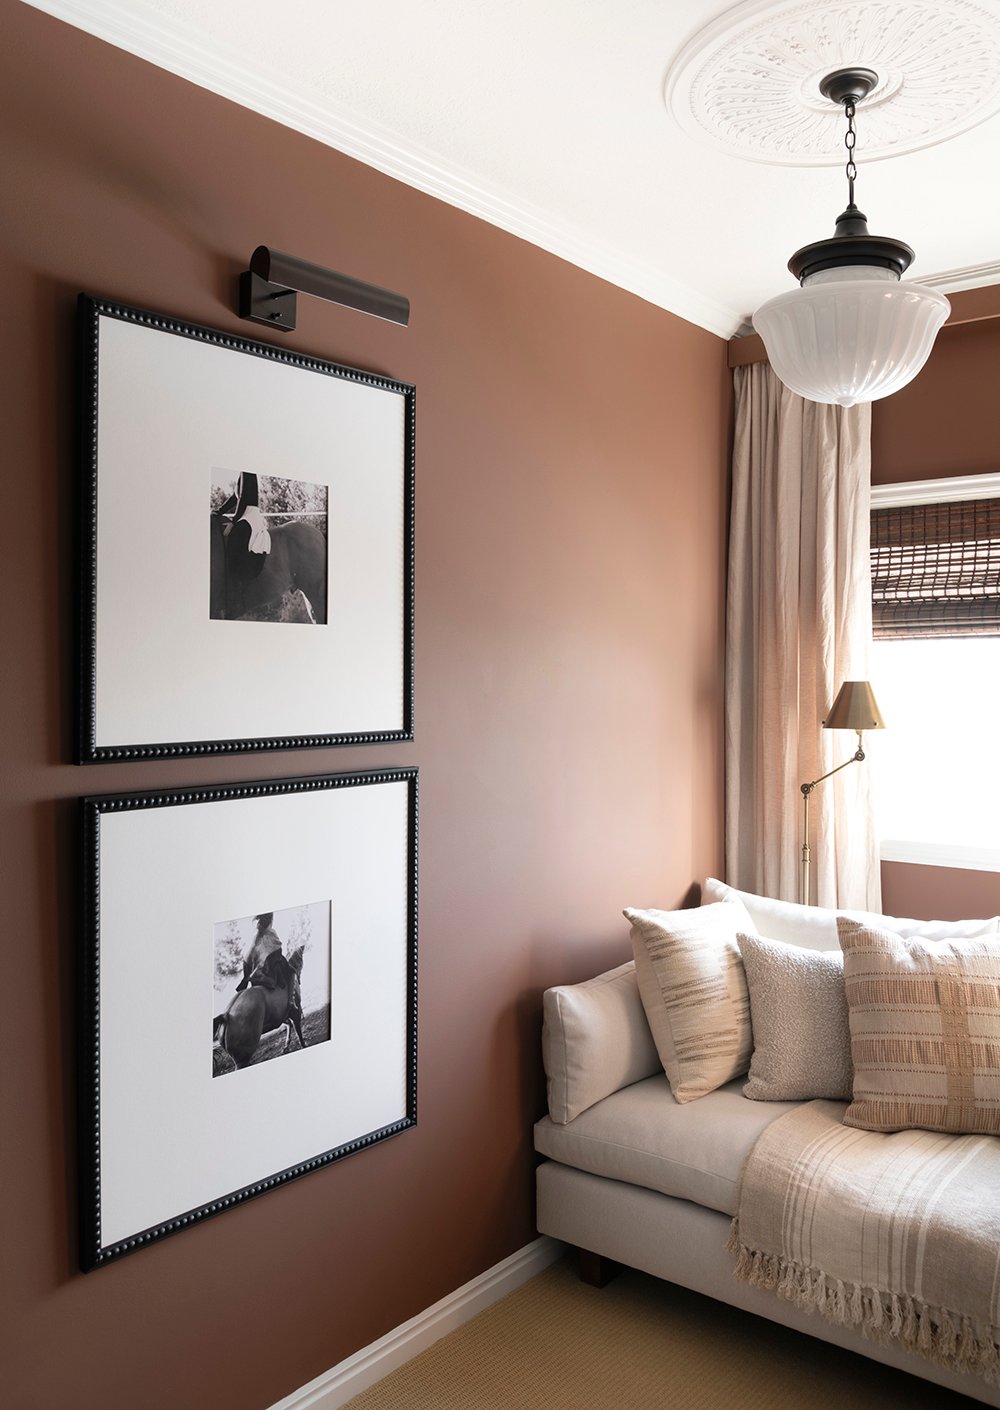
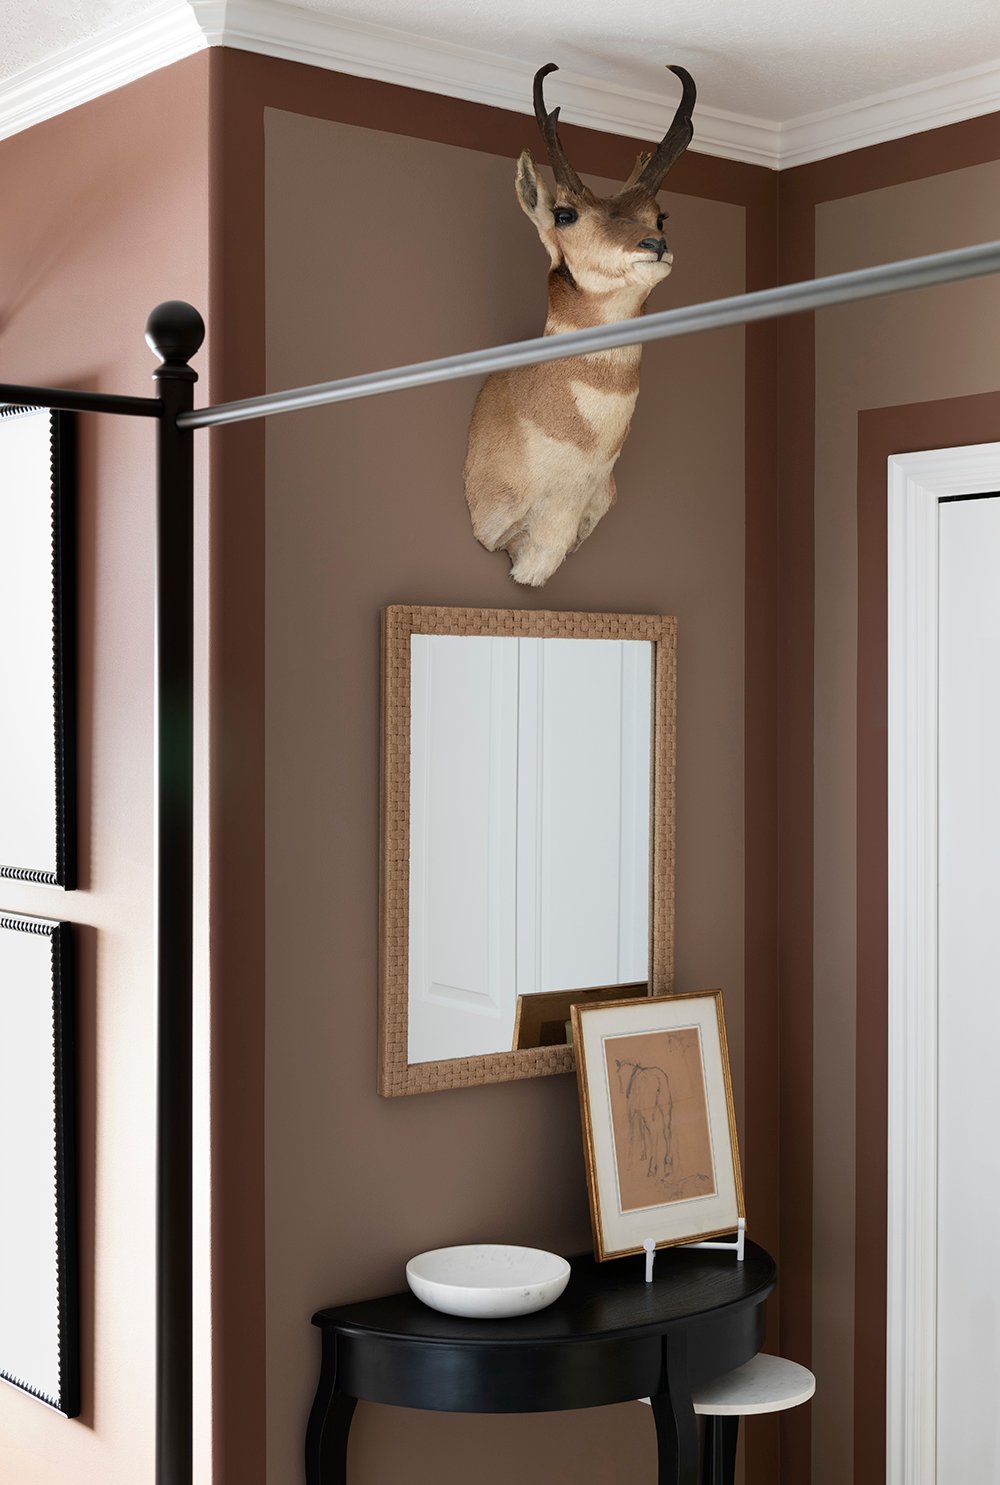
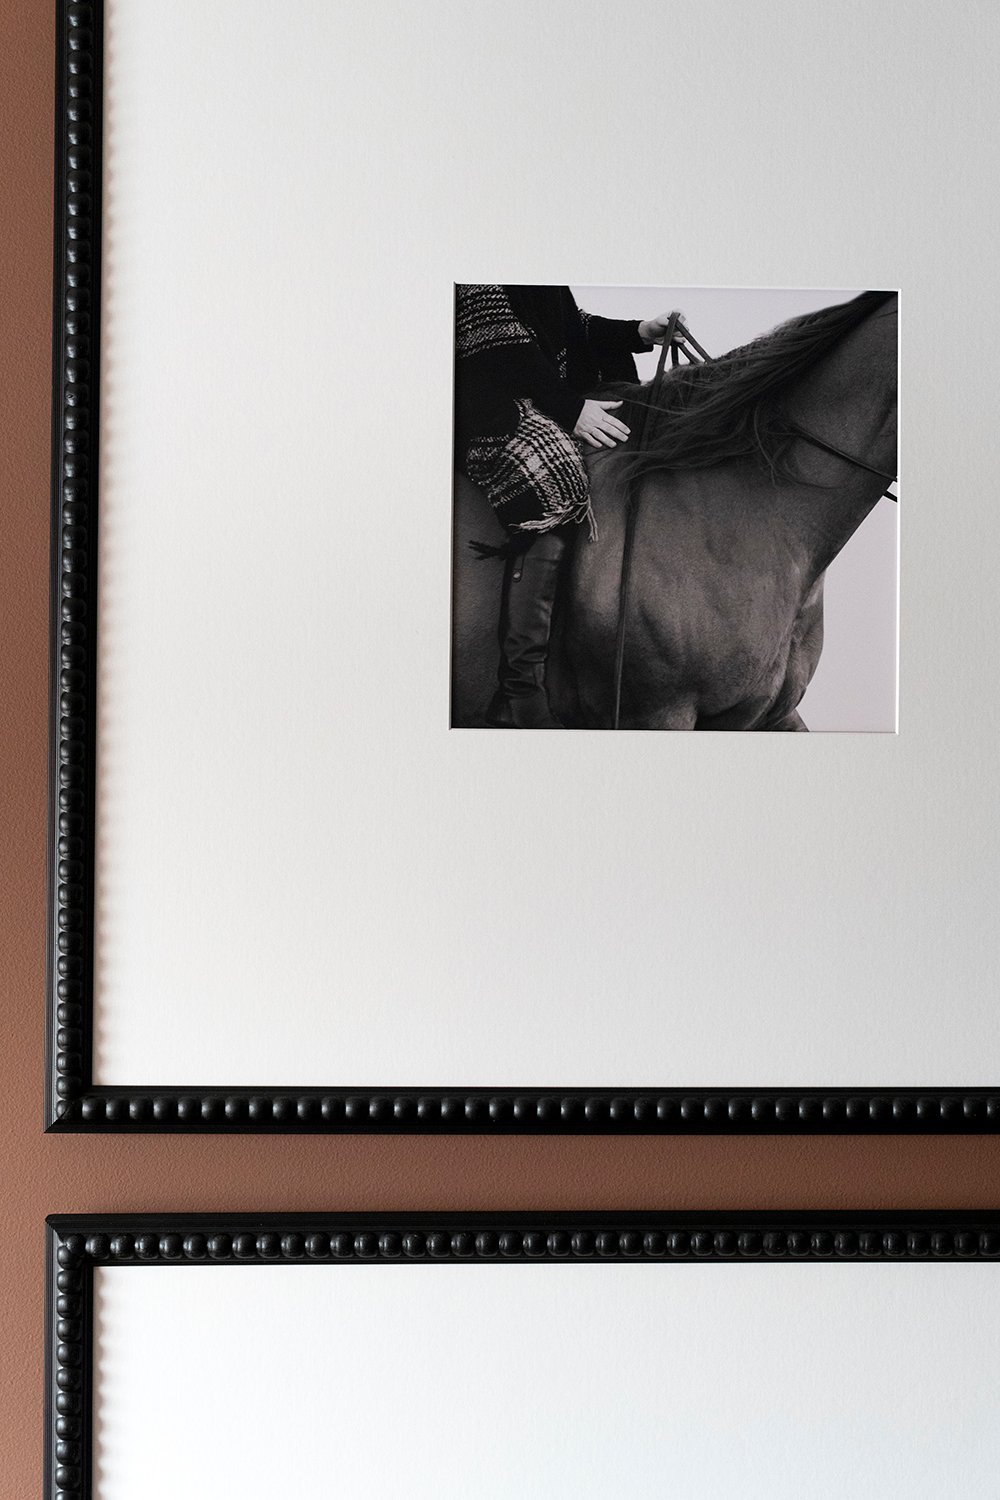
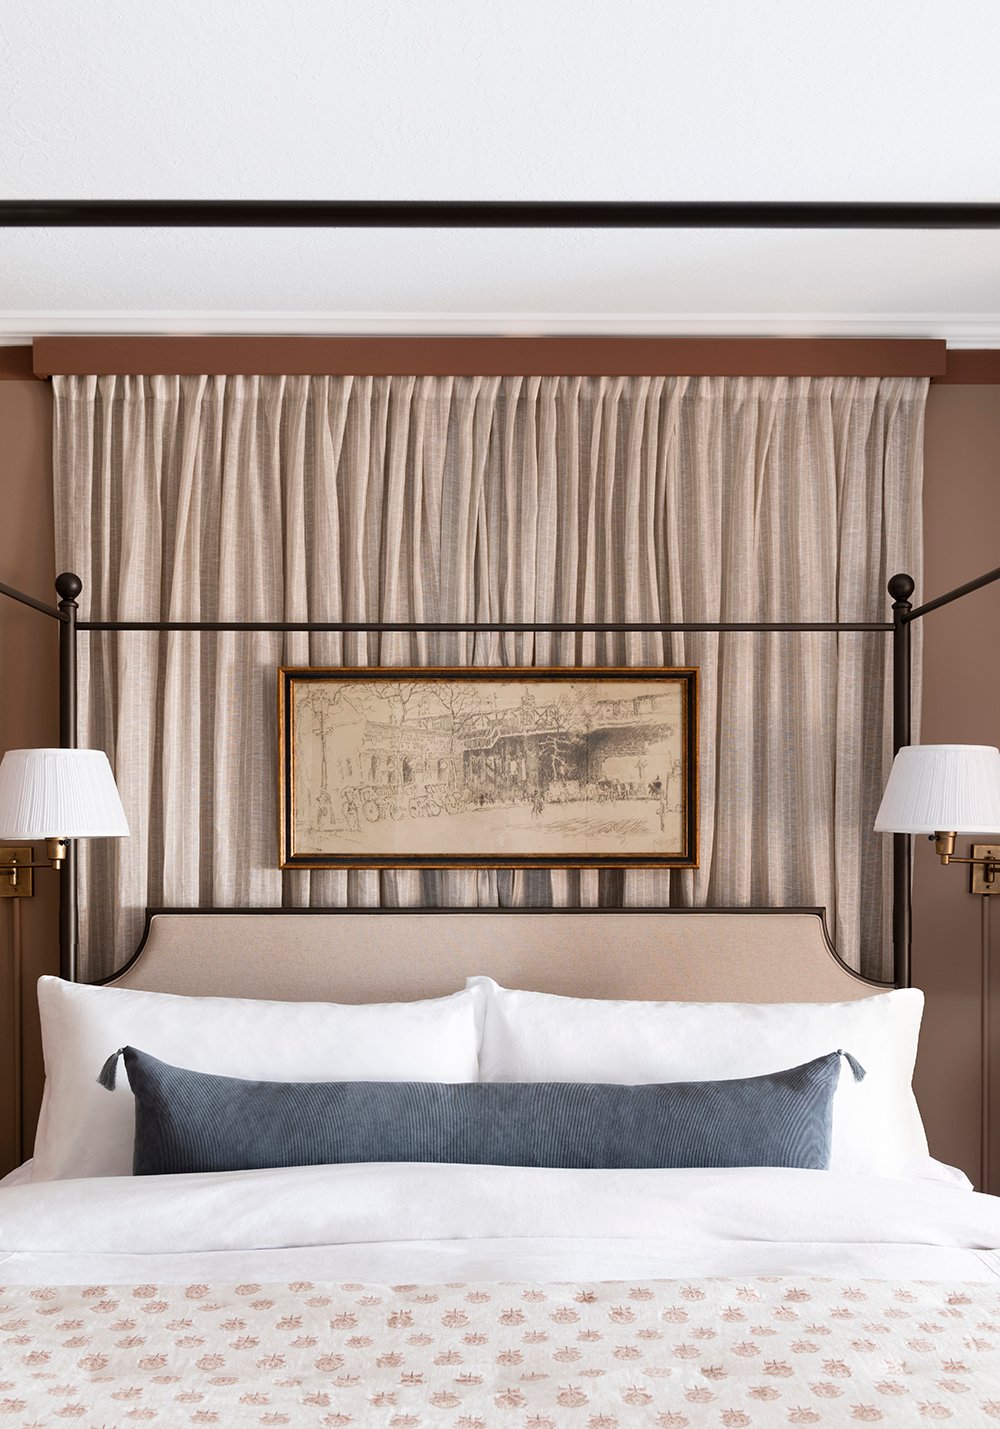
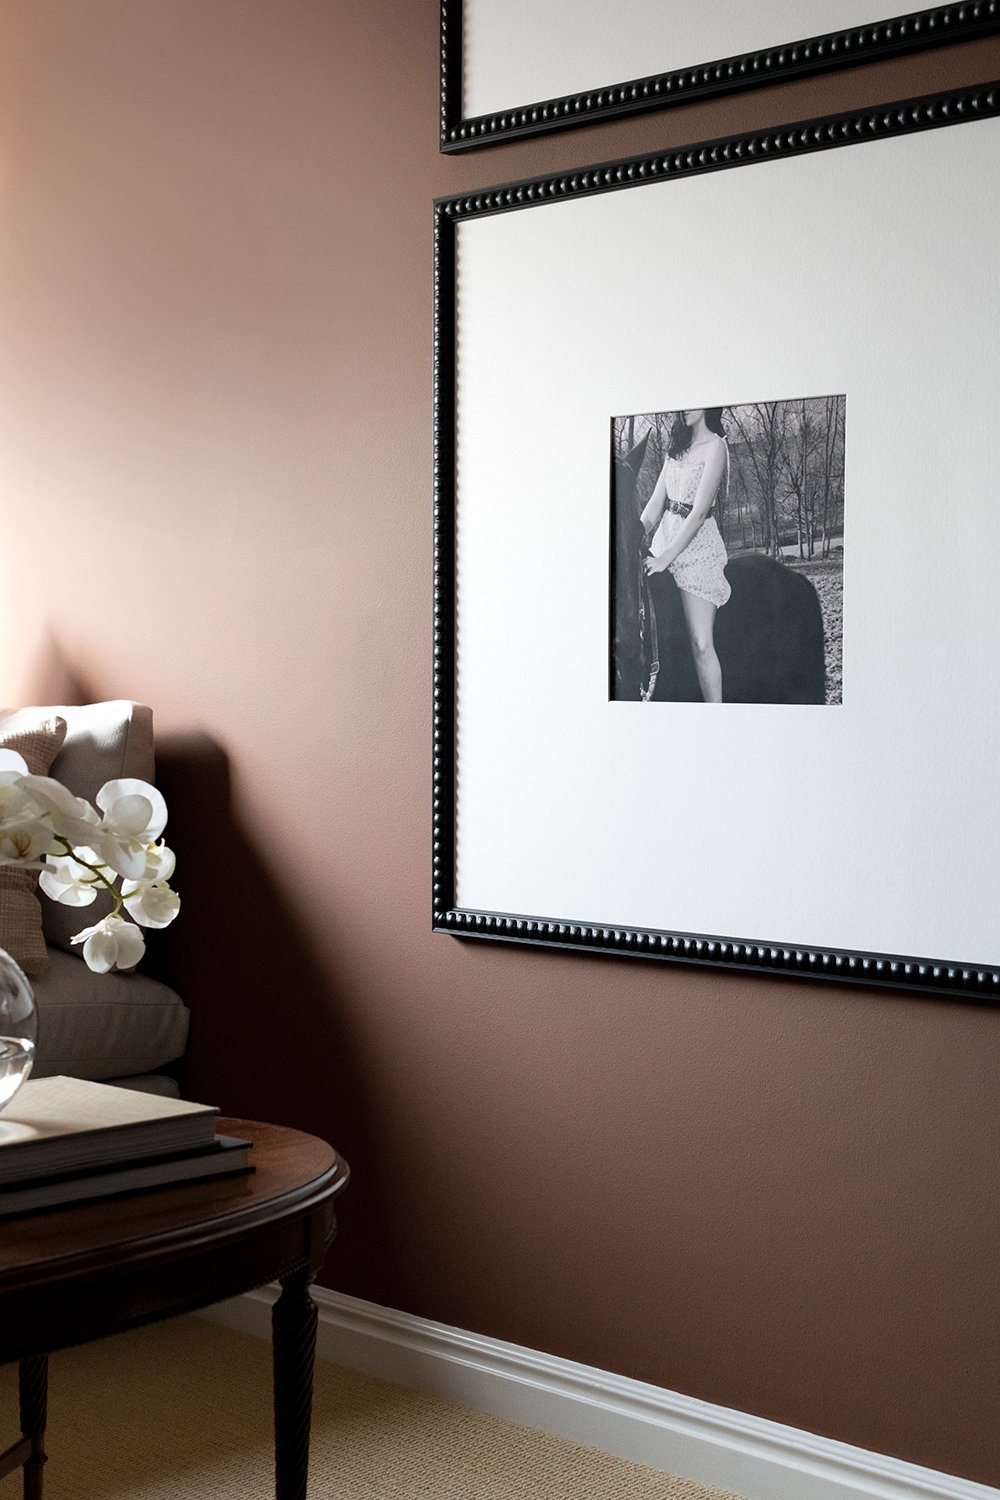
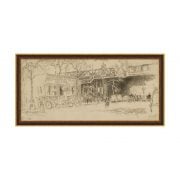
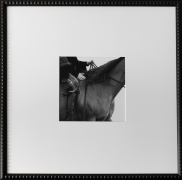
 Given the depth of the dormer nook, I knew I needed large artwork that would occupy the negative space, drawing guests into this cozy scene. Naturally, I decided to make my own. I have an entire post devoted to how these black & white equestrian portraits came to be (complete with a DIY)– because there is a really special story behind them, so check back on Monday for that!
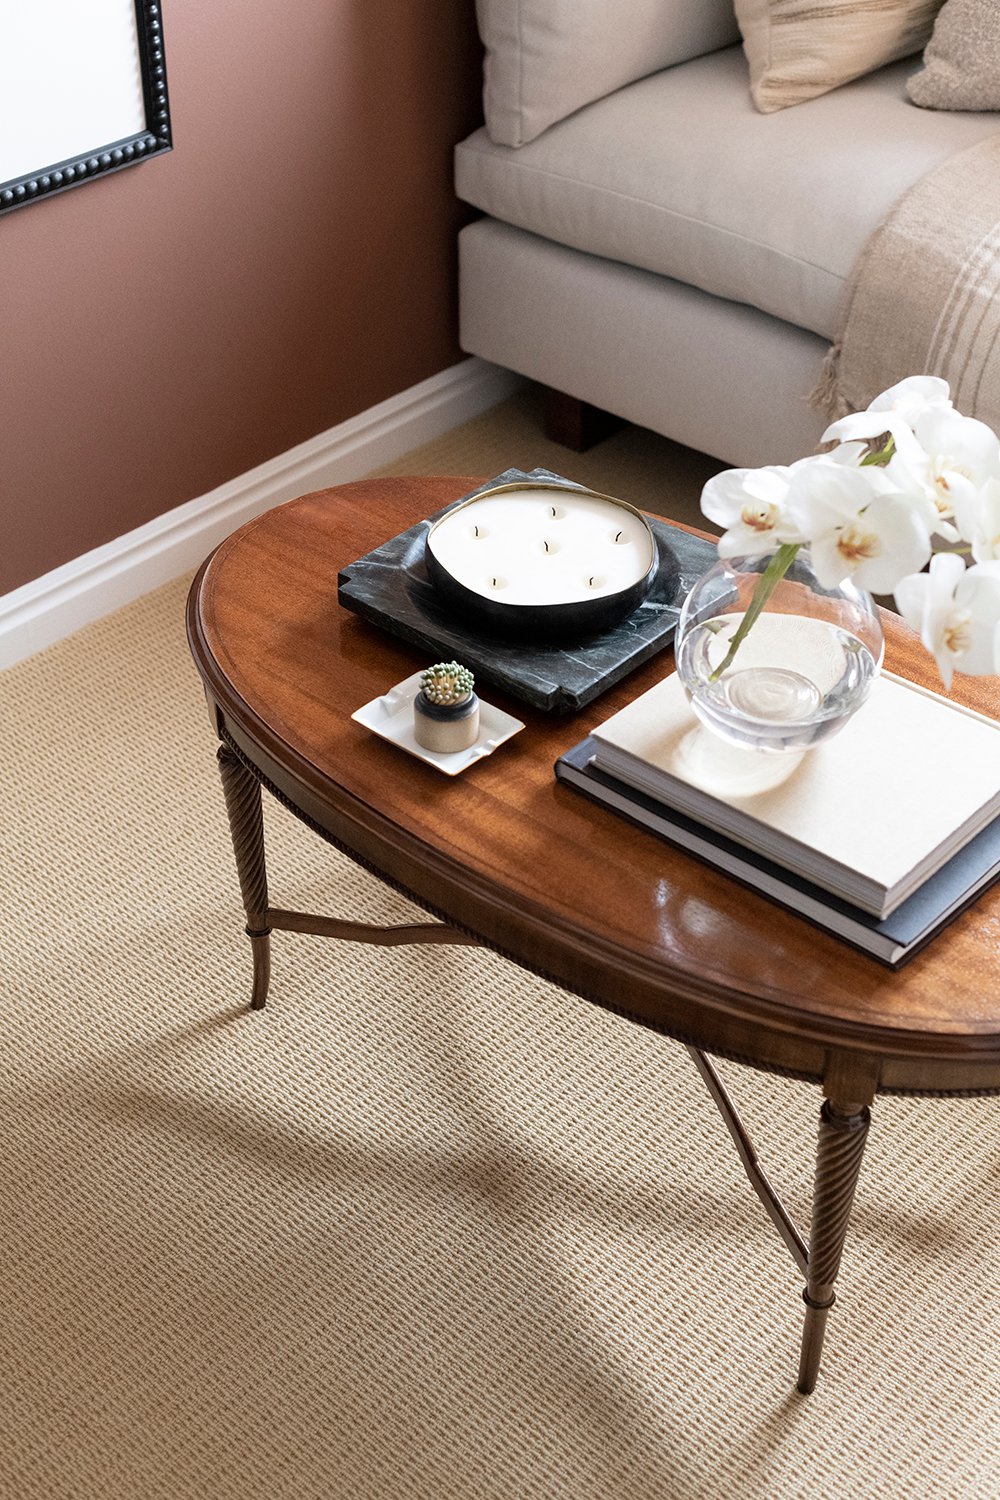
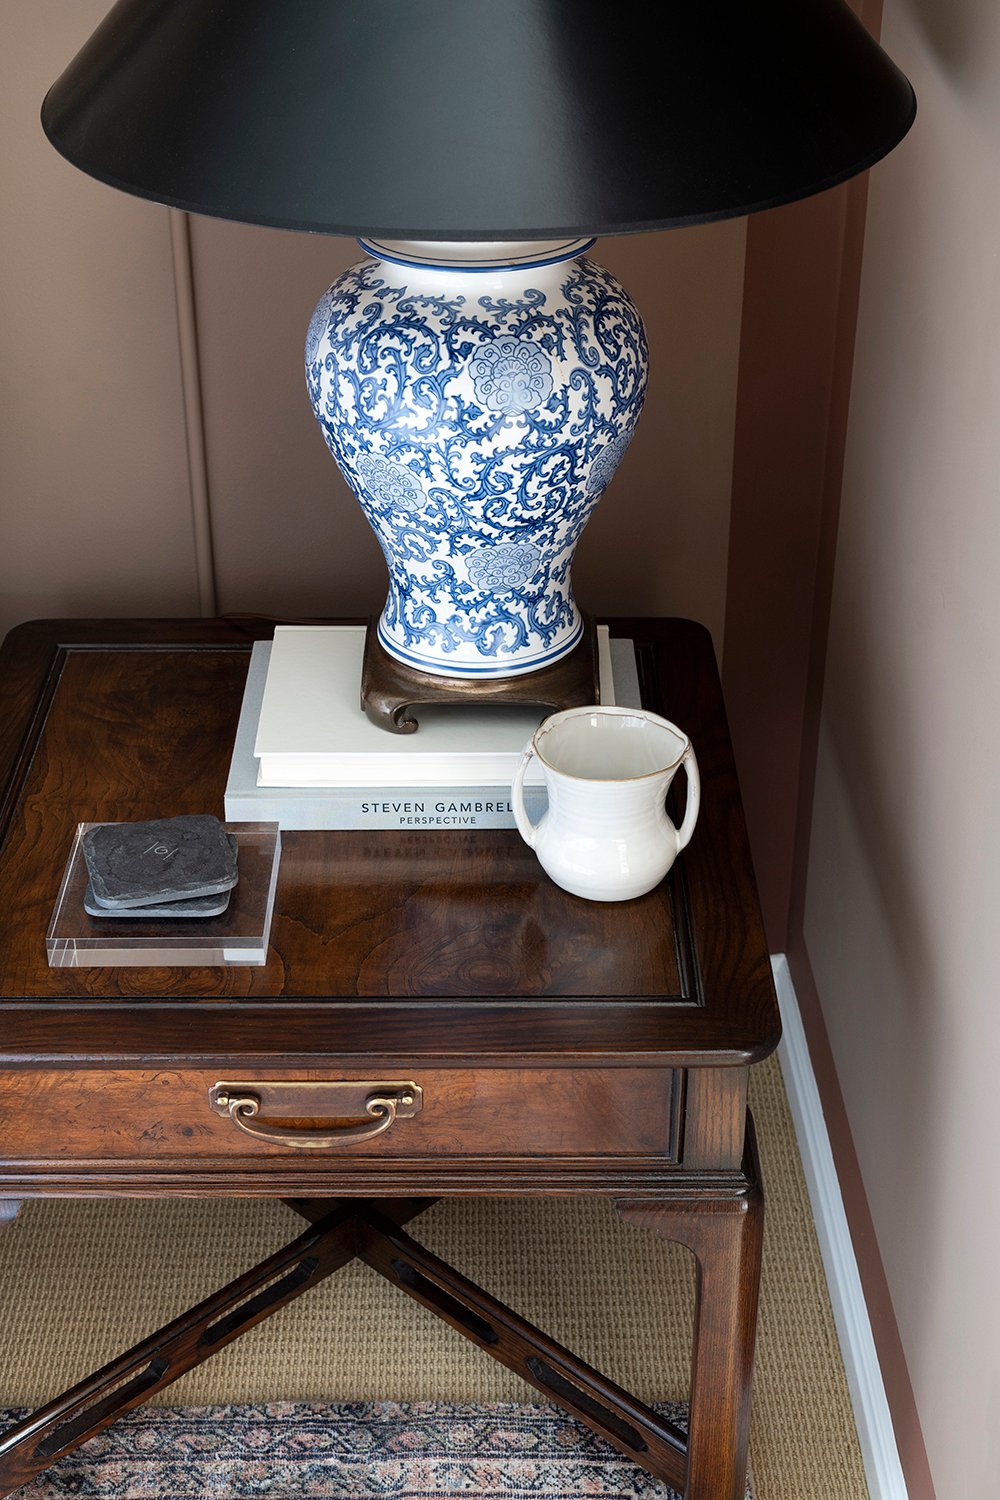
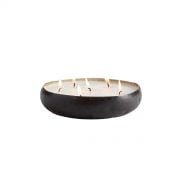
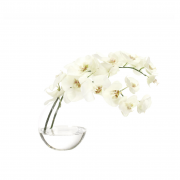
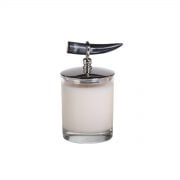
 I’m also really pleased with my antique coffee table Emmett refinished… it looks especially beautiful in the reading nook and is the perfect size. I styled it with an orchid bloom (can you believe it’s faux?!), one of my favorite candles, and a couple of books. It’s simple and elegant, which feels appropriate for a guest room.
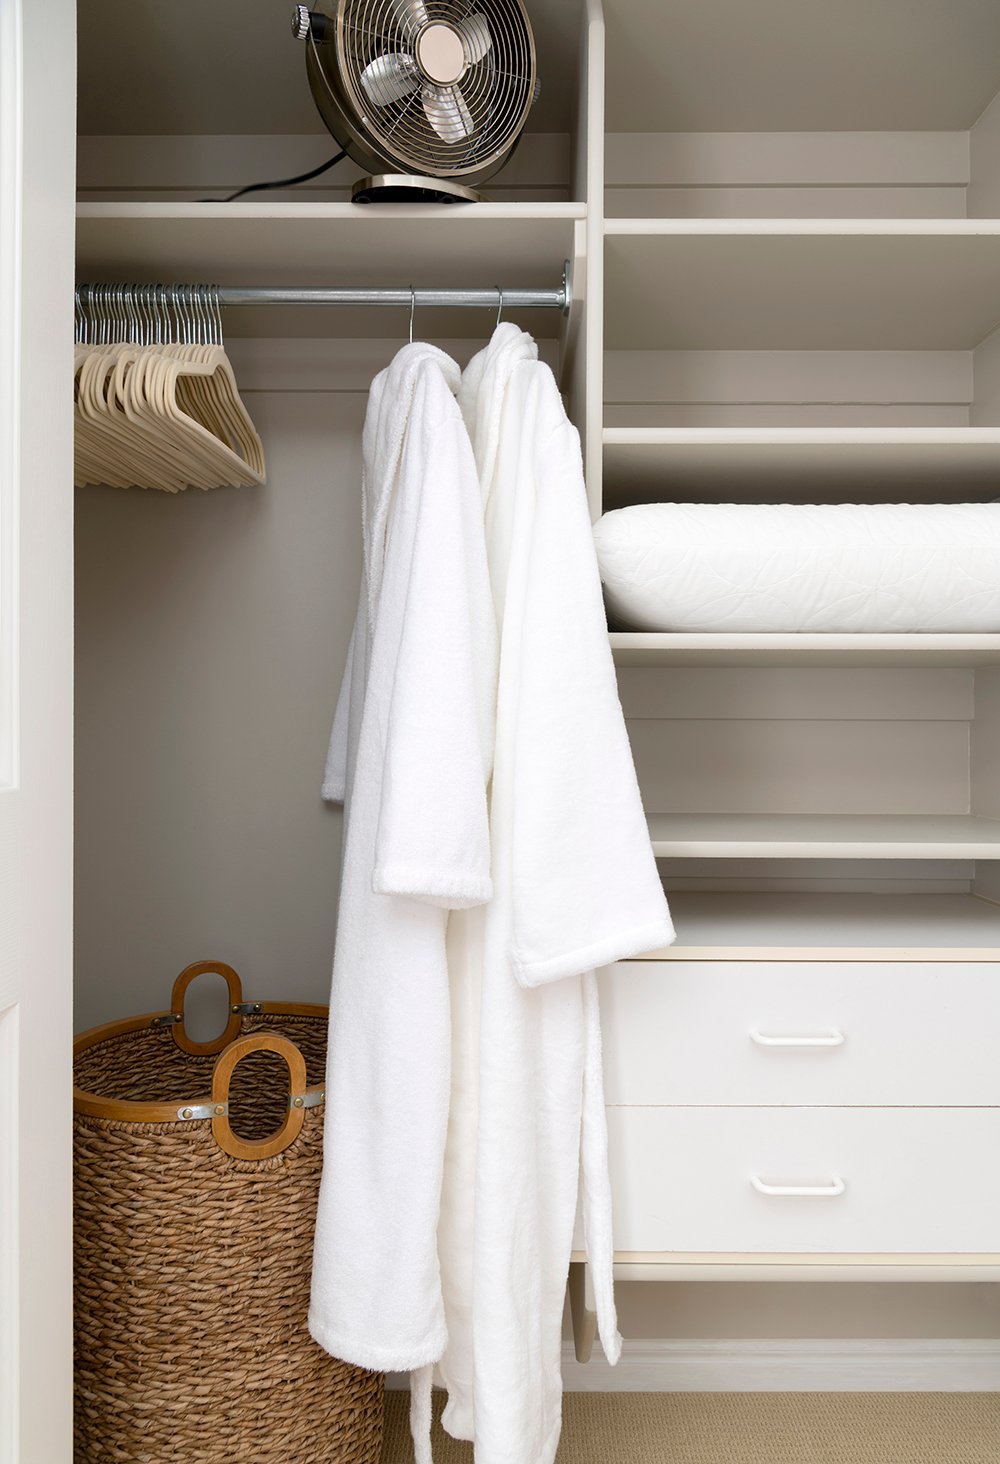
 While we’re on the topic of guest room amenities, I wanted to give you a peek inside the closet. You know I’ve been on a closet cleaning & organizing spree lately, and I was able to totally clear this one out so our friends & family can actually use it when visiting.
 Behind the double bifold doors there is plenty of room to hang clothing, store luggage (most of our guests are visiting from out-of-state), and I always keep a hamper, robes, slippers, and a fan in each guest bedroom. We haven’t touched these closets, but I think they do the job. I’d rather put my renovation efforts elsewhere.
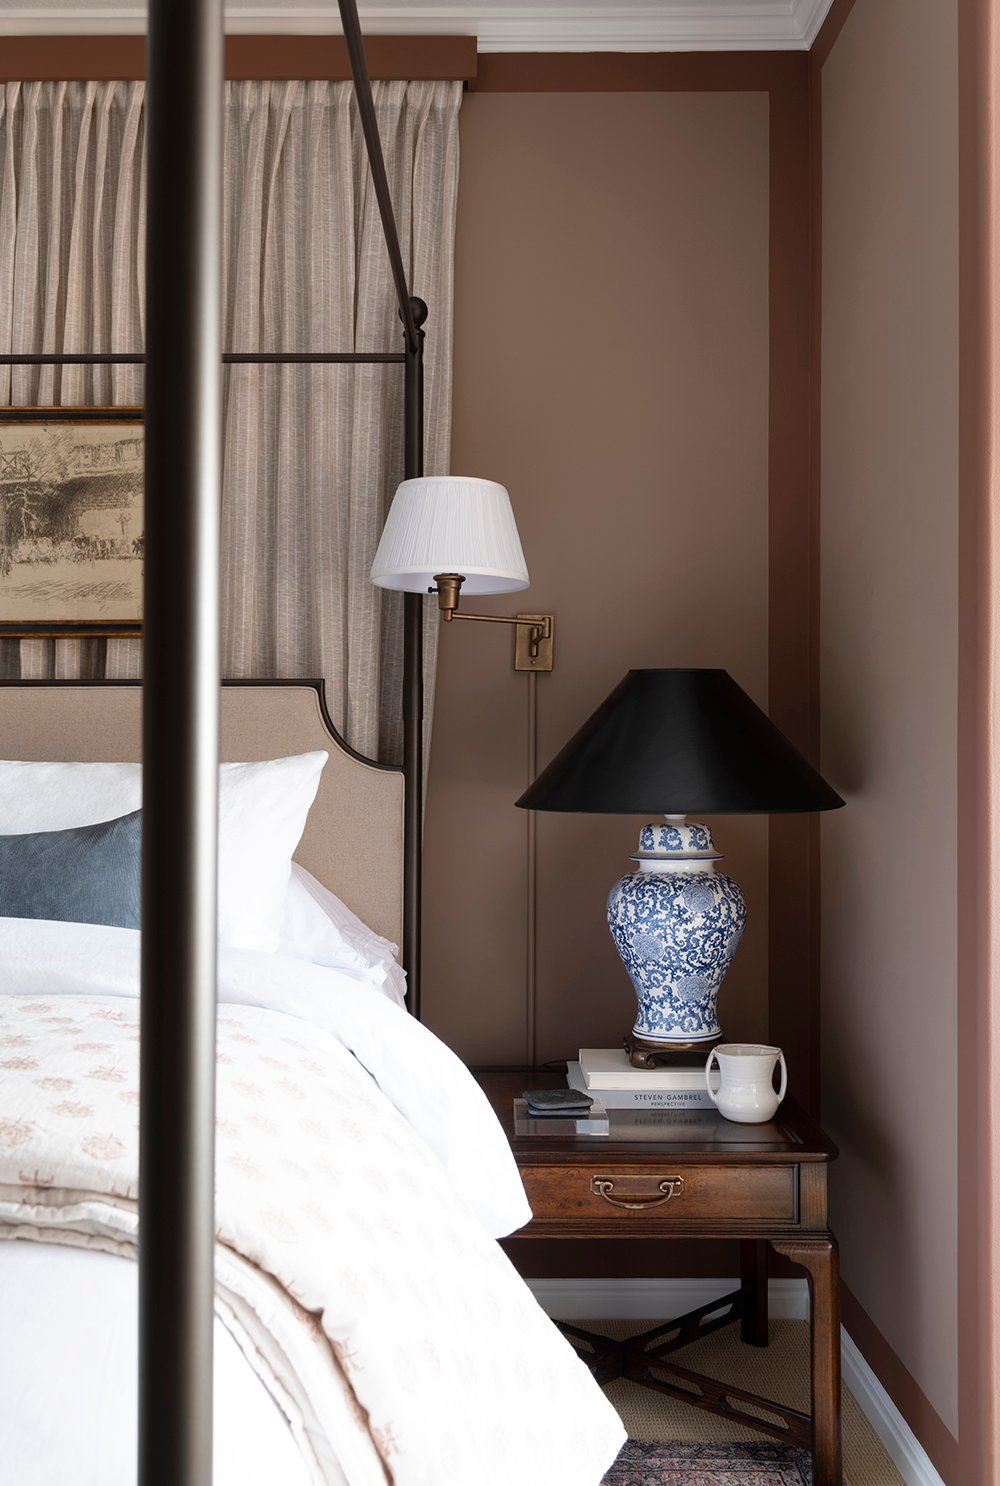
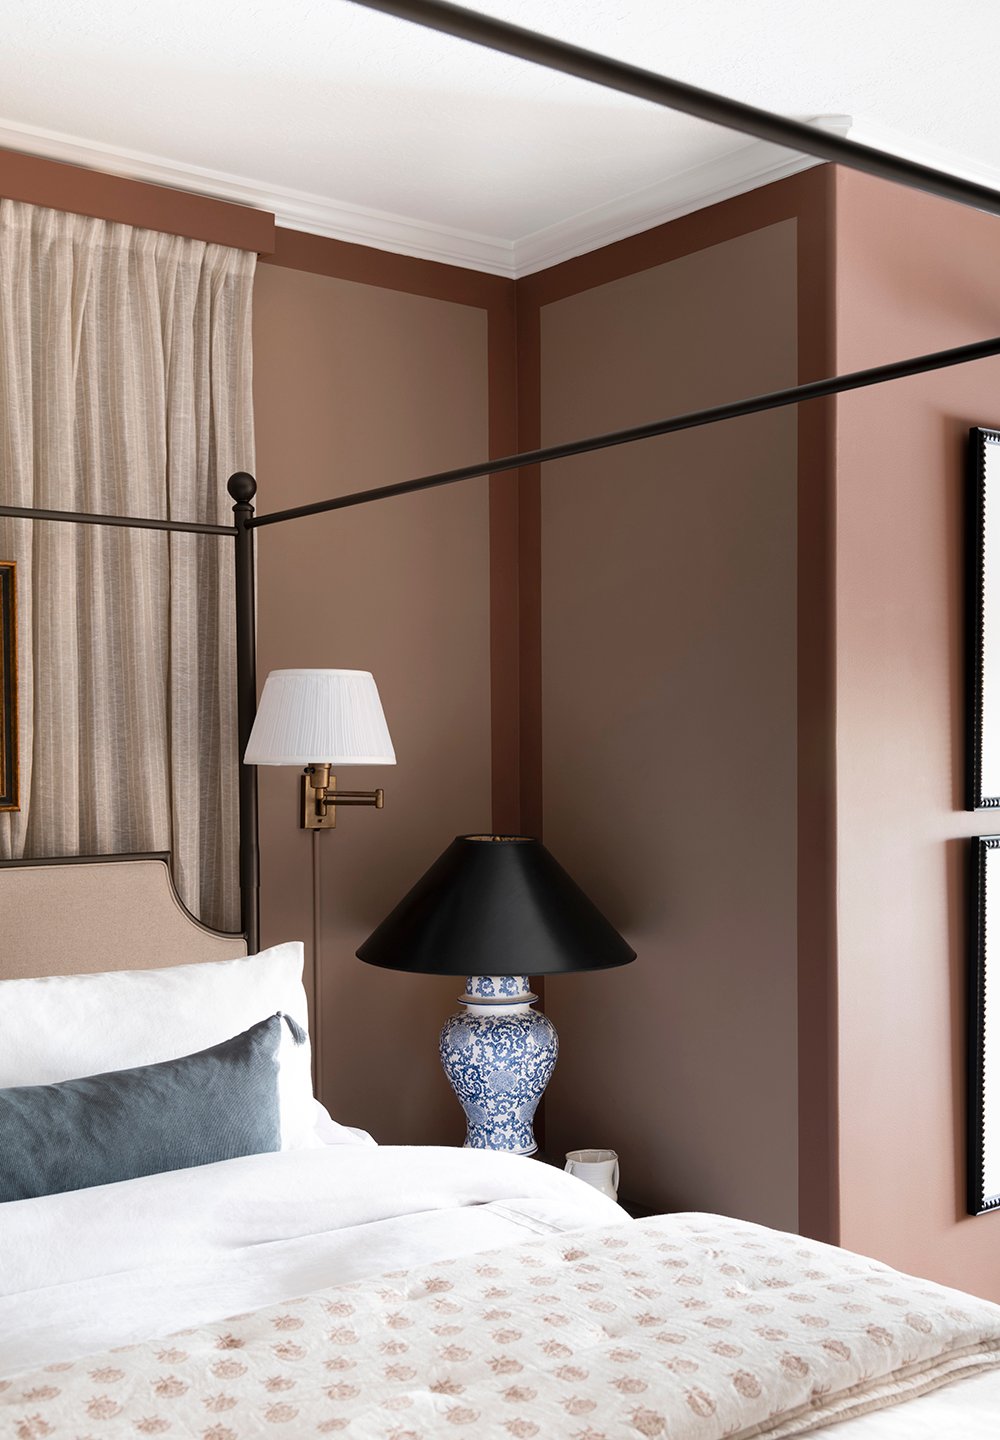
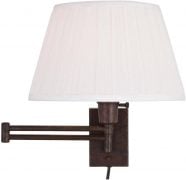
 We added a convenient sconce to each bedside and with a little Rub N Buff makeover, these turned out to be quite charming & handy despite their inexpensive price tag. This west facing room needed all the ambient light it could get.
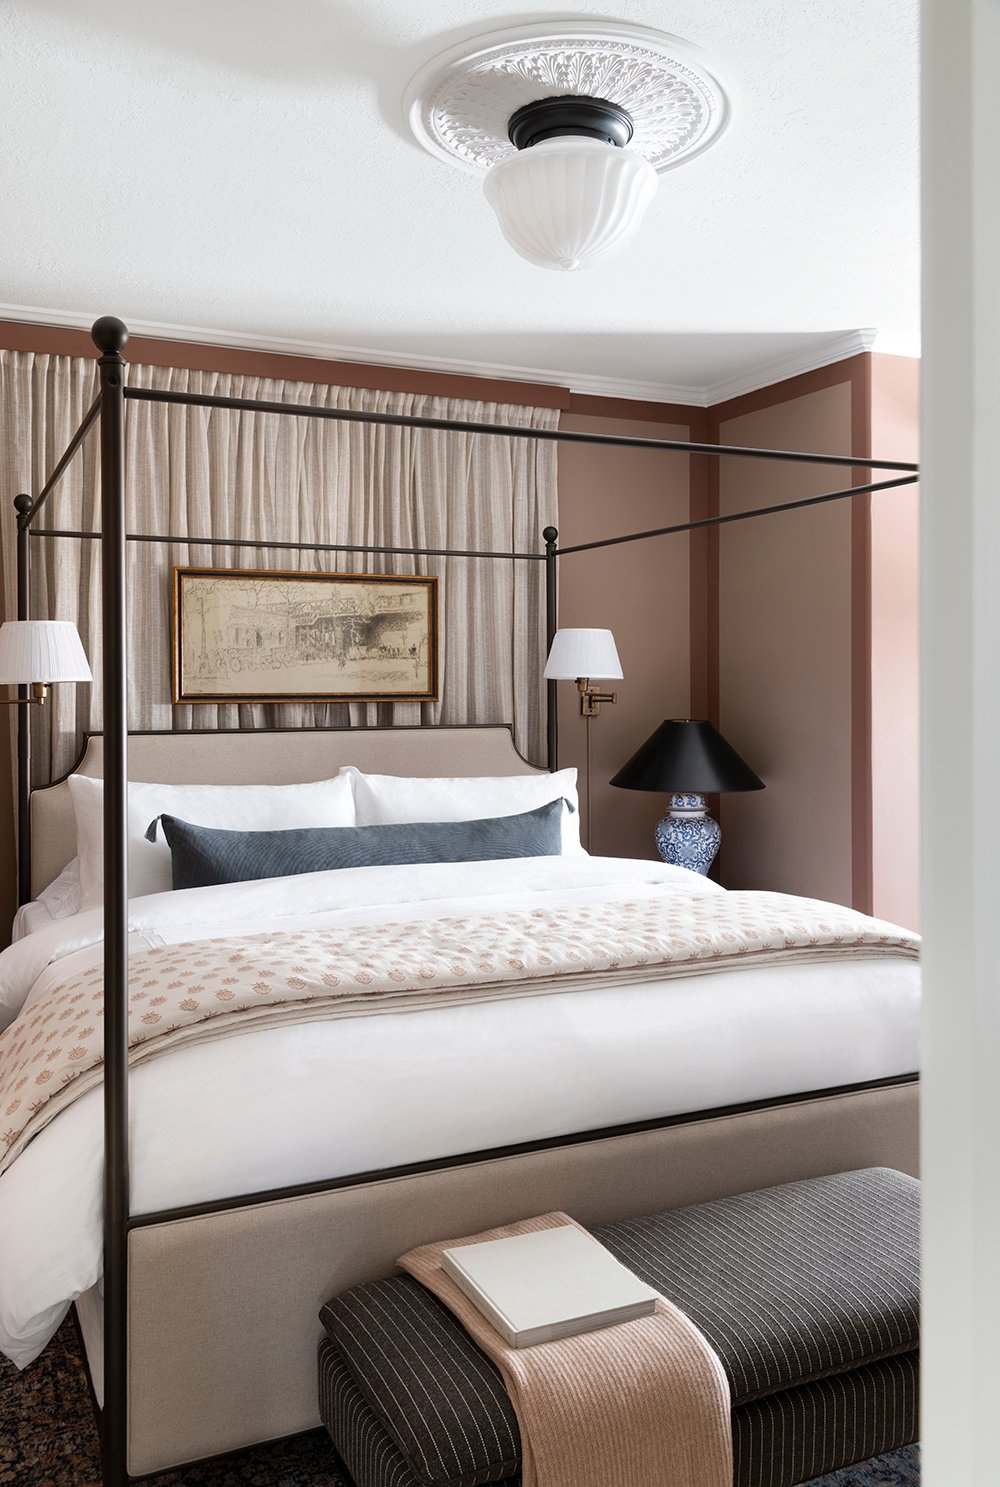
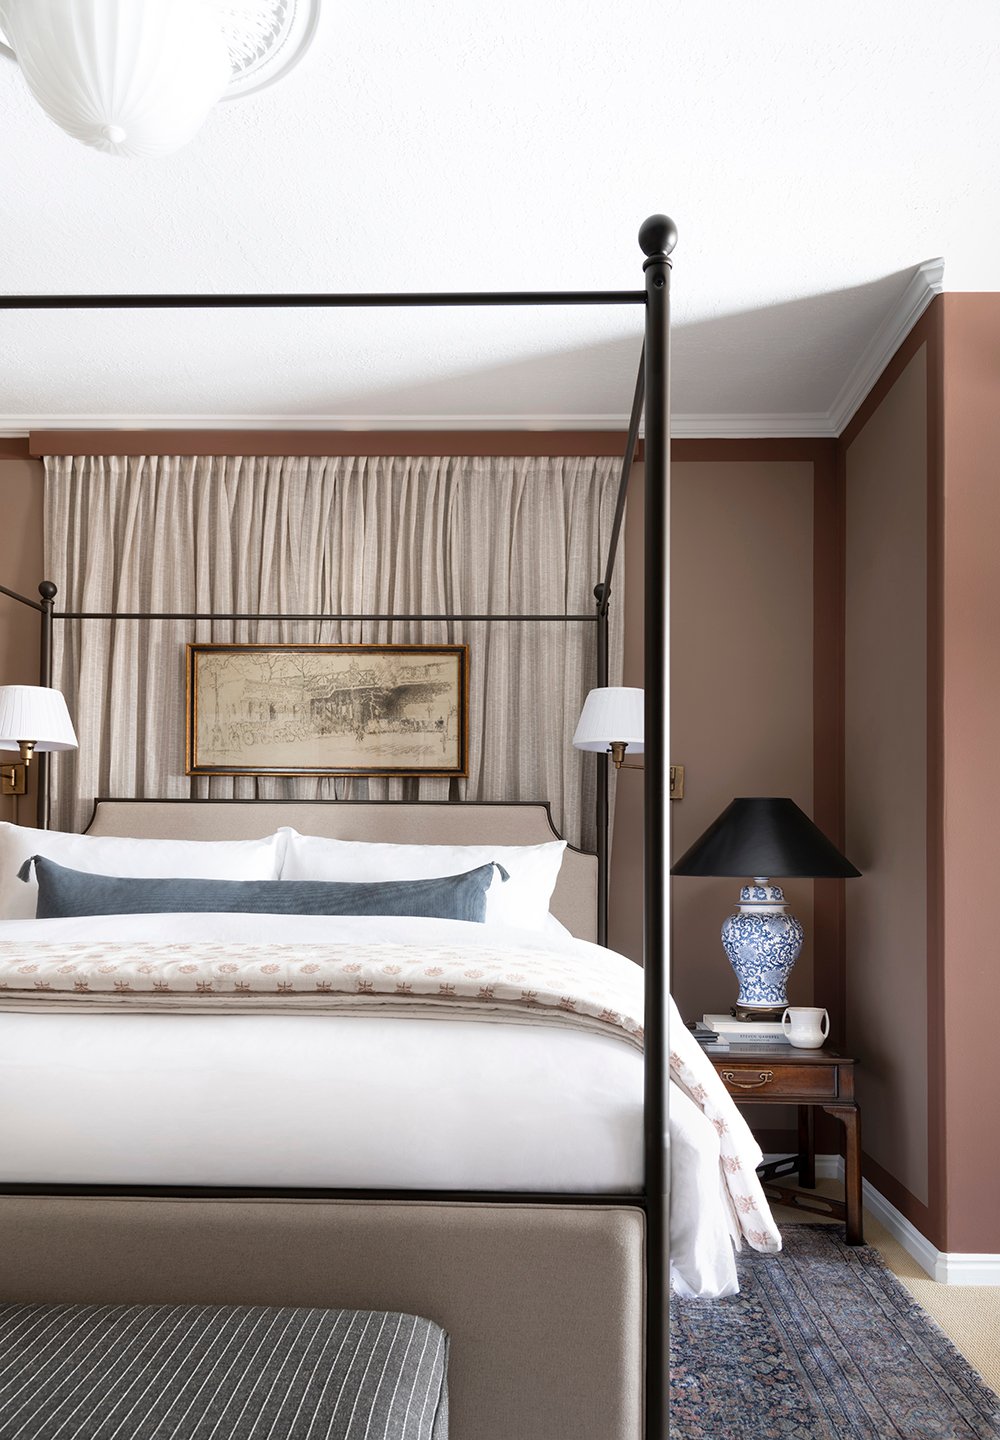 The drapery panels installed behind the bed help to soften this space, and I really enjoy the look of the floating layered artwork that is perfectly framed by the canopy bed. It provides a very balanced & textural backdrop for the bed. Check out this post on how to hang artwork in front of curtains.
 While this room is mostly filled with older things I already owned and vintage finds, I did my best to find similar sources for you. Before we journey on with the tour, I’ll drop a collage below with source links…
 Shop the sources by the numbered links below the collage… this one isn’t clickable, sorry!
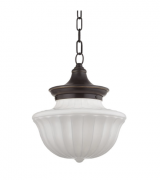
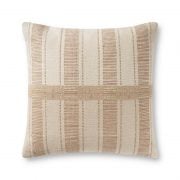
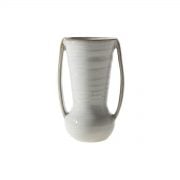
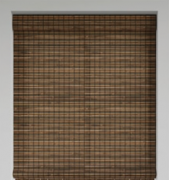
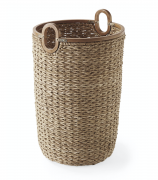
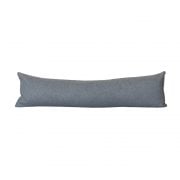
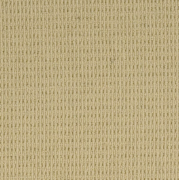
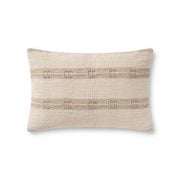
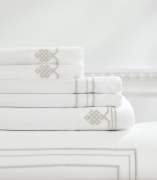
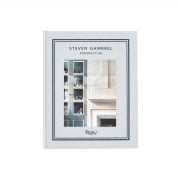
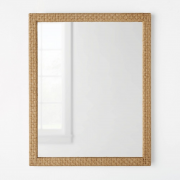
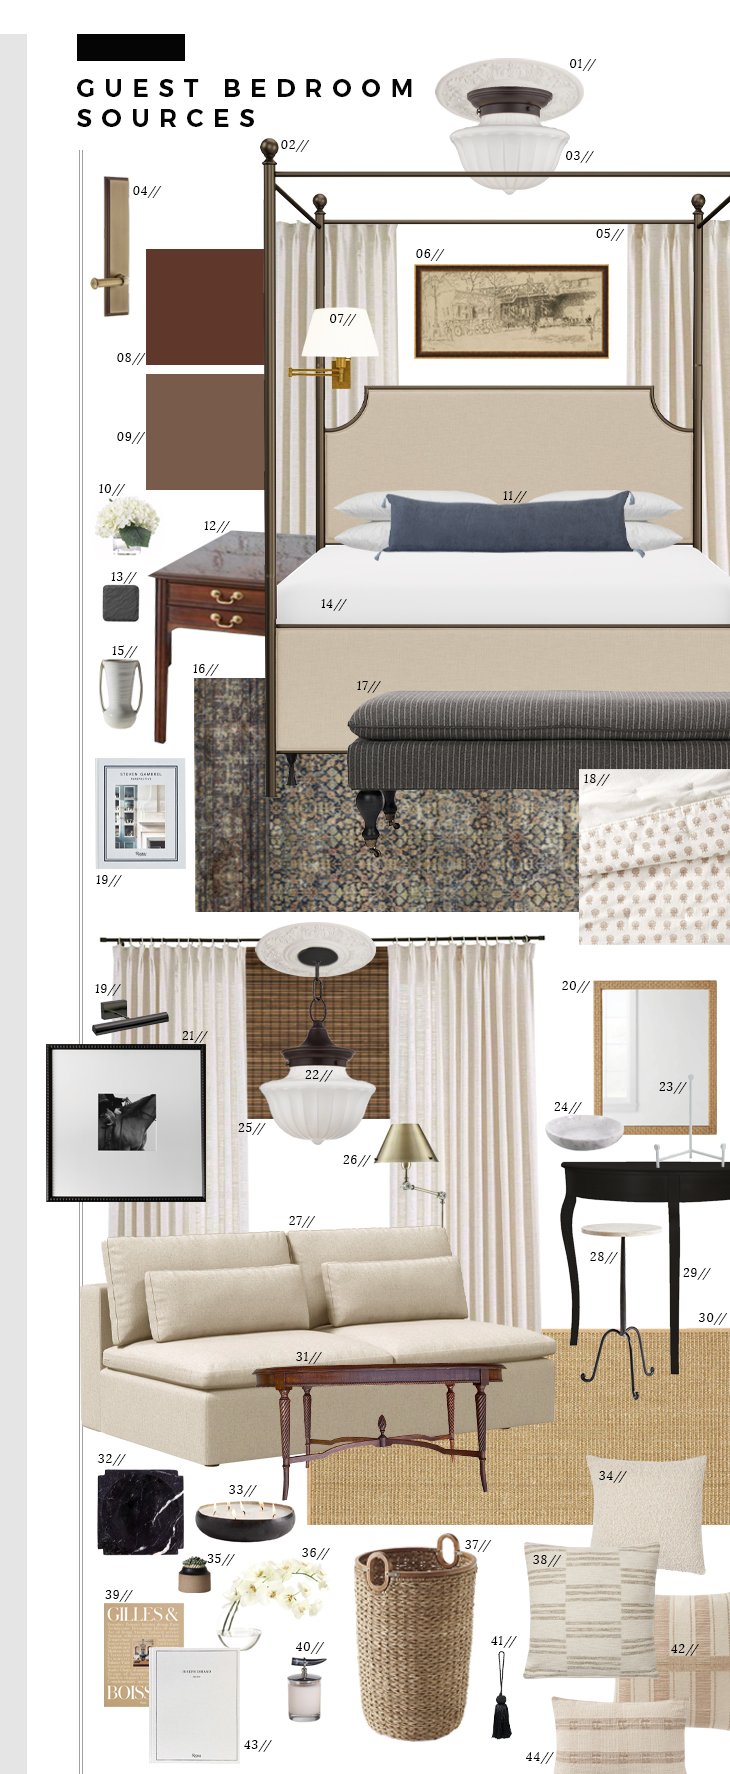 01: ceiling medallion // 02: canopy bed // 03: semi flush mount // 04: door hardware // 05: curtain panels // 06: antique landscape // 07: plug-in sconce // 08: arizona canyon paint color // 09: woodacres paint color // 10: hydrangea // 11: lumbar pillow // 12: vintage bedside tables (similar) // 13: slate coasters // 14: duvet set // 15: vase // 16: area rug // 17: pilllow top bench // 18: block print quilt // 19: battery powered picture light // 20: woven wall mirror // 21: DIY art // 22: pendant light // 23: plaster easel // 24: marble bowl // 25: woven wood shade // 26: floor lamp // 27: armless sofa // 28: marble table // 29: demilune table (painted black) // 30: wool carpet // 31: antique table // 32: nero marble dish // 33: oud noir candle // 34: bouclé pillow // 35: match strike // 36: orchid bloom // 37: seagrass basket // 38: jay pillow // 39: gilles & bossier book // 40: horn candle // 41: tassel // 42: carmel pillow // 43: joseph dirand book // 44: diego pillow
 For the bedding, I layered classic white sheets and a duvet, paired with a block print quilt folded at the foot of the bed. This room can get cold, so heavy bedding and an additional quilt for this room made a lot of sense. If you’re interested, this is my go-to formula for styling a bed.
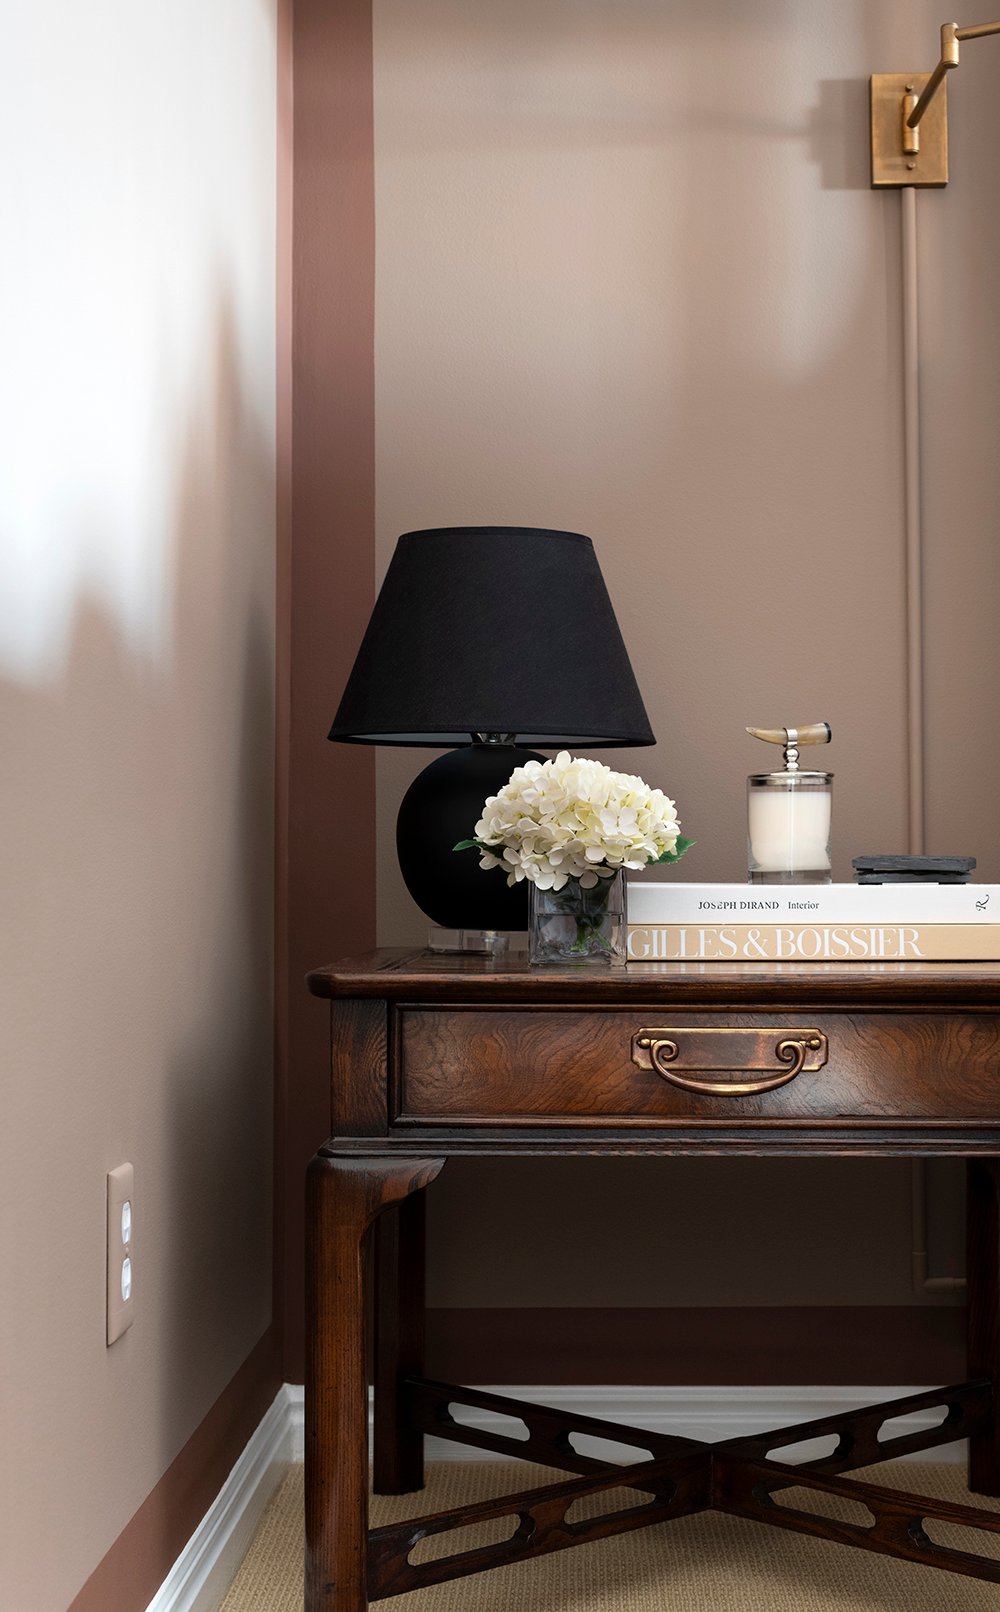 Aren’t these vintage nightstands so lovely? I dug these out of a woman’s basement a few years ago while picking up a different marketplace find. Sometimes those weird situations result in the best pieces!
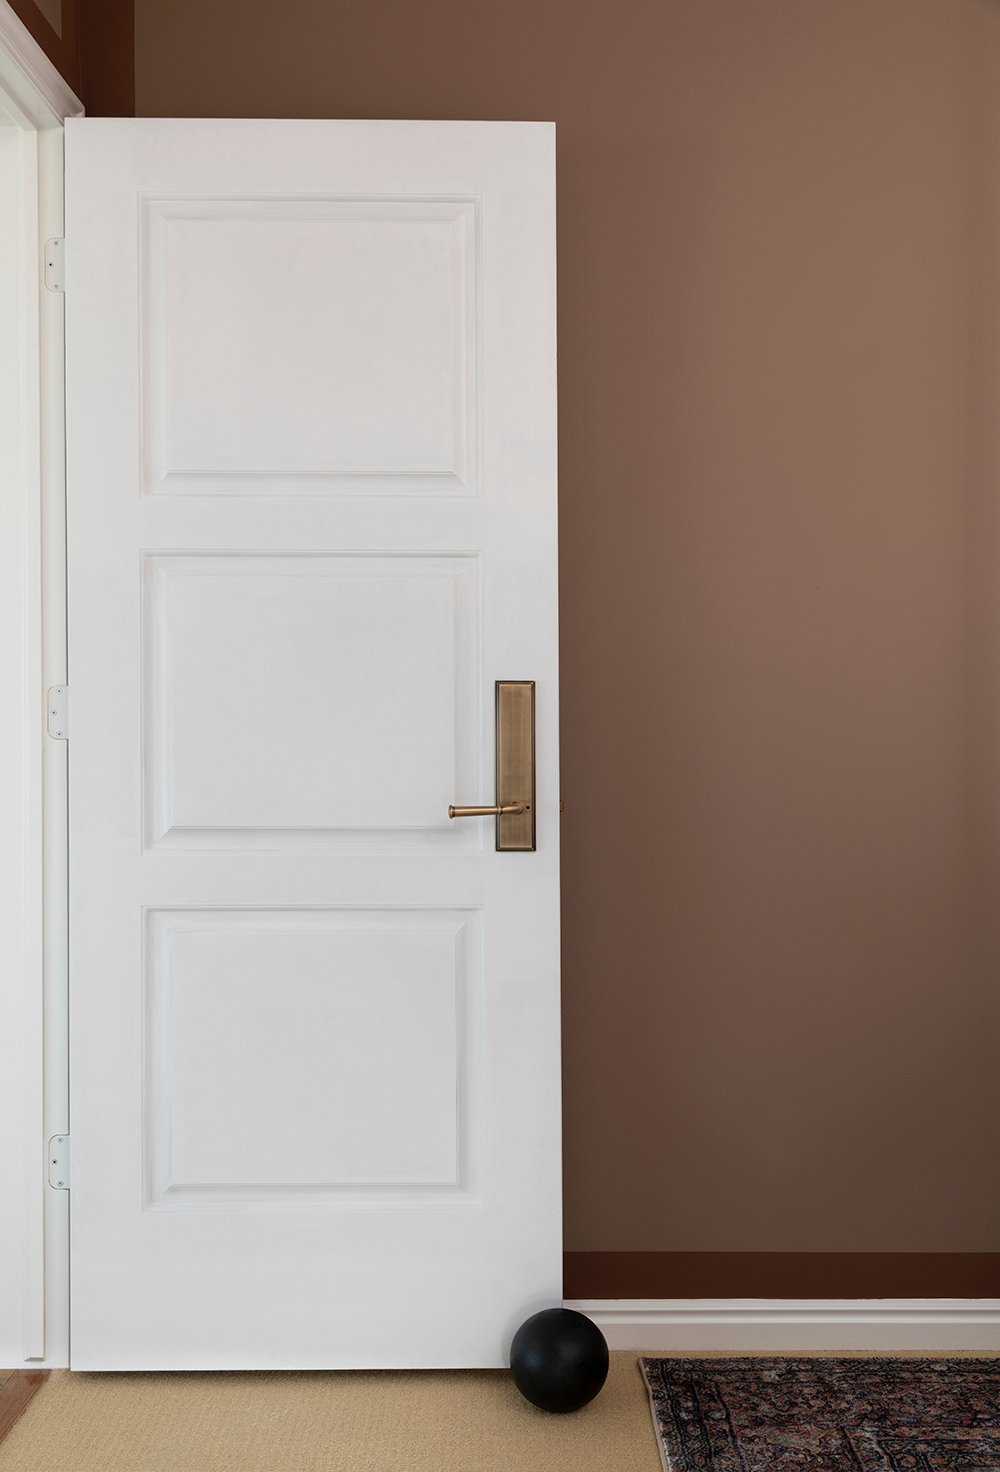
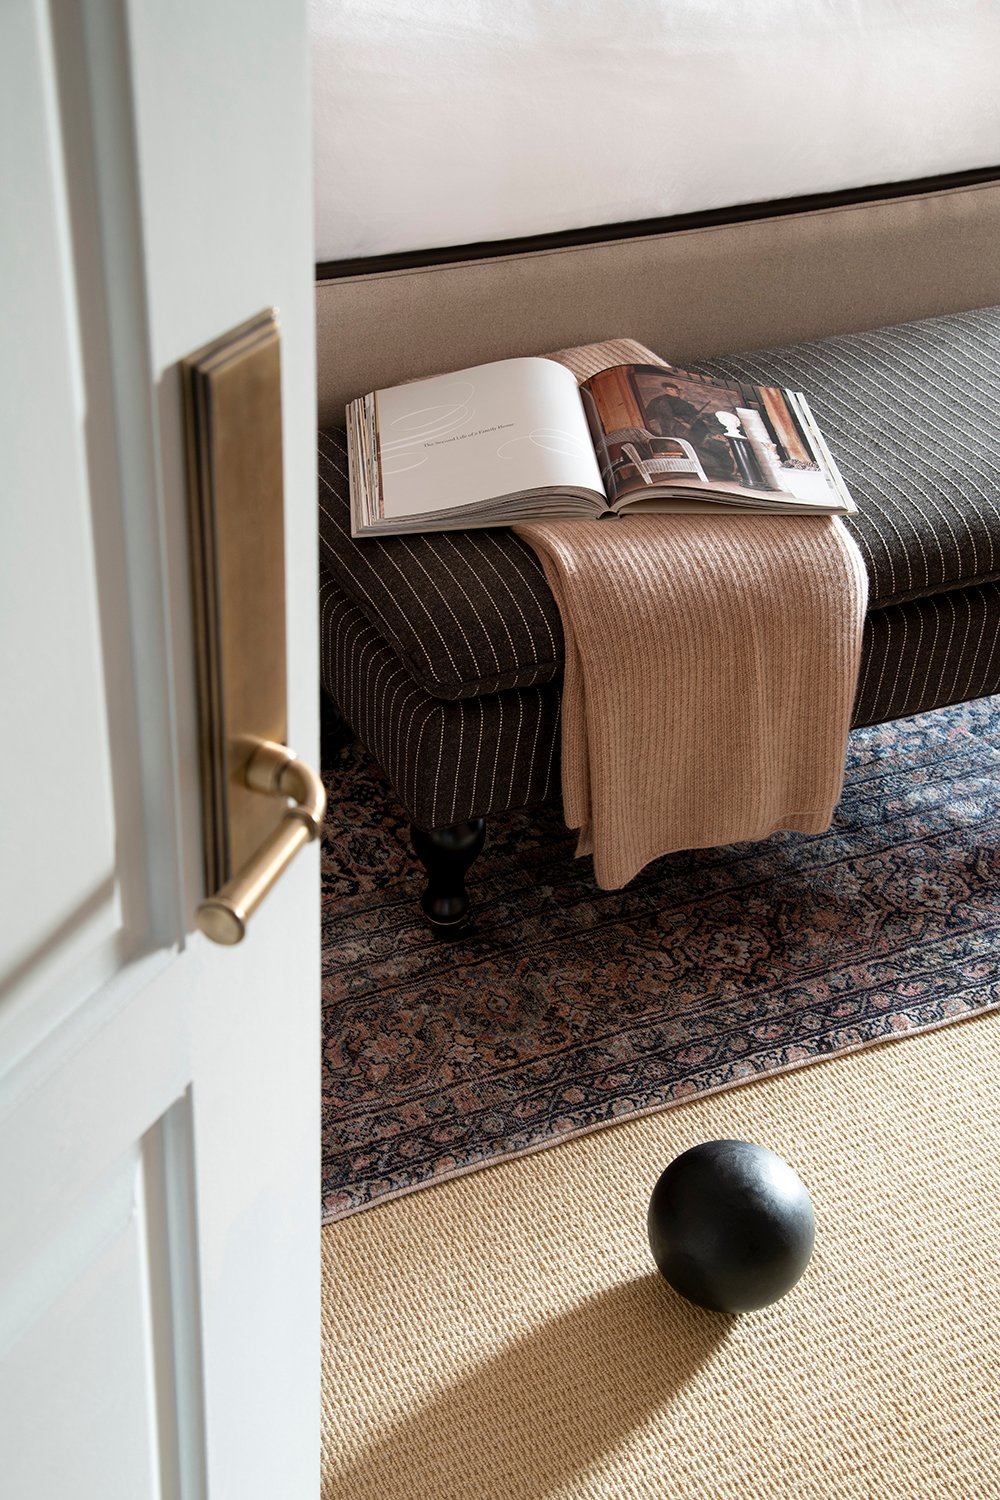
 Emmett replaced the doors and hardware in this room shortly after our carpet was installed… we’re slowly updating all of the hollow core doors throughout our home to three panel solid core doors. I selected this brass hardware by Grandeur just after we moved into our house and we’ve been using it since. It’s so beautiful in person and I love seeing more of our doors being swapped for a cohesive, higher-end look.
 My goal for this guest room was to create a comfortable, functional, and designerly space for our friends & family to enjoy. I also wanted it to feel representative of Emmett & I, and our home. I spent a lot of time adding details here and there, and I think it’s a great reflection of our personal aesthetic. I’m really looking forward to sharing the art DIY with you because these oversized photographs are a definite highlight for me.
 I’m a details person when it comes to design- I always have been. I appreciate the little things, I enjoy taking note of the small nuances, and I believe those seemingly minuscule moments result in really well designed spaces. I hope that translates in this guest bedroom, and I hope our friends & family who sleep here enjoy it as much as I loved pulling it together. This room helped me get creative when I was craving a distraction. I started painting this room after my surgery on Christmas Eve and have been enjoying the process ever since. It was great to finally share it with you today!
 Alright- let me have it… what do you think? What’s your favorite part of this room? I’m really happy with how things came together and believe it or not- I’m already working on another bedroom… this time in our basement, which should be interesting! Did you know we had a tiny bedroom in our basement? It has a twin bed and it’s actually quite cute and now I’m feeling motivated to give it a little upgrade after this bedroom project. Anyway, I hope you enjoyed this tour and discovering all the layers tucked into it. It’s a space Emmett & I both really love- it very much feels like us. Maybe one of these days we’ll get around to tackling our primary suite, but that one is going to require a big renovation. As always, thanks for reading! With that, I’m off to Canada for some skiing… I’ll have blog posts for you while I’m away though- check back for those!


Good morning!!! Worth. The. Wait. I’ve always thought your guests are the luckiest because…duh, they’re spending time with you, but this room definitely gives welcomed and pampered vibes! I love so many aspects of the design, but overall I think it’s the sumptuous layering that wins for me. Elegant Maximalism? That feels right. So many considered elements! I adore the color blocking! Such an intentional means of adding detail, highlighting the nook and dealing with those pesky corners. I would be interested to hear how you chose the width of the outlines. Did you have a formula or just an artist’s eye? Speaking of the nook, what a show-stopper! You created the coziest, most inviting little alcove. An exceptional use of space, I can absolutely imagine sneaking up there for a little retreat when the guest room is unoccupied. Also, can’t wait to hear the story of those stunning horse prints! The frames are killer…and another touch that I’m digging: all the black. Bold, but still so warm! So many incredible layers. The curtain panel behind the bed, the cocktail table tucked under the demilune, the end of the bed bench. And to think that you achieved this look without significant renovations, using many items you already owned! That’s inspirational! I’m going to be studying these photos for the rest of the morning and taking notes! Masterful work, Sarah Gibson. Have a fantastic skiing adventure! Banff looks magical! 💜😍👍
Ahhh, thank you Peggi!! That means so much coming from you. Come be our guest anytime!! I would love that so much. Elegant Maximalism… I’ll take those adjectives any day. The color blocking turned out really fun. I can’t believe I decided to start that on Christmas Eve, but looking back- it was an enjoyable holiday. Ha! Funny enough, the width of the outline came from a wooden playing card holder box. I searched around the house for something I could use as a template and that felt like the right size. The nook is definitely my favorite! I’ve been trying to read 3 books per month and so far, I’ve read all 3 of my February books in that spot. It’s proving to be a favorite for the dogs, too. Like they need another cushy spot to lounge. The artwork story and process is coming on Monday- excited to share that! The black touches unexpectedly made their way into the space and I’ll chalk that up to a happy accident. I just kept adding more. I love that you noticed the little cocktail table under the demilune. I initially had it beside the door, but thought it would be a good one to move around and tuck into that little spot when not in use. Our skiing adventure should be interesting to say the least, lol. I hope you have a fun weekend ahead, too! xo
So inspiring!!! Also here to ask about the color blocking — I really try it in my bedroom, and I think I have the painting chops to do it well! Do you have a tutorial already, or plan to make one? Or is it just a matter of finding an object as the template and then carefully taping it all out and going for it?
Thank you, Joy! I sadly don’t have a tutorial for color blocking, but I think it’s more about using a template and being precise! It really wasn’t too bad. You’ve got this!
Fabulous. Thanks for the reply!
This room is beautiful and luxurious. Your guests may not want to leave! Your use of the color blocking for the corners is genius and adds to the nook’s coziness. Masterful work!
Thank you, Marti! I hope they want to stay longer, ha. We love having our friends & family over. The color blocking was really fun- I enjoyed painting this room. Thanks again for your kind words! Hope you’re having a good night.
What a stunning guest retreat! It reflects the care and thoughtfulness that you have to make your guests comfortable while they are away from home. Just lovely!
Thank you so much, Traci! We really love hosting our friends & family… especially since we live so far away from them. It’s nice to have a space they can hopefully enjoy and relax. Hope you’re having a good week!
It’s gorgeous! I’m looking forward to your DIY art post too.
Thanks, Christiane!! It’s coming on Monday :) Wish you were closer so you could have joined our fun horse photoshoot (modeling like the old days, ha)! xox
This is a beautiful room! So well thought out. I love the paint treatment and really learned something about the rounded corners. your handling of it is brilliant. You were so right not to beef up the moldings. Would have never considered these colors but it’s instantly Warm, inviting, classy and tailored. The furniture and placement are perfect. Artwork wonderful.
Thank you, Pamela! I really appreciate your sweet words. The rounded corners have never been my favorite, but I definitely think the paint treatment helps the overall look. Thanks again! You made my day. Hope you’re having a great February :)
I want to BE YOUR GUEST! Wow, so comfy & beautiful! I love the nook with the couch and your freshly restored table. I too love a soft seating with lots of plush pillows to snuggle in. The artwork & frames are gorgeous! Cannot wait to read about this. I am going to show my daughter. Those frames really make the picture. Believe me, I have scoped out the battery operated picture lights. You always make a bed look so inviting. I recognize the quilt and have had it in my cart for several weeks. I am torn between this one and the green. OMG, the canopy bed is such a steal! What a beautiful bed and price! We need a bed in our 3rd guest room. The cornice board for both the window treatment and above the bed give the curtains a more high end look. Love it all!
Overall Sarah, you have done a wonderful job of using items you already have and making this room one your guests will always enjoy. A bedroom in the basement? Can’t wait to see it! Hope your Valentines was sweet! ;)
Have a great Wednesday!
Come stay anytime, Danna! I mean it! If you ever need a getaway, you know who to call. Thanks so much for your kind words. I’m really pleased with how this room came together. I’ve got an entire blog post coming on Monday devoted to the horse artwork… maybe your daughter will enjoy it! I really love the quilt in this room and it’s surprisingly comfy after a couple washes. I almost want one for our bedroom. The canopy bed was such a great deal and when we purchased it a few years ago, it was over $100 less- still a great affordable option though. The basement bedroom isn’t as exciting, but I’m hoping it will be a fun and fast project. When our family stayed a couple weeks ago, we put one of the kids in the basement bedroom and I realized it could use some serious help. Ha! We sure had an interesting Valentine’s Day in the ER after Emmett had a bad fall. He’s convinced me he’s skiing in a sling this weekend, but we shall see. Hope you had a great day! xo
Question, when you started designing this room was it the rug or bedding that was the inspiration? Beautiful color btw!
Thanks Danna! It was the rug :)
Gorgeous 😍 I always find a lot of inspiration in your designs; you have exceptional taste! I’ll be studying this room for a while, for sure. Have fun skiing!
Thank you, Melanie! You made my day with your comment. Thanks for taking the time to read and check out the blog post. I hope you’re having a great week!
Knocked it out of the park Sarah! You know we’ve all been dying to see this gorgeous guest bedroom and you never disappoint 😍 Wow! So very sophisticated, elegant, timeless, classic and best of all, so very You ❤️ It exudes a hotel chic vibe with an inviting coziness you can’t get from a hotel. Oh and that nook, I’m squealing with excitement 💃 Goodness what a charming space for your guests or Cash Lol ( so adorable) I love how comfortable he is ❤️ in his new dog bed 😝 haha! Honestly Sarah your styling blows me away every time. This is definitely a talent I don’t possess 😩 I try but gosh it’s hard. It’s one thing I can’t seem to master very well. I’ve have improved since knowing you though 🥰 ok how did you figure out that color blocking 😳 not to mention how straight and perfect it is. Gosh I love the colors you chose too! Amazing!
Everything feels so collected but seems to work so flawlessly together. Another talent I don’t possess. Ha! I don’t buy vintage furniture cause I can’t pick the right stuff to work with what I have already. I have trouble with scale I think. Not sure. Anyway clearly your superior trained eye totally figures it all out, even scouring a strangers basement. That’s freaking amazing! Those end tables are stunning 😍 And don’t get me started on the artwork. Those equestrian prints of you ( they are pics of you right?) are beyond beautiful, oh my goodness. I love everything! I’ve said it before and I’ll say it again your family and friends are a very lucky bunch 😝 Im confident they didn’t want to leave that bedroom 🤣 Job well done friend 👍 and now your soon off on another well deserved ski trip and to Banff. Yay! You will love it! It’s gorgeous there, I can speak to the ski hills but the views are breathtaking. Have an incredible vacation Sarah! I can’t wait to hear all about it upon you return 😉 ❤️🥂
Thank you so much, Colleen! I had to laugh at the dog bed… those two really are spoiled. Ha! It’s as if they think every room we update is just for them. I’m hoping our dog and house sitter will enjoy it while we’re away in Canada this weekend. Thanks for your kind words about my styling. That’s the part of my job I’ve always loved the most. If you ever need a hand with your cottage styling, you know who to call! You know I typically lean toward the blue & green hues (like yourself), so this color was a bit of a stretch for me- but I’m really loving it. I think it’s just what this room needed and the color blocking was a fun little Christmas painting project for me. I can’t believe I found those dusty end tables in someone’s basement. It was a weird and awkward situation, but they were worth it. Lol! I’ve got an entire post dedicated to the story behind the artwork coming on Monday. I’m in one of the photos, but the other three I took of my friends. You and Andrew are welcome to visit anytime (seriously)! I’m very much looking forward to Banff and my first ever trip to Canada (crazy)! I have a feeling it’s going to become a new favorite. Emmett ended up in the Emergency Room after a bad fall yesterday (there went our Valentine’s Day dinner), so I’m hoping he can still ski with me. Fingers crossed! xo
Oh no! Poor Emmett 😱 I hope he is ok? Good Lord right before a big trip. Yikes! Even if skiing is out there is plenty of enjoyment in the beauty of the gorgeous hills and scenic views. Take Care Emmett, sending quick healing vibes your way ❤️🩹
He’s ok! He has to have a couple surgeries, but all good over here :) He managed to survive skiing in Canada. haha! xo
Beautiful! I saw you post the rug a few months ago and fell in love with it. I ended up designing my primary bedroom around the same rug, although I landed on Valspar’s Dream Weaver (a greenish blue gray) for my walls! It was so fun to see what direction you went in! :)
Thank you! I love hearing that, Viktorija! Your primary bedroom sounds gorgeous- I like that you went into the opposite direction with the cooler palette… I was tempted to head in that direction myself. Those are typically the colors I’m most attracted to! Hope you’re enjoying the rug and the updated bedroom.
just as beautiful as every room that you do. i love it. i’m wondering about two things. 1. the electrical outlet cover. are they just the inexpensive covers you buy at home depot and are just painted? 2. i love the picture frames in the reading nook. but i didn’t notice them in sources?
best regards, w. scott
Thank you, Wenda! To answer your questions, we swapped the existing outlet covers for paintable ones, but you could always prime and paint the regular ones… I’ve done that before and it worked well if you take the time for prep. The art and frames in the reading nook are getting their own devoted & detailed blog post on Monday, but I had those locally framed. I wish I had an easy link for you- I’m sorry! Hope you’re having a great week!
This is gorgeous at every turn.
Thank you so much, Dawn!
This is so gorgeous! I’m considering a drapery walk in our second bedroom now- it also only has one window and I’ve been wanting to add some depth to the space. I’m wondering how you hung the drapery behind the bed? Did you just install some sort of wall mount/rod that sits very close to the wall? I‘m hoping to do this on a curved wall- so I feel intimidated… Thank you!
Thank you so much, Gillian! That’s exactly what we did- a wall mount shallow (french return) rod covered with a cornice board. I do love the softness and depth it adds to that wall, since the space only has one window. It’s a nice focal point that provides some balance to that side of the room. I think it would look incredible on a curved wall! I say go for it :) You can do it!
Do you think a tension rod would work just as well, or would the cornice board not support that?
It depends on the weight of your drapery and how you affix the cornice to the wall. We just used finishing nails, as it’s purely decorative and our drapery has some weight to it. A tension rod could definitely work under certain circumstances though- that’s a great idea, Corinne!
This turned out so beautifully! I love that you went with a warmer color but with your same usual sense of sophistication and beauty. The paint border trick is so clever. I like that the niche is all painted the darker color. I think all of your guests will be lucky to stay here! Have an amazing time skiing in Canada. I would love to see another travel blog post about your trip similar to your Jackson Hole one!
Thank you so much, Brittany! I’m really excited with how this one came together and the warm color is making me happy! We had such a magical time skiing in Canada- we’re already making plans to go back next winter. It was wonderful. I wish I would have taken more photos for a travel guide type of post, but I’ll work on a Noteworthy post for Monday and will include some trip highlights! Have a great day :)
I love the paint color and color blocking!
Thank you so much, Mattie!
It’s taken me a full day to digest the entirety of this room- it turned out so so good Sarah! My first note is that I love the color blocking you’ve done here- it definitely hides the radius corners, and I’m noting that for areas like our hallways, where I’d like to have a separate color but with the openness and flow, can be tricky when a radius corner is present. The color is rich, gorgeous and inviting. I’m enjoying the layers of texture you’ve added throughout the space and how they all contribute to a sense of calm and welcoming. You know my favorite element is the taxidermy! I think it’s both well placed and a little element of surprise. I will say, I’m having the toughest time figuring out which wall the odd corner shelves were on- which probably means you did an exquisite job patching where they used to be. (Did I expect anything less?!) If I’m understanding the layout, it’s the corner just right of the bed? The window nook is also a favorite element, and I’m drooling over the soft neutral colors all mixing together in this area. Your table is absolutely perfect for that space, and really elevates the look and feel. I can’t wait to hear the story behind your art, and the frames are the sweetest. All the high contrast elements in this room really tie into the bed frame. All in all, I think this room is gorgeous, cohesive and most importantly, a cozy place for guests to rest their heads. Another stunning renovation in the books!! I hope you’re having a fantastic week!
Thank you, thank you Lauren! The radius corners really had me stumped, but I think the paint application was a clever solution- I’m happy with how it disguised that little architectural feature that isn’t my favorite. I knew you’d like the taxidermy! I received some mixed thoughts in my DMs on that, but you & I have talked about this before. It’s one that I’ve been wanting to display for awhile now and it filled that negative space perfectly. I should have shared a floor plan for orientation! The corner shelving was on each side of the bed. I didn’t change the furniture layout- just removed the shelves. The window nook is definitely my favorite! I love reading up here and often catch Cash curled up on the sofa. Thanks again!! Hope you’re having a great day! xo
Stunning room – love the colors and the color blocking! Your signature unique and sophisticated style really shines. Enjoy your ski trip!
Thank you so much, Catherine! You made my day. We had a great Canadian ski trip :)
Absolutely love this! Looks so peaceful and cozy. I see on your bifold closet doors you have gold hardware. Is that what came with the house or did you change out the handles? We just had bifolds installed in a laundry area and I hate the basic white knobs.
Thank you so much, Emily! Good eye on the hardware- it was existing, but I have new hardware on order to replace it soon… it just didn’t arrive in time for my photos.
I’m obsessed with the color blocking. Such a beautiful and inviting room. The nook and all the details are just perfect.
Thank you so much, Abby! Hope you had a great weekend :)
So creative to do square color blocking to take your eye away from the rounded corners. It looks amazing and so high end. I love the couch nook, it’s sunny and cozy and that’s where you’d find me every afternoon. Afternoon sunshine is the best light anyway!
Thank you so much, Julie! You made my day with your comment. I do love some afternoon sunshine :)