My Go-To Formula for Styling a Bed
 Hello, hello. How was your weekend? I hope your day is off to a good start! Today I’m sharing another post that many of you continue to ask about- I honestly just haven’t had time to shoot and share until now… my go-to formula for styling a bed. Yes, I make our bed every single day. It makes me happy, it makes things feel put together, and it’s a routine I’ve continued since I was a kid and my parents made me do it. Ha! Whether its the bed in our primary bedroom that we sleep in every night, or a guest room– my formula pretty much stays the same… give or take a couple textiles. My preference is to keep things quick, easy, comfortable, and aesthetically pleasing. I’m not one to include too many pillows (which is Emmett’s pet peeve), but I still like to have options and give a couple choices to house guests. I’m breaking it all down in this post! Click through if you’d like to see my process…
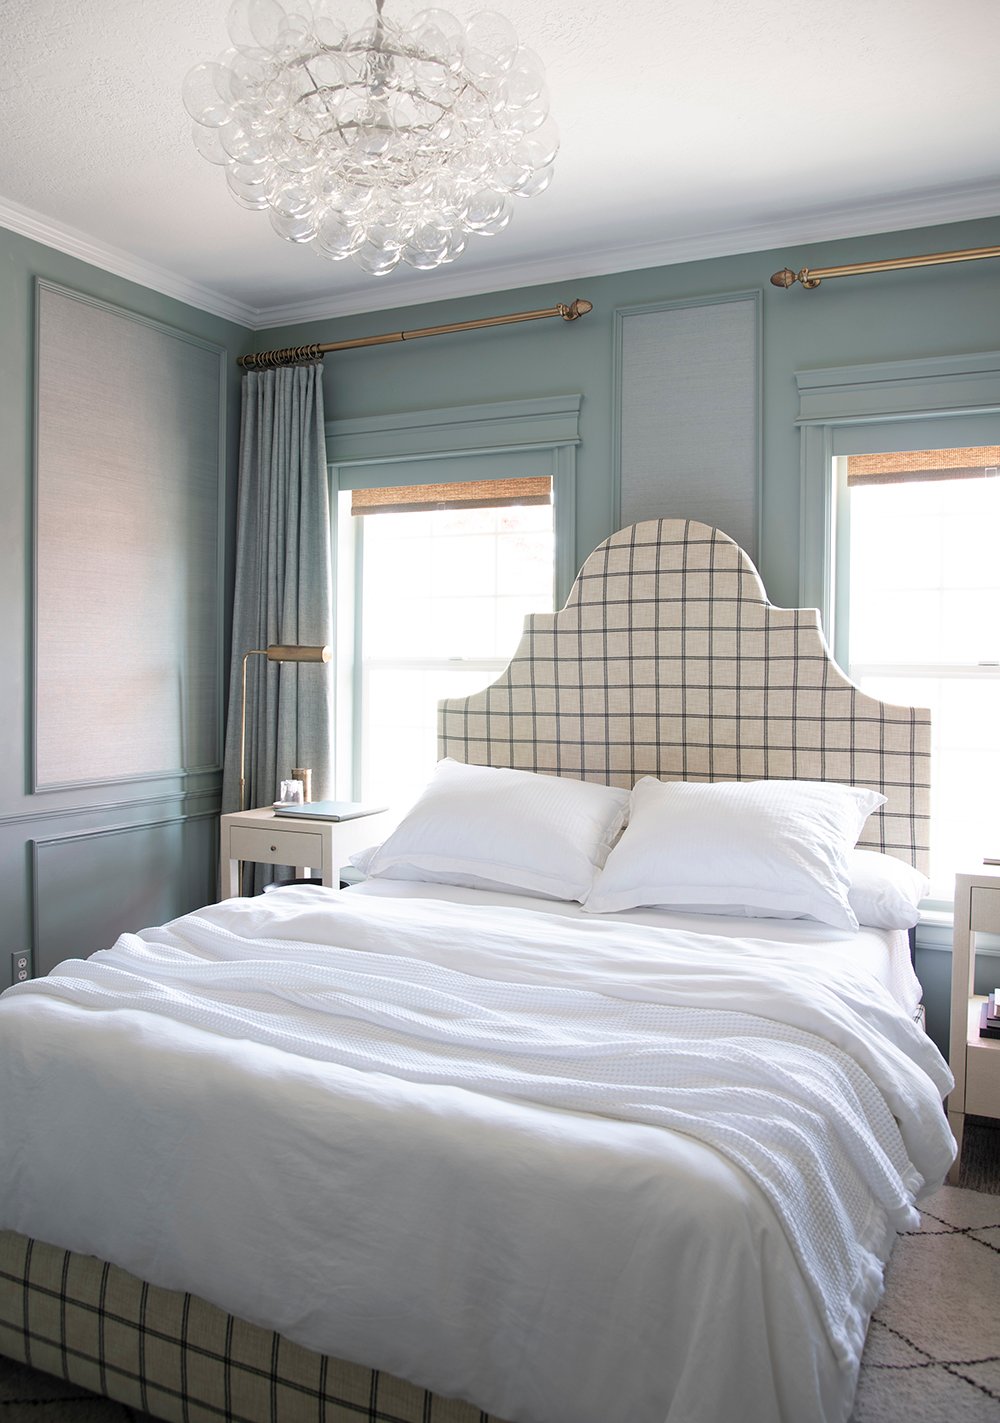
 I decided to use the bed in our guest bedroom as an example for this one since it’s a queen size bed. I feel like you can apply this same method to a size up (king) or a size down (full). In our primary bedroom, I’ll get more creative with color- especially since our dogs lounge on our bed (a throw at the foot of the bed is perfect for them), but in guest bedrooms I generally like to keep the bedding white. Just like a hotel, it’s nice to know the bedding is clean and crisp. Ok, ready to make this bed?!
#1 // Sheets
 A good sheet set is really the foundation for a comfortable and well-styled bed. In a guest space I stick to classics like cotton, percale, linen, or tencel. They work well year round! In our bedroom, we’ll also use flannel sheets during the winter months.

#2 // Coverlet or Matelassé
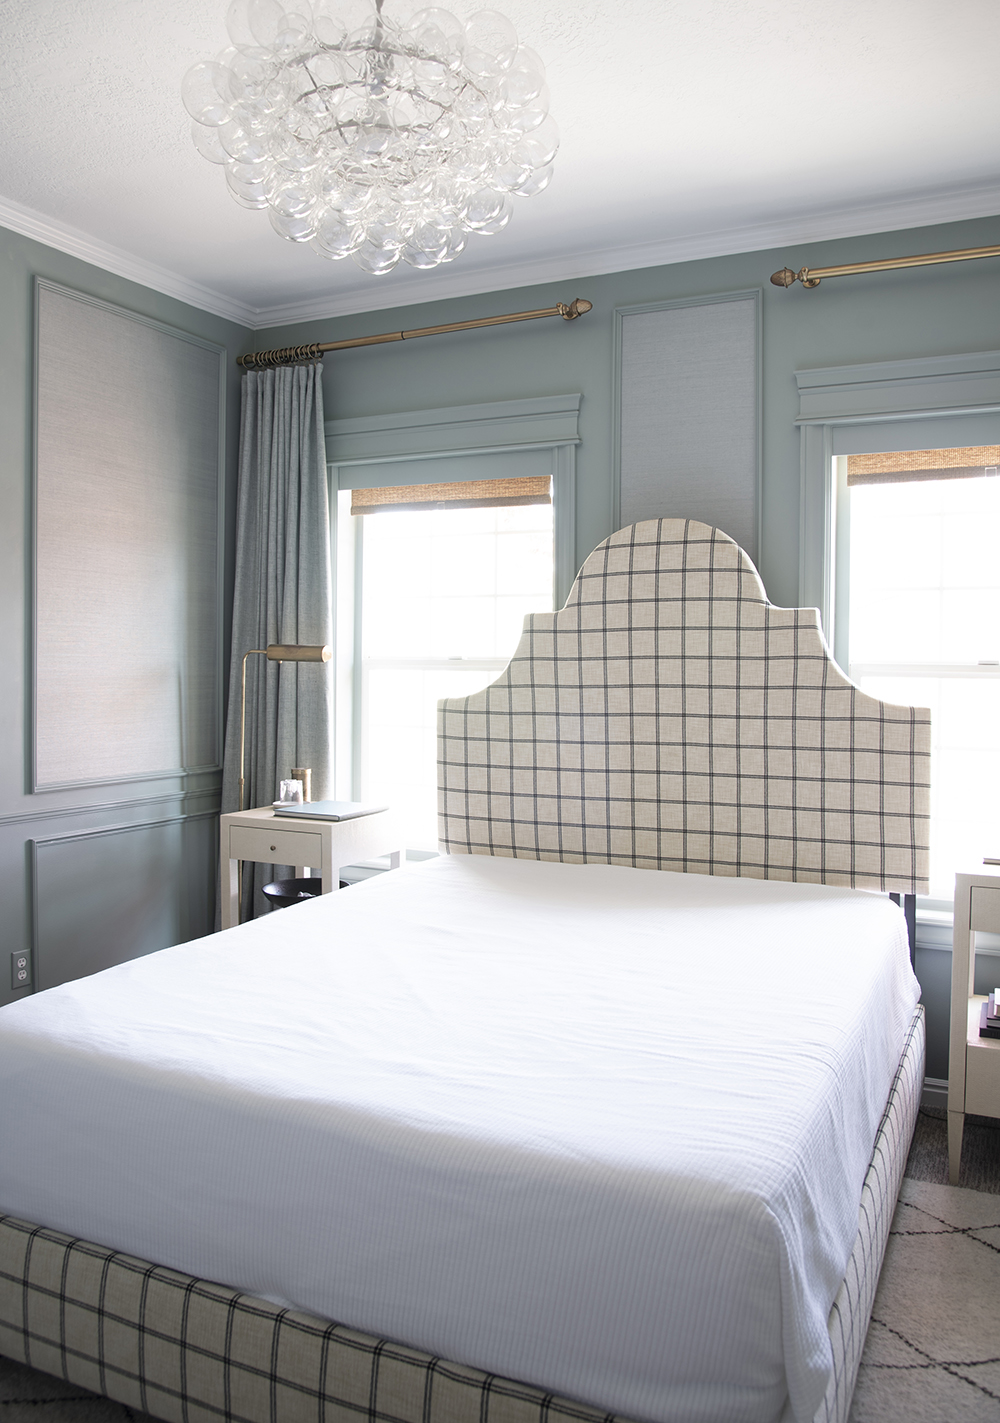 Depending on the season, I like to layer a lightweight coverlet or matelassé over the top sheet. In the next step, I use a lightweight duvet insert, so this extra layer can provide additional warmth, if needed. It also creates a nice textural difference. You can definitely skip this step though if your duvet is heavy- I often interchange coverlets, matelassés, quilts, and duvets… layering as needed, based on the season and their weight.
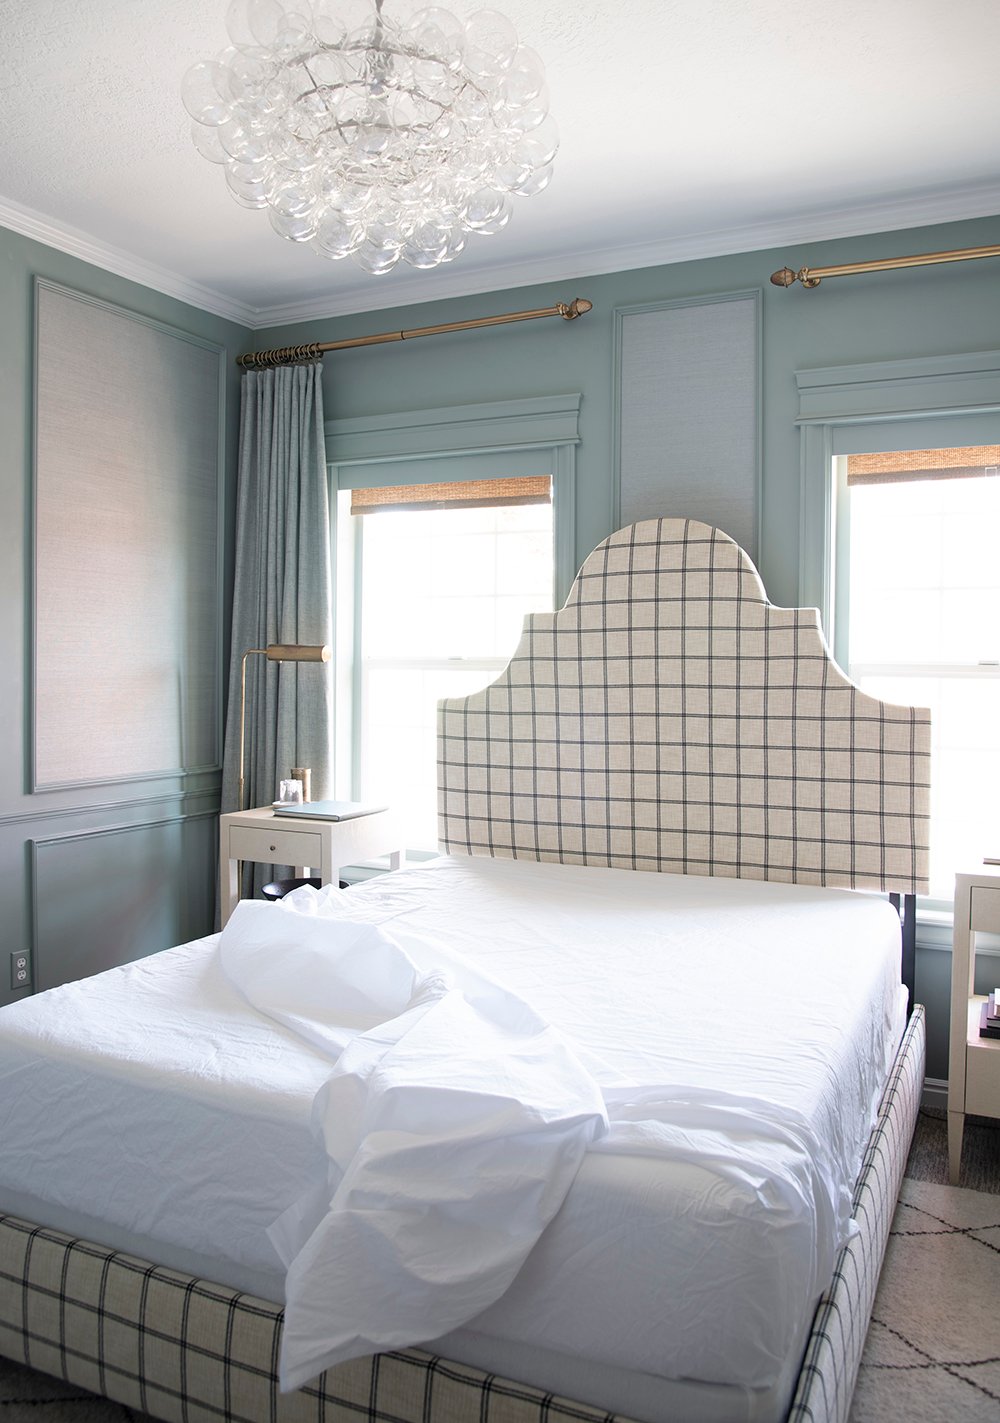
#3 // Duvet or Quilt
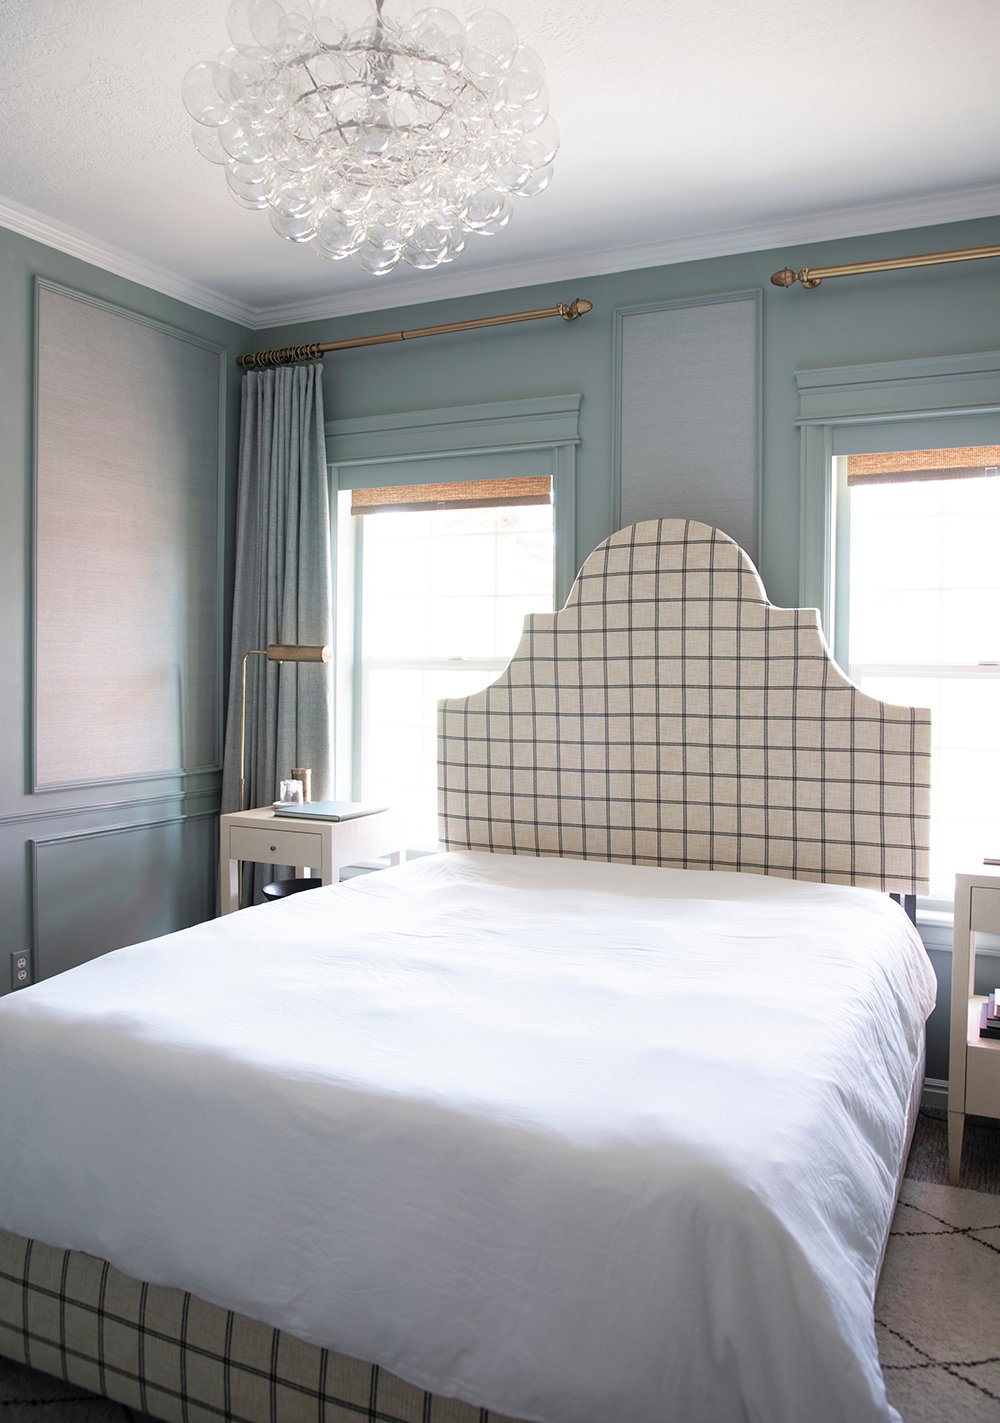 Next, I’ll layer on the duvet. This one is a basic, white cotton option with a very lightweight down insert. It makes a great base for layering and adding some loft, making the bed look nice & plush.
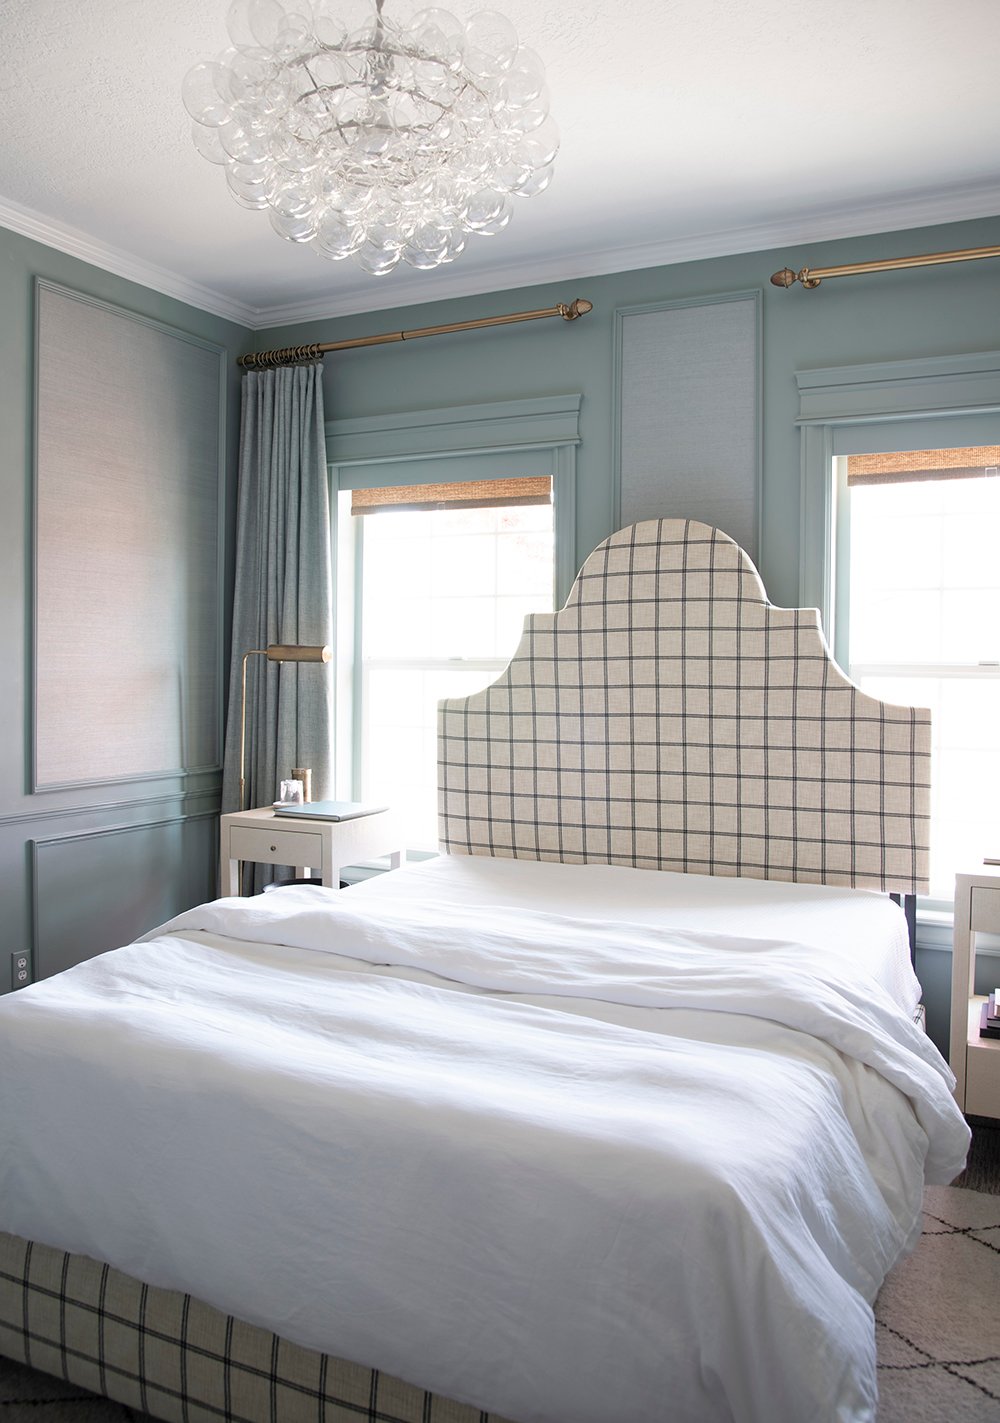 I like to fold the top section down one third of the way, either revealing the textured matelassé or the top sheet beneath it. I think it looks more organic and inviting. It also helps to disguise any wrinkles and make them feel more intentional or relaxed, because I am NOT one to iron sheets or bedding… that just seems like way too much work in our household.
#4 // Blanket or Throw
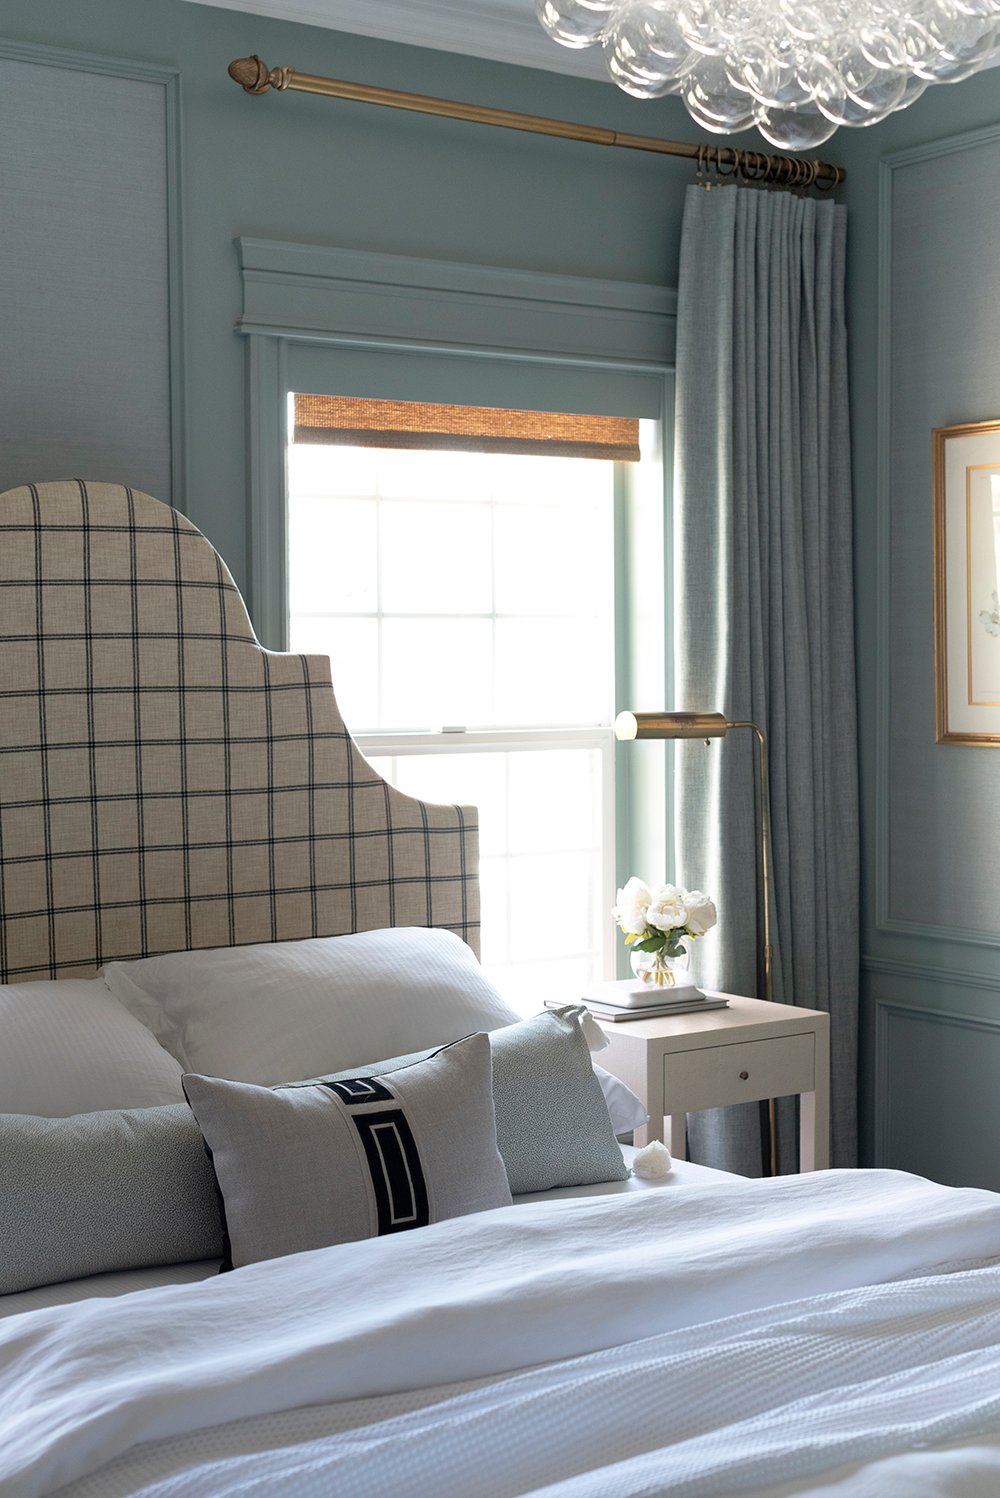
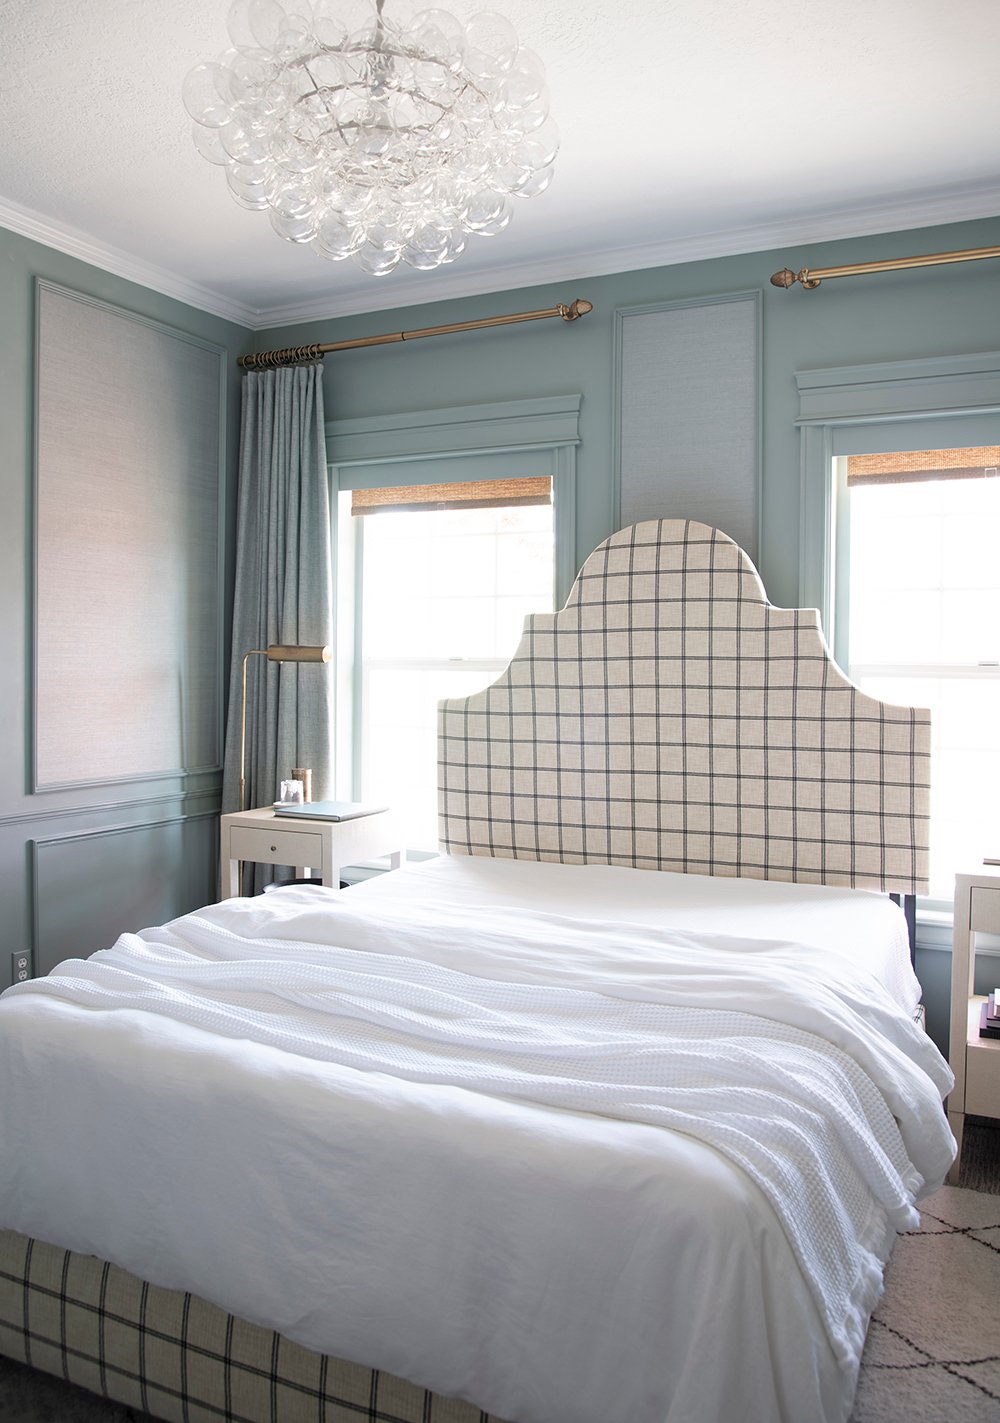 I enjoy incorporating a blanket or throw at the foot of the bed for practicality purposes… it can be used for additional warmth while sleeping, and it makes a great protector that is easy to wash if you have pets. I style throws differently depending on the size and texture. Sometimes it’s easiest to toss the throw directly onto the bed and allow it to look casual and organic (like pictured above), while other times- a neatly folded blanket is best to add some structure. It totally depends on the bedding vignette and the space! This is also a good opportunity to add contrast or color, if that’s the look you’re going for.
#5 // Sleeping Pillows (Two Options)
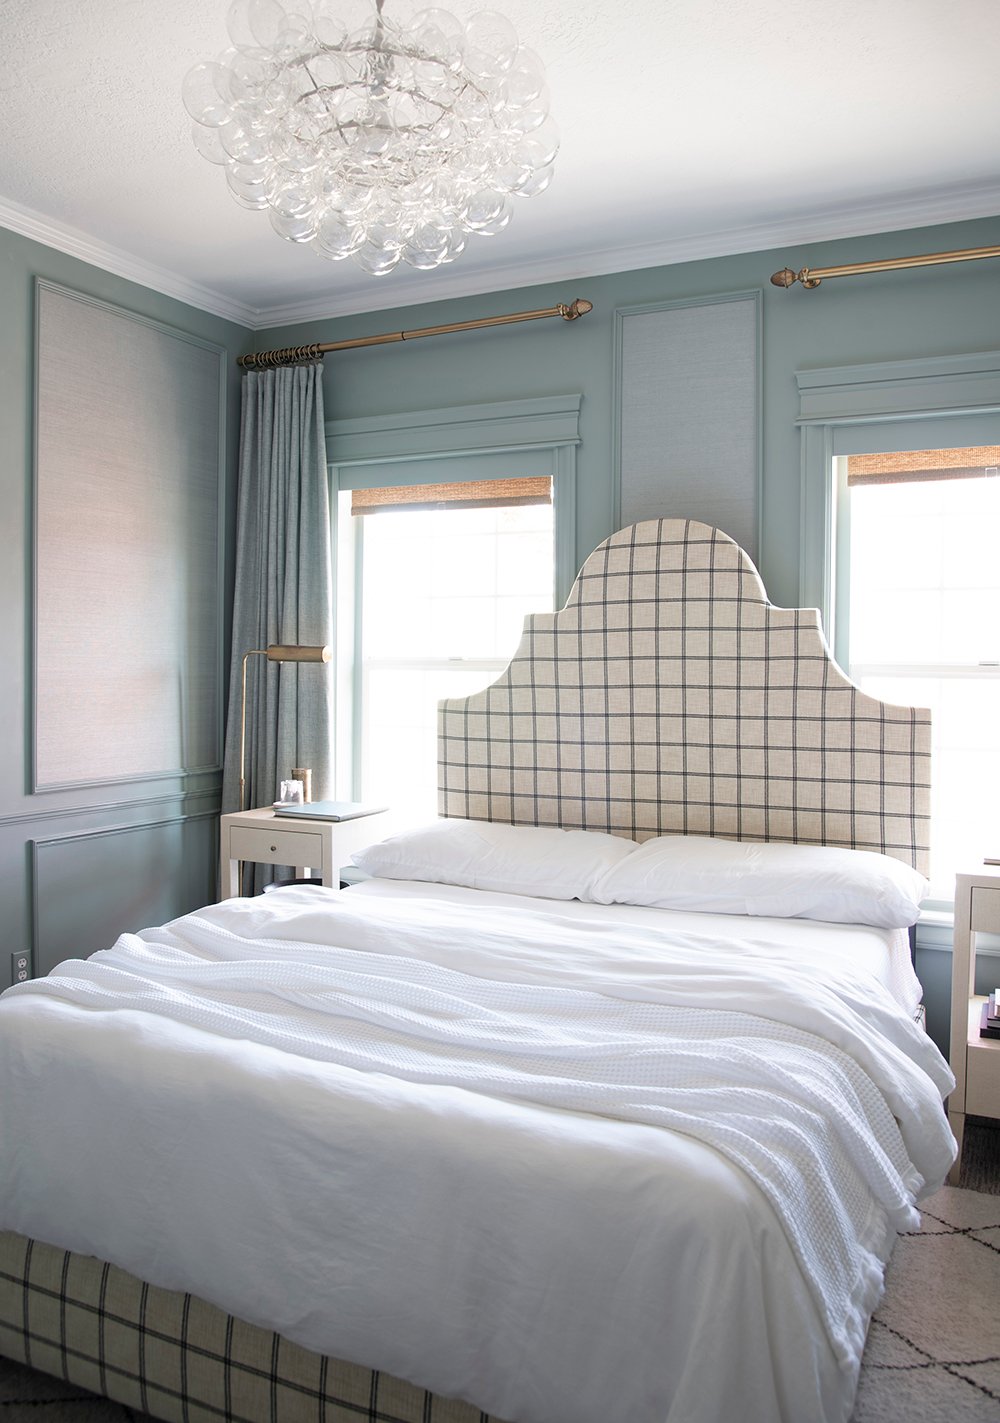 Like I previously mentioned, in a guest space (and even in my own bedroom), I like to have two sleeping pillow options. Maybe one is firm, a larger size, a down alternative (or memory foam)… it’s just nice to have options or give guests the ability to choose their preference. They’re also nice for propping yourself up to read or watch TV. The name of the game is layering and comfort here, so this combination is the formula I’ve used for years. In this guest space, I have a two softer down pillows, pictured above… and two firm down pillows, pictured below.
 You can stack or lean them however it works best- I do both depending on the headboard and shape of the bed. I’m usually not too perfect about it.
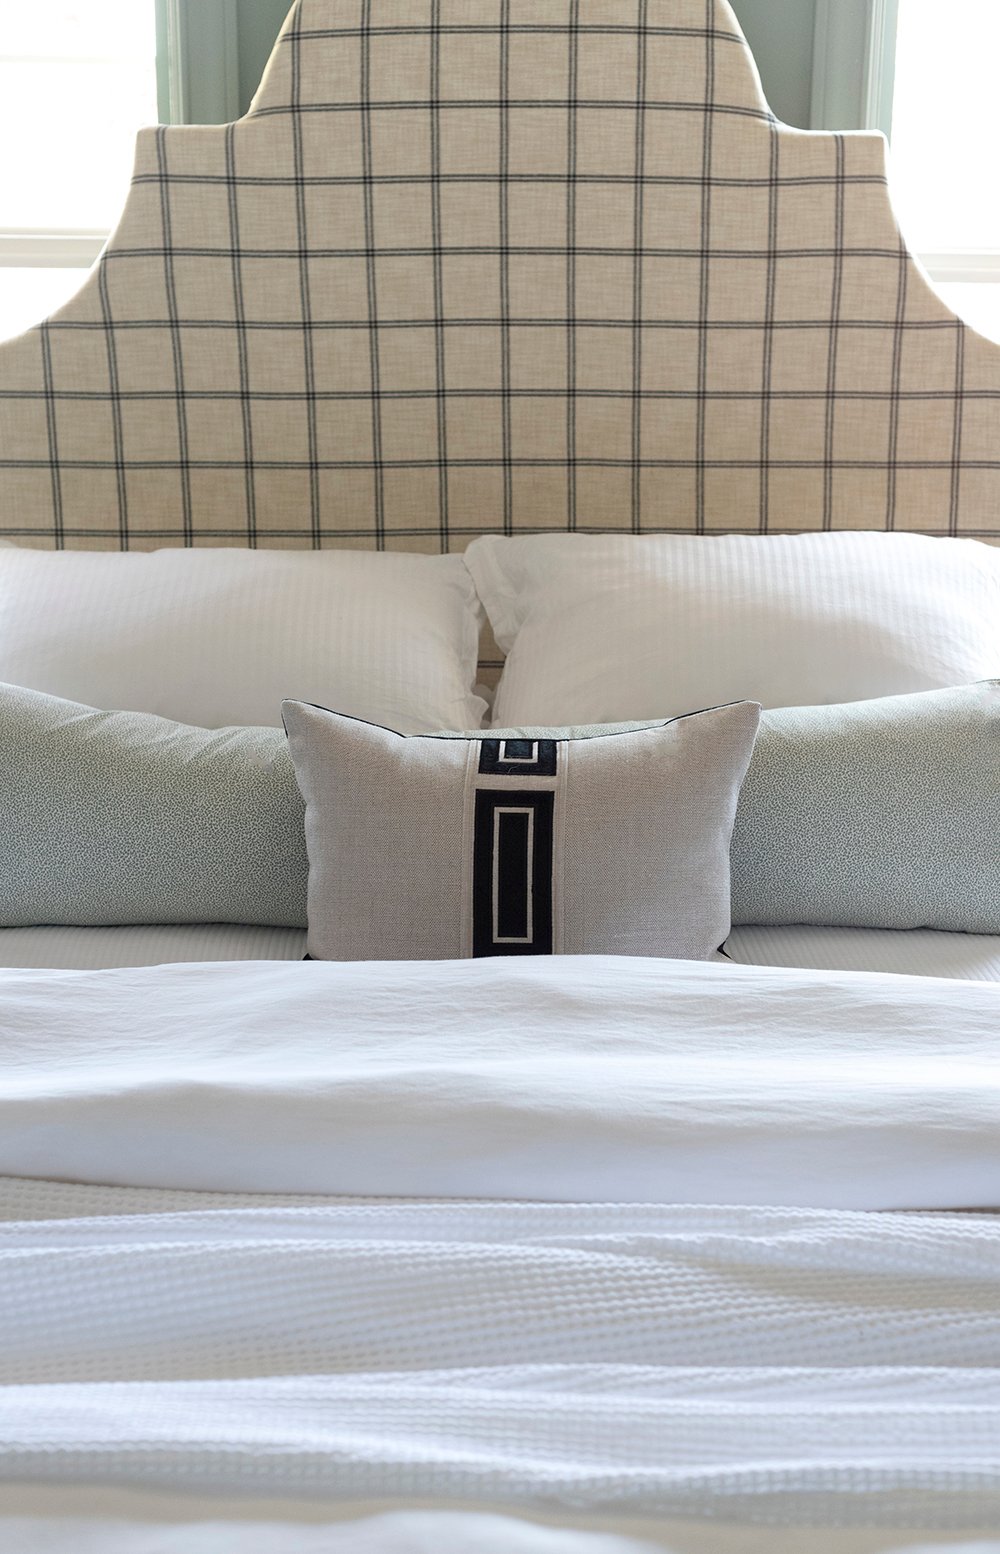
#6 // Decorative Pillow(s)
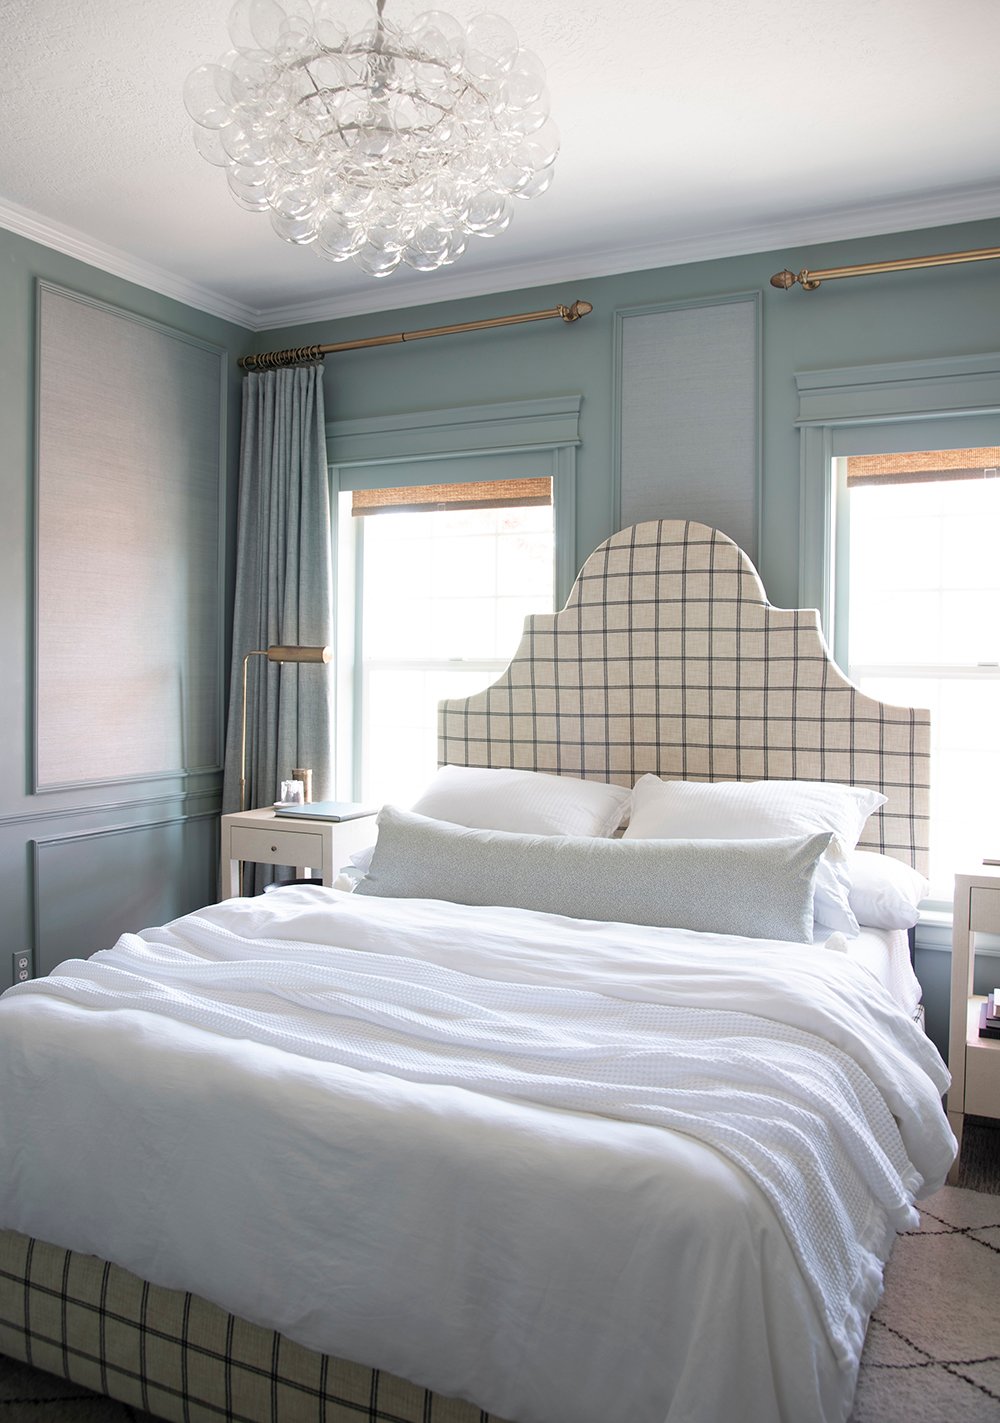 Lastly, I’ll add a decorative pillow or pillows… the fun part! While fun, I try not to go overboard because they really can be a pain to remove and restyle when making the bed each day. My max number of decorative pillows is three, but I usually stick to one or two.
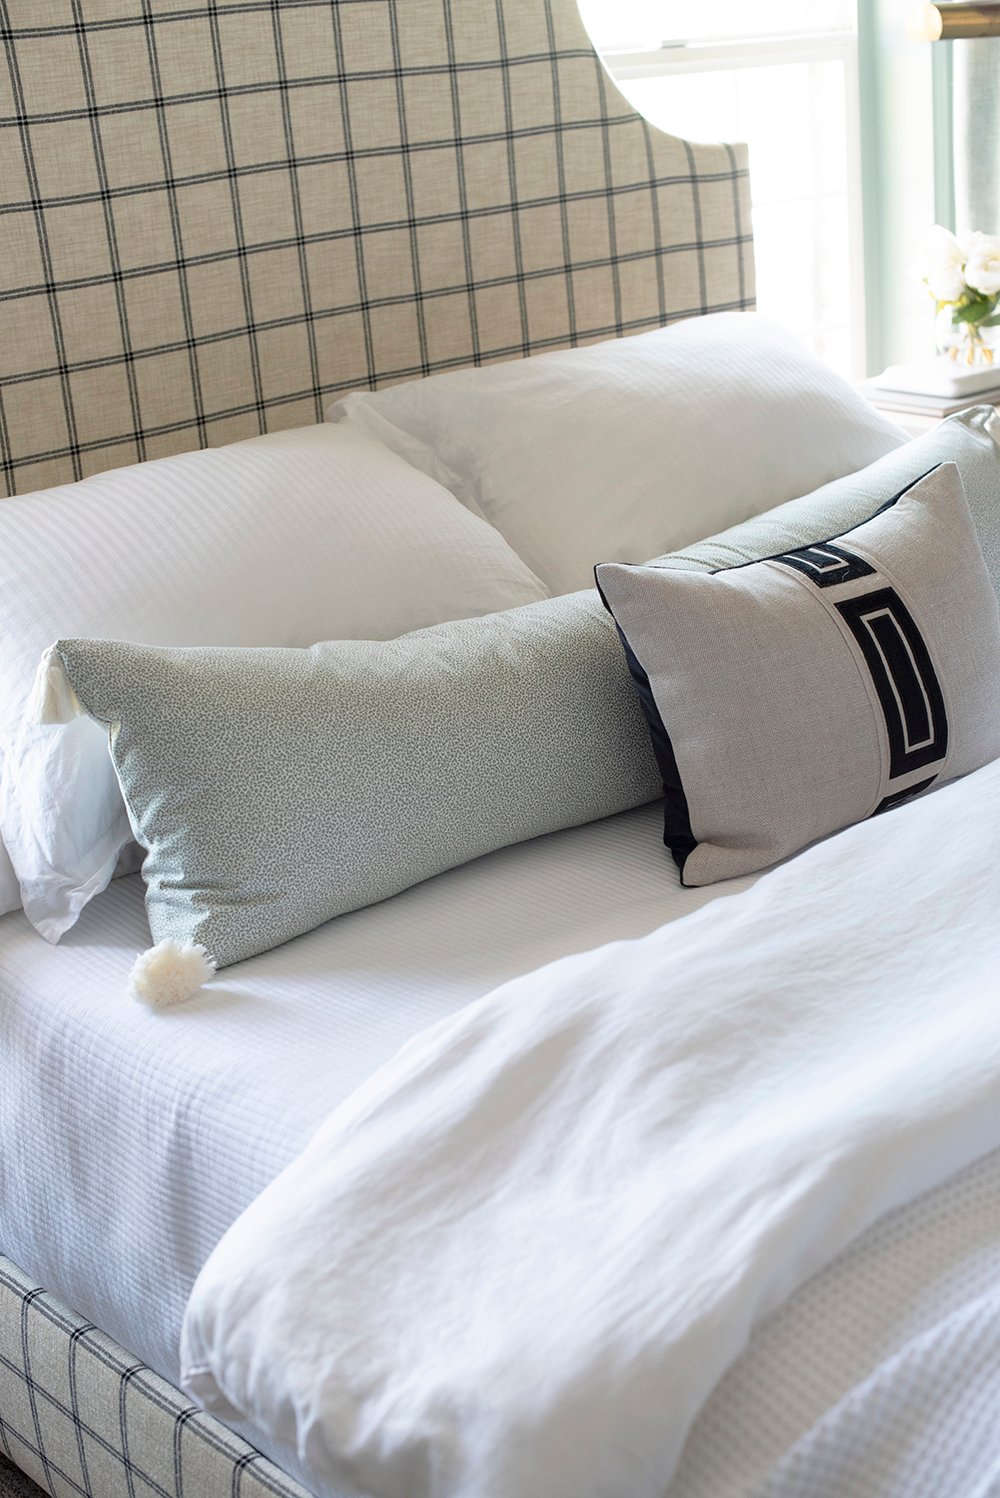
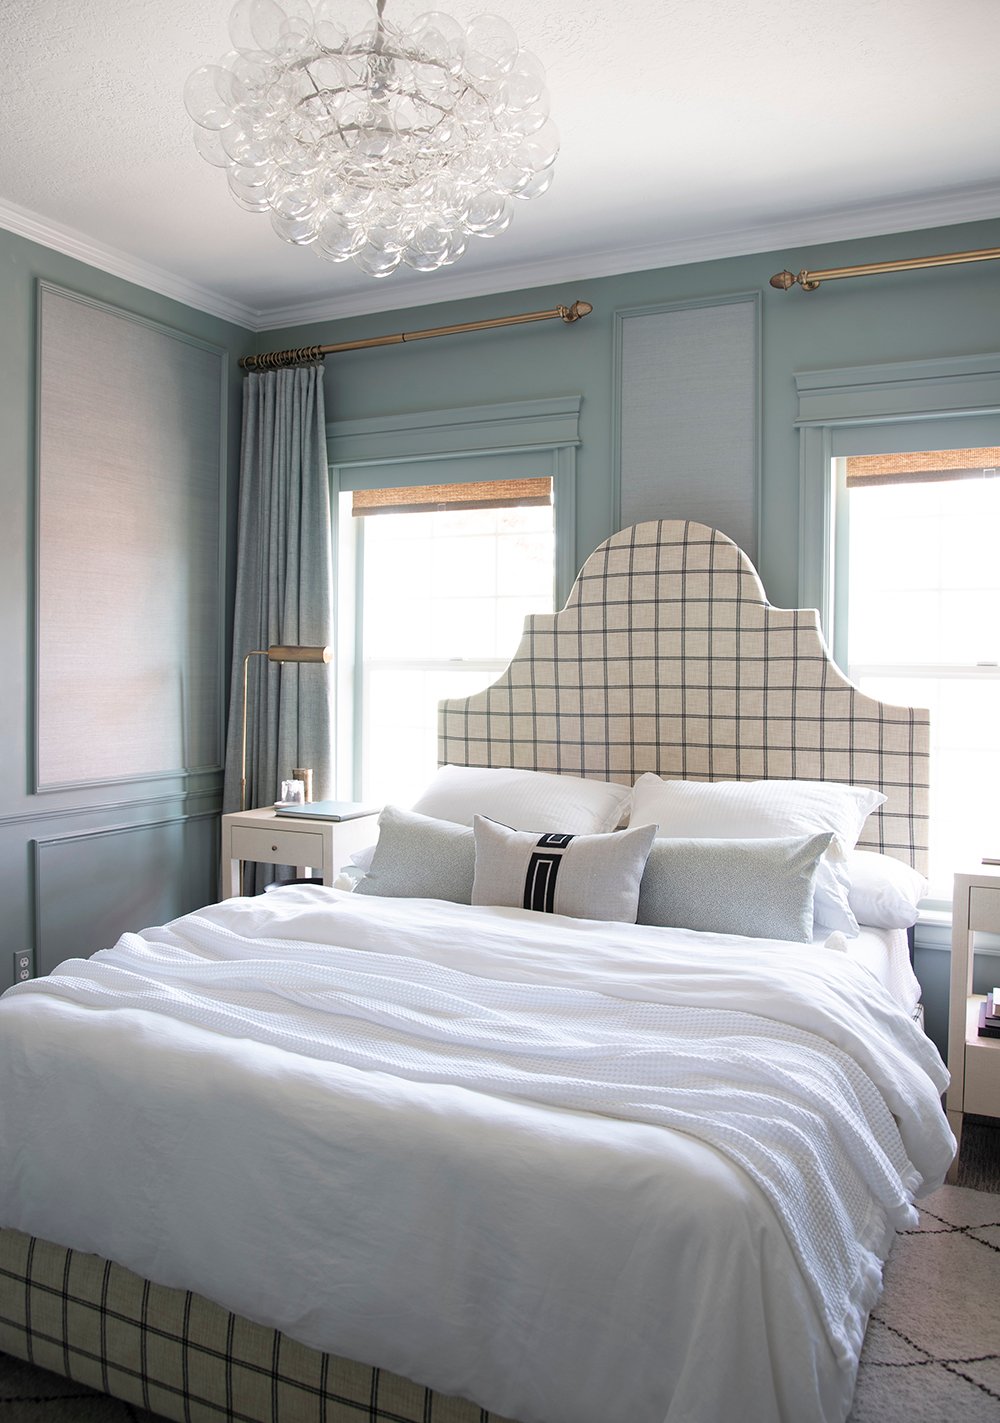 When designing our pillow collection for Tuesday Made, I intentionally created a long lumbar pillow that would work well on full, queen, and king size beds. It’s a really nice finishing touch that feels polished, isn’t too fussy, and creates nice symmetry. It can stand alone or be layered with other cushions. I used our green safari tassel pillow paired with our noir giorgio pillow. It felt like a winning combination for spring & summer- and we’ll actually have house guests coming later this summer. My grandma (who makes the pillows) and my parents will be visiting, so that will probably be the first time the finished guest room is used by actual house guests. Ha! We’re looking forward to it.
 Did that help to demystify my bed making process? As I mentioned, I’ll mix it up depending on the space, the season, and the overall look I’m going for- but this is usually my starting point. You know what I say… layer, layer, layer! I hope that helped to get your wheels turning and inspire some textile styling in your own bedroom. Bedding and committing to making your bed each day can really influence the overall look and feel of a room. I’ve found it boosts my mood and makes our (unfinished) bedroom feel a lot better and more luxe. Nice bedding is a simple luxury that can really make you feel good. I’m curious- do you make your bed everyday? I feel like it’s a pretty common thing, but I could be wrong!
Thanks for breaking all the layers down and providing links. I’m not a creative person, but I can look, learn, and copy. Love how practical each item is and the pillows are beautiful!
Happy to! I hope it was helpful :) I like a mix of items that are beautiful, but also functional. For me, a well styled (and comfortable) bed is all about layers and options!
I’ve said it before, but it bears repeating. Your guests are a fortunate bunch! (And how amazing that your family gets to visit soon!!) I have the same four pillow situation which can feel excessive as I don’t sleep with one, but I like the look. I’ve been longing for a lumbar since you launched your collection! The green safari would really level up our bed…but we are definitely a tassel-free zone for the moment. I love your idea to turn down the top covers and reveal the sheets! I use a variety of colorful, patterned ones and always lament that they’re hidden. I also rotate one of my many throws on the end of the bed because why not! While we’re on the topic of bedding, what’s your stance on bedskirts? Are they just old-fashioned? I know that you have upholstered beds, so they’re not an option. I, of course, like them because it’s one more decorative opportunity. (It’s ok to say you hate them; I won’t be offended.🤣) I confess that I have never been a bedmaker. When the pandemic really got rolling, and I found myself at home all day, I decided to try and develop the habit. I made our bed every morning and enjoyed the lovely structure. Then we went back to work, and…I fell back into my old routines. Ha. I’m currently scheming a bedroom refresh, so maybe now’s the time to reinvigorate some daybreak order. Heaven knows my days could use some calm. Actually, here’s hoping for a pleasant, uneventful week!🤞🏻💜🐾
Come visit anytime ;) We are very excited to see our family! We haven’t been able to see them since 2019, and I can’t wait to host and put the guest room to good use. They’re not coming until later this summer, but the anticipation is real. You don’t sleep with any pillows?! Emmett and I each sleep with one. Funny story… we both wanted to buy new pillows the last time we upgraded our mattress. We went pillow shopping, I splurged for a fancy tempurpedic pillow and Emmett settled on what I called a “crappy” normal off-brand inexpensive one. I slept with my expensive pillow for a week before I traded mine for his (without telling him). Obviously he noticed and gave me a hilariously hard time. To this day I still sleep with his pillow (he bought another one for himself) and the fancy memory foam one ended up in the guest room. Lol! I definitely had buyer’s remorse. Speaking of tassel-free… I hope Jason is doing better! I love the idea of your patterned sheets peeking out. I also really like bedskirts. We have one in our other guest room- it’s the one room that doesn’t have a fully upholster bed rail. I just have a basic linen one, but I think they’re fun and add some beautiful softness to a space. No judgements here! Emmett is not a bedmaker and I am a bedmaker, so I get it- especially if you’re waking up super early for work. I’m not a morning person, so I don’t mind taking it slow and spending time to make the bed. Oooh, I’m excited to hear more about your bedroom refresh. Sending all the calm vibes your way, and a hopefully uneventful week with zero dog shenanigans! xox
I make my bed daily-but there are days that it doesn’t happen until long after we’ve been up and ready! I’ve always felt like a made bed makes the room look more finished, even when it’s not. I turn down my top layers as well, and we use two different size pillows- I prefer a king size pillow, but Jeff loves the standard size. It always threw me off when making the bed until you suggested stacking, which now makes the bed look the way it should. We do differ in one area-on beds I love more in the decorative pillow area, but over the years it has toned down quite a bit. The number we have on our bed now is the least amount I’ve ever used, and it’s grown on me. I do agree that for a guest bedroom or child’s bedroom, less is more.
Another difference-we don’t use top sheets. We have them, but for our beds I found that it’s just easier. For years I hated making the bed. Jeff is so tall (6’4”), and I’m so short, that when we sleep with a top sheet it’s a nightmare to make the next day. Every time he moves his legs it yanks the sheet here or there, bunches it…it’s like sleeping with a Vaudeville stilt performer! I got frustrated with it and took it off and it’s so much better!! I eliminated top sheets for the kids because it was easier to teach them the process of bed making. Needless to say, we’ve never gone back, but if we had a guest room a top sheet would be in full effect. Haha! I have yet to find the perfect throw for our bed. I crave one with texture! I was wondering if throws all come in standard sizes, or is there a size you recommend to use for a king size bed? I love the way your beds look, and I appreciate you putting this together for us! I saved a ton of options from your sliders- thank you for the awesome suggestions!! I hope your week is off to a good start. Have a happy Monday Sarah
I totally get that… same here, Lauren! It just depends on the day, in regards to what time it happens. Ha! I’m so surprised and fascinated to learn you don’t use a top sheet?! I can imagine the tangle that happens because of your height difference. I’m a cover hog and always end up with more sheet on my side of the bed. You have me cracking up at the Vaudeville stilt performer comment. Lol! Funny story, Emmett actually woke me up one night to the ripping sound of sheets. I was like what is happening over there on his side of the bed?! He said his elbow just got tangled up and poked through the sheet. Hahah! I had to laugh that something as sharp as an elbow slashed through a top sheet. Needless to say, they were old and it made for a hilarious story. I can definitely see how removing the top sheet in kids rooms makes it so much easier. Lots of my friends use Beddy’s in their children’s rooms. Have you heard of them? If you’re looking for a large textural throw, maybe try a matelassé (king or queen size) instead- especially with Jeff’s height. I hope your week is off to a good start, and I hope you had an amazing Mother’s Day celebrating over the weekend!! xox
I have seen them and think they’re a wonderfully genius idea! I haven’t looked into them enough to see what the selection is like- I don’t care for overly plain kids bedrooms- I love a lot of color, pattern mixing- I think it gives them visual interest and stimulates the brain. Lol. I’ve been only seeing plain ones, and to be honest it turned me off to looking any further. However, I do have one particularly lazy little man that would likely benefit from an even easier option (no tucking involved😂). I’ll have to check into them now!
Thank you for breaking this down. I know it probably seems fairly simple, but sometimes I find those layers tricky! And the texture that layering brings is so nice. I make my bed every day, because there’s nothing like getting in a bed that’s made up, at night!
I hope it was helpful, Leslie! It can be tough to brainstorm what to layer. I like lots of texture and a plush looking bed! I totally agree with you- there is nothing better than getting into a bed that’s made at night :)