
How to Add Fabric Behind Glass Cabinet Doors
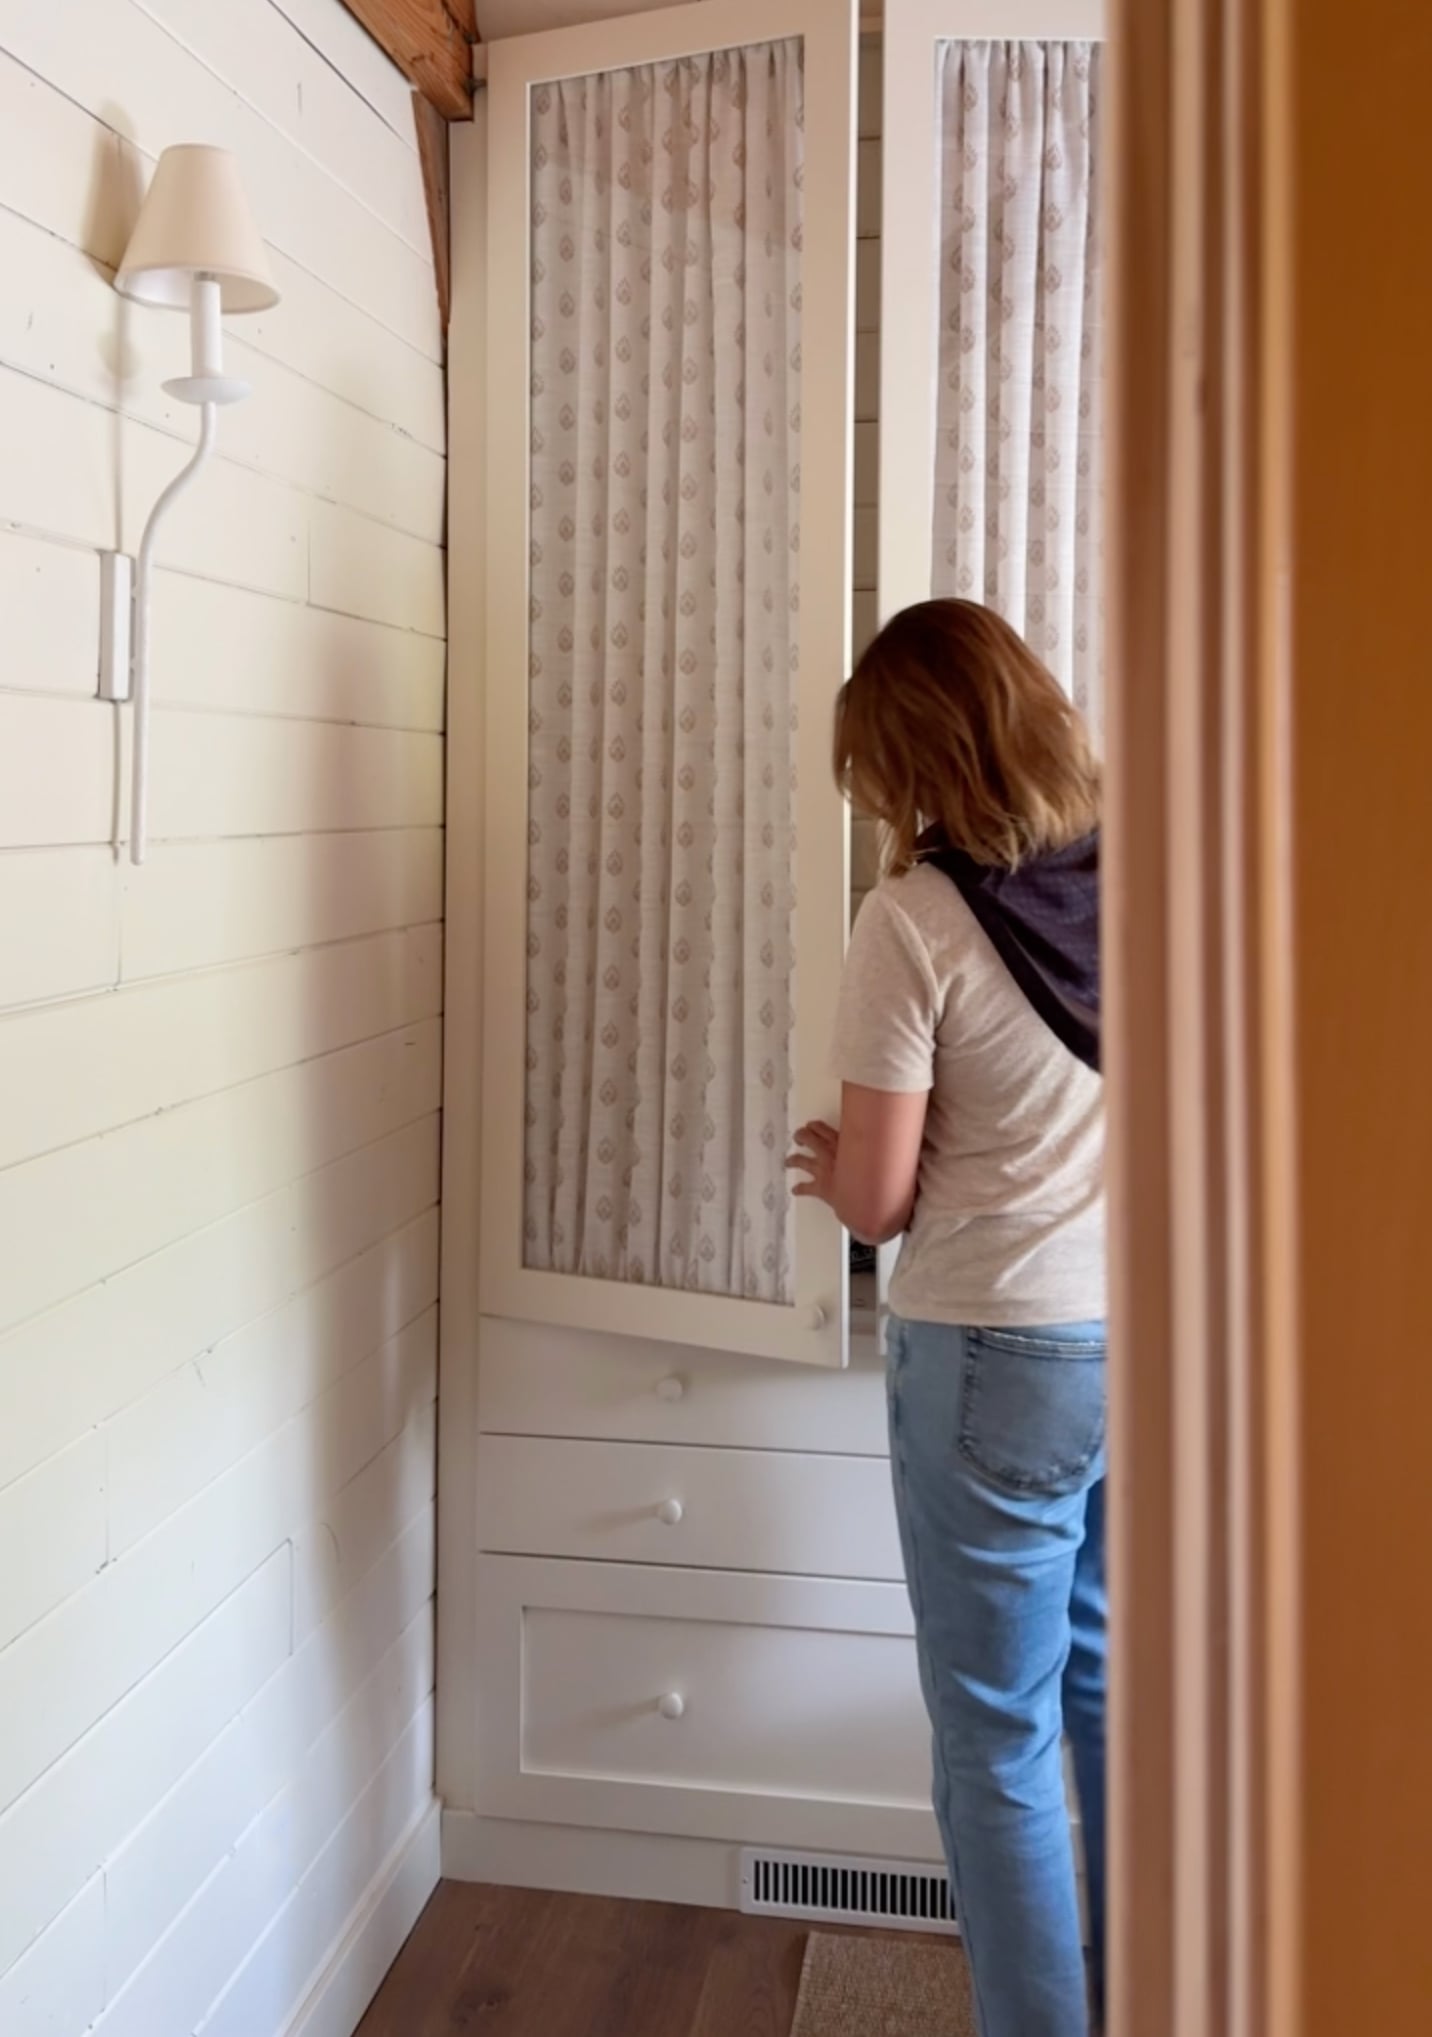
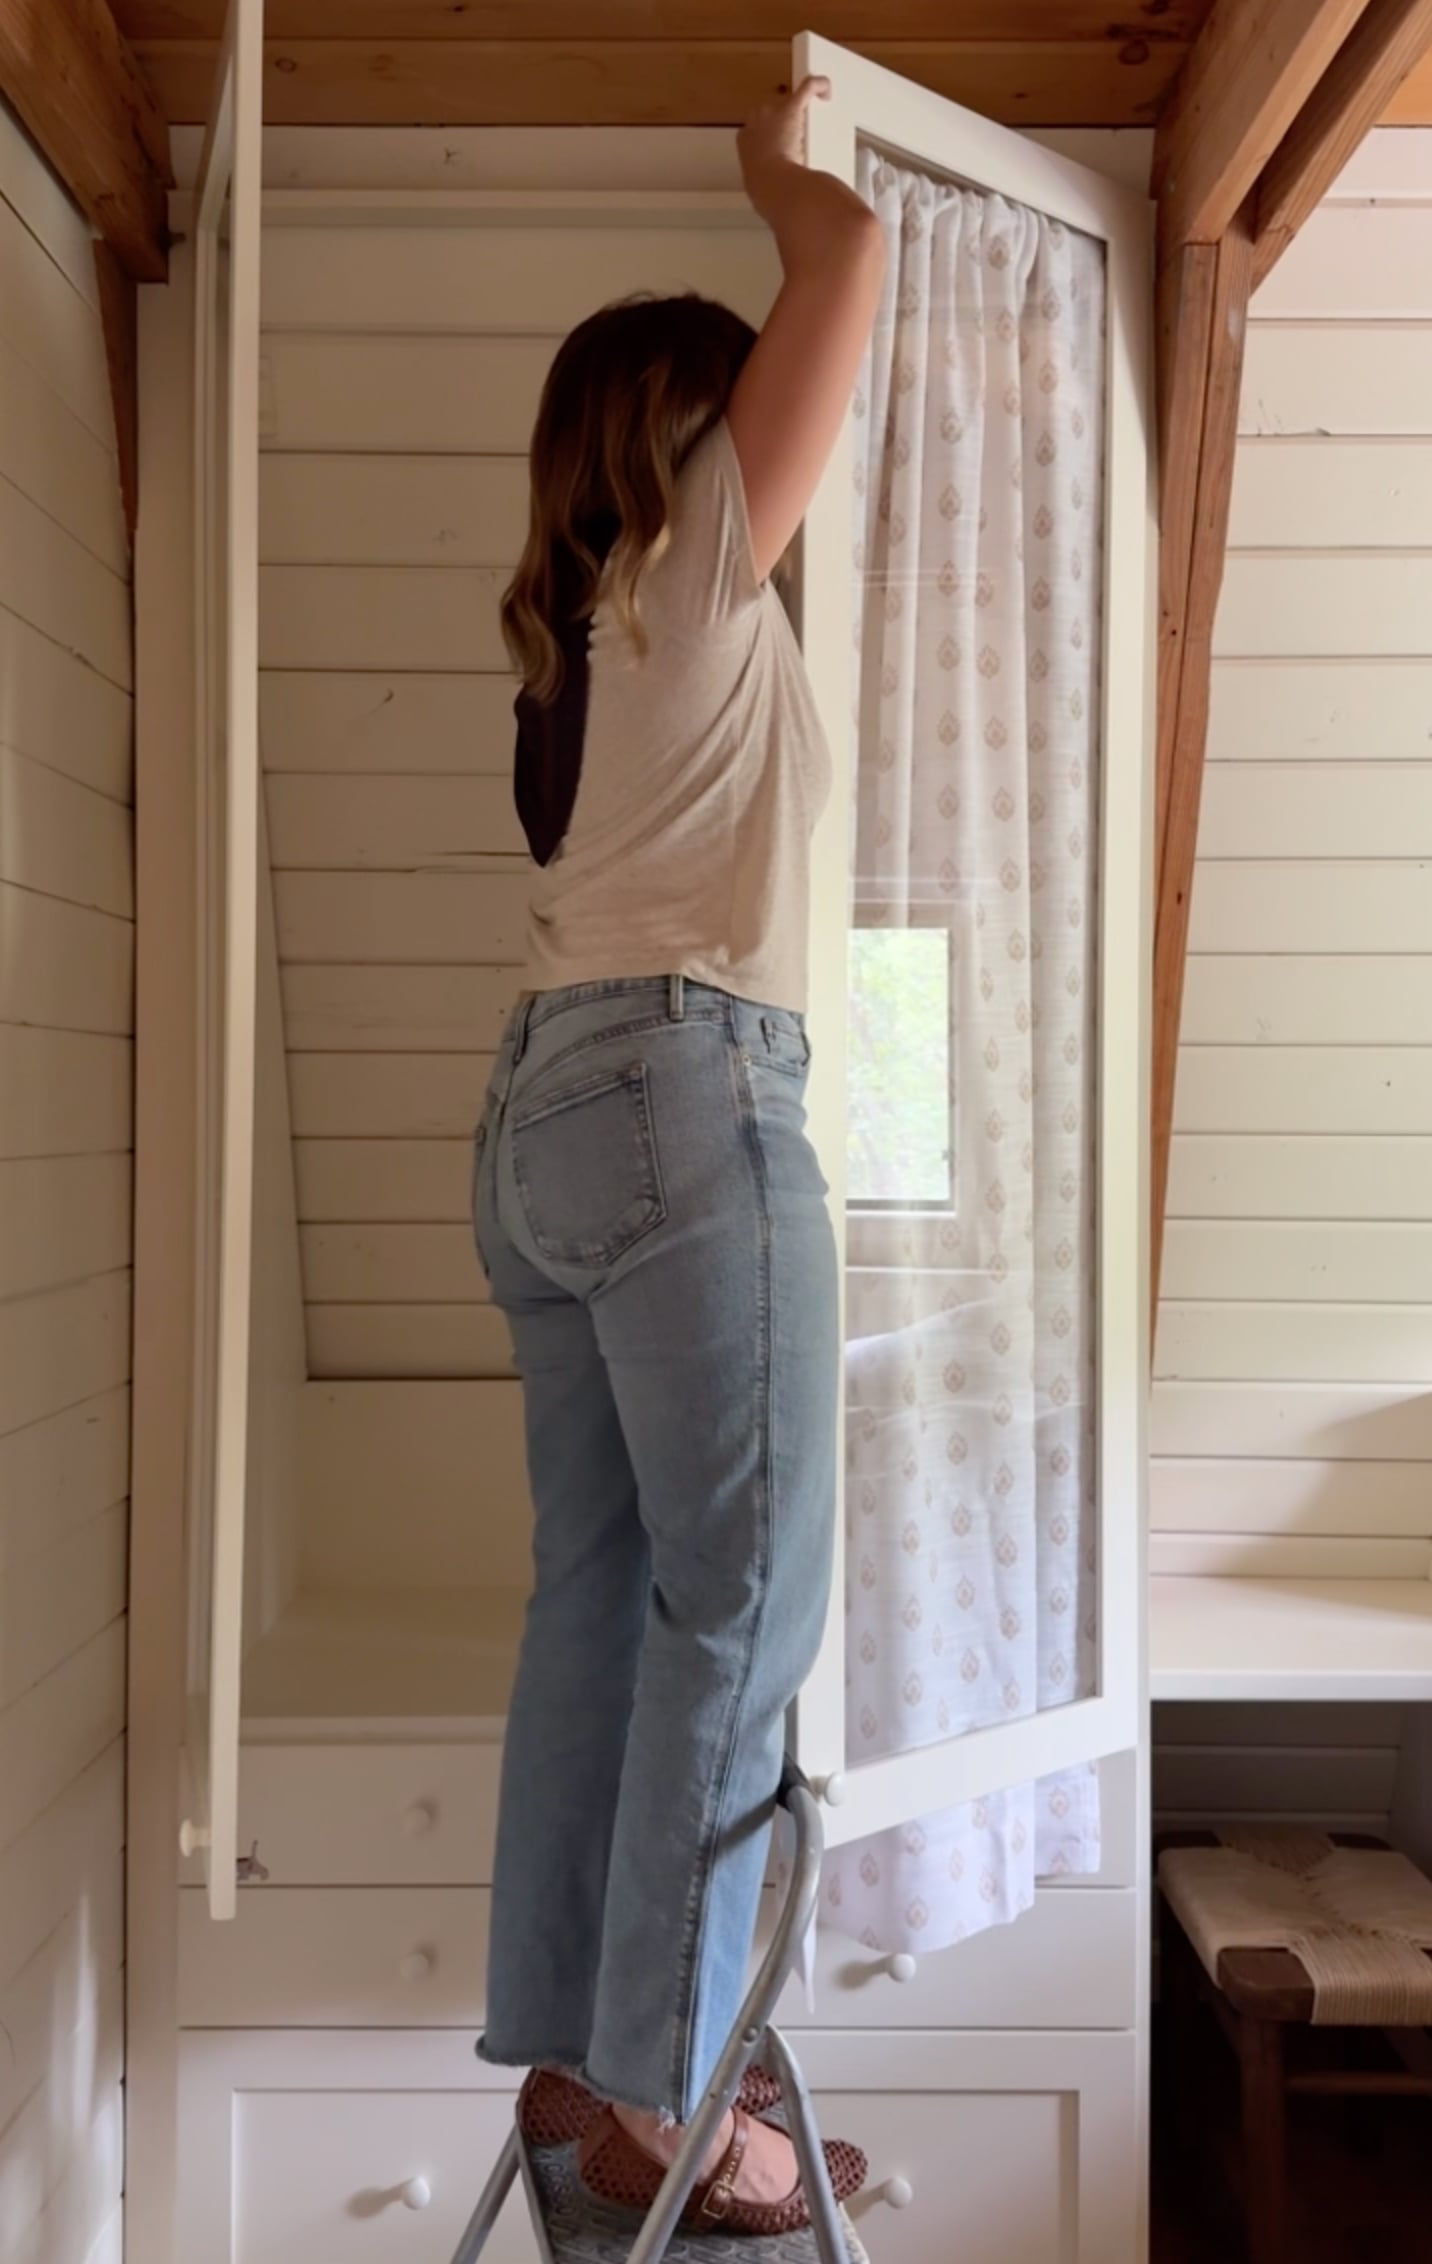
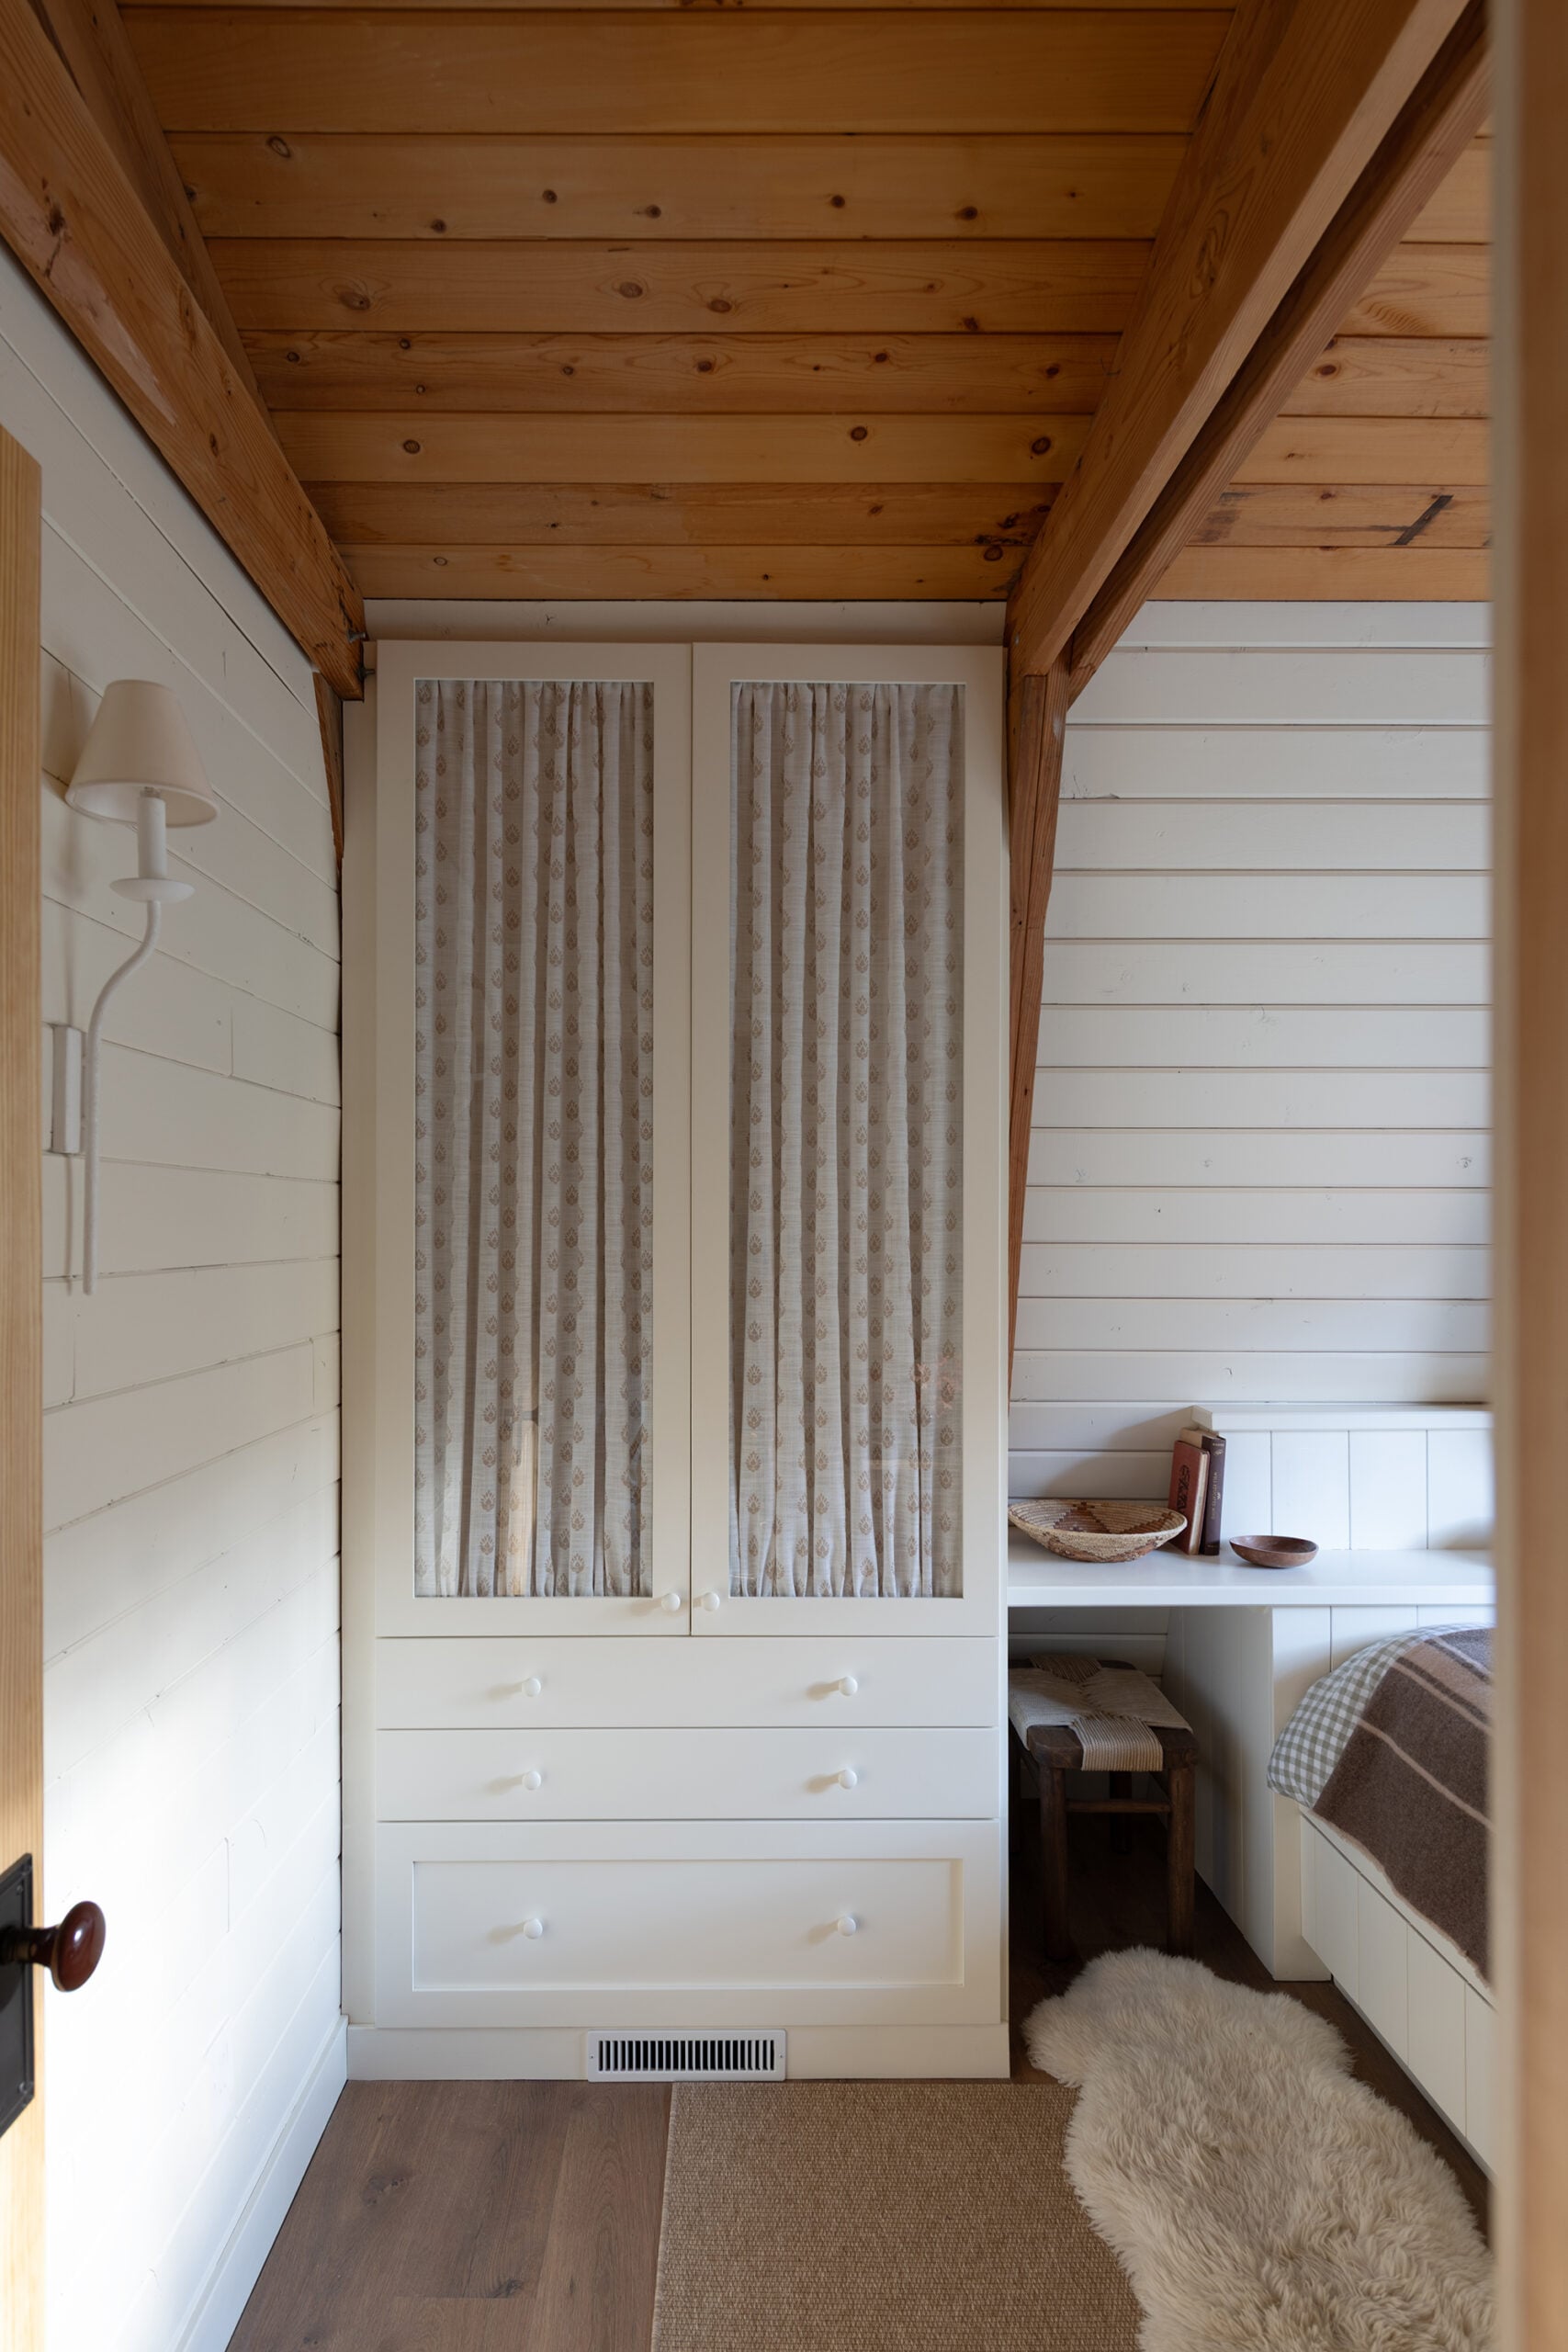
I designed this glass cabinet for one of the bedrooms at our cabin, Emmett built it, then I realized I didn’t actually want to see everything stored inside. My solution? Gathered block print fabric behind the glass. It hides the clutter, adds pattern, and gives the cabinet that charming cottage aesthetic I love. Best of all, it’s completely reversible and took very little time to install. Here’s exactly how I did it, if you’d like to turn your glass cabinet into closed storage.
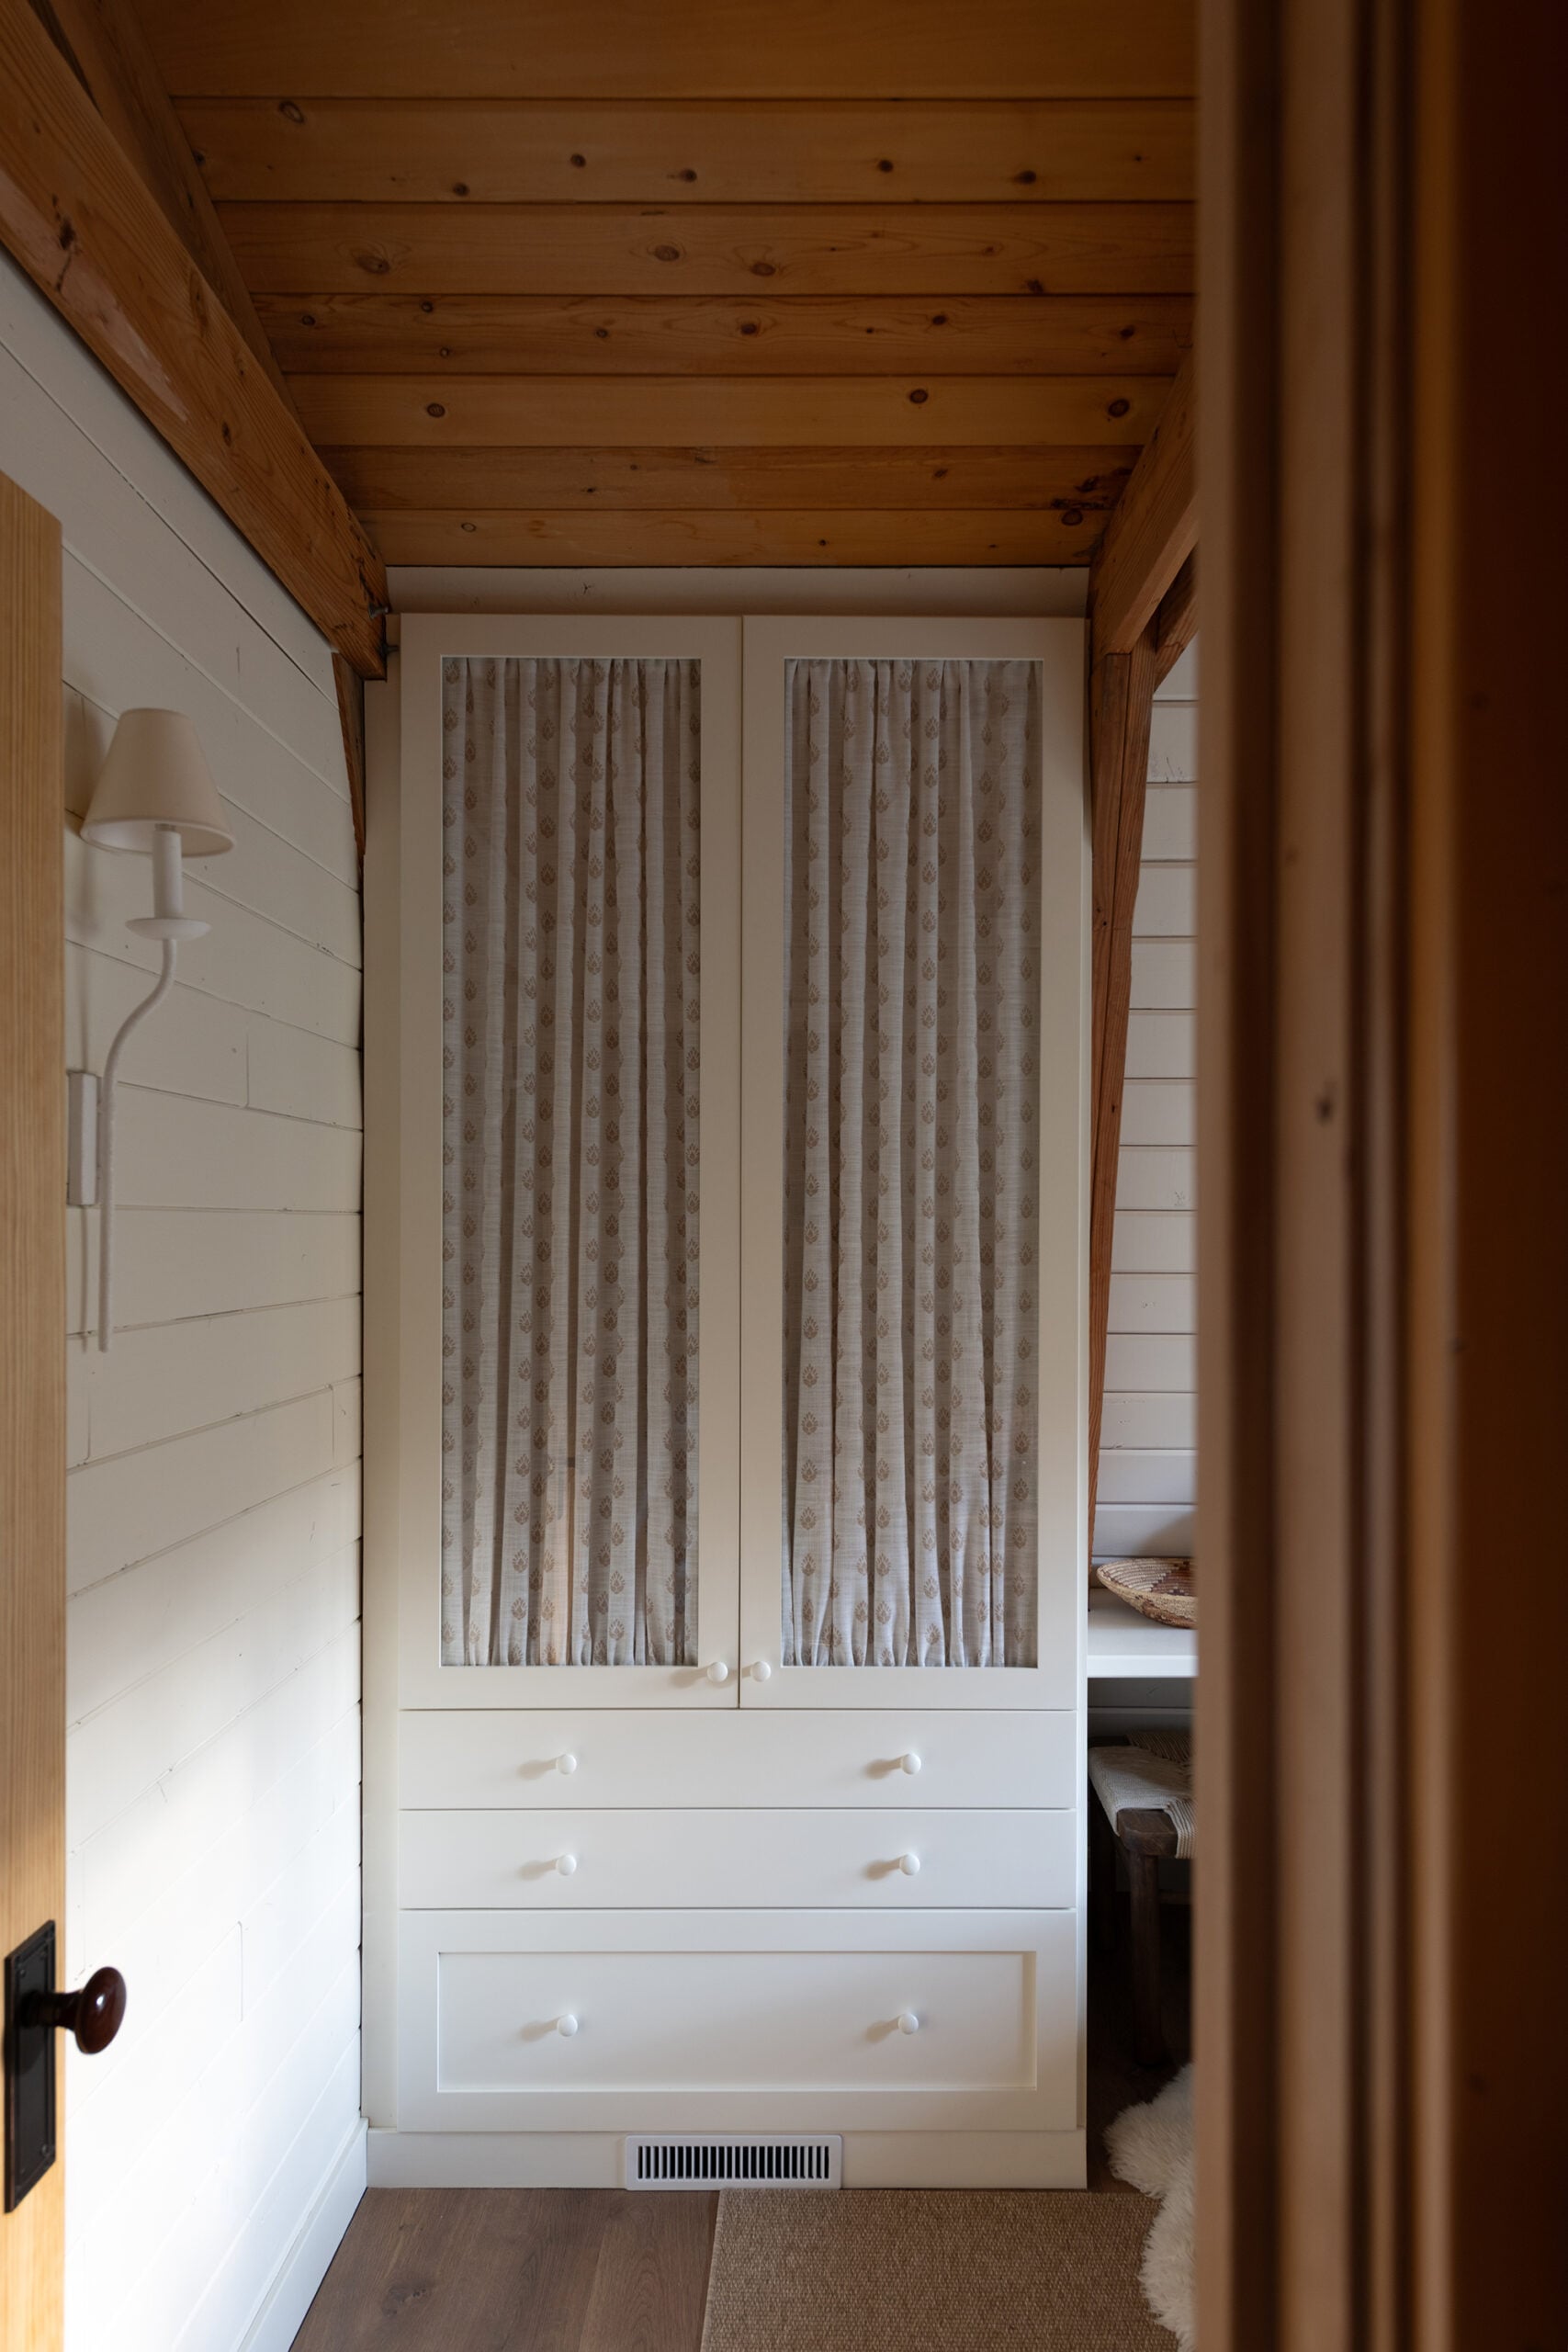
Why I Added Fabric Behind the Glass
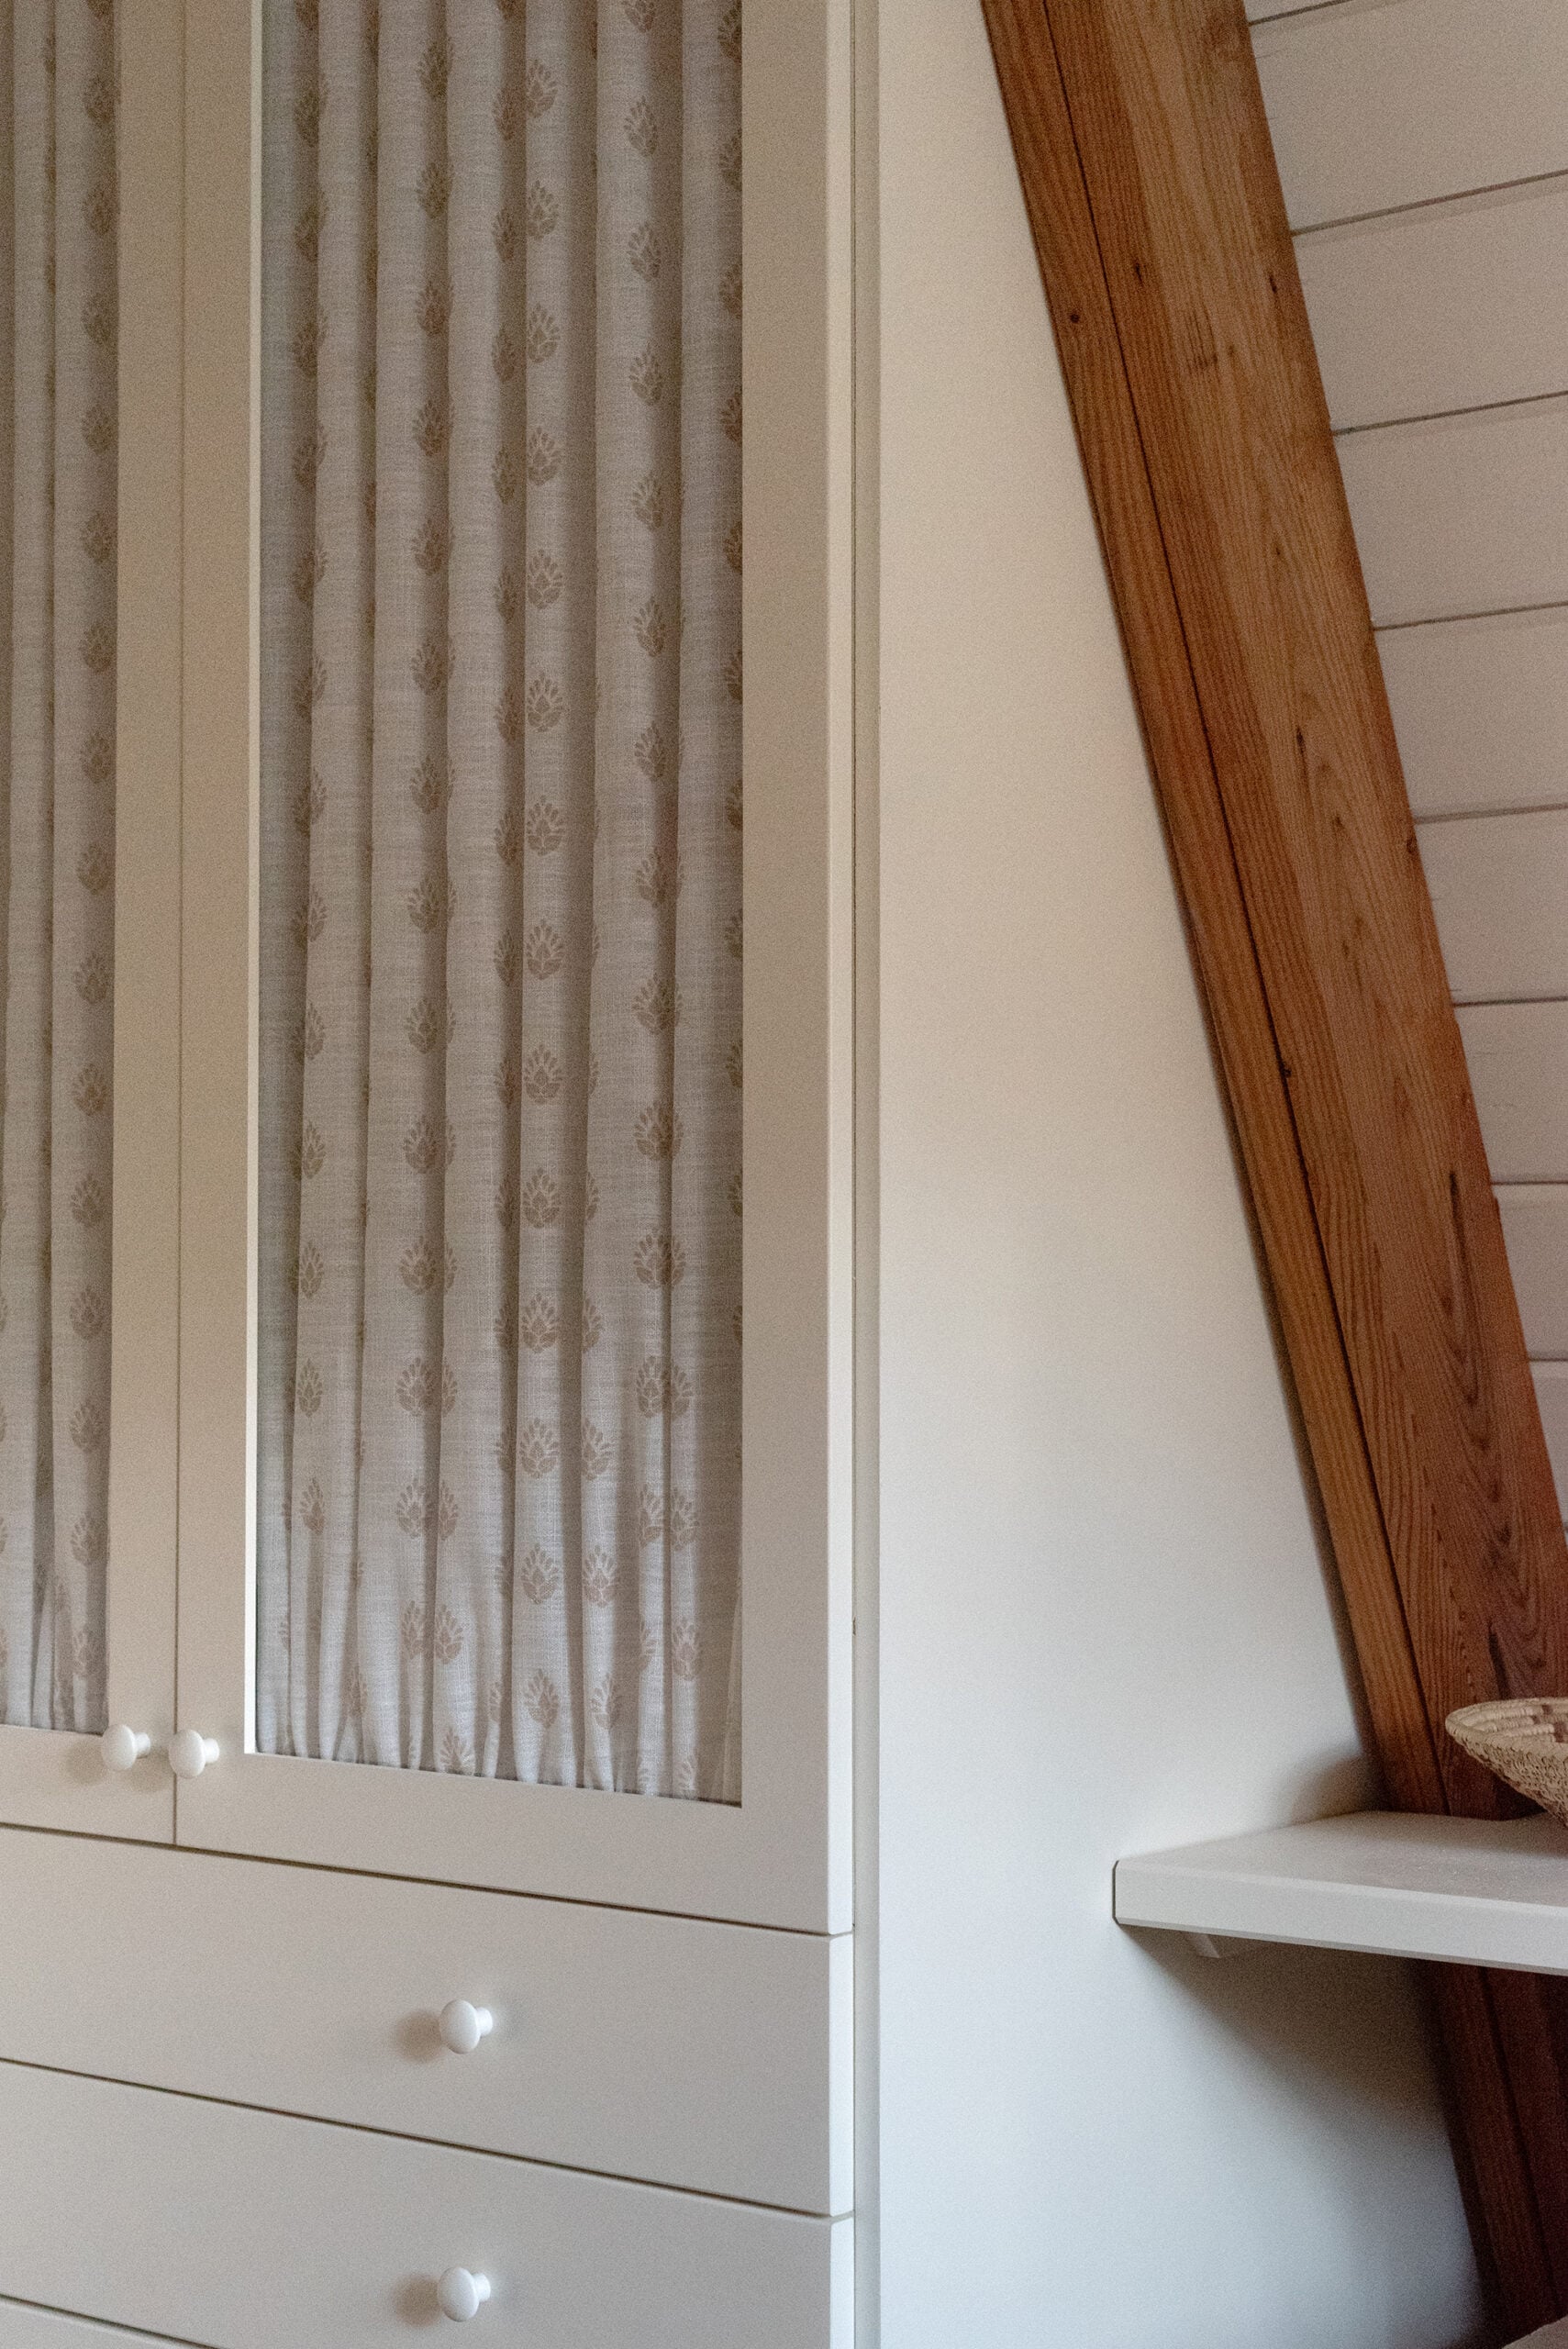
I love the character of glass cabinet doors, but they’re not always practical when you actually need to use the cabinet for storage. Instead of swapping the glass for solid doors, I added gathered fabric panels behind it. This gave me the best of both worlds. I kept the pretty glass doors while gaining concealed storage for everything that doesn’t need to be perfectly styled. This cabinet will eventually function as a closet or built-in armoire for this bedroom. The block print also added another layer of pattern to the bedroom, which made the custom cabinet feel even more interesting and finished.
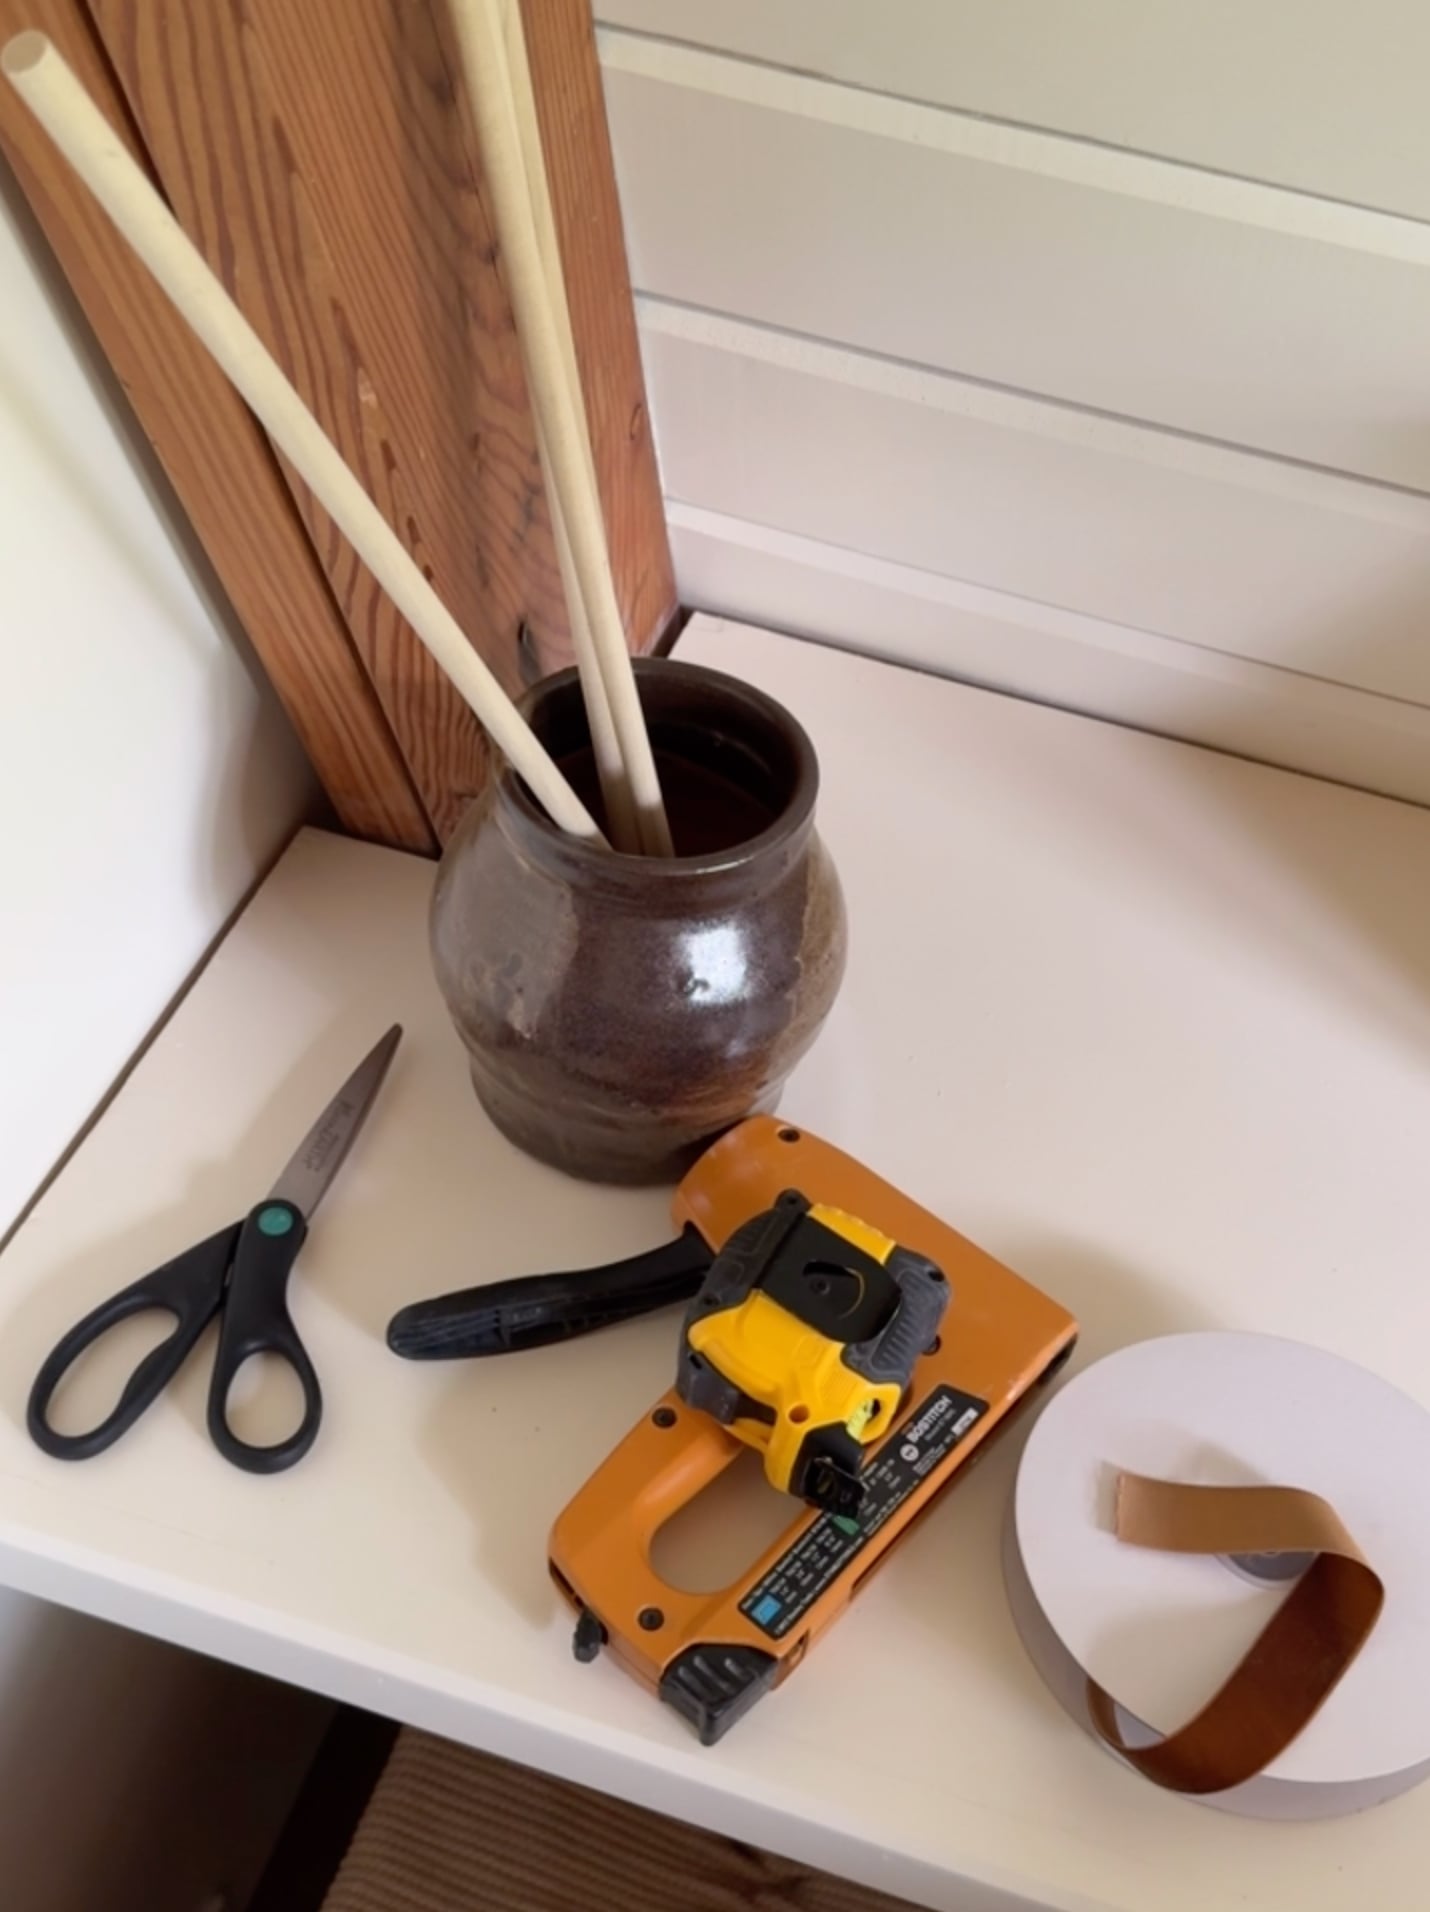
What You’ll Need: Supplies
This is a surprisingly simple DIY. Here’s what I used. I chose a lightweight block print fabric that was easy to gather and in the same fabric as the bedroom window treatment… that’s an easy way to create cohesion— repeating a design element. Linen, cotton, a small floral, stripe, or check would also work beautifully.
- Fabric
- Small wooden dowel rods
- Ribbon (I used brown velvet to match, but any heavy ribbon will work)
- Staple gun
- Sewing machine
- Fabric scissors
- Hot glue gun
- Measuring tape
Choosing Fabric for Glass Cabinet Doors
The fabric is really what determines the look. For our cabin, I wanted something that felt collected and a little cottage inspired, so block print was an easy choice. If you’re doing this in a kitchen, bathroom, or more traditional space, I’d also consider a small floral, gingham, stripe, or solid linen. My biggest tip is to hold the fabric behind the glass before you start sewing. Glass can change the way colors and patterns read, so I always want to see it in place, from across the room first. If the room already has plenty of pattern, keep the cabinet fabric simple. If everything else is fairly neutral, this is an easy place to introduce personality with pattern.
How to Add Fabric Behind Glass Cabinet Doors
1. Measure the Glass
Start by measuring the glass opening on each cabinet door. You’ll want the fabric to be wider than the opening so you have enough material to create those soft gathers. I like approximately 2 times the width of the glass as a starting point.
2. Sew the Fabric Panels
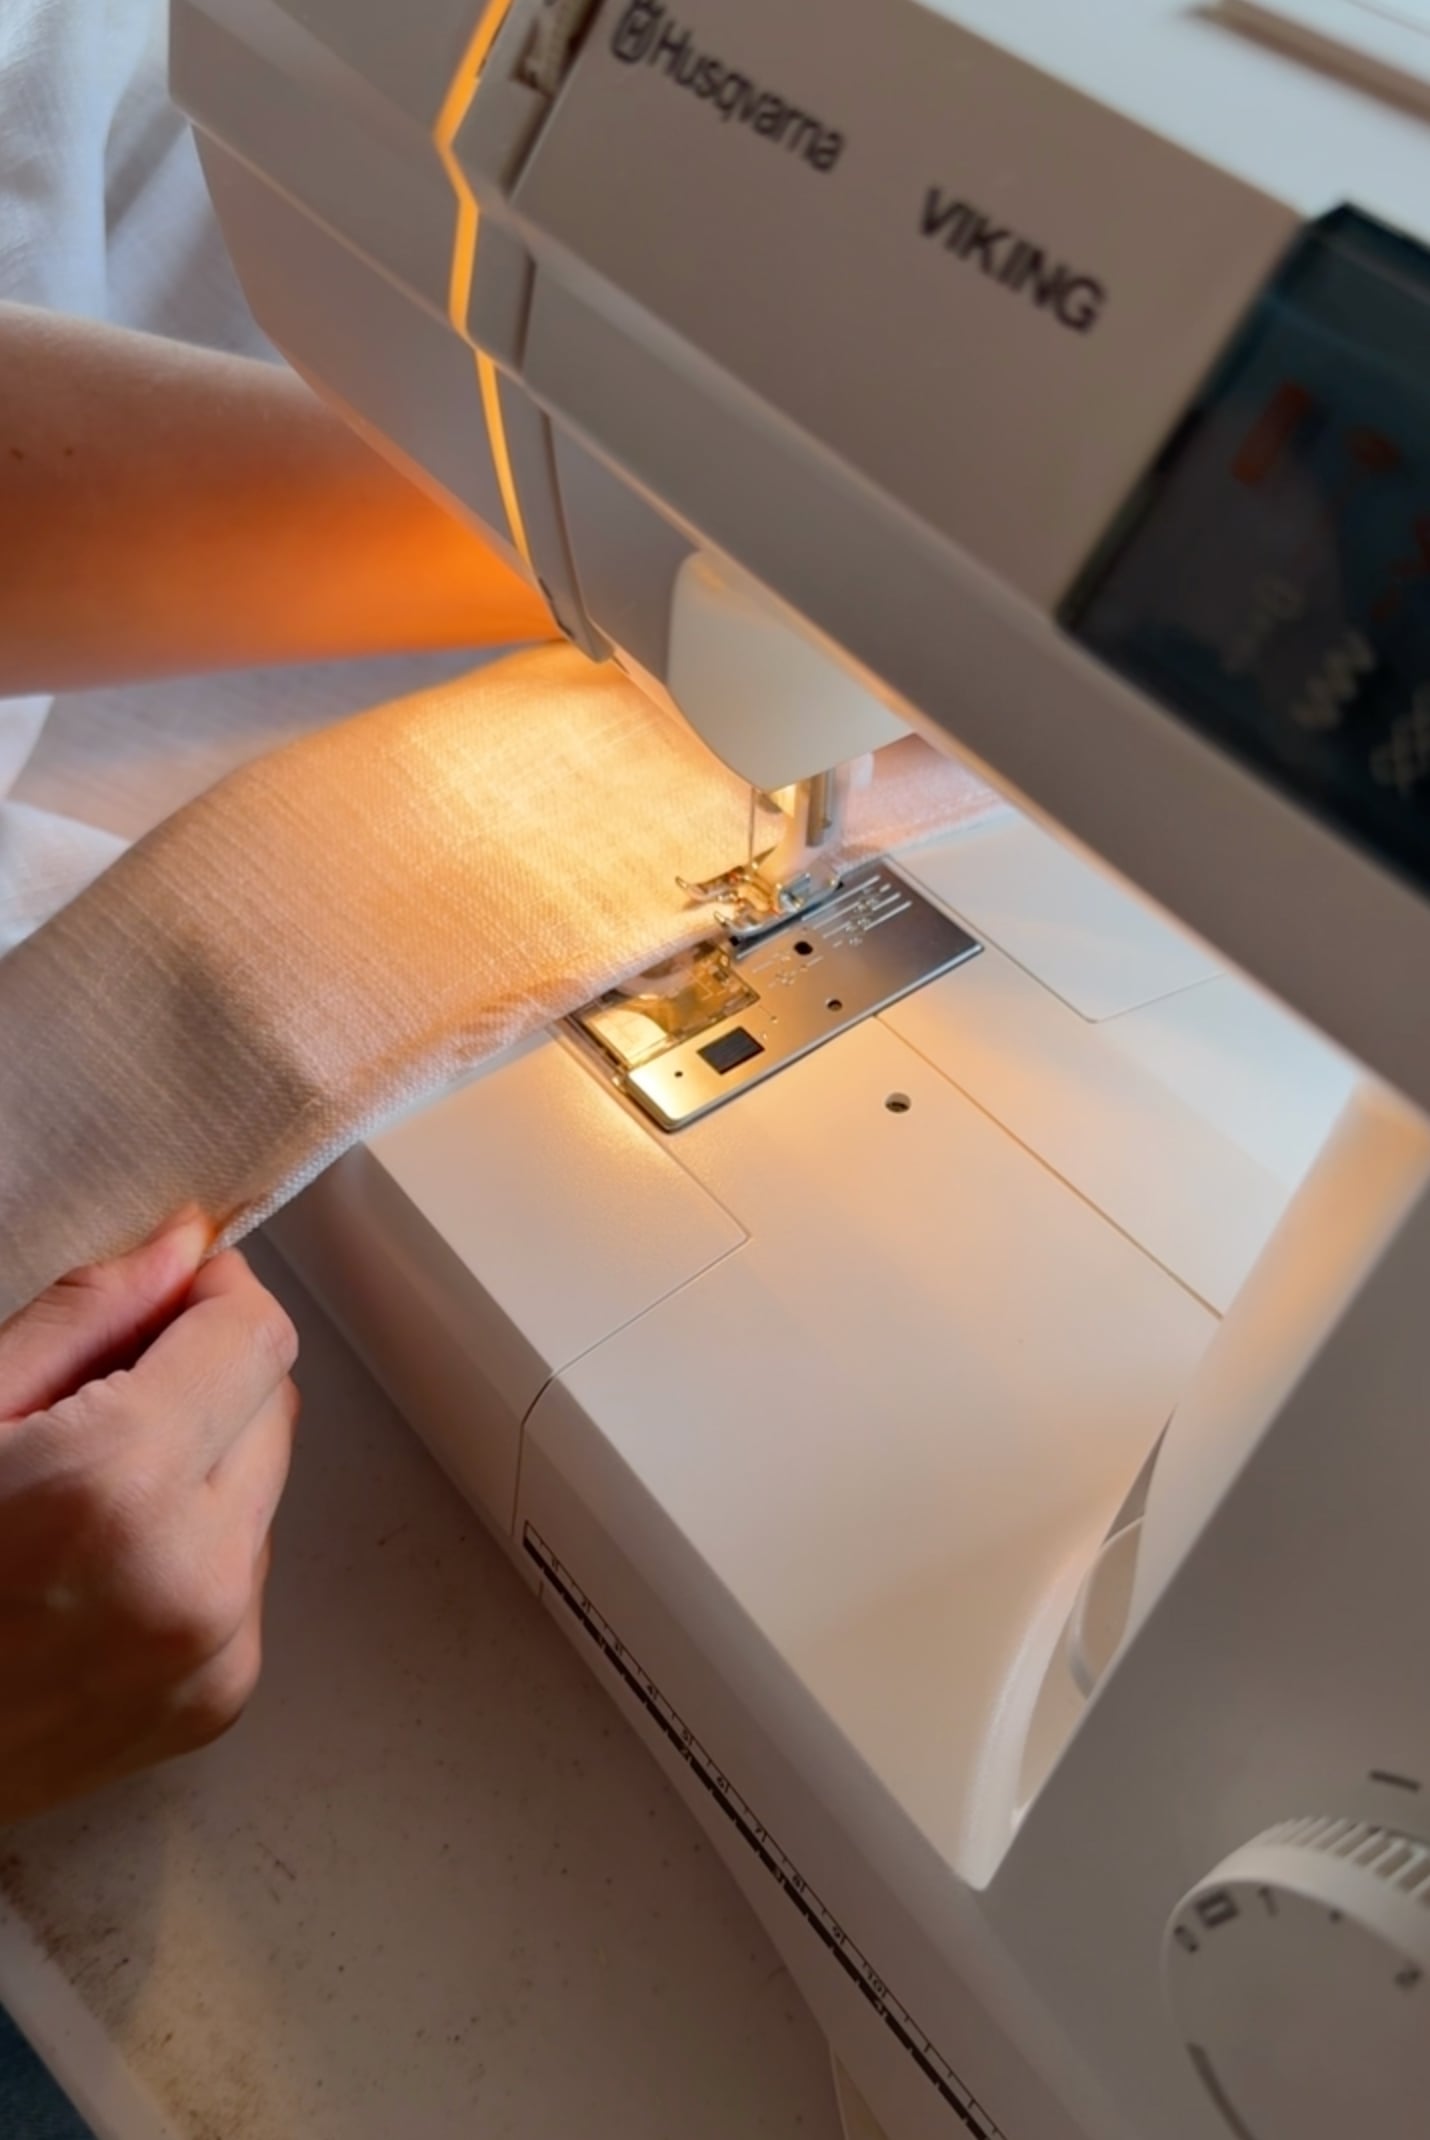
Cut your fabric to size, leaving enough extra material for your seams and rod pockets. I sewed a simple pocket along the top and bottom of each panel. Nothing fancy here. You just need enough room to slide a small wooden dowel through.
3. Add the Dowel Rods
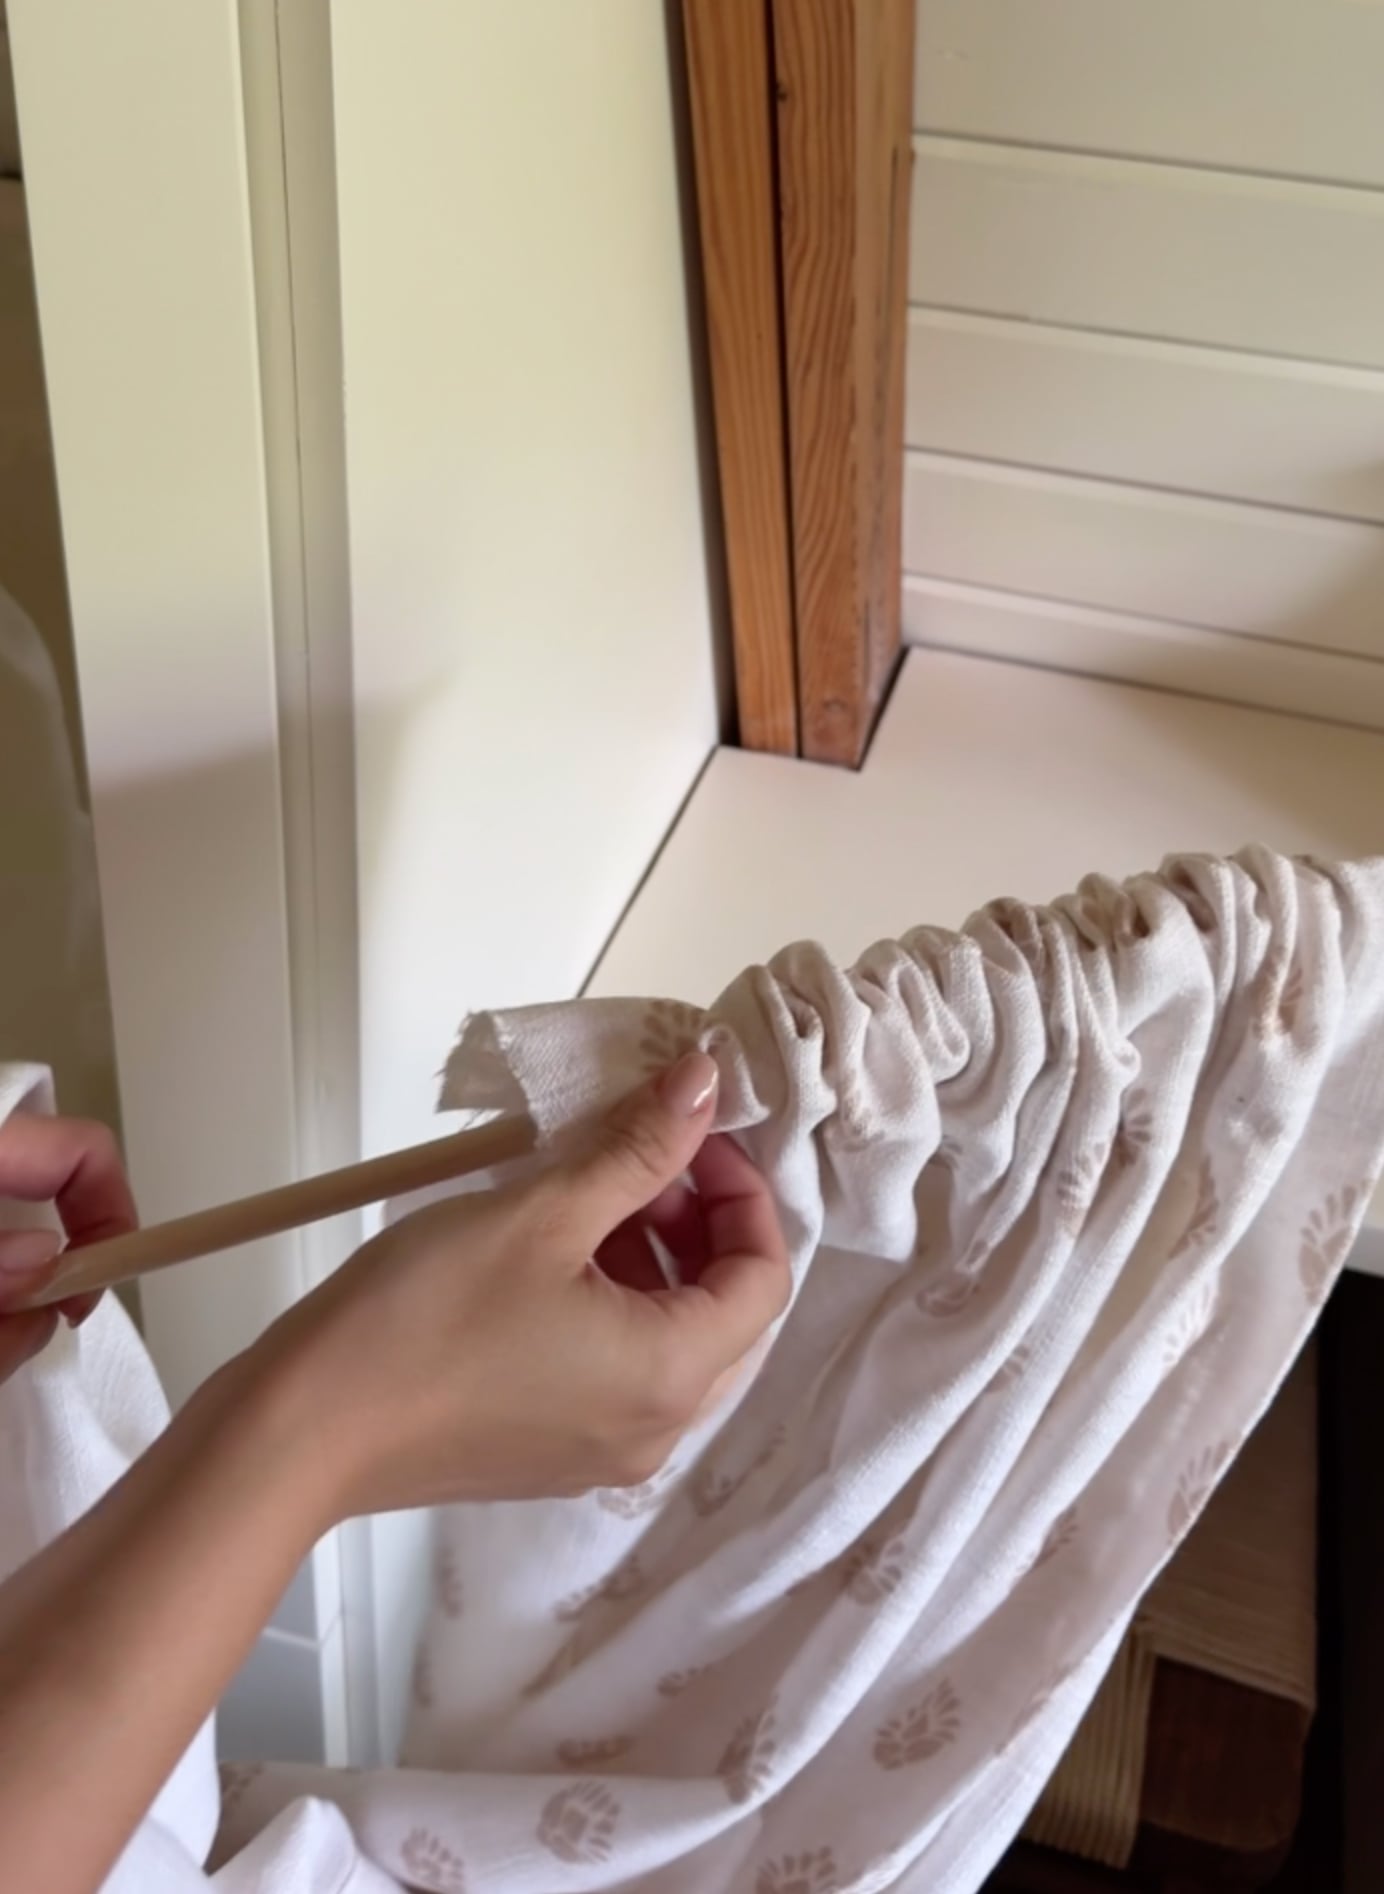
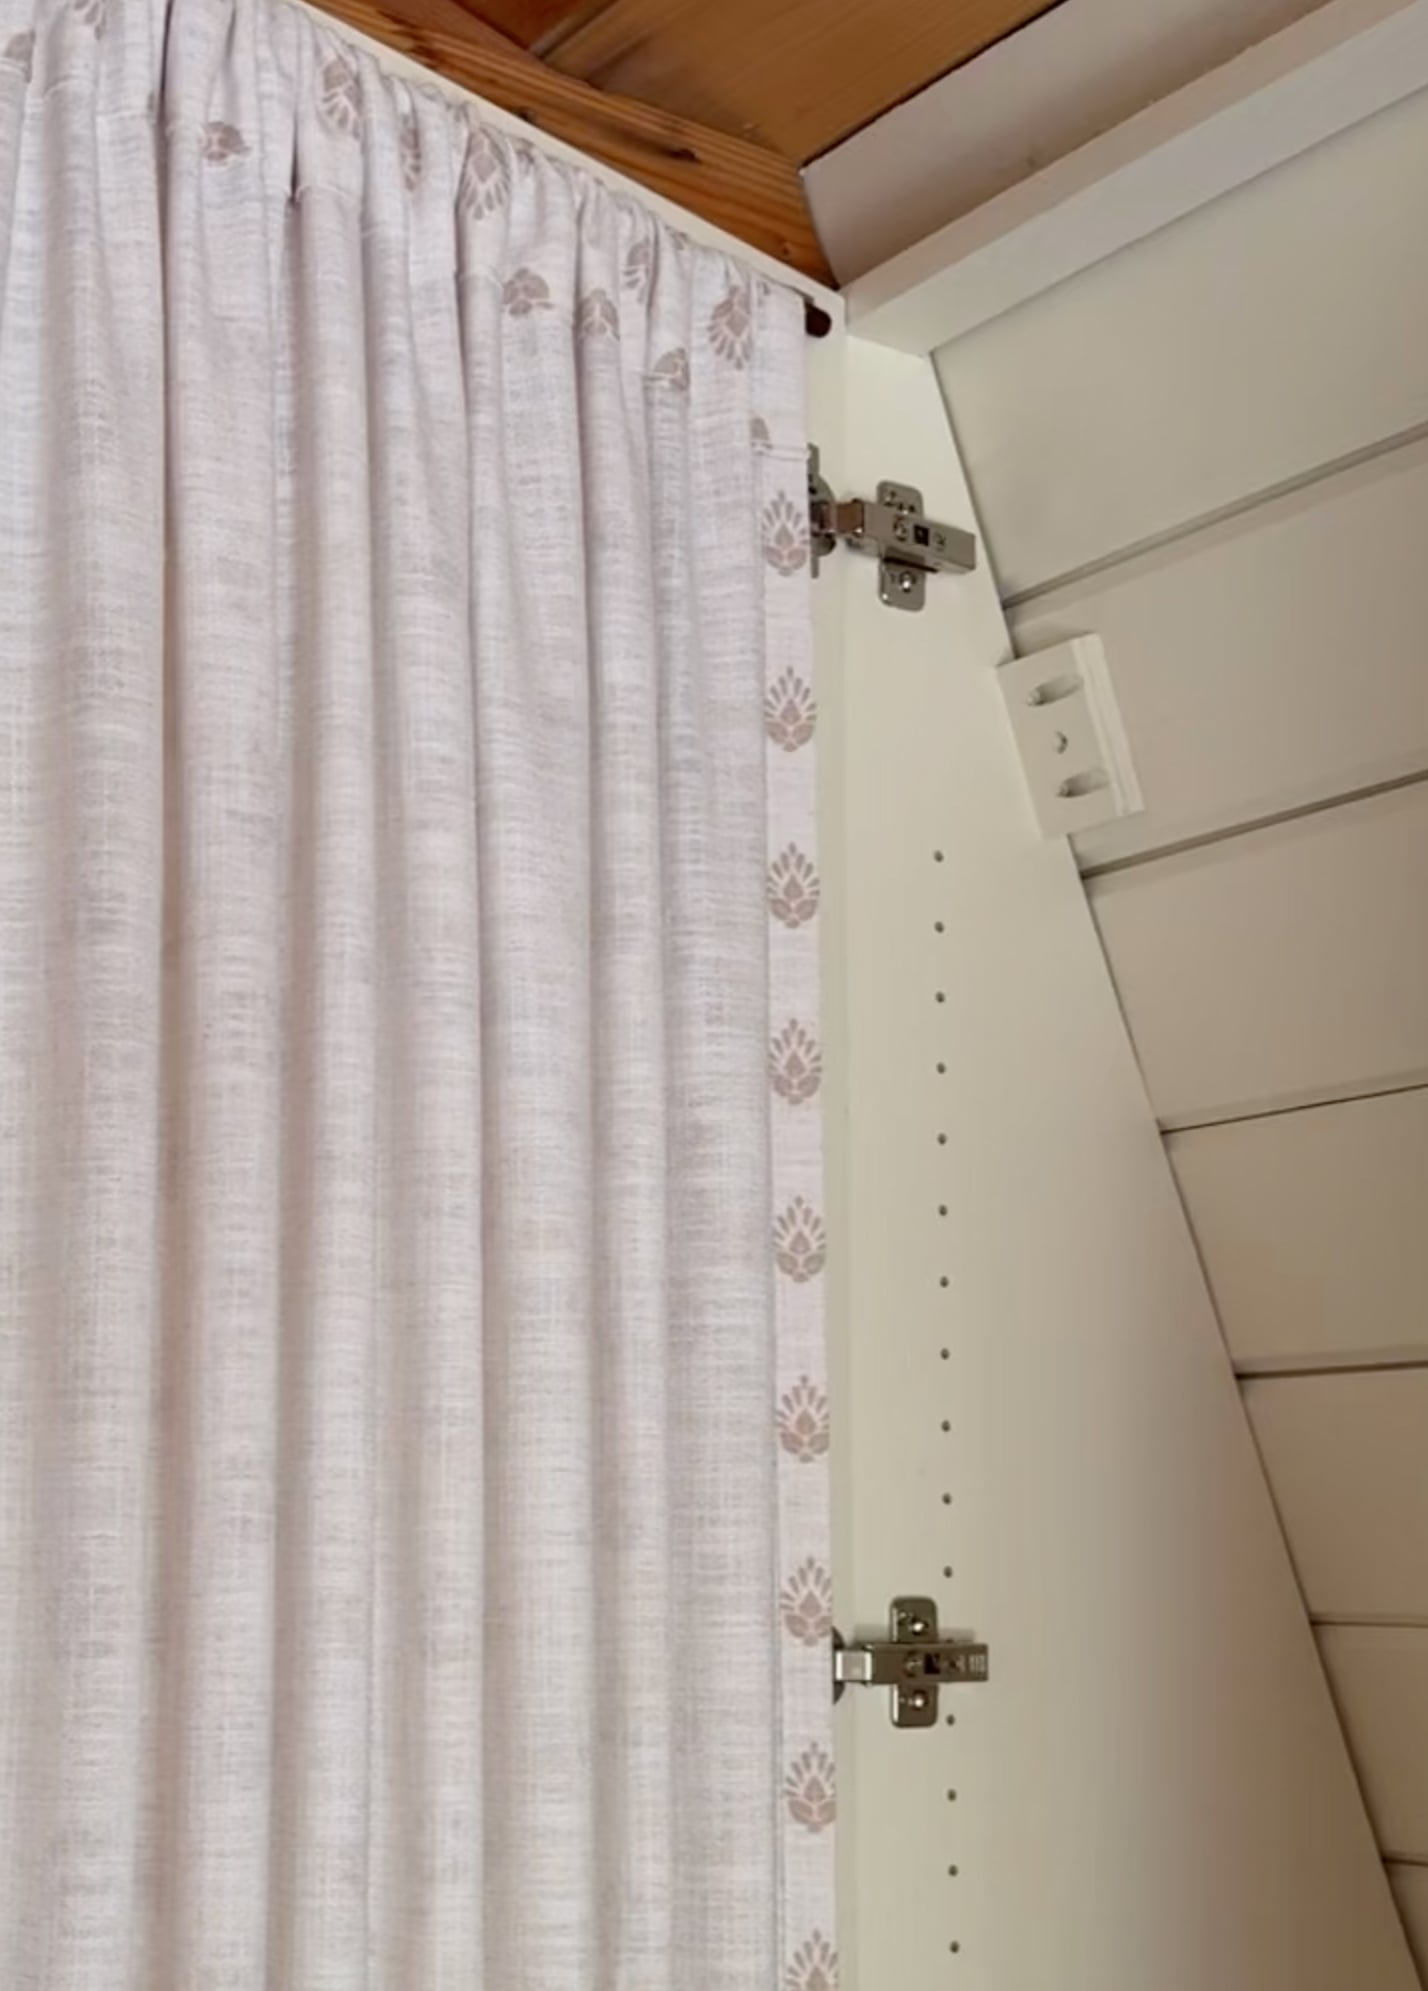
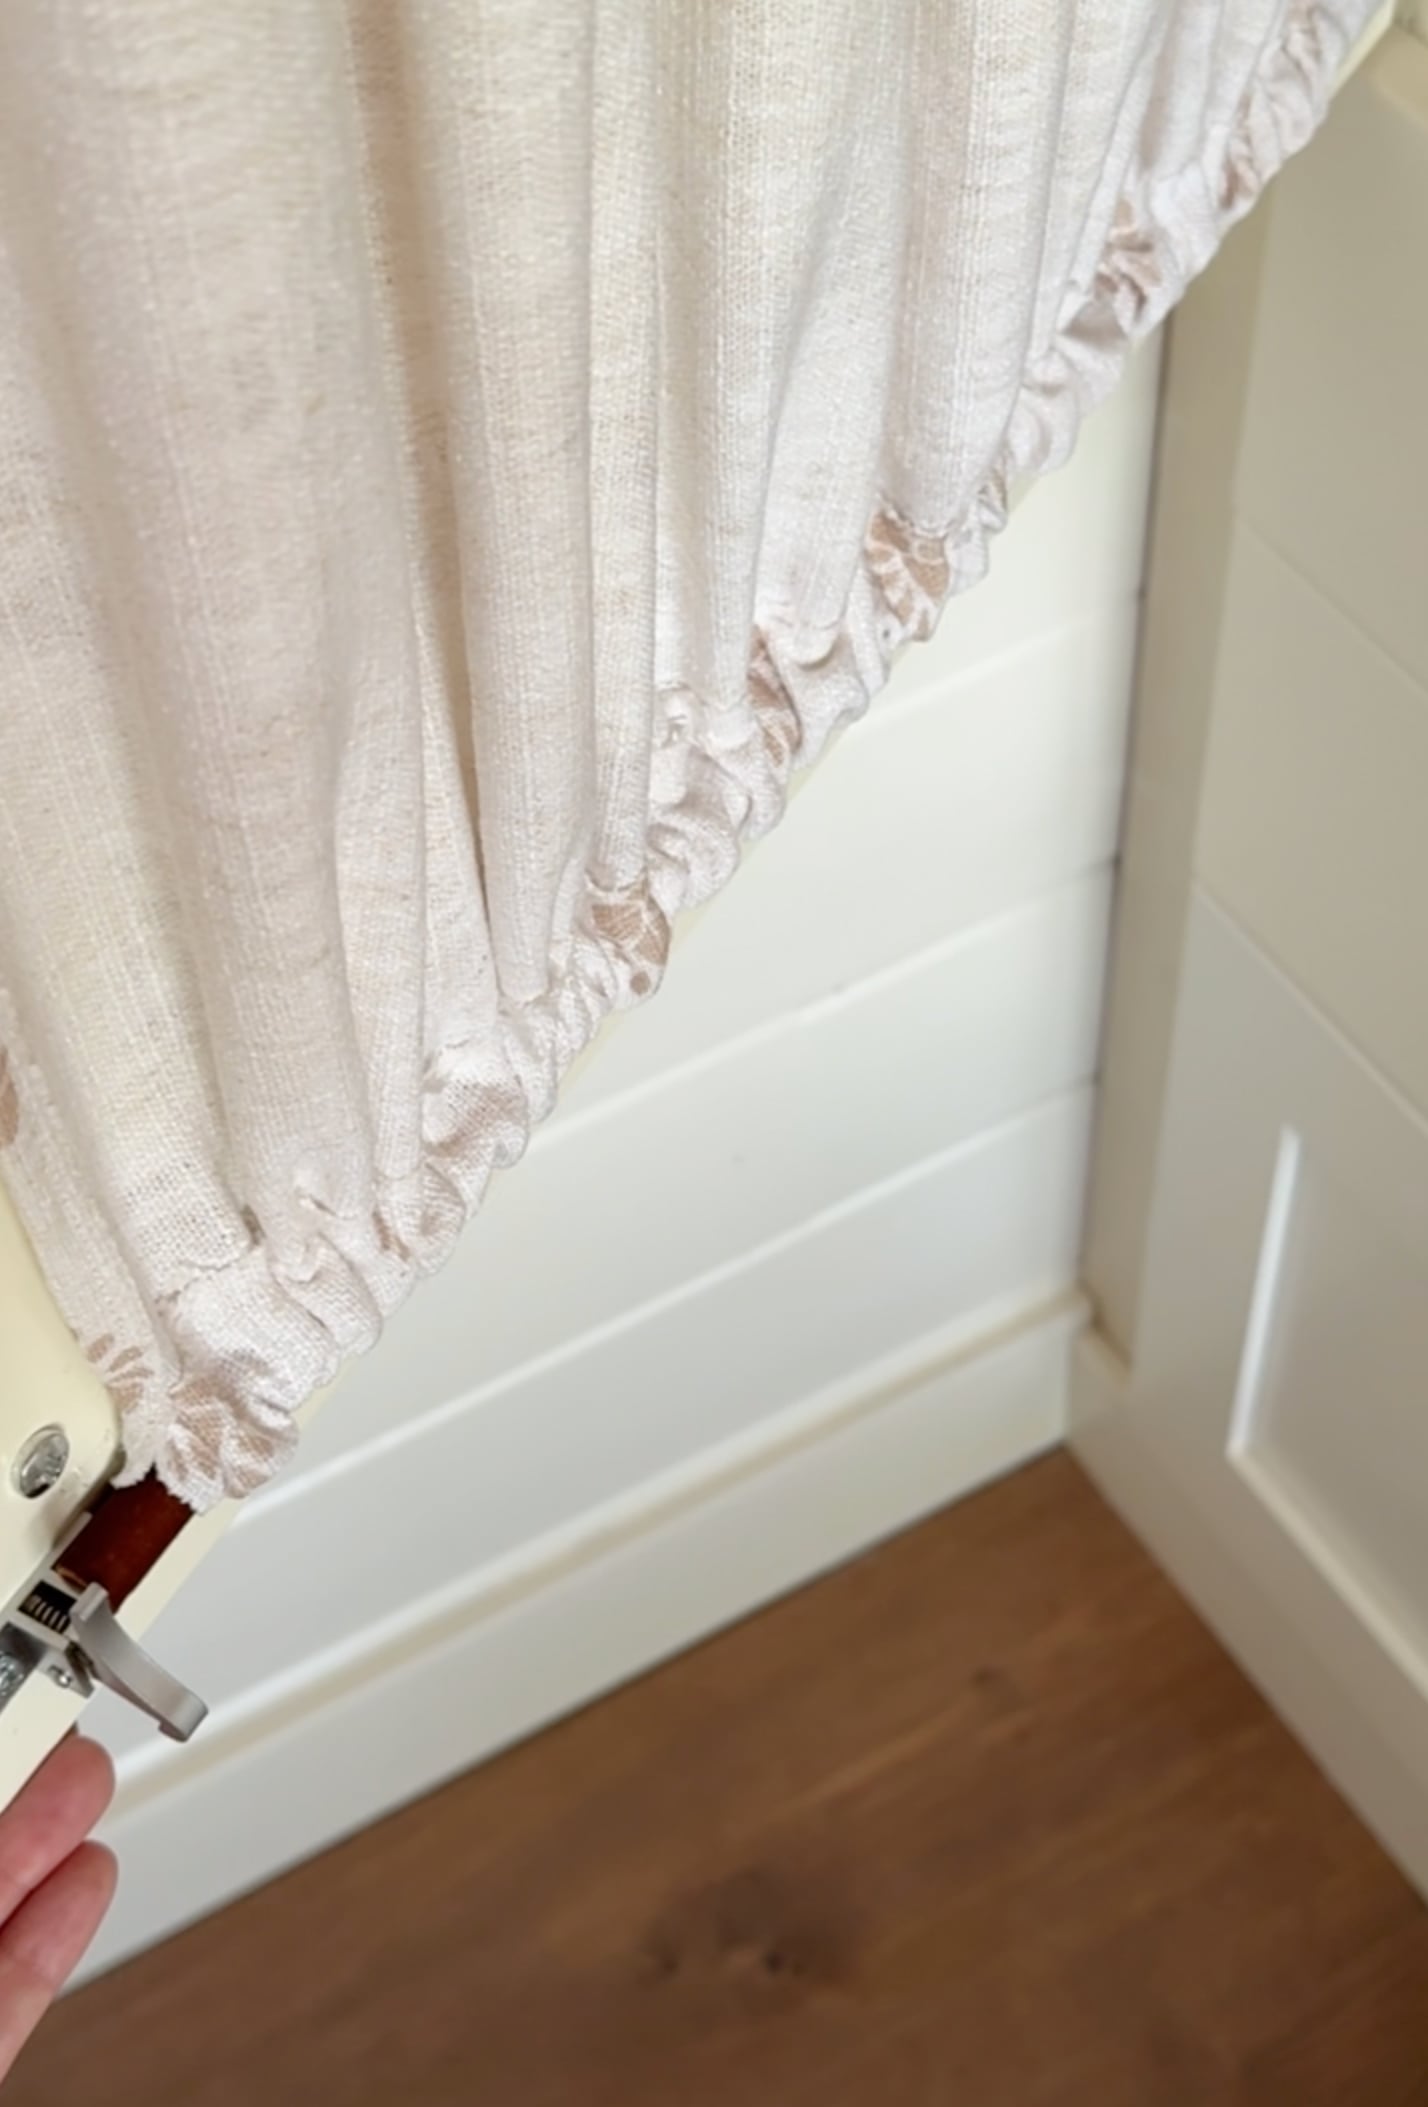
Slide a dowel through each pocket, then gather the fabric along the rod until the ruching looks even. You still want to be able to see the pattern, but feel free to adjust to your liking.
4. Attach the Fabric to the Cabinet Door
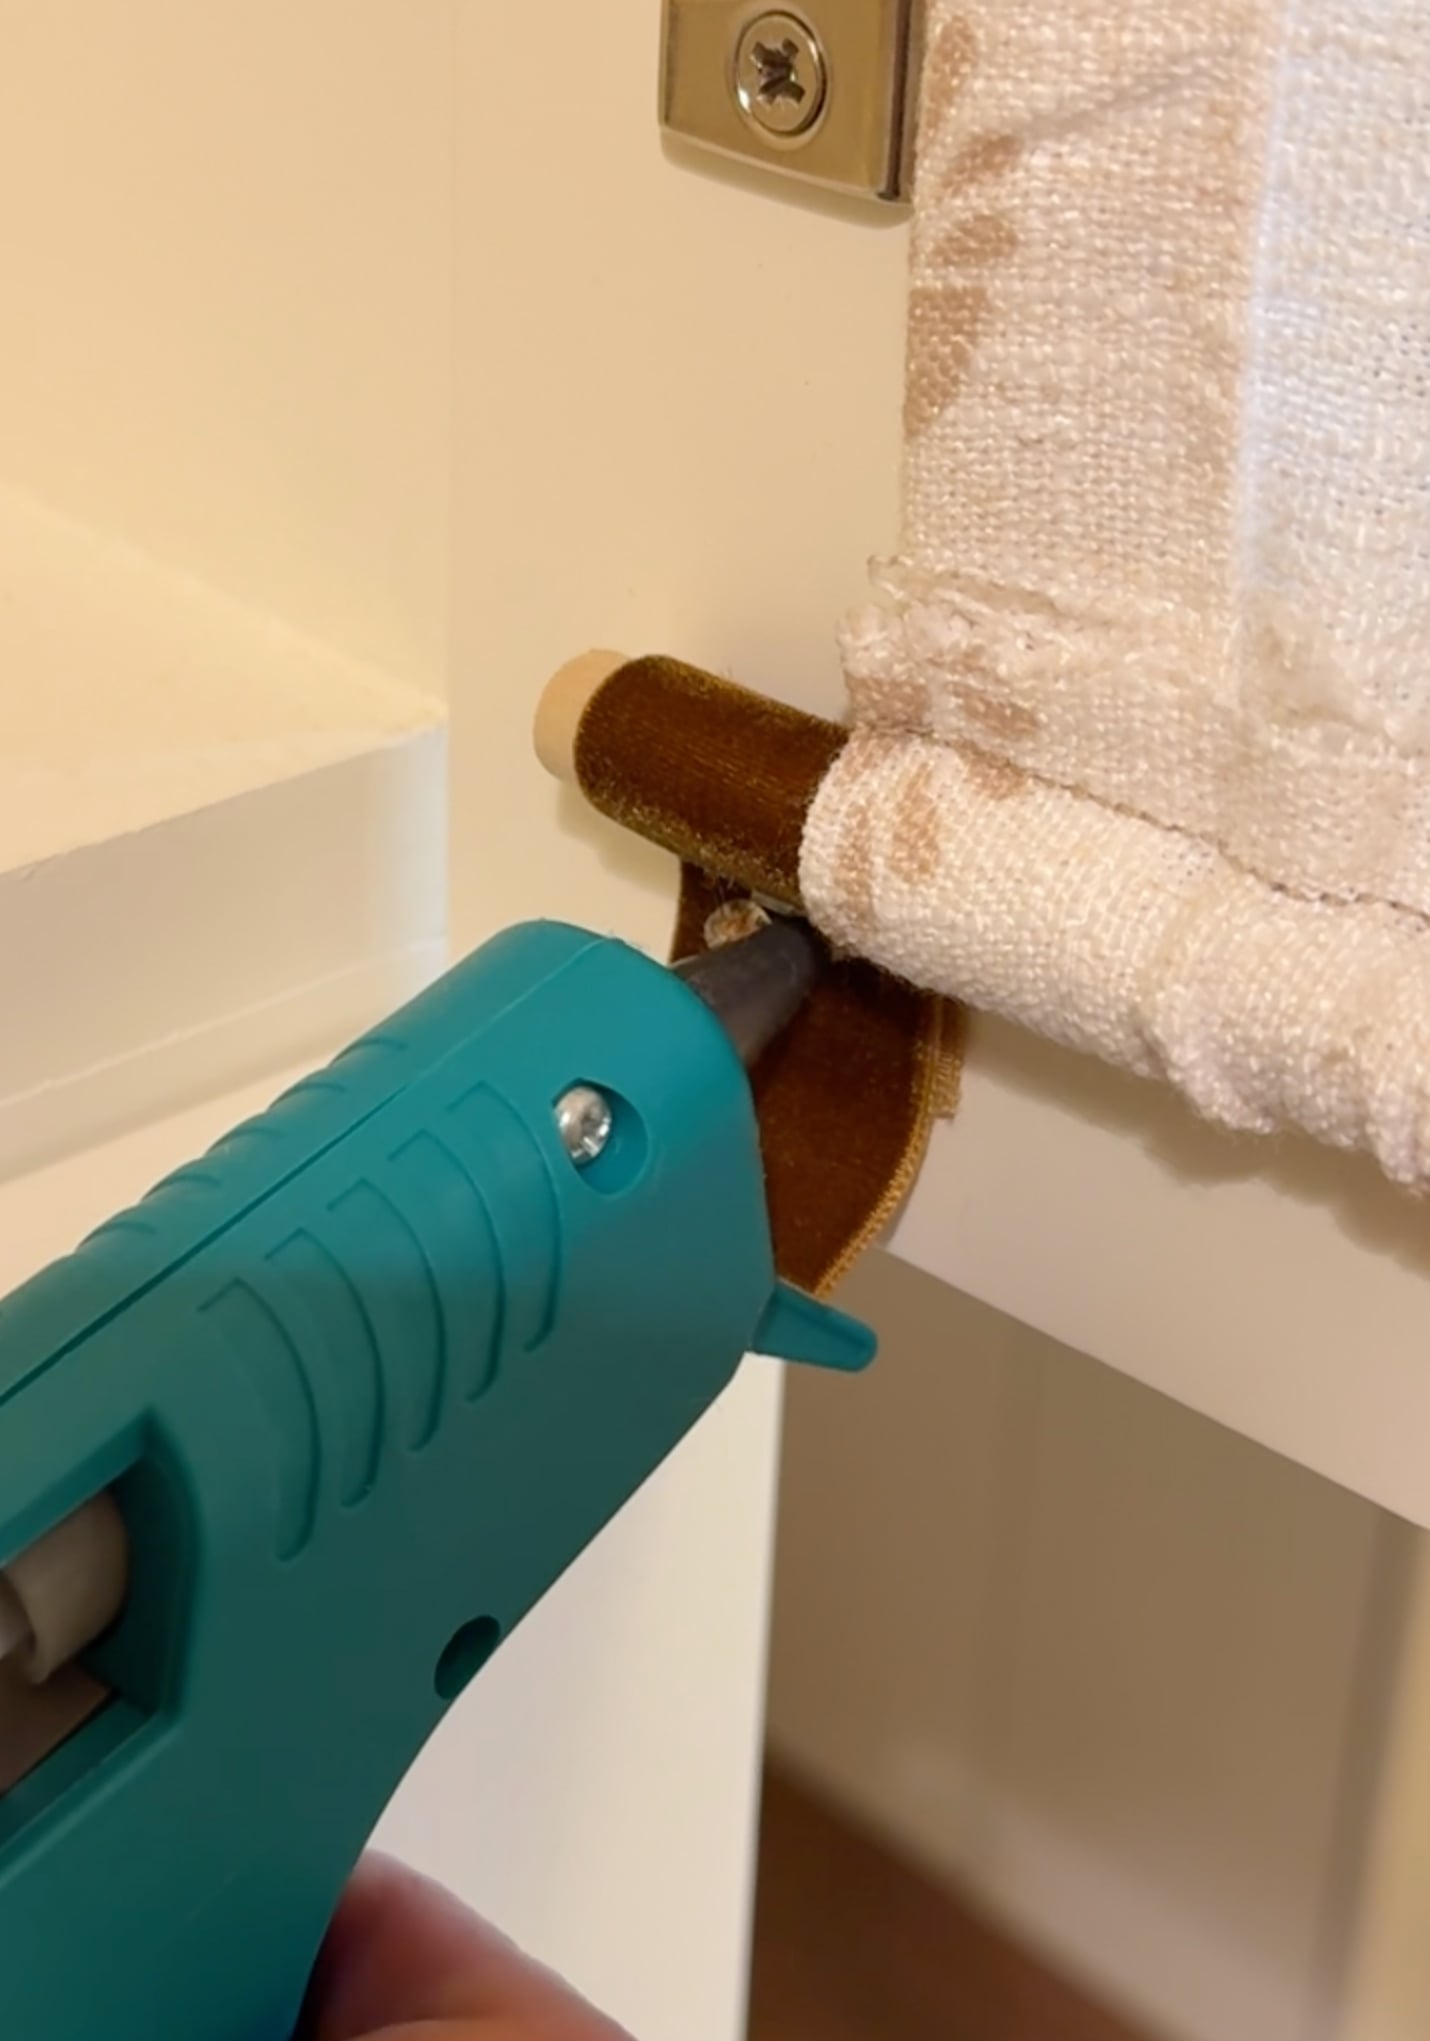
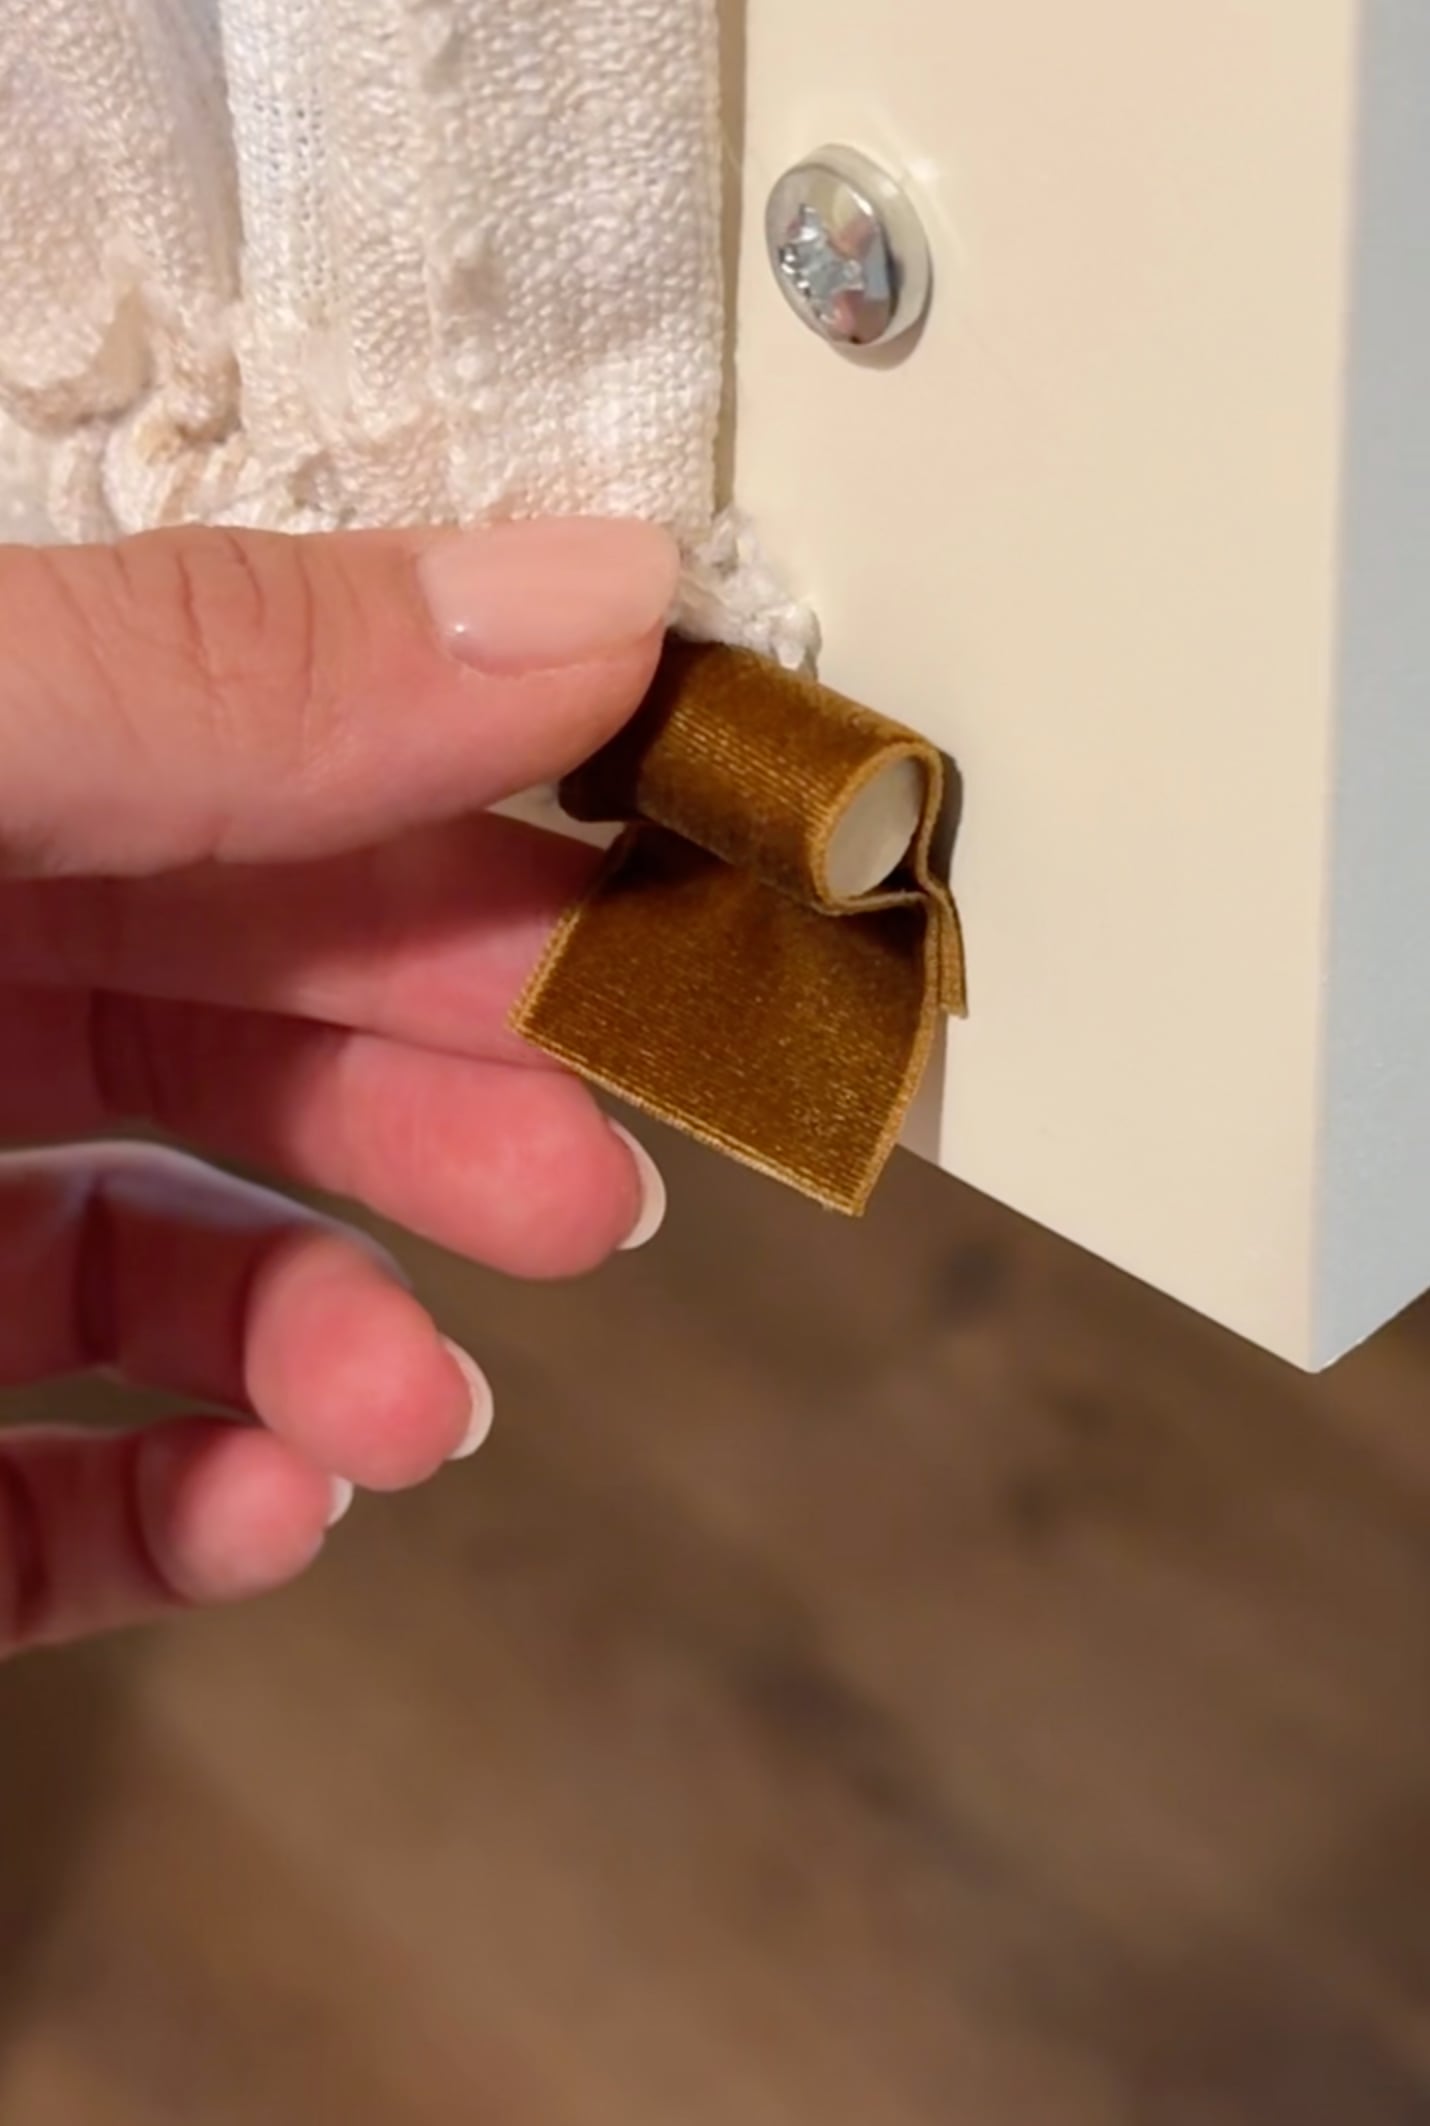
To hold the panels in place, I created small ribbon loops and stapled them to the backside of the cabinet door. The dowels slip into the ribbon loops, holding the fabric securely against the back of the glass.
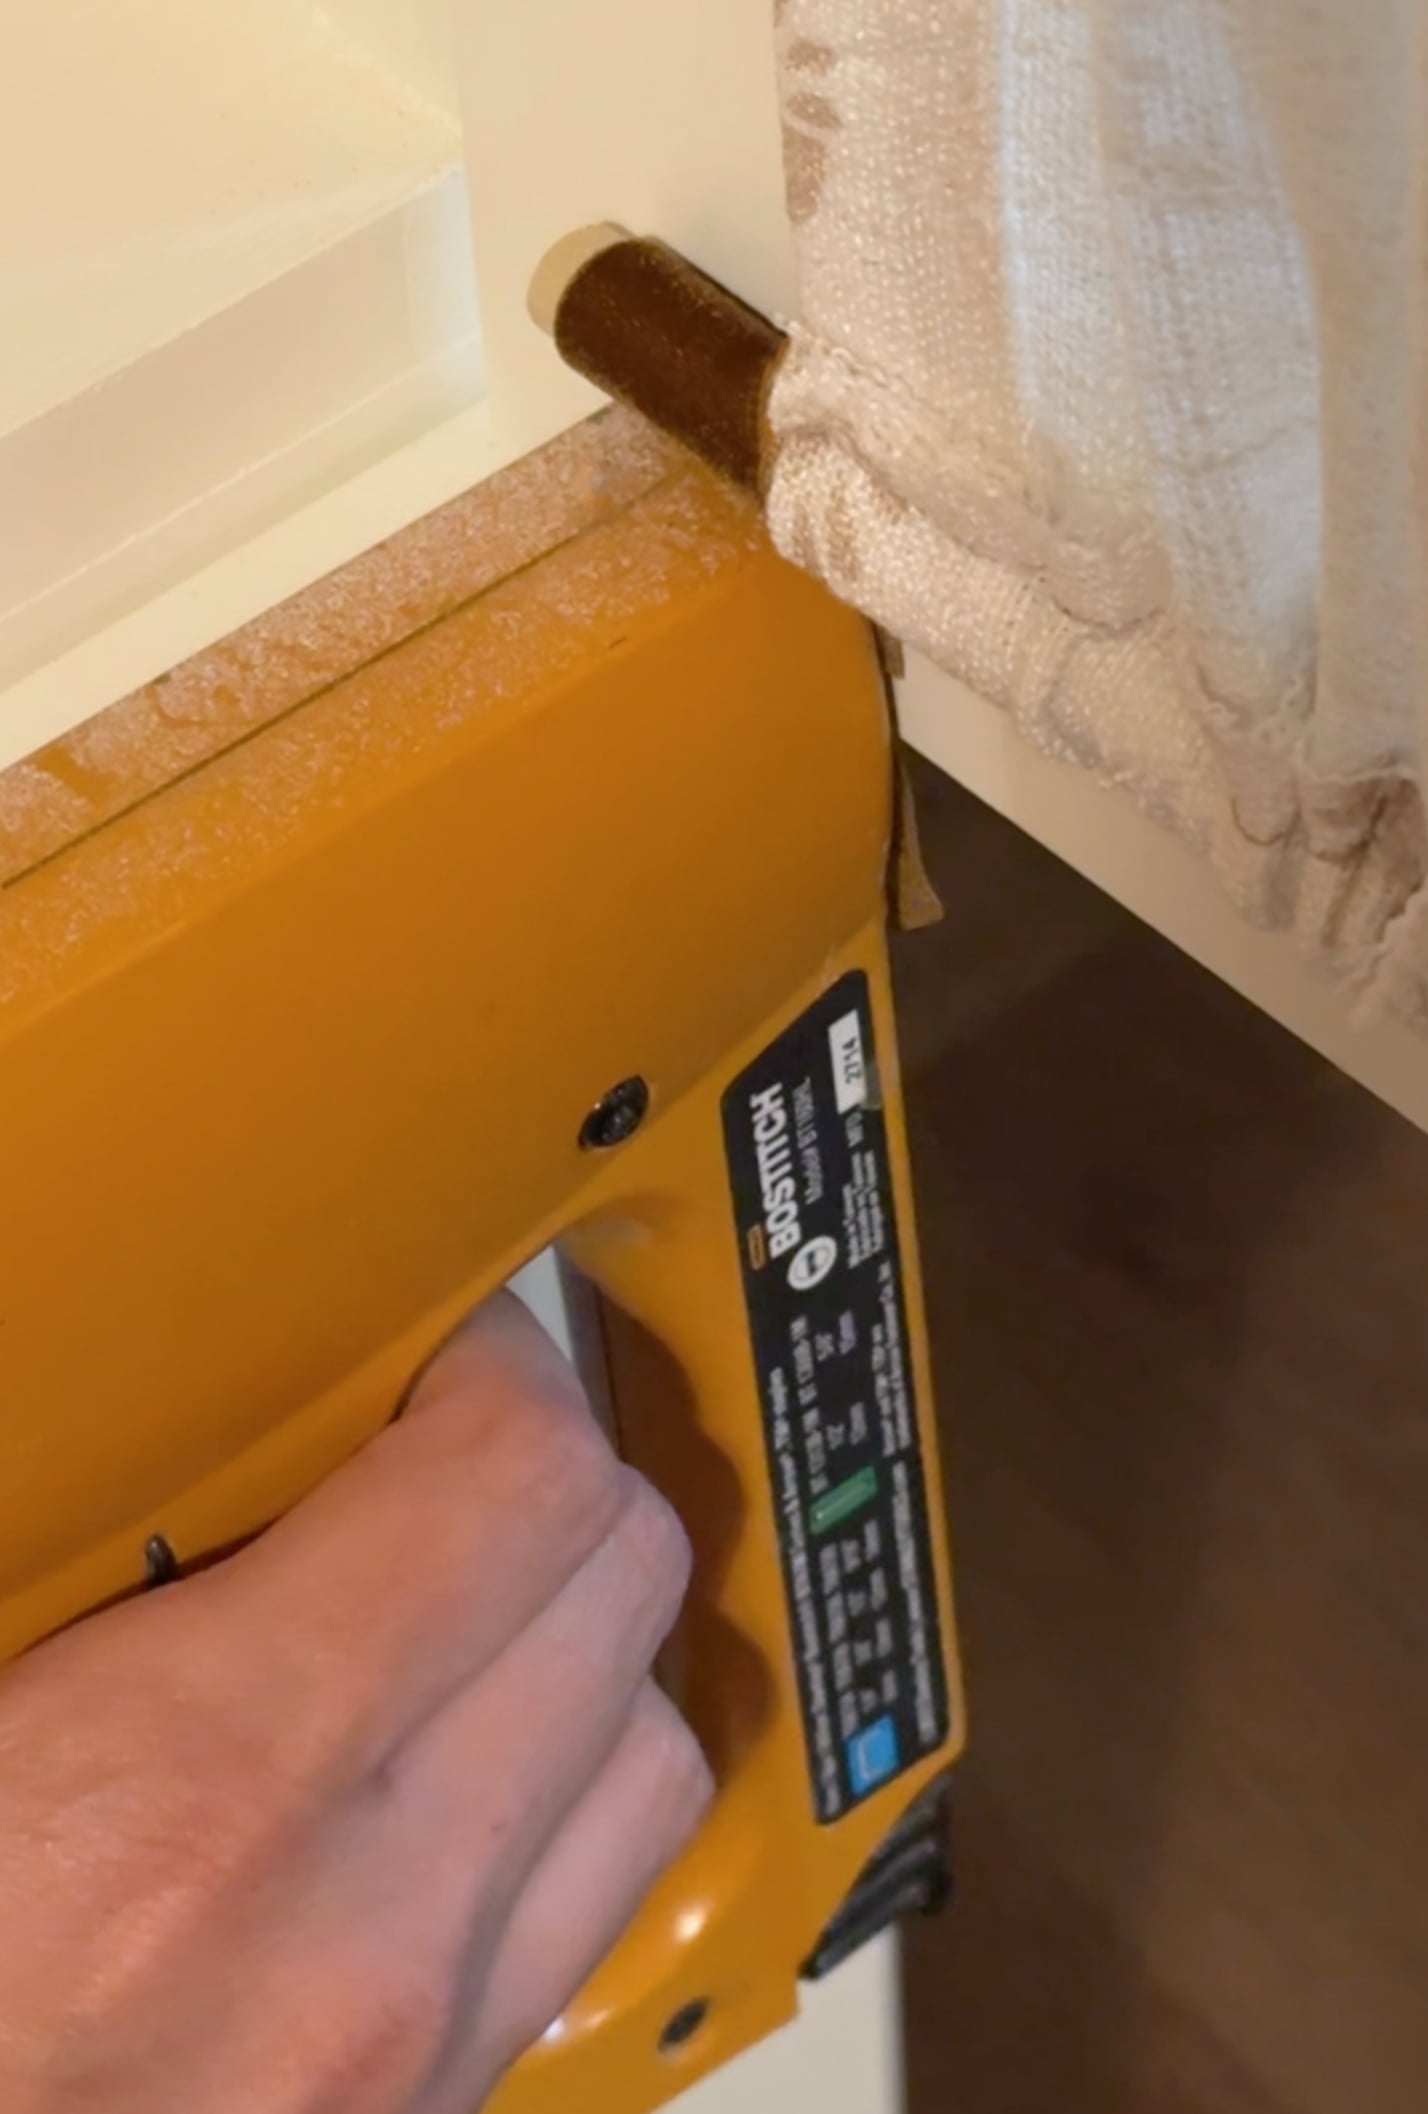
To hide the staple, I put a dot of hot glue over the staple, then folded the tail of the ribbon up onto itself for a tailored and finished look. This step isn’t necessary, but I wanted the interior of the cabinet doors to look nice and finished. No glue. No sticky velcro adhesive. No permanent changes to the glass. If I get tired of the fabric someday, I can remove it or swap it for something completely different.
Fabric vs. Privacy Glass
Frosted, reeded, or privacy window film is another easy way to hide what’s inside a glass cabinet, but I prefer fabric when I want the cabinet to feel like part of the design. Film conceals the contents. Fabric conceals the contents and adds color, pattern, and softness. For a cottage, traditional, or collected interior, gathered fabric behind glass cabinet doors feels much more intentional to me. It can also be changed without altering the cabinet itself.
That said, when I’m working with a window and want to allow natural light inside… window film or privacy glass is the perfect option. Check out my DIY faux reeded glass window for added privacy tutorial. Installed this in our home gym and basement bedroom to conceal unsightly window wells.
Questions?
I recommend starting with about 1.5 to 2 times the width of your glass opening. Use more if you want a fuller, more gathered look. I typically go with double the width.
Light to medium weight cotton or linen is easiest to work with. Avoid anything too bulky since you’ll need to gather the fabric onto a small dowel rod.
Yes! You could use iron on hemming tape to create the rod pockets. I prefer sewing because it’s faster for me, but either works.
Definitely! That’s one of my favorite things about this method. The fabric panels simply slip out of the ribbon loops, so nothing is permanently attached to the glass. You can easily pop the staple out as well.
Related Posts
The bedroom reveal from the cabin is coming soon, but in the meantime— I hope you enjoyed the sneak peak of the cabinets! I’m going to link my cabin posts in chronological order for you below. Feel free to catch up here…
- Cabin Hunting in the Utah Mountains
- First Look at Our Utah Cabin (Before Images Before We Started Renovating)
- Plans for Our Main Cabin Bath Renovation
- Cabin Main Bath Reveal
- Cabin Front Door Makeover Before and After
- Cabin Deck Corner Seating Area Reveal
- Cabin Deck Fire Pit Lounge Reveal
This was such a small finishing detail, but it made the cabinet so much better. We still get the character of the glass doors, but I don’t have to worry about perfectly styling everything stored inside. The block print adds just enough pattern to the bedroom, and if I ever want a different look, I can change it in a few minutes. Pretty, practical, and reversible is hard to beat.
This is super cute! You may have inspired an idea for my linen cabinet at the top of the stairs. I love the added texture, pattern and color. For my small upstairs hallway that reads plain, drab, dated and dysfunctional, this may be a perfect solution! The pattern you chose is so subtle in all the right ways, but striking in its surroundings. Fantastic little DIY Sarah! Thank you for all the details! I hope you’re having an amazing week.
Hi Sarah. I swear you and Emmitt have the Midas touch when it comes to design! Even when it may not be my style, the finished project is always beautiful to me.
I’m so eager to see your cabin come together. So far each excruciatingly small (!) reveal has been exquisite! Thank you for taking us along.