How to Easily Layout and Install a Gallery Wall
I hope you had a good weekend! We finally finished installing our entryway gallery wall and I wanted to share the process with you today. Gallery walls make beautiful focal points, and they’re ideal for leading your eye up a staircase. Click through for my step-by-step guide on how to curate and install a DIY gallery wall. The best part? No painter’s tape or kraft paper mockups are required for my tried and true process. I’m also sharing my best kept designer tool for laying out gallery walls on the computer… I hope it’s helpful!
If you’ve missed any of our entryway renovation, be sure to check out the following posts (in chronological order below) to catch up. We’ve got paint and reupholstery left on our to-do list, but we’re nearing the end. I’m excited to photograph the finished space for you soon!
- Entryway Renovation : Before Images & Demo
- Our Entryway Tile + Alternative Options
- Entryway Renovation : Demo, Stair Parts, & Flooring
- Entryway Renovation : Millwork Details
- Entryway Renovation : Millwork & Electrical
- Entryway Renovation : Painted Stripes
- How to Faux Paint a Vent Cover to Seamlessly Blend with Stone
- How to Install a Stair Runner with an Easy Staircase Landing
Supplies & Tools
We used the following to layout and install the gallery wall… though not all of these are necessary and can be substituted:
- Artwork (my artwork came from Tuesday Made, and the rest is vintage)
- Adobe Illustrator
- Tape Measure
- Laser Level
- Hammer
- Ladder
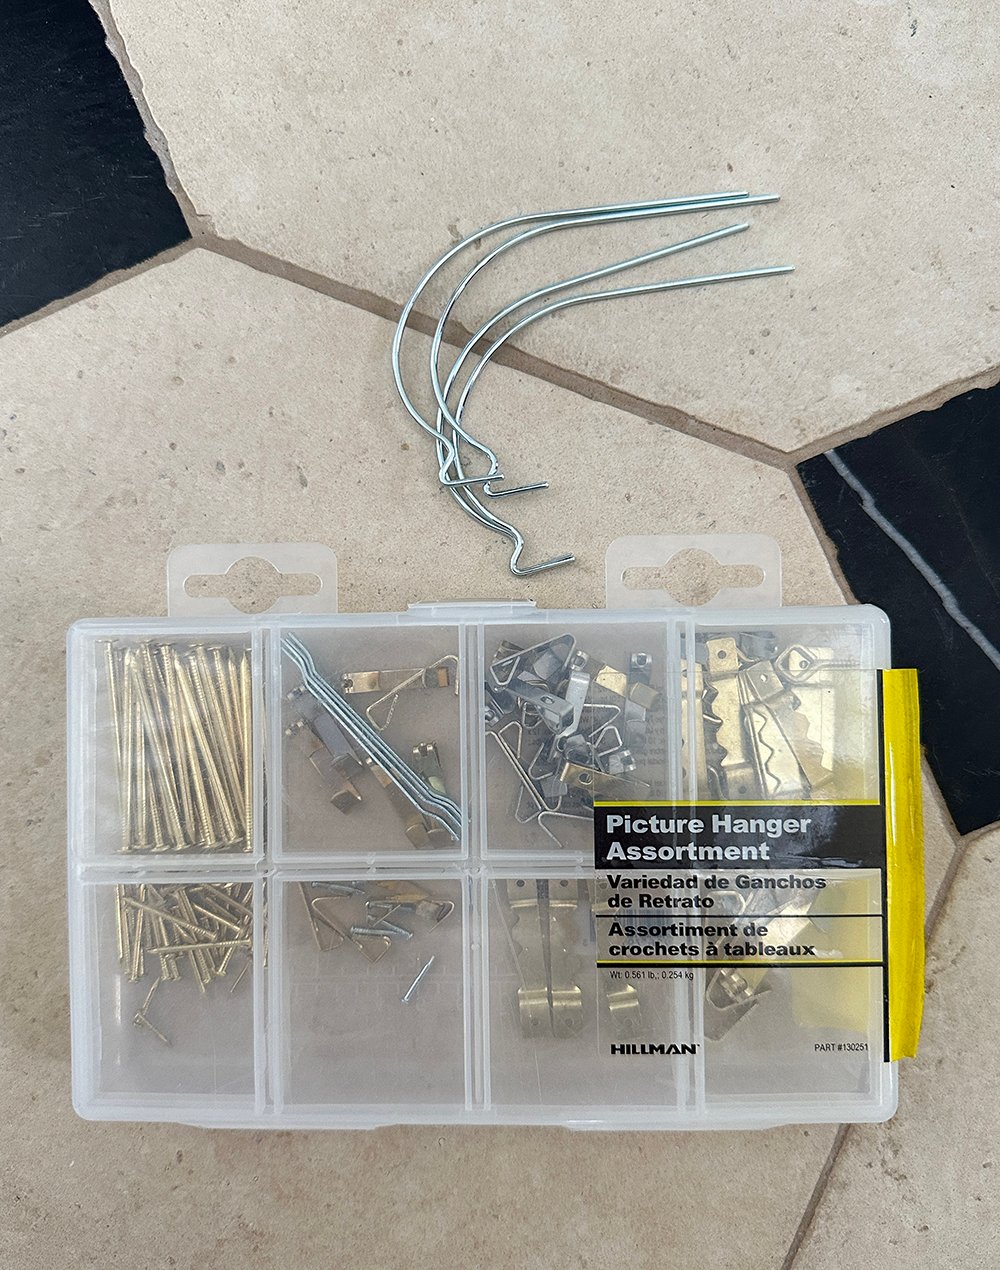
- Picture Hangers and Hooks
- Sticky Tack (for stabilizing- tack a bit in each corner to avoid shifting while dusting)
Curating Cohesive Artwork
I love the challenge of sourcing artwork for a blank wall. From vintage finds to carefully paired frame styles, I do have a rhyme or reason to curating artwork for a cohesive designer look. Here some quick tips to consider… choose one of these for an easy way to create a gallery that feels intentional and designerly.
- Choose picture frames or mats that are cohesive (same finish, same style, same color, same texture, etc)
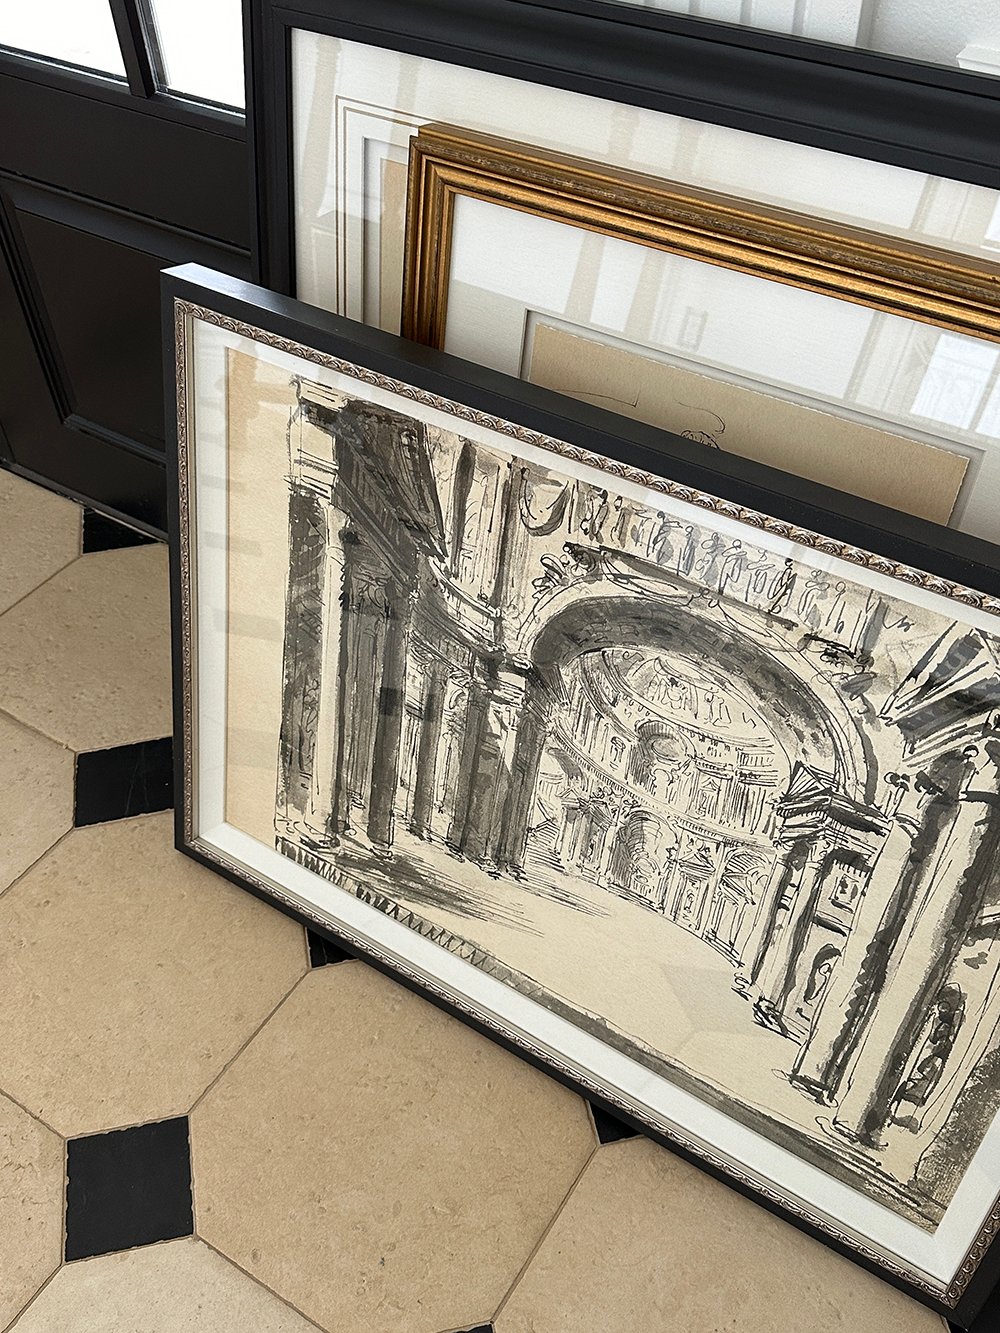
- Stick to a loose theme in regard to subject matter (my gallery wall pictured throughout has an underlying architectural theme)
- Another great way to achieve a consistent look is by narrowing down a color palette.
- Choose works that are similar in size (especially important for a grid gallery wall)
- Choose a consistent medium (photographs, oil painting, watercolor, litho, etc)
Digital Layout
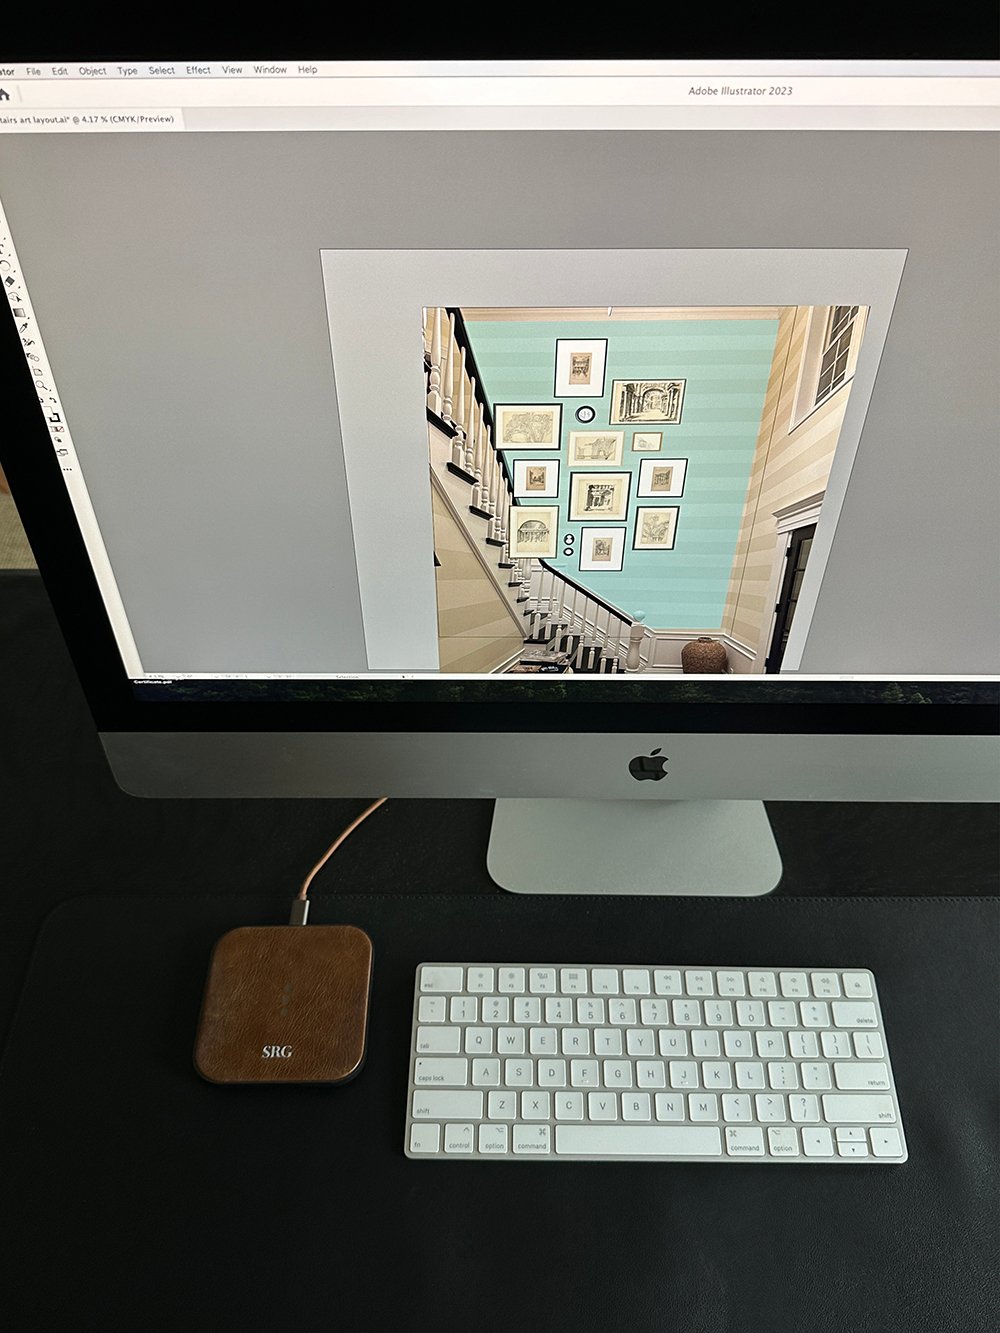
I used Adobe Illustrator to scale my gallery wall layout, giving us an exact plan to work from- complete with measurements. Here’s how I did it… with step-by-step screenshots below:

Using a measuring tape, measure the wall where you’ll be installing the gallery wall. Snap a quick photo with your phone, upload to the photo into Illustrator, then size it accordingly to the dimensions you previously took. Since my wall is an odd shape, I used the shape tool to size it accordingly. The blue block represents the wall space I can fill.
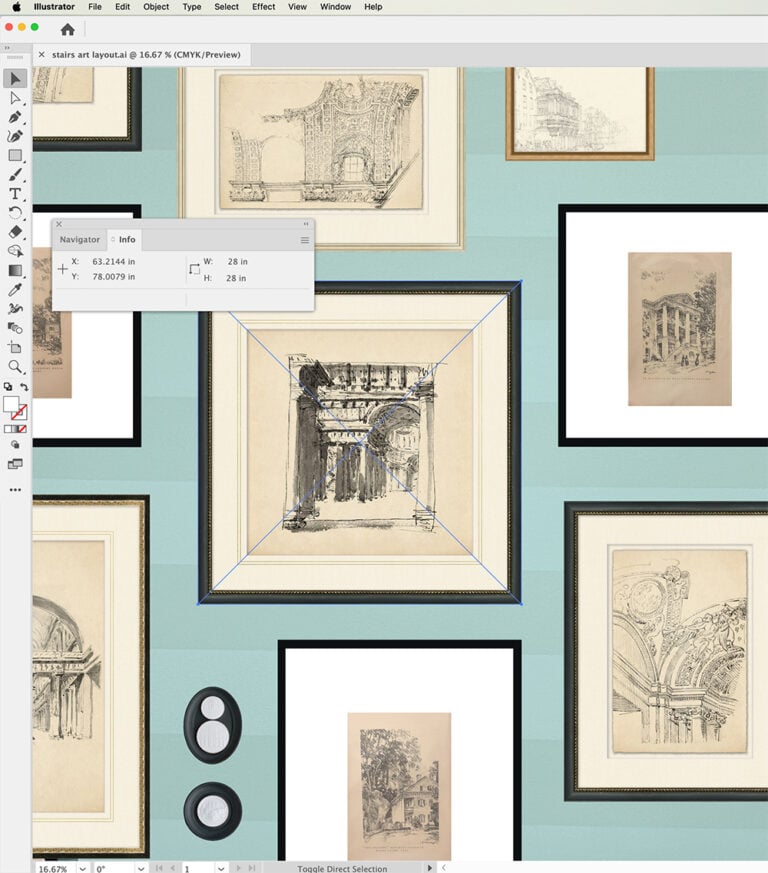
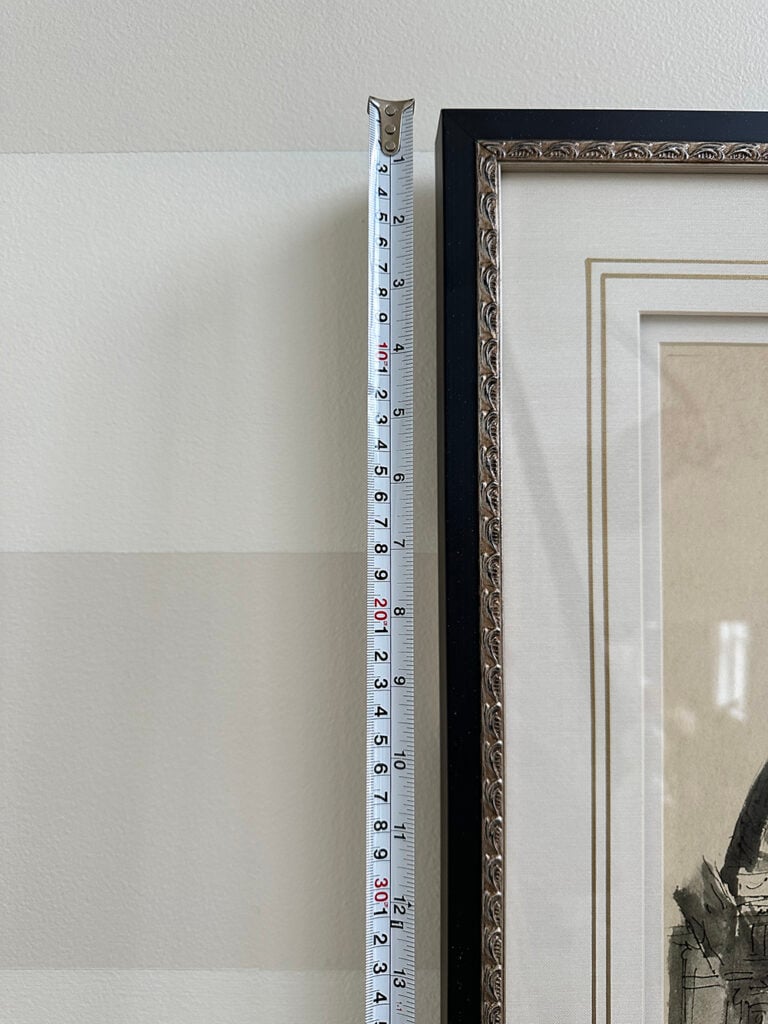
Next, measure each work of art, jotting down the sizes. Once you have the size of each piece, use a rectangle shape, scaling each to size (in inches)– representing each work of art. Alternatively, you can snap quick images of your artwork, and scale those to size over the wall in Illustrator. Once everything is input, you can easily shift around the different sizes or works of art until you’re satisfied with the overall gallery layout.
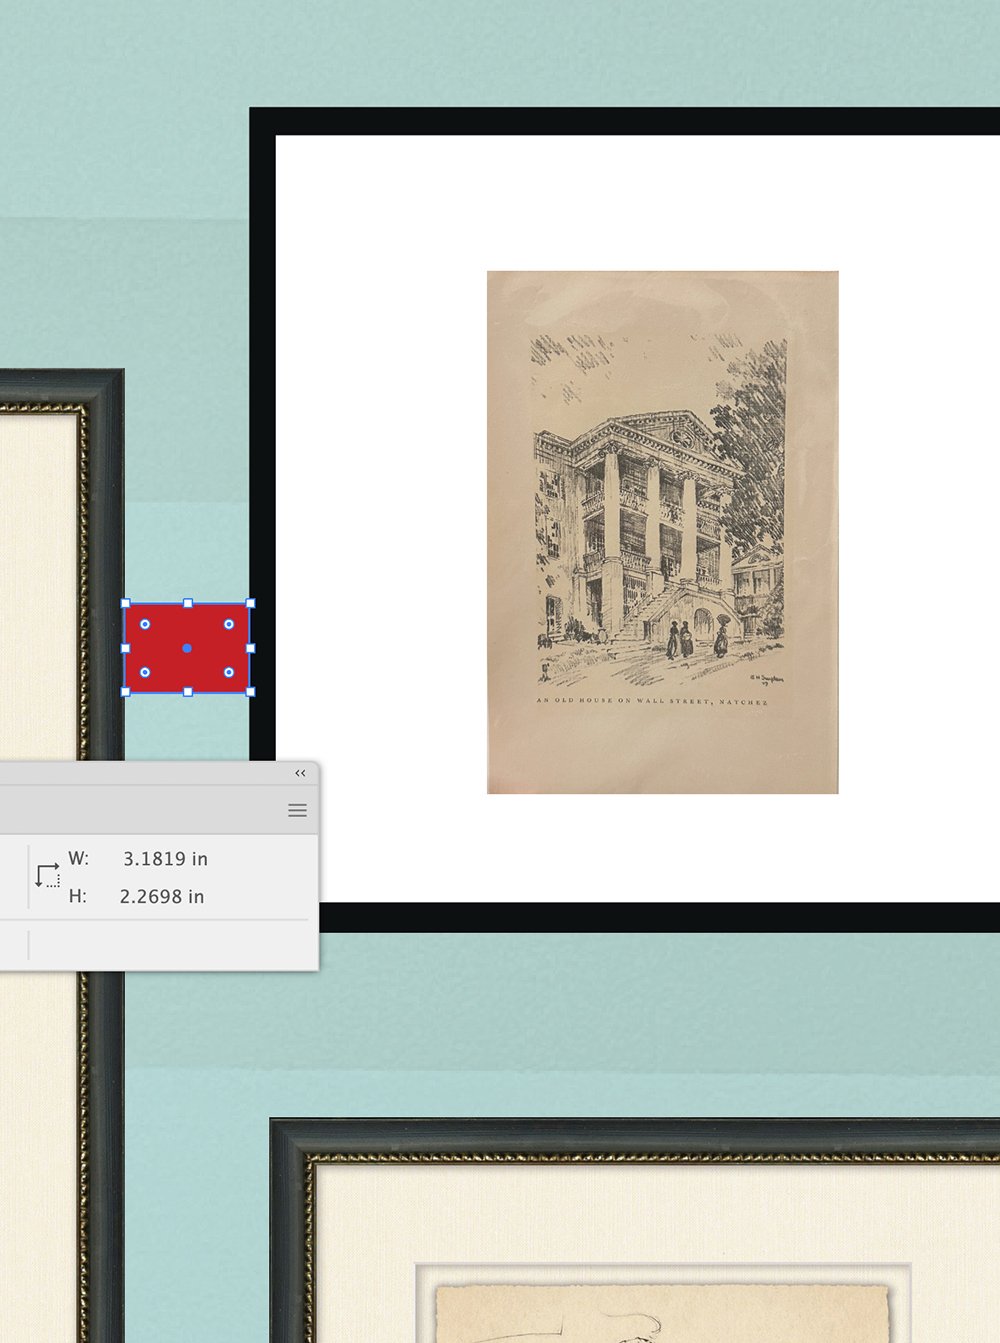
From there, you can easily use the line segment tool or shape tool to measure between each frame, from the edge of the gallery to the wall, from the lowest work of art to the floor, etc. It’s the easiest way to create a detailed plan with measurements. In the above image, you’ll see I have just over 3 inches (width) between the two frames. Let me know if you’d like a video tutorial for this- I’d be happy to record one, if you’re also an Adobe user! Alternatively, you could definitely recreate this simple method using whatever software you have.
Layout Design Tips
While you’re having fun arranging and moving around around your frames on the computer, here are five tips for the design plan…
- Set the largest piece of art near the center, then build around it.
- Keep a consistent amount of blank space between the frames.
- Mix smaller frames and larger frames in a way that feels balanced.
- Gallery walls that include both horizontal and vertical works tend to feel more eclectic- and they’re easier to visually balance.
- While a gallery wall itself is a focal point, there is typically one or two works in the gallery that stand out (in a good way)– be sure to emphasize your favorite pieces.
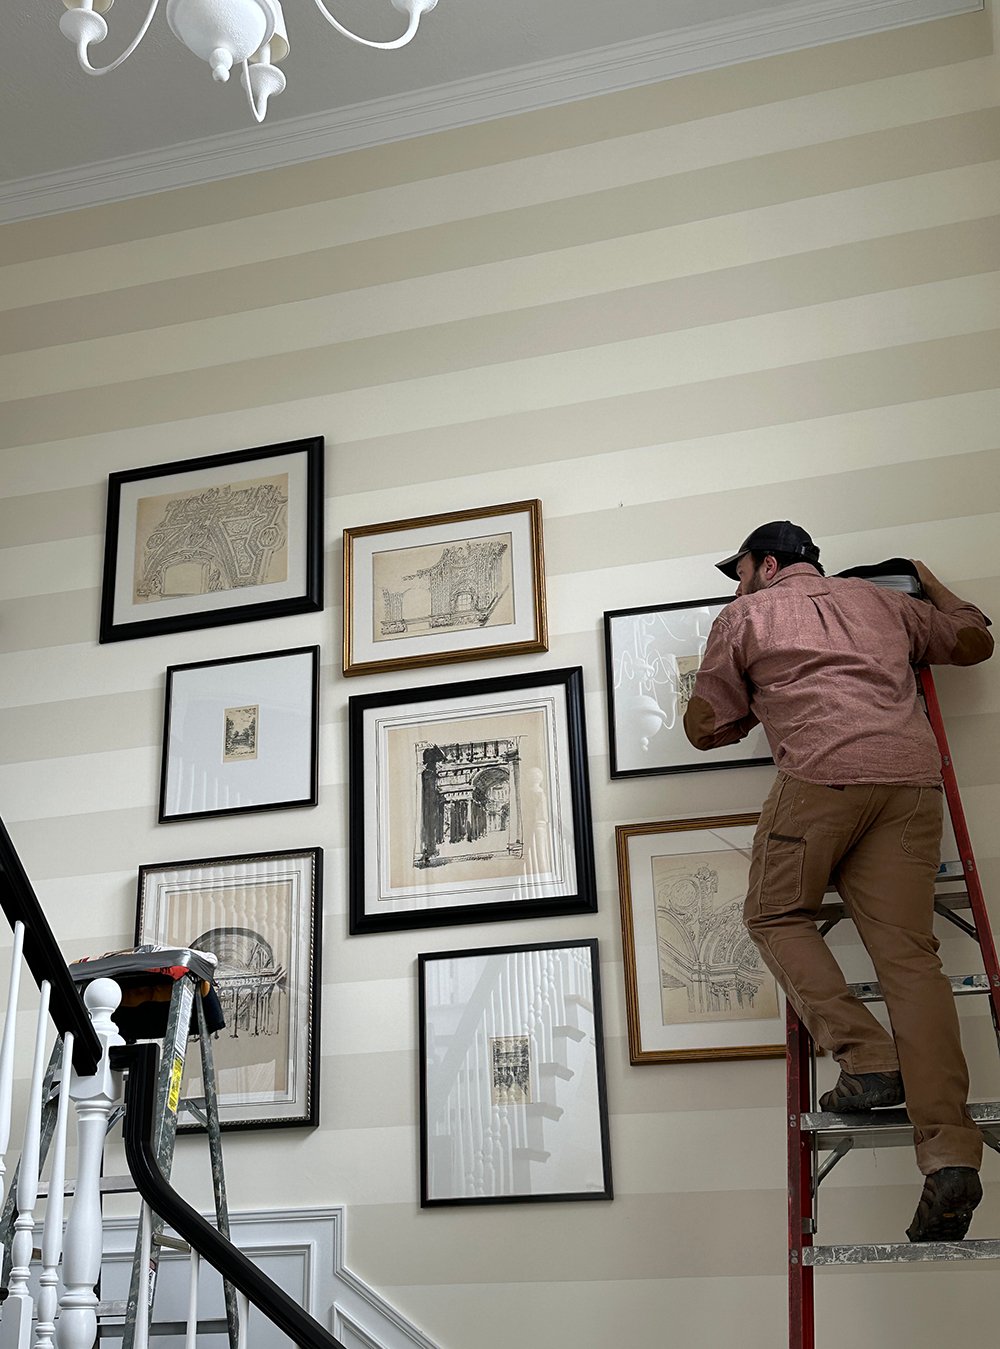
Installation Process
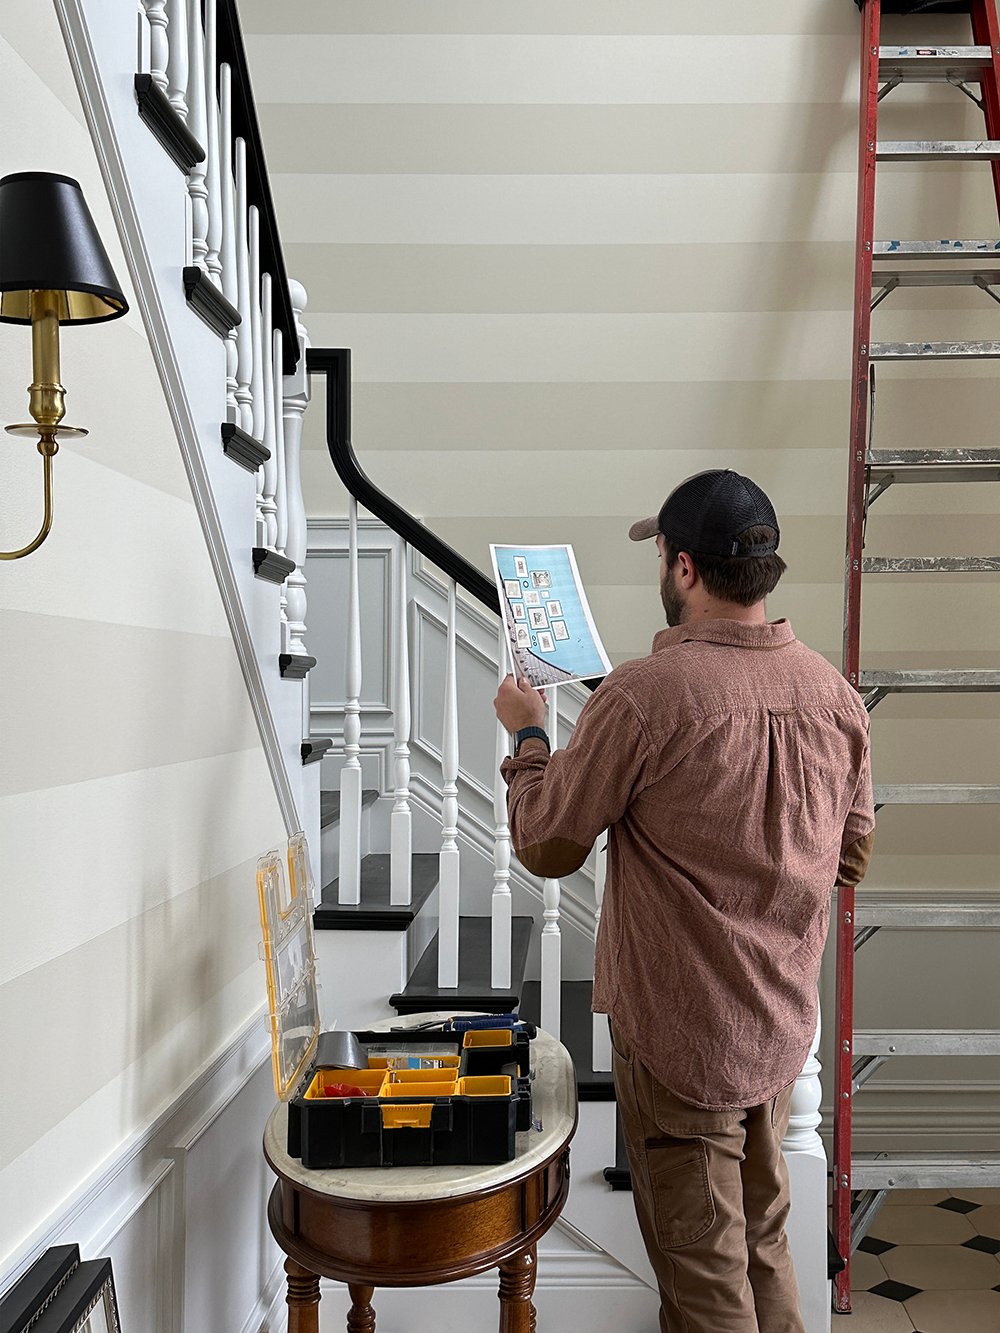
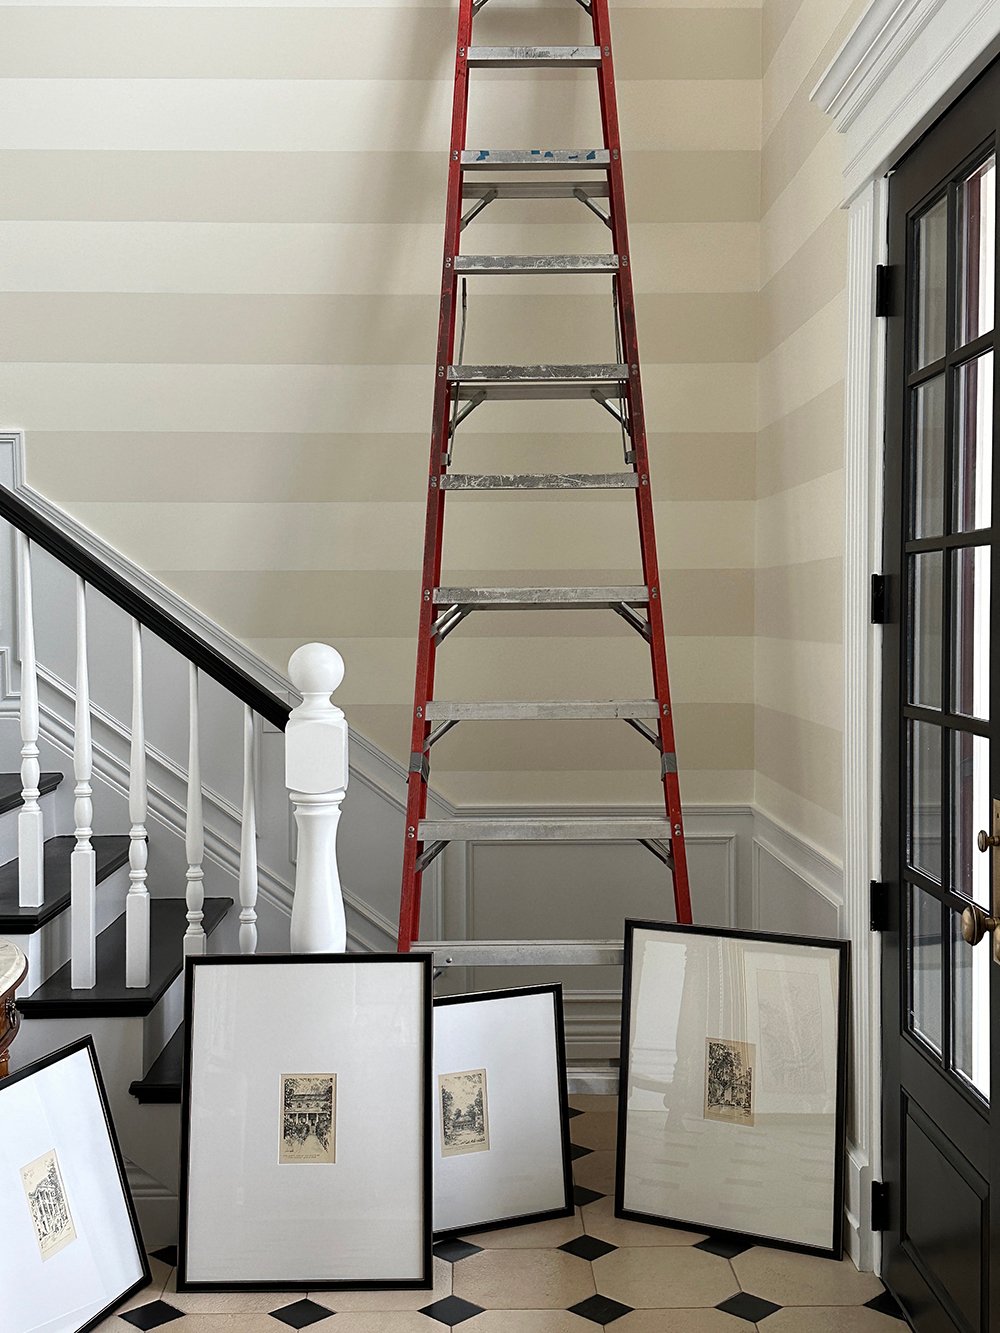
Print your handy layout and choose a piece to hang first. You can either work from the center of the gallery wall, or from an edge (top to bottom, bottom to top, side to side, etc).
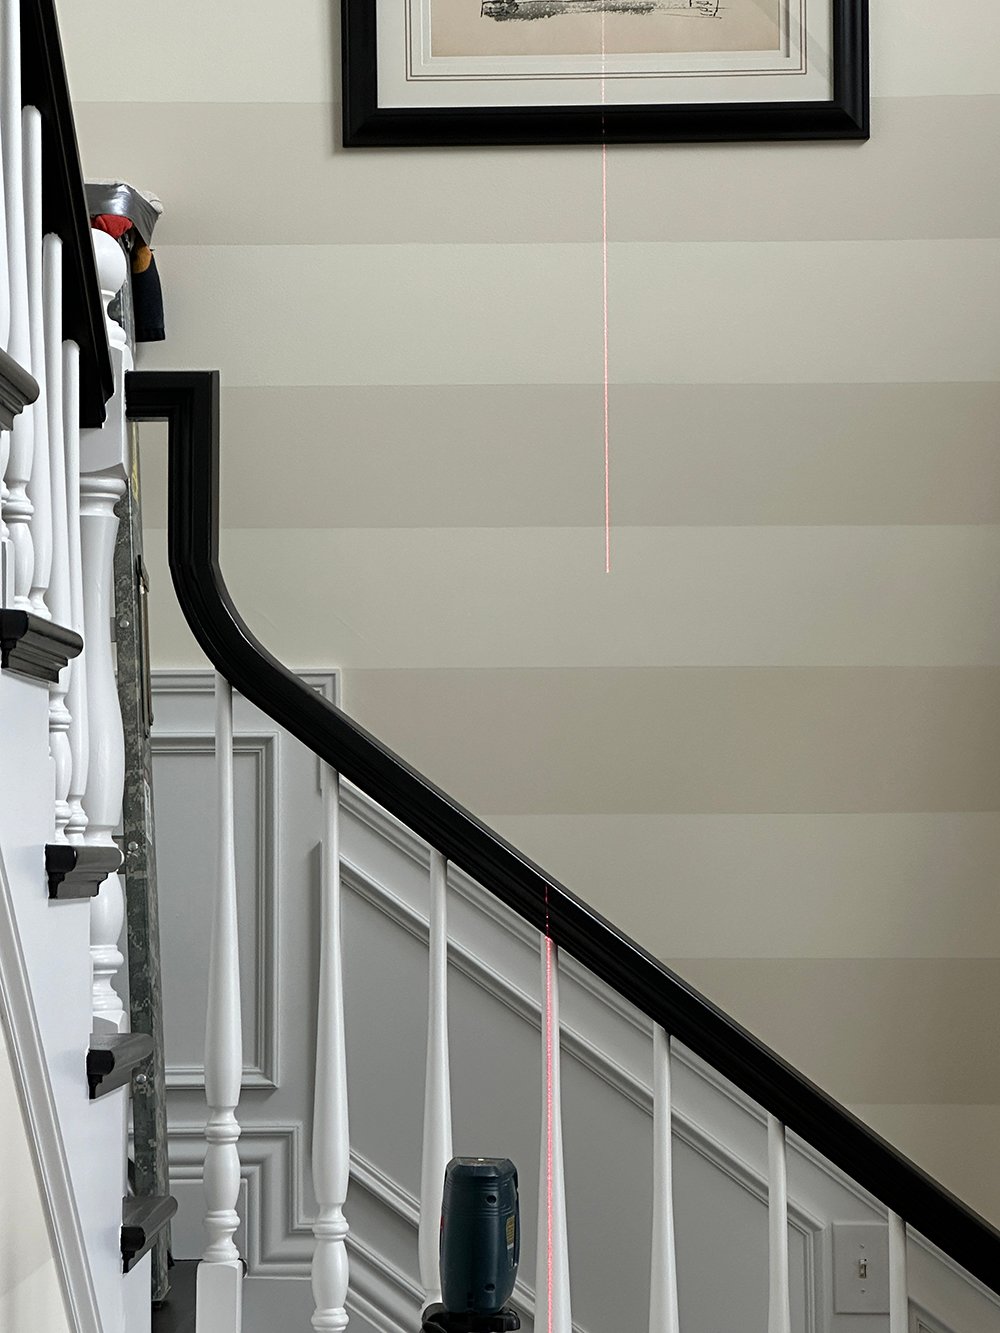
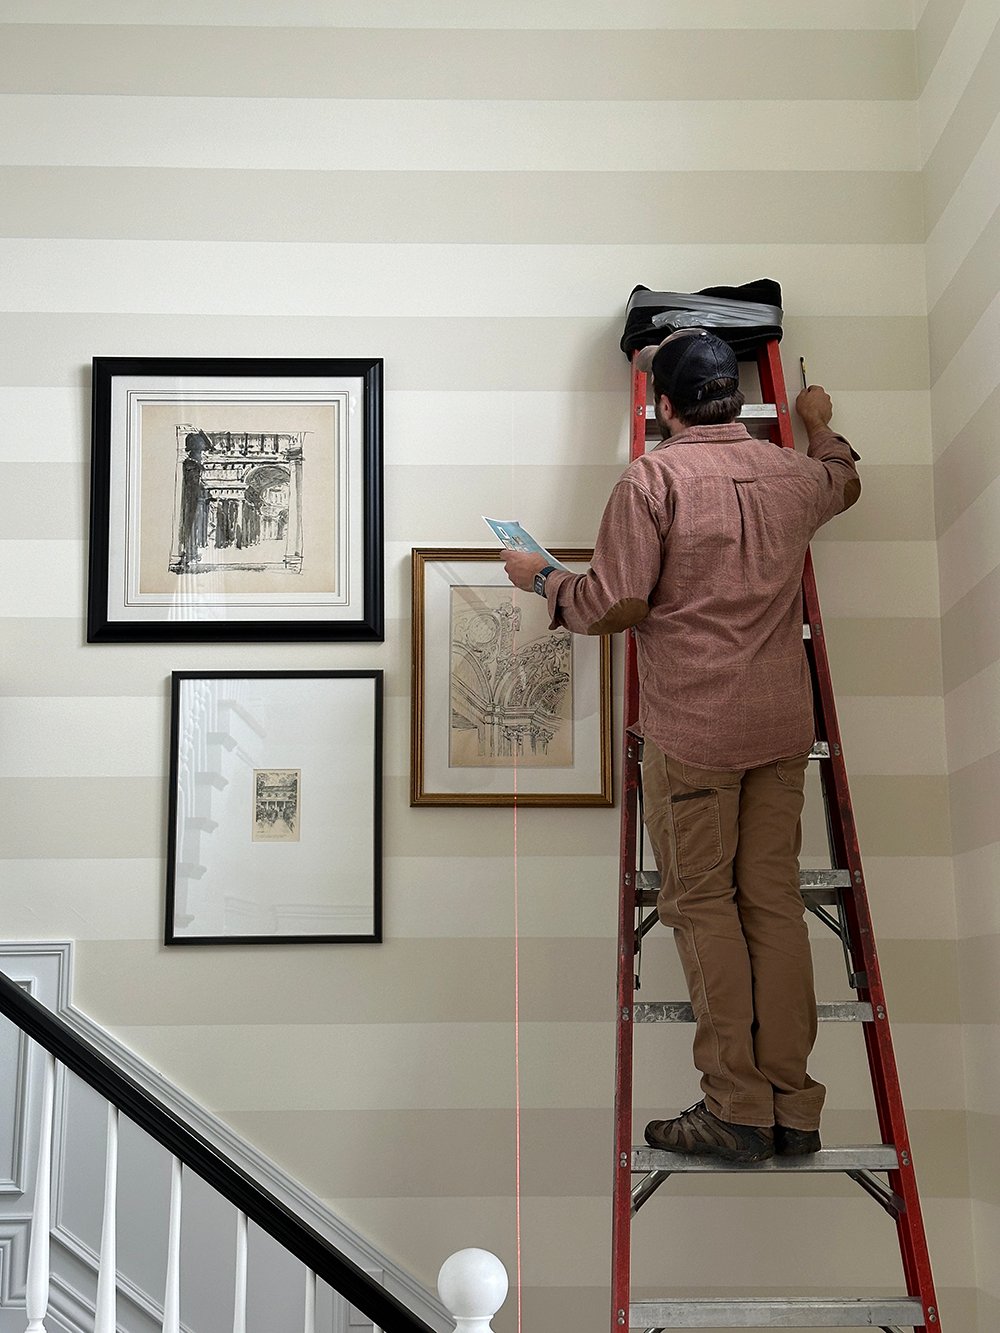
We always begin on center, use a tape measure to determine the space from the edge of the wall, and then we work our way outward. A laser level is also a helpful tool to have for hanging art! Ours sees a lot of use.
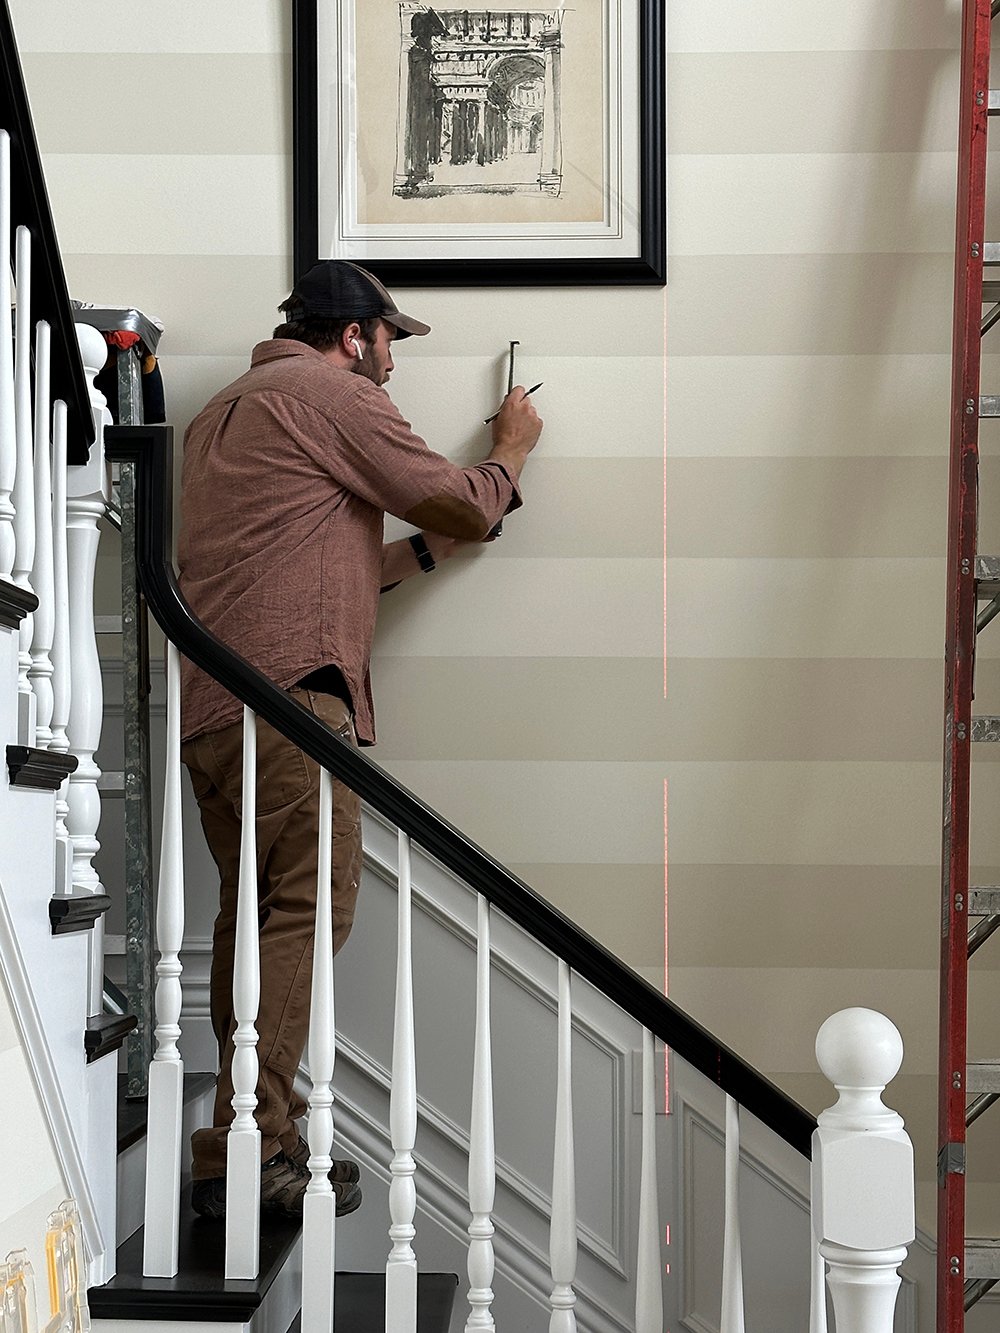
Oftentimes, we’ll save the smaller works of art for the end of the installation process, because they make easy “fillers”. They can easily be adjusted to fill negative space as needed.
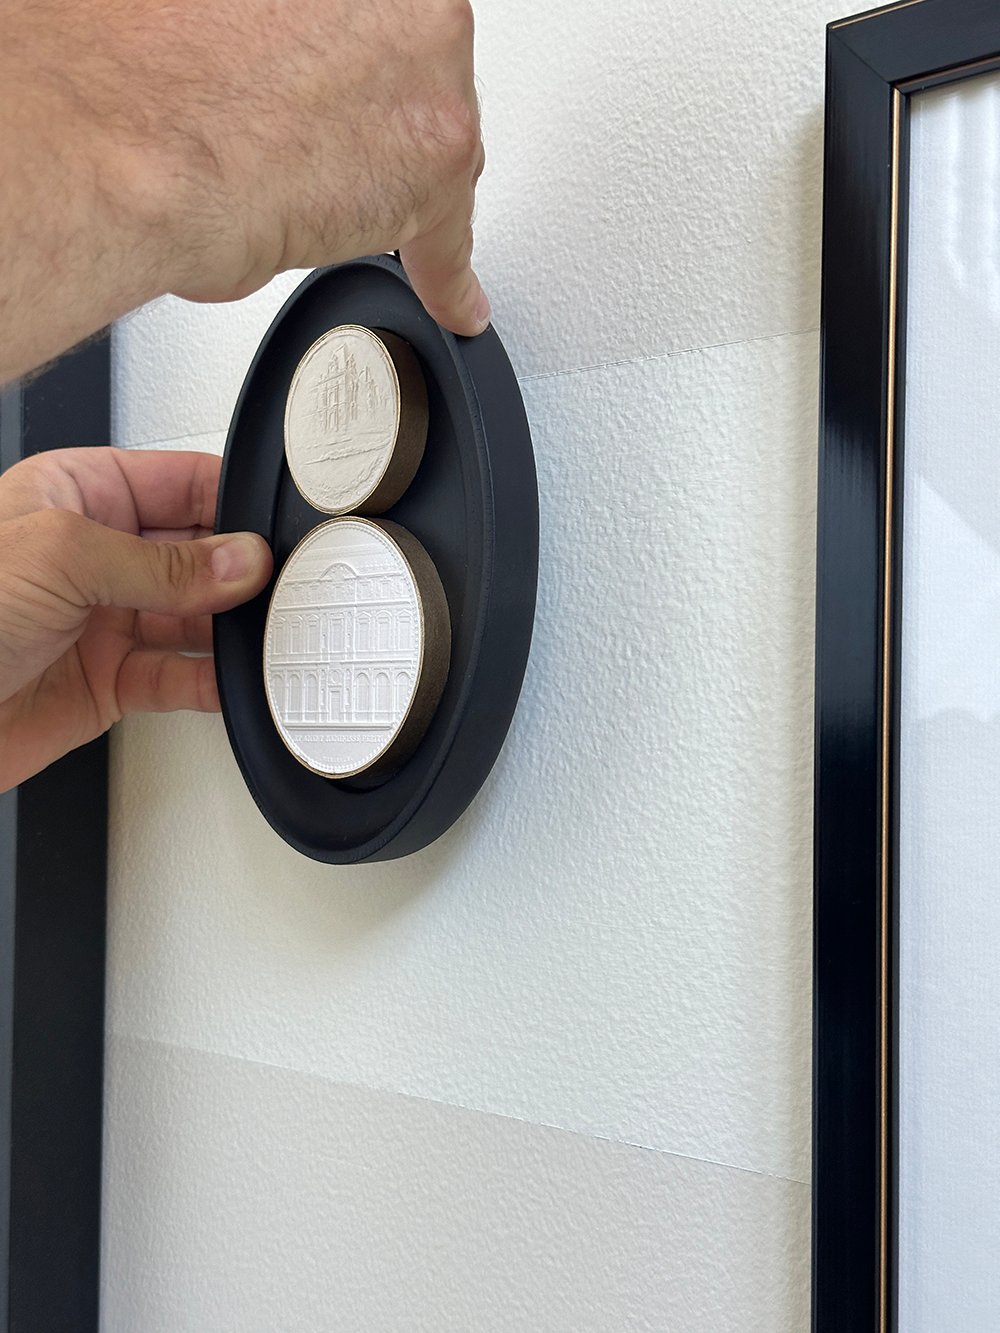
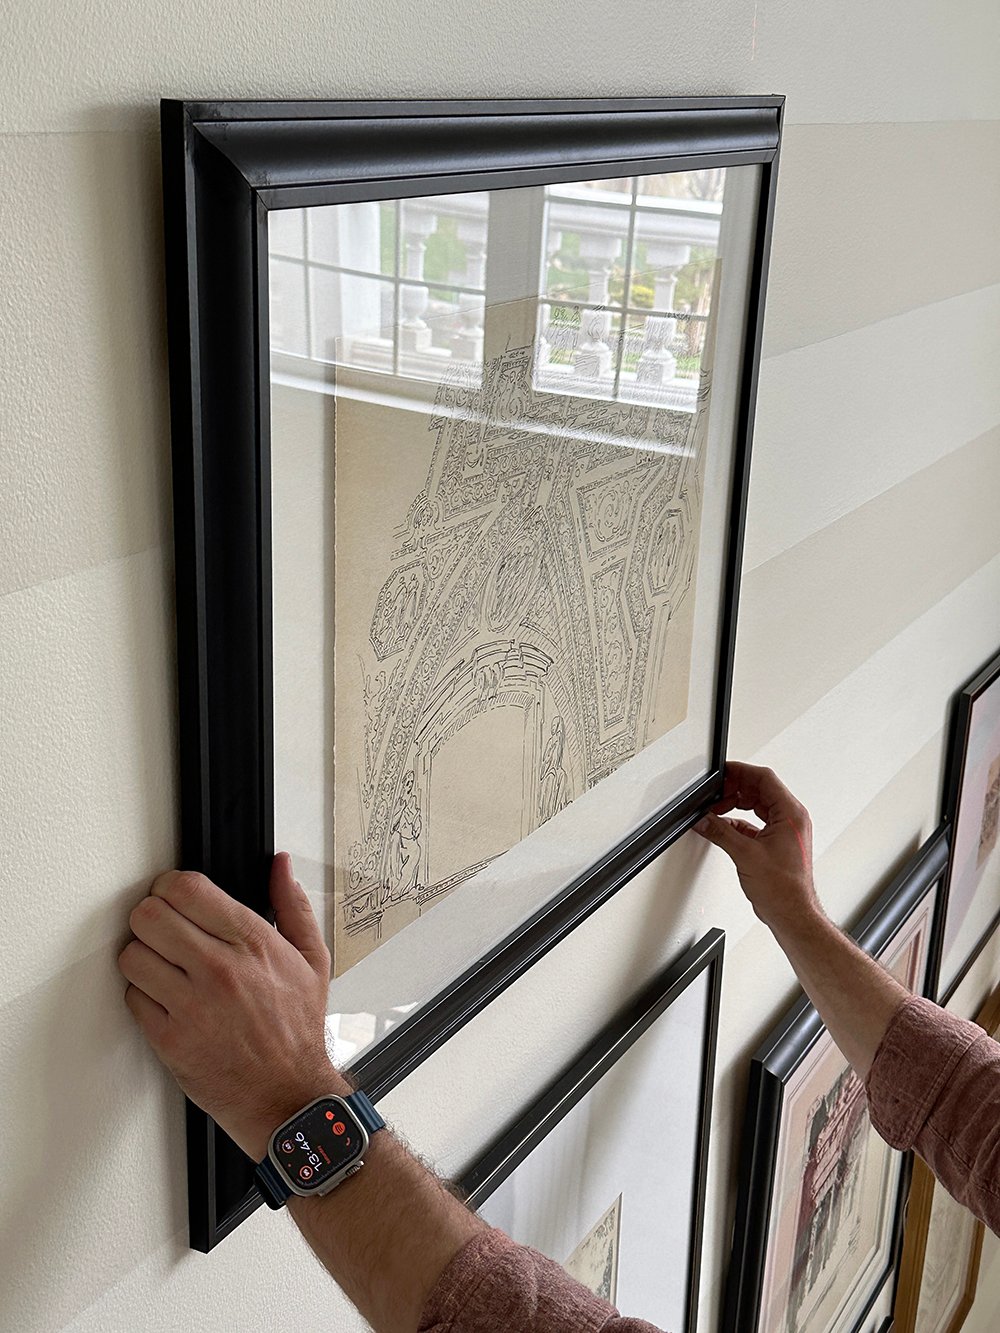
A quick art installation tip… as you’re installing each work- add a small ball of sticky tack to the backside on the frame- on the bottom two corners to secure. This keeps your art from shifting while dusting, if it gets bumped, etc.
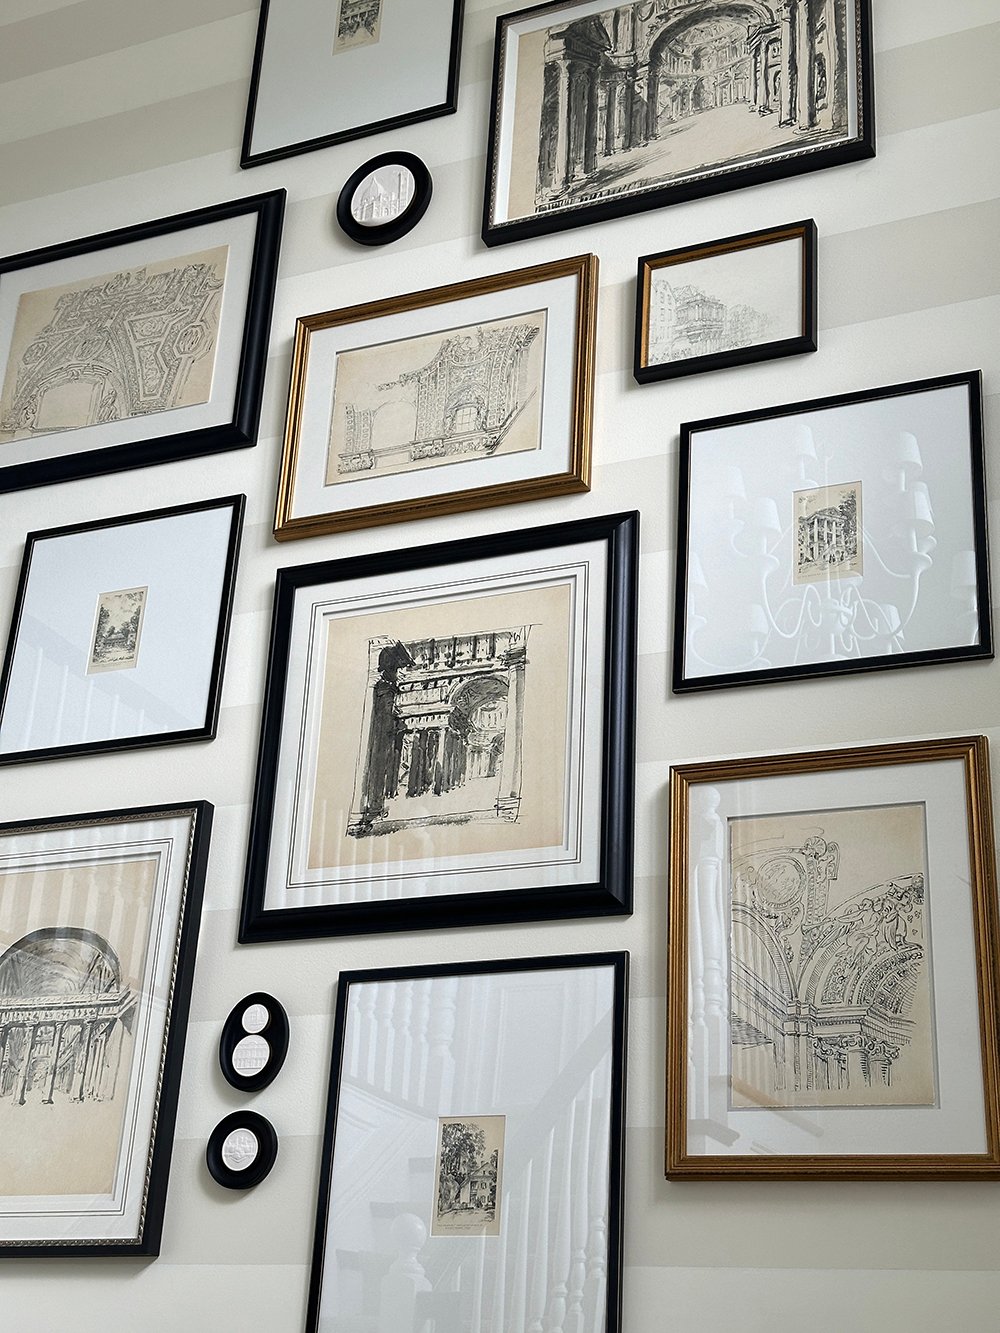
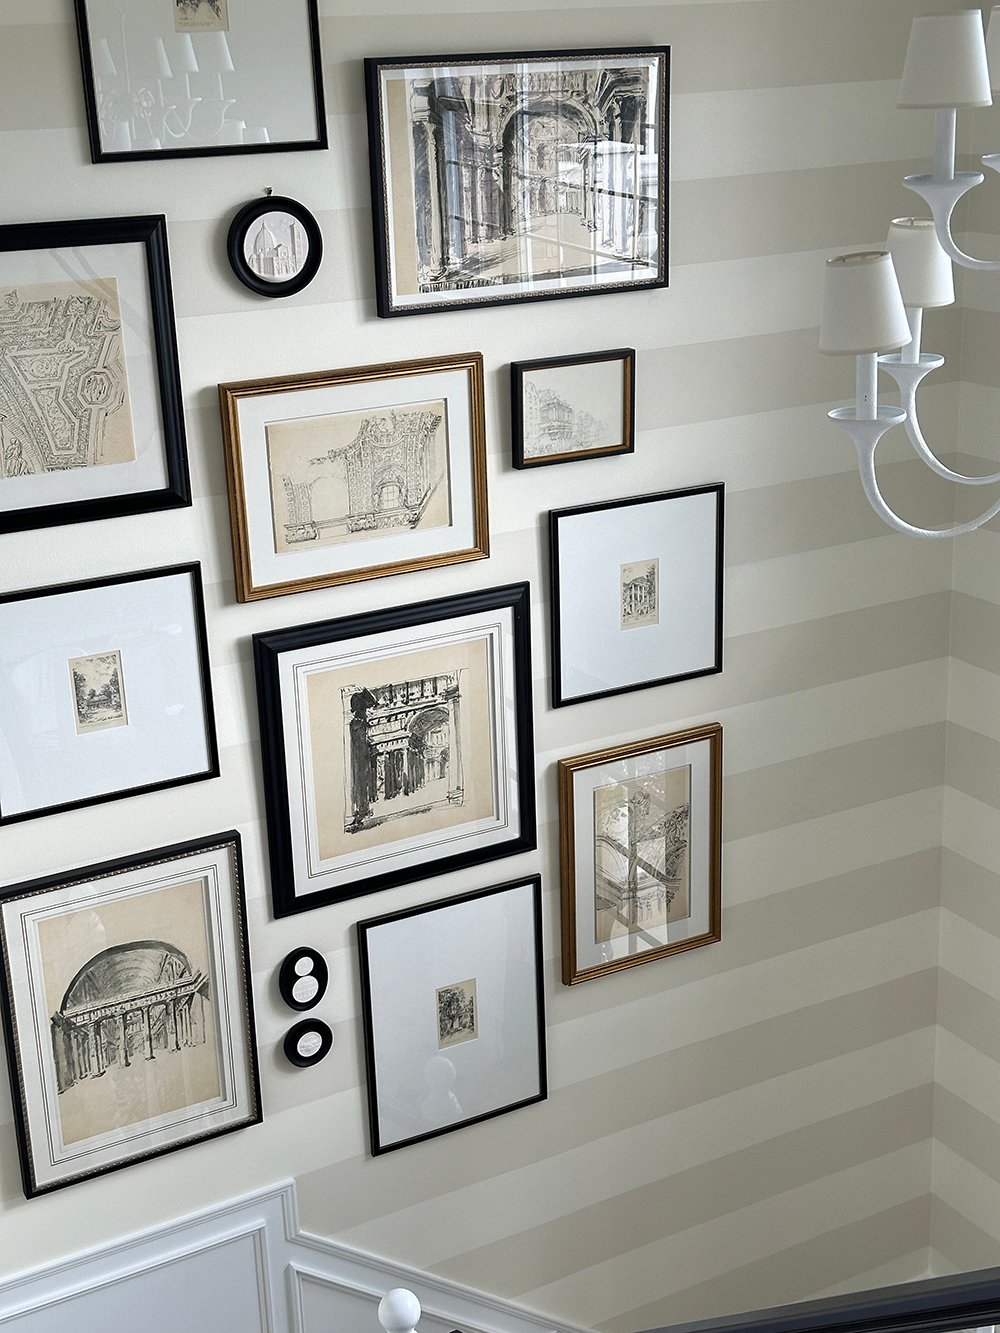
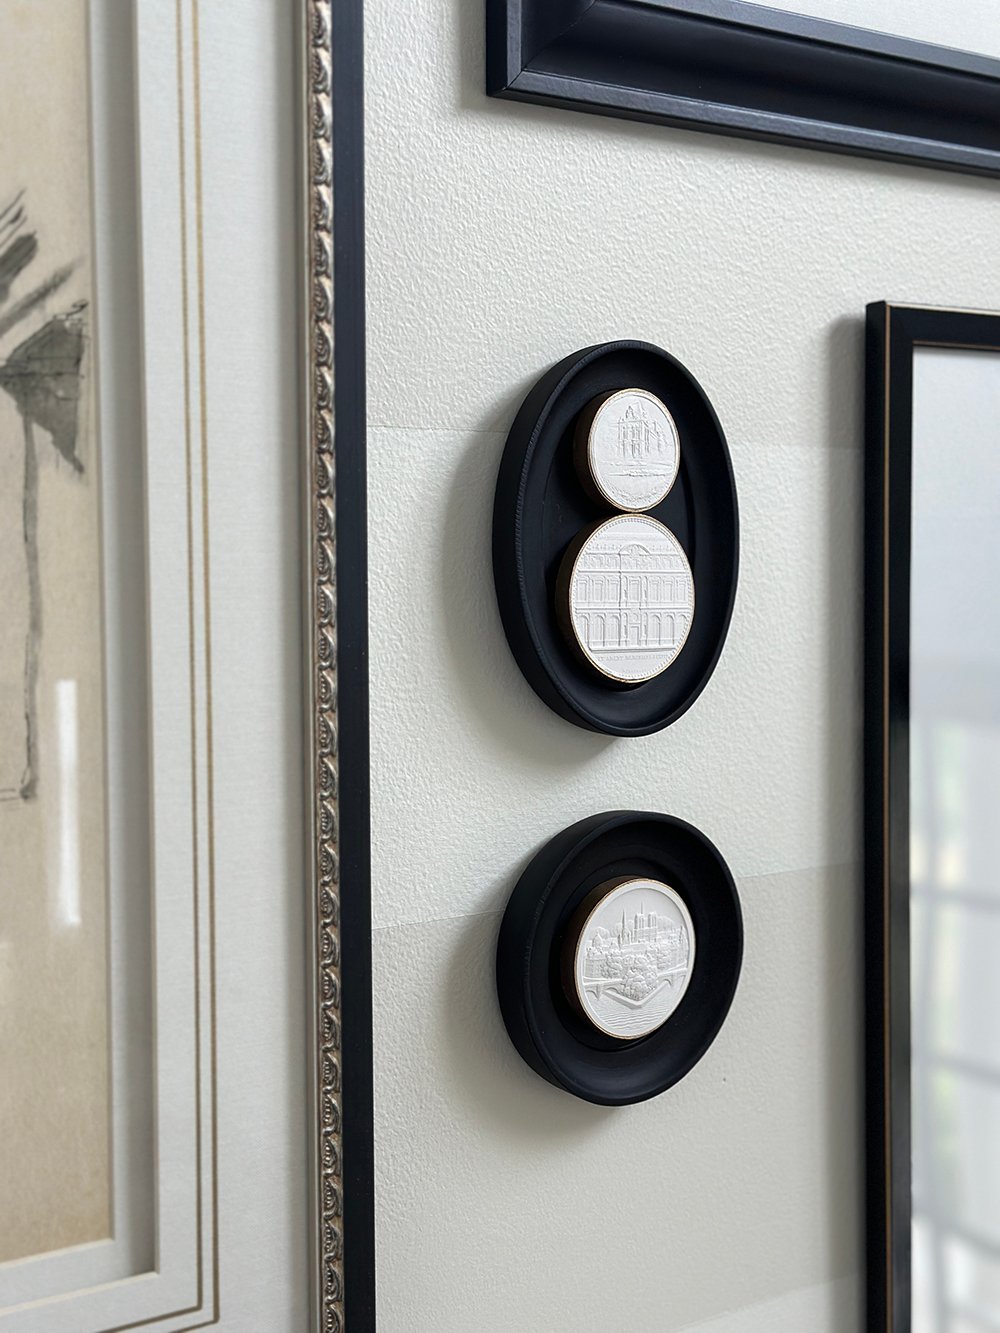
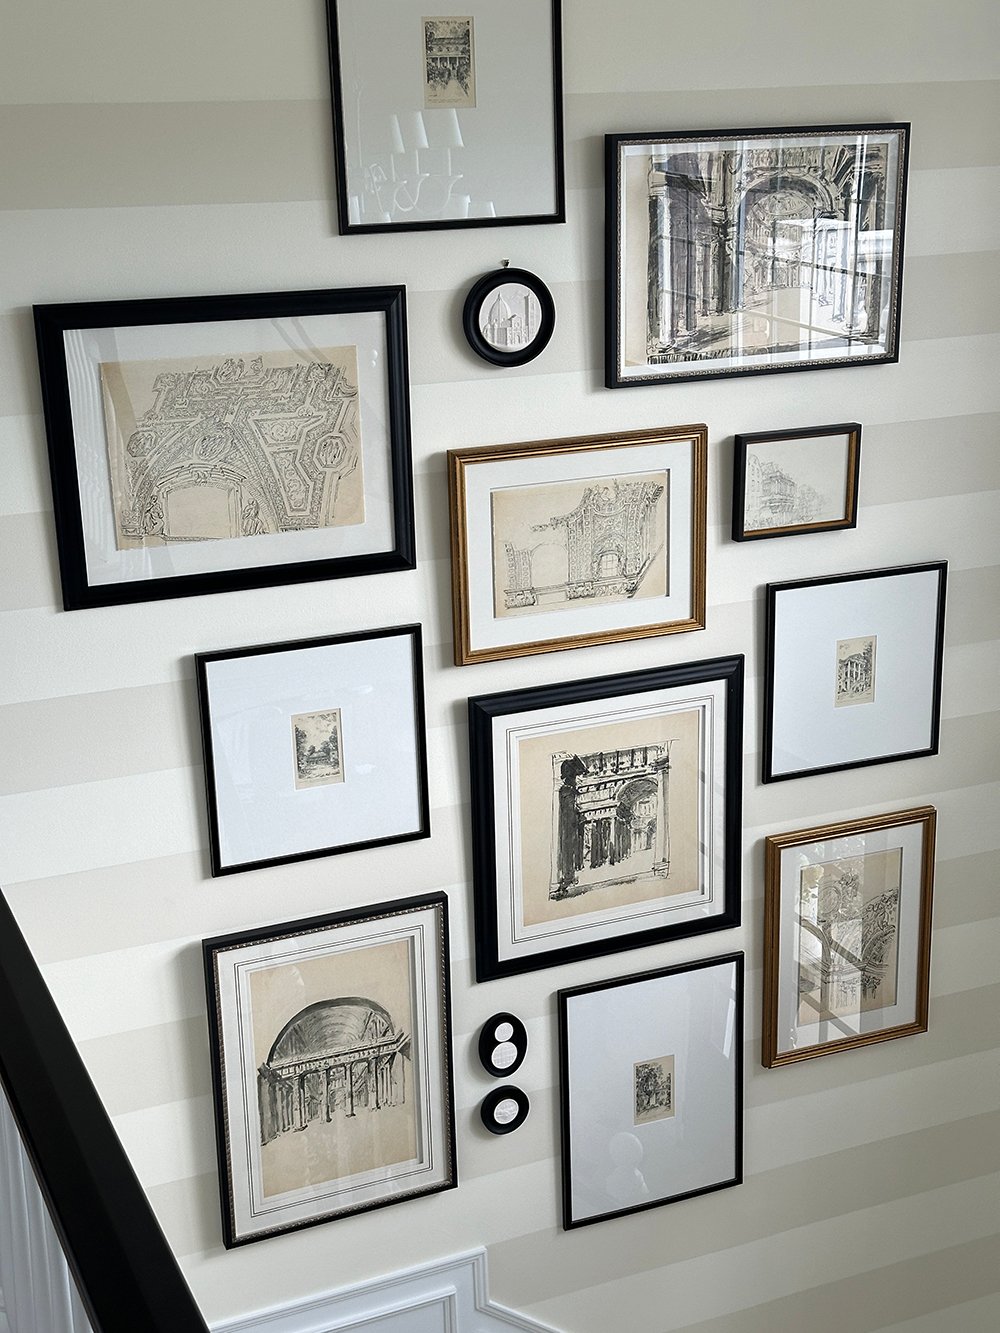
Here’s a quick peek at how it turned out… I think these architectural works were the perfect thing for the entry to our home. What do you think? Did you pick up on that loose theme?
FAQ
Stick to two different finishes- or frames within the same color family (warm versus cool). I like to set parameters for myself. For this gallery wall, I kept these things in mind: architectural subject matter, neutral color palette, white mats, and black, brass, or warm champagne colored frames.
I typically begin with the larger works that can cover a significant amount of wall space. Large frames toward the center, then I work my way outward.
Gallery walls are a fun way to insert personality into your home… what are your interests? What is the purpose of the room? For example, a bedroom would be well suited for calming subject matter or hues. I shared 20+ gallery wall subject ideas in this post- give it a look to get your wheels turning!
Related
Looking for more artwork or Adobe interior design related posts? I’ve shared plenty of these in the past and will link them for you below! As always, please let me know if you have any questions in the comment section below. I’m always happy to help!
- Traditional Neutral Gallery Wall Picks
- How to Create a Floor Plan in Adobe Illustrator (very similar digital process)
- 15 Designer Gallery Wall Combinations
- Your Guide to Creating the Perfect Grid Gallery Wall
- How to Make DIY Pressed Flower Wall Art (which would be perfect for a gallery wall!)
- Custom Framing Art Tips, Cost, and Frame Selection Ideas
- The Easiest Grid Gallery Wall
- Creating Your Own Photographic Art
I’m really pleased with how this installation came together- it shaped up to be a beautiful gallery wall. I’m itching to style and photograph the space! If you ever try my simple way for designing and installing a gallery wall, please let me know. I hope it helps to make the process feel less daunting! Here’s to a good week ahead, friends.