Entryway Renovation : Millwork & Electrical
I owe you a proper entryway renovation update! Things have been moving right along in the front of our home. The stairs have come leaps & bounds- the staircase carpentry is totally finished, all of the doors & hardware are installed, and Emmett has moved onto the next phase…

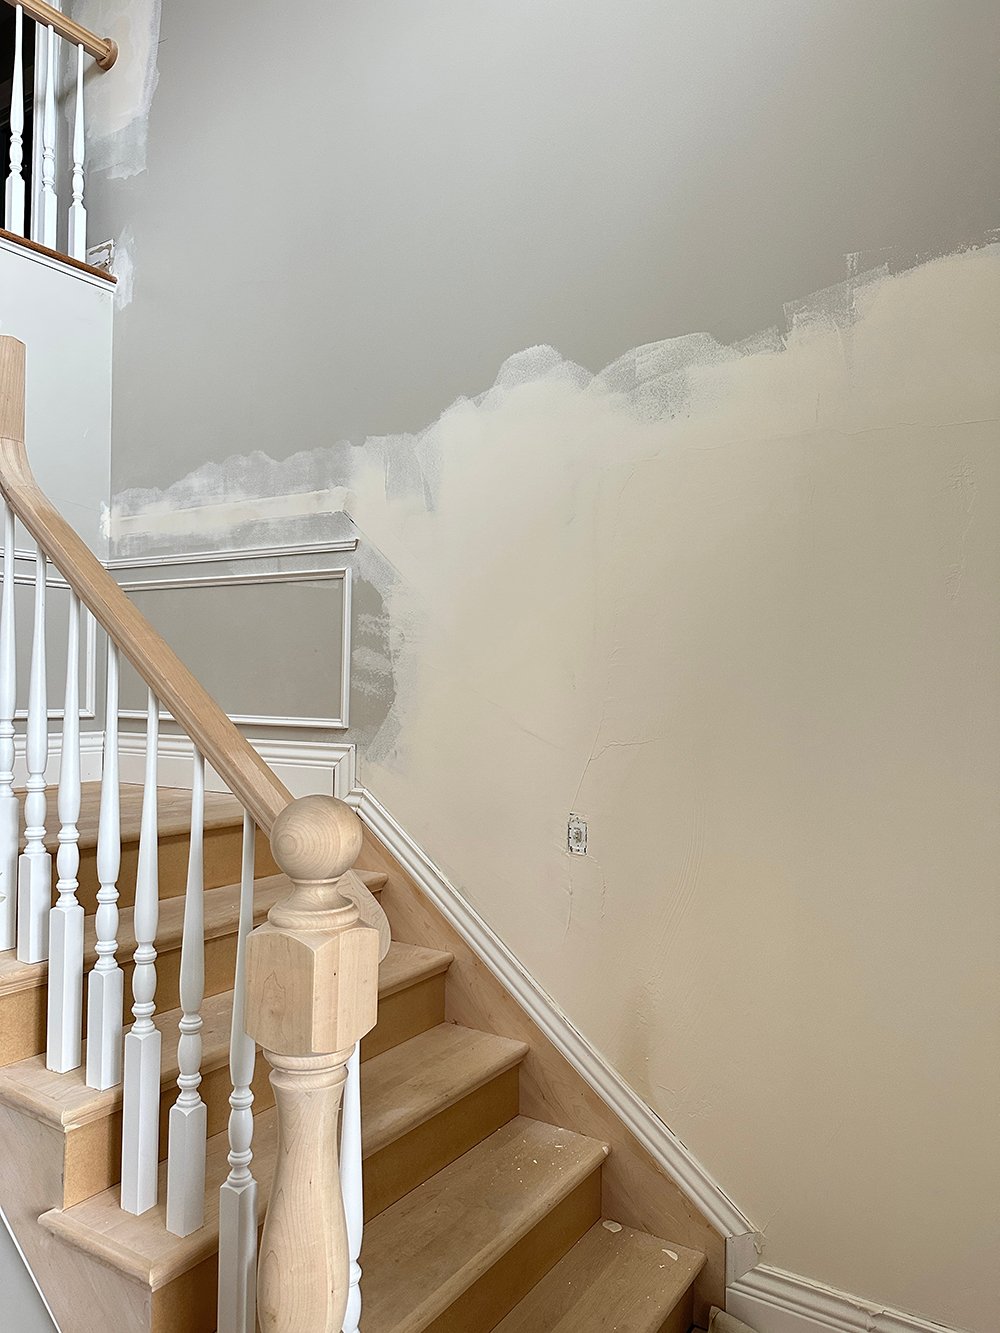
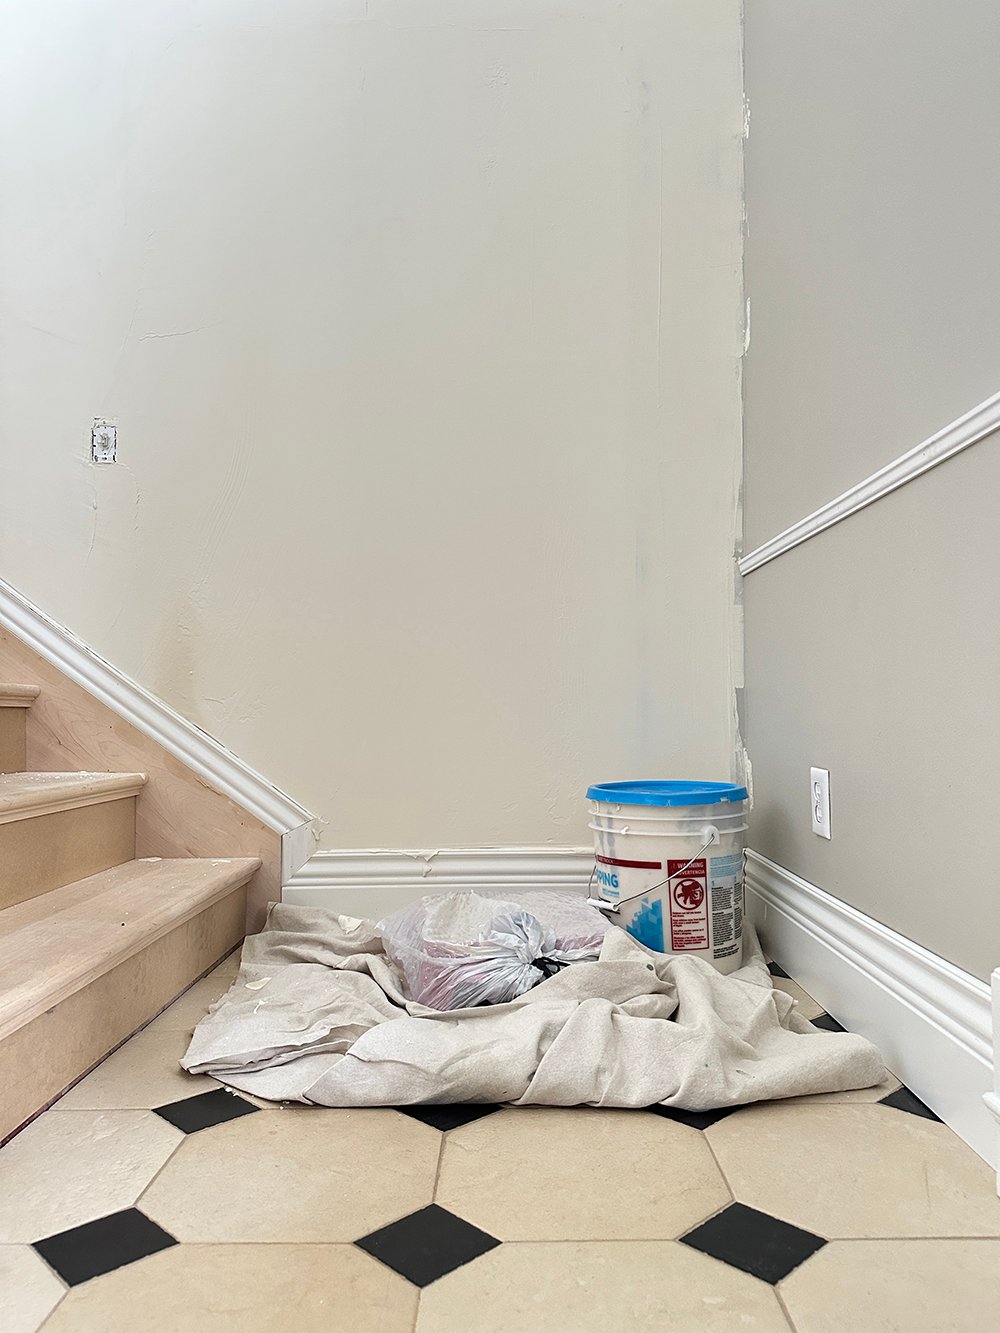
The last update I shared was back in May, so a few months later- we’re nearly ready for paint prep and the speedy part of the renovation. Millwork has taken us awhile, but I think you’ll see it has been well worth the effort! Here’s what we’ve accomplished since I last checked in, and what’s left on our to-do list. I warned you in my fall home tour that our house feels chaotic right now. While it may look like a total mess with patches and drywall mud everywhere, we’re actually nearing the fun part… paint. I’m keeping that in mind while the mess drives me crazy.
Doors & Hardware
We have six doors upstairs and all have been replaced, at this point. They’re primed and ready for paint- and the hardware has been set. Hanging doors was definitely a time consuming task, but I like these so much better than the existing hollow core doors that were here when we moved in. These are heavy, solid, soundproof, and better fit our home aesthetic. Selecting and replacing interior doors & hardware can make a huge impact. It certainly has in our house!
Casing & Architrave Details
Our front door had a HUGE architrave overhang, which architecturally & aesthetically- made zero sense. It bothered me since moving in. Let me drop a before image for you below. Here’s a visual…
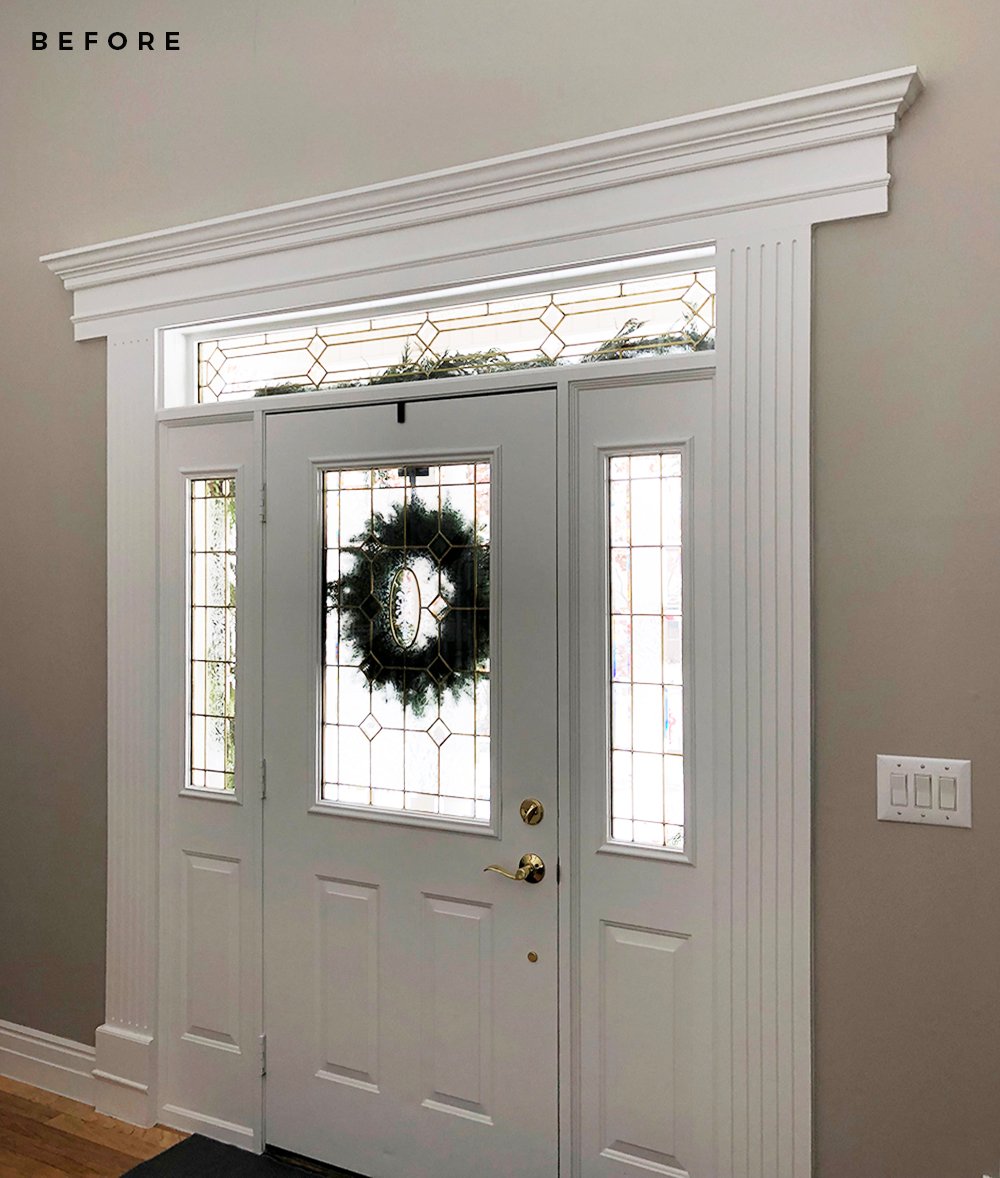
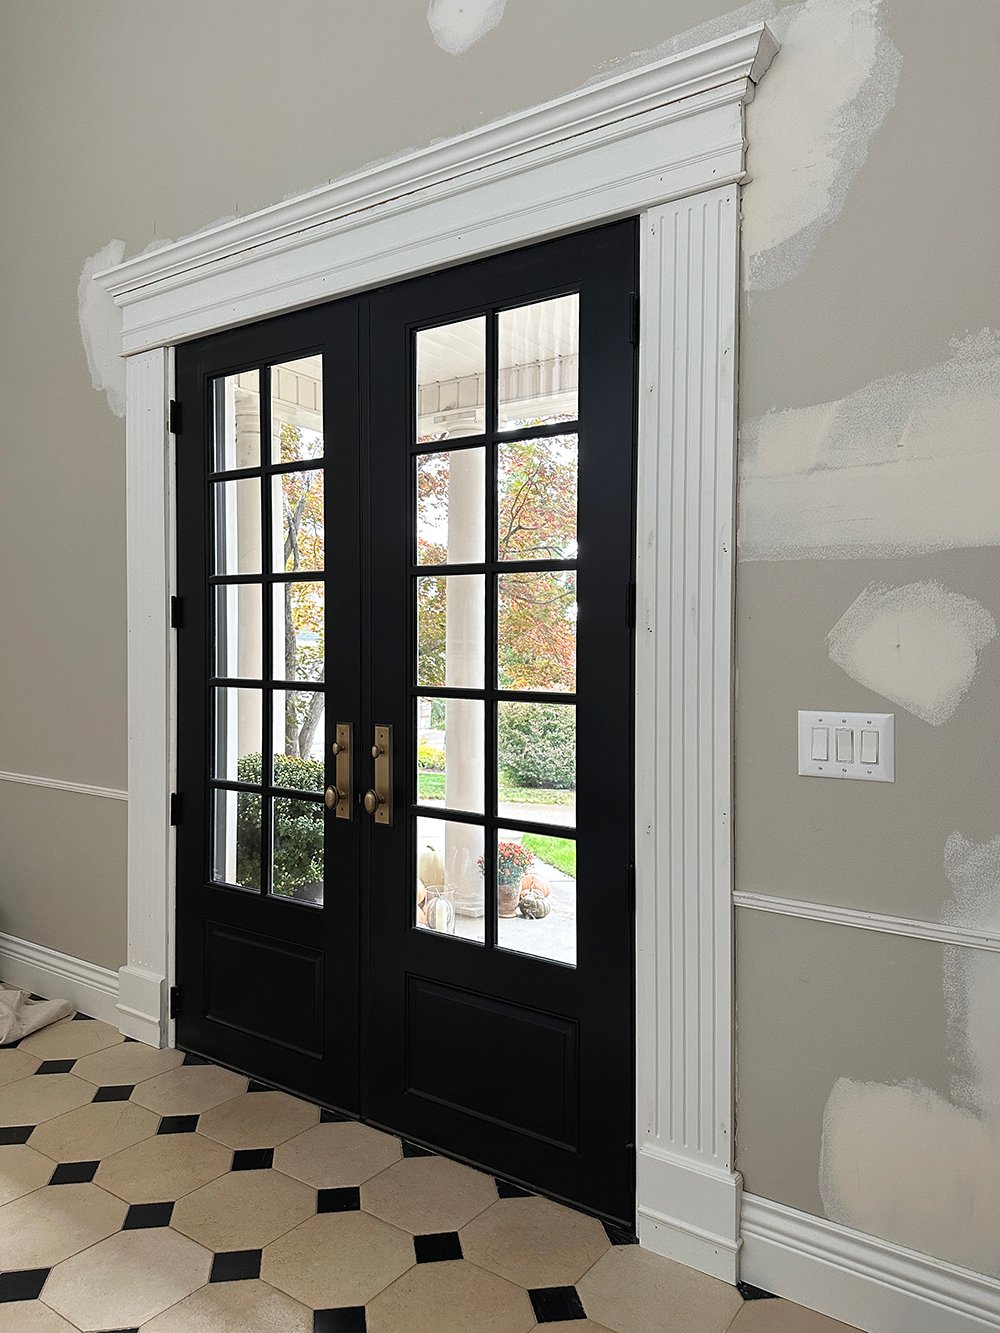
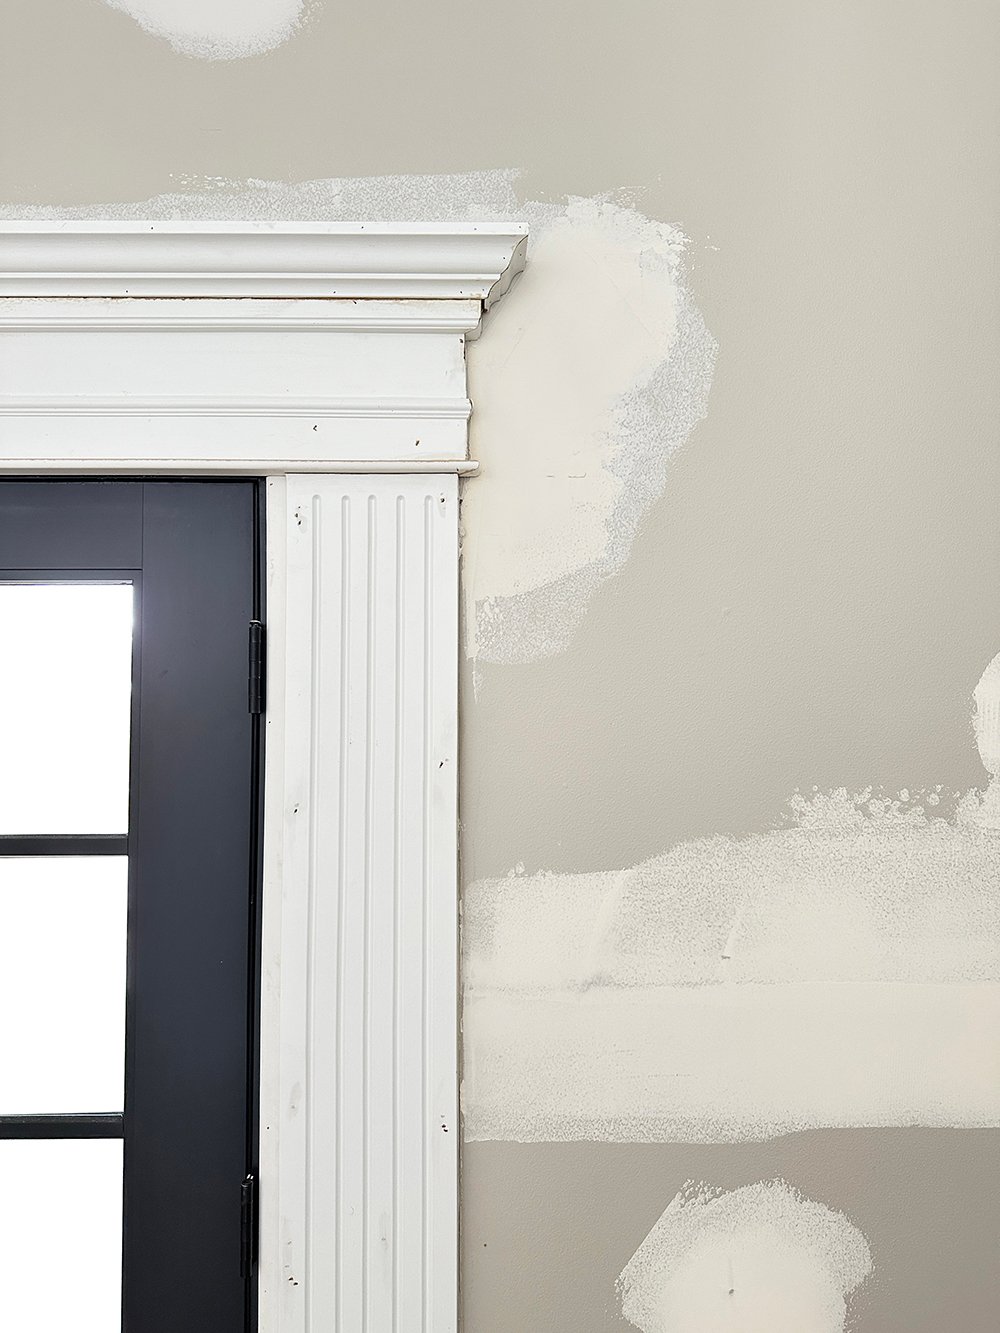
Weird, right? We wanted to reuse the casing, but cut down the existing architrave, hopefully saving the material in the process. Emmett was able to carefully remove it from the wall, recut the millwork, then reinstall. It looks so much better and is now in proportion with our front door. Of course it still needs caulked and painted, but this little detail made a big difference for our interior front door vignette.
Not only did the front door get an architrave glow up, but as we’re replacing the doors throughout our home, they’re getting cased out with an added architrave as well. I’ve always loved that classic colonial look and it’s well suited for our house. Here are the millwork profiles I selected for our entire home, if you’re interested.
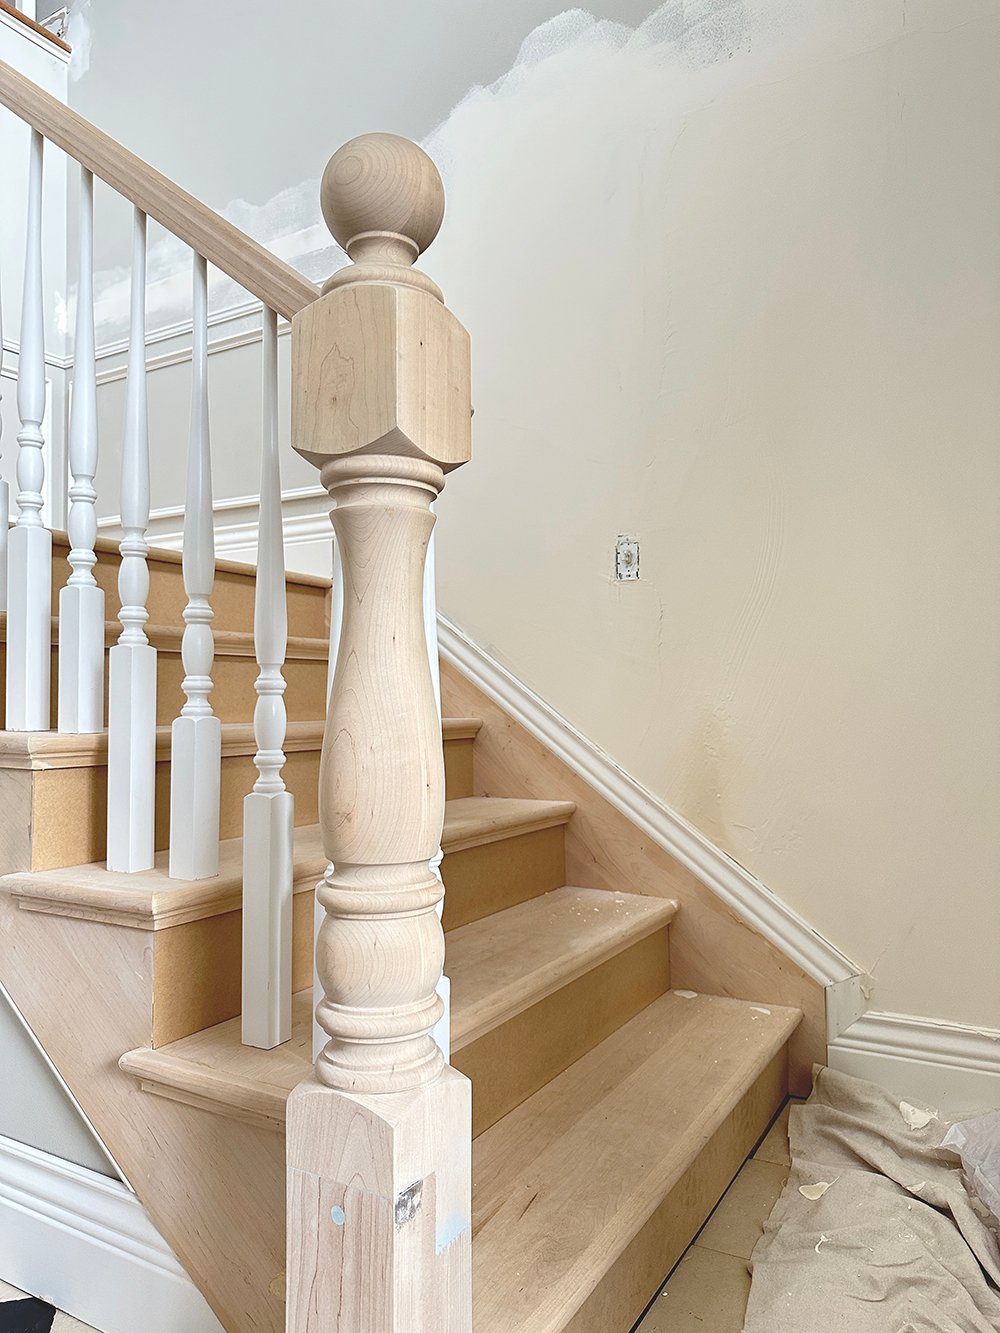
Panel Moulding & Chair Rail
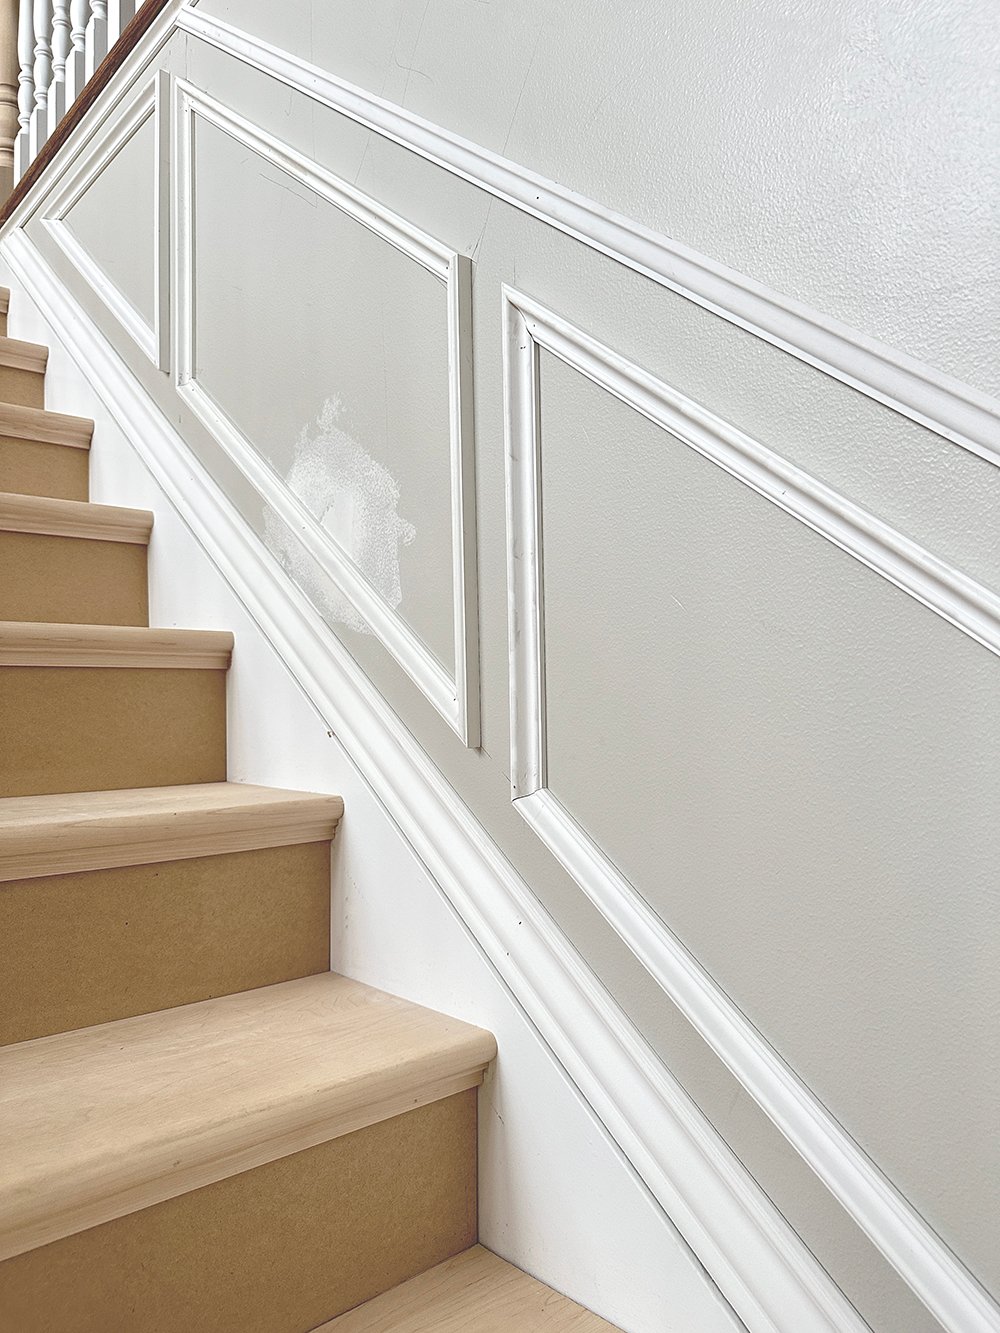
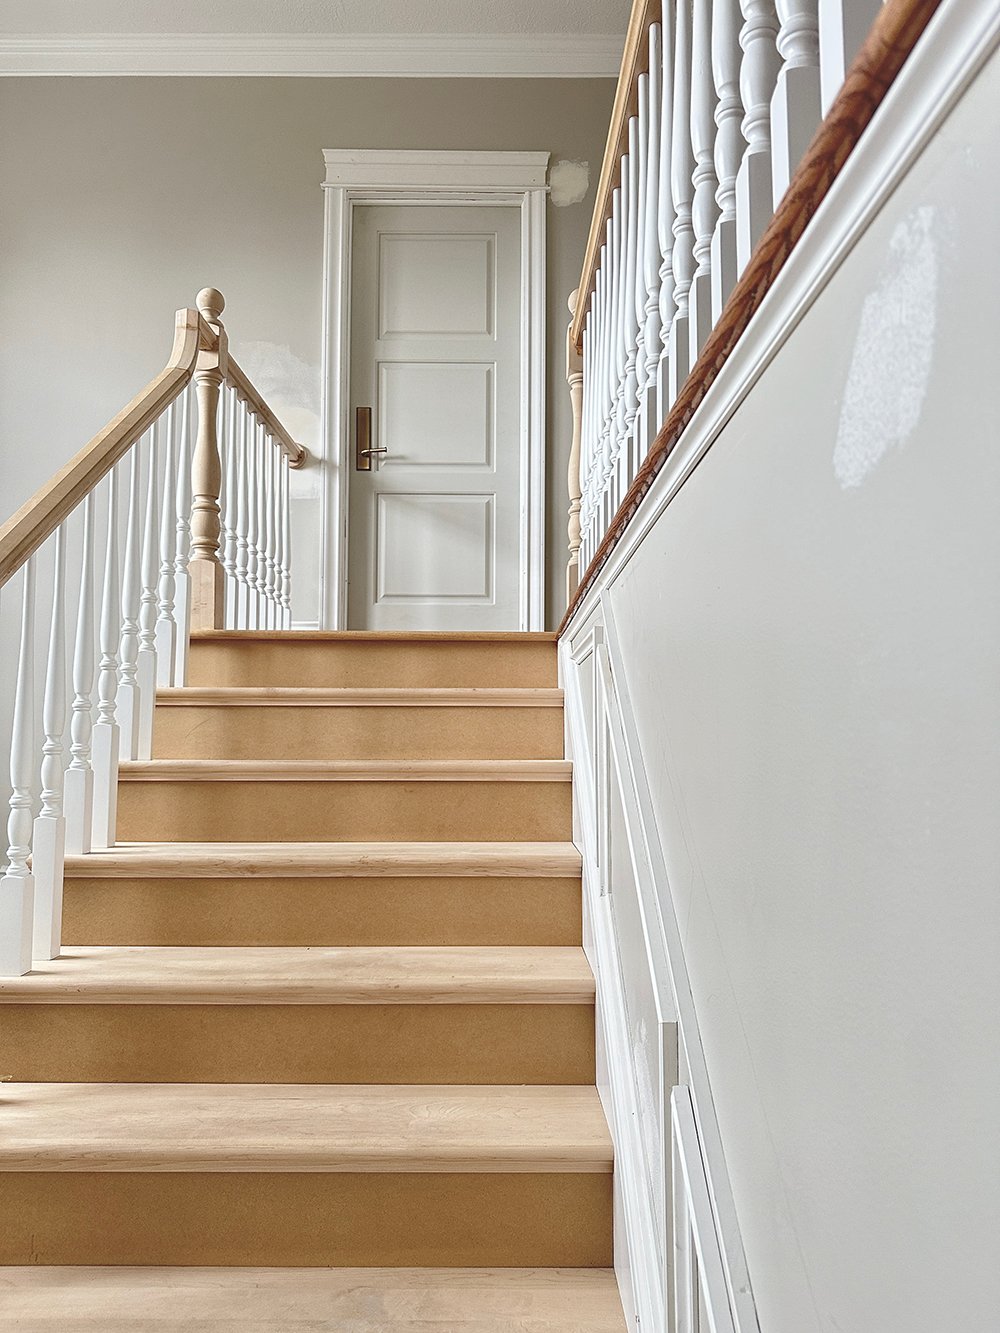
Once our doors and stairs were complete, Emmett moved onto what I call “fun” millwork… the extras- like panel moulding and chair rail.
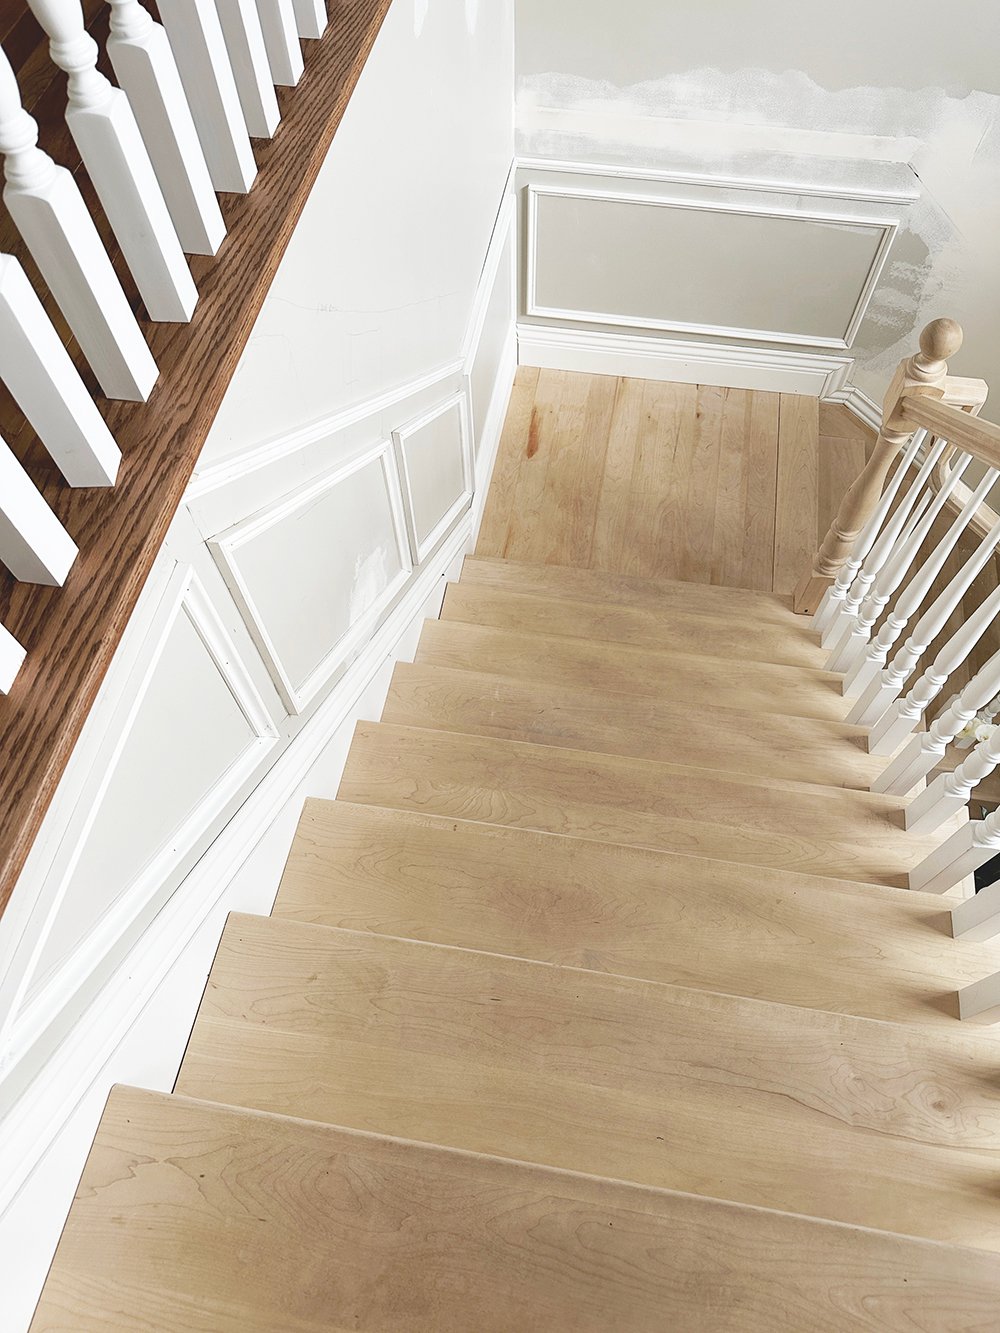
He’s still in the process of wrapping up this stage of millwork, but as you can tell- it’s looking really good. If you’re curious how to install or calculate panel moulding, check out the blog post I linked. Panel moulding isn’t necessary or well suited for all style homes, but our colonial architecture is really perfect for it. See how it will continue down the stairs, below?
We’ll repeat the look around the entryway as well. The lower portion of the chair rail will be painted a solid color, then we’ll be painting stripes above it. Honestly, I’m very nervous about the stripes. Sure, I’ve been known to make some bold paint choices and I’ve color blocked plenty of rooms, but repeated stripes seems like the Super Bowl of painting… throw in 20 foot ceilings and scaffolding, and yeah- my worry sets in. I’m contemplating getting that competent priced out. We shall see!
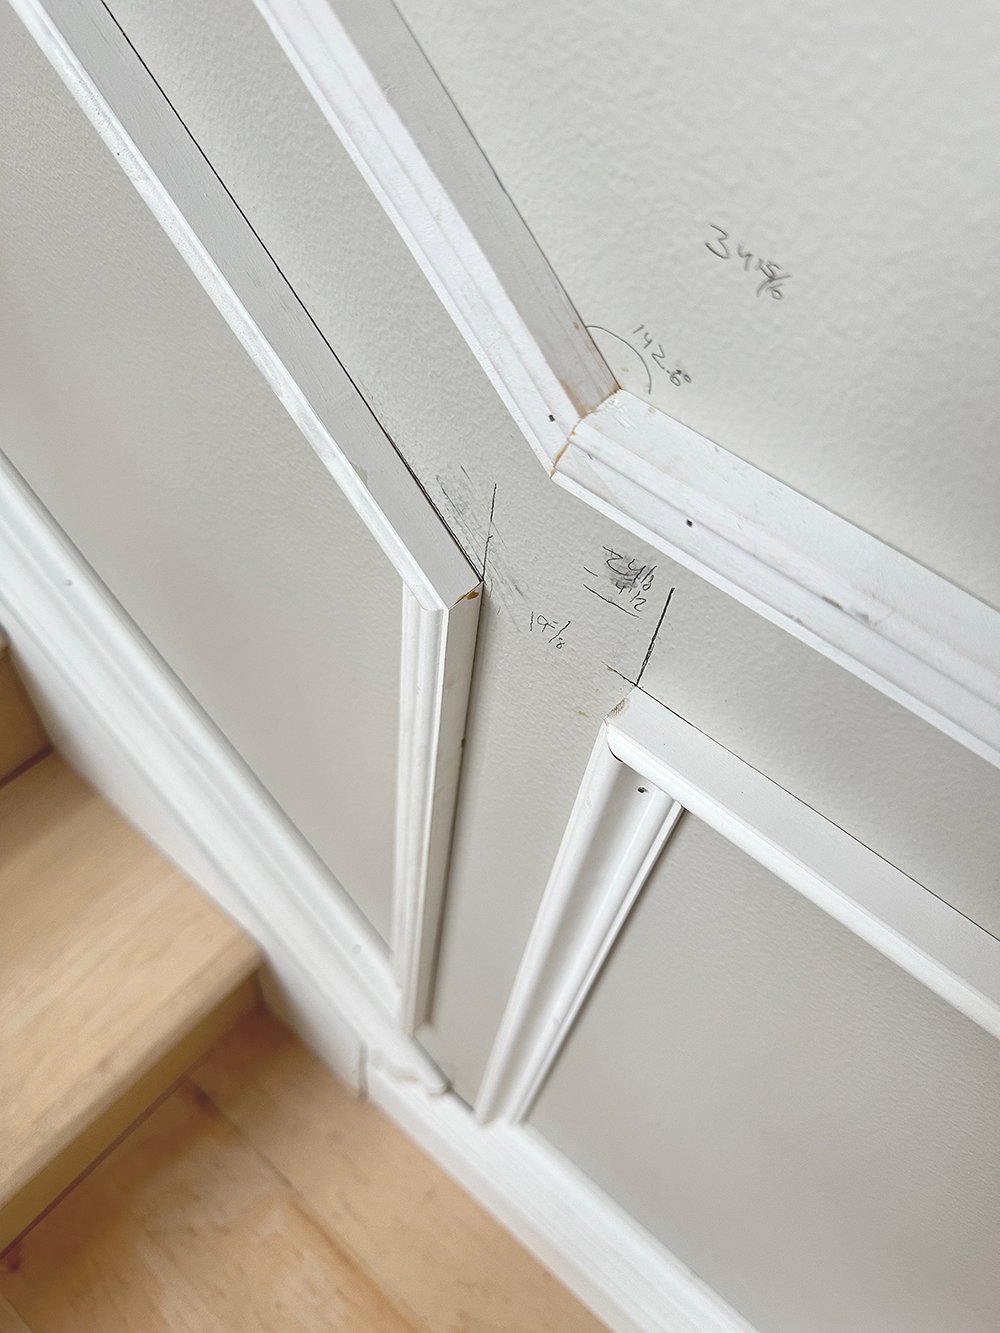
Meanwhile, Emmett is in his own kind of millwork math marathon that I want absolutely nothing to do with! My brain does not compute in that way, ha. I’m thanking my lucky stars for a husband who can decipher my messy design sketches and make sense of it mathematically. Moving onto something more fun… lighting!
Electrical
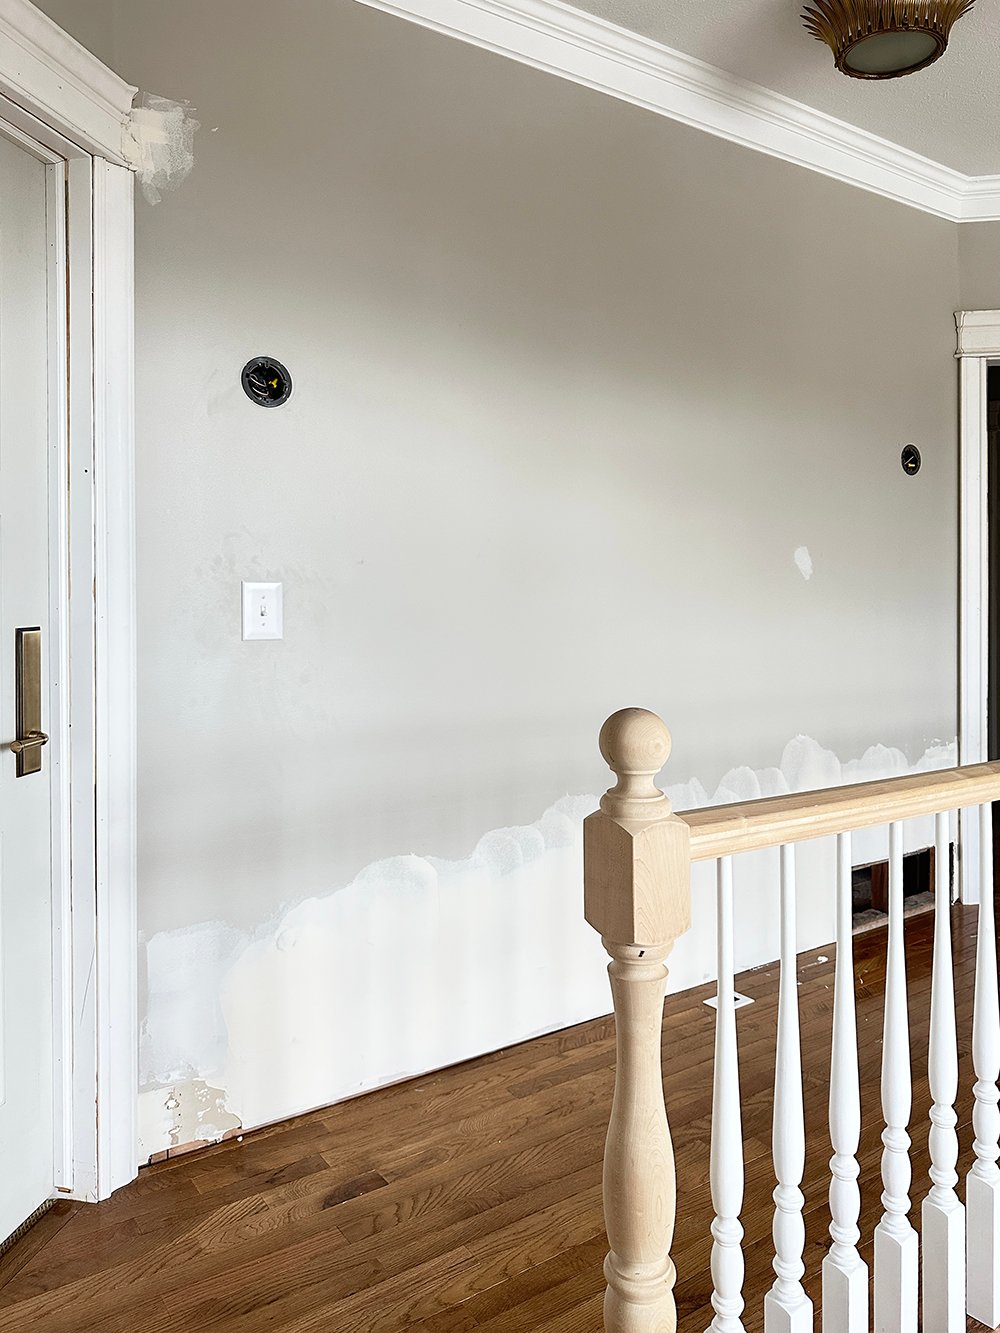
The upstairs hallway had terrible lighting. There were two ceiling lights for the entire hall… one of which we replaced when we swapped our entryway chandelier (it’s worth clicking back for a look!). Neither were adequate in the evening to properly light the entrance to the bedrooms and guest bath– it felt very cave-like. I decided the entry and upstairs hall could benefit from sconces, so Emmett ran new electrical for those. We’ll have a few upstairs and one on the lower level…
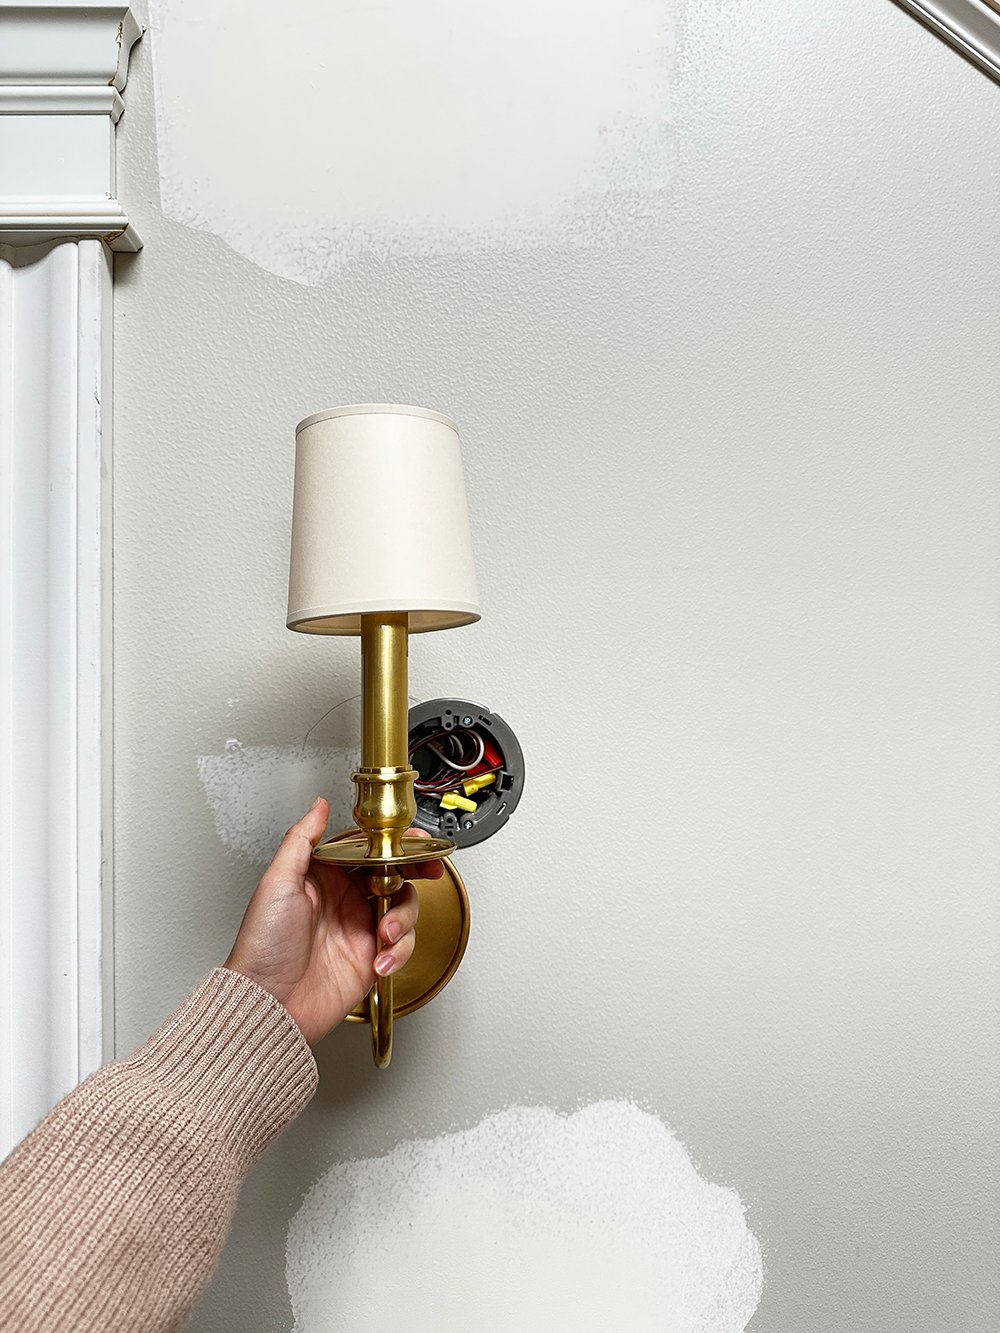
These are the sconces I selected from the Tuesday Made shop! They feel classic and fit the entryway design plan super well- especially as a late addition. I initially had matching white plaster sconces (similar to our chandelier), but thought the room needed another warm metal.
Renovation Recap
- Replaced Front Door
- Tiled the Floor
- Framed and Closed in Doorway
- Removed Angled Doorways
- Demoed Staircase & Railings
- Demoed Millwork & Trim
- Installed Hardwoods in Upstairs Hall
- Replaced Doors & Hardware Upstairs
- Rebuilt Staircase (Treads, Newels, Balusters, Railings, Skirtboards)
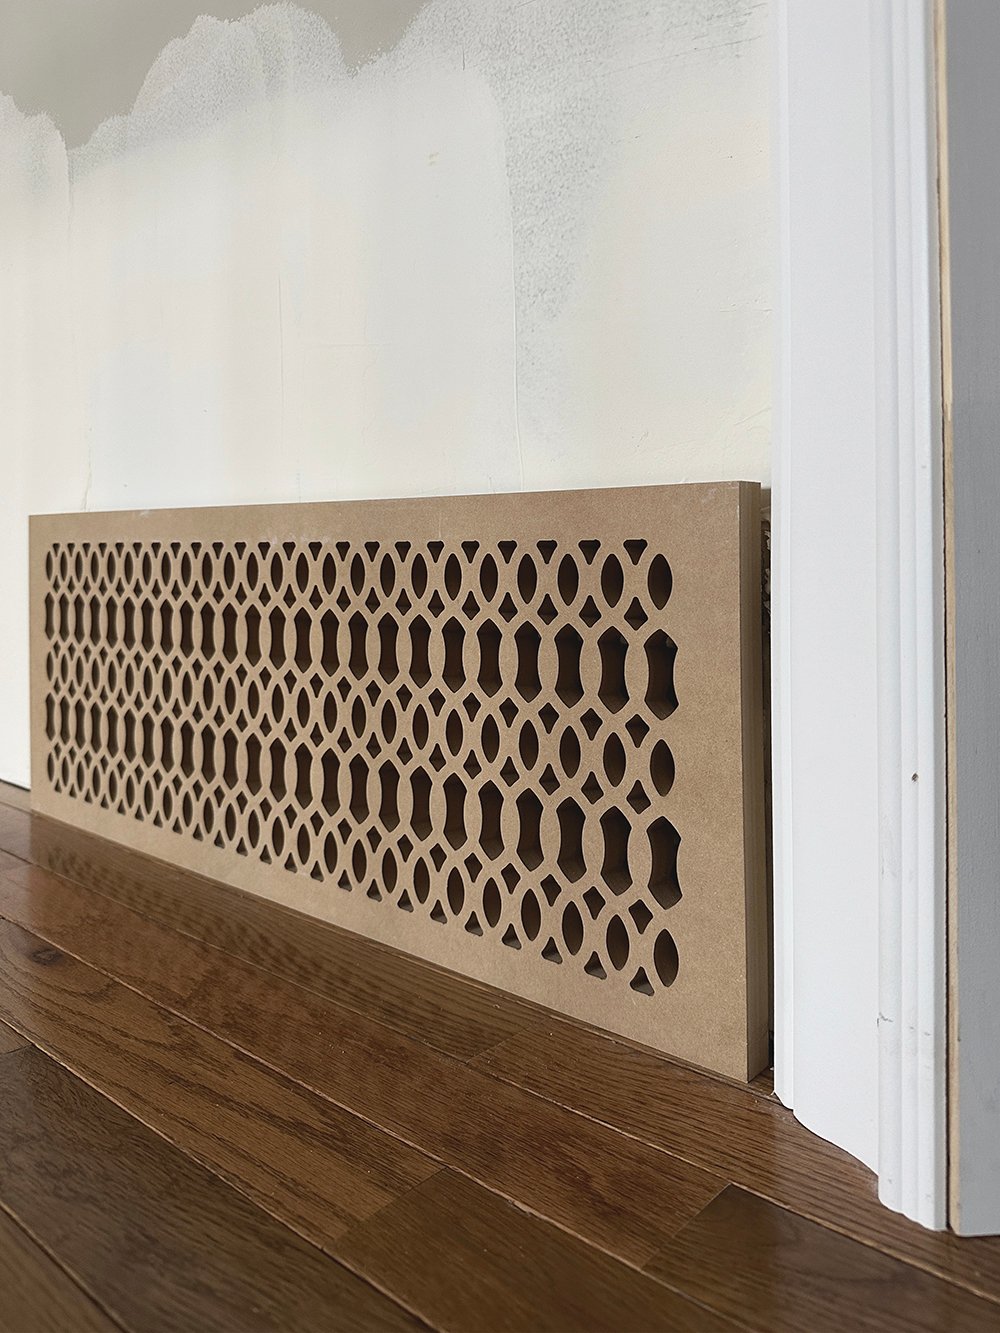
- Made Custom Air Returns
- Repaired and Patched Drywall
- Installed New Millwork (Casing, Architrave, Base, Custom Air Returns)
We’ve tackled most of the difficult, messy, and super time consuming tasks, but have plenty left to do. Luckily, our to-do list contains more of the “fun” renovation items.
Renovation To-Do List
- Finish Millwork (Last of Panel Moulding, Chair Rail, & Base)
- Sand Drywall
- Paint Prep (Caulking, Nail Hole Putty, Sanding) and Prime
- Paint Walls and Millwork
- Paint Staircase
- Install Light Fixtures
- Install Stair Runner & Rods
- Install Thresholds
- Reinstall Door Hardware
- Install Artwork & Decor
- Style & Photograph
FAQ
No deadline, but selfishly- I want to finished BEFORE mid November, so I can hang garland and have a clean & beautiful main level this holiday season.
Emmett & I were talking about this and how we’ve been working on it for SO long. We both agreed it boils down to square footage and the carpentry. The entryway and upstairs hall combined are similar in size to our previous home! That’s wild, right? It’s a lot of surface area to update and cover. This was also the first staircase we’ve rebuilt, so there was a bit of a learning curve… and millwork details take tons of time. The last bit- admittedly, we’re perfectionists and care way too much about the details, craftsmanship, etc.
I sure do! Check out the entryway before images here. For our entire home tour (as we were moving in), read this one. It’s kind of fun to see how far we’ve come and what this place looks like before we started making updates.
I’m thinking tonal or monochromatic… probably a neutral. I need to nail down paint colors this week, which feels like exciting progress.
Sadly, yes (ha). Our basement staircase needs serious design help (someday). I’d also like to add brick tile to our front porch stairs… that actually sounds fun though, because I thoroughly enjoying tiling.
That’s all I’ve got for now! I hope you enjoyed the entryway update. We’re moving right along. Emmett has been working on the main level and I’ve been installing flooring in the basement this week. I’m determined to complete some spaces before the year’s end. We’ll see where we end up! Hope you’re having a good week, friends.
Good morning! Incredible work, as always. I need a nap just reading about all you’ve accomplished! Sure, two years sounds like a long time, but that list of what’s already completed is LONG and filled with incredible detail. Also, can you care “too much” about craftsmanship? I don’t think so. Let’s not forget that renovating is relegated to nights and weekends, and you’re a crew of two! Honestly, I’m constantly amazed by your feats. Your remaining to-do list looks a lot less “fun” to my eyes, too. Ha! Paint prep? Groan. You’re a wonder, Sarah! That being said, I am loving how everything looks so far. Of course, the lighting and millwork will be topnotch. Are designers not consulted at all when homes are built? Dark hallways and that ridiculous front door architrave? SMH. I remain excited for the stripes, but I completely understand your trepidation! 20 foot ceilings. Gulp. Whenever you finish will be just right, but I’m sending all the “completed in time for holiday decorating” vibes. Thanks for the updates and cheers to a lovely, sunny fall Wednesday!💜
Good morning, Peggi! Thank you so much. You’re right about the craftsmanship… I definitely feel proud of our joint effort in that department. Perspective- thanks for that and your kind words! I’m equally as excited for the stripes, just nervous for the execution on how to bring those to fruition. Ha! Fingers crossed for holiday garlands on the stair railing in a month or two. We shall see! Hope you’re having the perfect fall day :)
Thanks for the update! Nearing the finish line!
Thank you, Brenda! I’m excited for paint.
That stringer cap transition from angled to vertical to horizontal is super complex! Kudos on the perfect execution!
Thanks so much, Marti! That one was definitely tricky.
Wowza! Just looking at everything Emmett has accomplished in the way of millwork is a mathematical fete I don’t envy! Good morning! I can’t believe how much has been crossed off the list. It’s looking fantastic. The front door glow up is insane on impact level. You’ve photographed the front door so many times, and I don’t think I truly noticed how oversized the architrave was. After seeing the corrections Emmett made, I actually had a sigh of relief- it’s stunning, and absolutely perfect for the door and the space. As are the new interior doors; the profile of all the millwork is perfect; you did a great job selecting those materials. I always imagined panel moulding in the entry, and Emmett has certainly delivered on your vision. It’s going to look amazing with stripes above all the detailed goodness. The stair transformation is the crown jewel of the entire project- the new newel posts stop me in my tracks. I love the fact that you had Emmett add wiring for sconces in the upstairs hall. They are beautiful, and I can envision the vibe standing at the top of the stairs, looking down the hallway. All the warm lighting dancing on the trim details, with a gorgeous runner underfoot, perhaps some large scale art on the walls… I see it Sarah!! Home stretch! Hahaha. You both certainly have your work cut out for you, and I’m excited for the progress. I’m crossing my fingers for you that you’re able to finish when you want. In terms of hiring out for stripes, I’m on the fence. There’s too much to get wrong with stripes and I would struggle with control were it my own home. However, looking at the amount of prep to be done in order to spray the entry sounds daunting. Plus wielding a sprayer on scaffolding sounds scary and not my jam, so on that end, I agree with hiring out. I’m zero help. Lol. I know whatever you do the entry will turn out amazing. It’s already looking gorgeous. Way to go team Gibson!! You’ve got this!! I hope you have a fantastic Wednesday! Xoxo
Good morning, Lauren! Wasn’t the front door architrave so weird? I wonder how that came to be, ha. I’m actually in the process of sourcing artwork right now- which hasn’t been an easy feat because of the scale / ceiling height of the room. I’m still working through that, while trying to stay in budget. Always a challenge! I’m leaning toward hiring the stripes out, but it totally depends on the cost. With the basement renovation going on, I’m over here wondering if I should splurge for the countertop I want… or the stripes. Decisions, decisions. Thanks for the words of encouragement! Hope you and the fam have a great day. xo
The staircase is beautiful Sarah! Emmett has done a superb install,his carpenter’s skills are top-notch. Way to go Emmett 🥳 It’s all coming together and I’m visualizing the end result. I think the stripes are going to be really stunning but maybe hiring painters for that would be best. I can’t imagine painting with those high ceilings let alone stripes 😳 Yikes!
I love the sconces you have selected from the shop, so very pretty. It’s all going to be gorgeous 😍 You are on the home stretch 🥂 Exciting!
Have a super wonderful Wednesday! Thanks for the update xoxo
Thanks so much, Colleen! He’s really on a roll in the entryway (sanding drywall as I’m responding to comments in my office). I’m excited about the stripes! I had a painter out on Friday and am anxiously awaiting my estimate. We’ll see if we can budget for it, otherwise- I’ll be nervously painting stripes over here. Haha!
Very well done:)
Thank you, Susanne!