How to Install a Hidden Kitchen Trash Can
When sharing my basement bar reveal, I had quite a few people ask where we ended up putting the trash can. It’s also a question I’m asked about in our main kitchen… so, where’s the trash? I love a hidden pull-out trash can. They’re functional, the best aesthetic option (in my opinion), and they’re more affordable than you might expect. Today, I wanted to share how to install a hidden kitchen trash can! Click through for this easy concealed upgrade…
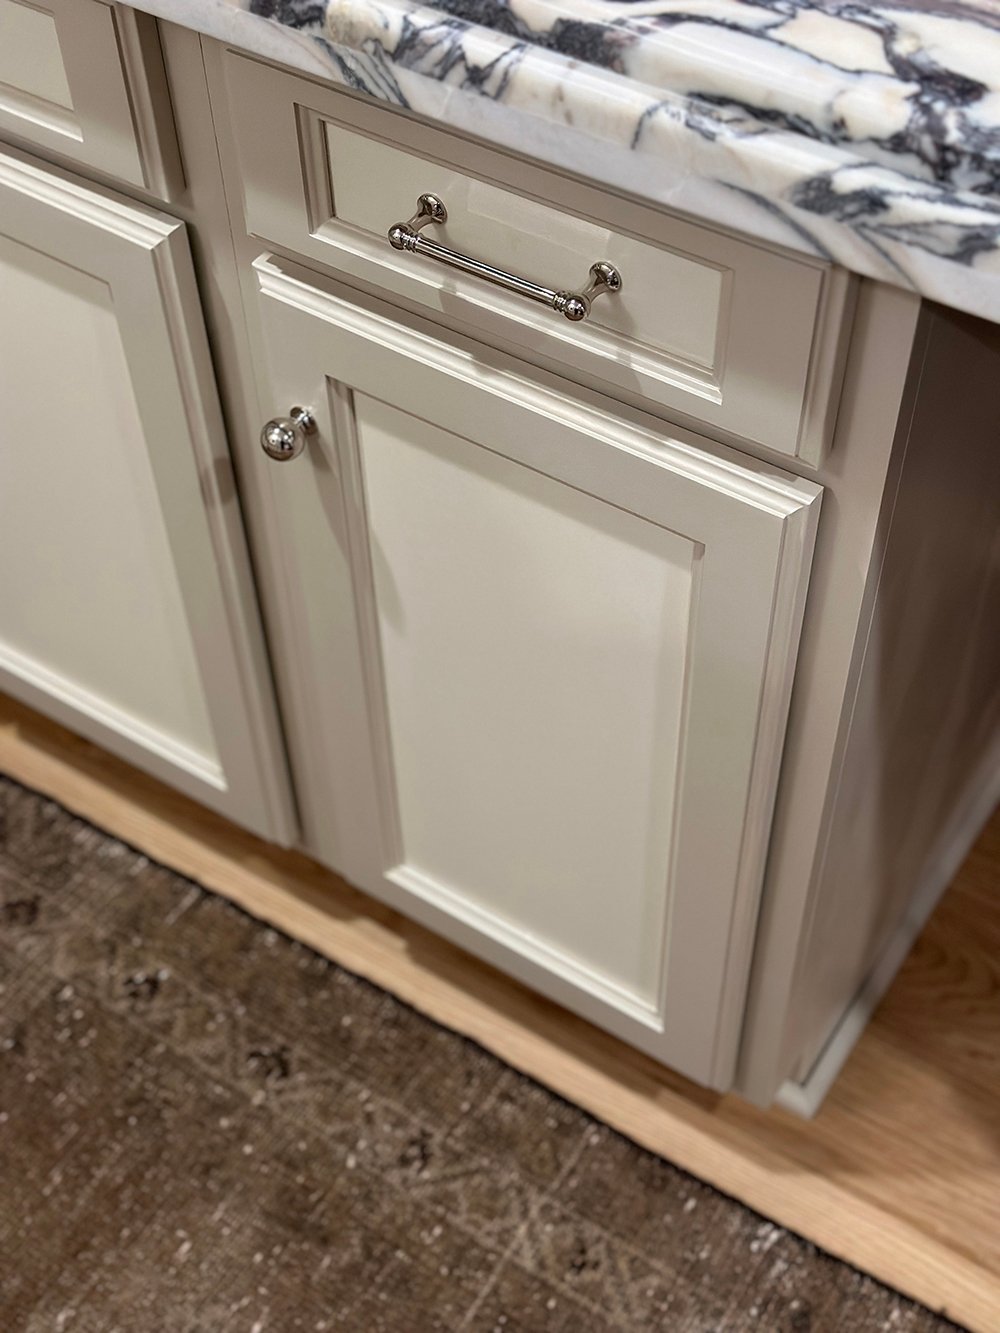
Two Types of Hidden Kitchen Trash Cans
The first thing you should know- there are two main types of concealed cabinetry trash cans… one that attaches to the cabinet door and one that attaches to the bottom of the cabinet itself. Luckily, we have one of each, so I can easily show you the difference below.
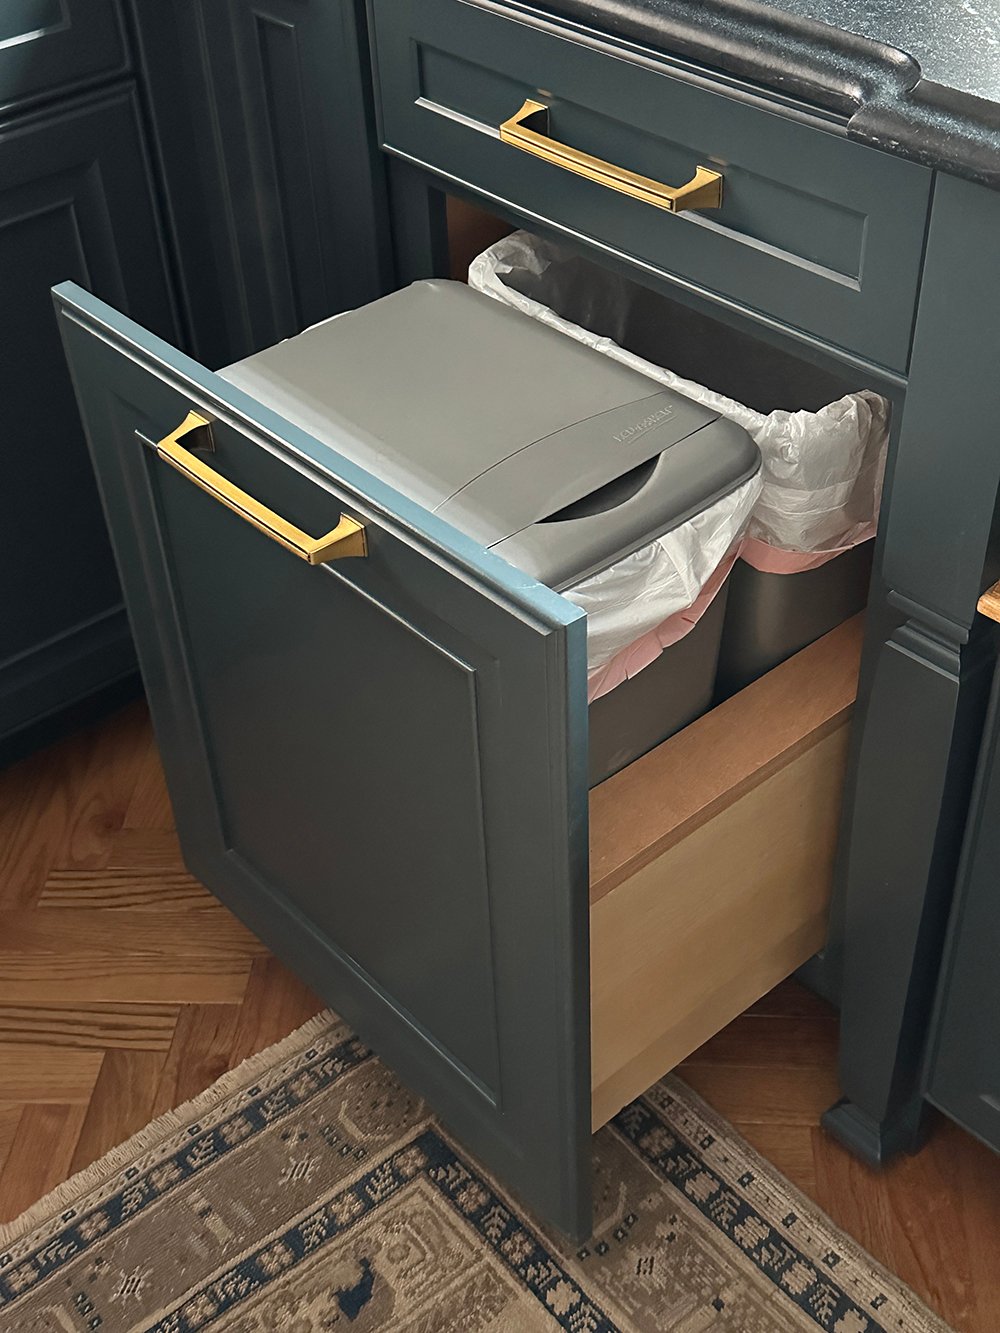
Option one: the door slides with the trash can, as it’s attached to the cabinet panel. This is typically the premium, more expensive option.
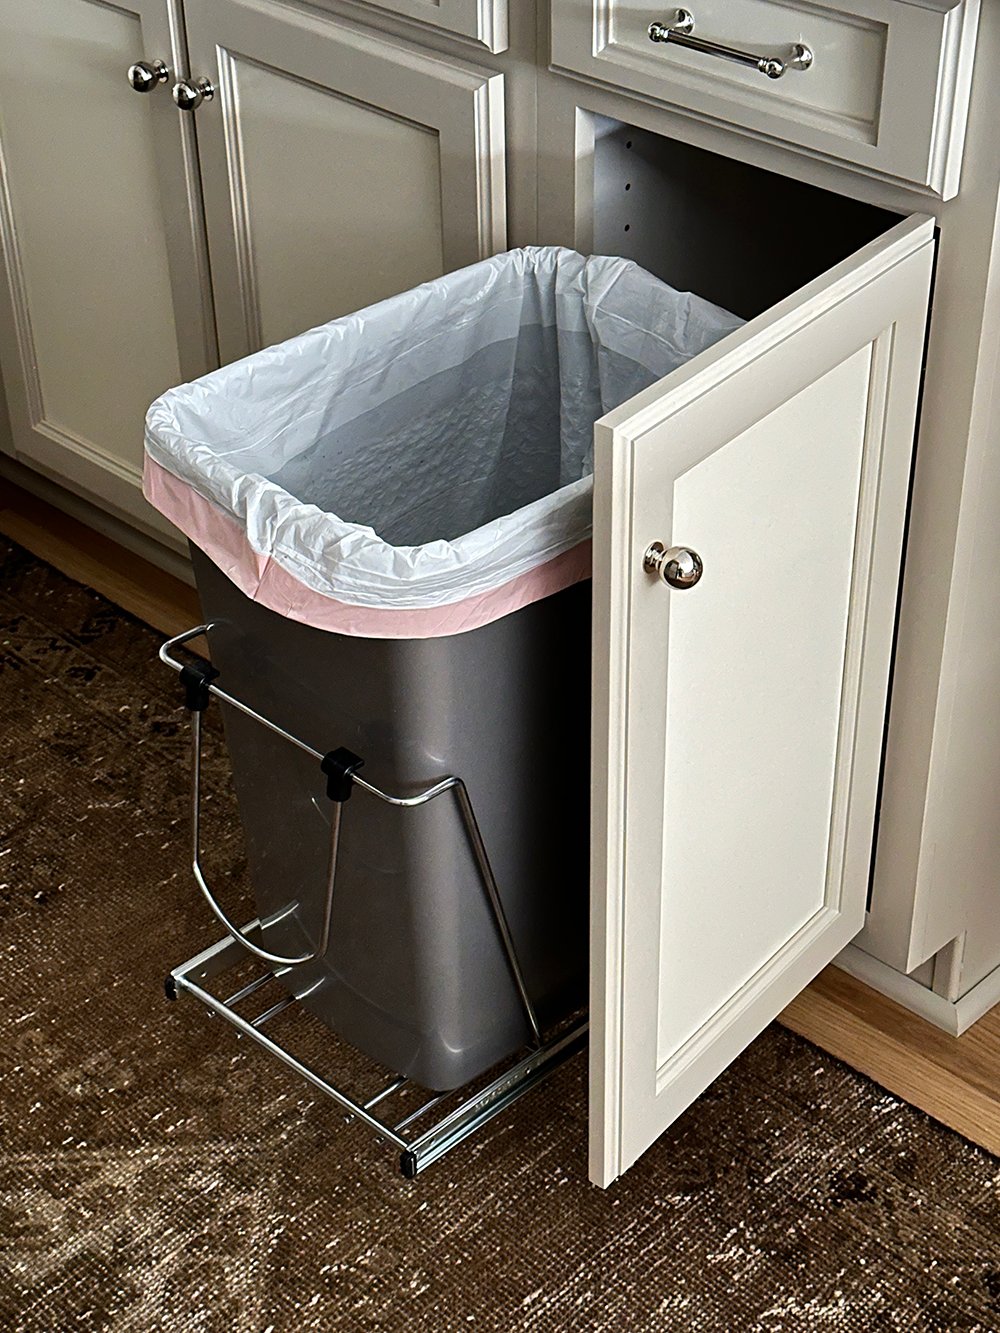
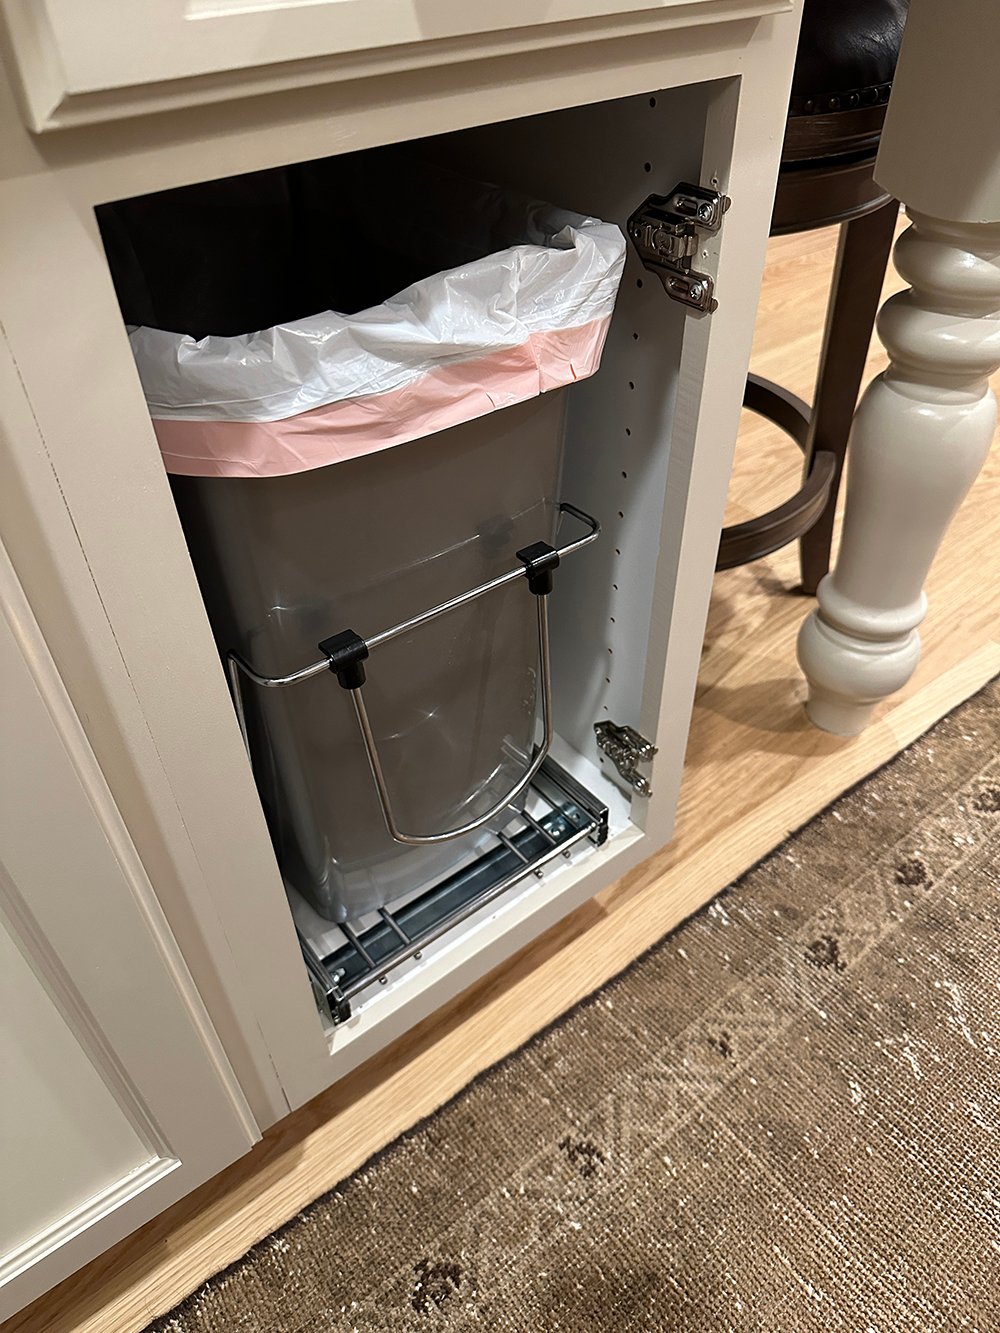
Option two: the door must first be opened to pull out the trash, as it’s attached to the bottom of the cabinet. This option is usually less expensive.
Measure & Order the Best Fit for Your Kitchen
You’ll need to measure your cabinet and determine which concealed trash option is best for your kitchen based on the size, function, and budget! This is not sponsored in any way, but we’re partial to Rev-A-Shelf brand- that’s also the brand Emmett’s work uses (he works for a custom cabinetry shop). We’ve just had really good luck with their cabinetry inserts over the years.
Installation Steps
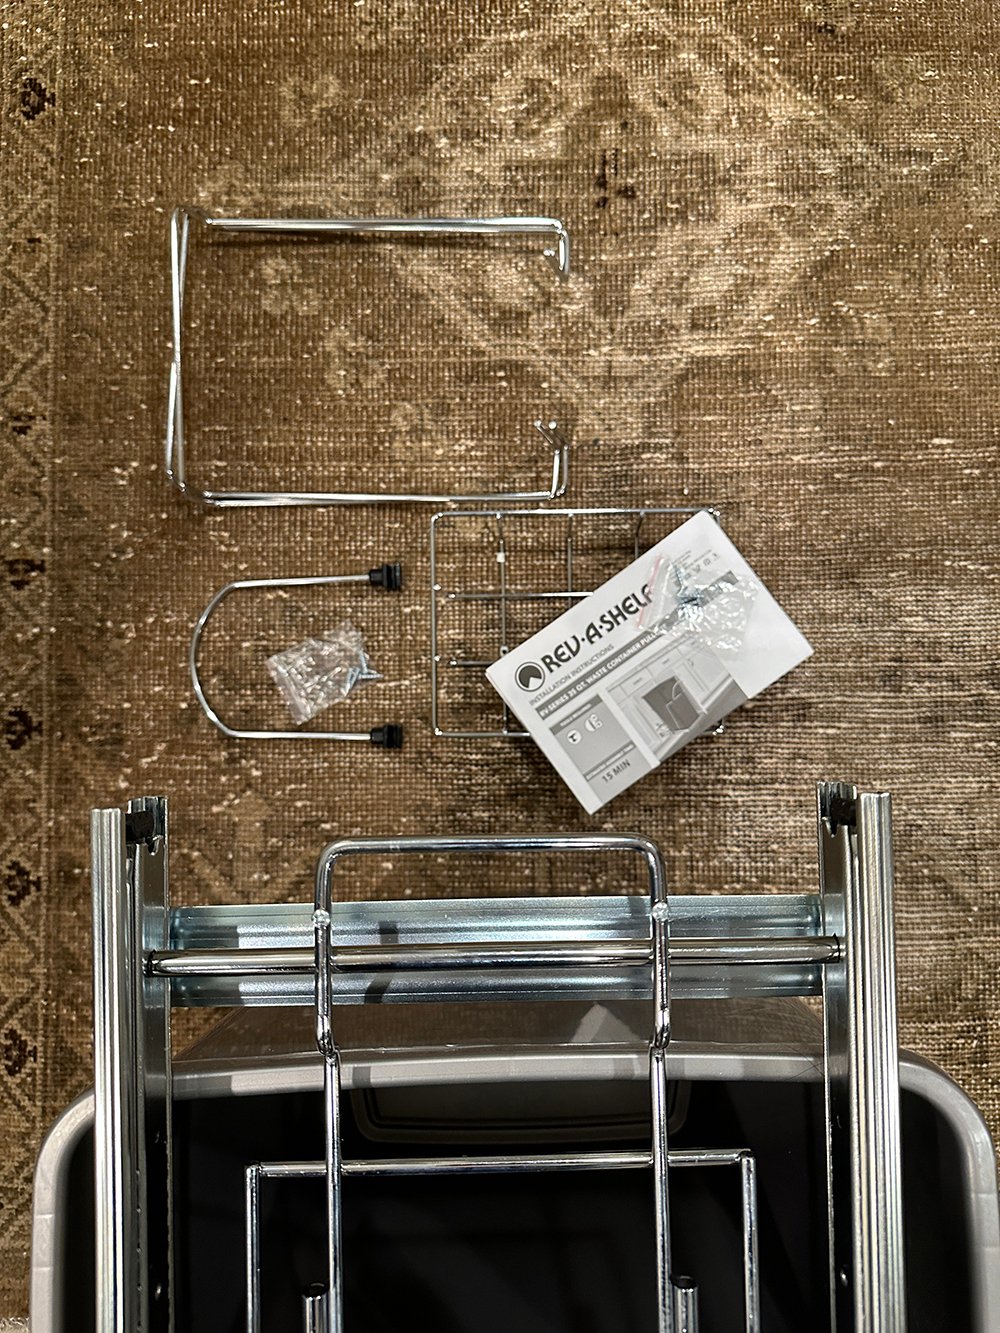
We ordered this less expensive pull out trash can for the basement kitchen. Here is everything that comes with it, including the trash can (you can choose your color)!
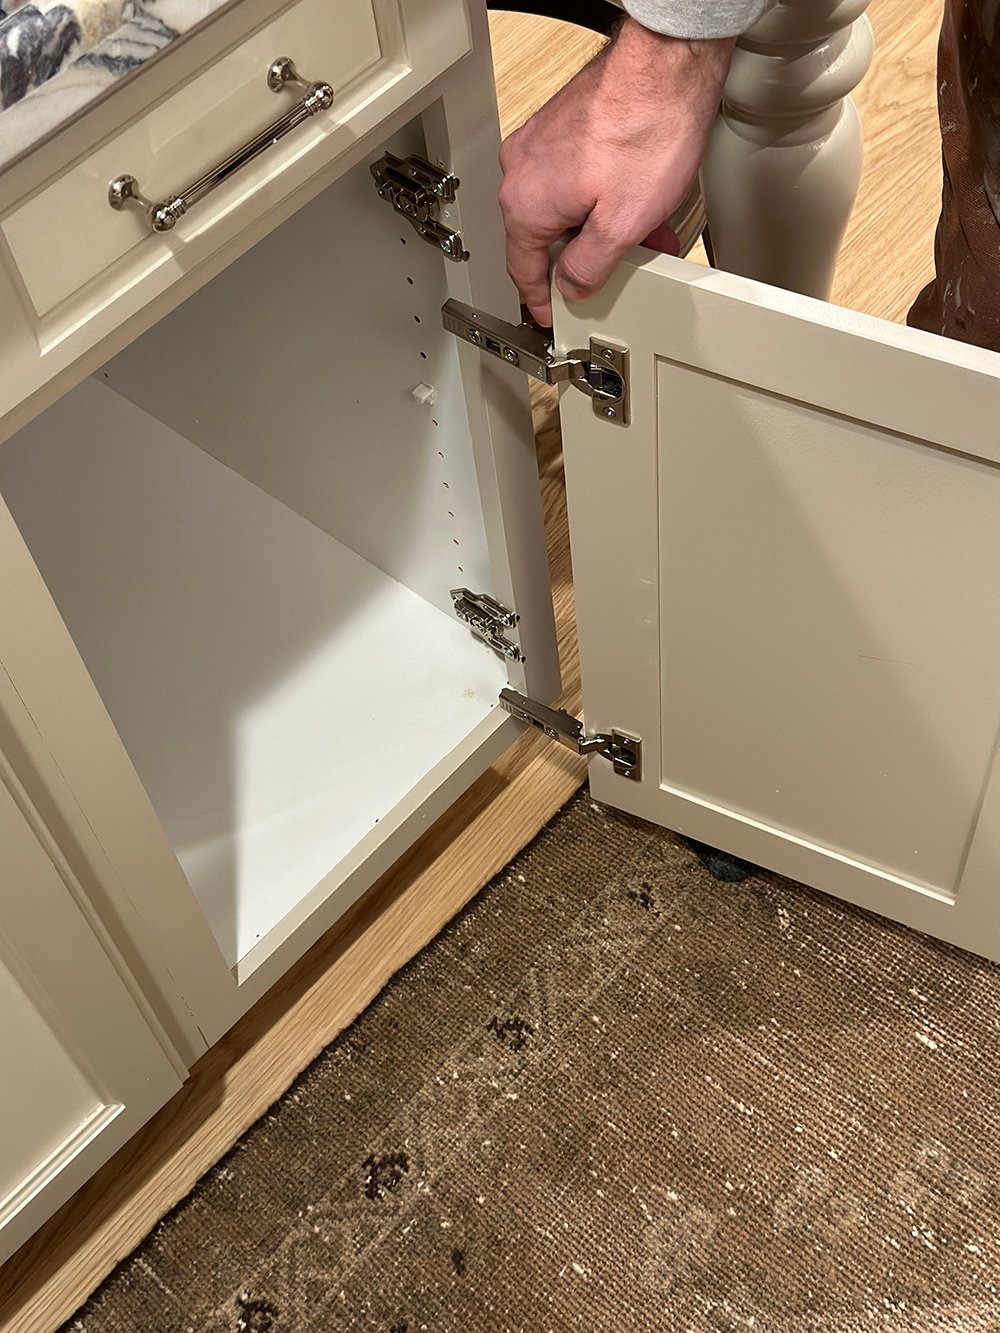
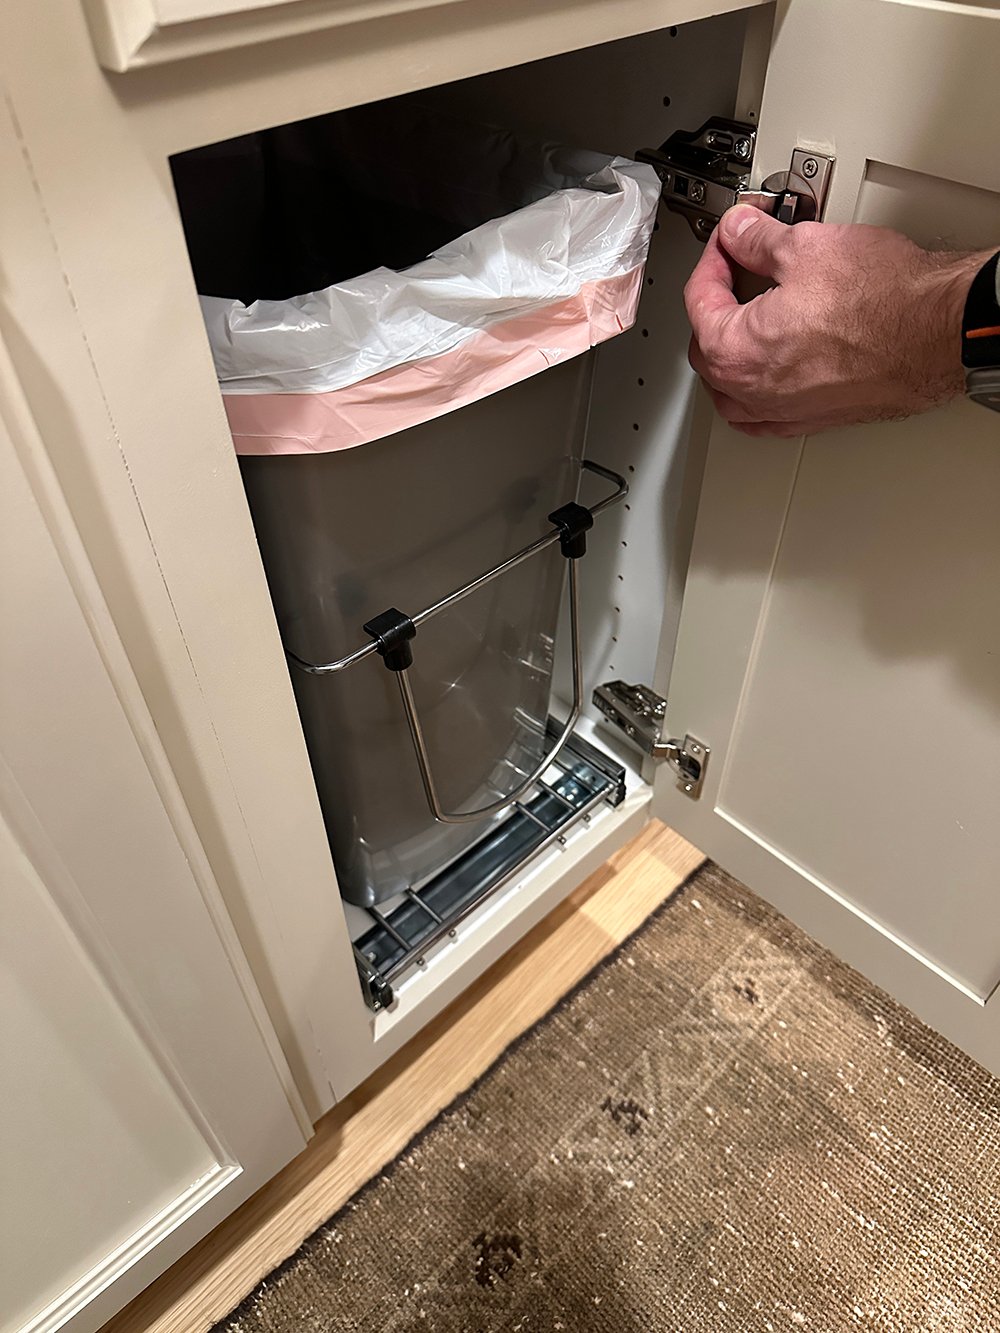
The first step is to remove the cabinet door. It makes it easier to install the pull out frame. Since we just replaced & upgraded our cabinet doors and hinges, our doors clips on and off the soft close hinges, making this task really quick.
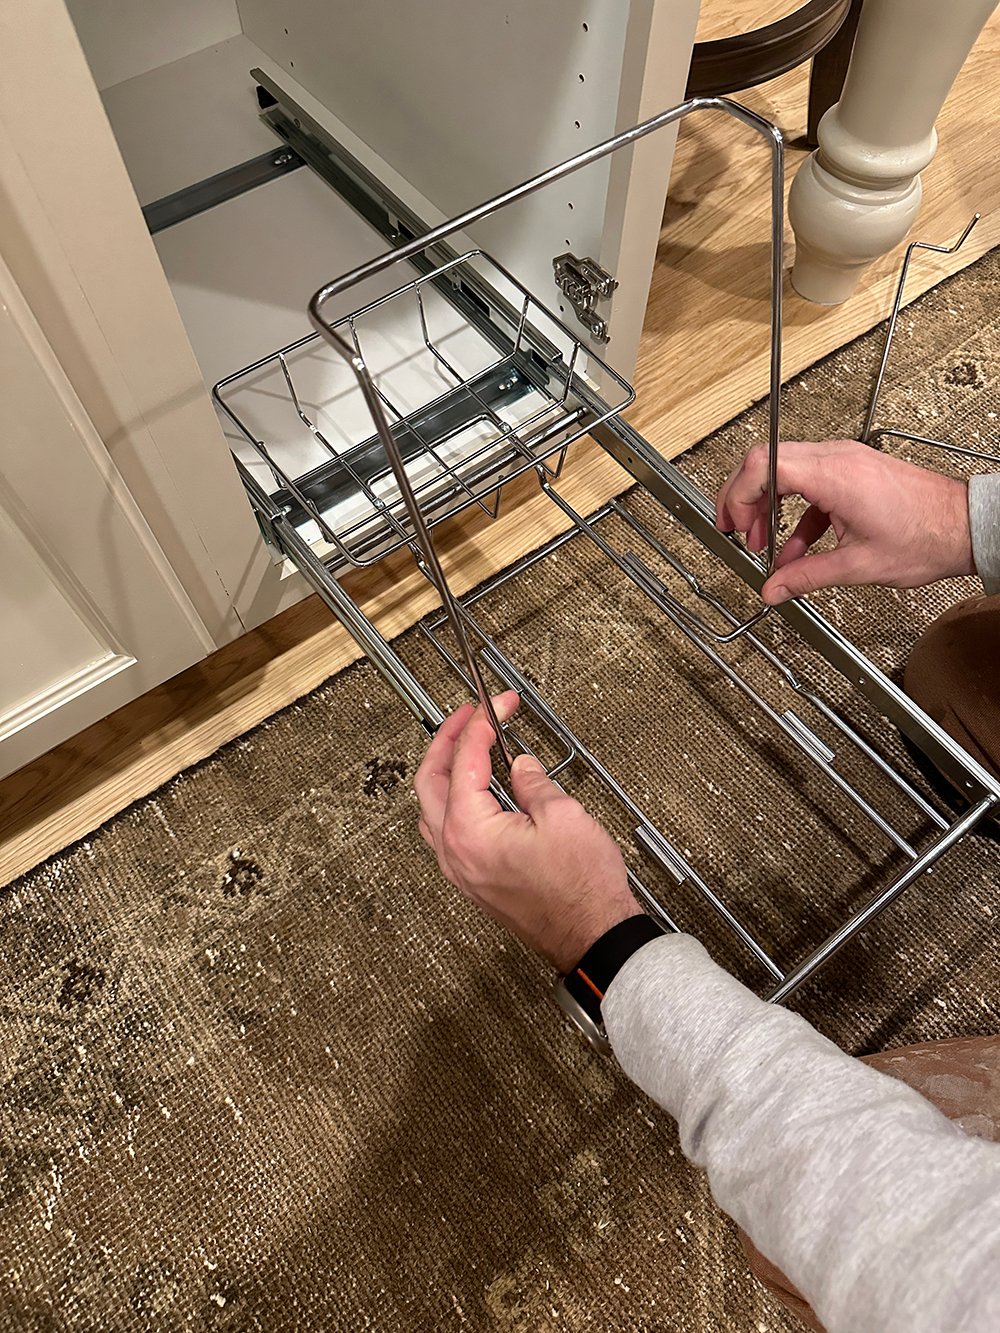
Next, you’ll want to figure out the frame placement. We nudged ours to the left a little to avoid catching the cabinet hinges.
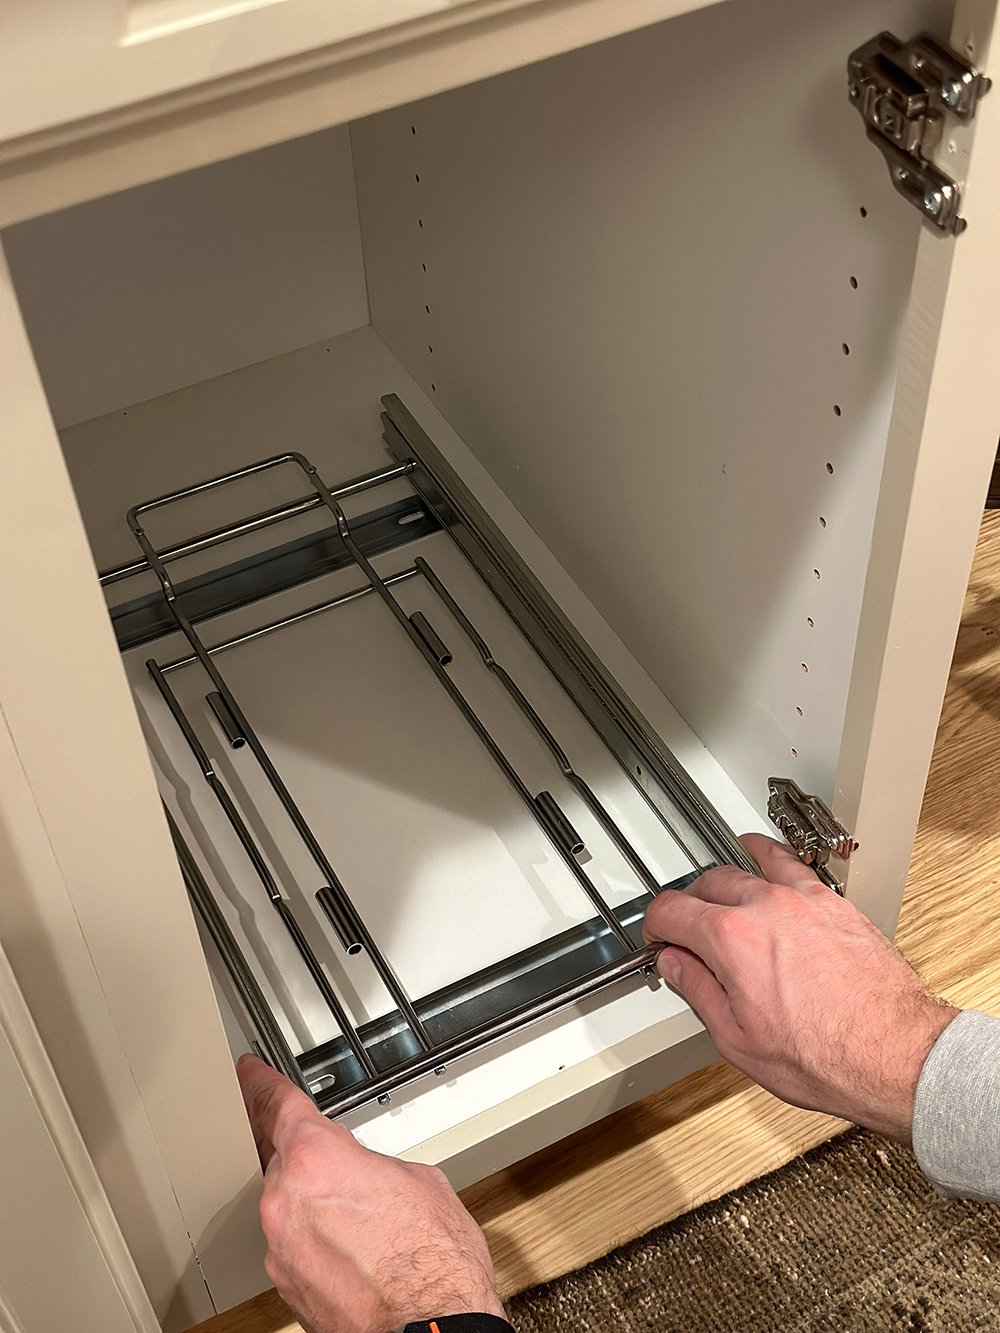
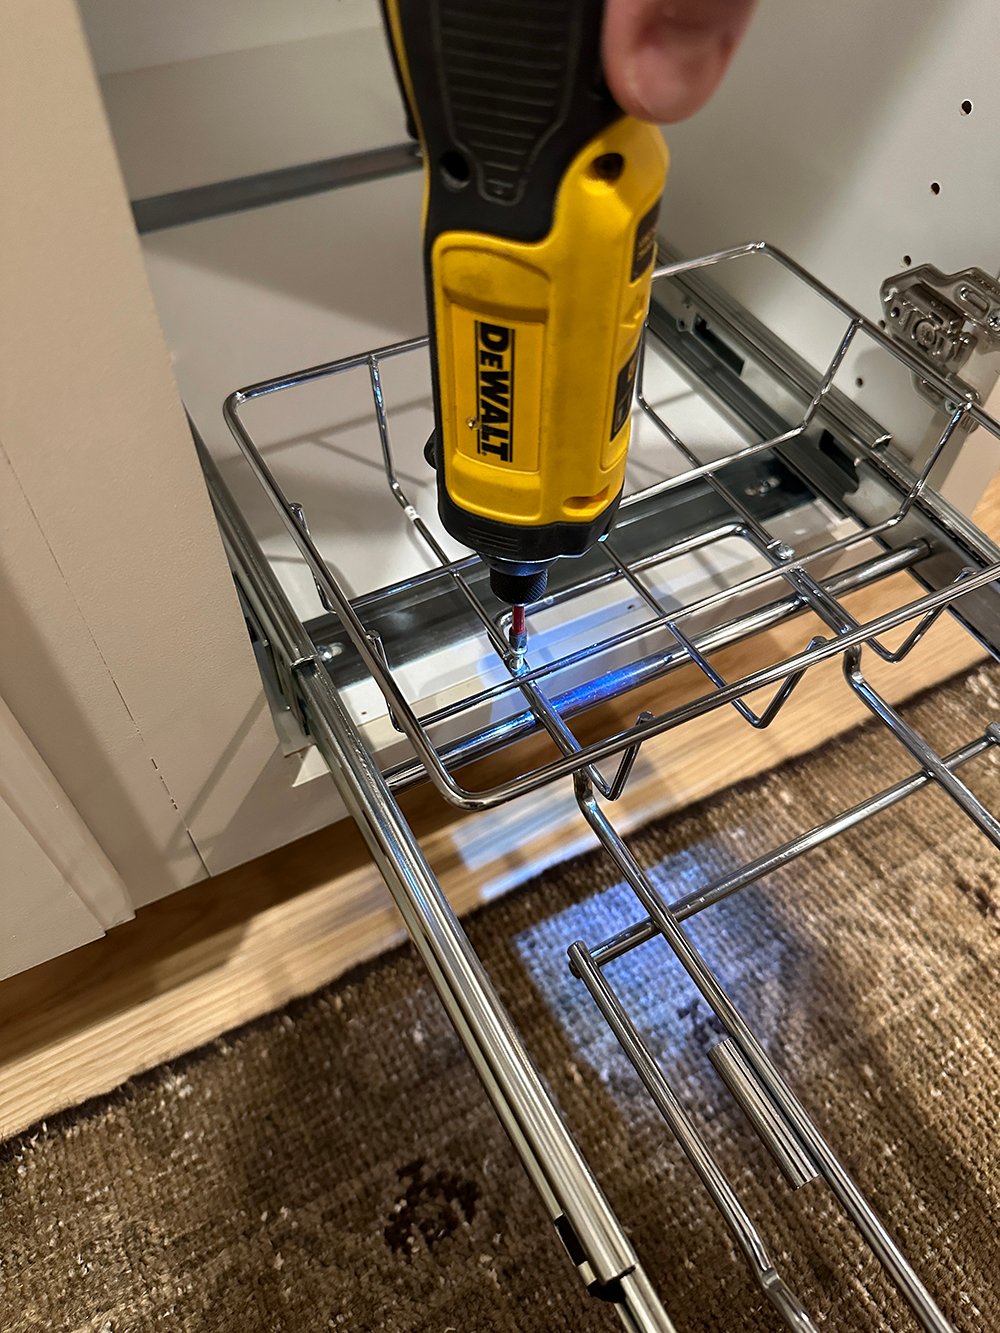
Once we had the frame in a good position, we attached it to the cabinet bottom with four screws- one for each corner.
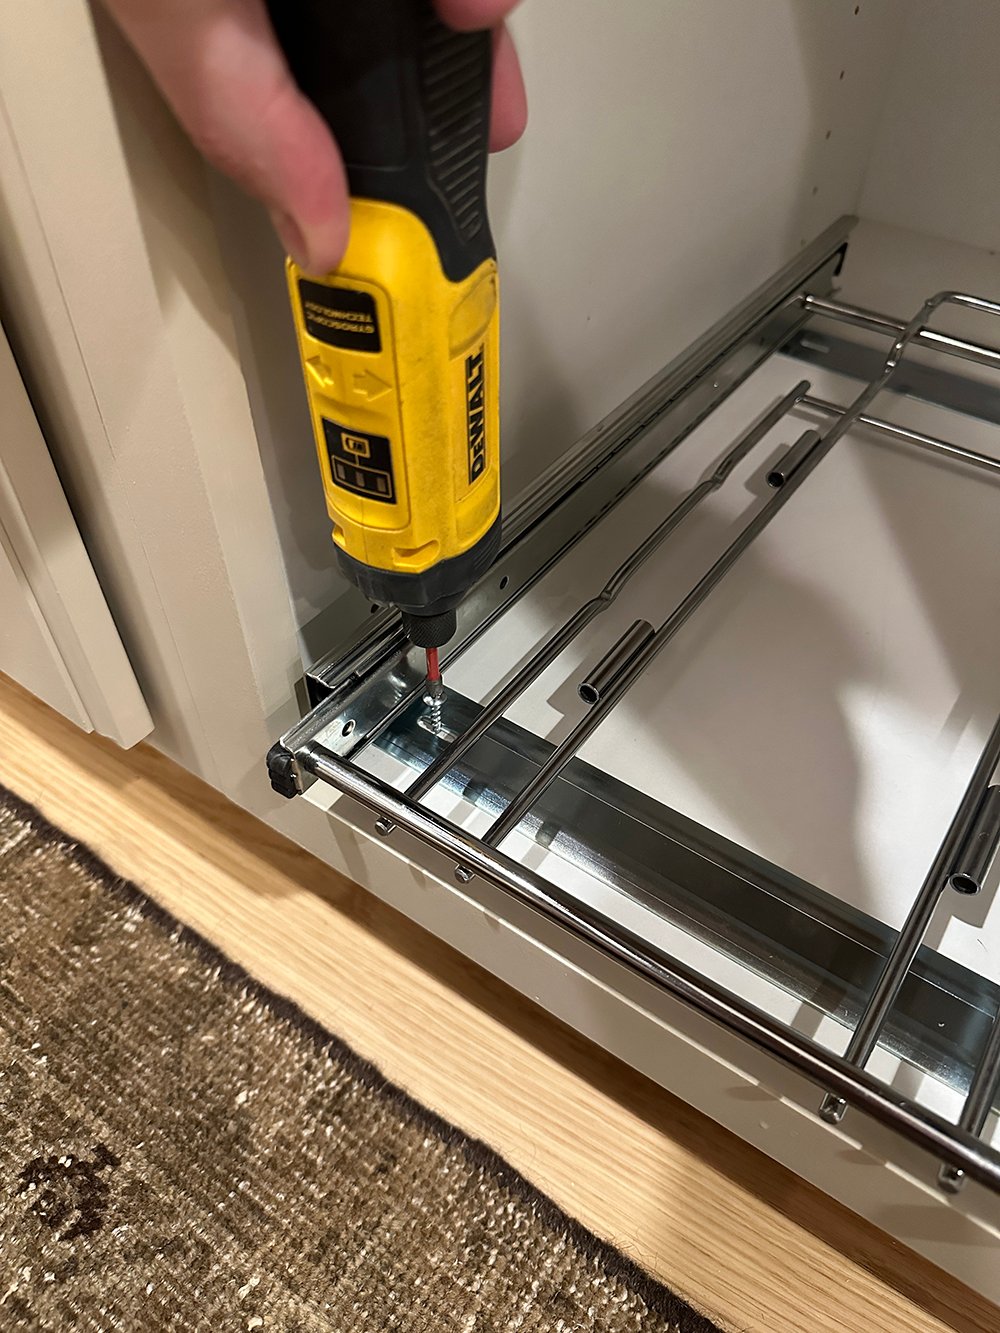
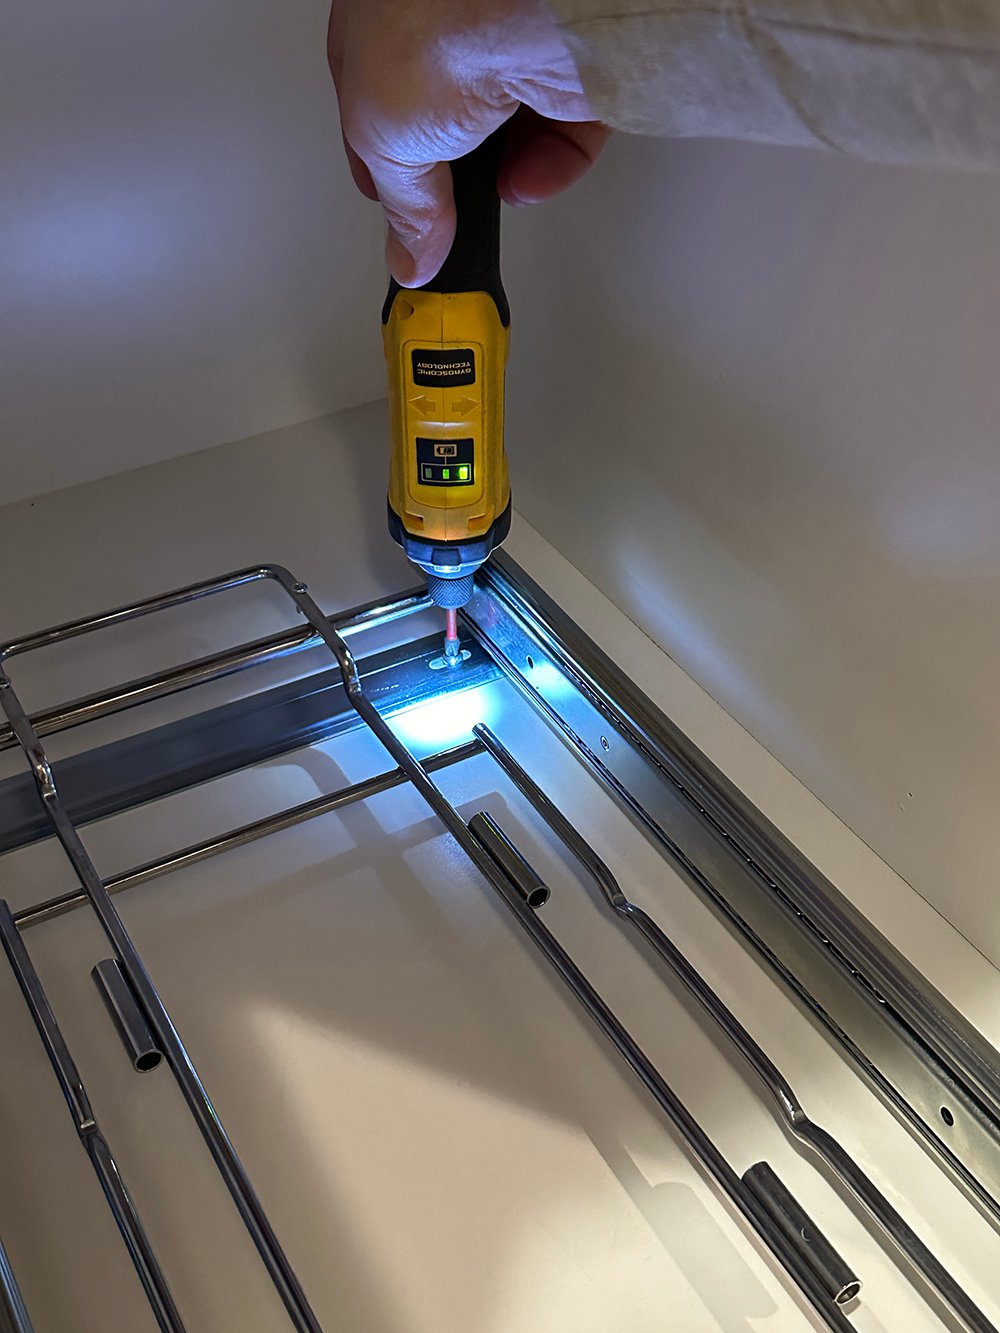
Then we permanently affixed the based to the frame. It just required two screws…
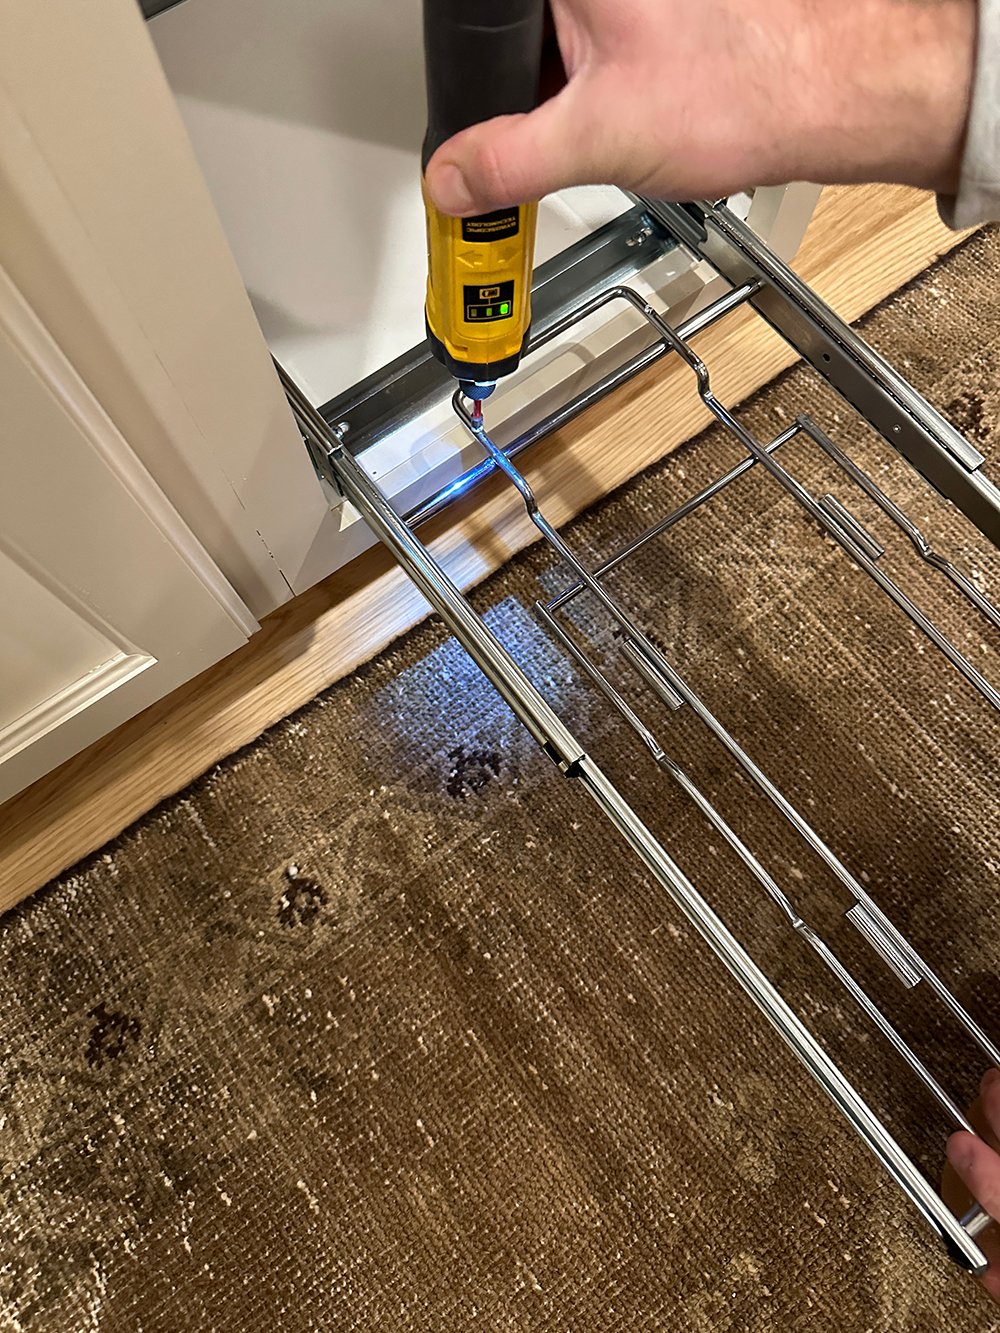
Next, the trash can pull out included a wireframe basket to hold trash bags… a nice feature. It was also easy to screw to the frame.
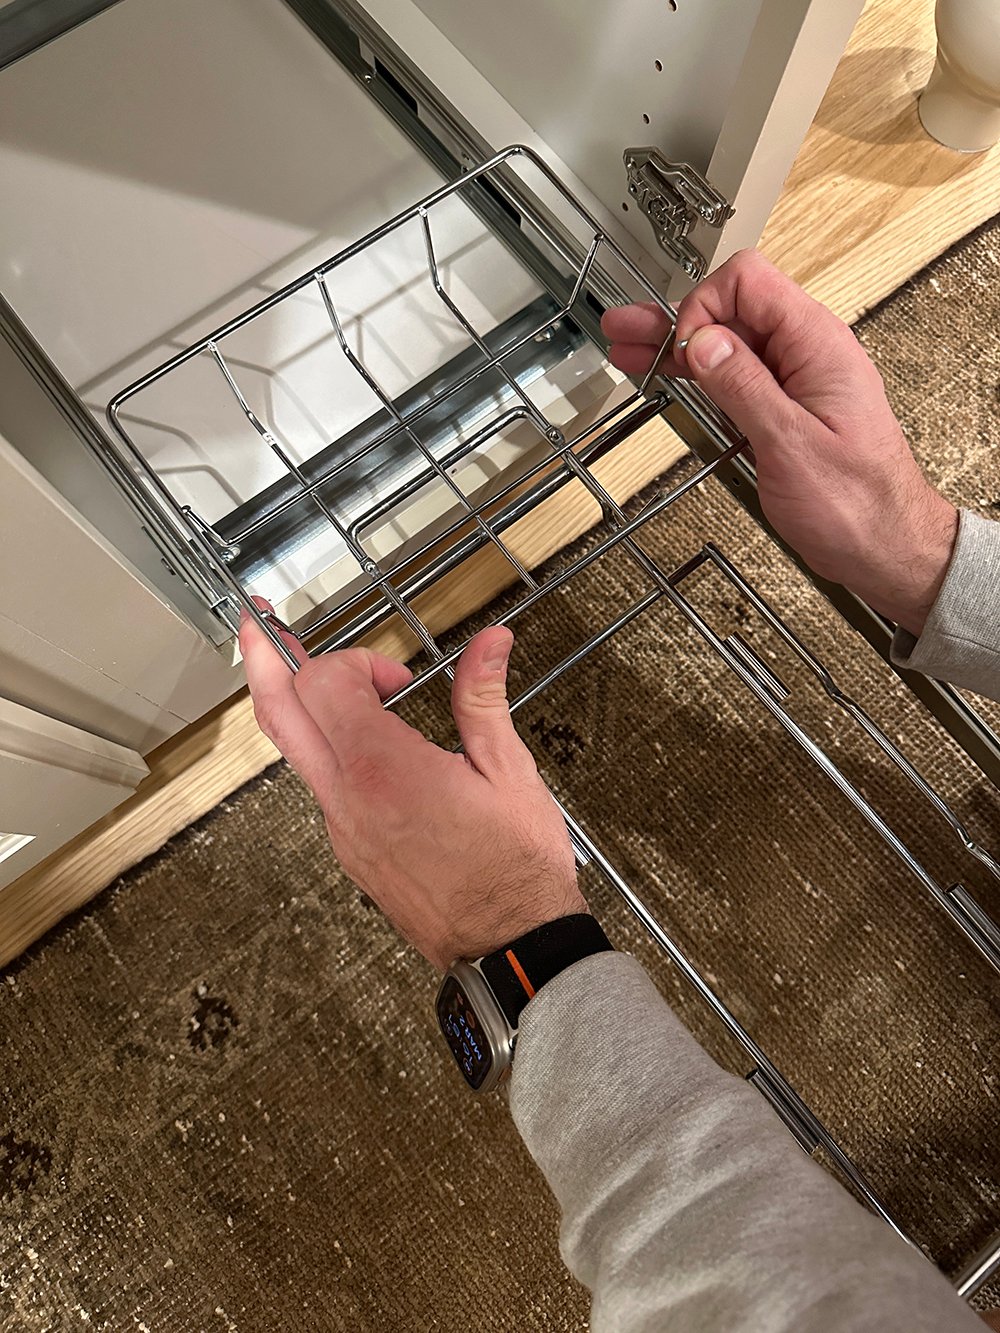
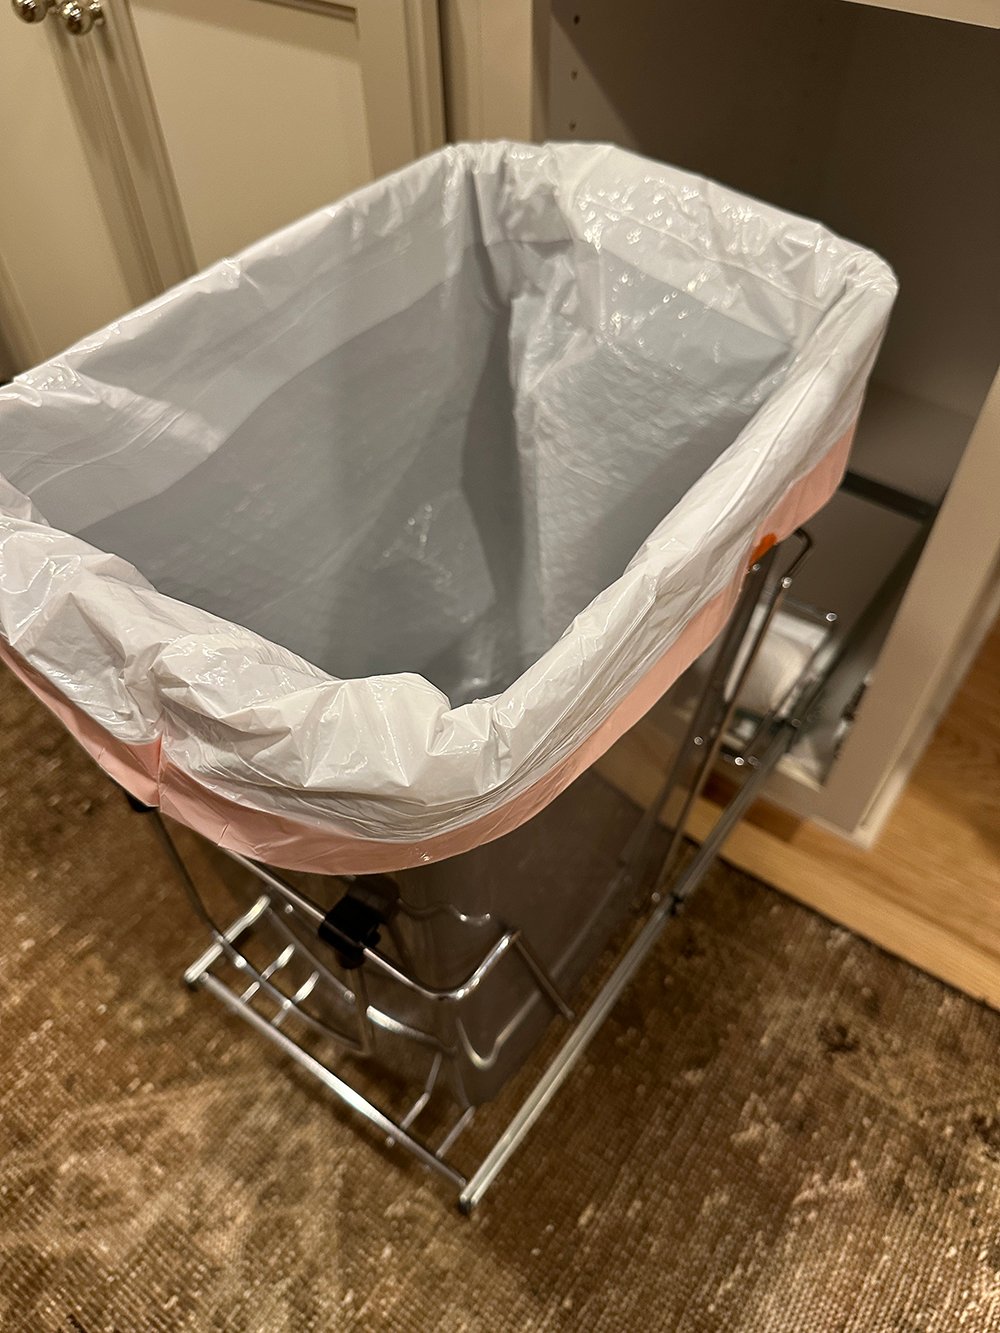
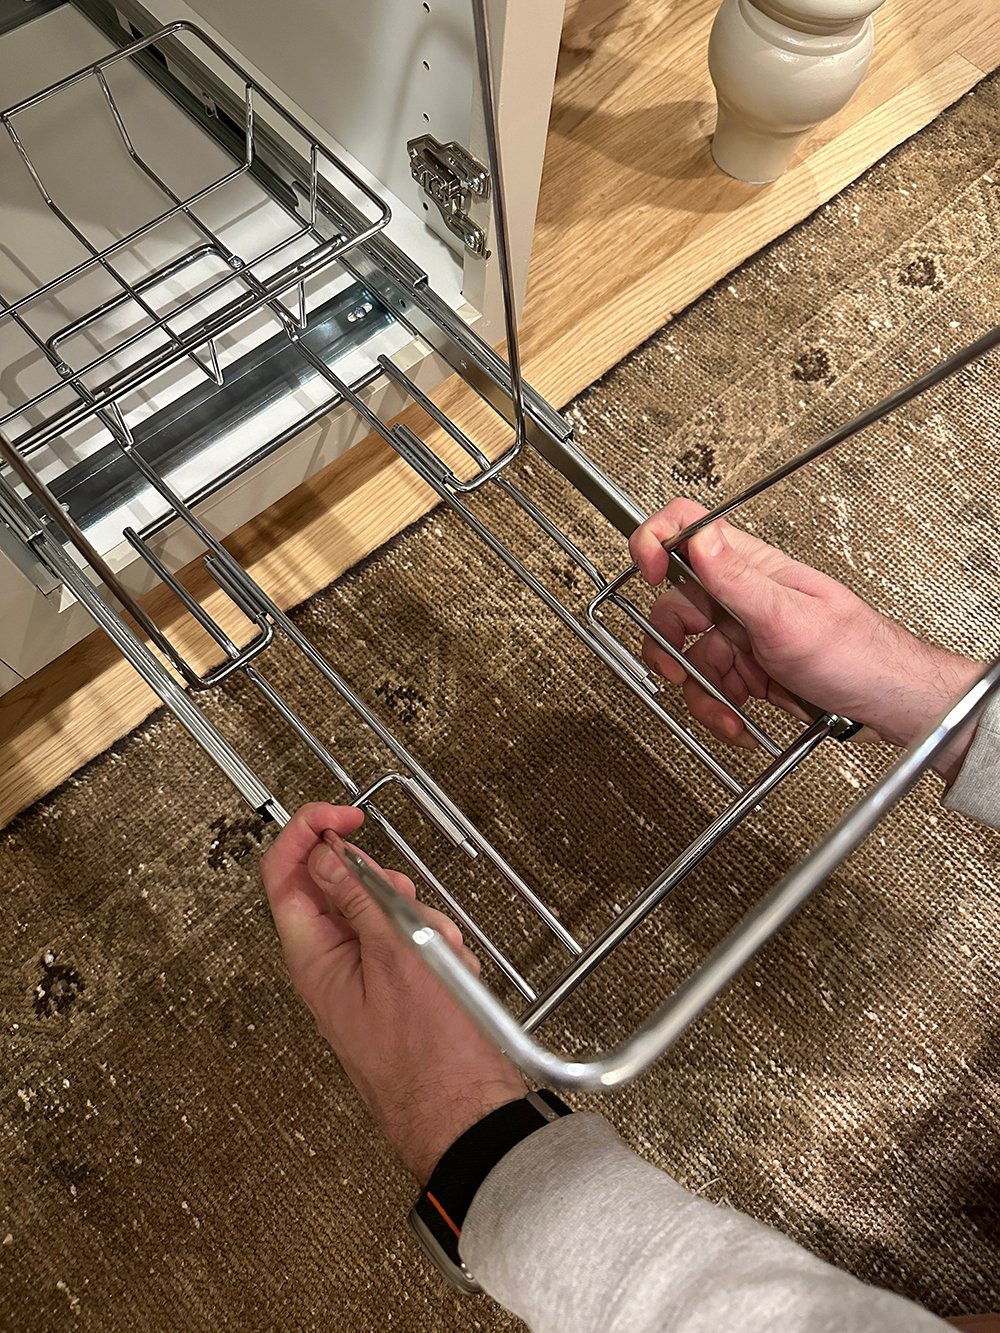
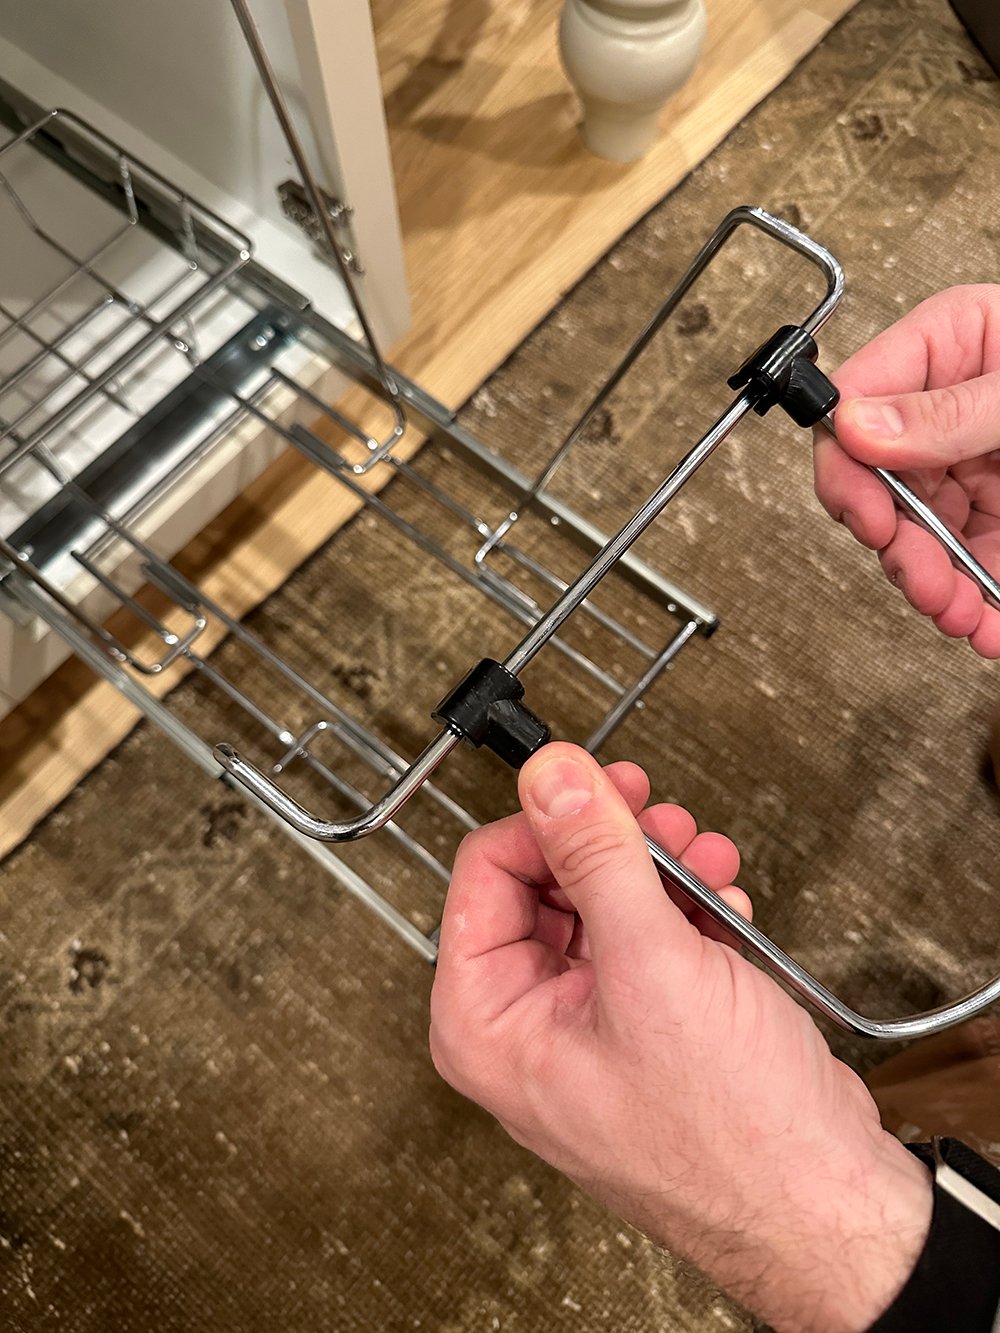
Last, we unfolded the frame and snapped on the pull bar. It creates a frame to hold the trash can.
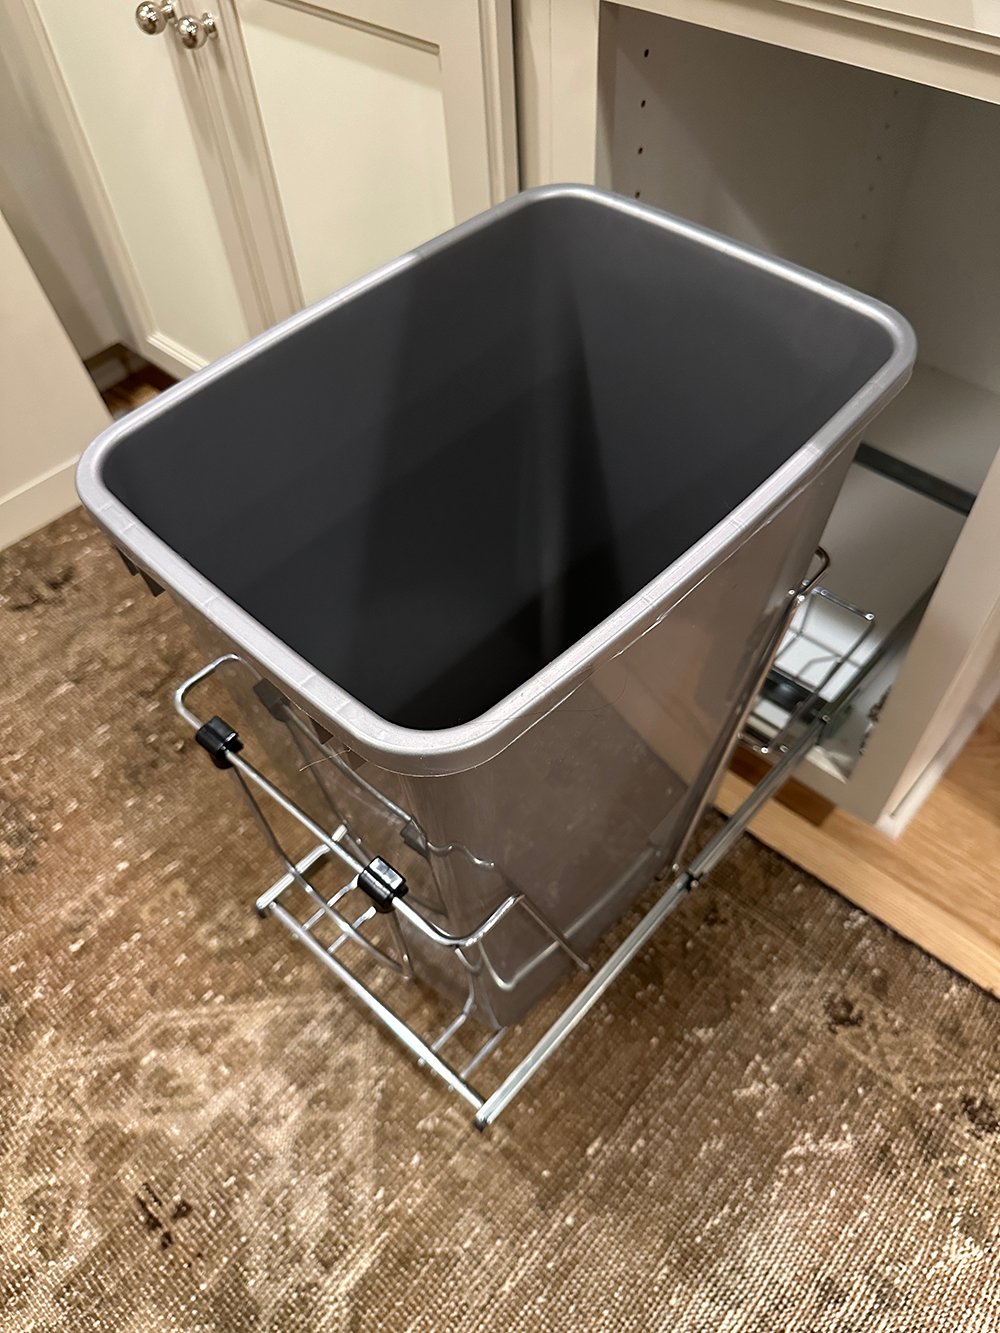
We put the waste basket into place, added a bag, and reattached the cabinet door. This project took less than 10 minutes to install and was super easy.
FAQ
The option in our main kitchen is more convenient because it only takes one pull… you don’t have to open the door first. It’s also made of solid wood, so it feels much heavier. While that’s my personal preference, the option in our basement is still very convenient and functions well! It’s perfect for a bin that isn’t used as frequently and is an awesome budget pick.
Lots of them, actually! Check out my kitchen cabinetry video tour for a peek inside our cabinets. It’s a fun one to watch!
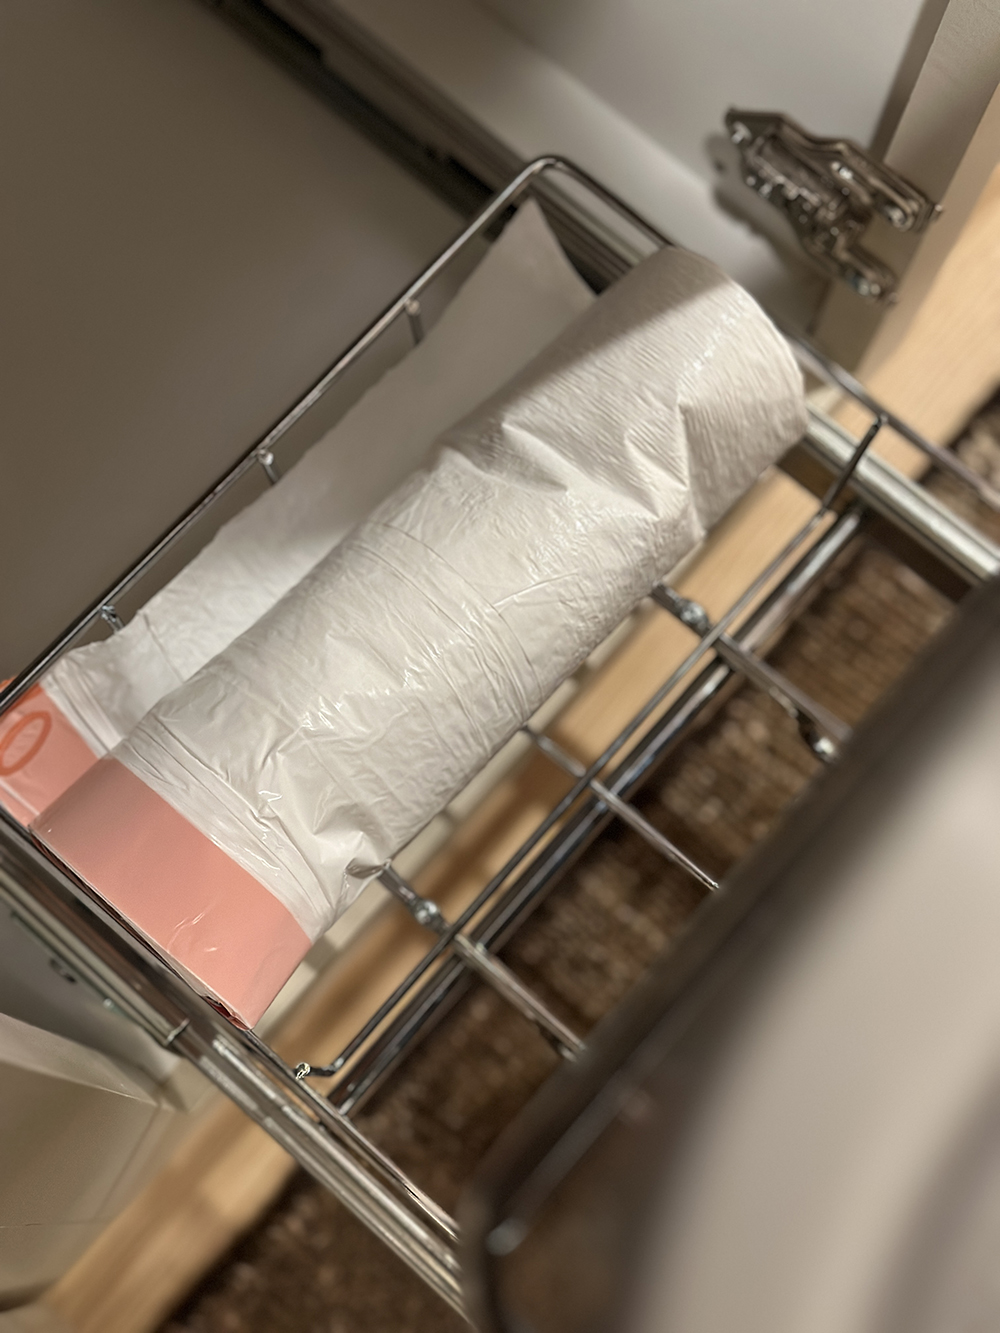
I’ll include a photo of that below! It sits behind the trash can near the back of the slide out. My standard size bags fit perfectly!
Related Kitchen Posts
Looking for more kitchen renovation related posts? I’ll link some of my favorites and most popular blog posts for you below…
- How to Replace & Upgrade Your Cabinet Doors
- Kitchen Cabinetry Video Tour
- Cabinetry Hardware Placement Guide (With Examples)
- A Peek At Our Cabinetry Installation Process
- Classic Brass Cabinetry Knobs from Amazon
- Roundup: Non Permanent Kitchen Islands
- Kitchen Design : Panel Ready Appliances
- How to Choose a Kitchen Sink
There you have it… now you know where the trash exists in both of my kitchens! I hope this post was helpful if you were on the fence about pull-out or concealed trash cans. They’re really convenient and an easy aesthetic move. I’ll link some good options for you below, as they come in many colors & configurations…

Good morning, Sarah! Nothing like a little trash talk to start the day. Ha. If anything in the kitchen should be concealed, it’s the wastebasket imho. Ick. Even though I’ve seen both types of stealth situations, I didn’t realize the attached door model could be an aftermarket addition. I assumed it was an upgrade during cabinet ordering. Helpful tip! Unfortunately, I don’t have a spare space in my small kitchen, so I opted for an aesthetically pleasing trash can.🙄 I do love the Rev-A-Shelf brand though! I added two of their pull-out organizers to a deep, dark cabinet. Total game-changer! All lowers should feature them. Are they commonly included in new builds, I wonder? Much more important than a soft-close to me. (I personally prefer to maintain the slam option.) Anyway, thanks for all the details! They’ve been noted for my next kitchen. BTW, I totally rewatched your cabinet video tour and laughed out loud at Emmett forgetting his wine. 🤣 And Cash in the cupboard made my morning. Fingers crossed that sweetie is feeling better. I trust you are safely returned from Spain and ready to hit the slopes with the fam! We’ve got more sunshine and warm-ish temps in the forecast, so we’ll probably celebrate our anniversary this weekend with yardwork. Lol. Happy Pizza Friday, friends!💜🍕
Trash talk! You always have a way with words :) I feel like this is best case scenario for the dogs, too… they love to get in the trash. Oof. The cabinet pull outs are definitely super convenient- I love that we can actually utilize all of our cabinet space with those. Cash is always getting into the cupboards (oddly). He has a big vet appointment next week, so cross your fingers for that little guy! How was your anniversary?! Did you knock out some yard work with a side of pizza? :) Hope you two enjoyed it and were able to celebrate! xo
Good morning Sarah! Concealed trash cans are my favorite. We had the more expensive option in our last kitchen, and we have the cheaper option in our current. Both are convenient, and so much better than having trash cans sitting out, but I far prefer the one that attaches to the cabinet door. Ours doesn’t have the trash bag holder, but then again, we have the configuration with two trash cans. I will say this- we installed ours in a cabinet that was open with no shelves, because it made the most sense; when we renovate the kitchen, it will be moved closer to our prep area and kitchen sink. I’ve honestly considered busting out the fixed shelf in the cabinet I want, just so it can be closer, but it would likely ruin the cabinet. Rev-A-Shelf is our preferred brand too; their inserts are thoughtfully designed and integrate seamlessly. We’ve used many of their options, and I have found them to be awesome functionality. This is a quick, and relatively inexpensive upgrade, that is so worth it! Your installation tutorial is clear and concise; thank you for sharing. The number one question of guests in our house is “where’s the trash can?”; but it’s also the one feature everyone thinks is genius. I myself, will never go back. Thanks for sharing! Happy pizza Friday everyone! Having been on deaths doorstep yesterday with a crazy stomach virus, the weekend will be filled with more rest and recuperation for me. I feel 1,000 times better than yesterday, but am hesitant to jump back into the everyday activities. I hope everyone is a fabulous weekend ahead!
Mine too, Lauren! Nobody wants to see what’s in our trash bin (or maybe they do, lol). Our dogs also get into the trash, so it’s nice being able to shut it in a cabinet, so it’s extra secure. Are you all feeling back to 100 now? The stomach flu is the worst. I hate that your family was down and out with it last week. Ick- that’s never fun!
We technically have concealed kitchen trash – but about 90% of the time we leave the cabinet open!
On those rare occasions we have company and aren’t cooking then it might get closed. And it gets closed when the floor is being cleaned. But as soon as we start working in the kitchen it gets pulled open to throw something out and tends to stay that way. Luckily we have a large kitchen and while it’s beside the sink it’s mostly out of the way.
Ours is a full extension drawer frame holding two cans attached near the top of the pull out door. We assume it was a cabinet option when the kitchen was remodeled by the previous owner because of the door and drawer configuration. The trash pull out is at the top of the cabinet with a shallow drawer at the bottom where we store trash bags (for the kitchen cans plus tiny ones for waste paper baskets in bedrooms and bathrooms).
Really? That’s so interesting, Cheryl!