Tips for Layering Lighting Like a Designer
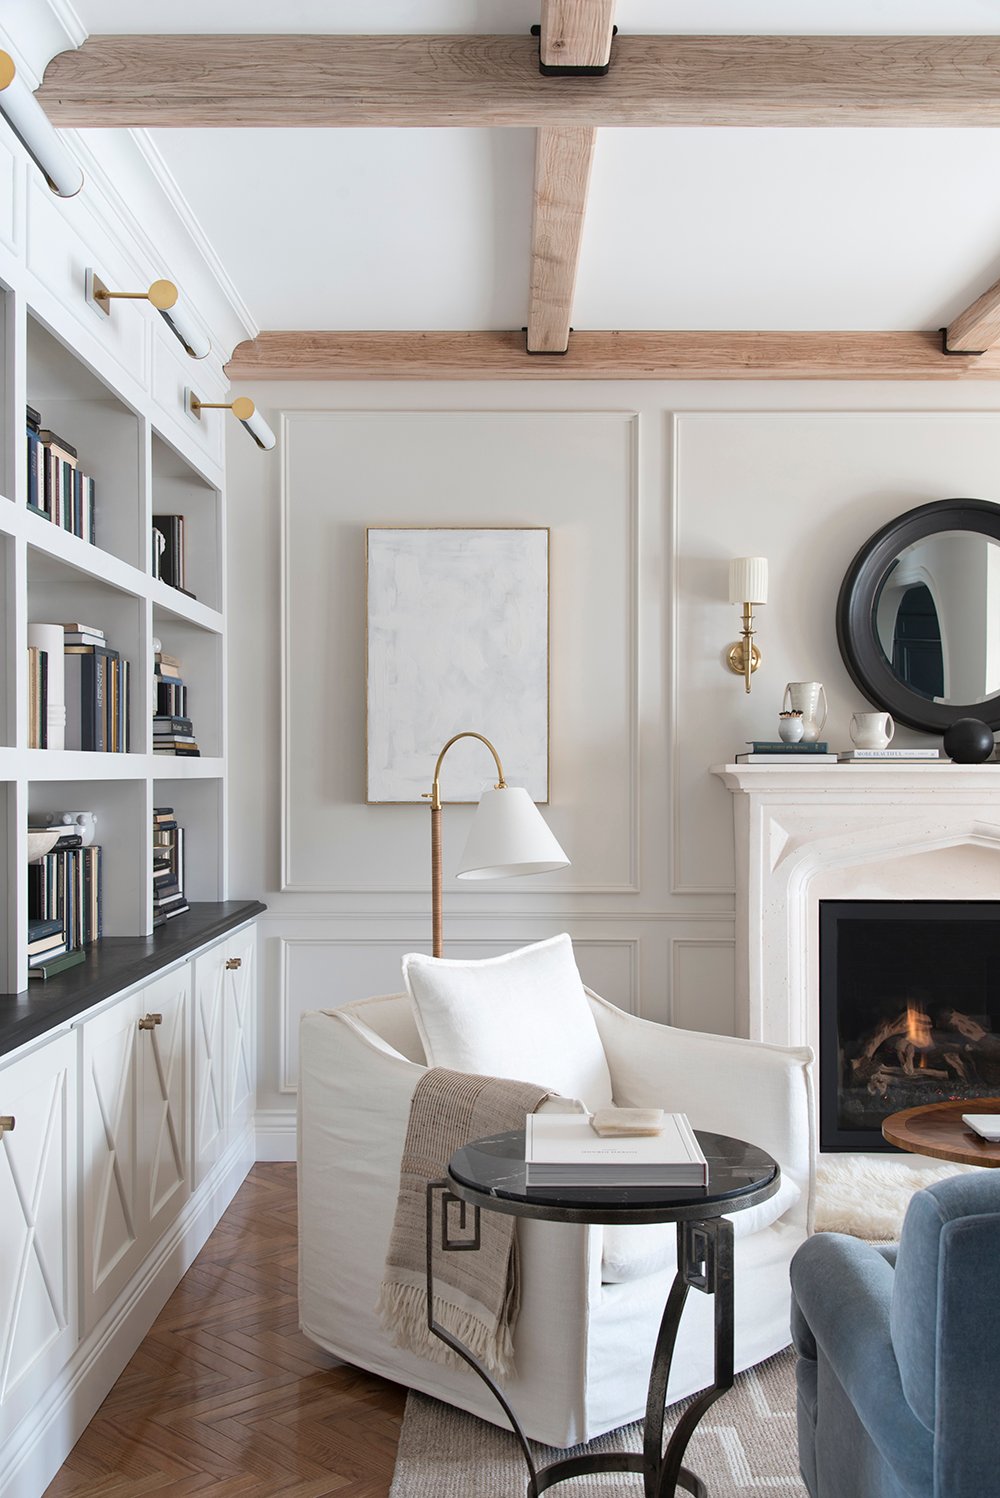 When I asked everyone what types of blog posts they wanted to see this year, over 50% of the post requests were lighting related. I had no idea so many of you were interested in lighting roundups, wanted to learn more about lighting design, or needed guidance on expertly selecting different fixtures for your home. Lighting happens to be one of my favorite things to source when it comes to interiors and home design, so today I thought it may be helpful to share my tips for layering lighting like a designer! I’m also including my go-to lighting resources. Believe me when I say, you’re going to want to pin this lighting post because it’s packed with LOTS of good info! Click through for all things lighting design, my best tips, a helpful Q&A, and of course- the resource list.
15 Designer Lighting Tips
Let’s begin with some basic lighting tips, shall we?
- Adequately Light Each Room // Make sure each space has enough light fixtures to illuminate the room for its given function.
- Consider the Budget // Too often, I see beautifully renovated spaces and can tell when the budget was used up before the lighting phase happened. Allocate funds for lighting! Believe me- it’s not an area to skimp on. I actually think it’s one my top 5 areas in our home I’m willing to splurge on.
- Choose the Right Bulb // A beautiful light fixture is only as good as the bulb it contains. After all, the function is to LIGHT a space. It’s important to buy the right bulb for brightness and temperature. The bulb alone can really influence a room for better or worse.
- Select a Variety of Fixtures // I once went into a client’s home that was flush mount city (pre-renovation). Every single fixture in the home was a flush mount. It’s important to use a variety of fixtures for a layered designer look: chandeliers, pendants, sconces, floor lamps, table lamps, gallery lights, flush mounts, semi flush mounts, etc. Don’t limit yourself to one or two types of light fixtures.
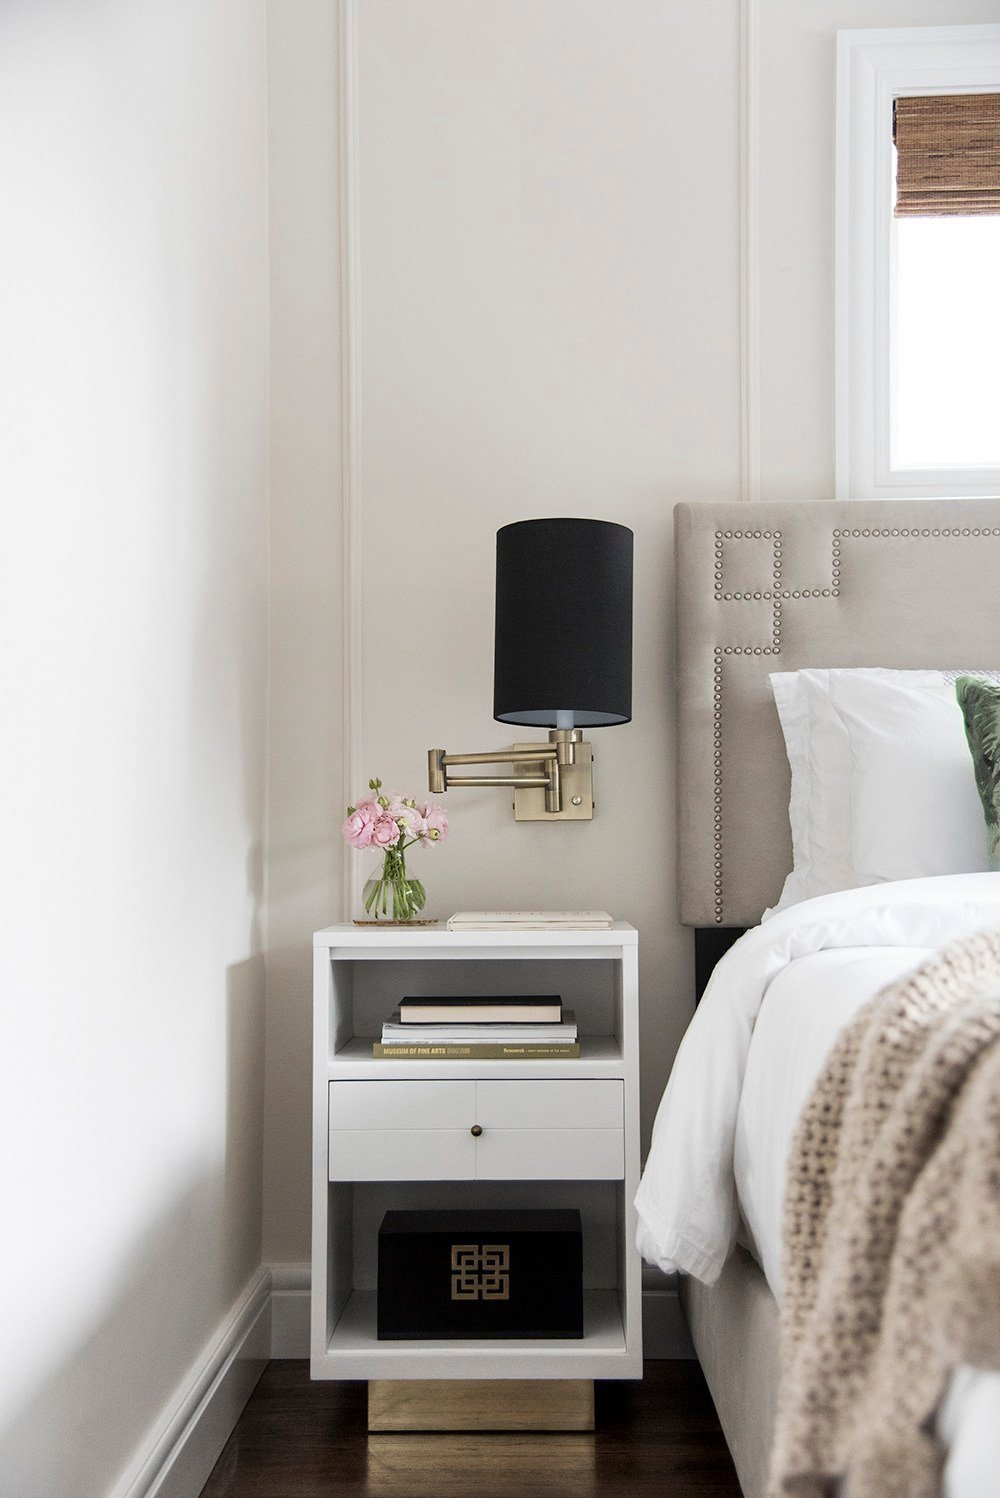
- Mix Metals // Mixing metals is a GOOD thing. I’m a big fan of mixing contrasting metals. For example, I’ll often pair an antique brass with a polished nickel.
- Keep it Cohesive // While I do love mixing metals, I usually stick to the same brand in a space so that the finishes will be consistent (brass is a notoriously tricky finish to match, and all brands have their own version). It’s easiest to source all of the brass lights from one brand to keep things cohesive and matching.
- Disguise the Cords // Unless they’re hardwired or on a battery remote, light fixtures plug into an outlet and have a cord. There’s nothing worse than a big knot or messy looking bunch of cords. Use cord conduit to hide a sconce or picture light cord, consider floor outlets, or use zip ties or velcro to neatly organize your cords, tucking them in an intentional way for a more tailored, thoughtful look.
- Understand the Function of the Room // A kitchen lighting plan will look very different than a living room because they have different uses. Ask yourself how the space will be used and how bright it needs to be. That can also help you pinpoint where the lighting should be positioned and what type of fixtures you’ll need.
- Too Bright is Bad // Having a room that is “too bright” is not a good look. You’d think the brighter, the better… but that’s not the case when it comes to lighting design. Smart design over clinical bright design, always!
- Put Your Lights on Dimmers // Speaking of a bright space, a good way to avoid that is to put your fixtures on dimmers, so you have complete control as the mood or function of a room changes.
- Sketch Out a Lighting Plan // Just like a floor plan, when renovating or designing a space- sketch out your lighting floor plan. Seeing it from above can help you identify where there are gaps and ensure the space is evenly lit.
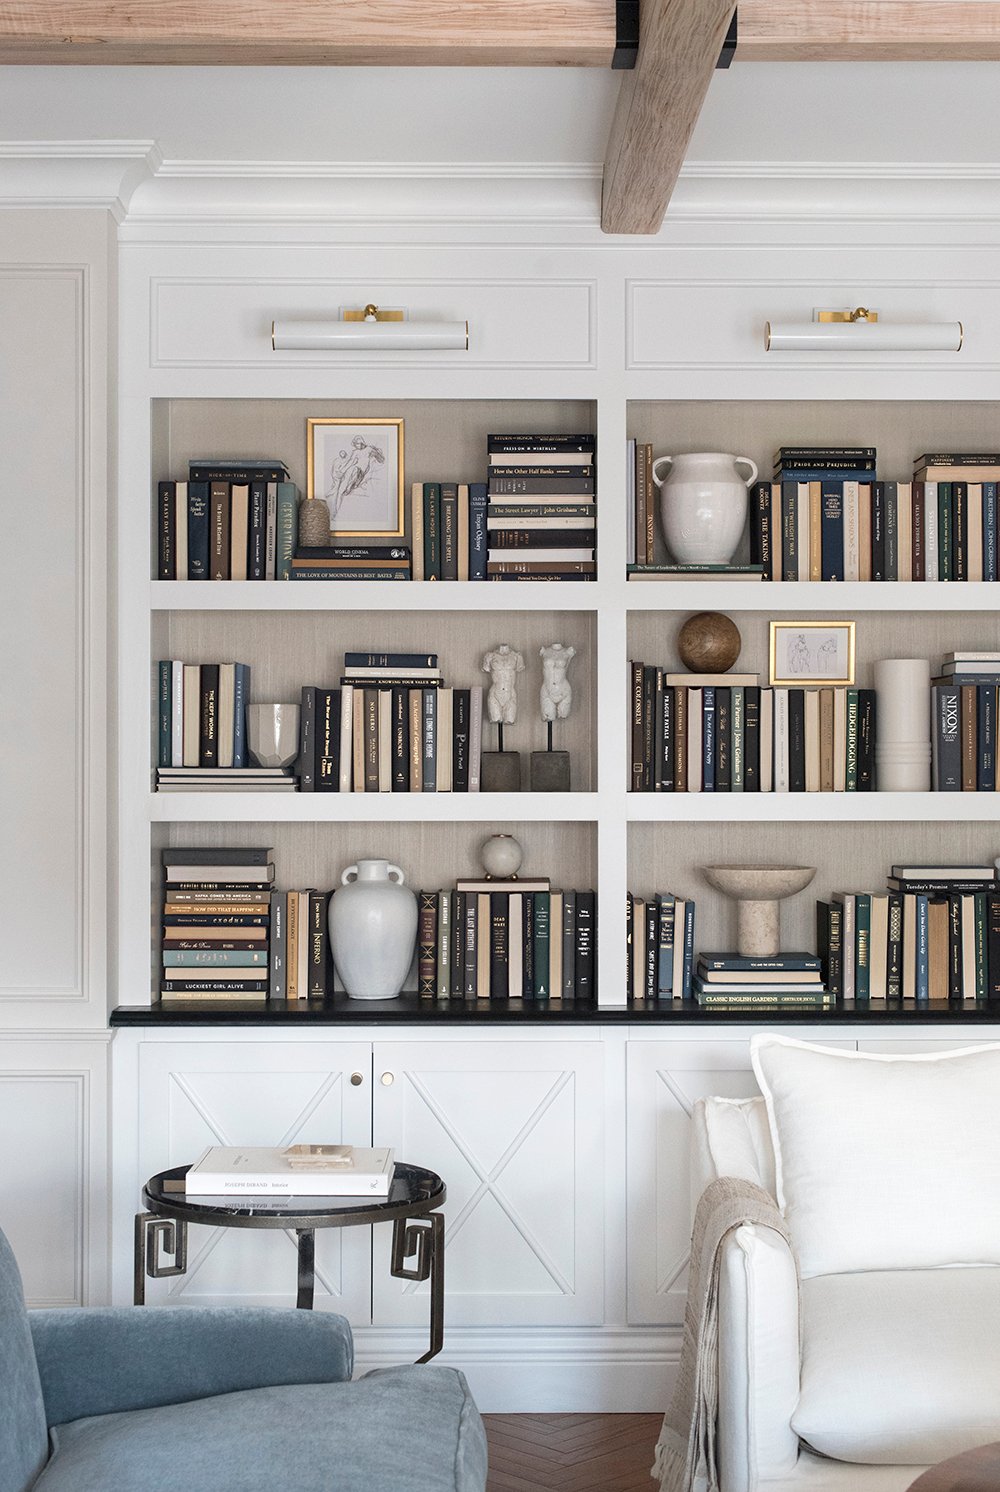
- Highlight Features & Vignettes // If your home has a beautiful architectural feature, like built-ins, highlight it with some gallery lights. If there is a vignette you love, add a table or floor lamp. Think of your top three focal points in a room and add a light fixture to highlight them.
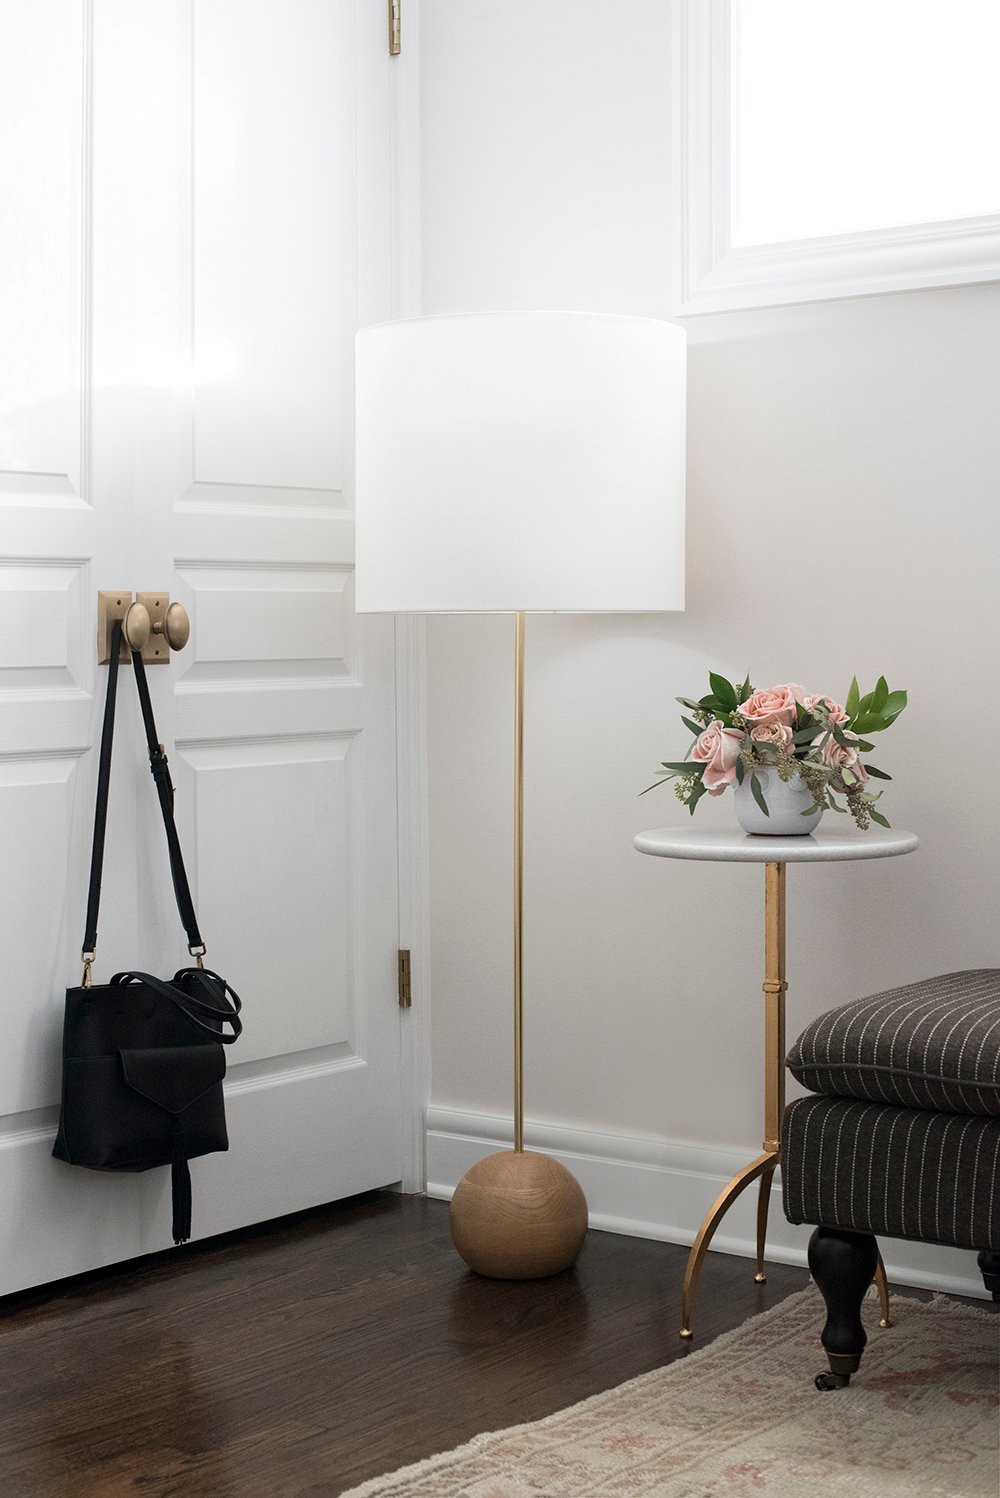
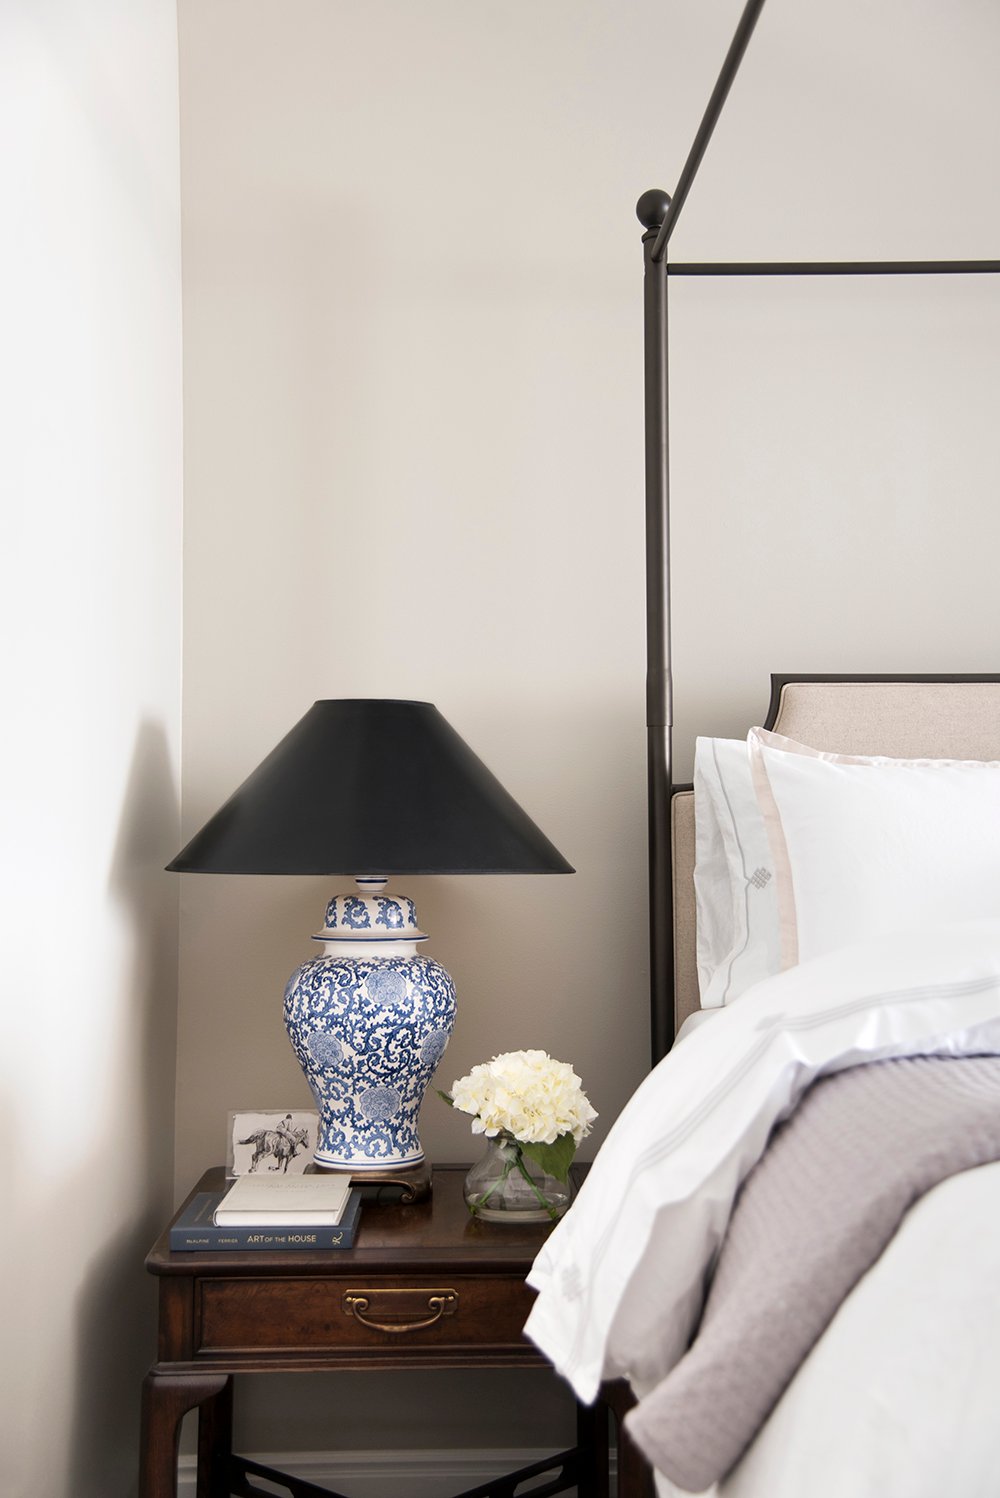
- Integrate Contrasting Materials // All of your lighting shouldn’t be metal or “slick”. It’s important to incorporate other textures and surfaces in your lighting plan… consider a chandelier with cotton shades, a sconce with a linen shade, a floor lamp with a silk shade, etc.
- Don’t Forget Exterior Lighting // So many people have beautifully lit interiors and the exterior is dark and depressing. We spend a LOT of time using our outdoor spaces, and this is a reminder to remember exterior lighting! It’s often forgotten. From porch lights to sconces and string lights to landscaping lights- it makes a big difference outdoors having a thoughtfully lit space, which makes for a charming exterior.
- Choose a “Hero” Fixture // Allow one fixture to be the star of the room, and the others should support it, rather than compete. Usually the hero fixture is the largest or most dramatic fixture, or it is often associated with the main focal point in the room (like a chandelier over a dining table).
Favorite Lighting Resources
Eventually it would be amazing to add lighting to our Tuesday Made shop (many of you have asked!), but since we just launched less than four short months ago, we’re still learning and nailing down our selections, shipping process, and are taking baby steps when it comes to growing the shop. As Emmett says, “We don’t want to get too big for our britches too quickly.” Haha! Hopefully someday we can add lighting to our portfolio. In the meantime, I’ll drop a BIG list of 20+ favorite lighting resources that I use and love below (that are all accessible to consumers- not just to the trade):
- One Kings Lane
- Rejuvenation
- Serena & Lily
- McGee & Co
- Alice Lane Home
- Stoffer Home
- CB2
- Annie Selke
- All Modern
- Pottery Barn
- Allied Maker
- Jayson Home
- Wayfair
- Lulu & Georgia
- Anthropologie
- West Elm
- Lamps Plus
- Overstock
- Pepe & Carols
- Crate & Barrel
- Jonathan Adler
- World Market
Lighting Q&A
Is it ok to mix finishes in the same room?
Absolutely! In fact, I encourage it. Just make sure the fixtures in the same finish are consistent (all of the brass fixtures are the same brass, all of the nickel is the same nickel, etc).
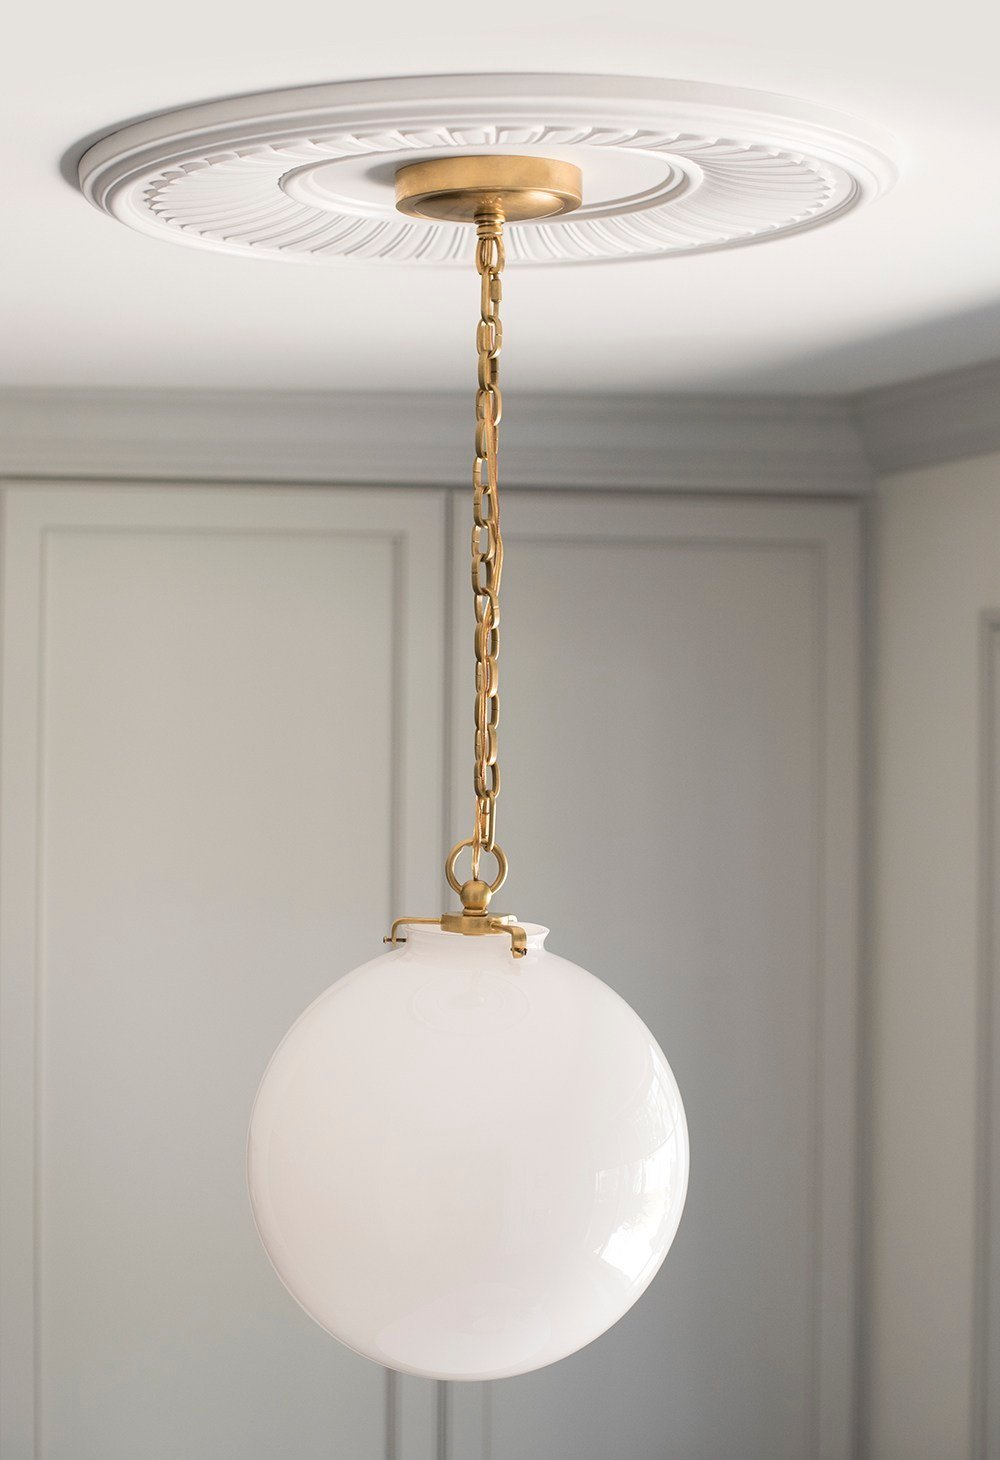
When should you add a ceiling medallion?
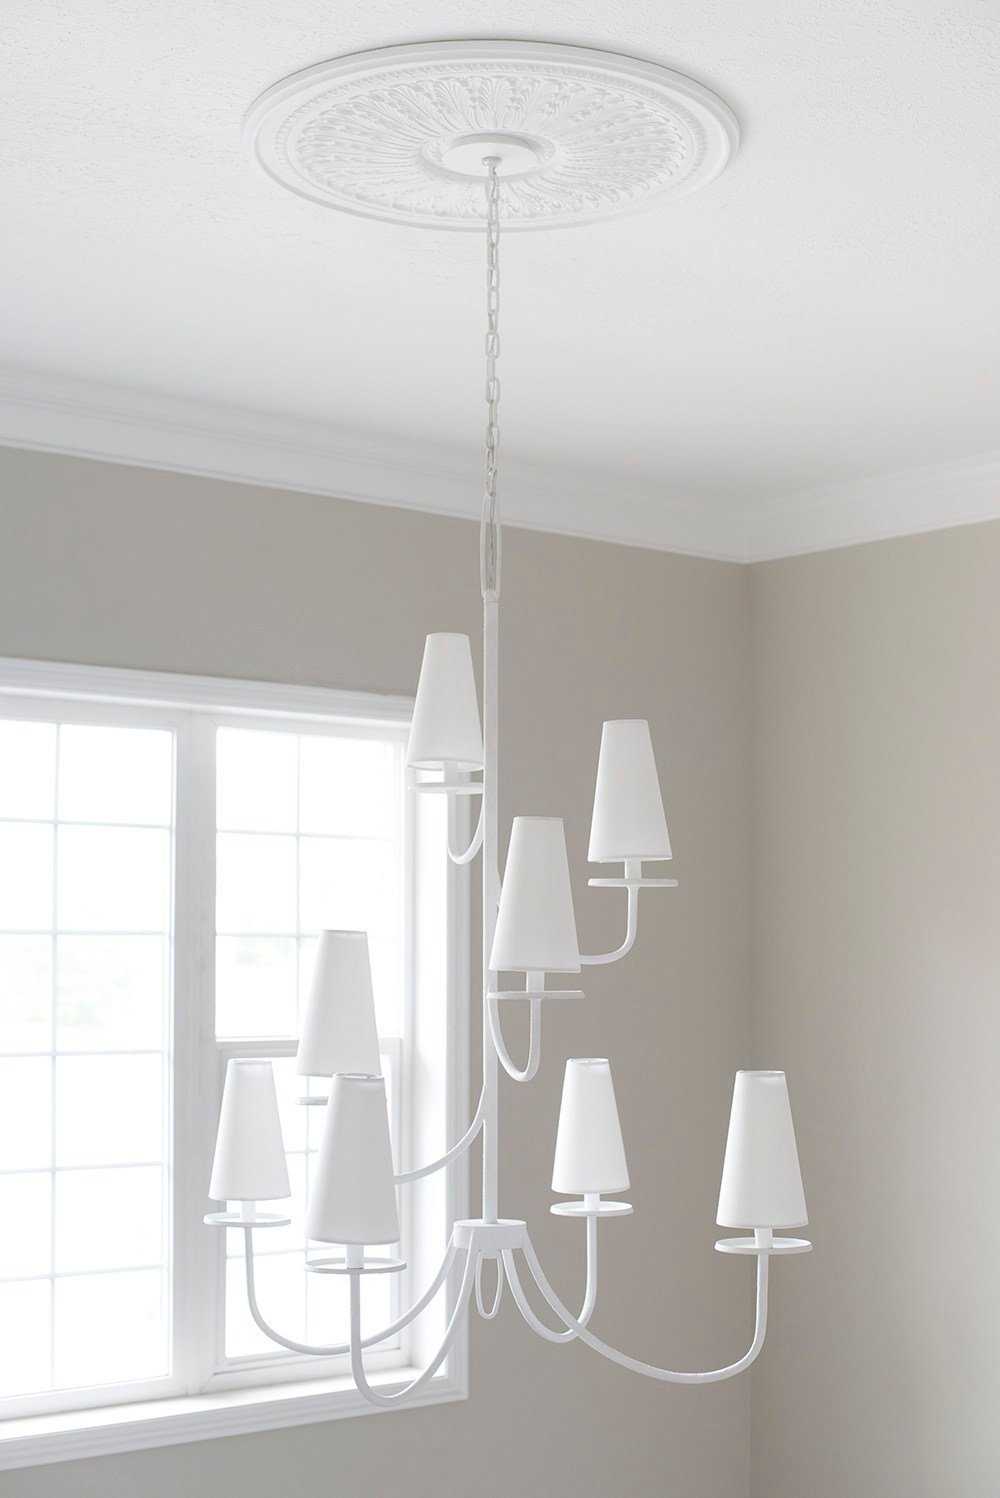
I like to add ceiling medallions in spaces that have a dramatic hanging light fixture of some sort- a pendant, a chandelier, and sometimes even a semi flush mount. They’re great for rooms that are more formal, like a dining room, a formal living space, a bedroom, etc. They’re also ideal for emphasizing a beautiful vignette… like a pendant or chandelier hanging above a soaking tub would totally warrant a ceiling medallion. The medallion should look cohesive with your millwork, and I have an installation tutorial for you here!
How many light fixtures should each room contain?
This depends on the size and function of each room- a hallway will have considerably less fixtures than a living room… but generally no LESS than 3-5 fixture in the average space. For example, my formal living room has seven: two sconces, three gallery lights, a table lamp, and a floor lamp.
How do you know how high to hang your pendants or chandeliers?
This really boils down to personal preference, but I like to have numbers tucked away as a starting point. Sometimes a light fixture will visually intersect with an architectural feature, a piece of art, or something else, and the alignment can look odd- so I’ll fudge it in one direction or another until it feels balanced and intentional. As far as the numbers go, I have them stored in my brain…. and again- I use them as a starting point.
- If you’re hanging pendants above an island, you want at least 24″ between the pendants.
- Pendants above an island should also have a minimum of 30″-36″ clearance beneath the bottom of the pendant and the top of the counter.
- That’s the same dimension I like to start with for a pendant or chandelier hovering above a dining table… 30″-36″, give or take. I like to add an additional 3″ for every foot of ceiling that’s above 8 feet.
- Wall sconces should be installed 5-6 feet above the finished floor.
- If installing wall sconces above a mantel, I usually land anywhere between 15″-18″ above the top of the mantel.
- In bedrooms, if you’re installing bedside sconces, those usually float around 21″-22″ above the top of the mattress, or 42″-44″ above the finished floor.
- In great rooms or spaces with vaulted ceilings, chandeliers and pendants should be installed so the bottom of the fixture is between 8-9 feet off the floor.
- For gallery lights, I like them to be anywhere from 1/2-2/3 the length of the artwork (or built-in).
Do you like can lights? Are they still acceptable?
I’m a designer who doesn’t have a problem with can lights-especially when they’re on a dimmer. They’re often necessary and add functionality in spaces where more light is required- like a kitchen. I try to buy minimal looking ones and I always install other light fixtures that accompany them (sconces, a pendant, etc).
Is there a type of light fixture you really dislike?
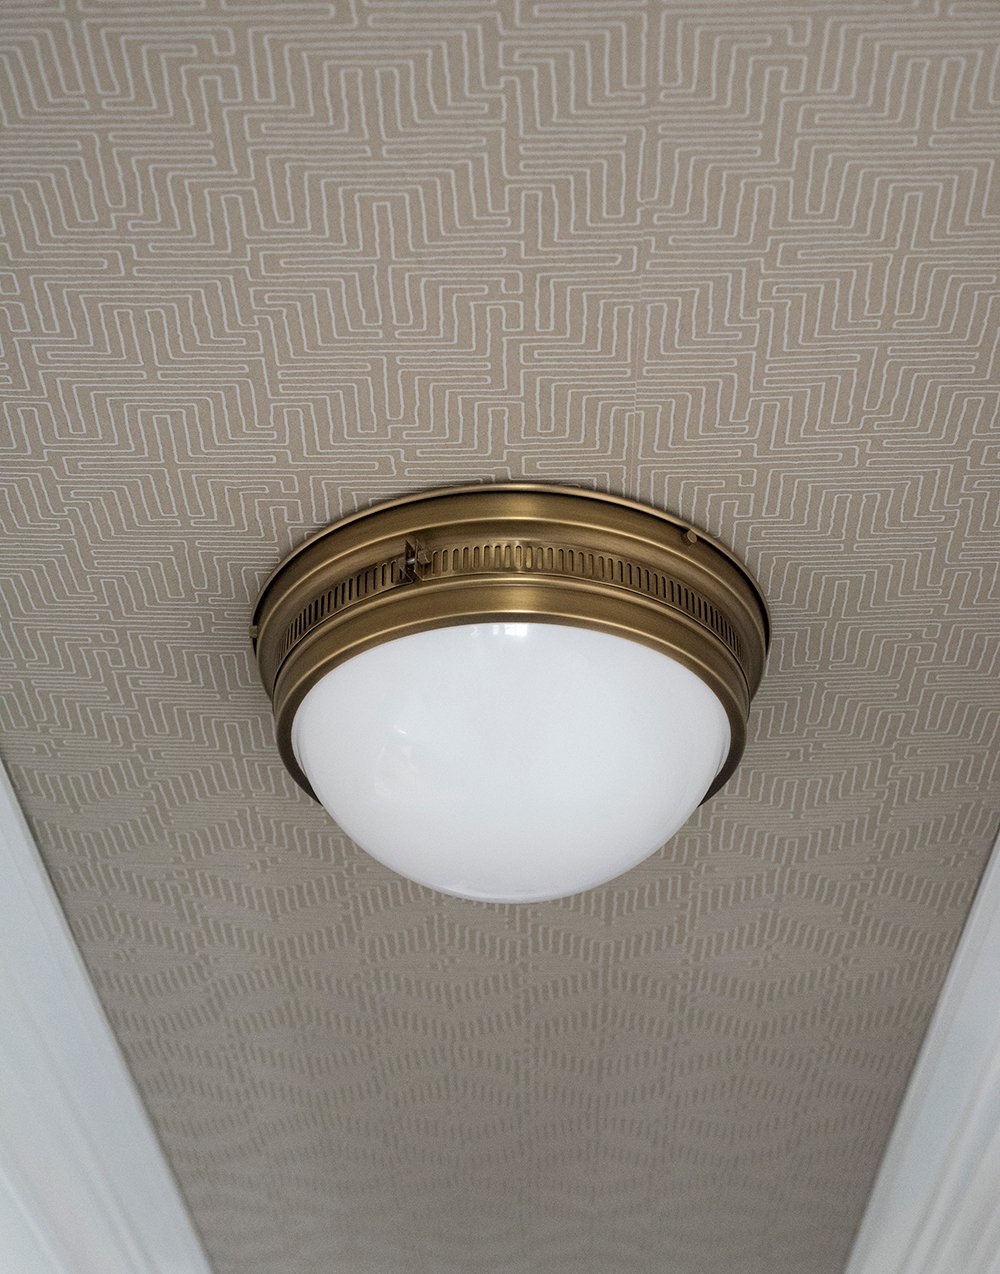
Boob lights!! You knew that was coming, haha! I’m halfway joking because most people aren’t into them and that seems like a boring, expected answer. Aside from those, there are certain fixtures I like to call “bug trappers” and you can probably guess what they do: trap dust, bugs, and are difficult to clean. Anything with an open top and a closed bottom (basically a bowl shape)– certain lanterns or semi flush mounts… they’re just not for me. I think there are lots that are beautiful, but for cleanability purposes, I’ll pass.
What is your favorite designer lighting?
Oooh, I love this question! My favorite designer trade accounts? Visual Comfort, Circa Lighting, and Hudson Valley Lighting… or vintage lighting. Most of these designer fixtures can be found (available to consumers) in the big list I linked above- at places like One Kings Lane, McGee & Co, Alice Lane, Stoffer Home, etc.
Was that information overload? Did I talk your ear off? Are you 100% over lighting at this point? I started writing and couldn’t stop thinking of points to discuss. I could chat about this subject all day. I’m all ears for your questions in the comment section below! I hope this post was helpful and informative. I’m going to work on some lighting roundups, pairings, and even entire room collages for you (all of which were popular requests).
I’m pretty passionate about lighting, if you couldn’t tell. One of my dreams or goals is to design a lighting line someday. I would absolutely LOVE to do that, so if you know of anyone in the industry who is looking for a partner or collaboration, I’m your girl!! Haha! But really, it’s a longterm goal of mine and would be a complete dream come true. Hold me to that, ok?!

