Recessed Lighting Guide: Layout, Spacing & Design
This post was requested by a reader and it left me wondering why I didn’t think to share this info sooner. Lighting can be tricky to plan- especially if you’re mixing recessed fixtures with decorative or accent ones. I’m breaking it all down in this post… where and when exactly you need recessed lights, when to avoid them, what kind you need, how to create a smart (and visually appealing) lighting plan, and the design rules I follow in every project! The goal for recessed lighting is to add visibility and functionality to your space, but you should never rely on them solely. Click through for the details…
If you missed it, be sure to read how to layer lighting like a designer… it goes hand-in-hand with this post!
What Is Recessed Lighting?
Recessed lighting, sometimes called can lights or downlights, sits flush with the ceiling and provides clean, unobtrusive illumination. Modern fixtures are available in traditional can styles as well as ultra thin canless LEDs, but the design principle remains the same. I think of recessed lighting as the workhorse of a lighting plan. It’s there to provide functional light without stealing attention from the architecture, furniture, or decorative fixtures. That doesn’t mean every room needs dozens of recessed lights though. In fact…
One of the biggest mistakes I see is people using too many recessed lights. It’s easy to go overboard.
Recessed Lighting Placement
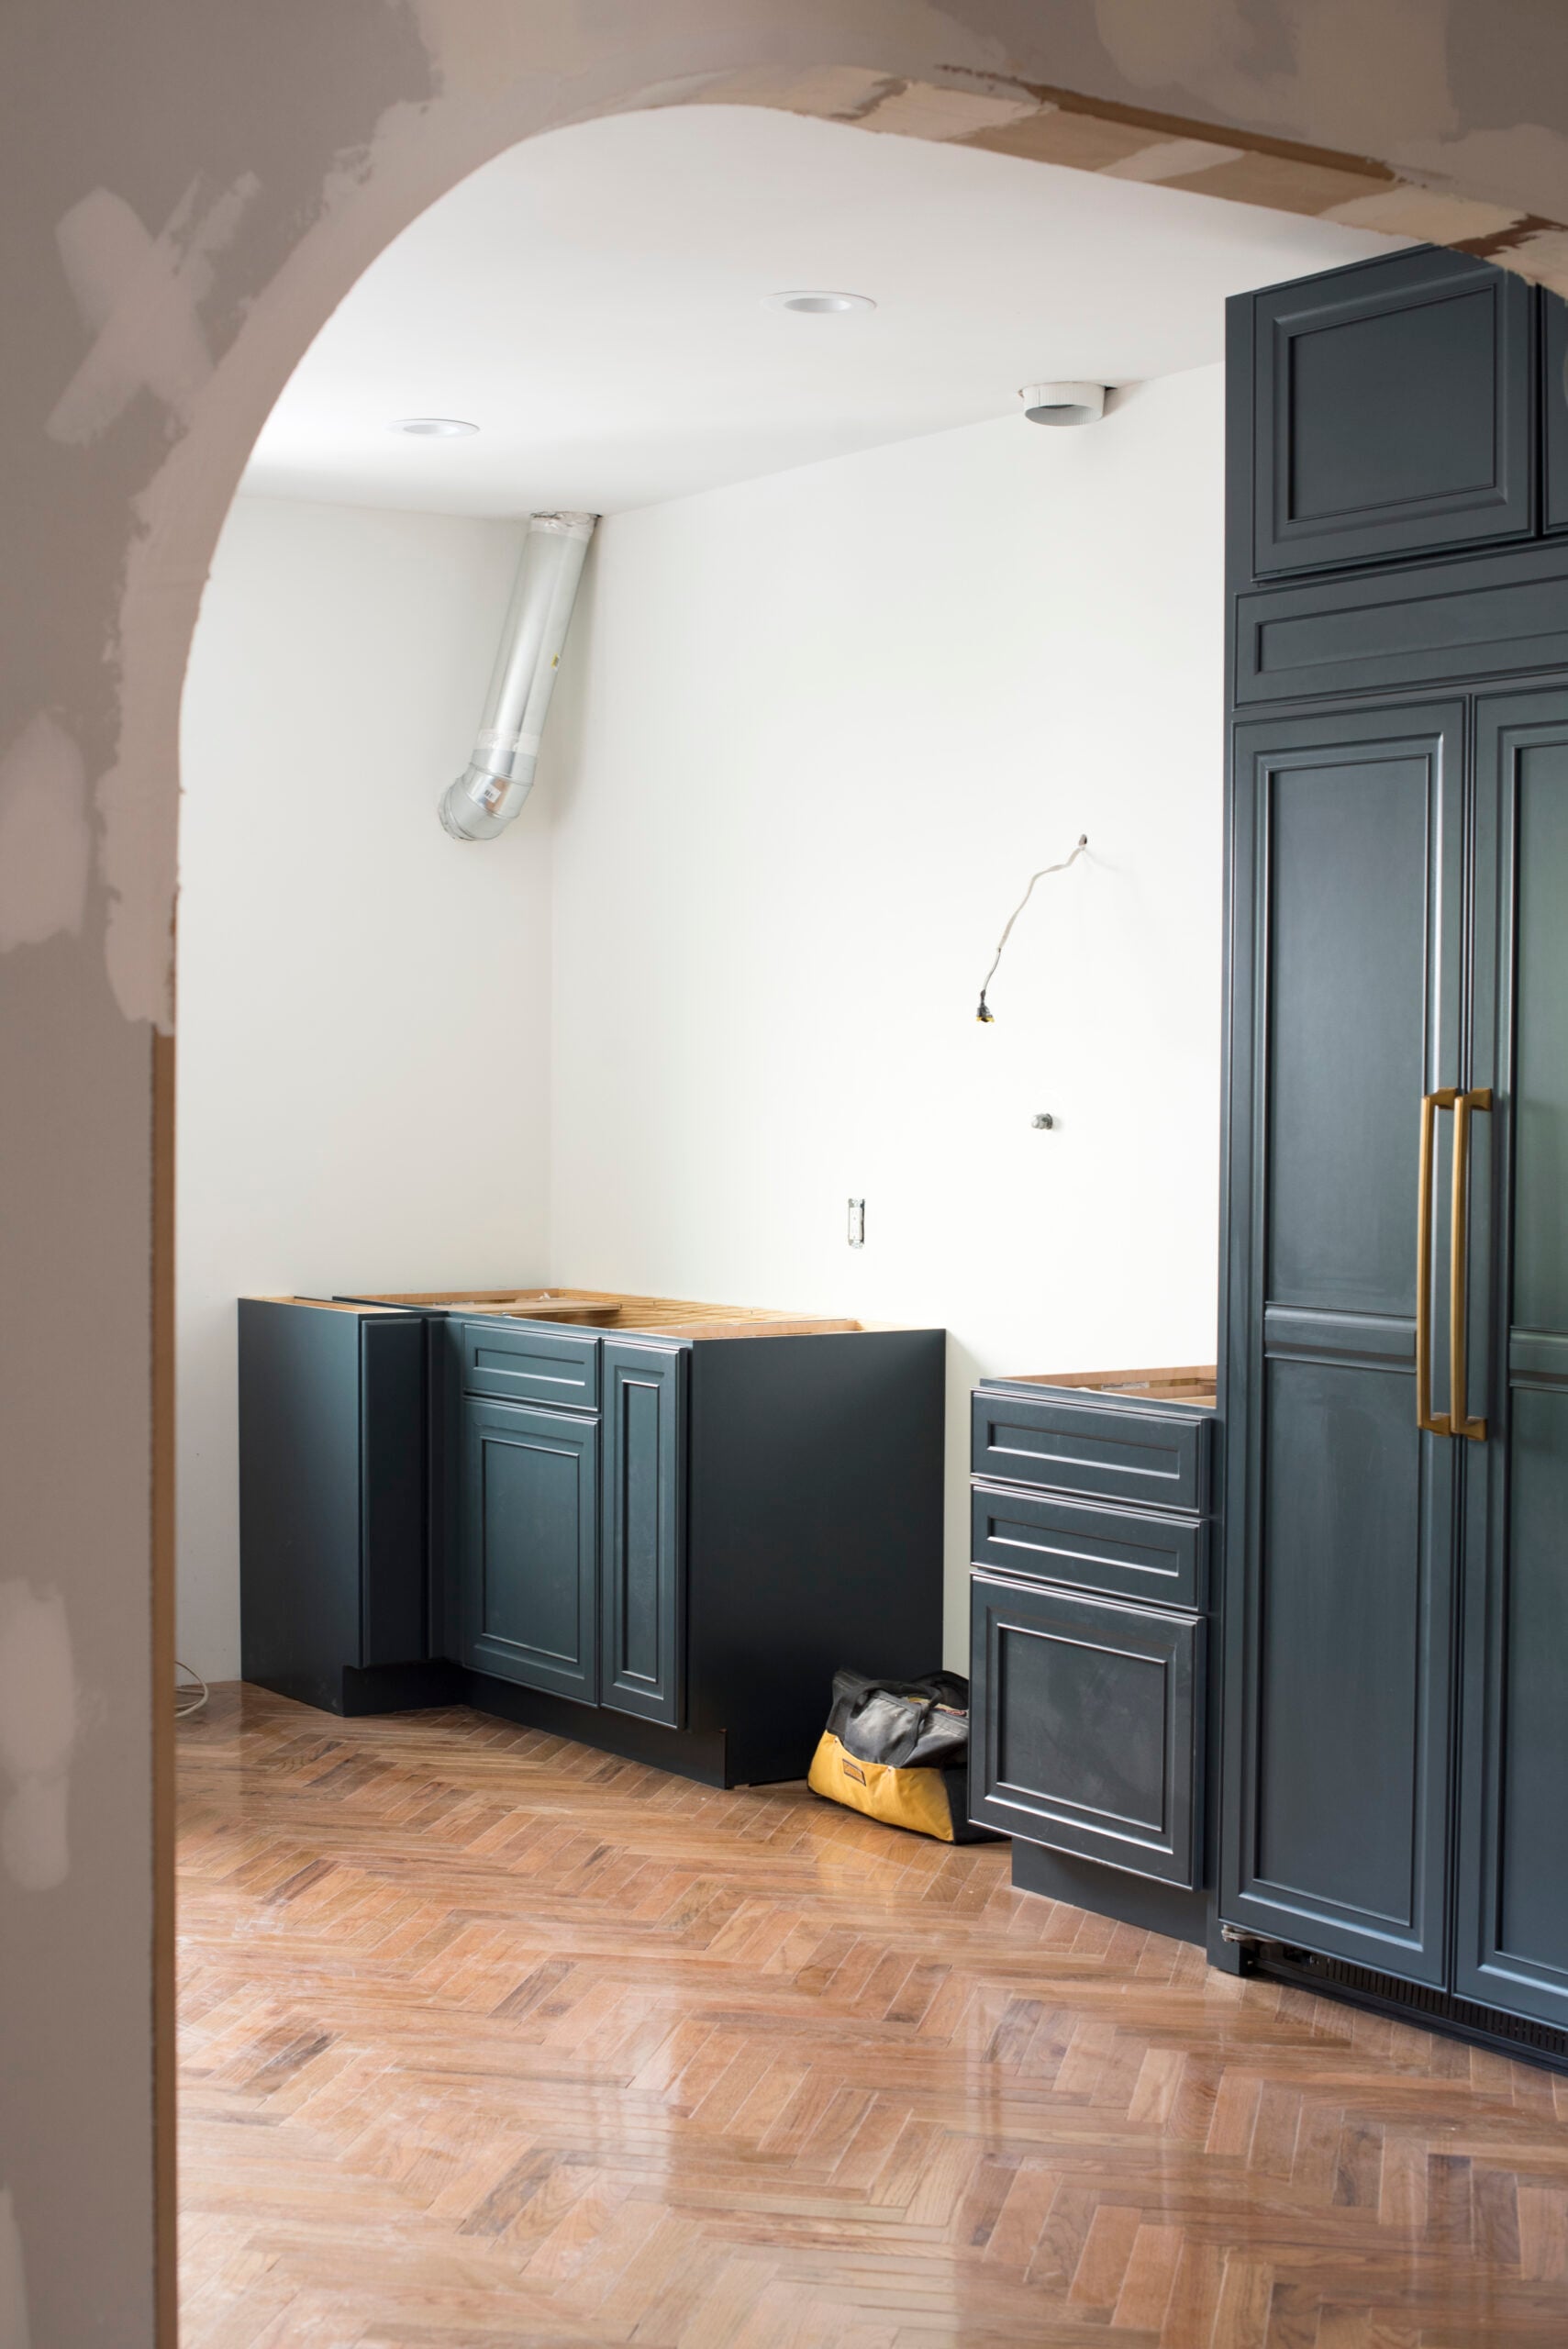
Planning recessed lighting is relatively simple in a basic rectangular room with zero architectural features obstructing the ceiling. A minimal grid typically works well. Things get more difficult in kitchens or areas with cabinets, beams, or built-ins. That’s when lighting should respond to the room’s function instead of following a perfectly symmetrical grid. A basic recessed grid doesn’t work well in those spaces, either functionally or from a design perspective.
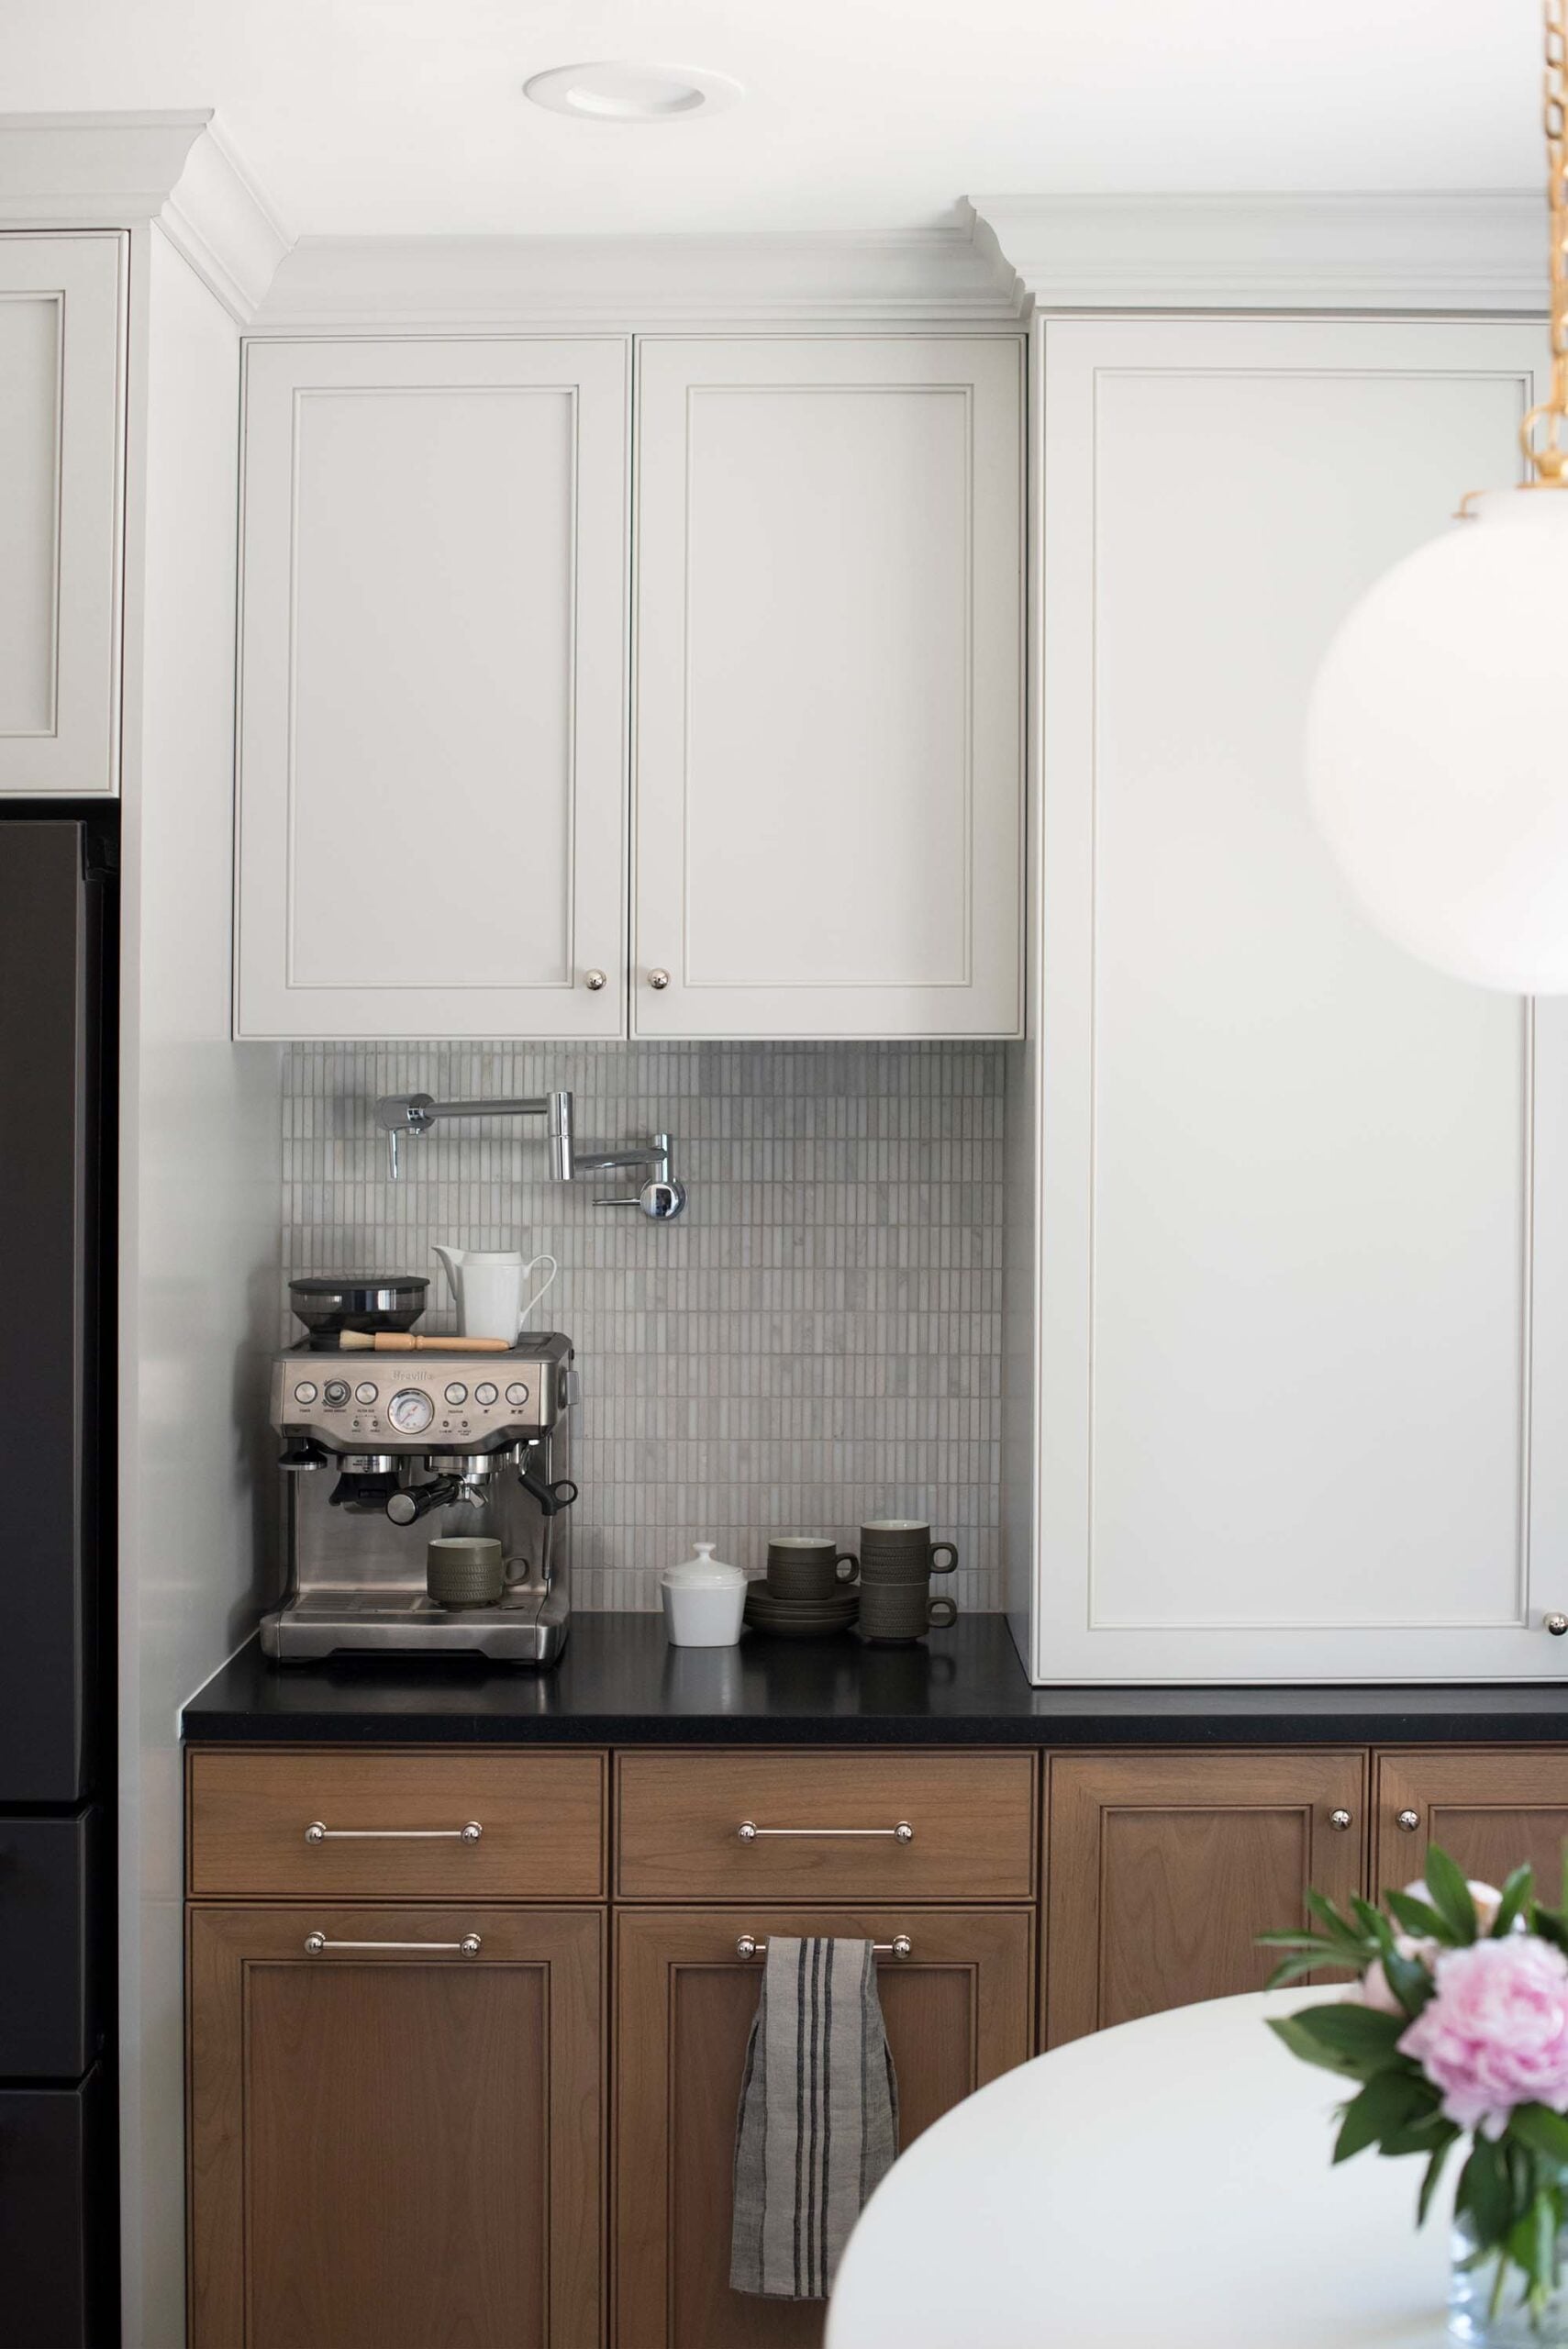
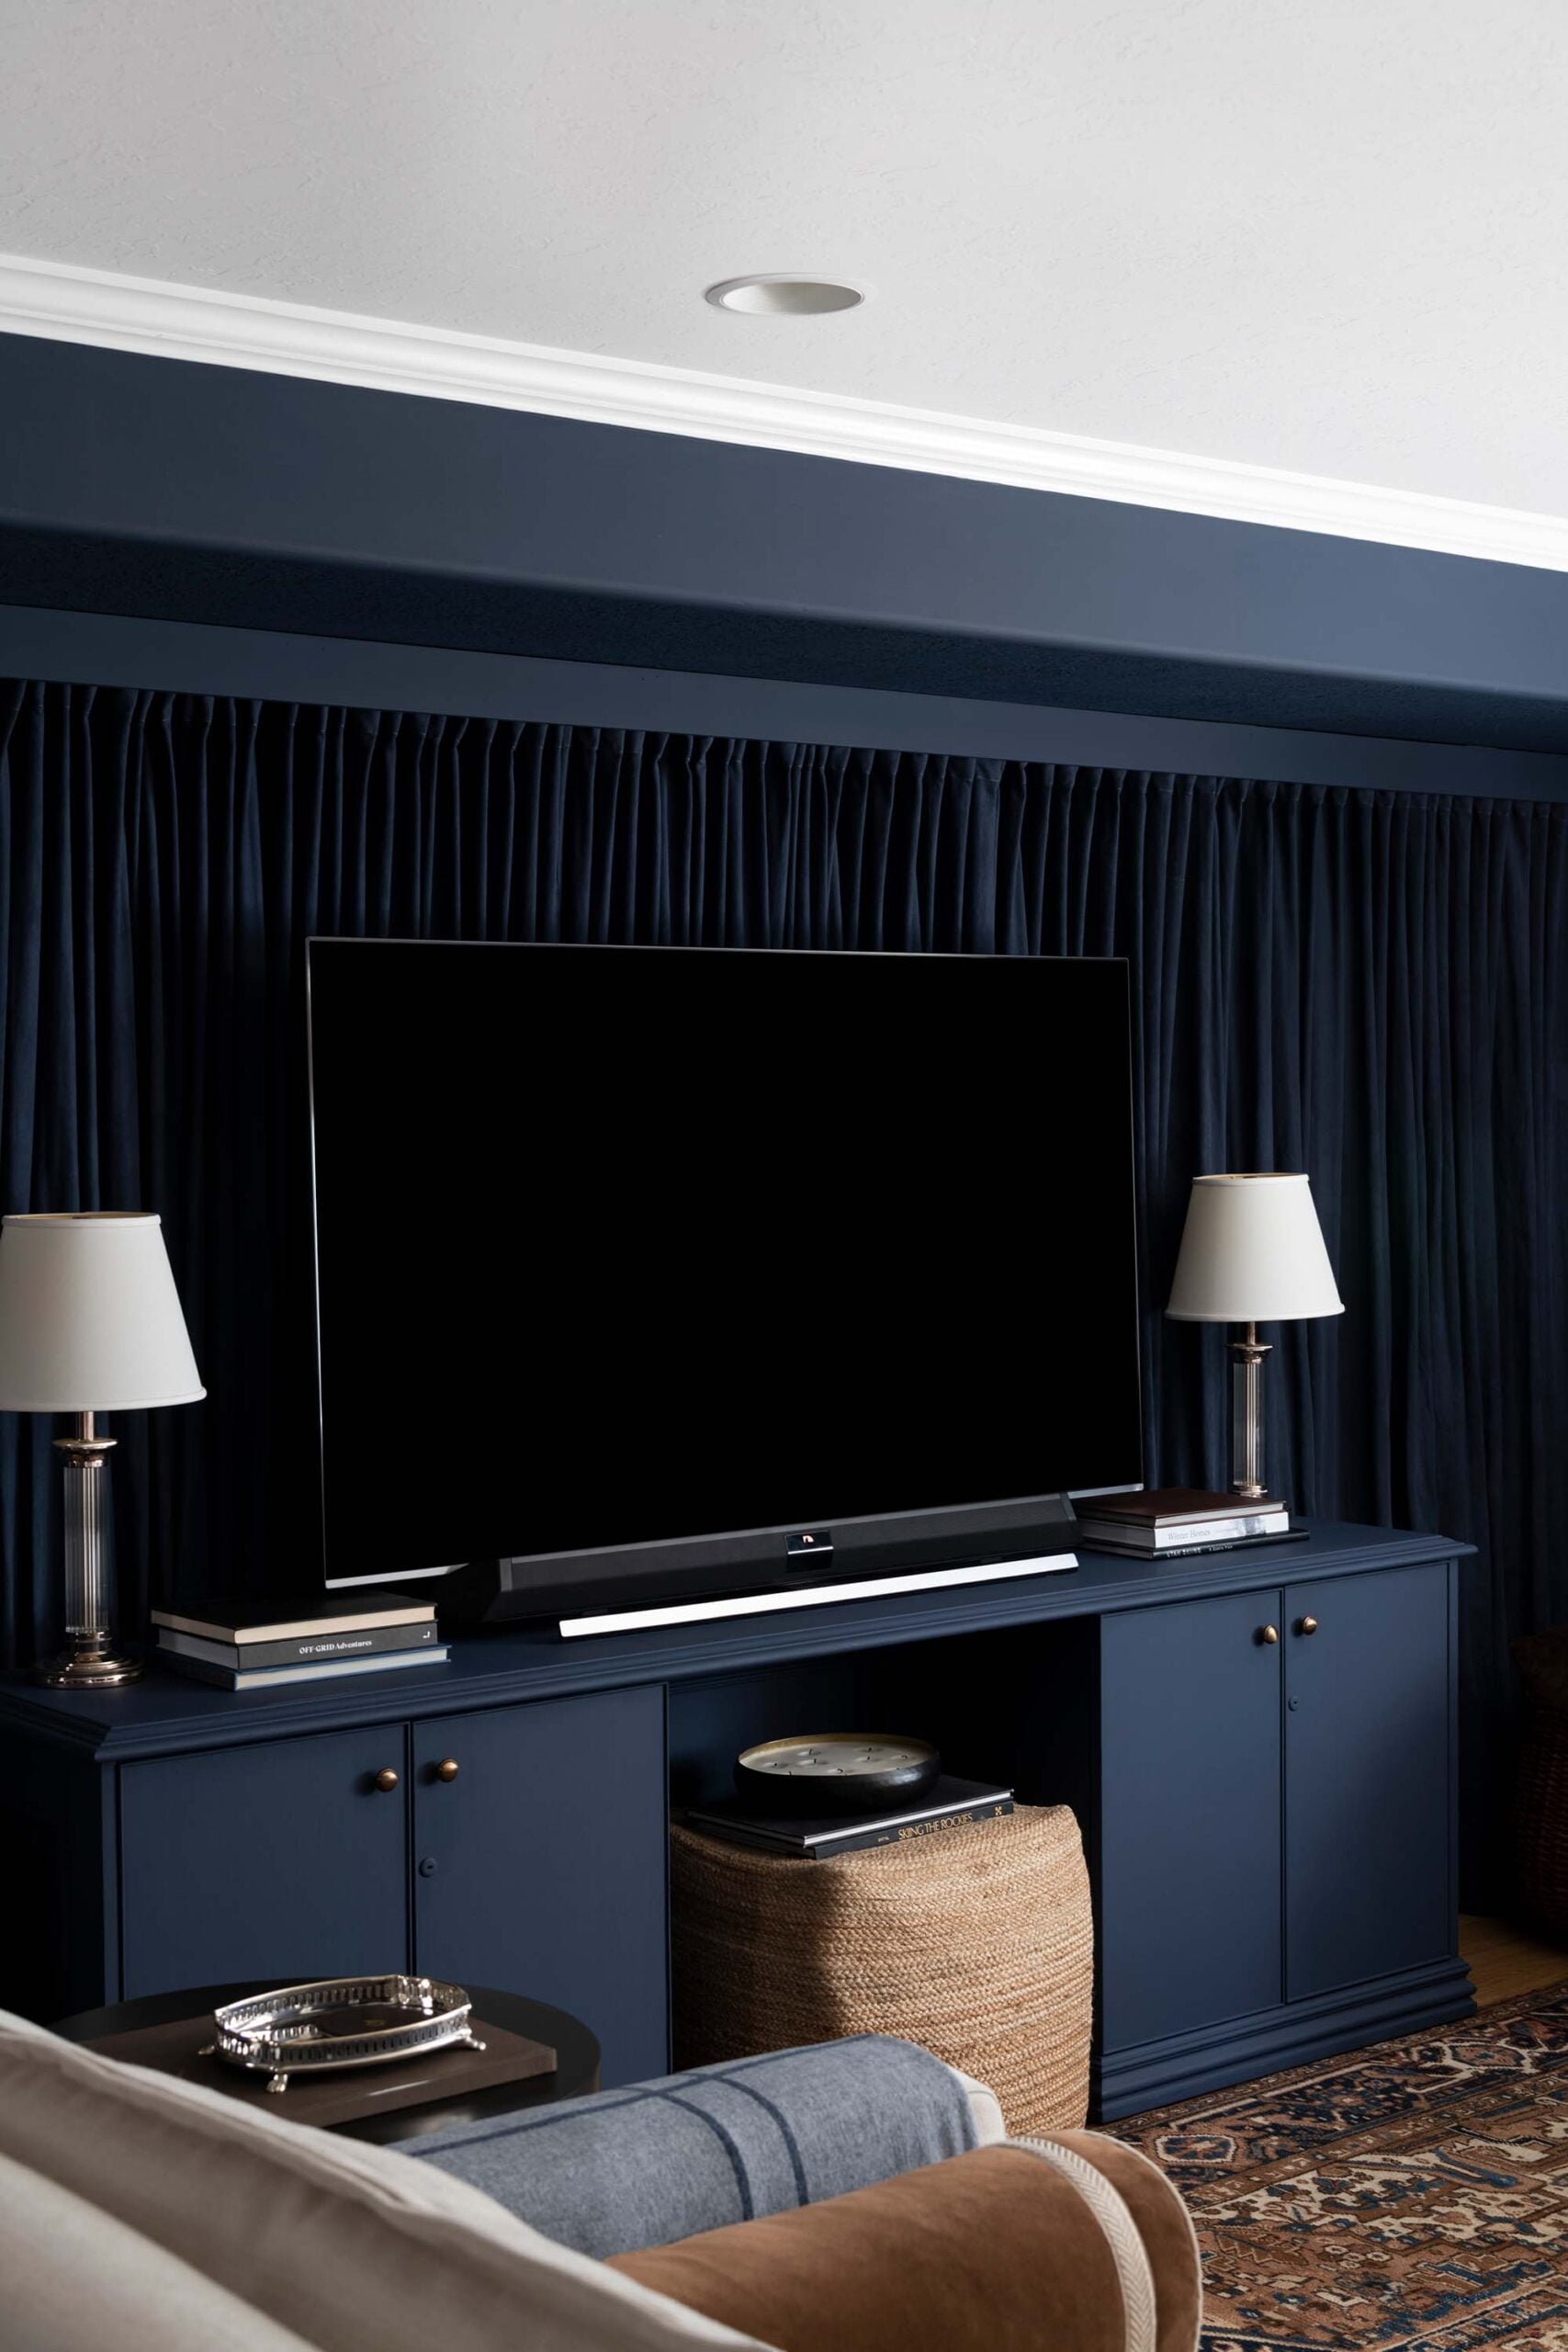
My biggest piece of advice is to be intentional when specifying the position of a recessed light. It should be functional, but also balanced visually. I always ask myself what I want that fixture to illuminate. Is it a pantry? A sink? A coffee station (like below)? A hallway? If I can’t answer that question, the light probably doesn’t belong there.
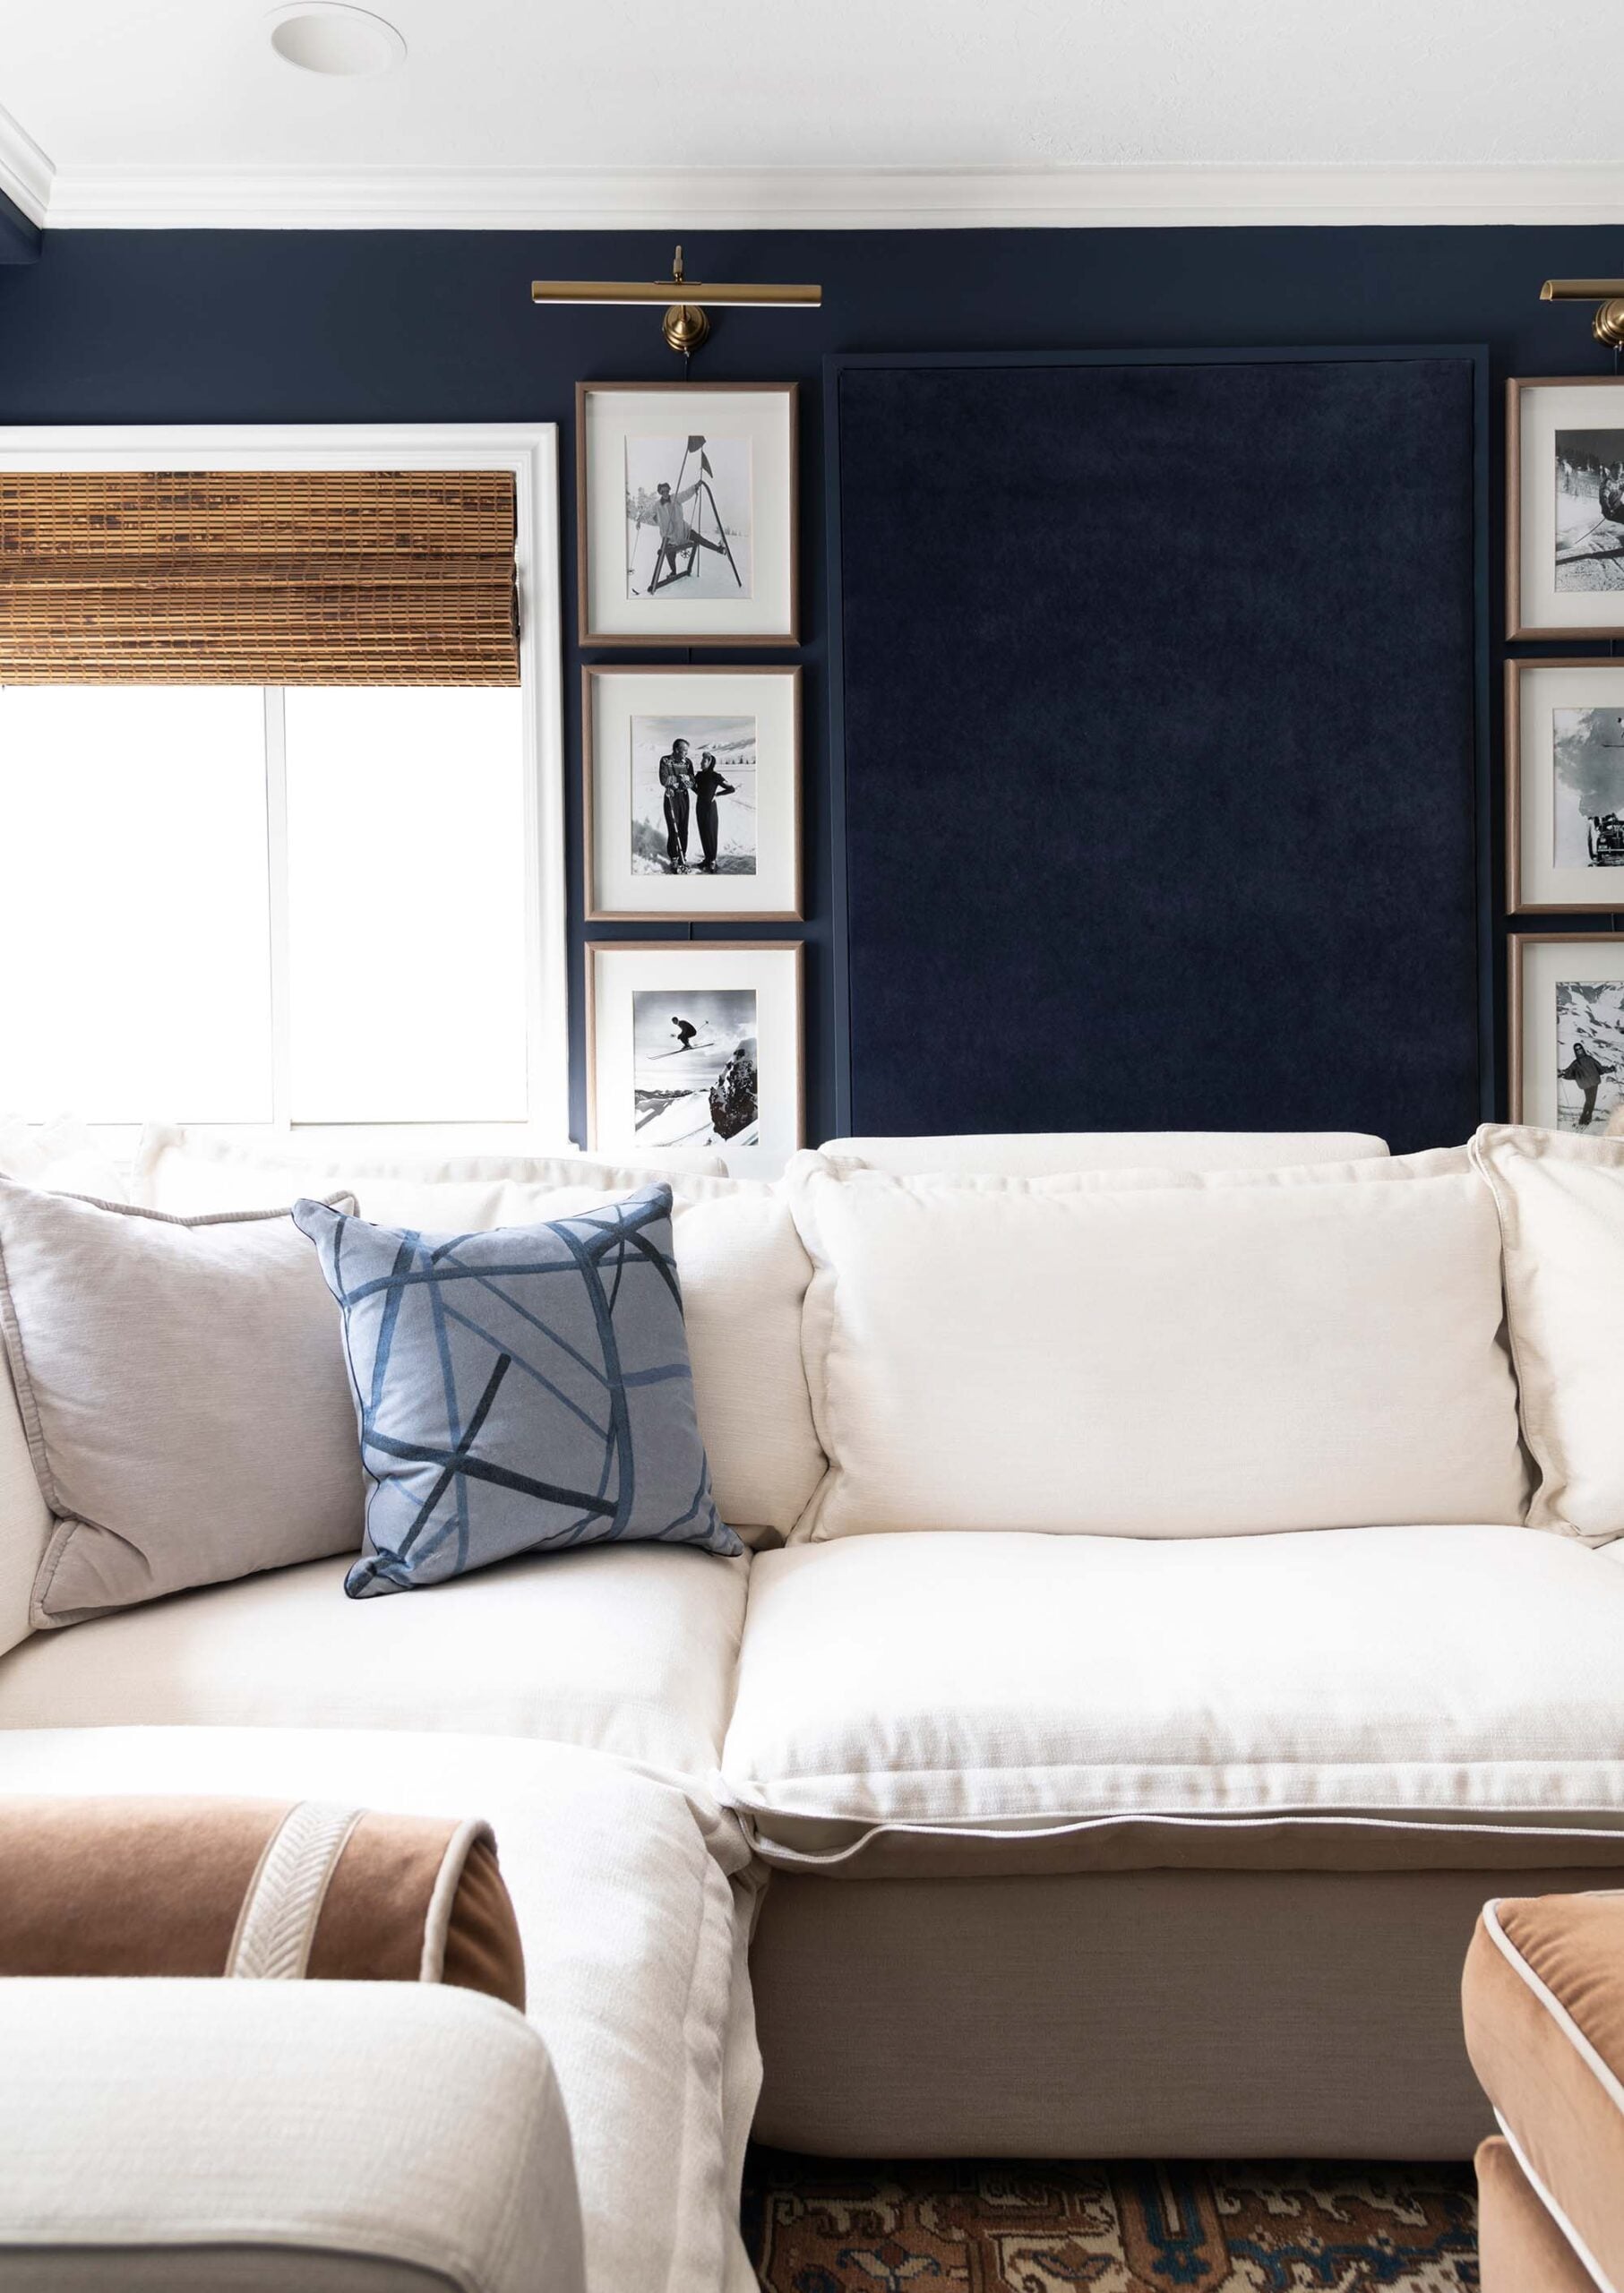
Instead of blanketing a space with a grid of lighting, introduce a recessed light (or two) to frame a vignette. This will not only provide lighting in key areas but also draw your attention to a specific moment within a room. Lighting can subtly guide how you experience a room.
Creating a Recessed Lighting Layout
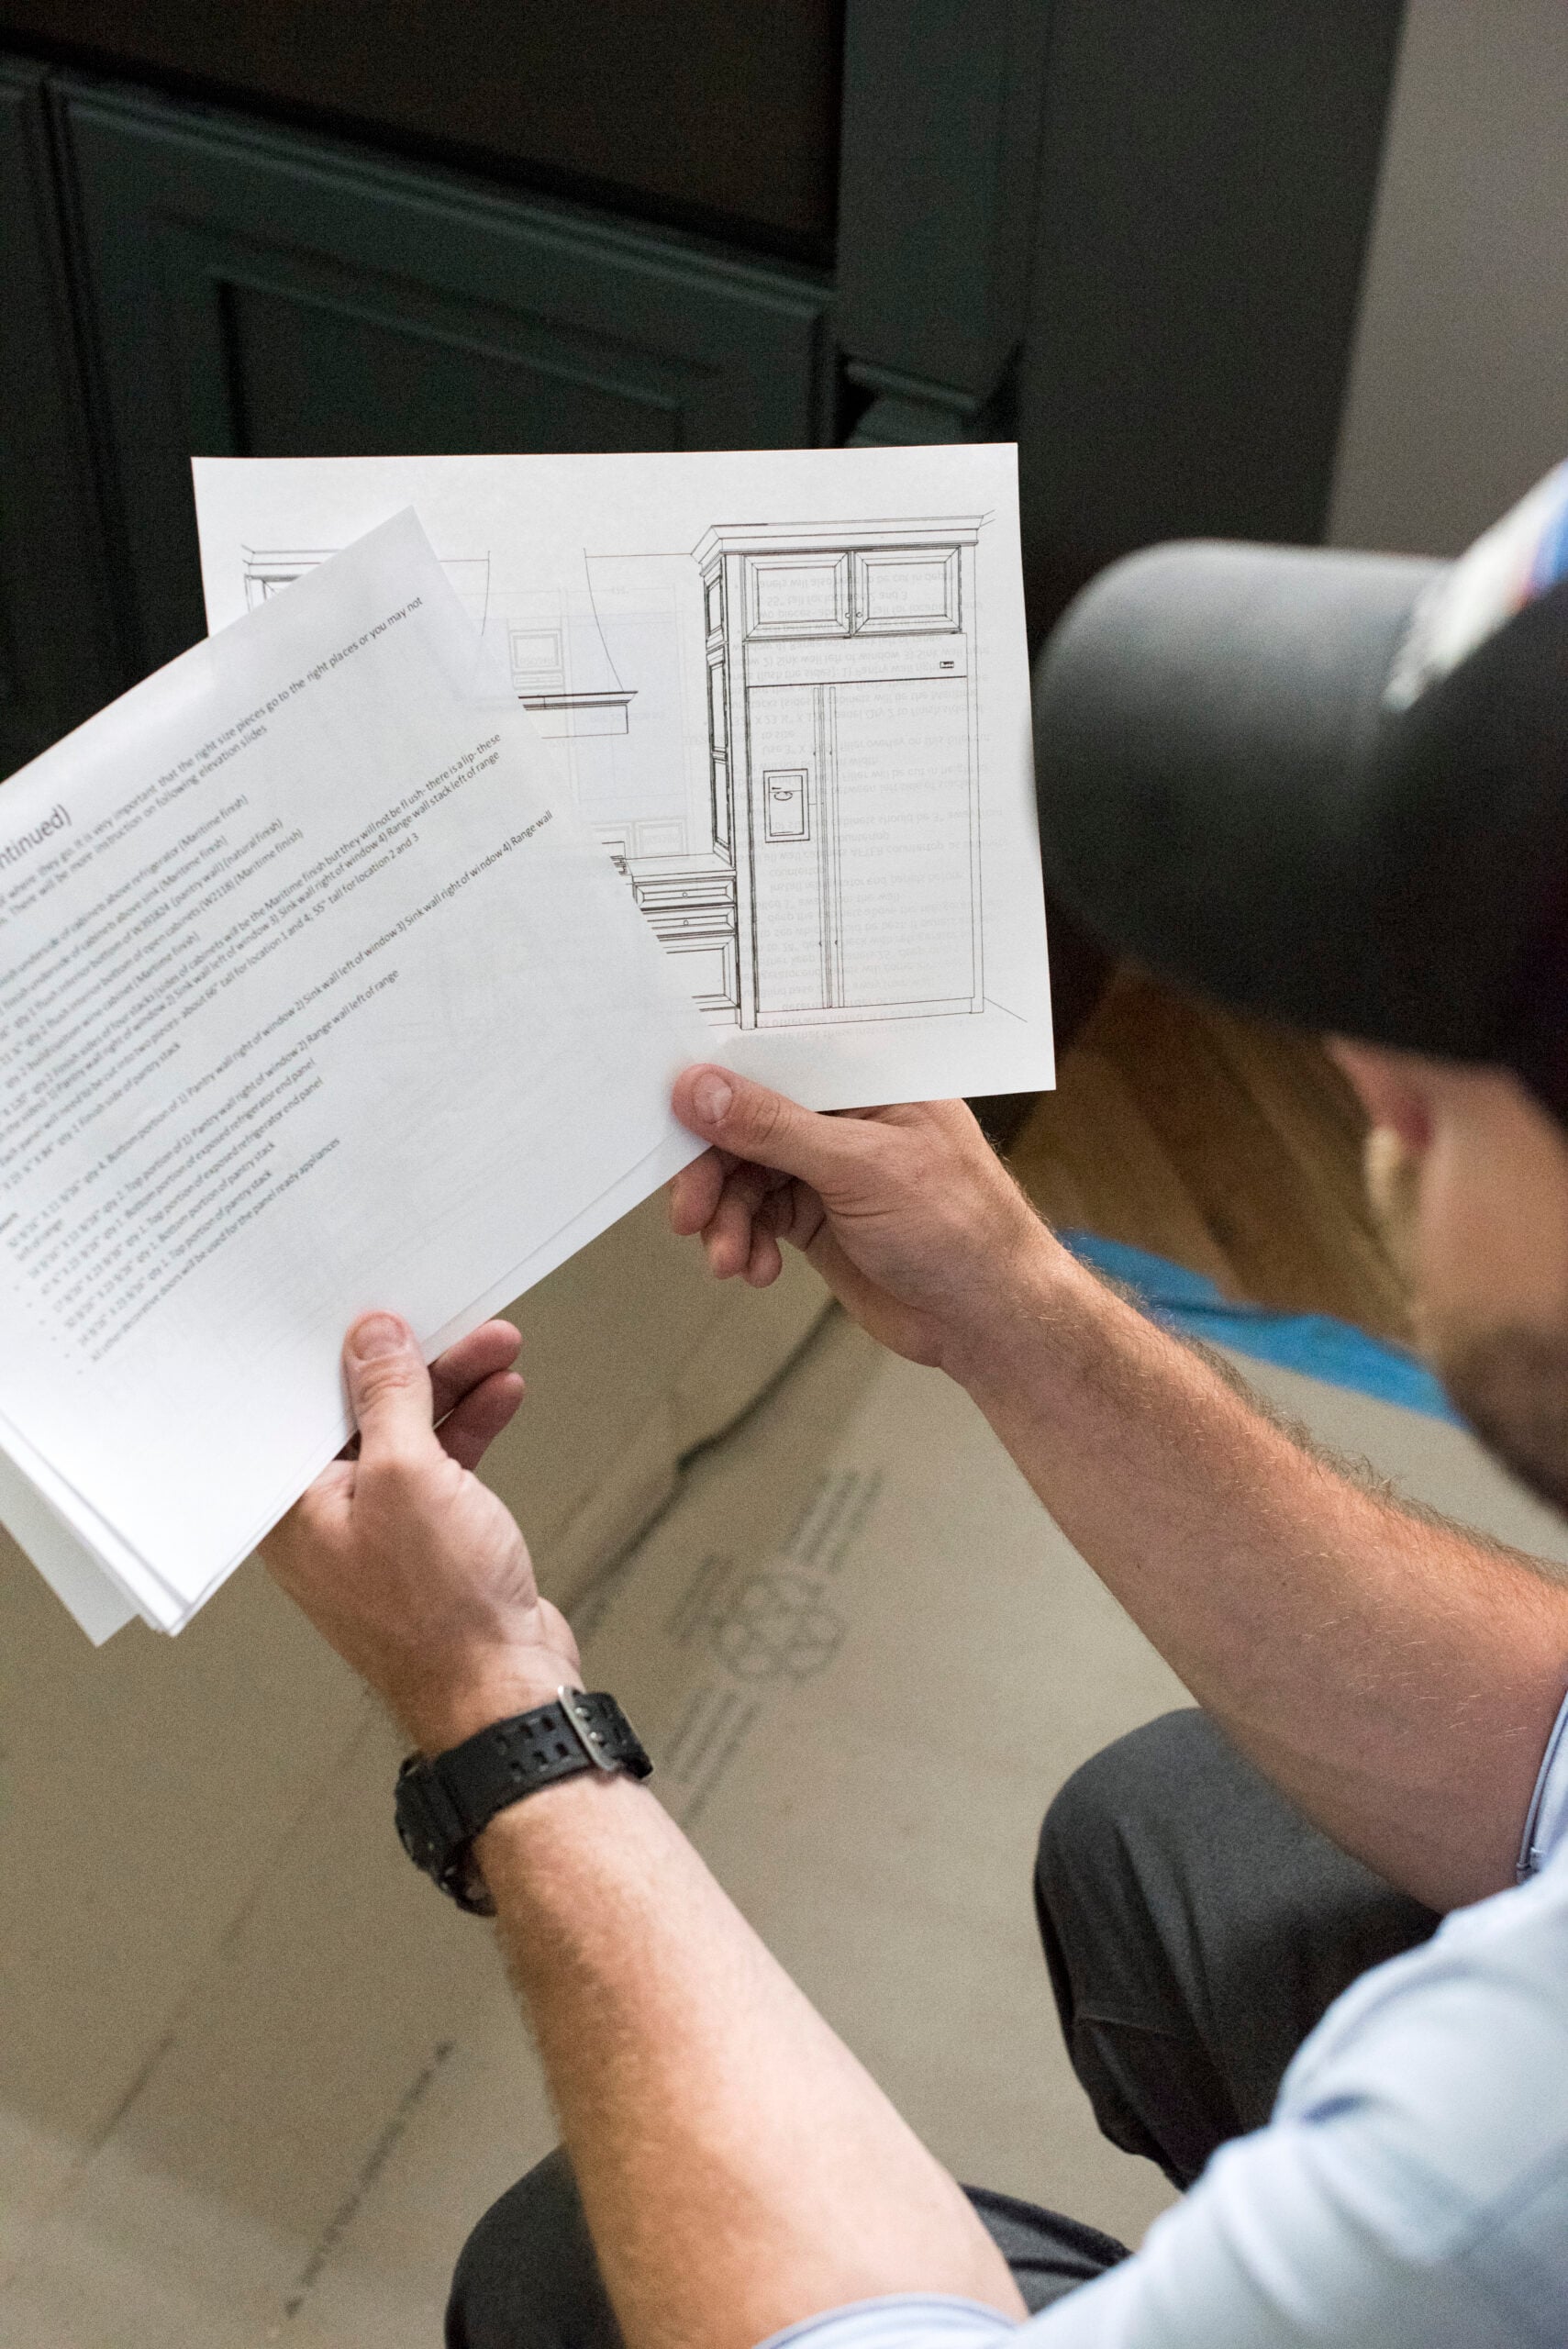
If you’re renovating and taking a space down to the studs, it’s easiest to make the recessed lighting plan while the electrical wire is being run. It can sometimes be tricky to plan lights that perfectly align with cabinetry or certain areas in a room; specific measurements are a must. I always create a lighting plan. Sometimes it’s as simple as marking in where I want the lights positioned, and other times I’ll create a detailed elevation with measurements.
I think of which areas to highlight, bringing them out slightly to also light the center of the room. They step up from each other, creating a nice balanced grid. If you aren’t doing a total renovation, don’t worry… you can still install recessed lighting- it just a takes a bit to wire electrical and patch the ceiling.
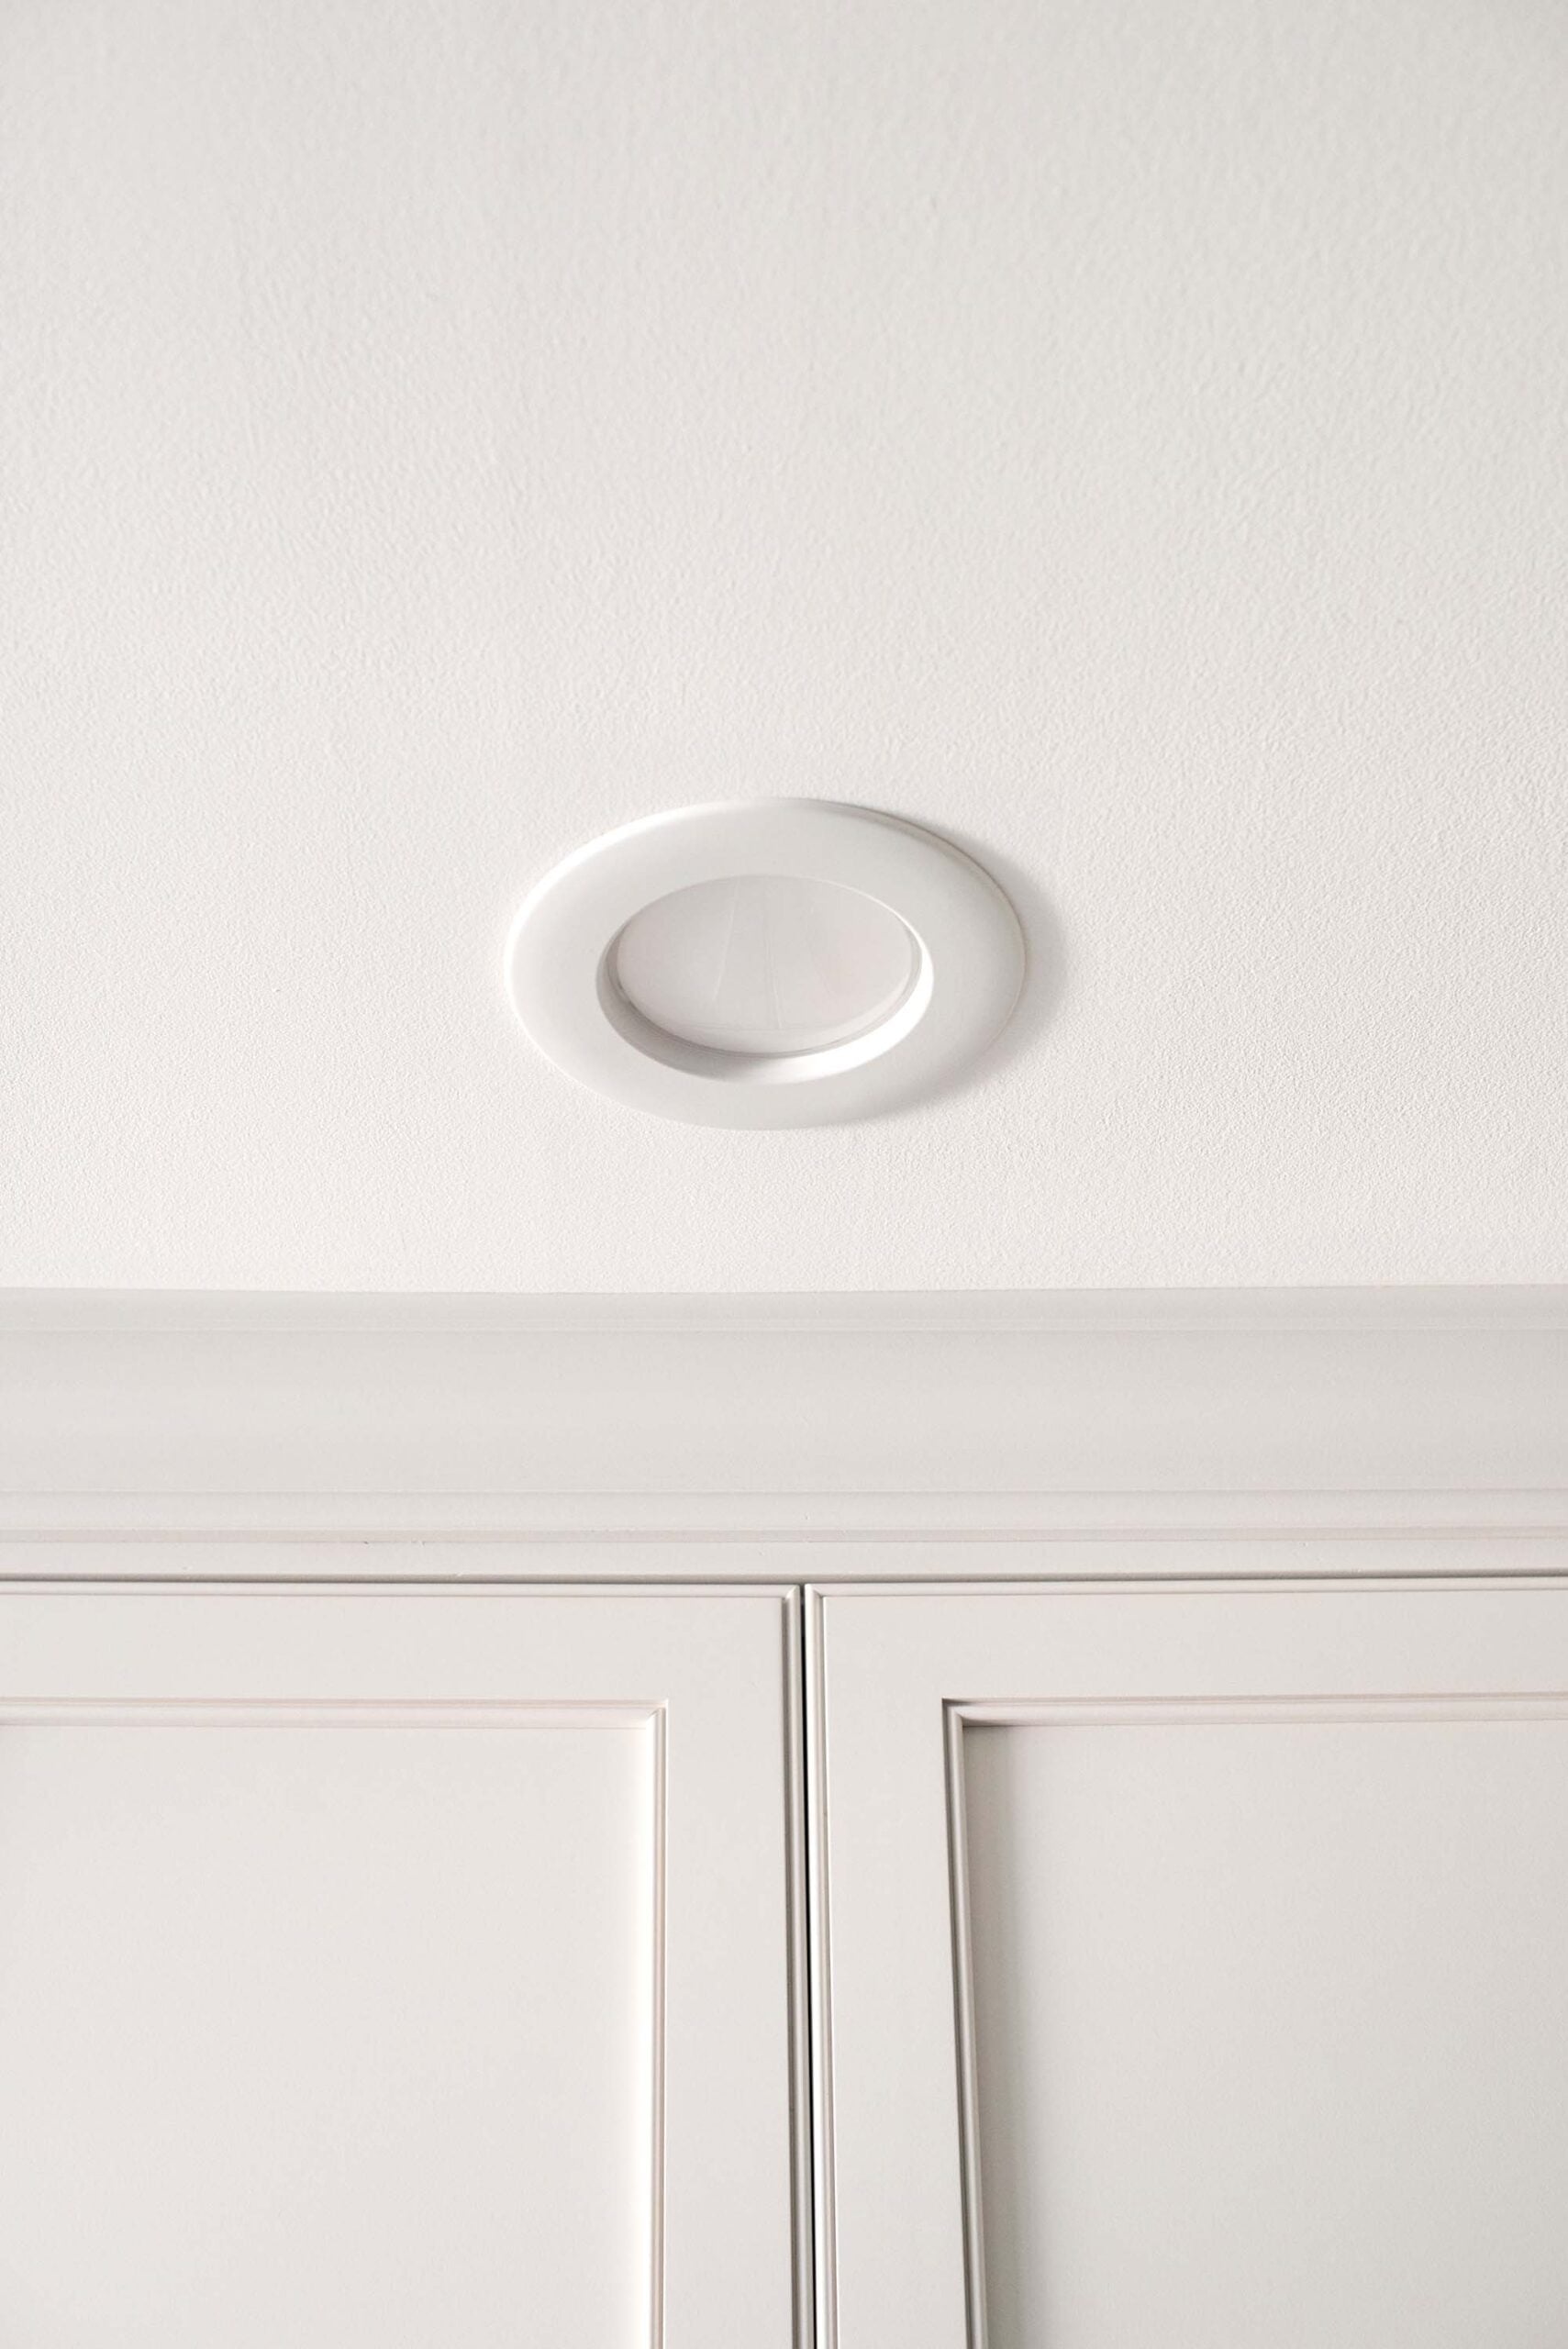
Choosing the Right Trim Color

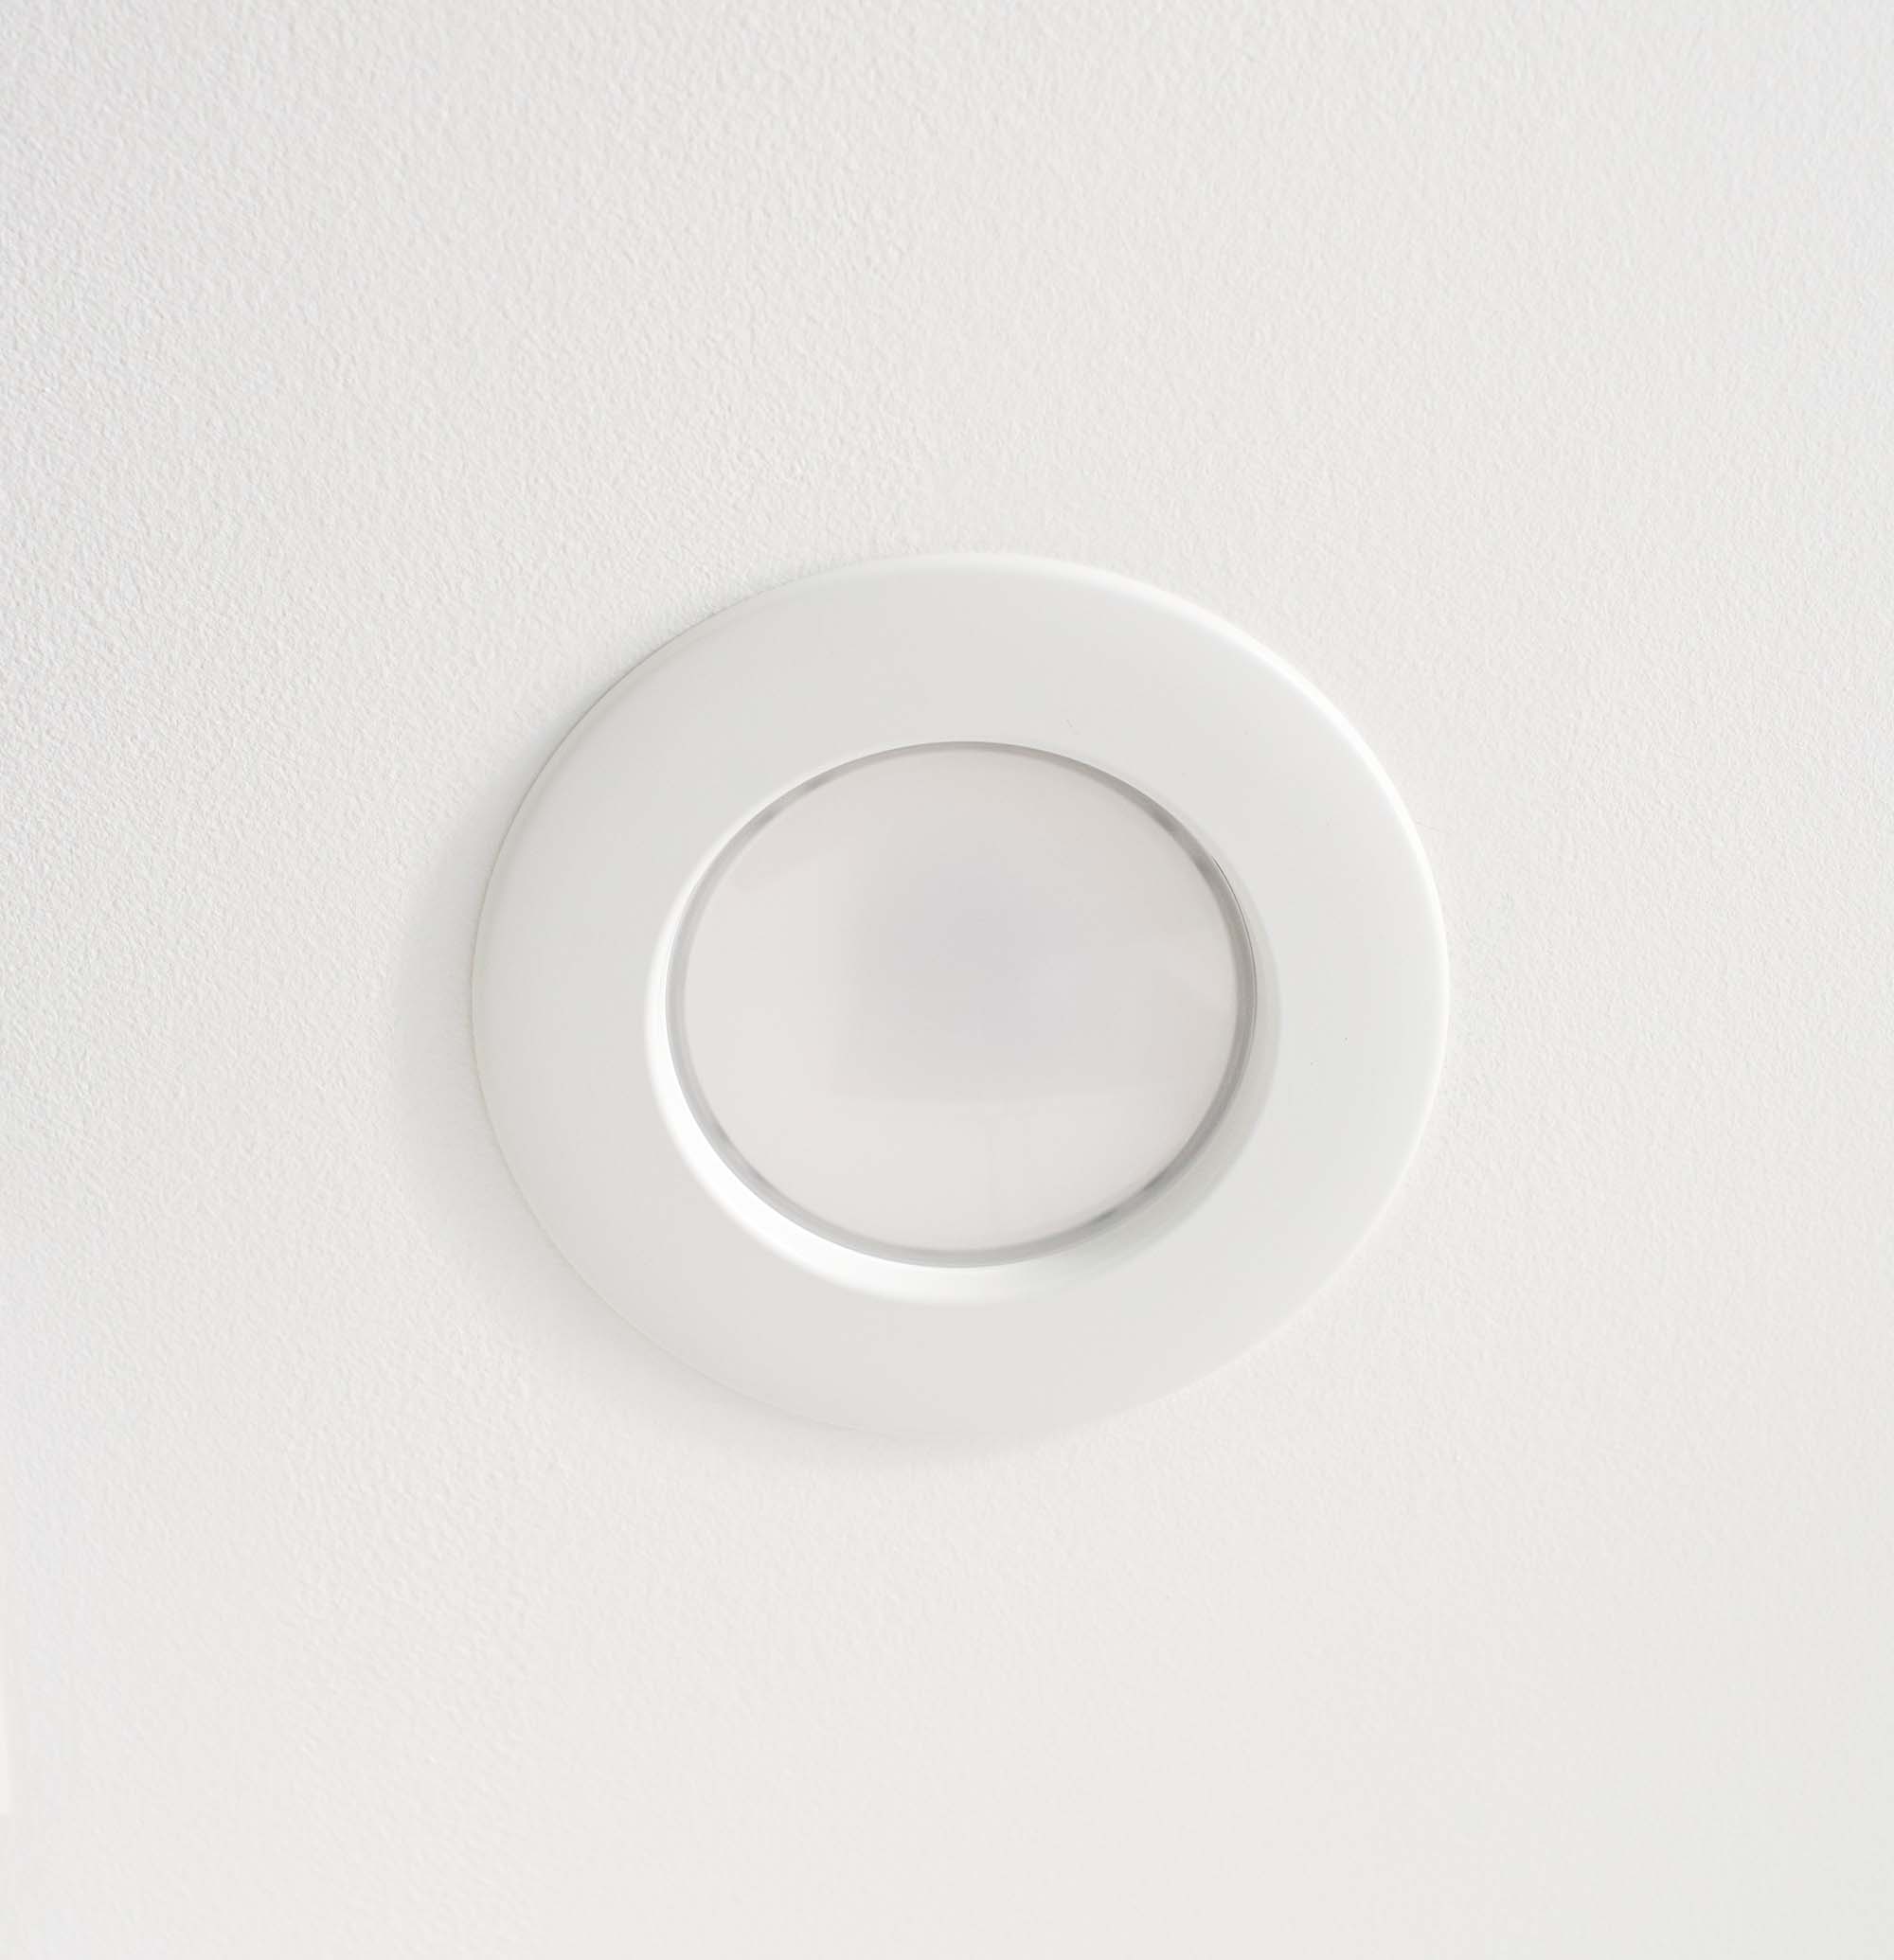
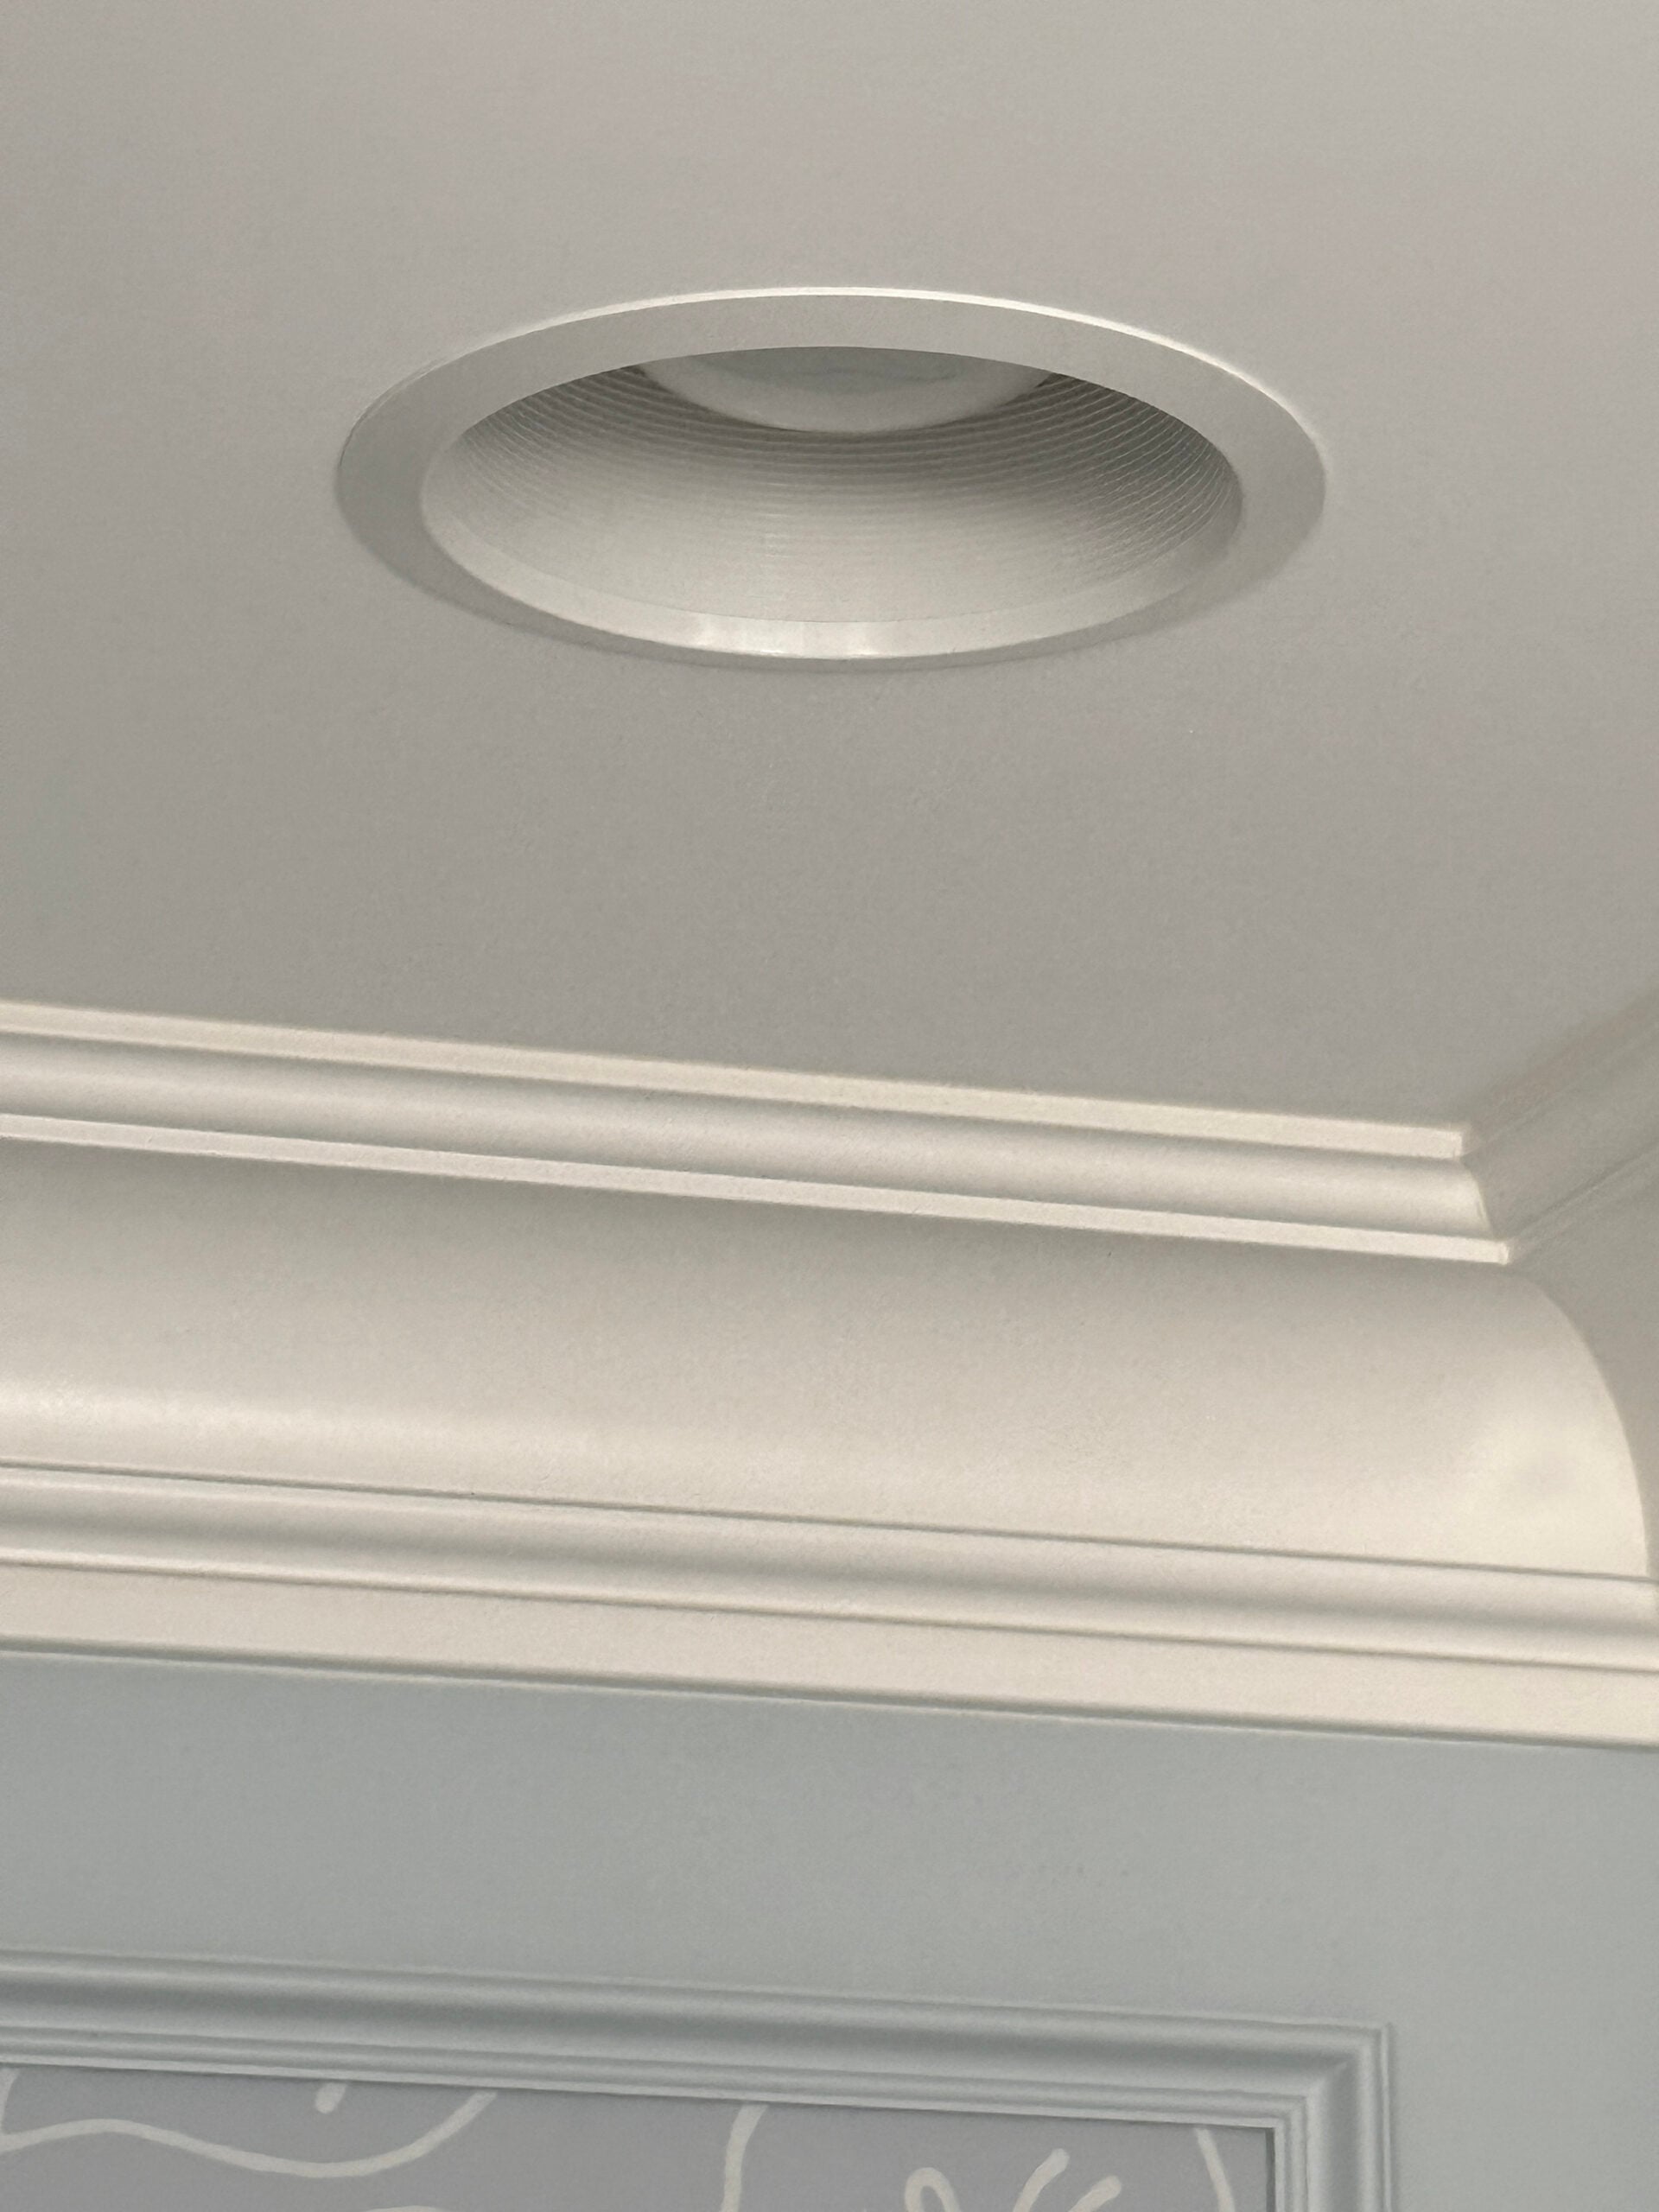
Once you’ve determined placement, you’ll need to choose the trim. When discussing recessed lighting, there are two color elements to decided on: the surround color and the bulb color. Let’s dive into the trim color first. Most homeowners prefer their can lights to blend in with the ceiling and disappear when not in use. If that’s the case, definitely buy a recessed light with a white surround. Most of them are standard “ceiling” white and will match most any ceiling paint. It’s timeless, understated, and my default recommendation.
Choosing the Best Bulb Color
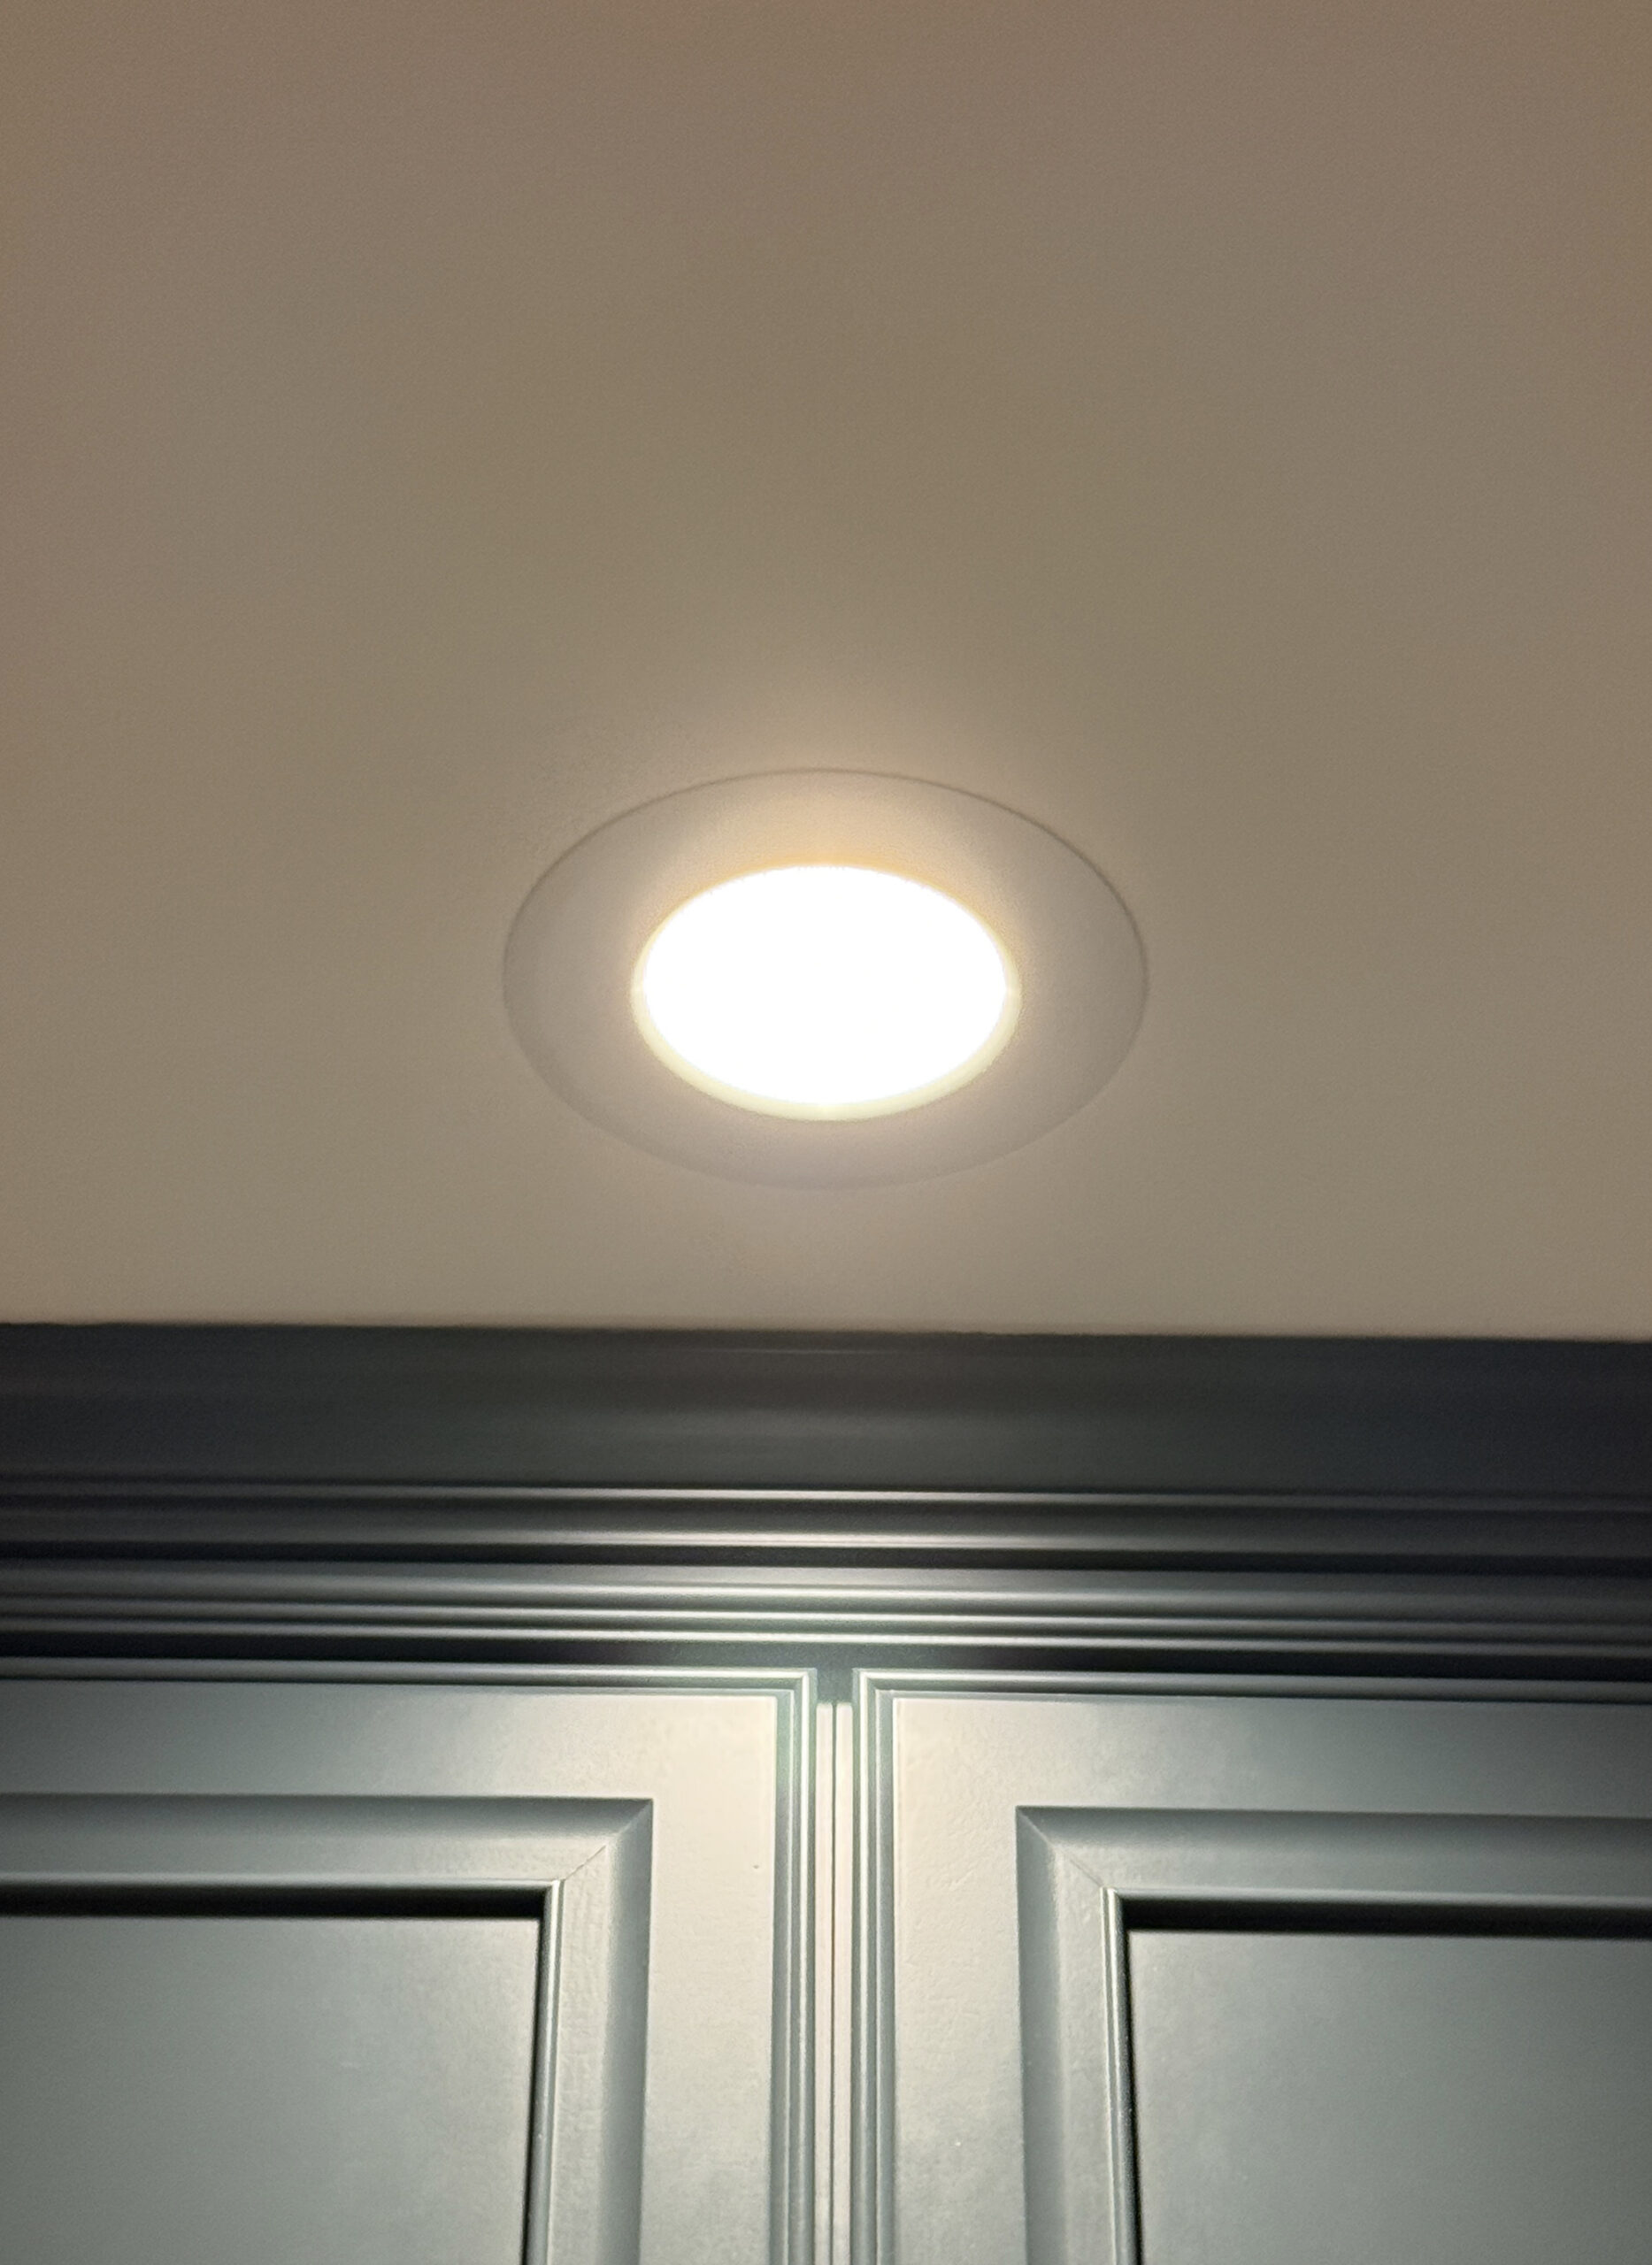
After deciding on the surround color, next you’ll want to choose the bulb. If you’ve followed Room for Tuesday for any length of time, you probably know how strongly I feel about warm lighting. I shared a designer trick : light temperature & bulbs to address this. For a home or residential setting, I recommend using the warmest LED available (typically +/- 2700k). Luckily, these days- the lighting aisle is getting easier to navigate and there are plenty of displays to help you choose a nice, warm bulb. You can also check out how to navigate LED lighting for detailed help! Warm white light feels inviting, comfortable, and flattering. Cool bulbs tend to make beautiful finishes look sterile, especially in kitchens and living spaces. One more tip. Use the same bulb temperature throughout your home whenever possible. Consistency makes your entire house feel cohesive as you move from room to room.
My Five Rules for Recessed Lighting

Lastly, I wanted to share my personal list of five rules for recessed lighting… Emmett would literally go crazy with can lights if I would let him. I’ll admit they’re functional, but in moderation. Here are some design rules to keep in mind. They’re simple guidelines, but they’ve served us well through every renovation.
- Always install recessed lights on dimmers- being able to adjust the intensity is key.
- Resist the temptation to add more recessed lights than you need…. no swiss cheese ceiling. That’s never a good look.
- Place every fixture with intention and purpose, and frame vignettes in a functional way.
- Do NOT rely on recessed lighting alone- layer can lights with a variety of other fixtures for the best, balanced look.
- Choose warm bulbs instead of cool white lighting- nobody wants a kitchen that feels clinical, like a doctor’s office.
Questions?
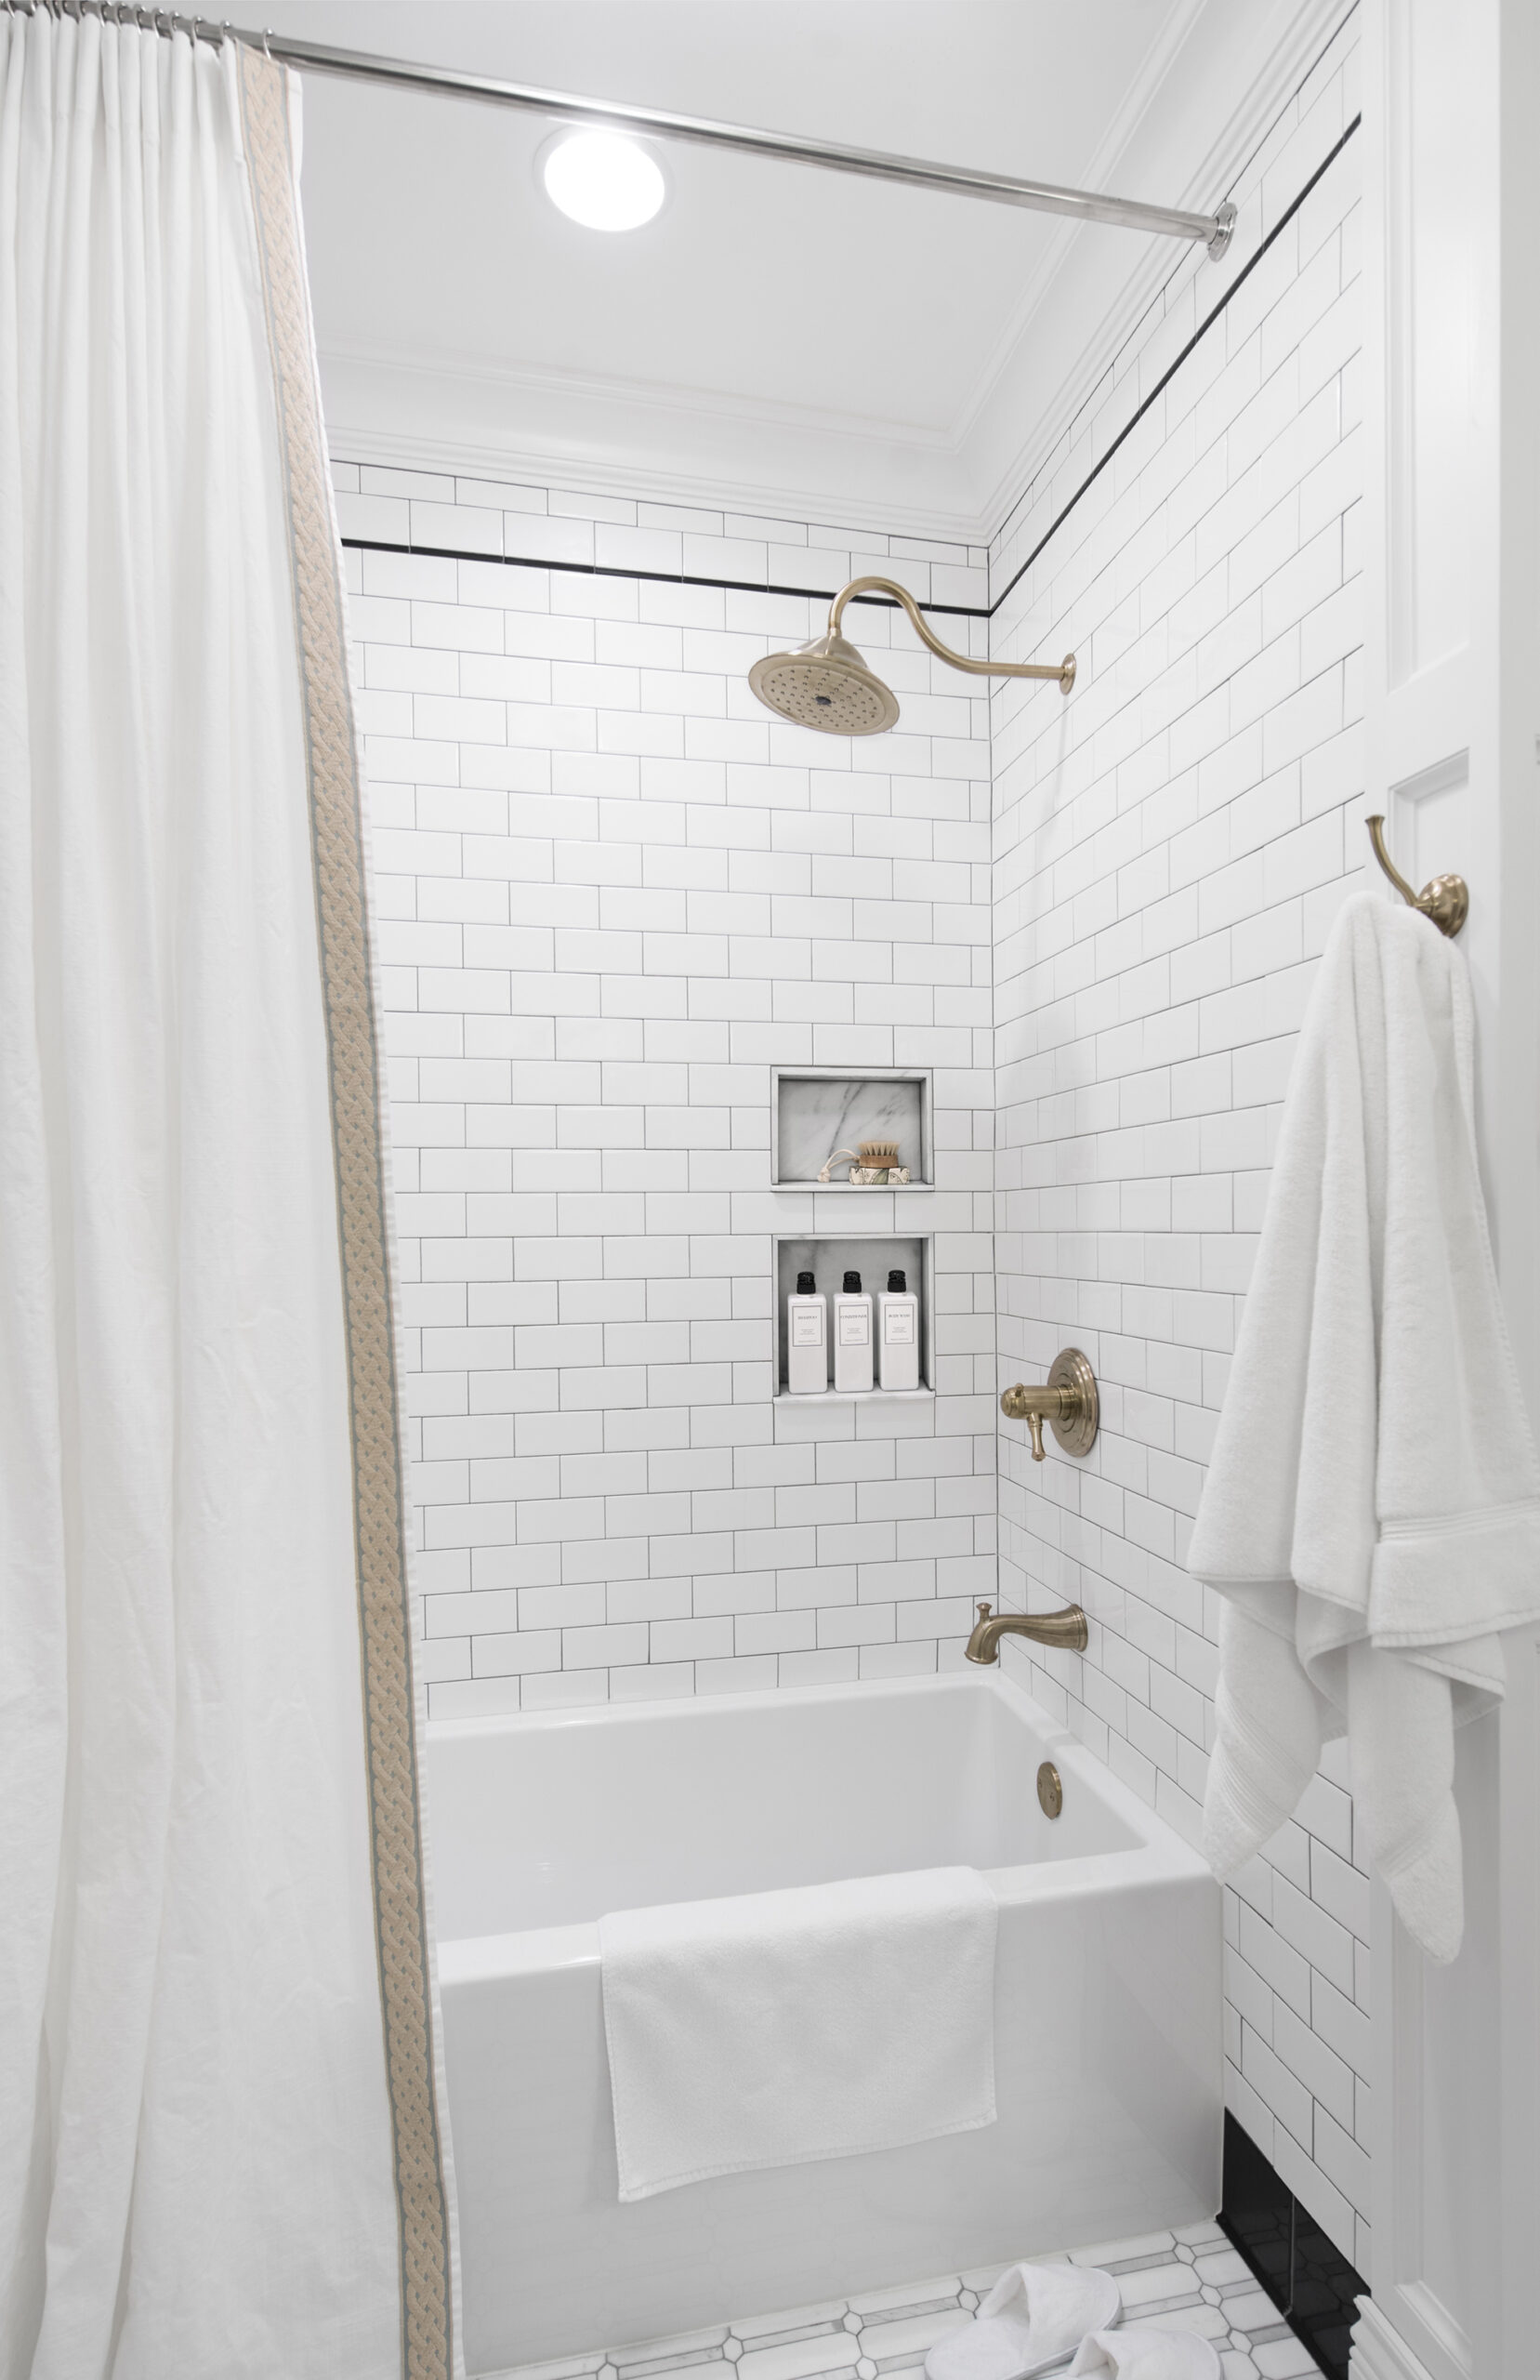
No, they definitely have their place. I don’t mind recessed lighting when used sparingly, with proper placement, and always with dimmers. They’re often necessary and add functionality in spaces where more light is required- like a kitchen. I also make the point for why an exhaust fan & light combo ss the best choice for bathroom renovations (see above image.) I try to buy minimal looking ones and I always install other light fixtures that accompany them.
No. For example, I wouldn’t usually include recessed lights in a bedroom lighting plan. Layering light creates a home that feels warm and inviting instead of flat.
Absolutely. Too many recessed lights create visual clutter on the ceiling and often make a room feel overly bright. More isn’t always better.
Related Posts
Looking for more insight on lighting? I’m going to link some reader favorites to point you in the right direction. I hope these are helpful!
- Flush Mount vs Semi Flush Lighting: When to Use Each
- How to Layer Lighting Like a Designer
- The Best Timeless Table Lamps from Wayfair
- How to Choose the Best Picture Light for Your Artwork
- Hiding Cords for Wall Sconces and Picture Lights
- Designer Lighting Looks for Less: Visual Comfort Dupes
- How to Properly Light a Bathroom for Function and Design
- Designer Lighting Picks for Less from Wayfair
- Choosing Timeless Exterior Lighting (A Designer Guide)
- How to Choose a Clip On Sconce or Chandelier Shade
- Designer Light Fixtures That Will Never Go Out of Style
I hope this post helped shed some light on recessed fixtures! Lighting can really make or break a space, and these little details are more important than they seem. A thoughtful recessed lighting plan won’t necessarily be something your guests notice right away, but they’ll absolutely notice how comfortable and welcoming your home feels. If you’re taking the time to renovate or build, don’t rush through the lighting plan. A few extra minutes spent deciding where each fixture belongs will pay off every single day you live in your home. I promise you’ll be happy you spent the extra time creating a lighting plan! I’d love to hear your questions about recessed lighting. Leave them in the comments below, and I’ll do my best to help.

So helpful! The placement of the cans in my kitchen (a previous owner’s DIY) has always bothered me, but I never thought about why. I think the phrase “lighting plan”, in general, is above my pay grade. And I’m supposed to have all the same bulbs throughout my house?! Gads.
Haha! Lighting plans are easy… it’s basically my fancy term for sketching out where I want the lights to live :) For the consistent bulbs… I just like all of my can lights to match throughout the entire house. That’s pretty easy in this home because we only have them in the kitchen.
Sarah, you are reading my mind and inspiring me yet again! I’m having an electrician come next month to remove our old florescent kitchen lights and put in recessed lights! Can you talk sources? I’m interested in both the white ones you have in your current kitchen and the brass ones in your old kitchen – where did you get them?
My kitchen is a galley with a peninsula, and it’s open to the living room. There are ZERO architectural features (working on that!), so at this point I guess I’m just going for functionality. Would you recommend a grid? It’s fairly small, or narrow rather – about 12′ x 6′, with a bar on the far side of the peninsula. I’m thinking 6 can lights – or would you recommend 8? Thank you in advance!
Yay!! So happy this is a timely post for you. We buy all of our recessed lights from Lowes…. they’re nothing fancy! Just their standard options. The brass ones were also from Lowes (5 or 6 years ago). You might try stair stepping the lights instead of an aligned grid, that way it feels less crowded in a galley kitchen! Does that make sense? Two rows, one aligning with the center of the opposing two. I’d either install 4 or 6. That’s a really small space. Be sure to put them on dimmers and use other light sources as well :) Hope this helps! xo
I’m currently on the hunt for can light housing that blends in with the dark color I intend to paint our bathroom ceiling. It’s tough to find!
That is really tough! I haven’t come across any dark options- I’m sorry! Maybe you could try to find a moisture resistant paint that would work well in a bathroom setting? That might be your only option. Sorry I don’t have a better solution or link for you Jennifer! xo
Like Kat’s comment above, I’m wondering about a rule of thumb for the number of lights that are appropriate for the space. We recently moved into a home with three rooms that need a lighting update: kitchen, family room, and formal living room. The kitchen always feels a little under-lit with the existing number of cans (plus one pendant over the breakfast nook) despite the bulbs being 2700 and a normal brightness). In the family room, which has a couple cans already that accent above the mantle, we’d like to replace the ceiling fan with a can and then add a few (to replace the brightness currently offered by the fan lights). The living room has just a single can in one corner (!) and no other lights apart from our floor lamp, so we’d like to add a few. How many? Would room dimensions determine that? And how do you choose the more open housing (like the brass in your old kitchen) versus the thicker trim with no recessed gap (in your current kitchen)? Many thanks, this is a very timely post for me!
Great question, Abby! There are formulas online to calculate the specific number lights you need in a space based on the square footage of a ceiling (the common rule of thumb is that you use 1 recessed light for every 4 – 6 square feet of ceiling space), but I don’t like to rely on the formulas. They typically don’t take other lighting sources into consideration and assume you’re using only can lights. I like to visualize the space and think of function to determine the amount instead. My starting number is usually 4 cans for a smaller kitchen (like either of mine) and then work up from there with larger rooms, but I also use sconces, pendants, flush mounts, etc. in a space alongside them. I will say- I think one can light feels lonely… if you’re going to add them, I’d recommend adding a minimum of 3 (unless it’s a tiny tiny room).
Did that help or confuse the matter? Hopefully it was helpful! In regards to choosing the surround or trim… that’s purely an aesthetic preference. Although I liked the brass reveal in our previous kitchen, I think in terms of general recessed lighting- I’d choose the current white trim lights we have installed. They’re a more common solution that can work in any room or home. Whereas the brass is very specific and wouldn’t work everywhere. Hope this was useful! xox
THANK you for this!!!! This is super helpful. The one thing that leaves me scratching my head on is size. What diameter did you go with? Or what’s your rule of thumb?
So happy it was helpful! I typically like to keep them between 4 – 6″ not too large or too small. xox
I really love the recessed lighting you chose with the white trim! I like the look of a smooth baffle like you have. Can you tell me which brand of recessed lighting you used?
Where did you buy the lights in your kitchen?
Those came from Lowe’s!
I was so surprised there wasn’t a link to the product. I really liked the subtle profile between the light source and the trim. A lot of stuff out now is either telescoping or totally flush, neither of which leant to my taste. Anyways… after searching around, the lights pictured here are a close match (if not the same product) to the Philips Hue LED Recessed Light.
Thank you for letting me know. Would you even be able to share the exact ones? When I look at their website it is hard to tell from the pictures.
I don’t think I have a link for those, I’m sorry Christina! We grabbed them in our local store.
I have searched all over for some guidance on this! We are re-doing our master bath and to add interest, I’m going from one builder-grade mirror to three mirrors with a sconce in between each (4 total sconces). I have never used/had sconces in a bathroom. We are removing the builder grade vanity lights above the mirrors. People are telling me it will be dark and I will have shadows on my face and I should add recessed lighting. Should I put recessed lights in ceiling right above the vanity? I feel overwhelmed with how many lights and WHERE I should put them. Help!
It really depends on your space, Ellie! Consider if you have any natural light sources, other light fixtures that will be in the space, the wall color, etc. As long as you have adequate light sources, you shouldn’t need additional recessed lighting- but they’re great for supplementing!
Do you mind sharing a link to the white canned lights you used?
Our new house already has can lights installed in the basement, kitchen and master bedroom. Maybe not what I would have chosen for those locations but they’re fine (and really well placed in the kitchen).
But – the white plastic trim has yellowed over time (they’re probably close to twenty years old). Is that something that can be replaced or do we have to replace the entire fixture?
And maybe it’s because I come from commercial printing and my husband comes from computers – but we prefer 5000K bulbs everywhere. Our house is relatively dark (small windows) and we use almost white paint colors that are not enhanced by the very yellow color of 2700K bulbs. The whiter light seems brighter, everything looks cleaner and wood & fabrics banish the clinical feeling – it’s nice that there are options for differing tastes!
When you discuss lighting plans it unlocks a new level of “renovation nerd” in me, haha! I will happily devour all the info you share on this topic, mostly because I find that most existing home’s lighting plans are either lacking, or excessive. I remember looking for our current home and we toured a newer house nearby; I nixed it from our list because the 1st story had 70 can lights- I counted! This is going to prove helpful when it comes time to fully renovate our kitchen. Thank you for sharing your guidance and suggestions Sarah!