How to Smooth a Textured Ceiling (Skim Coat Tutorial)
If you’ve been staring at a textured ceiling and wondering if it’s possible to get a smooth finish without ripping out the drywall and starting over, I’m happy to report… yes. It’s absolutely doable. We used the same approach we’ve used on walls in the past: mudding, sanding, repeat. It’s not complicated, but it does take some time, as you have to work in layers, allowing it to dry in between. The good news is that once you get your rhythm down, the process is straightforward and the end result is well worth the effort. In today’s post, I’m walking you through exactly how to smooth a textured ceiling, what tools we used, and what made the biggest difference for getting a clean, level five finish.

If you’re trying to get perfectly smooth walls, hop over and check out my skim coating tutorial. We used the same tools for the ceiling! Let’s dive in…
Why Smooth a Textured Ceiling?
A smooth ceiling is one of those high-end details that makes everything in a room look better. Millwork feels more tailored, paint or wallpaper looks cleaner, and even lighting feels more intentional, with less shadowing. If you’re already renovating a space, now is the time to smooth your ceiling.
The Method We Use to Smooth a Textured Ceiling
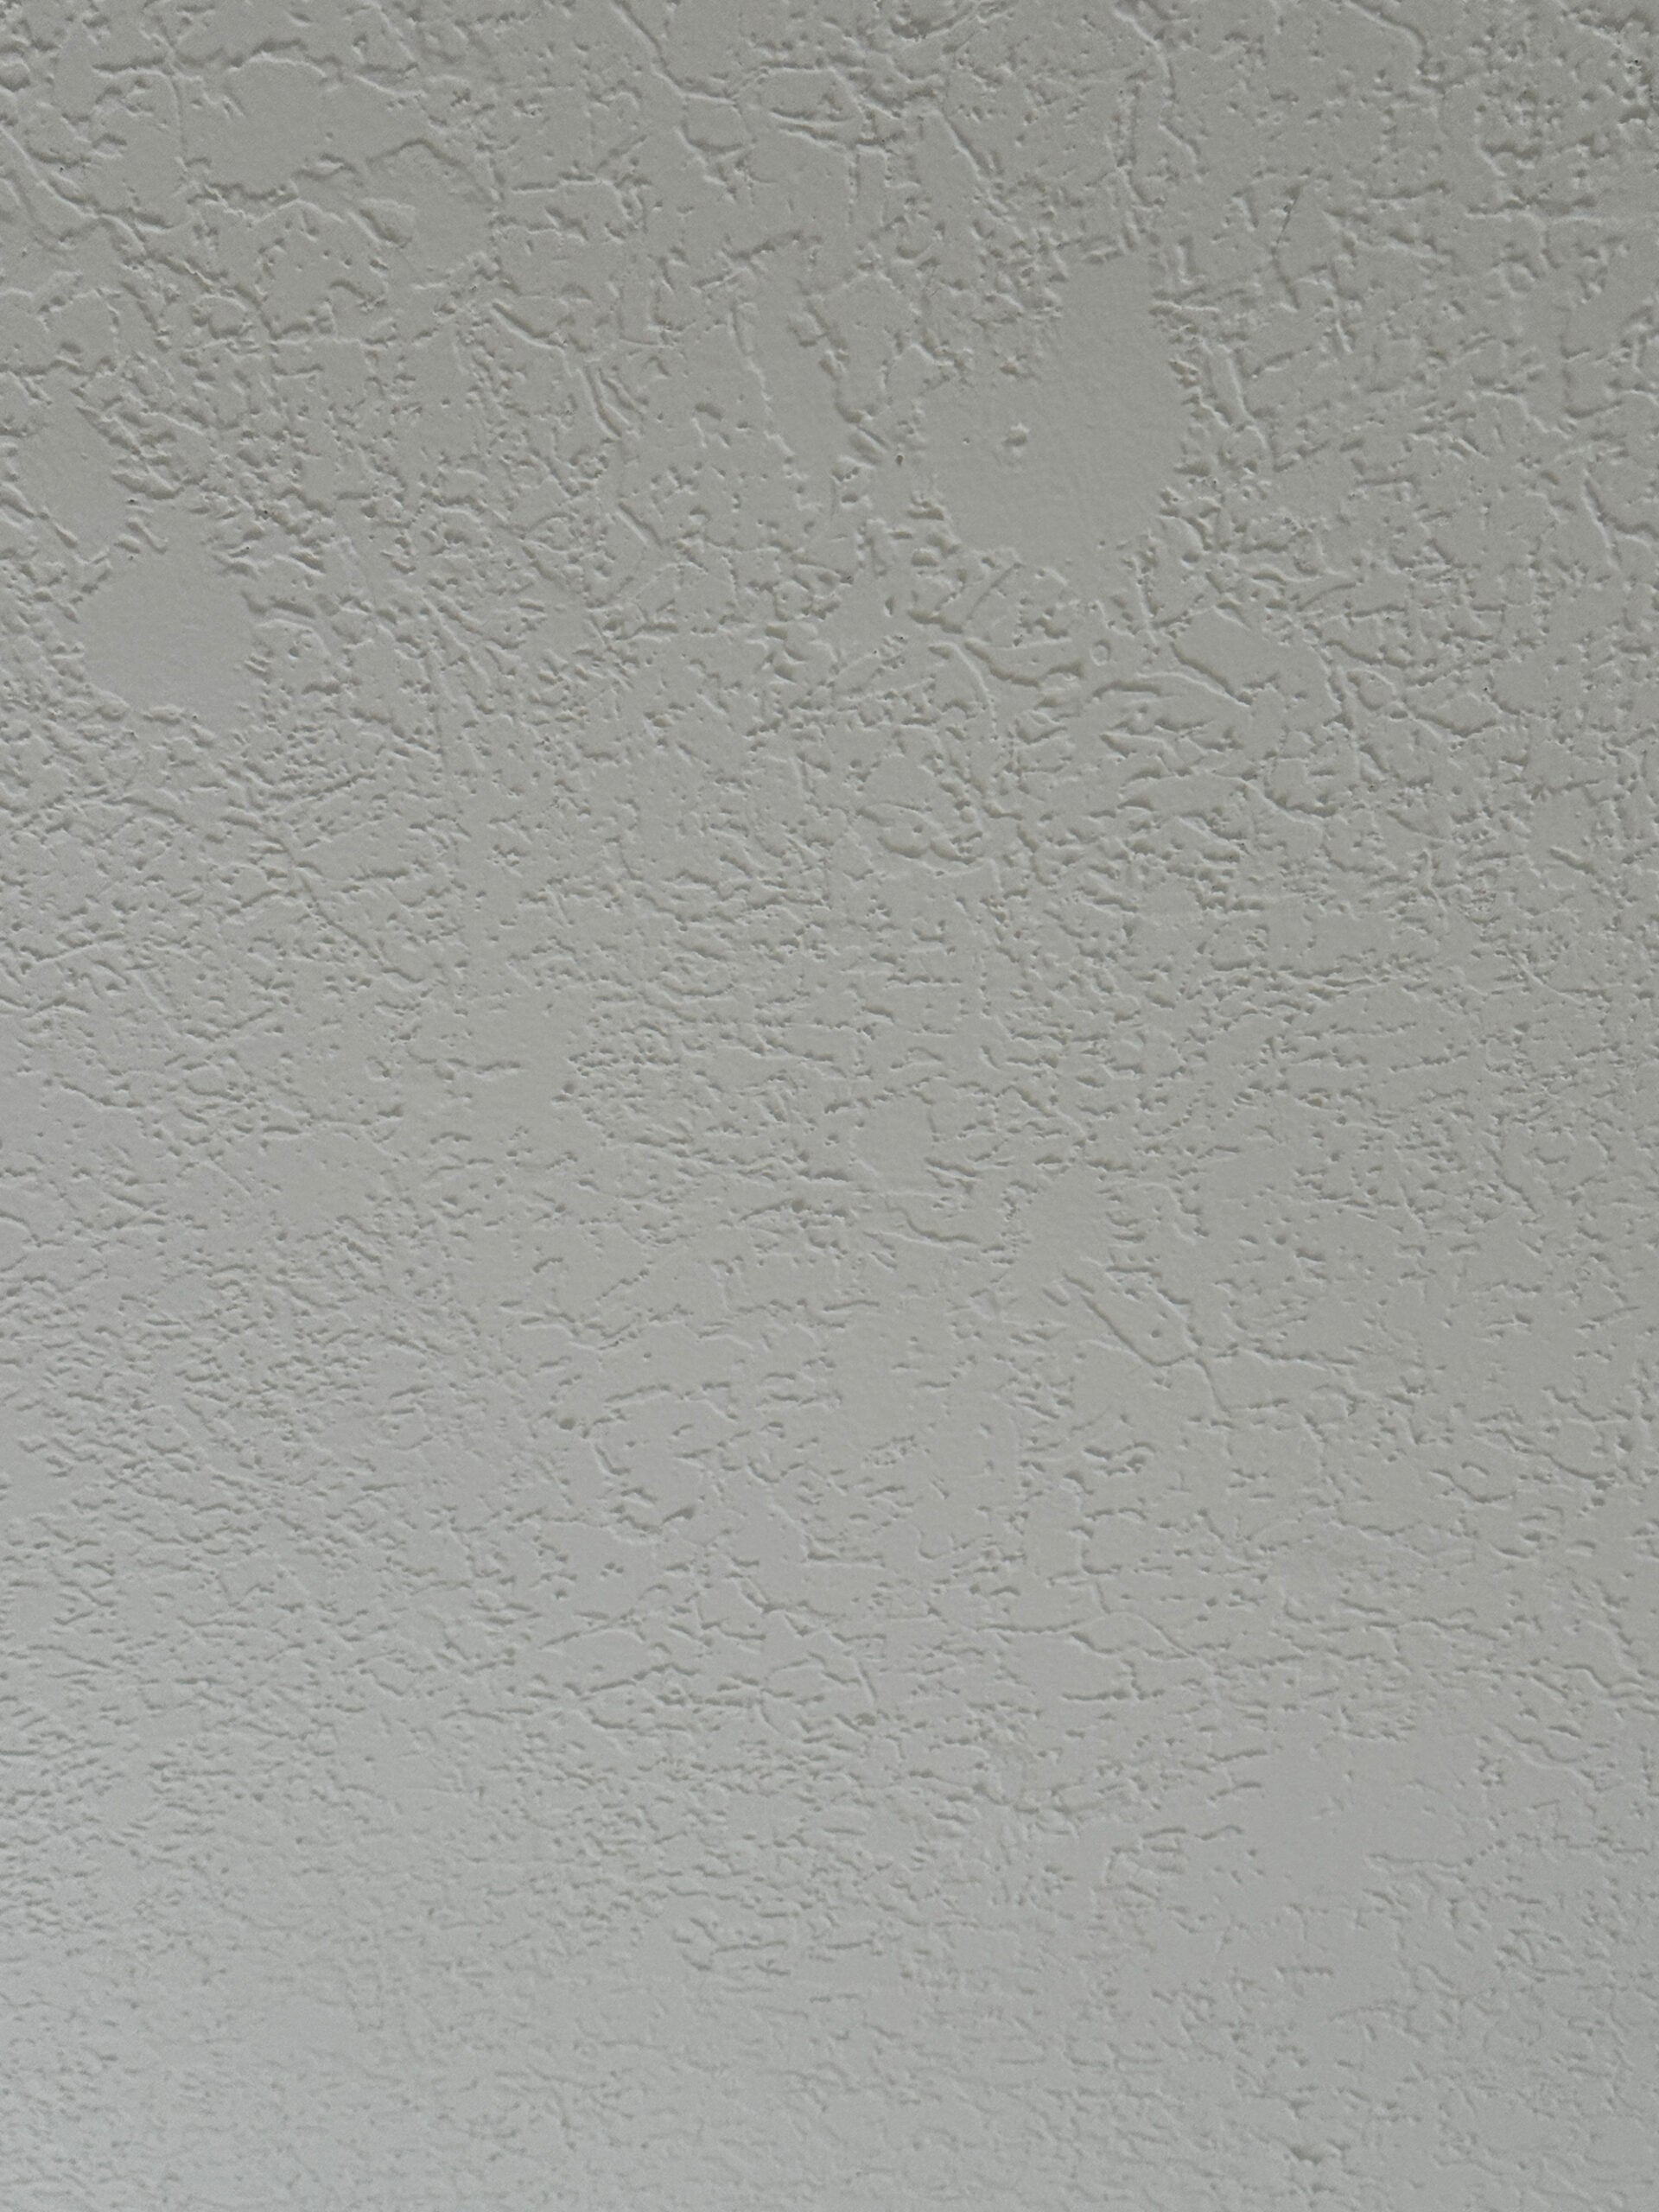
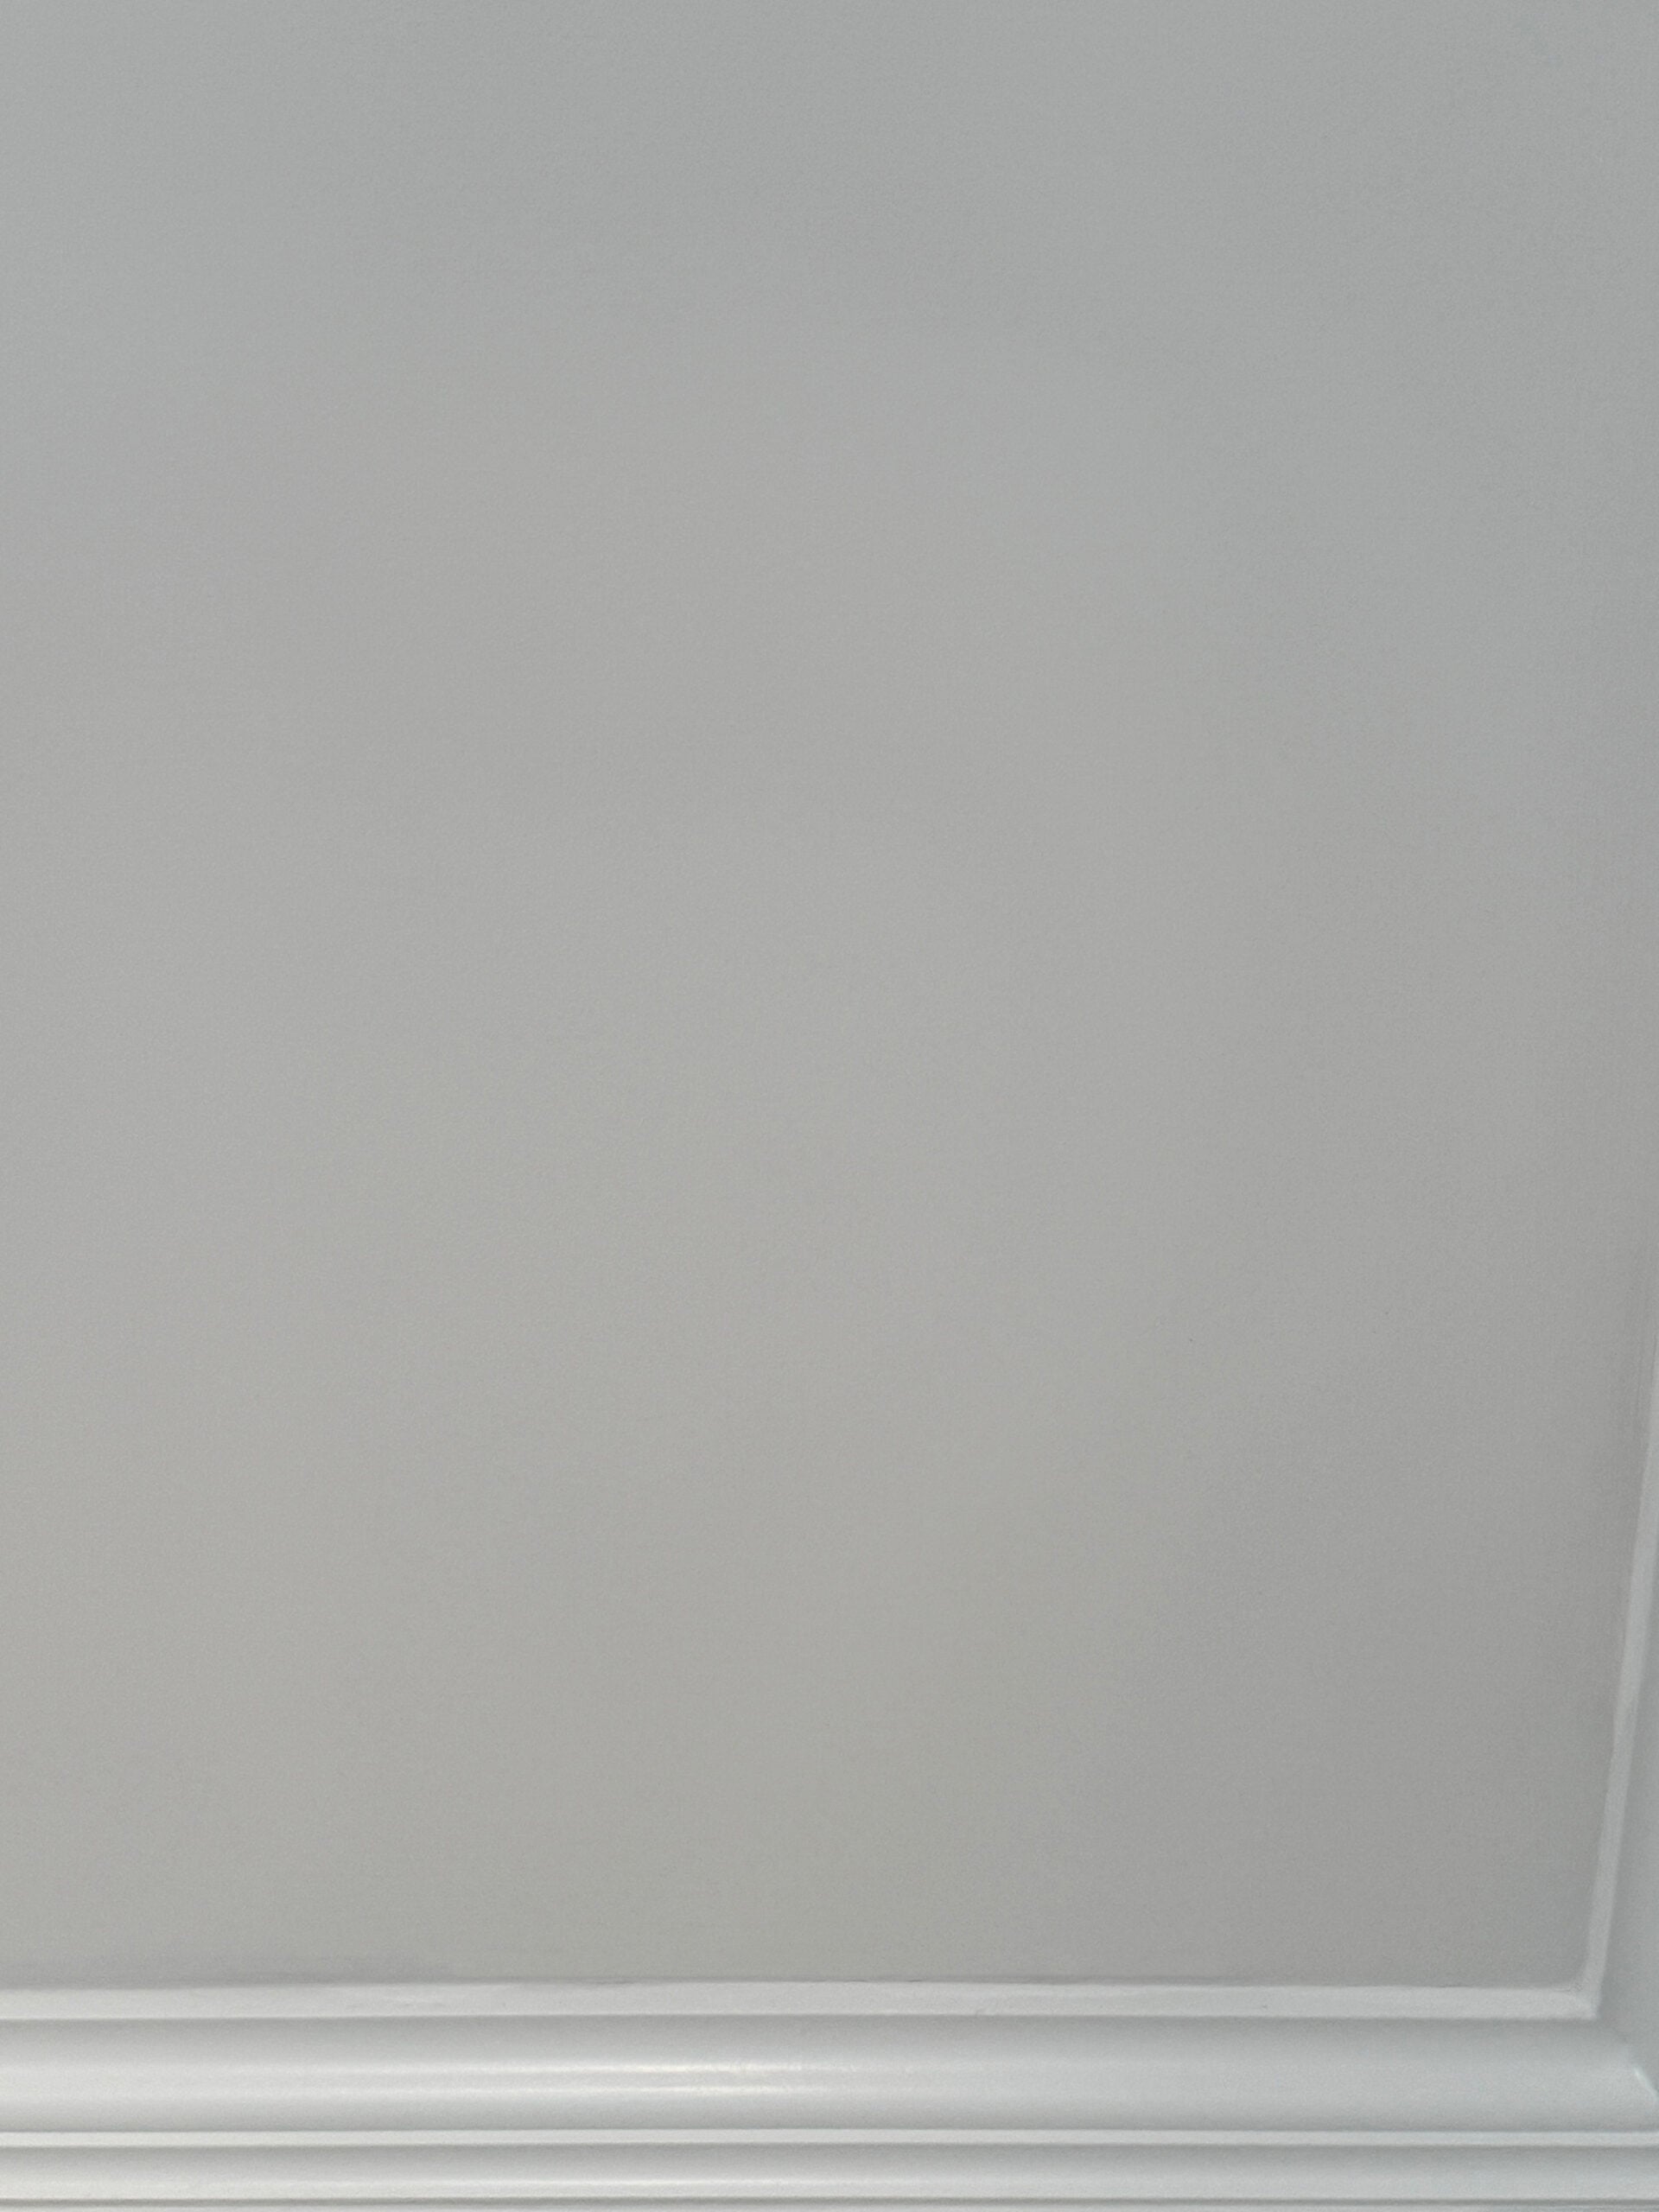
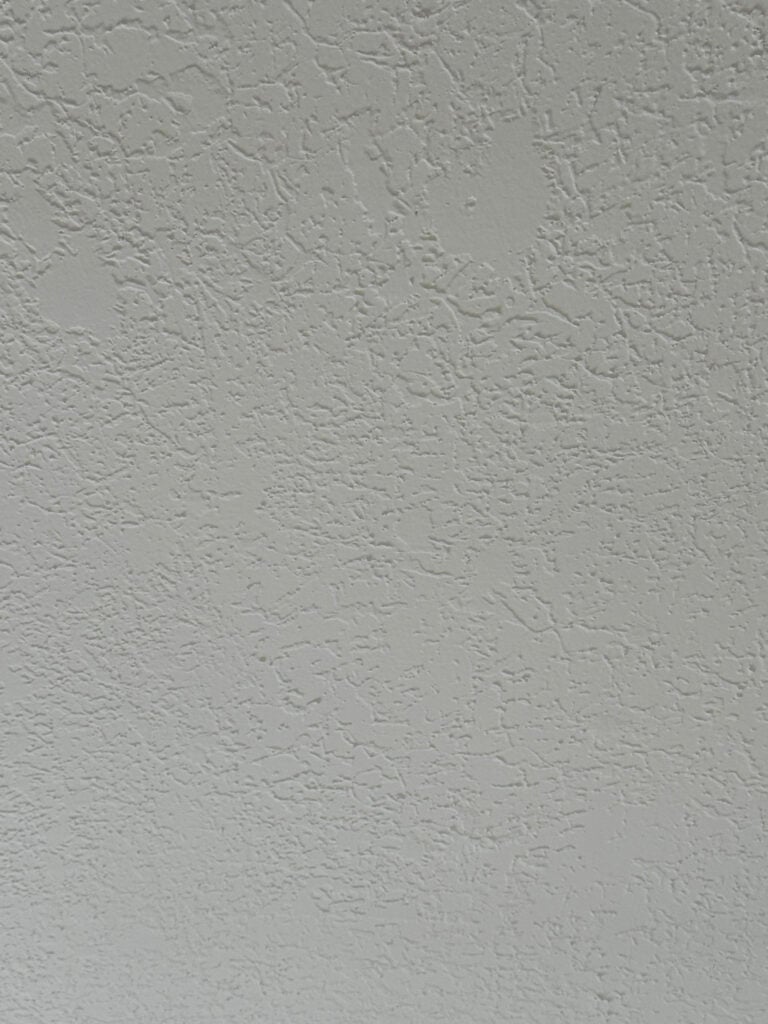
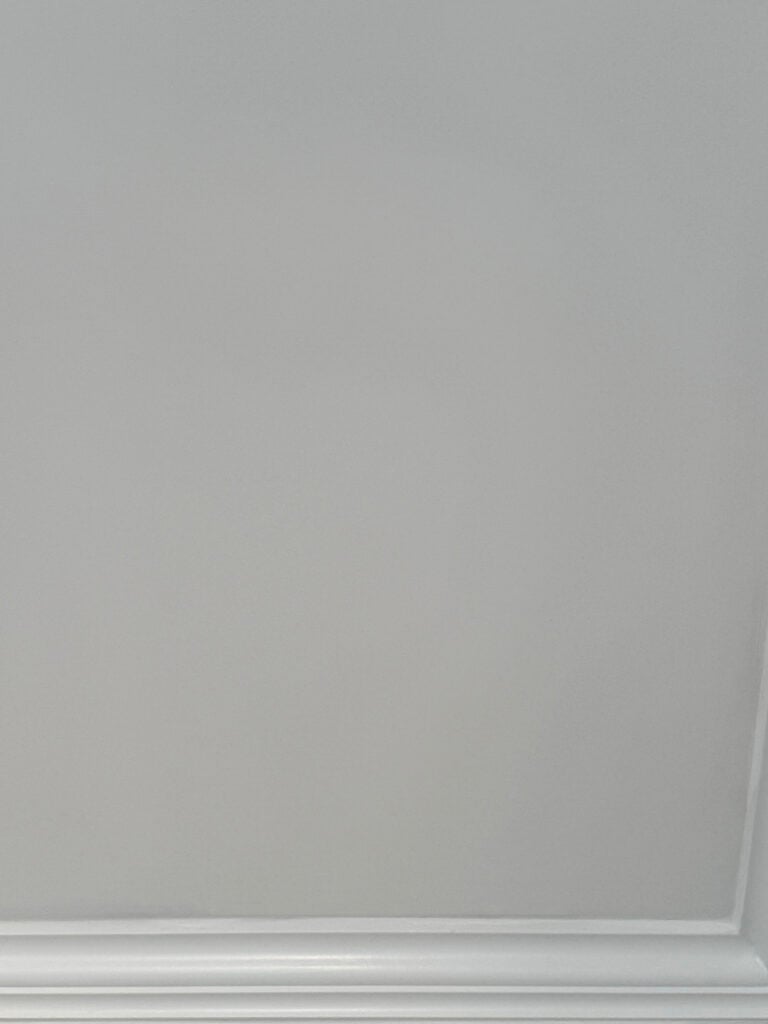
There are a few ways people go about this, but the method that made the most sense for us was skim coating with joint compound. Instead of trying to scrape the texture off, you’re creating a smooth surface over it using thin coats of mud, sanding between coats, and repeating until the ceiling is level and smooth. If you’ve skim coated walls before, this will feel familiar. If you have a highly textured ceiling (think popcorn), you will need to scrape that before skim coating. Our existing texture (pictured above) is what I would call normal or medium. Below, is the finished ceiling.
Tools and Materials
You truly don’t need anything complicated, but having the right skimming blade makes a difference. Here’s exactly what we used:
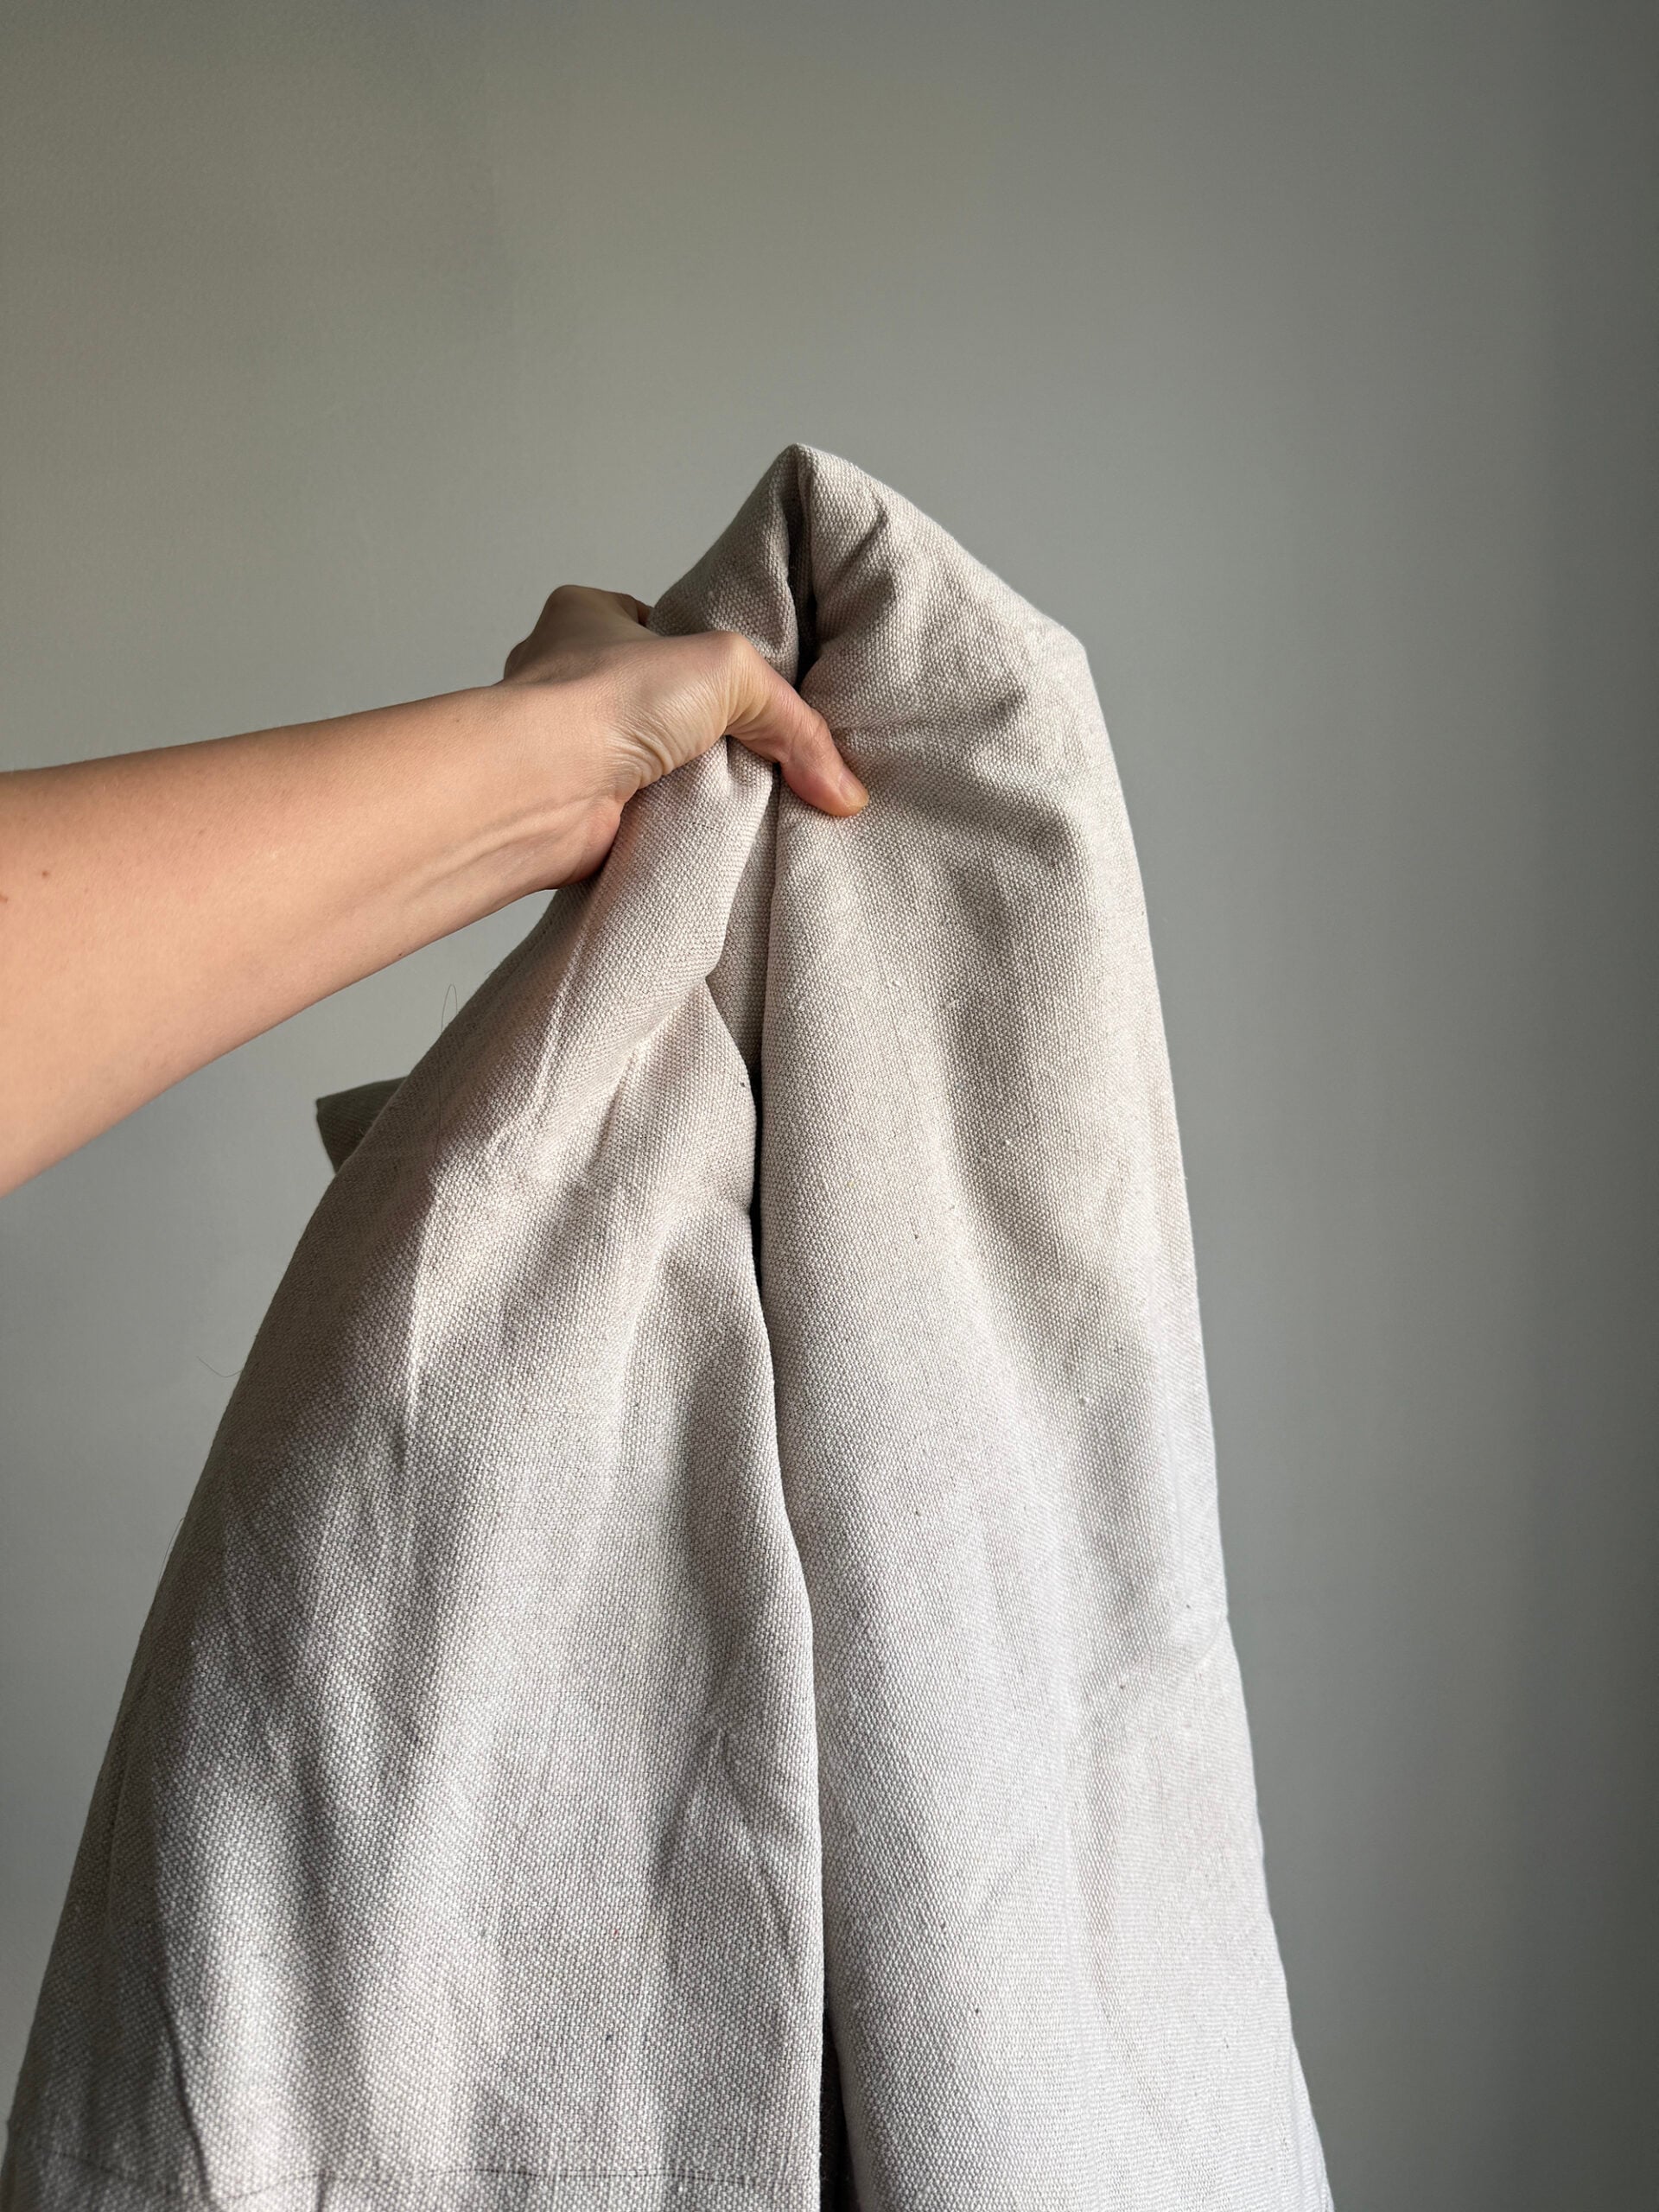
- Plastic Sheeting or Drop Cloths
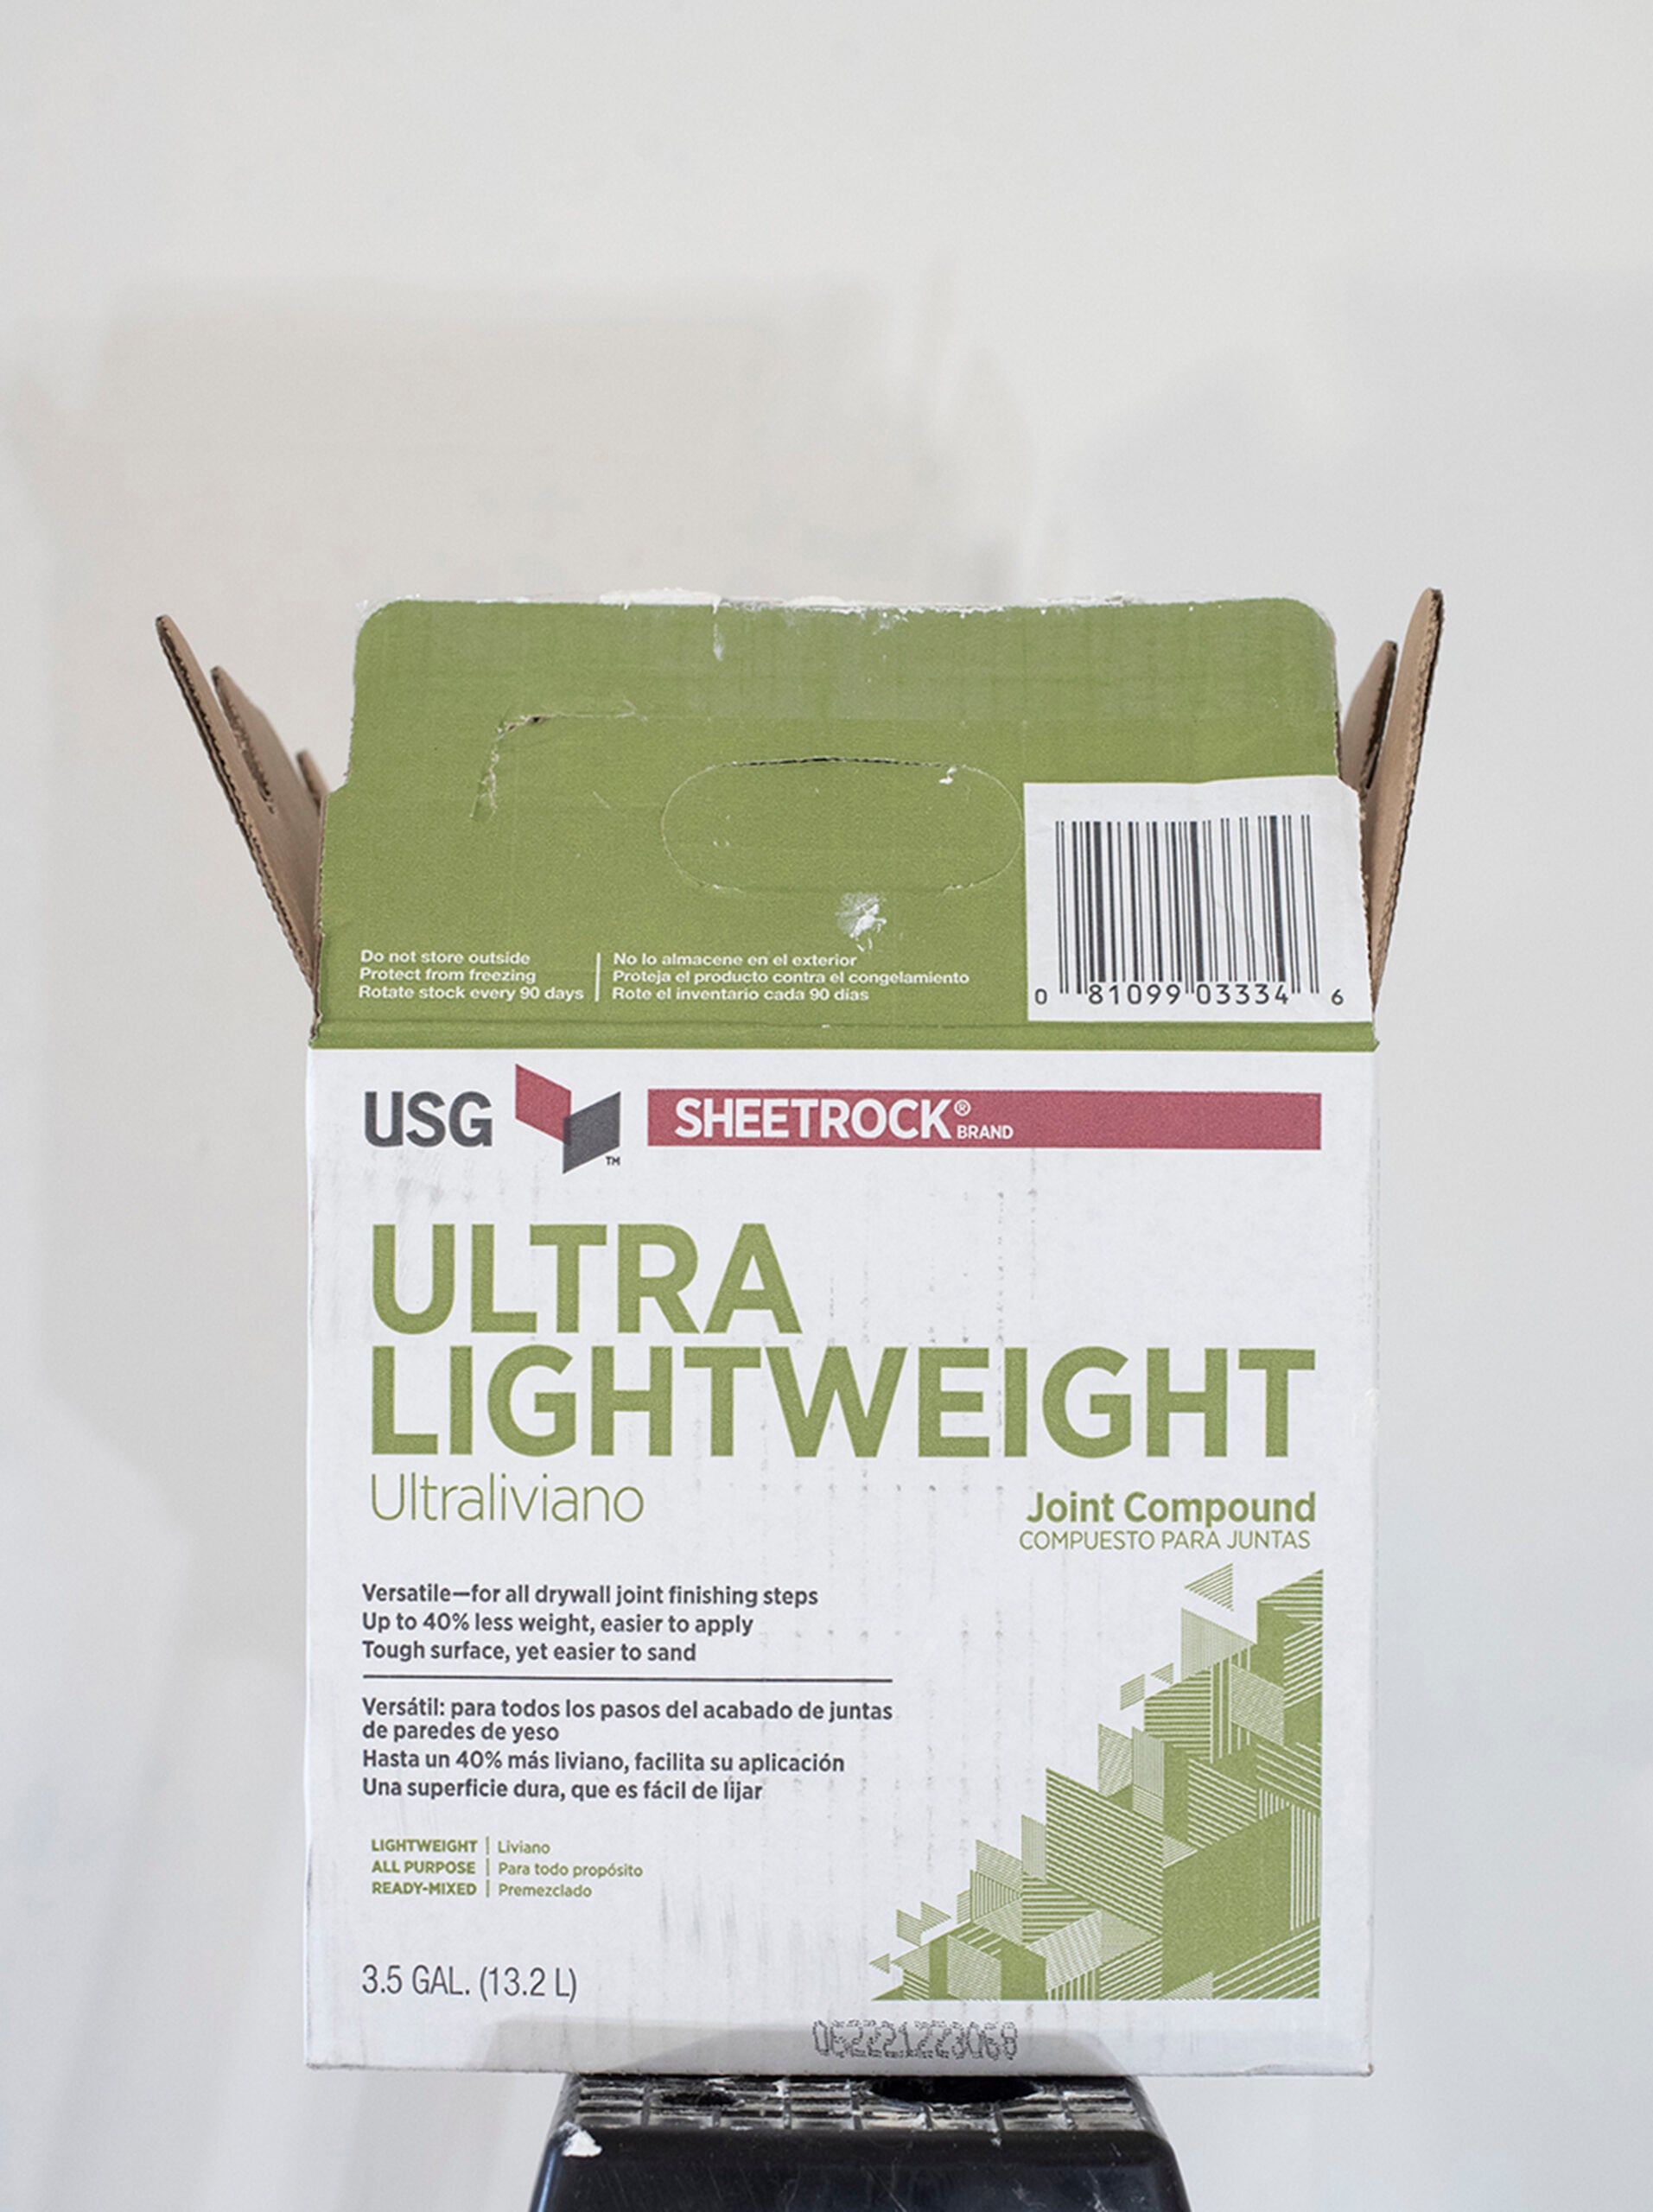
- Joint Compound (we like ultraweight)
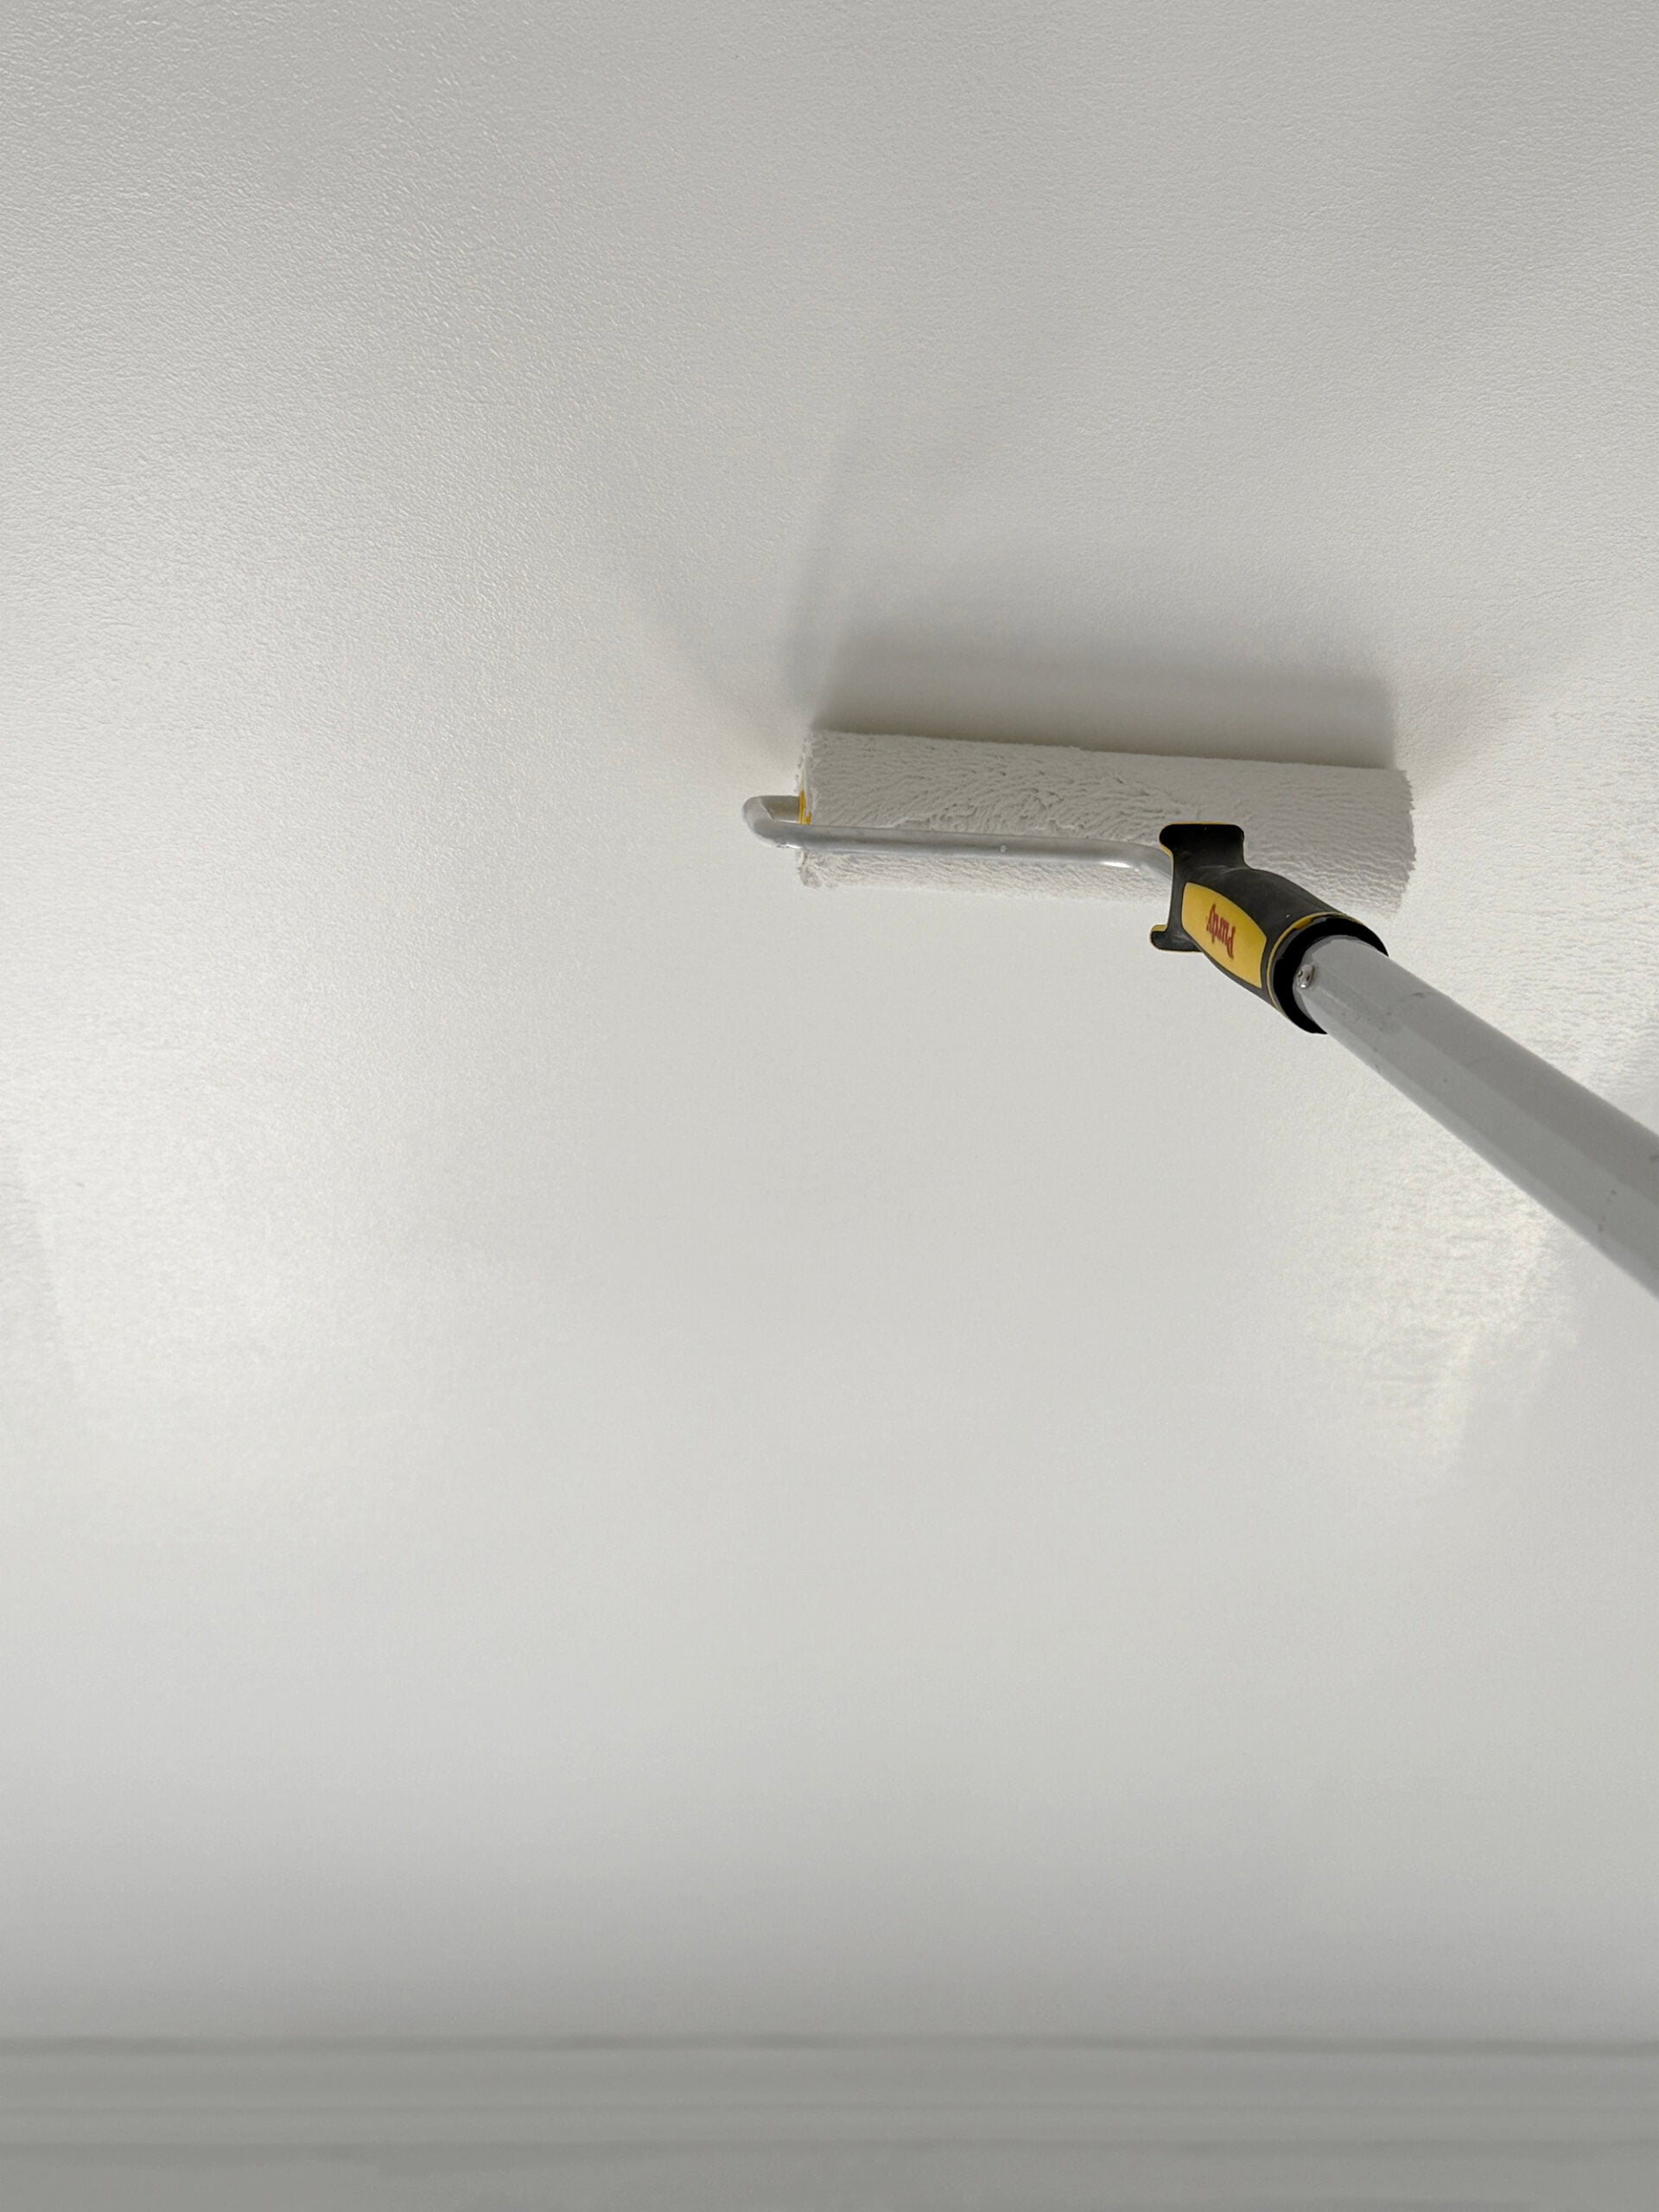
- Roller with a 3/4″ Nap, pictured above (the nap is important because it provides texture and rolls it on thick)
- Skimming Blade (I have a 32″ for walls and a 12″ & 14″ for working around outlets and windows)
- Pole Sander
- Sanding Pads (I use 220 and 180)
- Drill with Mixer Attachment
- Bucket with a Lid (to keep it from drying out in between passes)
- Primer (PVA primer on fresh drywall / joint compound)
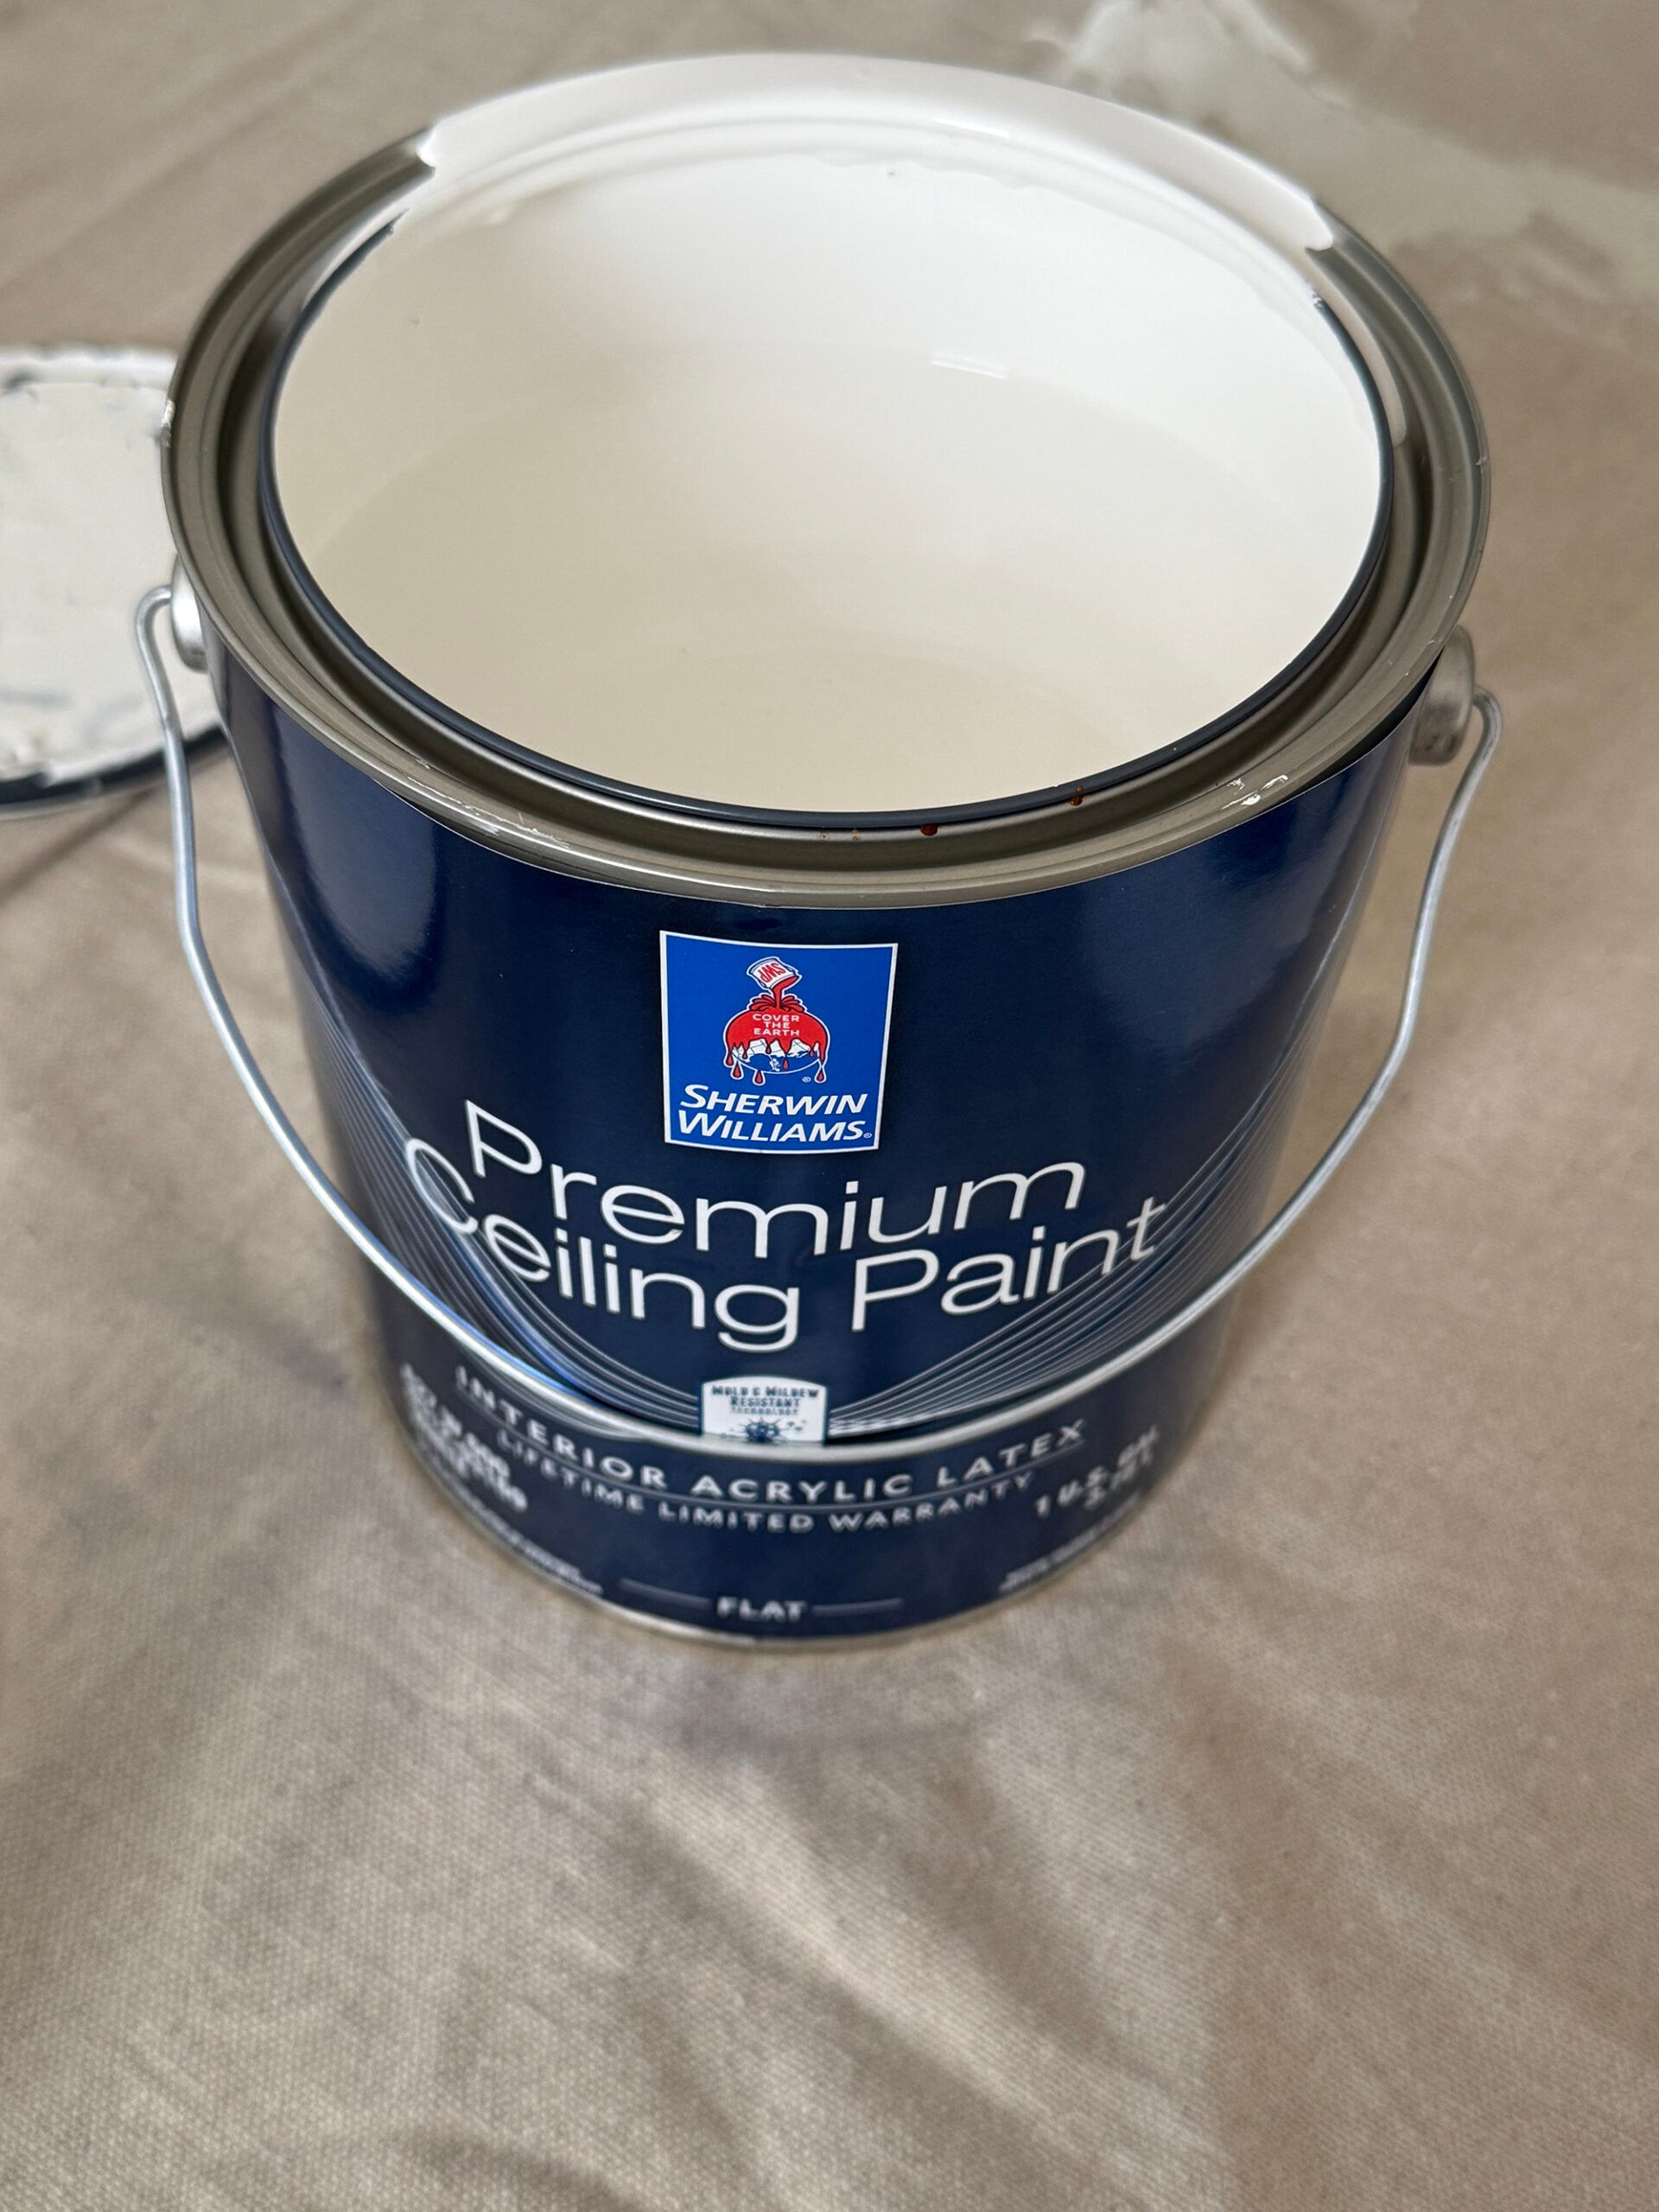
- Ceiling Paint
Step 1: Prep the Room
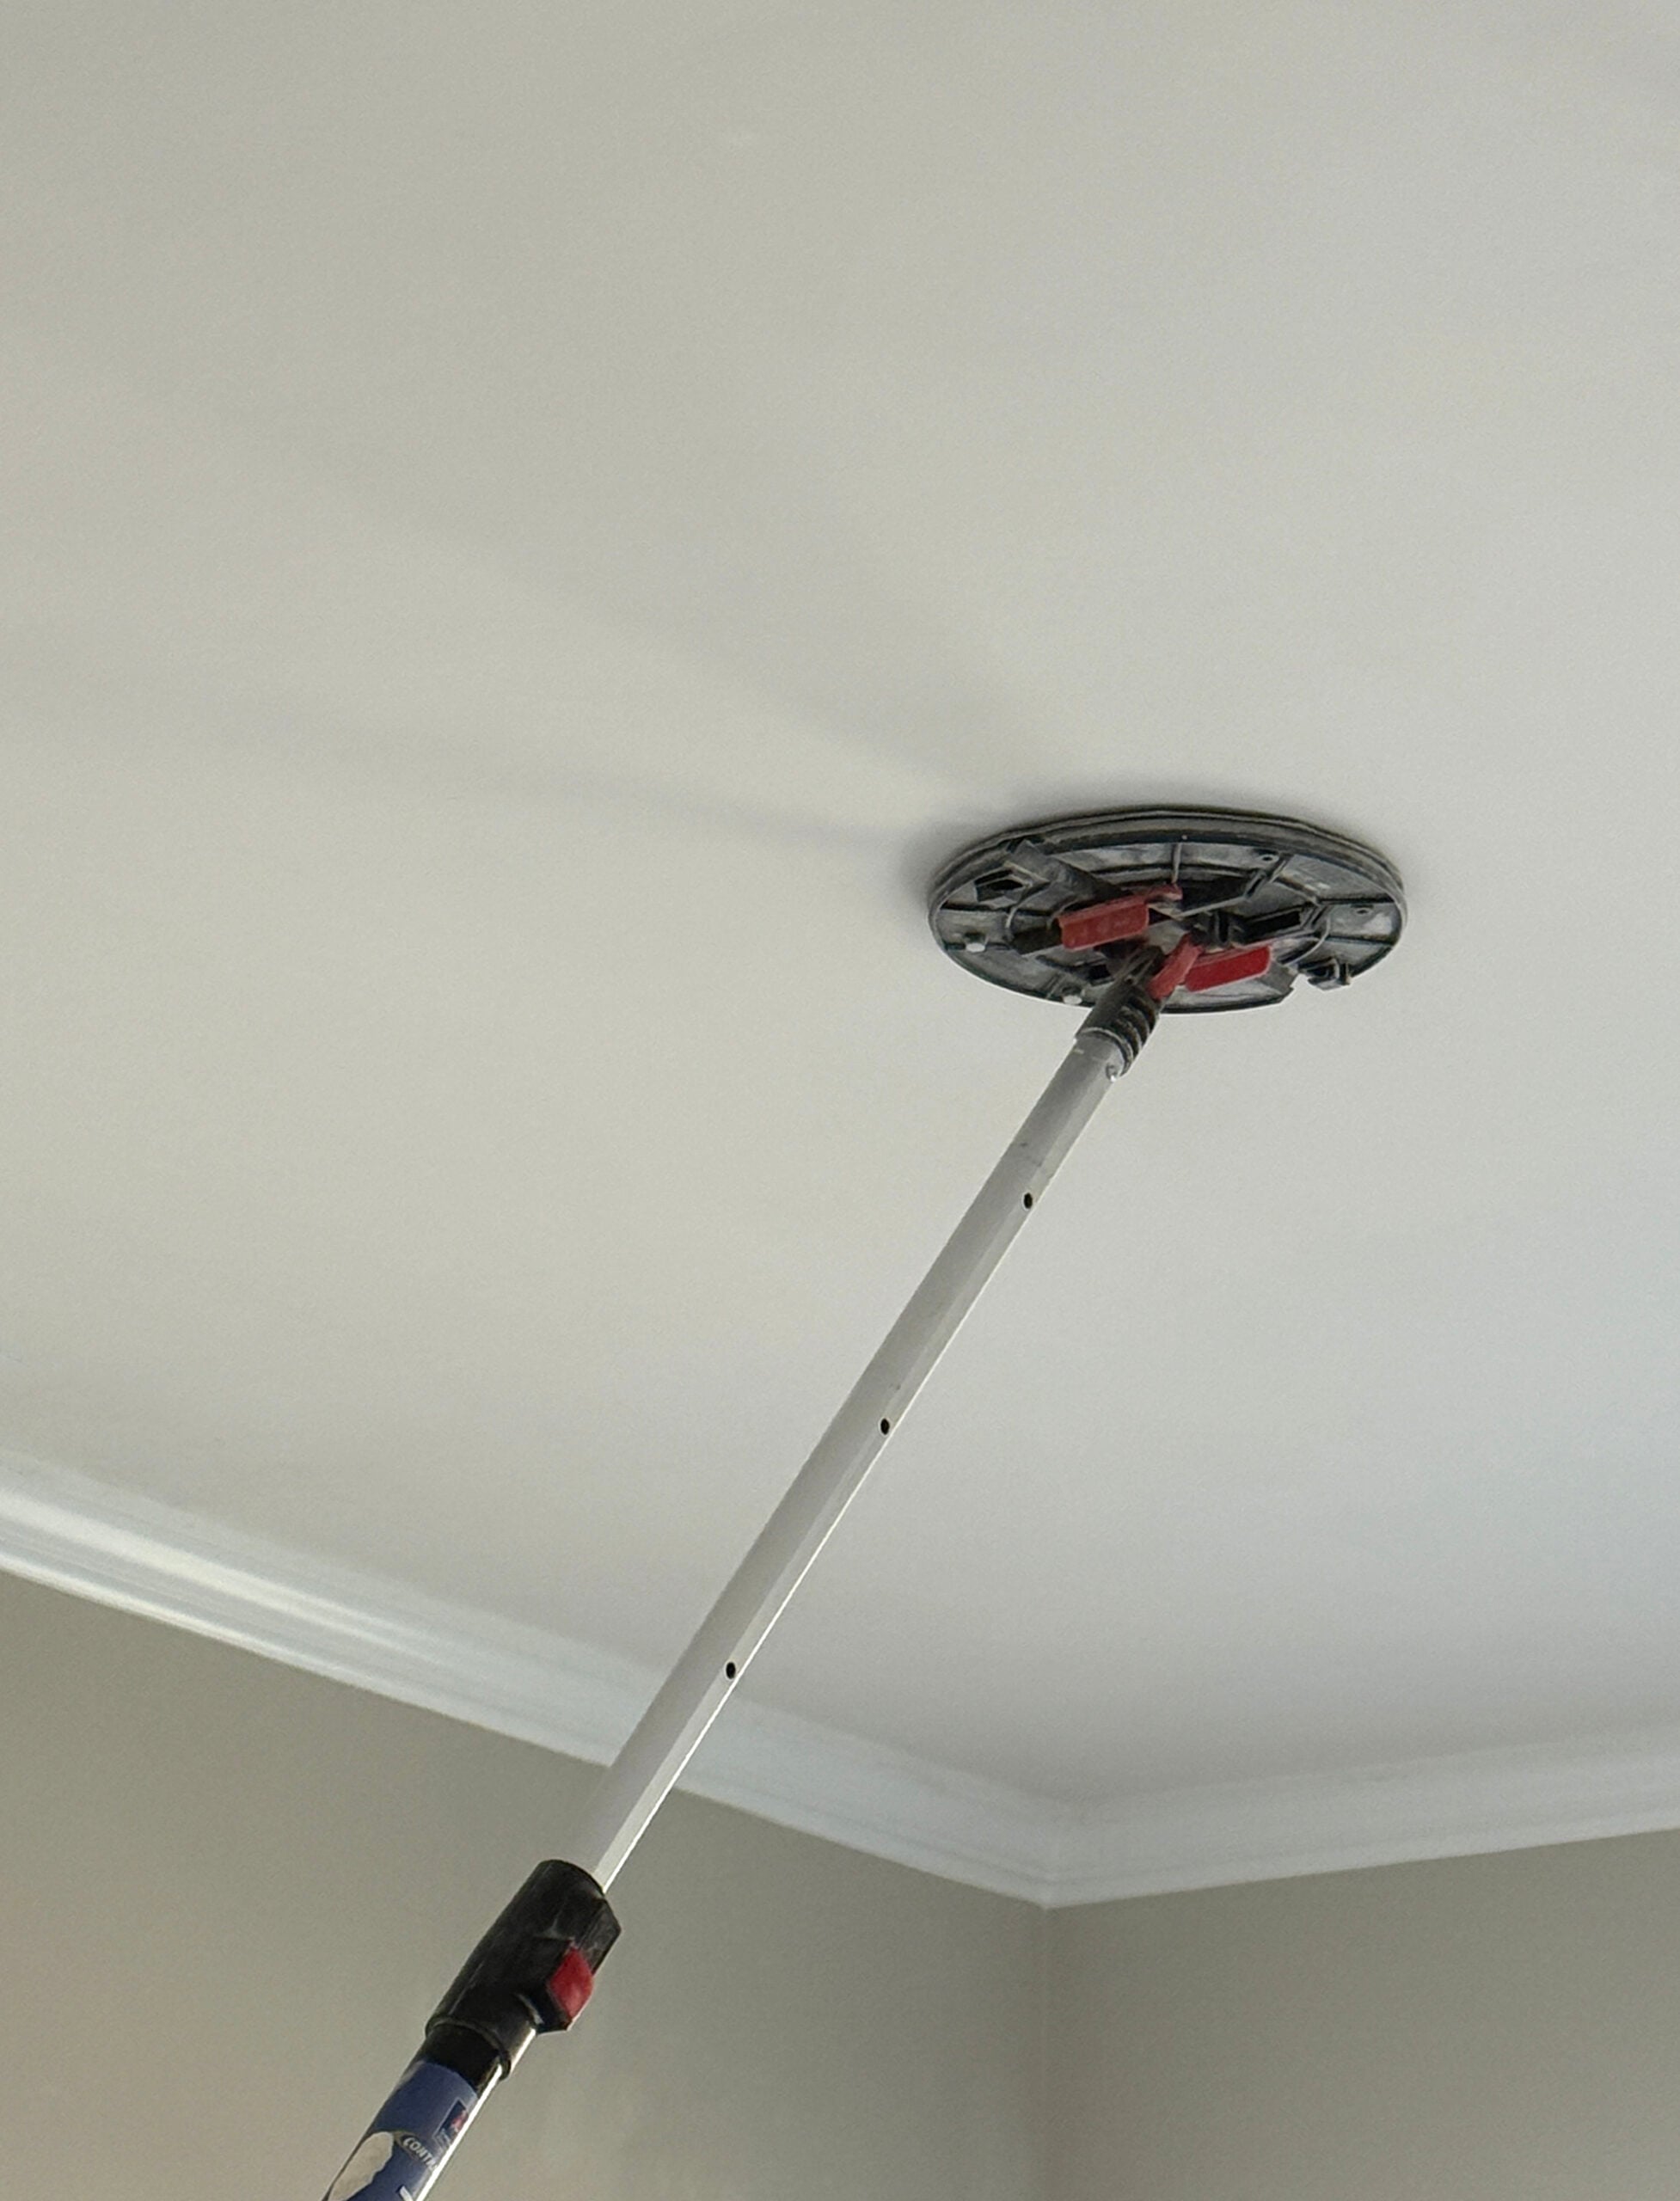
Before you start, cover everything. This is one of those projects where prep saves your sanity. Because we’re renovating, we moved everything out of the room, then covered the floors with plastic. If you’re working around light fixtures, either remove them or cover them carefully so you’re not fighting them the entire time. Once everything is protected, give the ceiling a quick clean. A light vacuum pass helps knock down dust and cobwebs so your mud goes on smoother.
Step 2: Mix Your Joint Compound
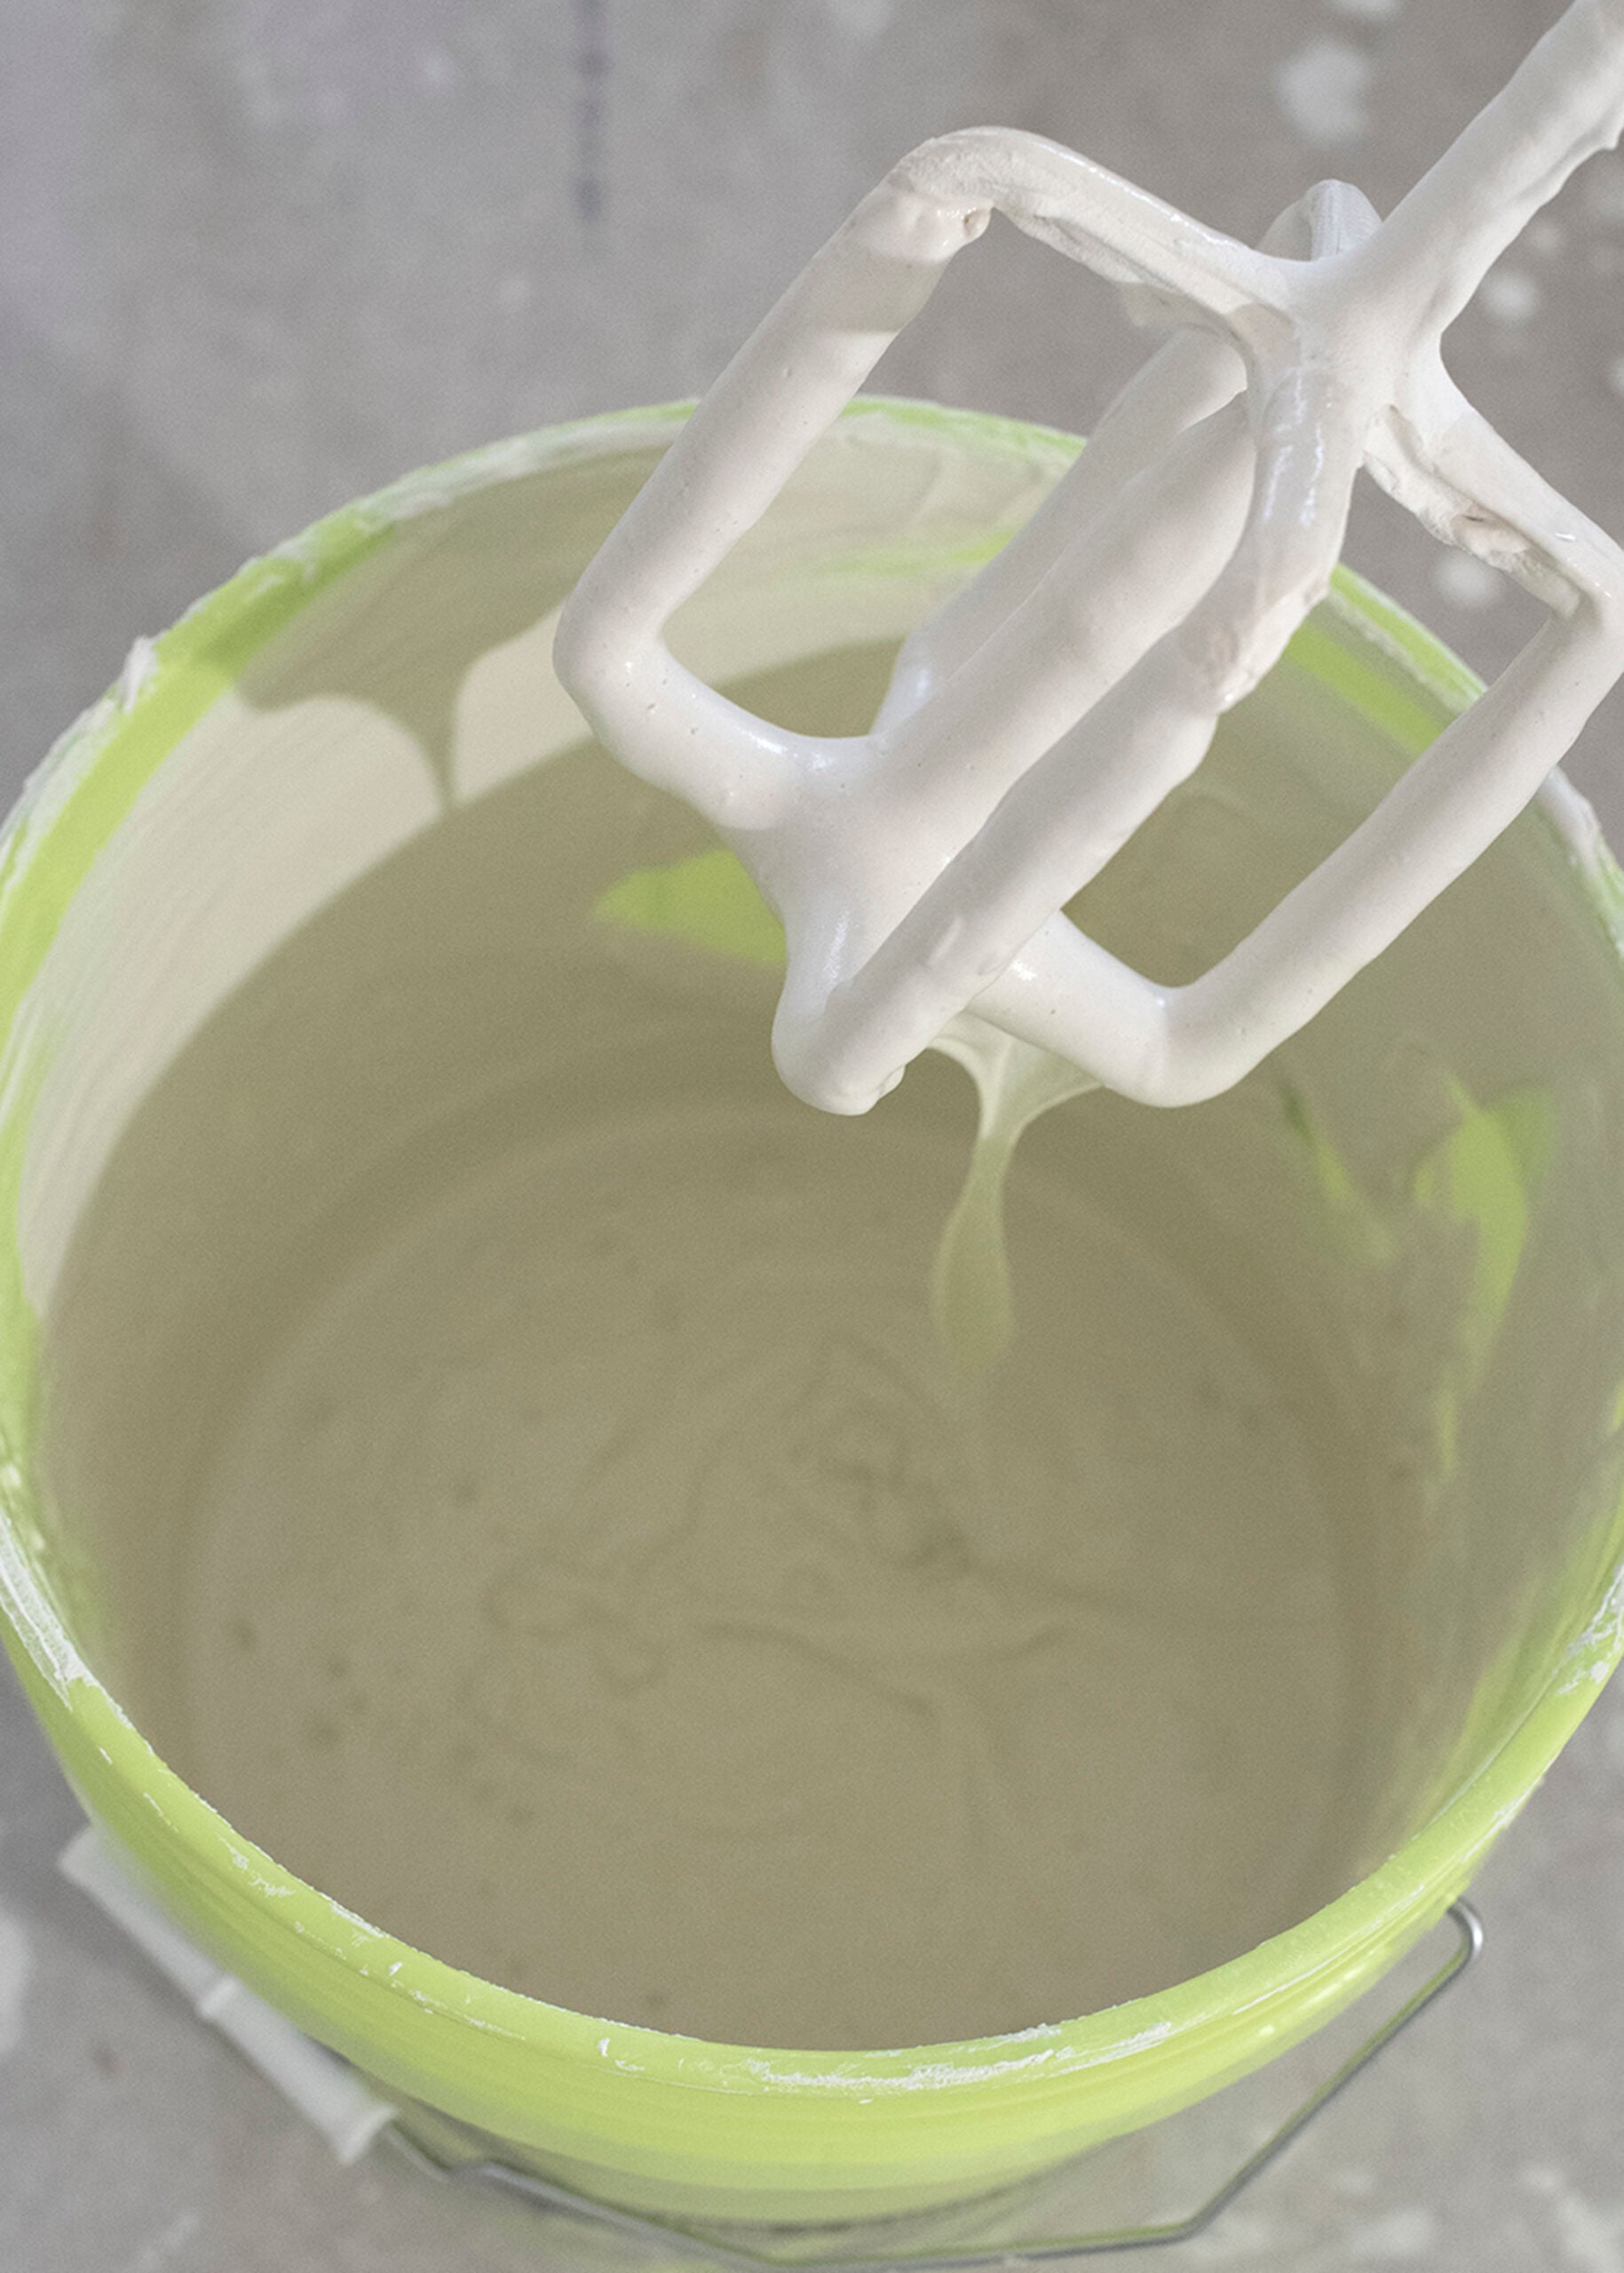
This is one of those small steps that makes the rest of the project so much easier. We like to slightly thin the joint compound with water and mix it until it’s smooth and spreadable. You don’t want it runny. You just want it workable so it glides instead of dragging. Think creamy consistency that holds on your knife, but spreads easily.
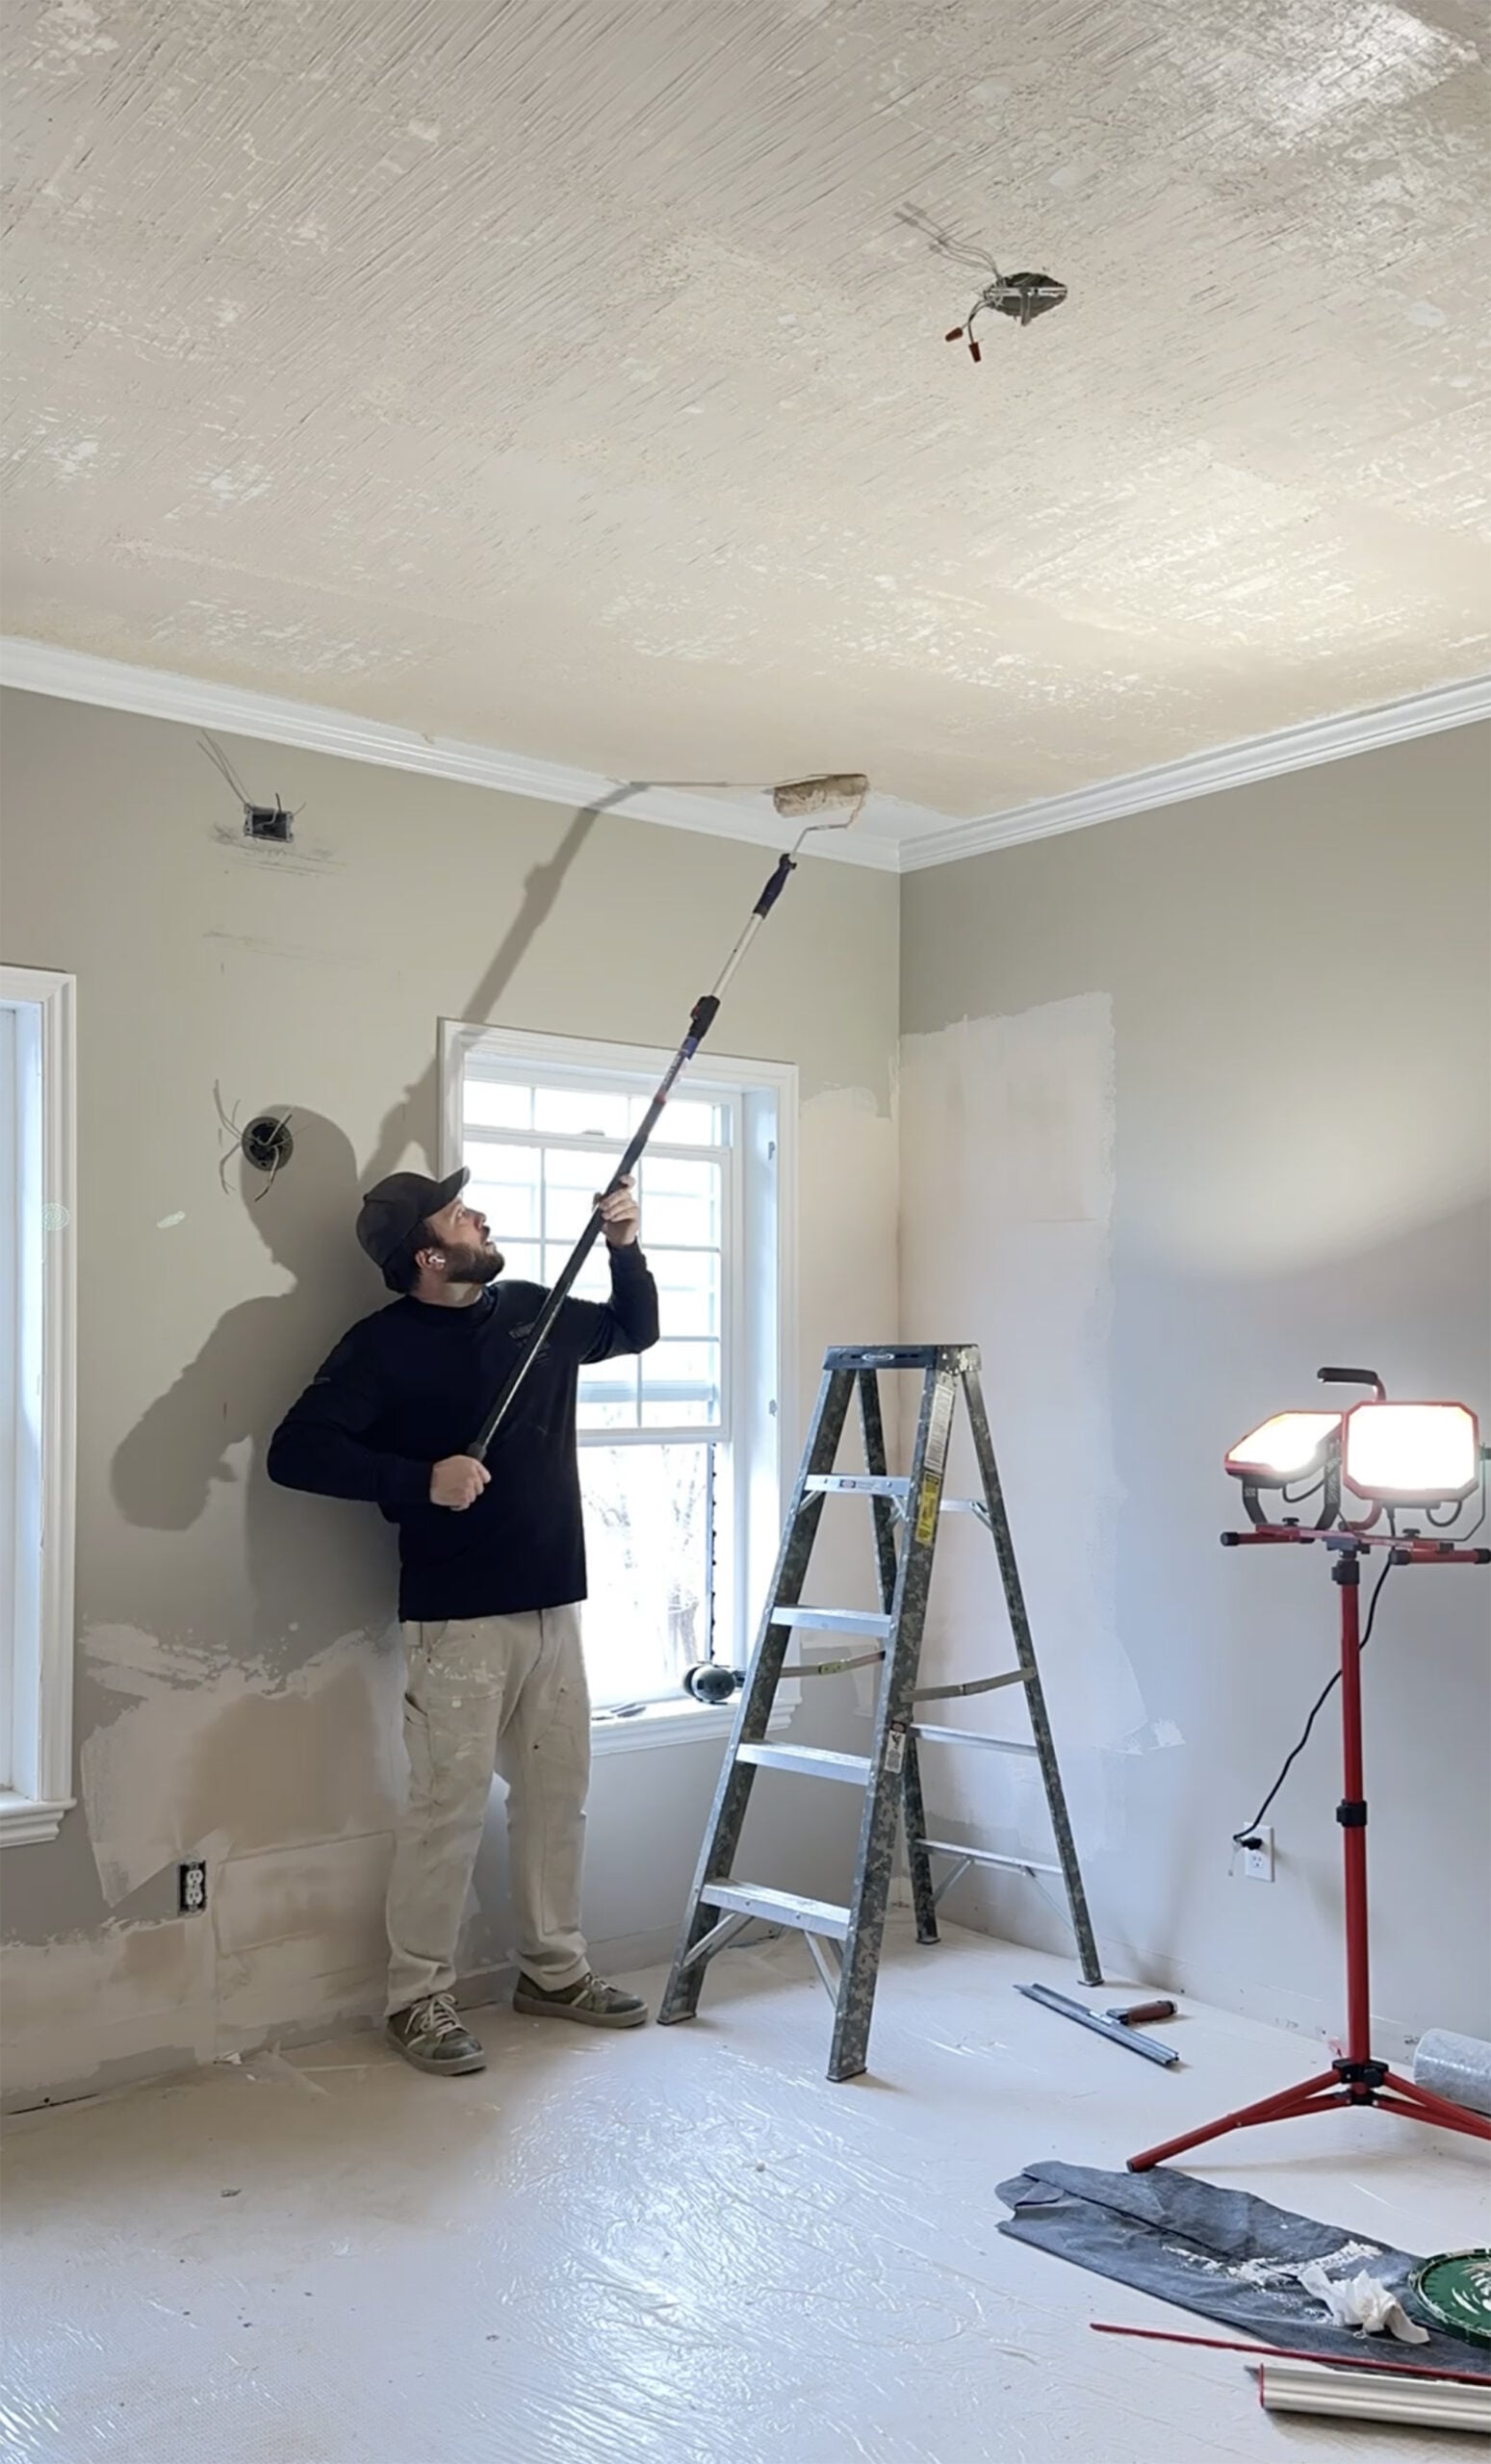
Step 3: Apply the First Coat of Mud
For the first coat, you’re not chasing perfection. The goal is coverage. Working in sections, roll a coat of joint compound over the textured ceiling, then smooth it using your large drywall blade. Keep your pressure consistent and aim for an even layer. Don’t worry about a few lines or edges here and there. This coat is simply the first step in flattening out the texture. Let it dry completely before sanding.
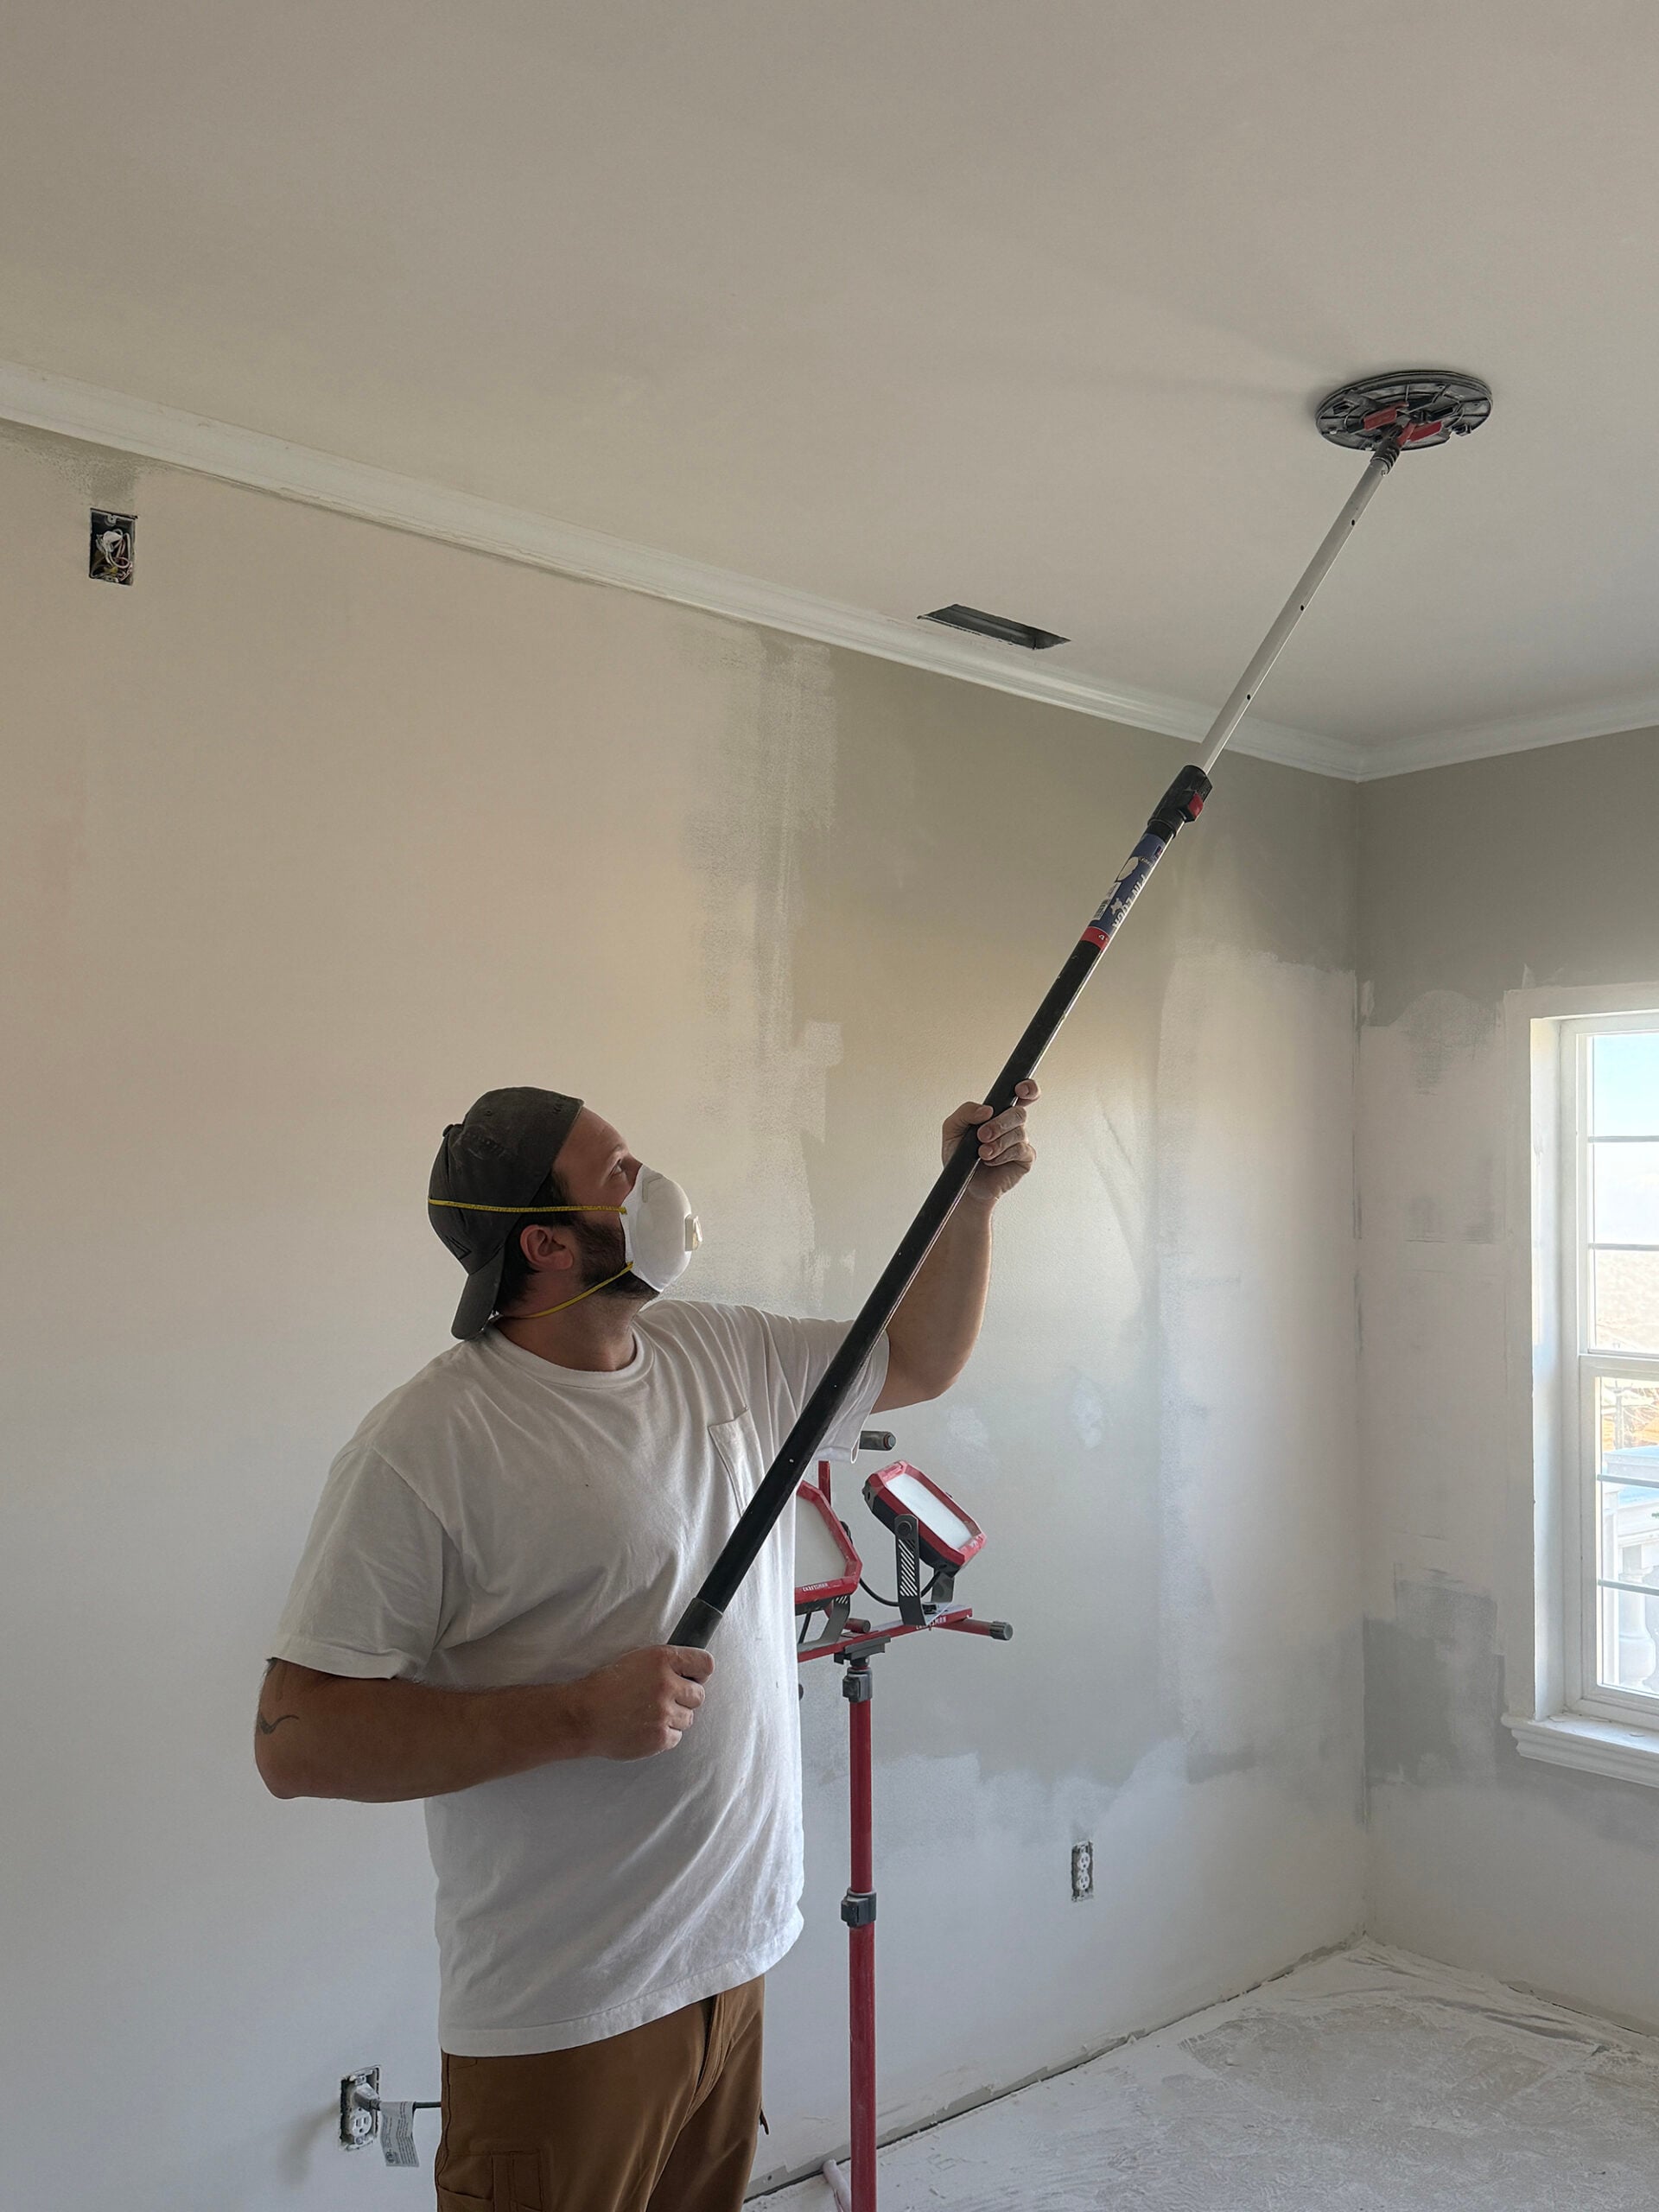
Step 4: Sand the First Coat
Once the first coat is fully dry, sand it down to knock off any ridges or high spots. We use a pole sander for ceilings because it keeps the pressure even and it saves your arms. You don’t need to sand it perfectly smooth yet. The goal is just to level it enough so the next coat goes on easily. After sanding, vacuum the ceiling and the room. Dust left behind can create bumps in your next coat.
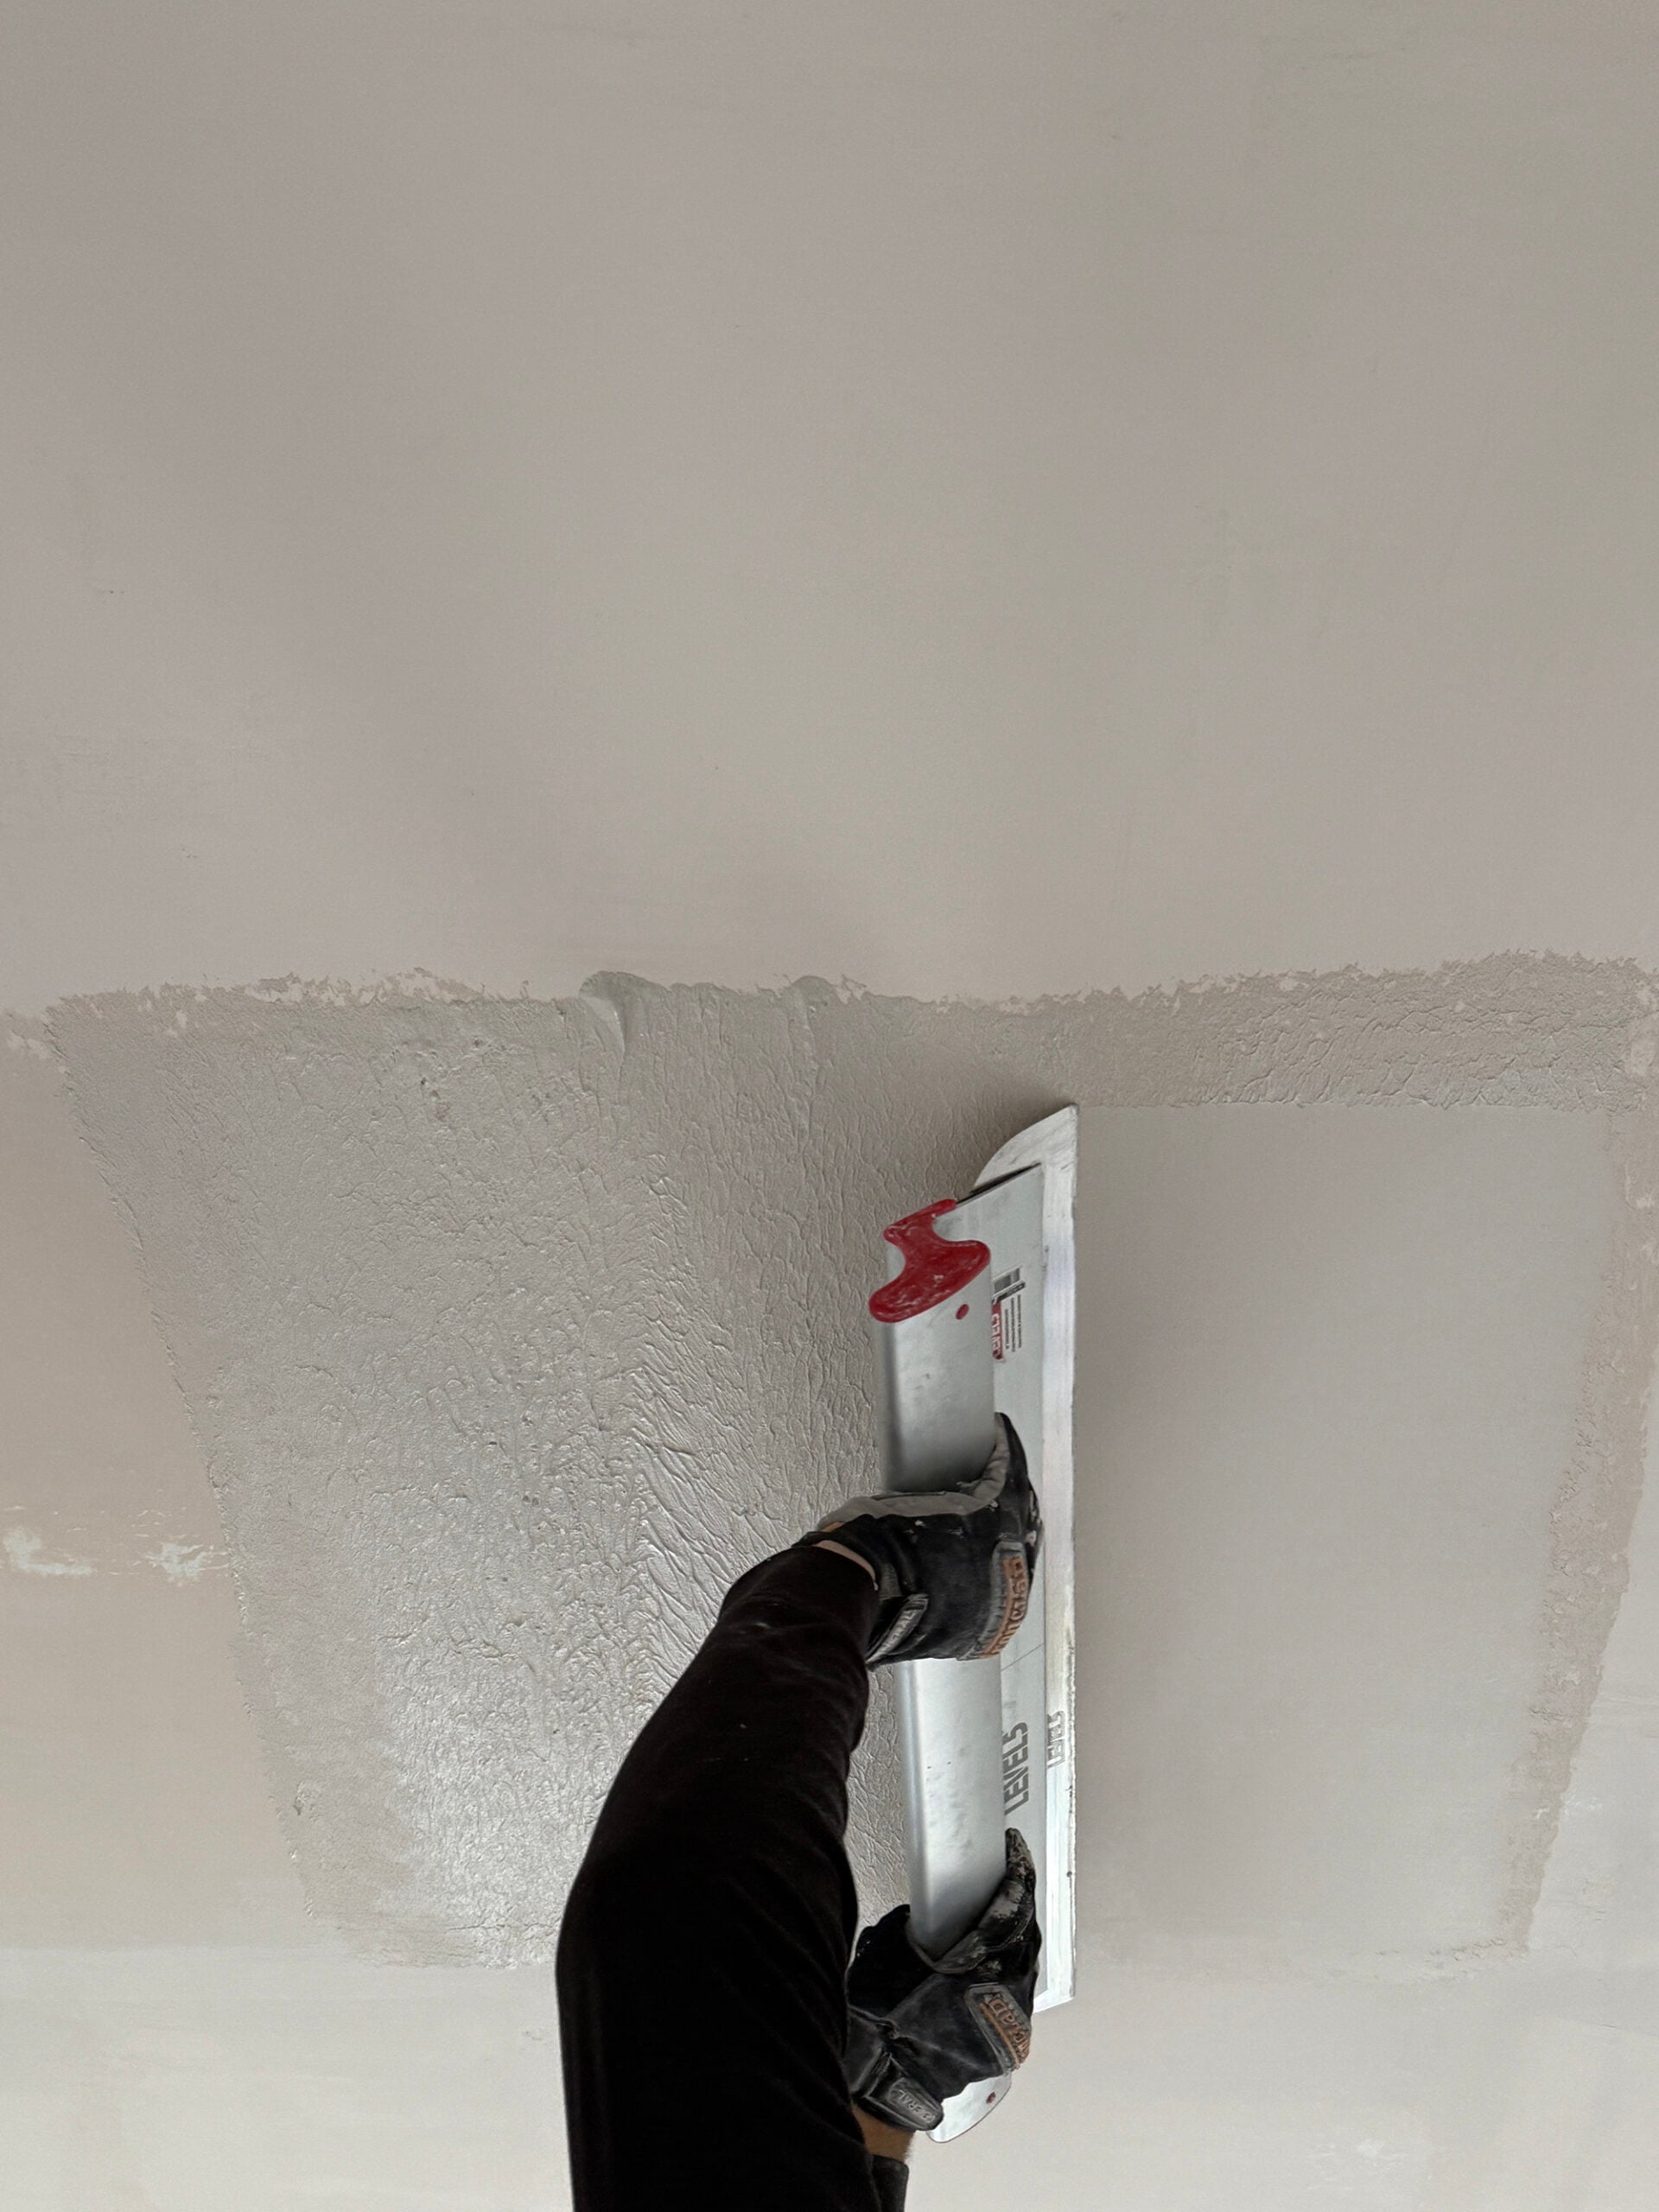
Step 5: Apply a Second Coat (and Sometimes a Third)
This is where everything starts looking really good. Your second coat is what smooths out the remaining texture and fills any low areas. Again, keep it thin. A heavy coat is harder to sand and more likely to show imperfections. Depending on how heavy your ceiling texture is, you may need a third coat. We’ve had ceilings that looked great after two, and others that needed one more quick pass to look truly smooth. The nursery ceiling (pictured here) took three coats, so be patient. Let each coat dry completely before sanding.
Step 6: Final Sanding and Touch Ups
After your last coat, sand lightly with a finer grit sanding pad. This is when you’re aiming for that smooth, seamless finish. If you notice a small dip or a line you don’t love, do a quick touch up with a thin skim of mud, let it dry, then sand again. This is the part that takes a little patience, but it’s also what makes the final ceiling look intentional and professional.
Step 7: Prime the Ceiling
Before painting, prime the ceiling. Joint compound is porous, and primer gives you a consistent surface so your ceiling paint looks even. It’s a must for getting a clean, level five finish. Once the primer dries, you can spot any final imperfections. This is also why I love priming. It’s a final check before paint.
Step 8: Paint the Ceiling
After primer, it’s time to paint your ceiling. If you’re painting the ceiling white, I always like to use Ceiling Bright White by Sherwin-Williams. Once it’s painted, that smooth finish really comes to life and the whole room instantly looks more pulled together.
Questions?
Definitely- don’t skip this step. Sanding between coats removes ridges and keeps the surface level so the next coat goes on smooth.
Yes. Primer helps seal the joint compound and gives you a consistent surface so the ceiling paint looks even and adheres properly.
Most ceilings take 2-3 coats, but heavier texture may require more coats.
Yep! Skim coating works well over painted texture. Just keep the coats thin and make sure everything is clean before you start.
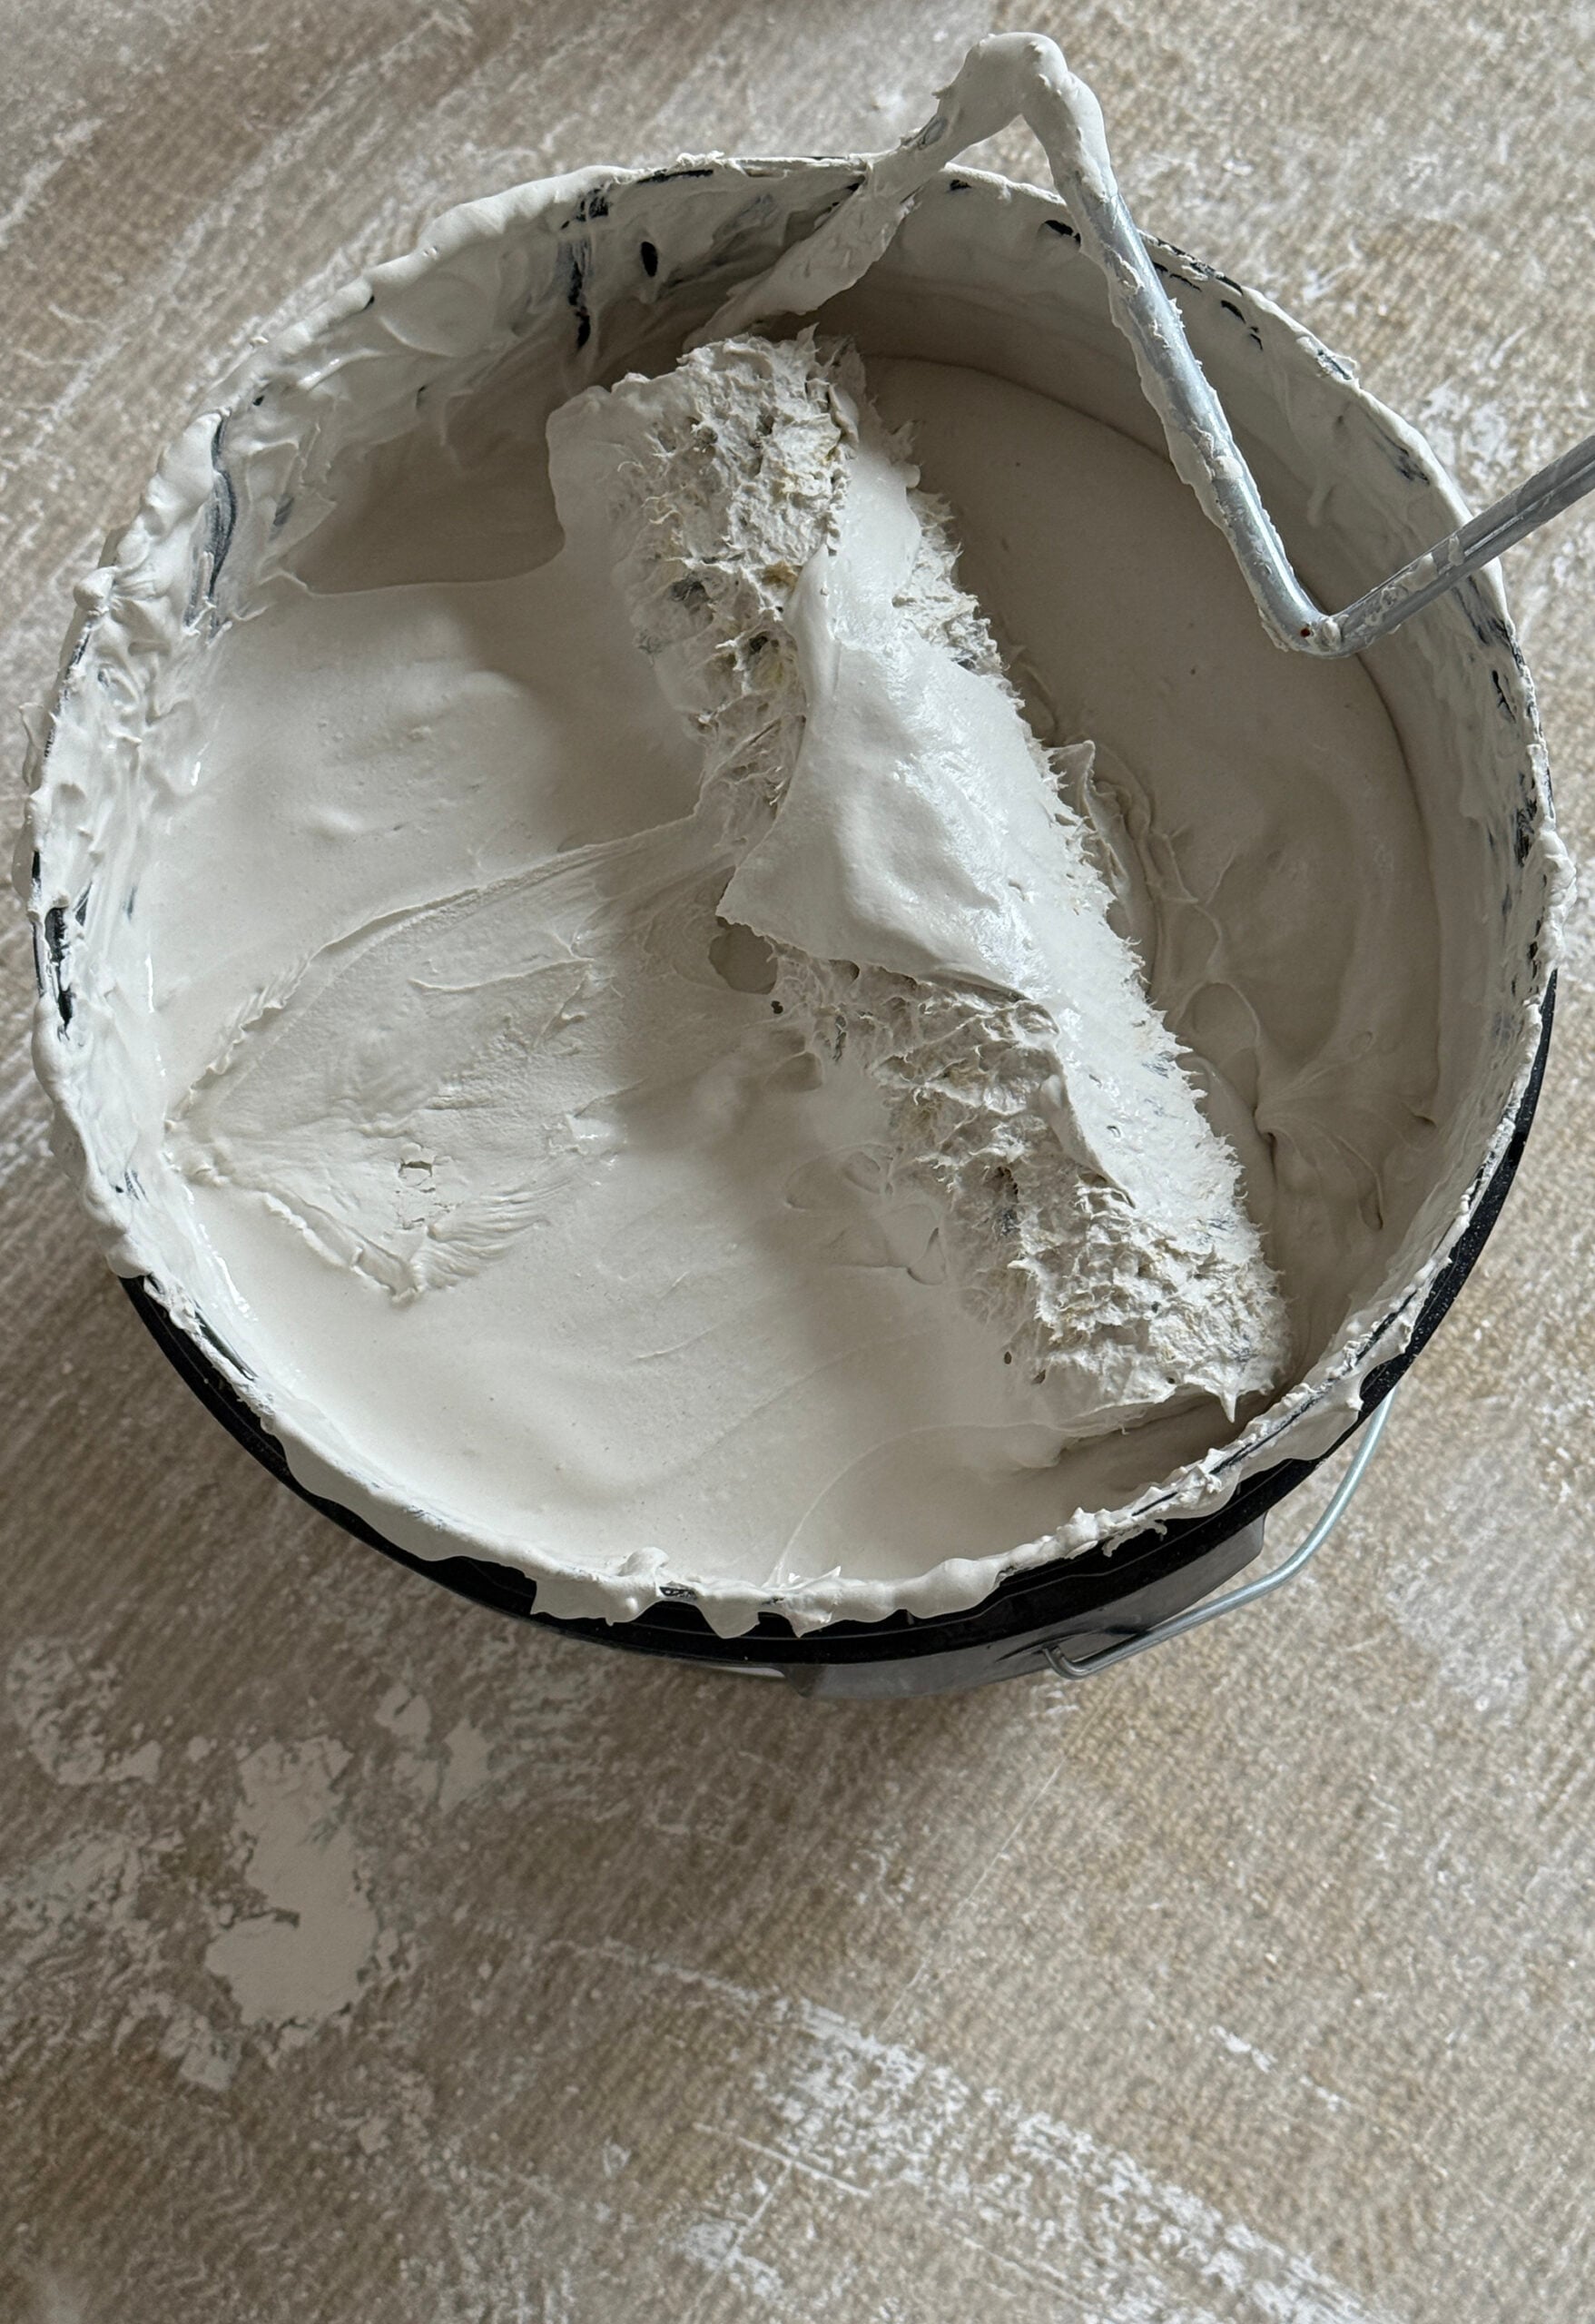
You can do either, but we use a roller first. You can also adjust the consistency of the joint compound… thicker at first, then thinned out with each coat. Our first layer is pictured in the bucket below!
Related Paint Posts
Looking for more tutorials and posts on painting and staining? I’m going to link some of my favorites for you below…
- Designer Guide for Choosing the Best Paint Sheen or Finish
- How to Paint a Door
- The Top Black Paint Colors Designers Always Use
- 24 of My Favorite Neutral (Non-White) Paint Colors
- My Top Paint Color Picks for Dark Kitchen Cabinets
- How Paint Color Percentages Work and When To Use Them
- 10 Painting Tips for Cutting In
- Color Matching Our Kitchen Cabinets
- How to Choose the Right Brush or Roller
One last before and after to convince you this is the move! If smoothing your ceiling has been on your project list for a while, I hope this helps you feel confident to tackle it. The process is simple and repetitive- it’s one of those upgrades that makes a space feel finished once it’s complete. If you’re already in skim coat mode, make sure you check out my wall tutorial too because the technique is the same, just a different surface. Let me know if you have any questions in the comment section below!
Incredible tutorial Sarah! Honestly though, my brain, body and entire chest says “ooof” at the idea of the task. I know that despite how simple this process looks, it’s a lot of work and a lot of mess. There’s a huge part of me that wants to take this on with both kids’ rooms. When is the juice not worth the squeeze? Or is it always worth it? If you do the walls, do you have to do the ceiling? And which goes first, or does it not matter? I love the final result, and I know your nursery is going to be so adorable!! I hope you’re having a great week!