How to Make A Physical Interior Design Mood Board
I’ve been in design mode lately, while we’ve been planning & ordering items for our basement renovation. I thought it would be fun to show you how my mood board is looking. Mood boards are key in interior design because the actual (physical) samples and swatches give you the best look at color, texture, and provide a tactile experience with how the elements in a room work together. Read on to learn how to make an interior design mood board… I’m walking you through my design process!
I’ve talked about making moodboards & conceptualizing a room here on the blog before, and I’ve also shared how to create a digital design plan moodboard in Photoshop, but I’ve never actually shared my process for physical interior mood boards. Truth is, it’s key for pulling a room together (especially from the ground up) and it gives you confidence to make the more expensive home purchases.
Mood boards are a visual collection of the design swatches, finishes, and textiles you’re considering for a room. They can range from simple to complex, and they often work alongside or complement digital mood boards in designing a space. Back when I was designing for clients full-time, every client project had an associated mood board basket that was constantly evolving. It’s just easier for clients to visualize when they have tangible room elements in front of them, and it’s easier for the designer to nail down the look.
Gather Inspiration
This part of the process always feels exciting to me, with a world of endless possibilities. You know I love to scroll Pinterest, peruse interior magazines, and scour design books for inspiration. Once I have a clear concept for the direction I want to head with a room, I can begin to choose which items best fit my vision, budget, and aesthetic. This is when I begin to hone it in, curate, and dive into the design process…
Digital vs Physical Moodboards… Which Comes First?
Where to start? This totally depends on your personal preference and process, as I believe they’re interchangeable… but for me- I always begin with the digital mood or concept board and floor planning first, as a loose outline. Once I have a basic plan or wireframe in place, I can easily make substitutions (sofa style, fabric, etc)… and that’s where the physical mood or sample board comes into play.

Pick a Neutral Base
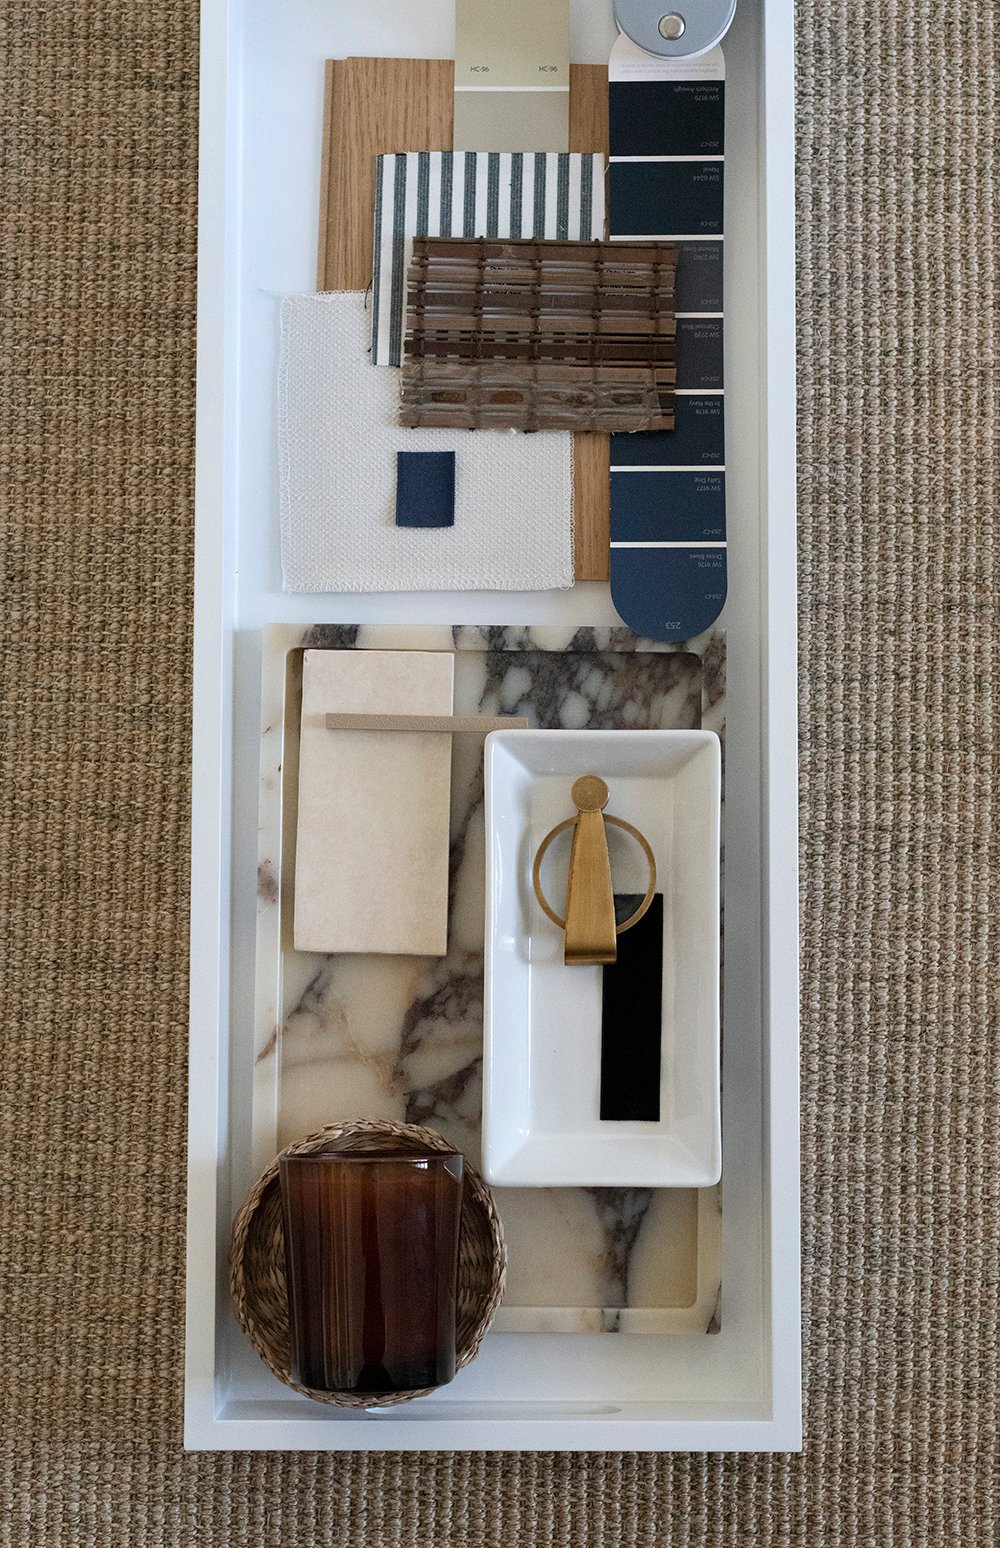
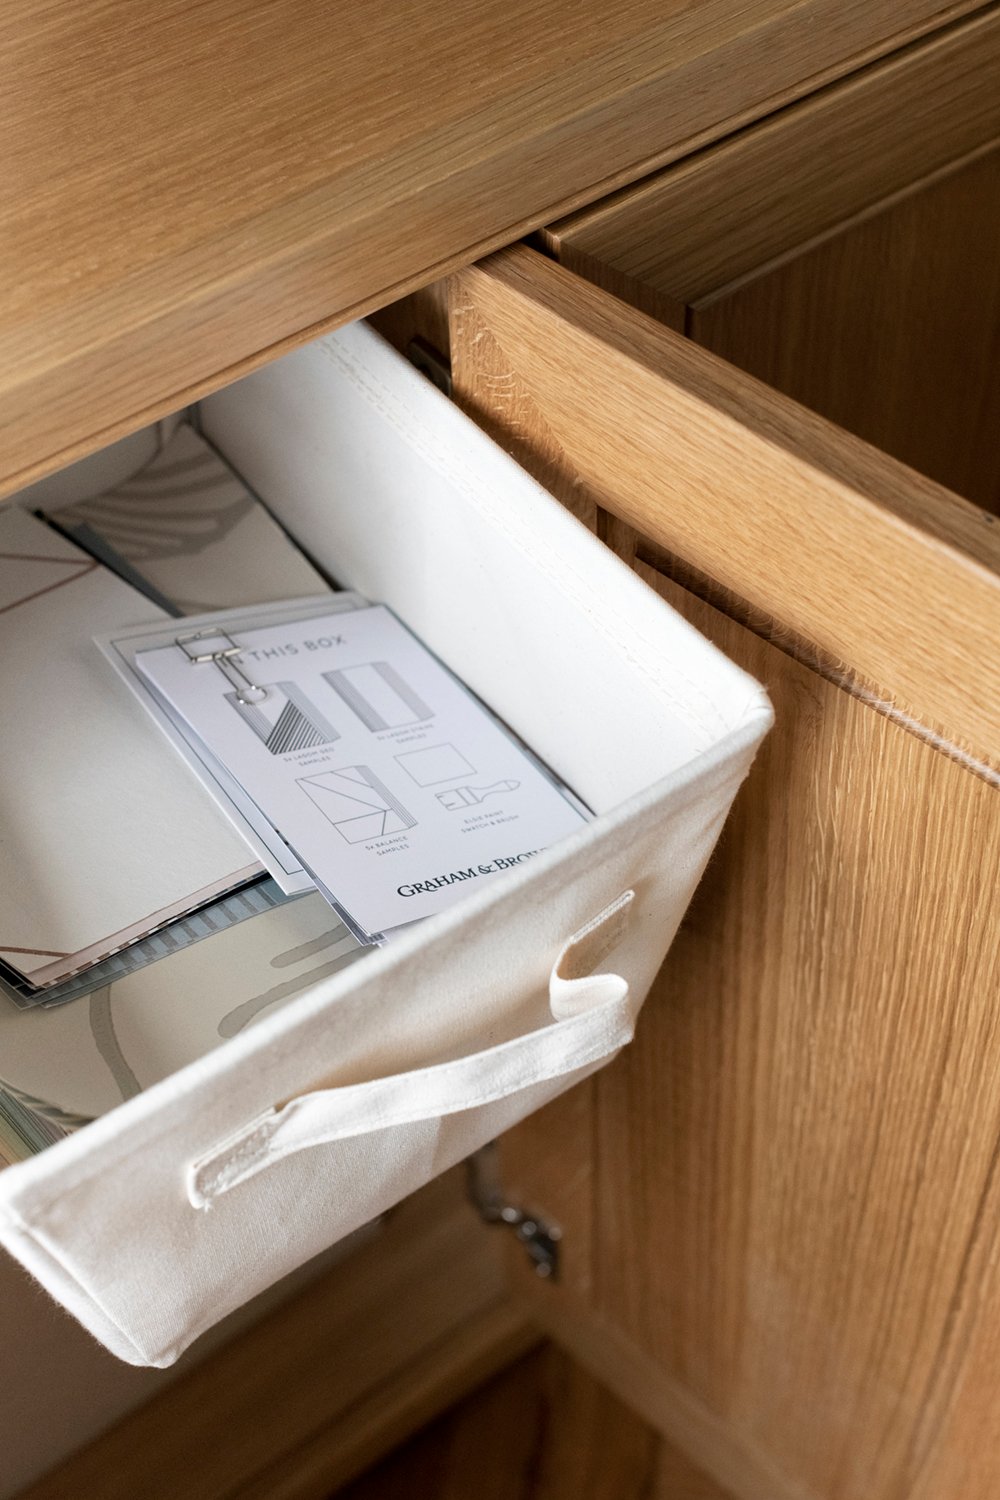
Before you start layering a physical mood board, choose a neutral base for your swatches. By that, I don’t mean paint color… I mean the actual board. I prefer a plain white tray to corral everything without altering or adding a unique color or texture to my design plan. Check out the tray I use below- I have these in a couple different sizes. When I worked for a design firm, we used neutral baskets to contain swatches for each client project. Physical mood boards can take different forms and are unique to what works best for you.
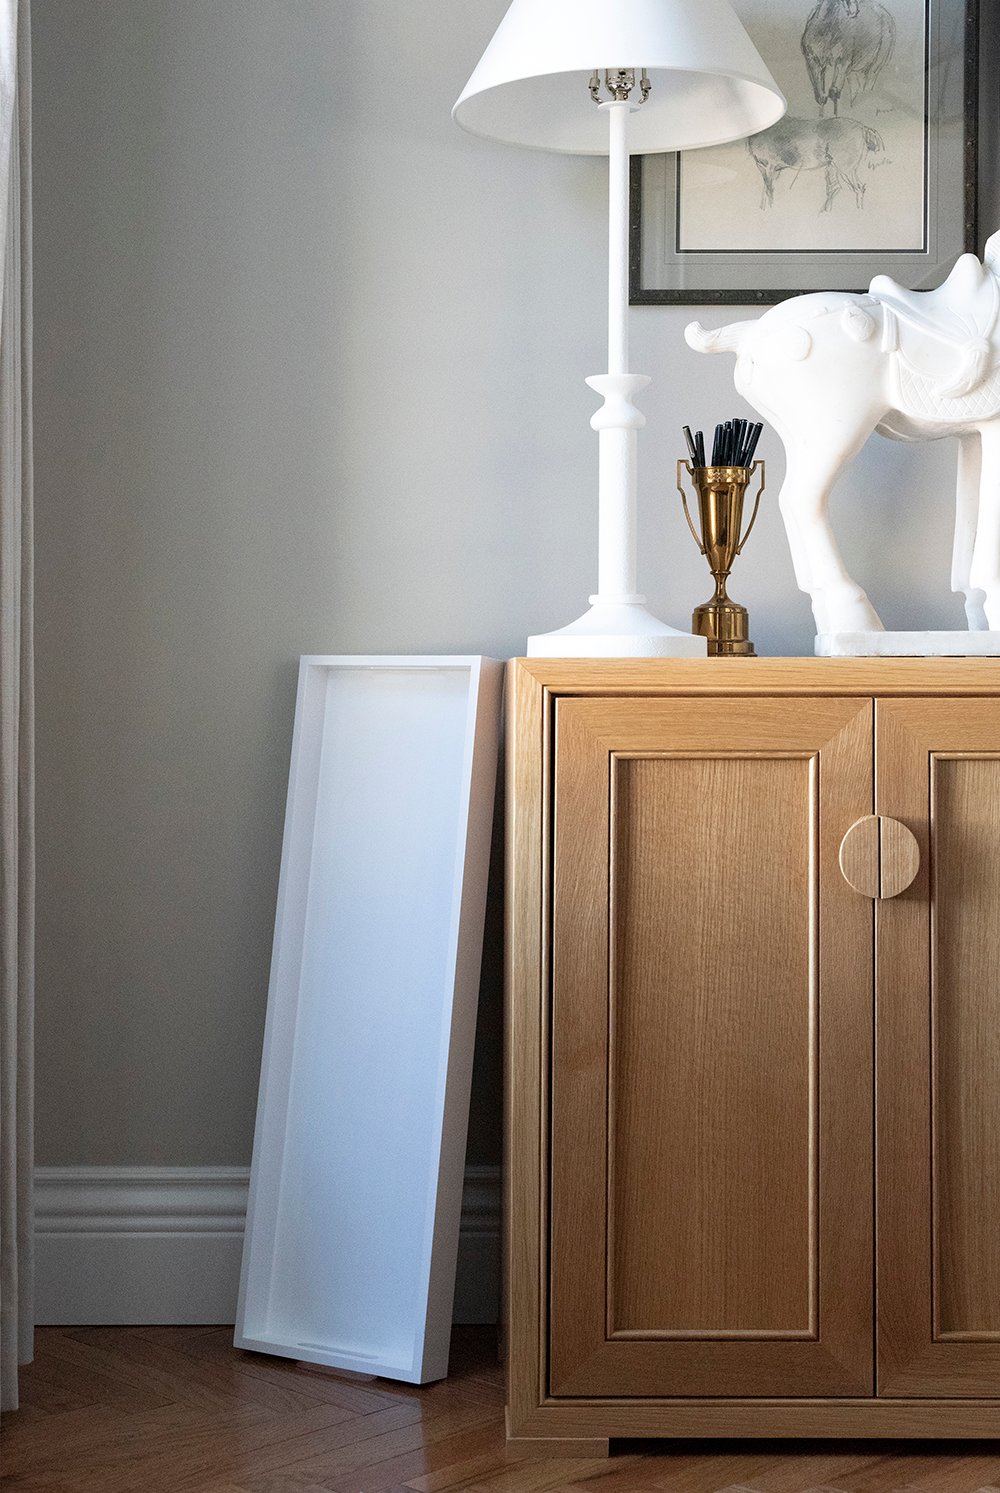
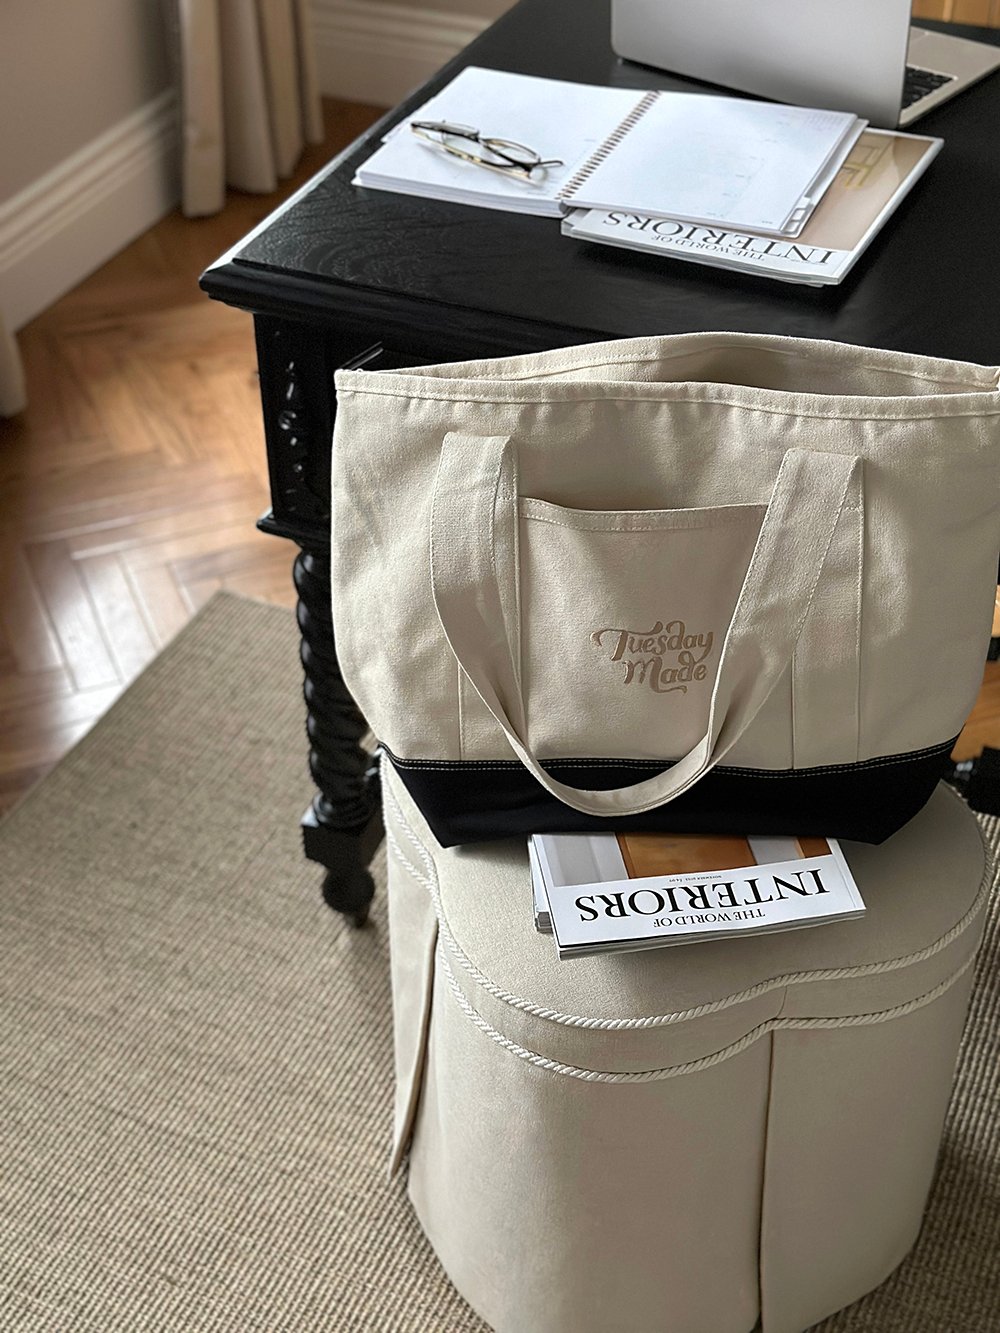
Often times, I’ll have multiple mood boards scheming simultaneously, so I use the same style tray for each room. For example, I’m currently working on our basement and entryway, each room has a physical mood board that evolves until the room is completed. These exist until the project is completed- I just tuck them into my home office credenza, out of the way. Some mood boards stay the same from design to completion, while others go through many iterations.
Collect Samples & Swatches
What kind of samples & swatches should be included in a physical mood board? Anything that’s relevant for the space, really. Here are some ideas…
- Paint, stain, and wallpaper swatches
- Metals & finishes for lighting, appliances, hardware, etc
- Stone samples
- Flooring or wood samples
- Fabric swatches for upholstery
- Window treatment swatches
- Rug or carpet samples
- Millwork samples
- Hardware samples
- Decor and furnishings (samples, color, or printout)
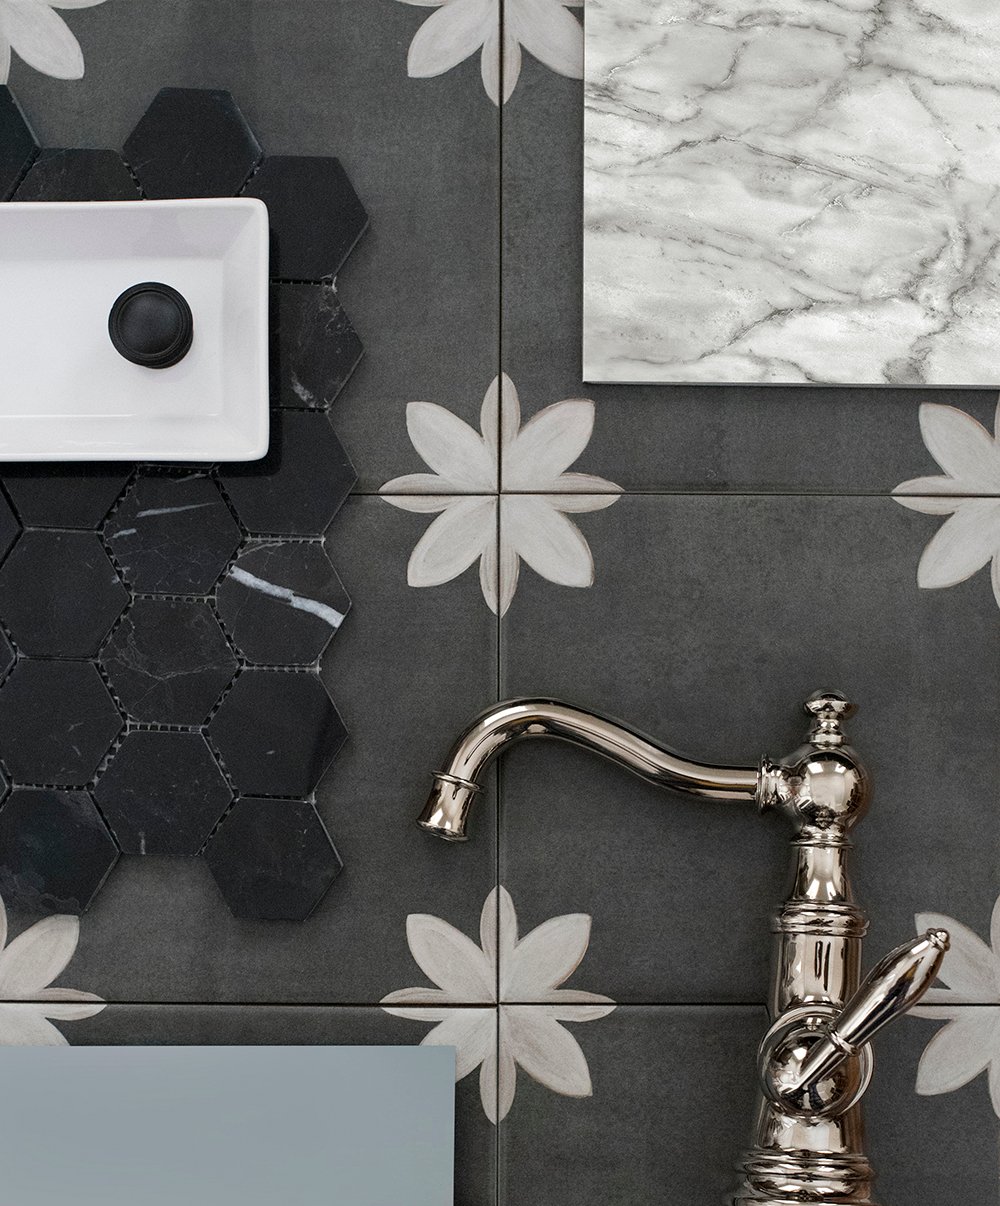
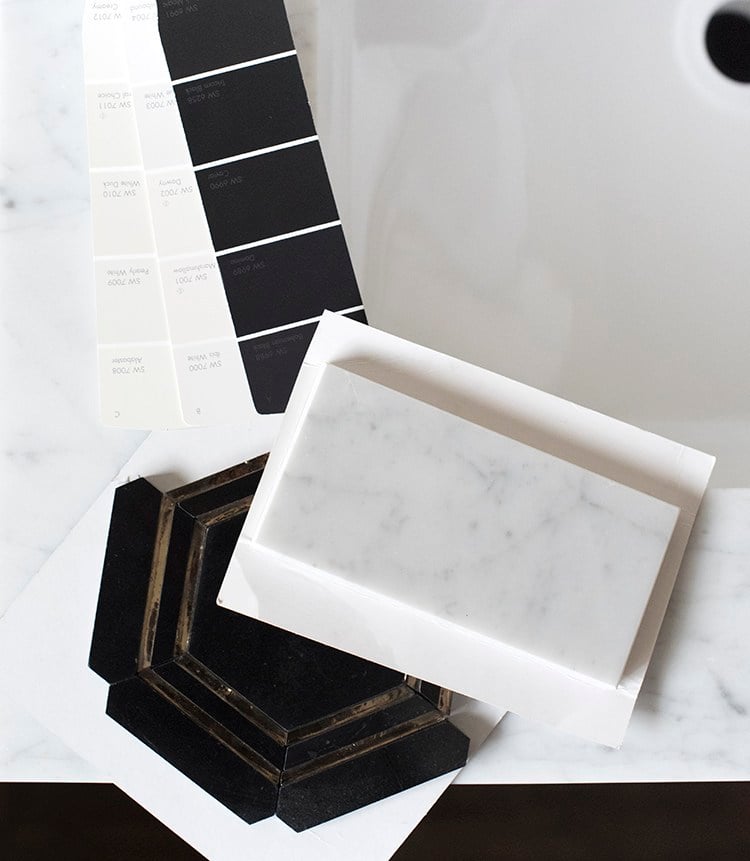
This was the beginnings of my kitchen mood board…
How to Obtain Swatches
How does one obtain swatches? For interior designers, most trade accounts include free samples, swatches, or you have a design library at your disposal. For anyone outside the trade, luckily- you can also easily acquire swatches. Most are free or are inexpensive (like paint and fabric swatches). Even if it cost a bit, I’d always recommend ordering swatches prior to committing. If you’re working with an interior designer, they’ll provide samples and do the work for you.

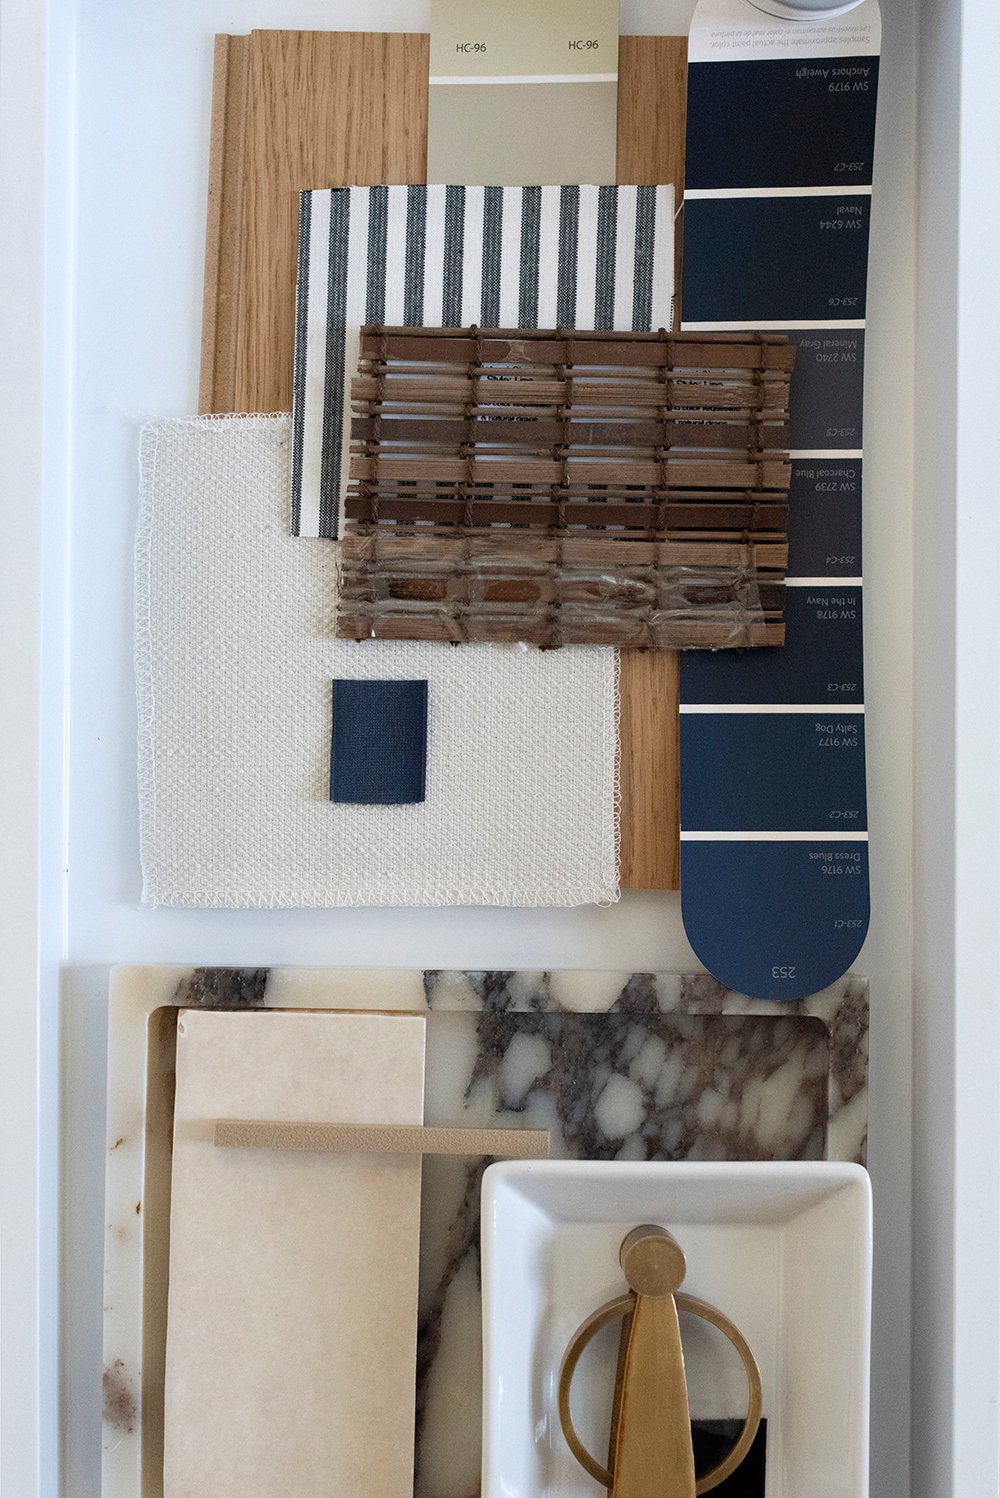
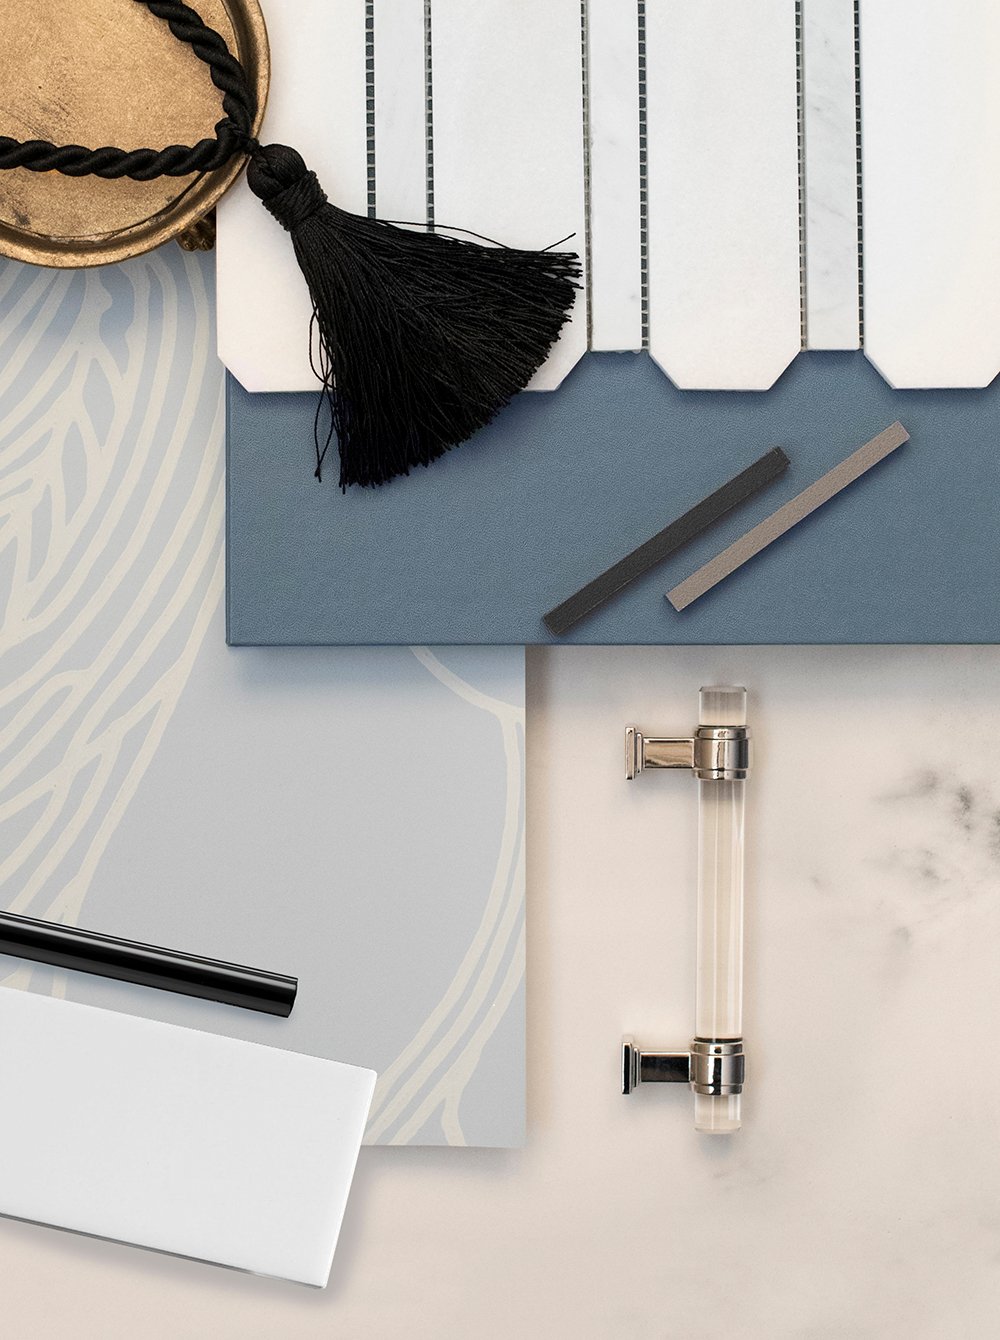
Layer Your Samples
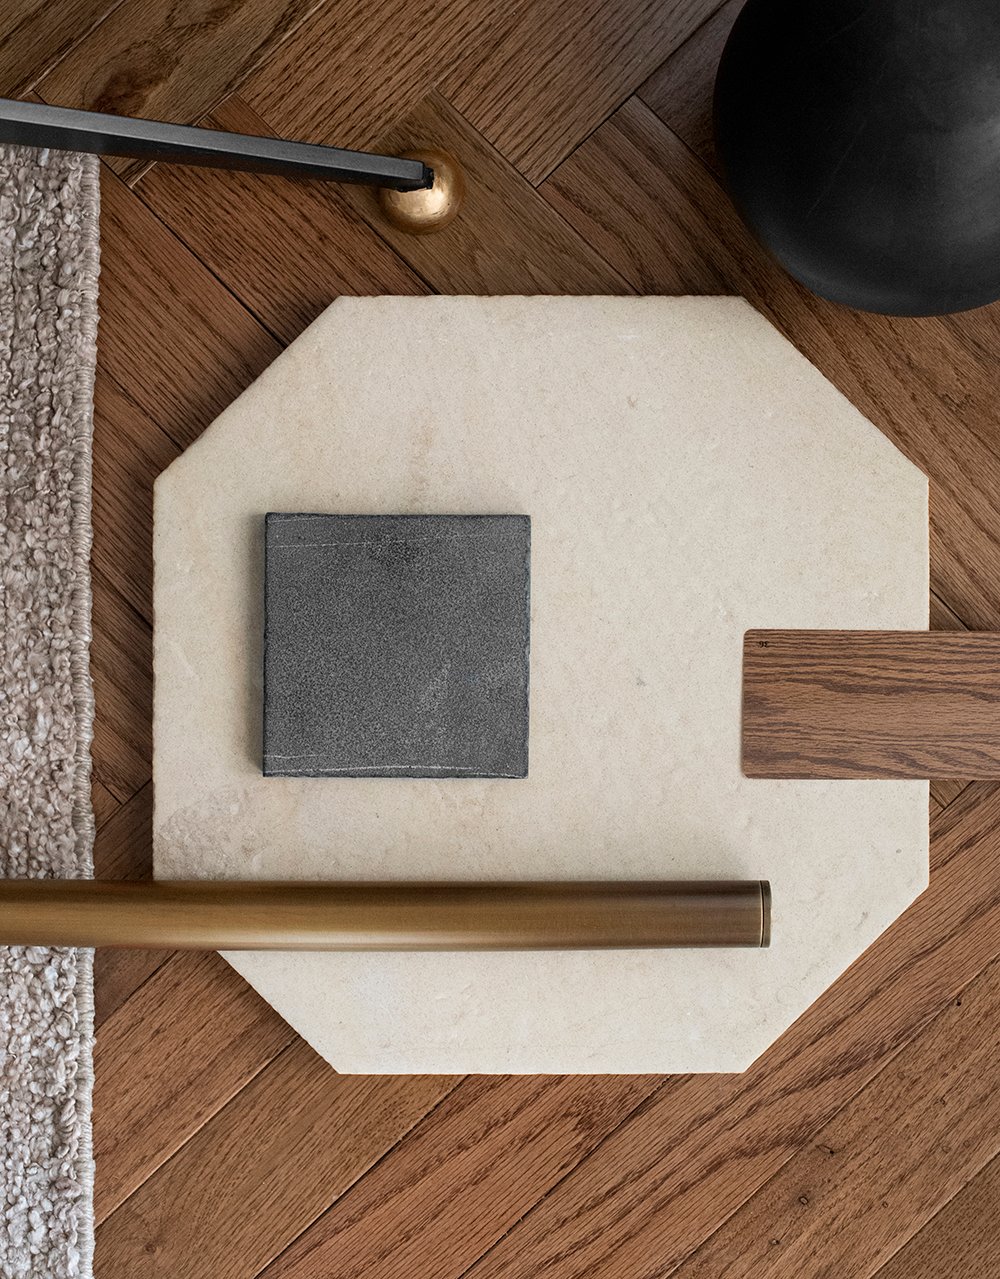
The goal of a physical mood board is to see how the different elements, textures, colors, and finishes within a room work alongside each other. I like to layer them with the larger “base” elements of a space on bottom (like flooring), with the smaller decor type swatches on top (like hardware or fabric swatches). There really aren’t rules for styling a mood board… seeing all the unique swatches together should be enough to get a good understanding of how they work together- no matter how they’re arranged or layered.
Audit and Adjust Your Board
This part of the process is key. Once I see the physical components of a room together, I immediately know which items do or do not belong. What feels out of place and what could you adjust to improve the overall aesthetic? Does something stand out? Are you missing anything? Could this room benefit from an added color, texture, or pattern? You can also experiment by pulling other small items from your home, adding and subtracting to see what plays nicely together.
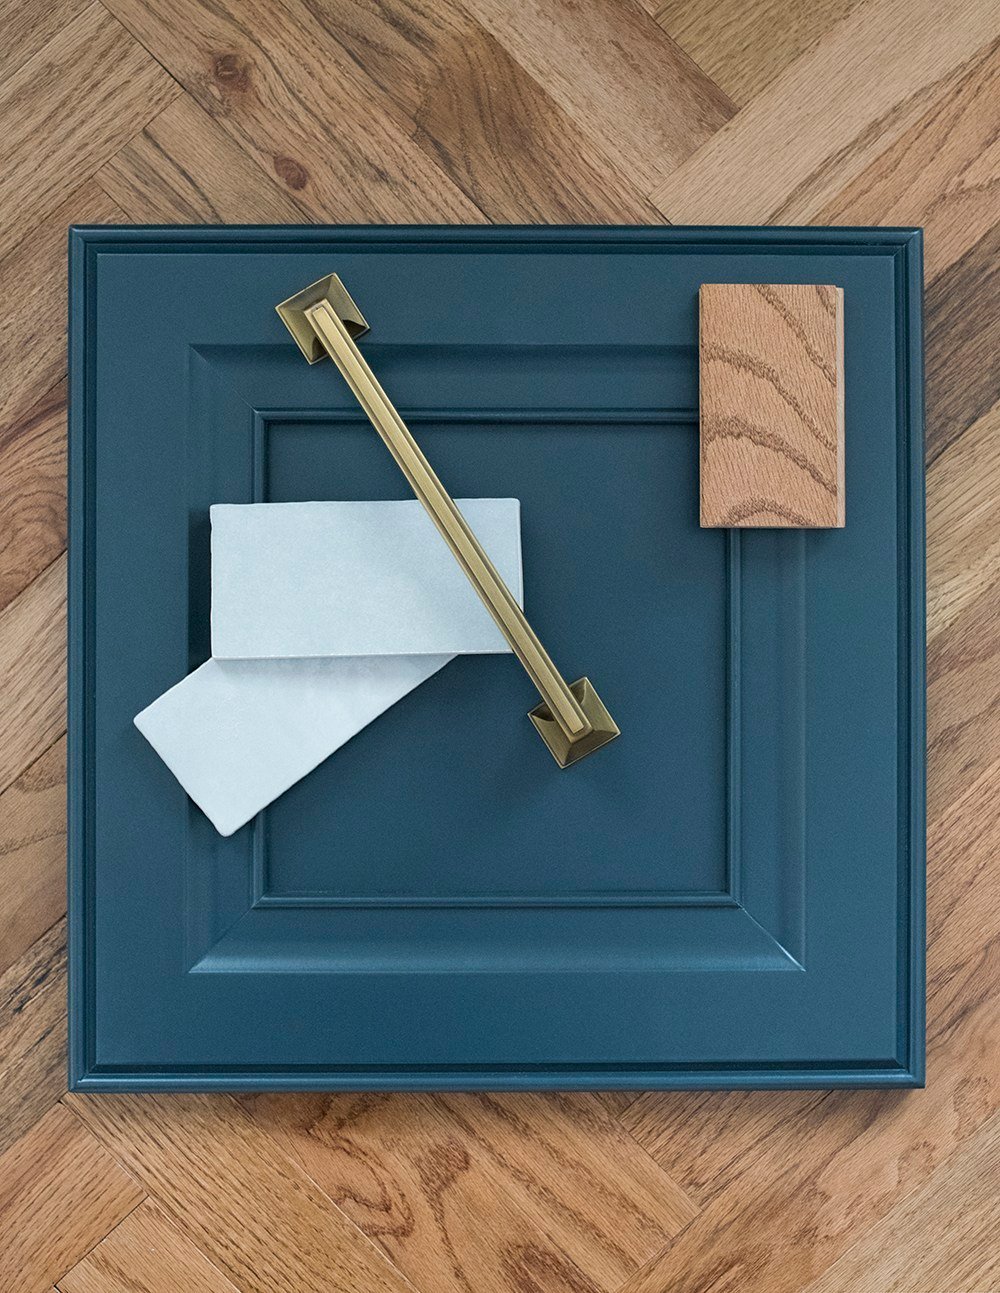
Items to Include for a Timeless Look
A few elements I always include for a timeless look?
- At least two classic metals (polished nickel, brass, bronze, etc)
- Natural fabrics (linen, cotton, wool, etc)
- A natural woven element (baskets, woven shades, jute rug, etc)
- Something with a glossy or reflective finish (semi or high gloss paint, a mirror, glass, etc)
- Classic stone (marble, limestone, soapstone, neutral ceramic, etc)
- A warm wood element (furniture, decor, building material- like flooring, etc)
Capture of Your Mood Board
Something I got into the habit of doing when I was designing for clients was taking a photo of the finished mood board. I quickly learned this was helpful not only for filing and keeping track of samples, but for analyzing the room in 2-D. It can help you identify something you’ve missed or overlooked. I also like to pop the image of my physical mood board into my digital mood board file to see how they compare and overlap. It can also be helpful for fine tuning colors on the screen.
Begin Ordering (with Confidence)
Once you’ve nailed down a mood board you feel happy with, you can begin ordering your components with confidence. I always feel more sure when ordering something for our home, when I’ve seen a small swatch beforehand. It gives me the control and confidence I need to commit, and it ensures there won’t be any surprises on the day of delivery. Once the design plan has been locked in and items have been ordered, then the difficult part of the room begins… manual labor and the renovation itself.
FAQ
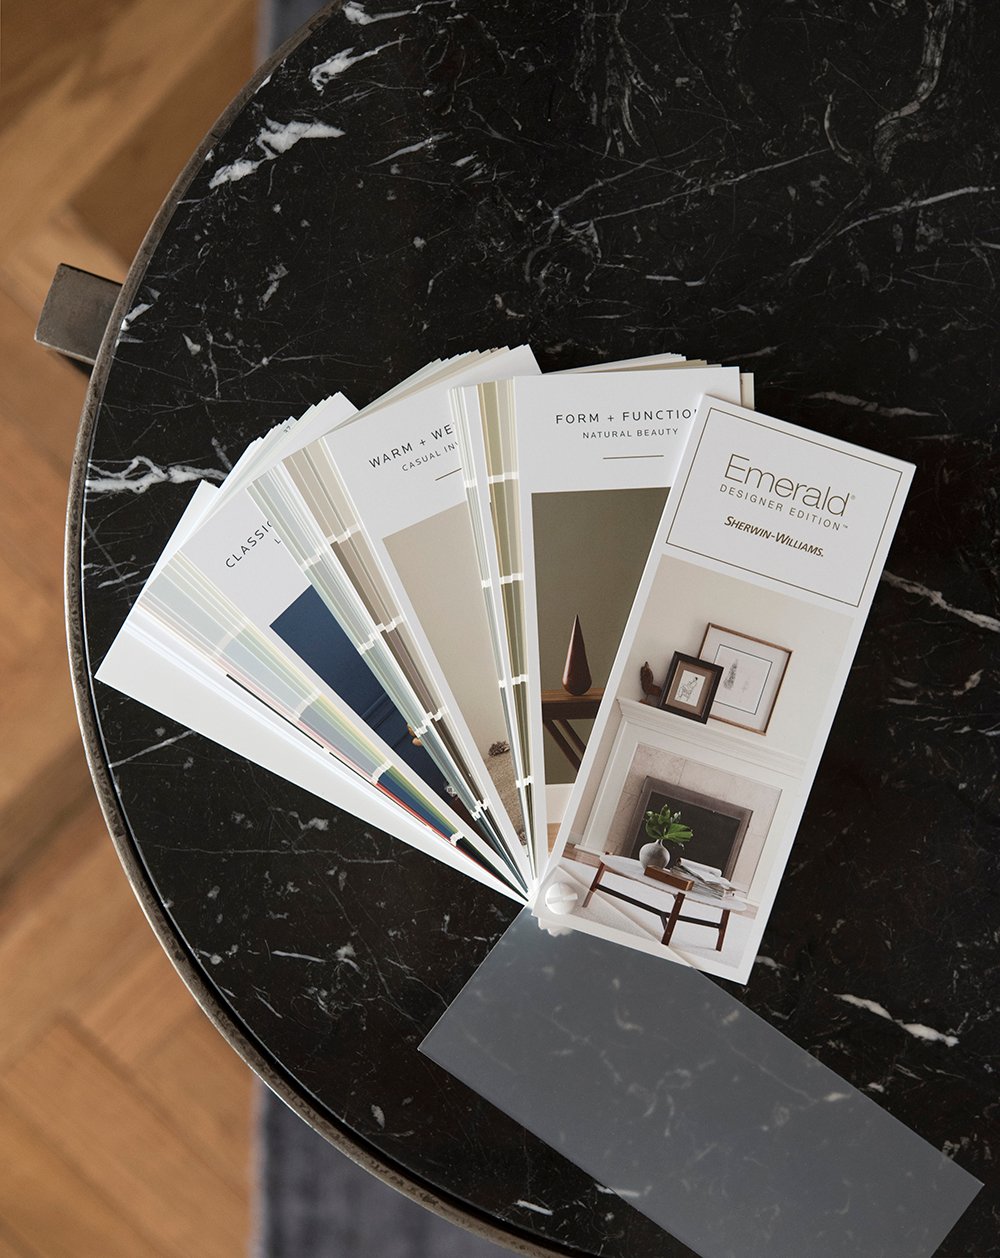
These are widely available to the trade (designers, builders, architects, etc), but anyone can buy one, if you’d like. The pricing is different outside the trade, but here’s a tip… find past editions on eBay or Amazon for tens of dollars, instead of hundreds of dollars.
Great question! Find something that matches and represents your vintage item… example- if you have a vintage wool tapestry, find the same color wool swatch to include in your mood board. Alternatively, you can also print a photo of the vintage item to physically include in the board.
Definitely! There is no size limit. Some of my mood boards just have a few big items… flooring, cabinetry, hardware / plumbing finishes, paint, and that’s it. It totally depends on your project and what’s most helpful to see mapped out.
This is situational. Some of my mood boards are ever evolving til the very end of a project. Something is out of stock or I have to make a decision on the fly and end up tweaking it. Other times it remains the exact same right up to completion.
I hope this post was helpful if you have some big design decisions to make or have a renovation in the works. Let me know if you have any questions or thoughts in the comment section below. Here’s to a great week ahead! I got quite a bit of flooring installed over the weekend and the basement renovation is coming right along. I can’t wait to share more of it with you!
Good morning! Now THIS is my kind of fun! I’ve always loved seeing these images on the blog when you’re designing a space, but I didn’t realize they were a standard practice. Since your tutorial, I’ve tried my hand at a few digital moodboards. Although unsophisticated at best, they were über helpful for my recent bedroom refresh. (An online paint visualizer was key too!) The differences in color on my computer screen is the one downside of digital designing. That’s the genius of your physical moodboards! What’s more fun than receiving bulky envelopes of swatches?! Wallpaper, fabric, flooring…I’ve ordered them all. Ha. Truth be told though, I’ve never designed a room completely in advance. I usually do it all wrong! I paint first because it’s the fastest, cheapest change. Then I slowly build based on available vintage finds. Somewhere in the middle, my vision clarifies. Don’t hate me. 🤣 For my next house, I promise to do better! You know how I do use this sort of physical moodboard activity? Tablescapes! Assembling textiles and mixing dishware, glasses and candles. So exciting and inspiring! (Not that I’m already scheming for Thanksgiving…that would be crazy.) Thanks for this detailed post full of helpful tips (quick orders swatch books from Ebay…)! I always adore peeking into your designer brain. Cheers to a fantastic week, friend!💜
Good morning, Peggi! I should definitely share more mood boards as they’re in progress, it seems. Sometimes I feel like they look messy or are things only my brain can make sense of, but it would probably be fun to see more of that part of the process. You make excellent points about digital mood boards- color reads so differently on screen and I feel like it’s more of a gamble. Often times something shows up and is totally unexpected or amiss, in terms of color of texture. There is no wrong way to design a room! Just embrace whatever process works best for you. I also love your translation of this to tablescapes! Genius. I KNOW you’re already scheming Thanksgiving, ha… and I can’t wait to see what you’ve got up your sleeve this year.
Good morning! This post is helpful and I love the way you’ve broken this down. I am a huge fan of creating a physical mood board of the rooms I tackle. The front room is the only room I’ve ever floor planned first, and I found that helpful as well. I’m not digitally savvy, and I refuse to pay subscriptions for apps, so I’ve found it difficult to do digitally; hand drawn or physical is the jam for me (for now). Your tips on elements to include are a supreme guide that I’ll be referring back to. I also love the tip about taking a photo of it. As I’m writing this I realize I’ve never grouped together any of my samples for the front room; what was I thinking?! I do find that many times when I have a super clear vision in my head, I skip that part- maybe just because I trust myself and the vision, but that’s kind of how the front room has been going. Now that I’m stuck and can’t find the flooring I want, perhaps pulling all of the samples out will be helpful. Other rooms the physical mood board comes before anything else- like our primary bath. Your tip for assembling them on a white tray is fantastic! I know how some of my Monday will be spent, ha! It sounds like you had a fantastically productive weekend, and I can’t wait to see more. Thank you for the helpful tips (and reminders). Cheers to mood boards and Monday!
Hi Lauren! I’m so glad this one was helpful. Mood boards are the best. I’m such a visual person, it’s helpful to see everything together in a dimensional sort of way. You’re right about trusting your vision- some rooms just come together effortlessly and it works- mood board or not. How is the front room coming along? I bet it’s looking beautiful!
Ooh I love a beautifully arranged tactile mood board! Yours for the basement planning is gorgeous. I did one for our last home as it was a new build and we had a whole year of scheming and planning. I would have to say mine was more of a mood bag I dragged around from showroom to showroom as I shopped for all new things. Lol. It was incredible fun and my bag was super heavy with flooring, countertop, kitchen cabinet and tile samples. Not to mention so many fabrics 😍 Our last home was our dream and so much thought, designing and planning went into that house. It was so difficult to leave that home, 15 fabulous years, and amazing memories. This house has been very different experience, aside from the backyard which was our focus. We’ve pretty much making decisions on the fly so no mood boards here. Ha! I’m adoring all your plans though and love seeing all your stunning selections. Super fun!
Hope you had an amazing weekend and you enjoyed your girls night. It sounded like a blast!
Our pottery lesson was super fun and I successfully made three pieces. Yay! I can’t wait to see them. They fire and glaze them so in a couple of weeks we will see our master pieces 🥰
We are actually celebrating Thanksgiving today so the bird is in the oven, pies are made and I better get the table set for later. It’s turned cool, so inside dining it is. I’m sad to hear Cash is back to feeling sick, ugh poor pup. I hope it can be resolved quickly ❤️🩹 Take care and hope you are having a nice Monday! Xoxo
Thank you, Colleen! I can also related to your mood bag- when I was taking lots of client projects, I was always carrying heavy totes. Ha! They’re so handy. Your last home sounds incredible. Some homes are just super special, which makes leaving all the more difficult. You’re making me want to sign up for a pottery class! You’ll have to share photos once your pieces are out of the kiln. I’d love to see. That sounds so fun! Hope you had the best Thanksgiving and enjoyed all the tasty food (I’m craving that pie!!). xo
This is such a fun and creative way to visualize a design project! I love the idea of using a physical mood board to gather inspiration.