How to Create a Design Plan Moodboard in Photoshop
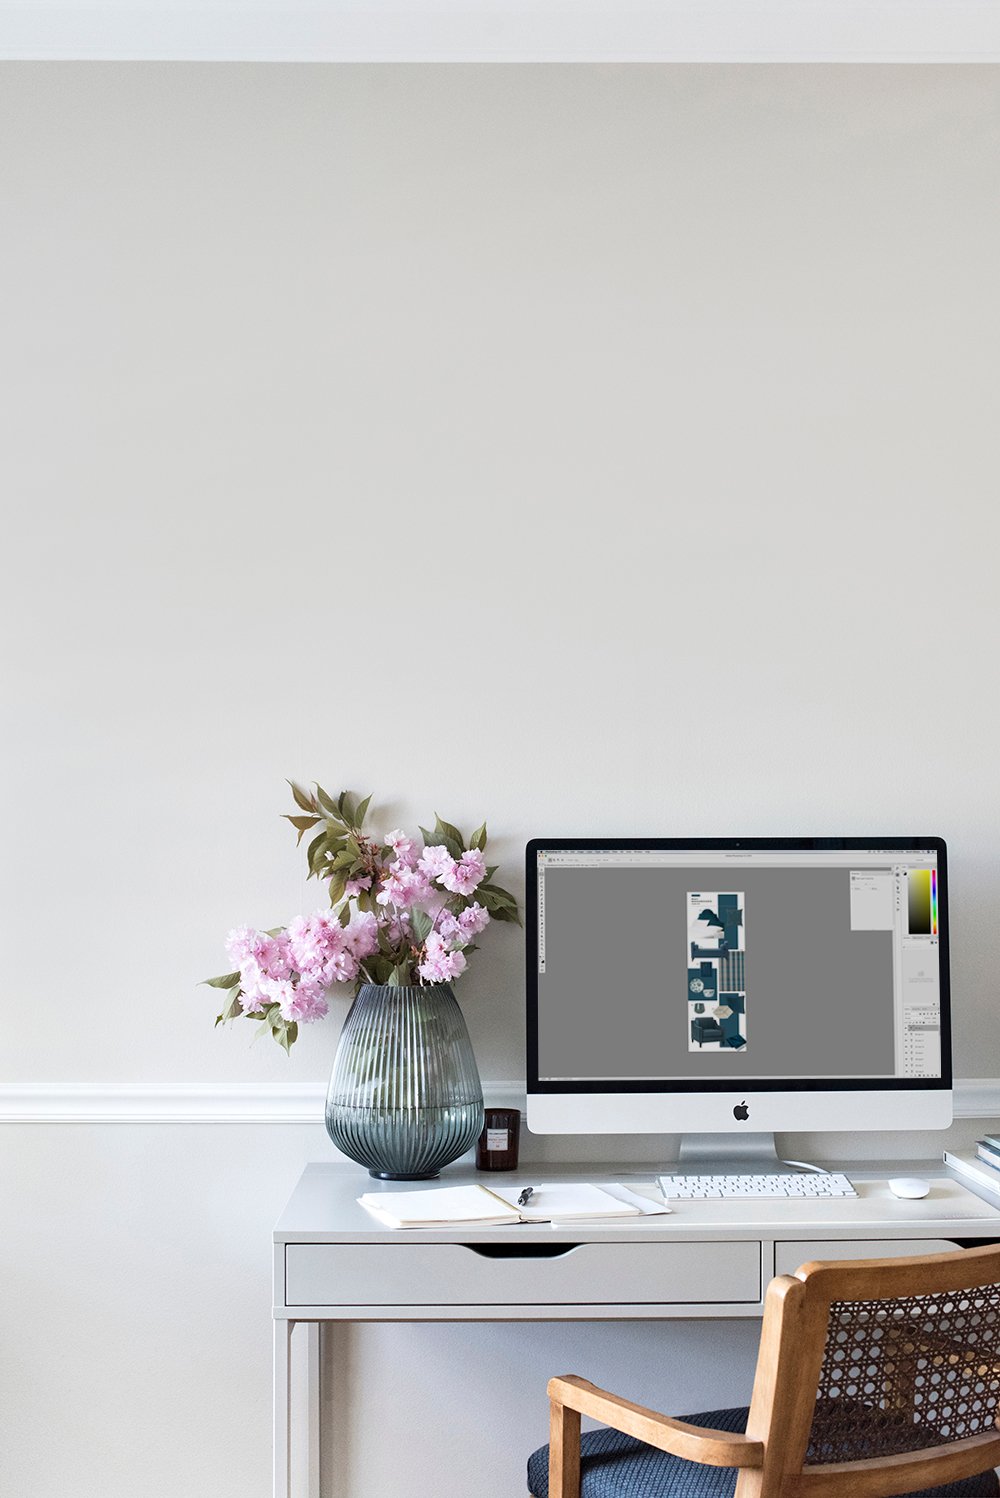
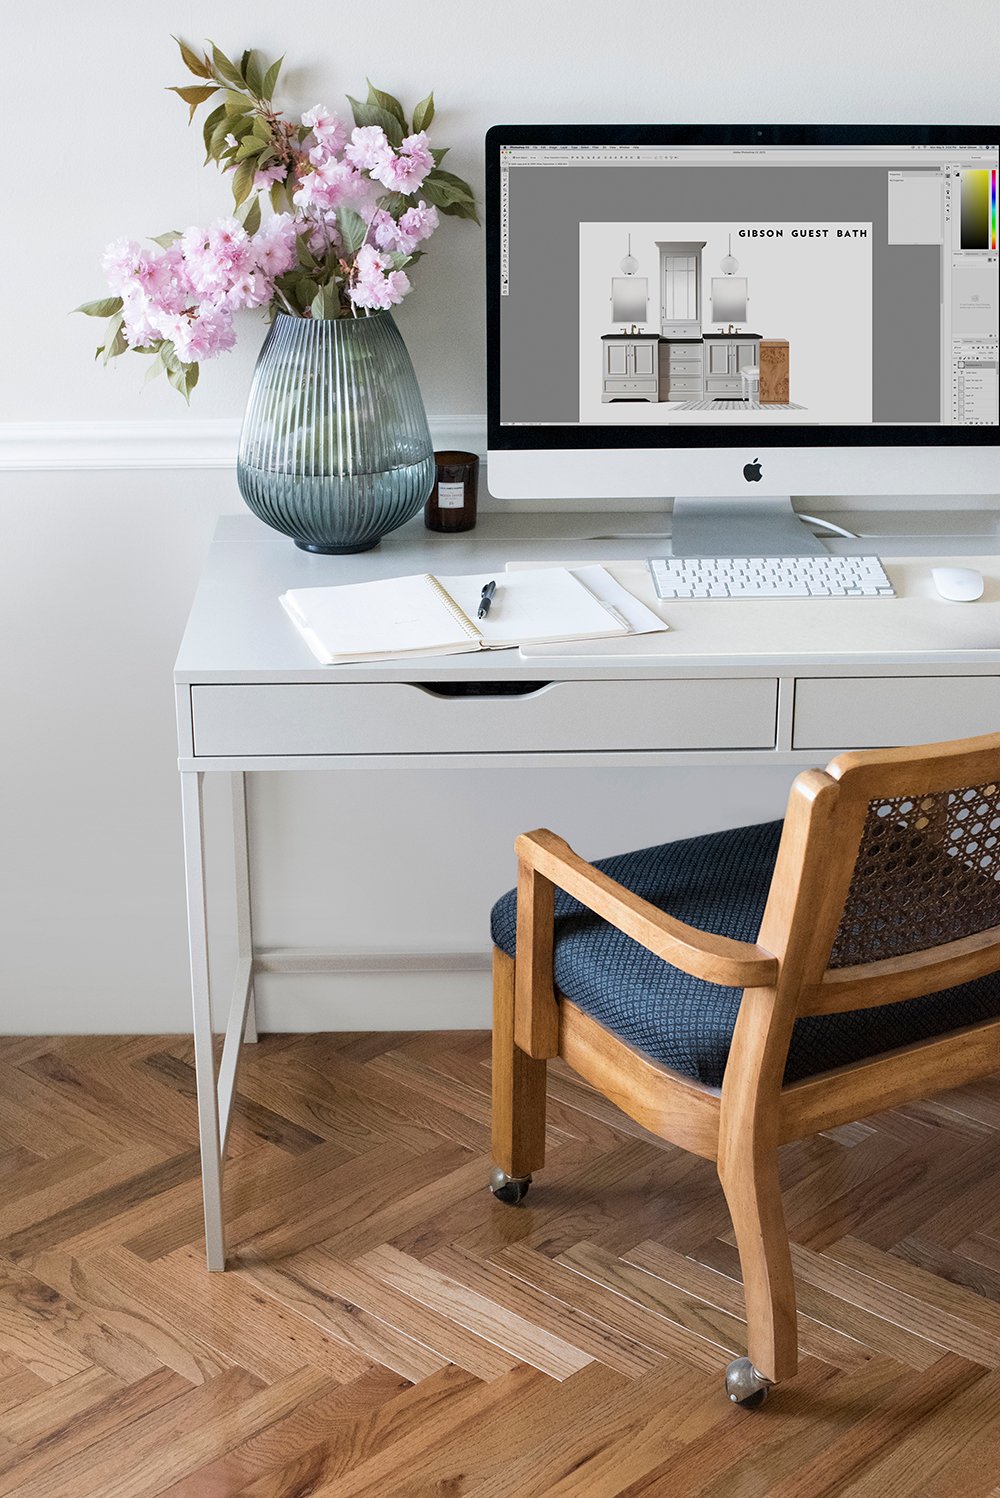 This post was heavily requested and I’m happy I was finally able to check it off the list for you! I don’t claim to be a great teacher (kudos to those of you who are!), but I figured I could at least share my process and the steps I use to create interior visuals in Photoshop. You’ll notice many different types of moodboards here on the blog, but for this post, we’re going to focus on more realistic design plans rather than product collages. Click through to watch my video, process, and learn all about creating a design plan moodboard!
I’ll begin by saying, I’ve been working in photoshop for over 16 years (yikes, that dates me). I also graduated art school with a BFA in graphic design, so I’m very comfortable in Adobe Creative Suite. If you’re just getting started, give yourself some grace and practice, practice, practice. It takes time to learn the ropes and it isn’t the easiest software. I’d consider this tutorial to be rated at a beginner or intermediate level… it’s not complicated, but it does take patience.
 I also get the question why Photoshop for editing and moodboards, rather than something else? It’s not the only software I use, but I’m fast and efficient with it. Simply put… it’s also the best. I don’t use apps for photo editing and every single images that comes from my camera goes through Photoshop before I transfer it to my phone, social media, or blog.
Alright! Ready to get started? This is how I make a design plan moodboard for my room renovations…
Whew! I know that was a long video (thanks to those of you who stuck with me through it), but I wanted to make sure I explained the main concepts and tools. Was it helpful? I really hope so!
 Who else uses and relies on Photoshop often? It’s really a great tool for design AND blogging. Would you like to see any more computer / camera / software tutorials? How I make a collage moodboard? How I edit a photo? Let me know what you want and I’m happy to share if there is enough interest! I know this is more of the backend of the blog, but hopefully some of you find it useful or interesting, at the very least.