
How to Install Window Flower Boxes
If you’ve followed my renovations for a while, you probably remember this curb appeal project. Emmett and I spent two years renovating the inside of our first home in Utah while completely ignoring the front landscaping. Once we finally installed window flower boxes all those years ago, I was hooked. They completely transformed the front of our house and made the whole exterior feel charming. I’ve received many questions about window boxes over the years, so I wanted to update this tutorial with everything I’ve learned. Whether you have a brick home or a different exterior, I’ll walk you through the installation process, share the products we use, and offer a few designer tips to help your window boxes look custom. Click through for a very detailed DIY on how to install your own window flower boxes…
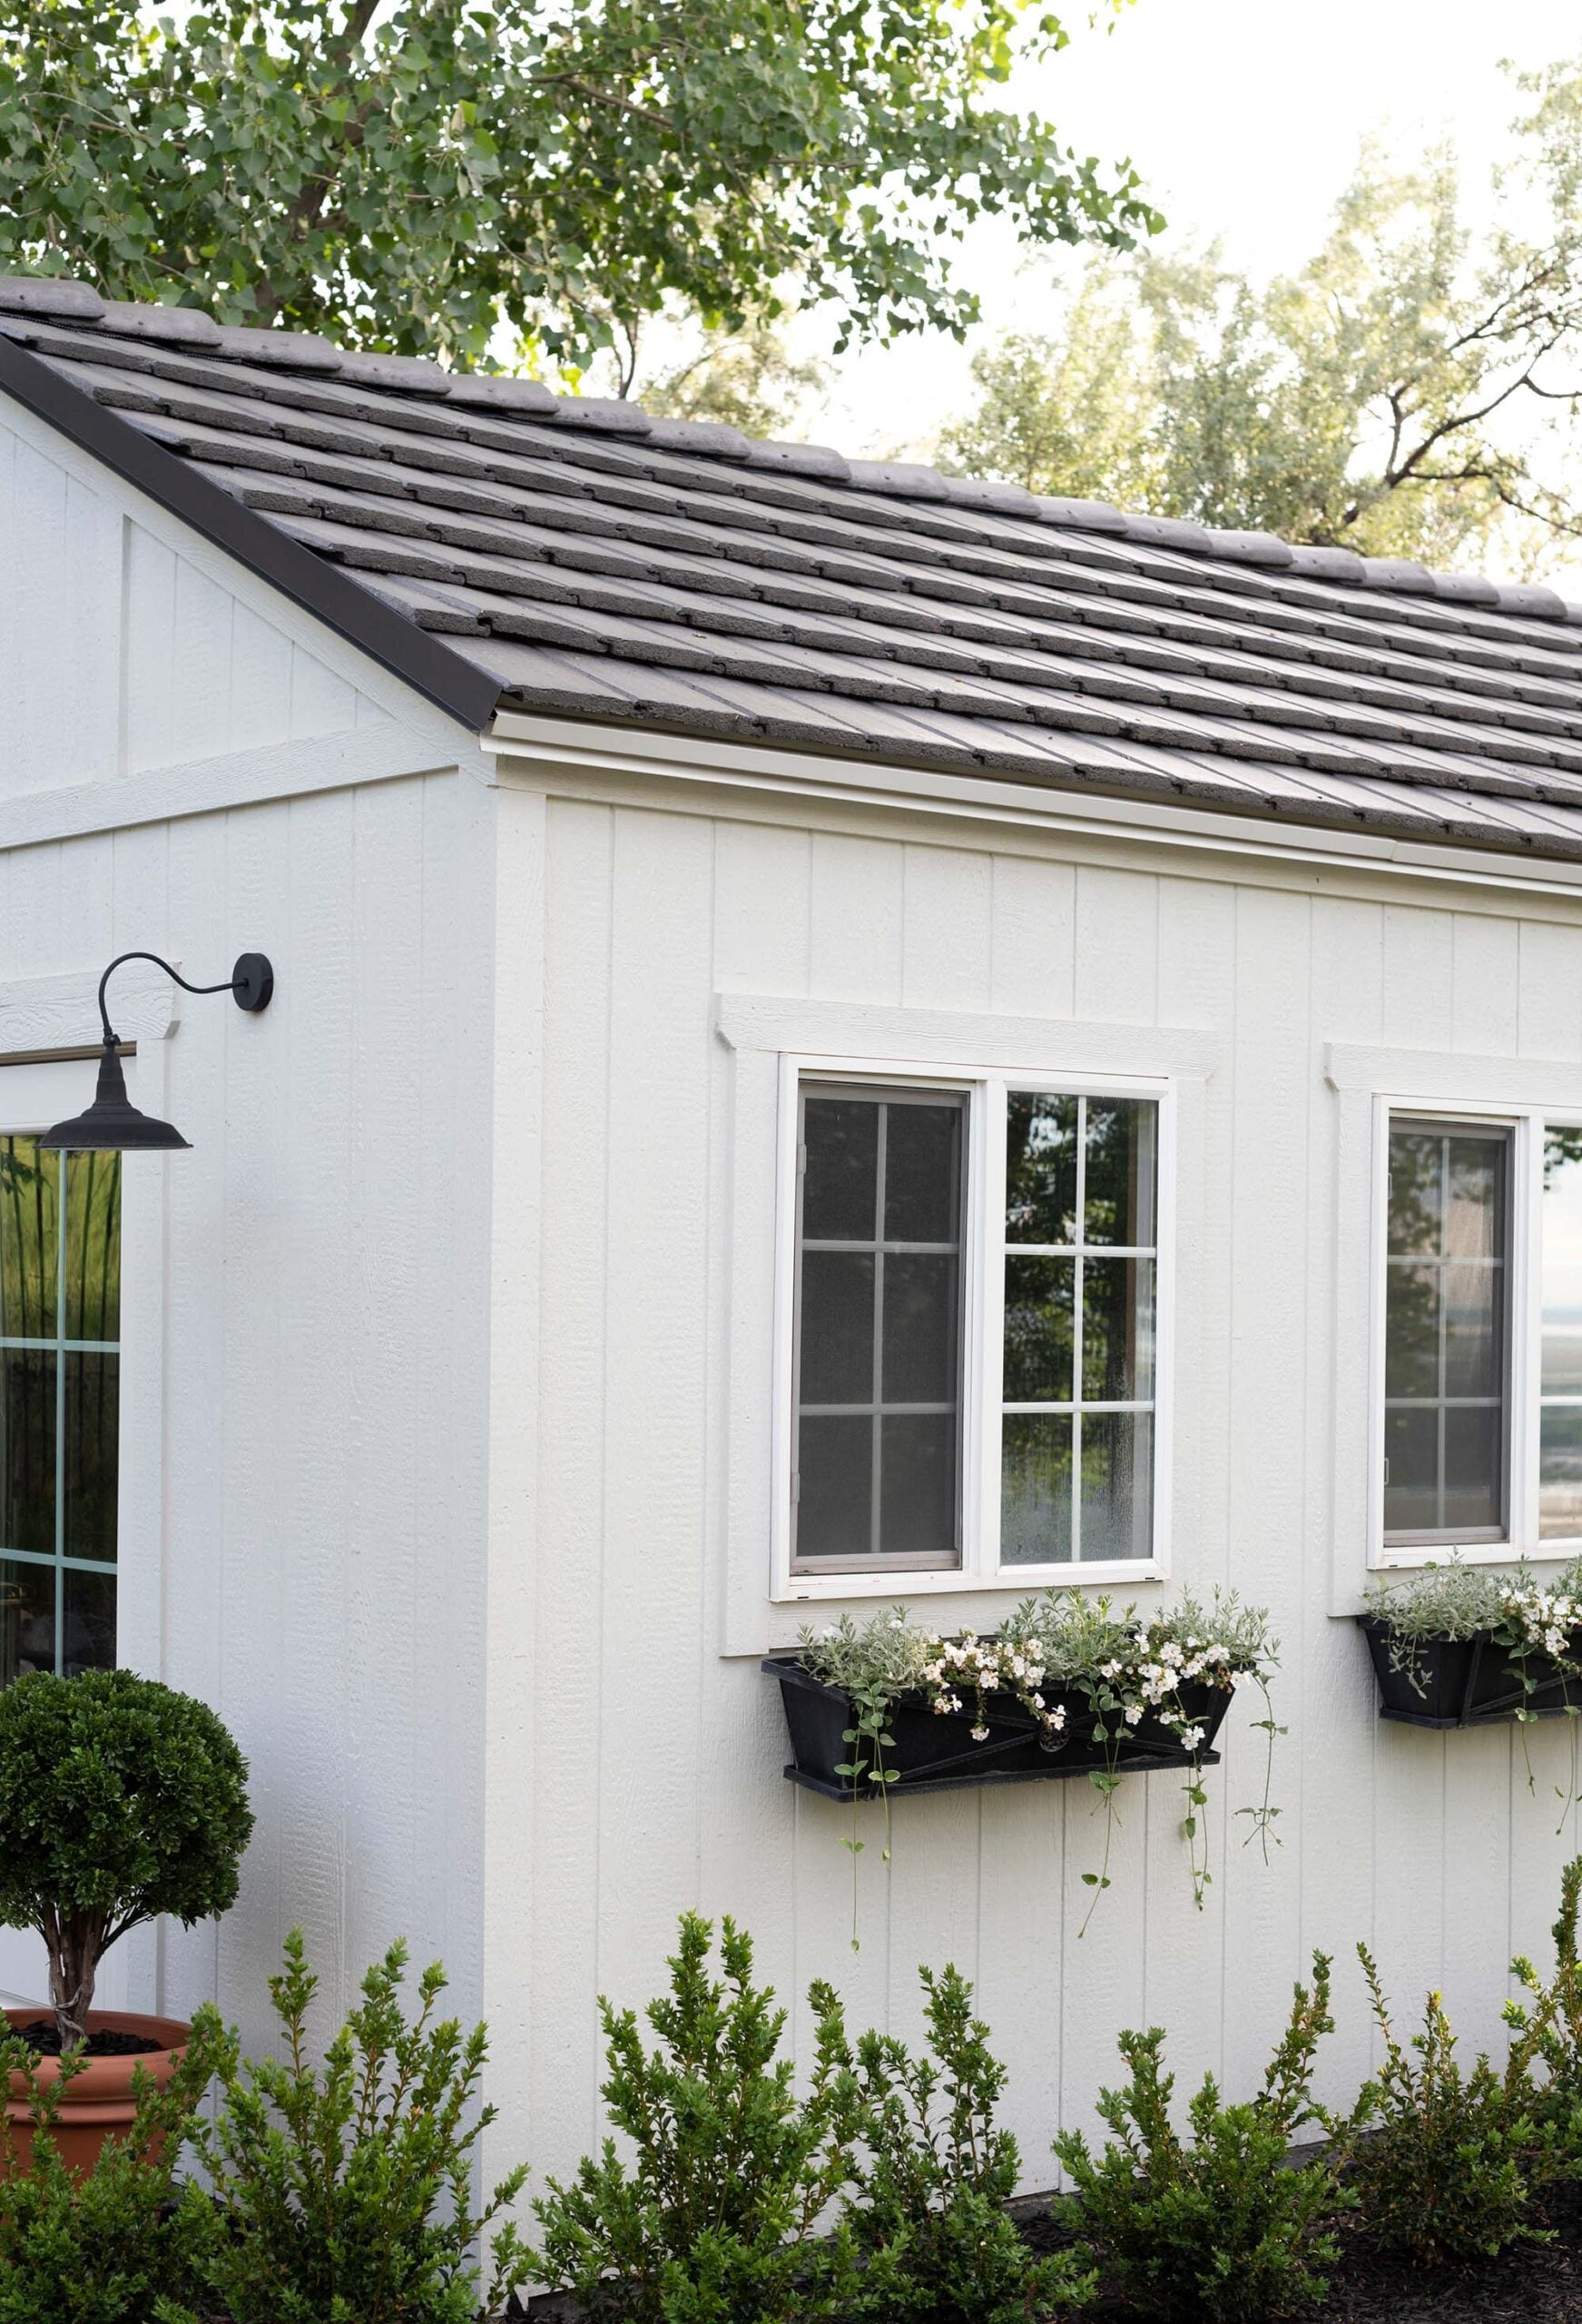
Window boxes are one of the easiest ways to update your home exterior, but if you’re looking for more inspiration- here are 10 curb appeal ideas that make a home look more expensive. Let’s dive into the tutorial…
Why Window Flower Boxes Are Worth It
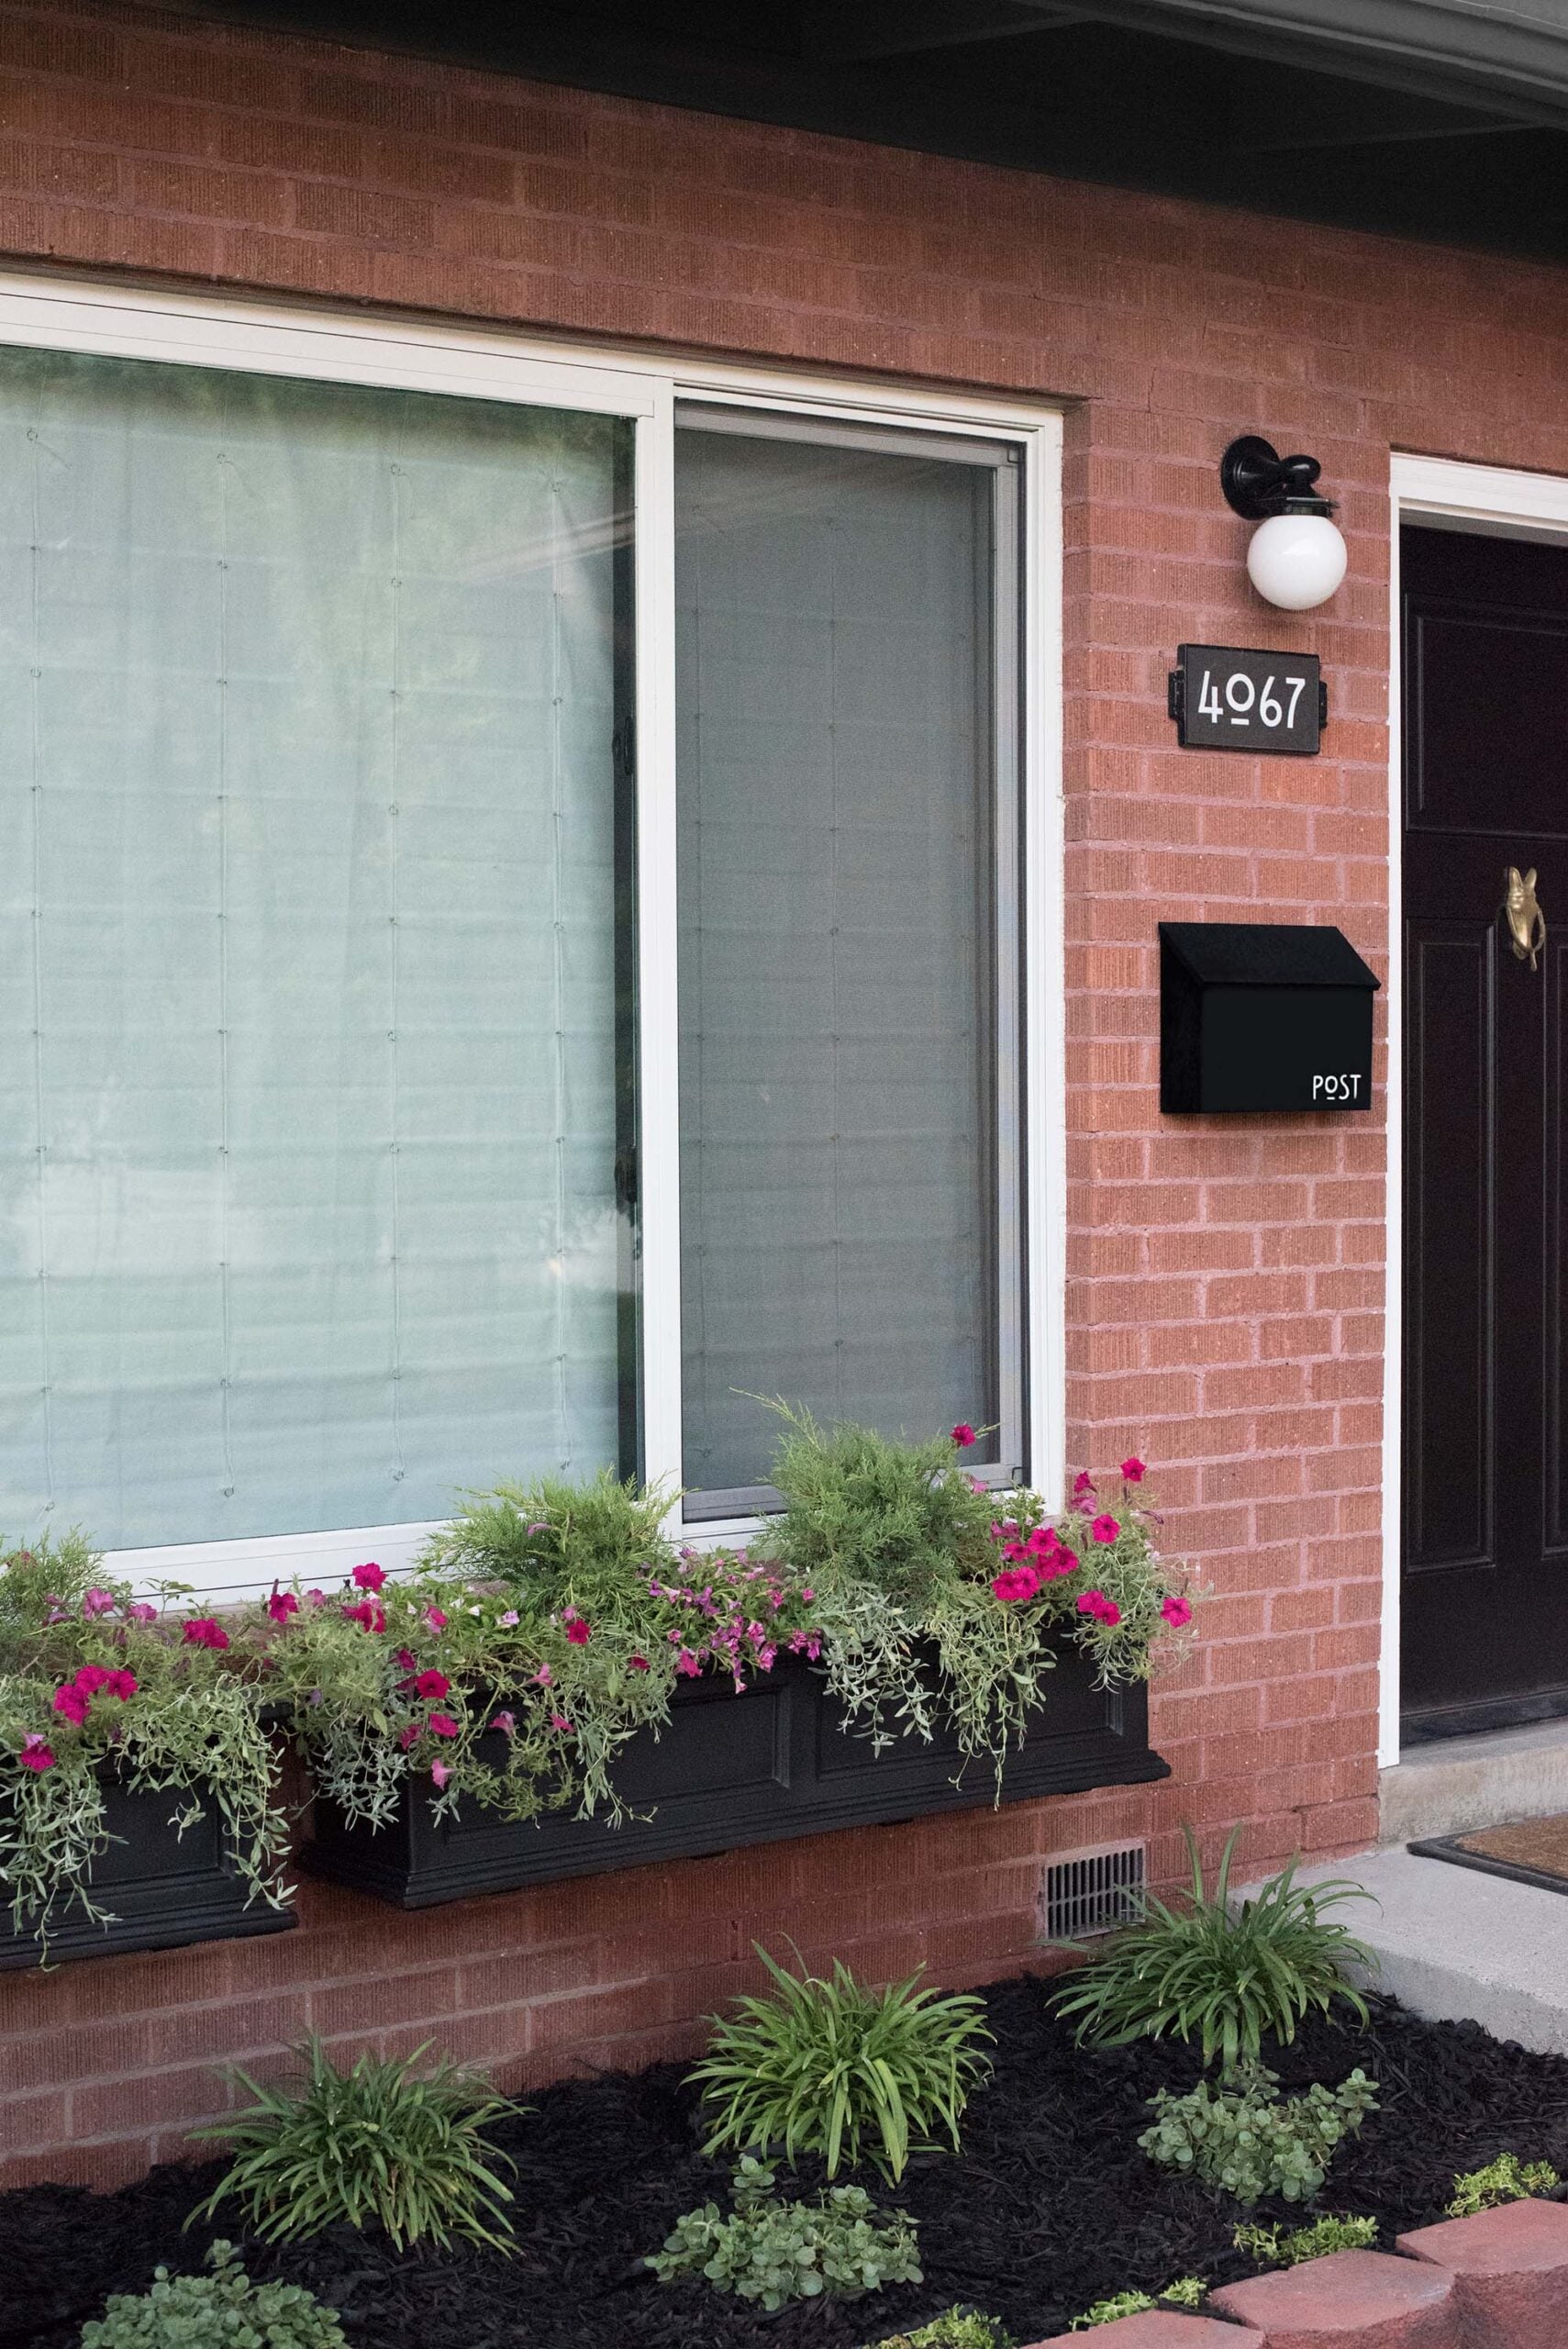
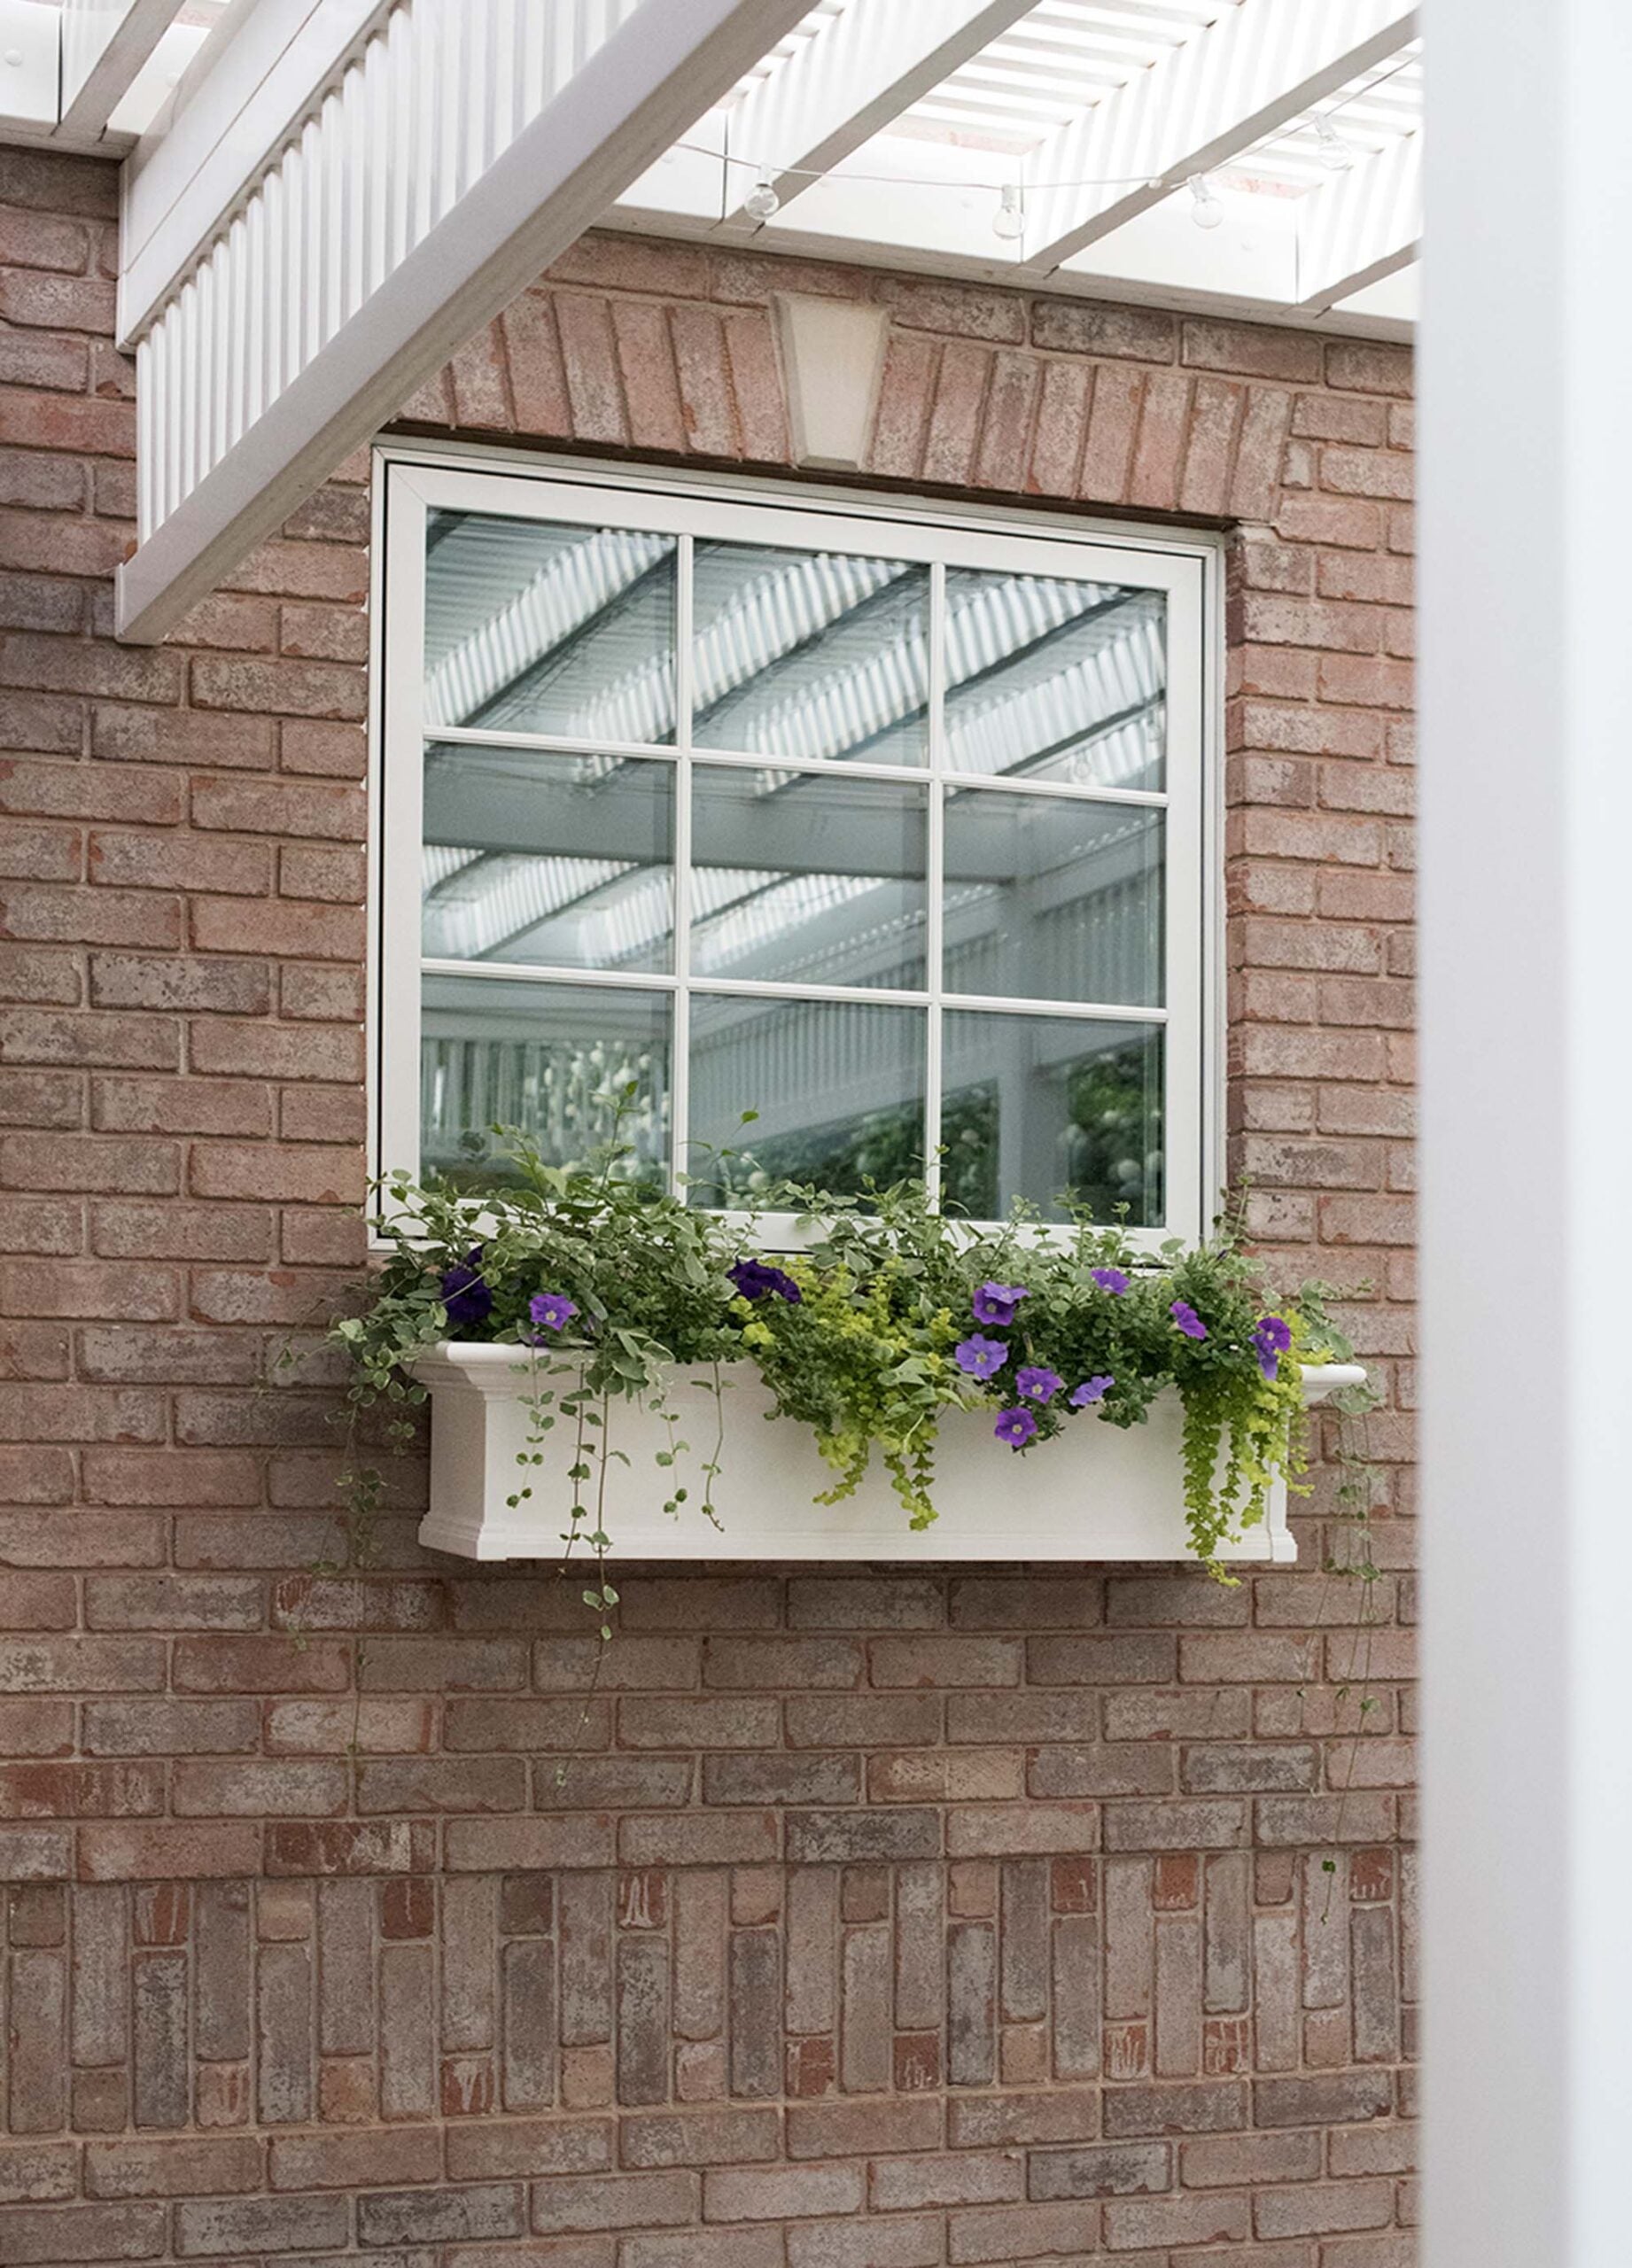
I’ve always loved homes with window flower boxes. They add charm, soften hard architectural lines, and instantly make a house feel more welcoming. Even before they’re planted, they create depth and dimension that flat facades often lack… and they work well with any architectural aesthetic- even our old mid century rambler (pictured above).
Supplies & Tools
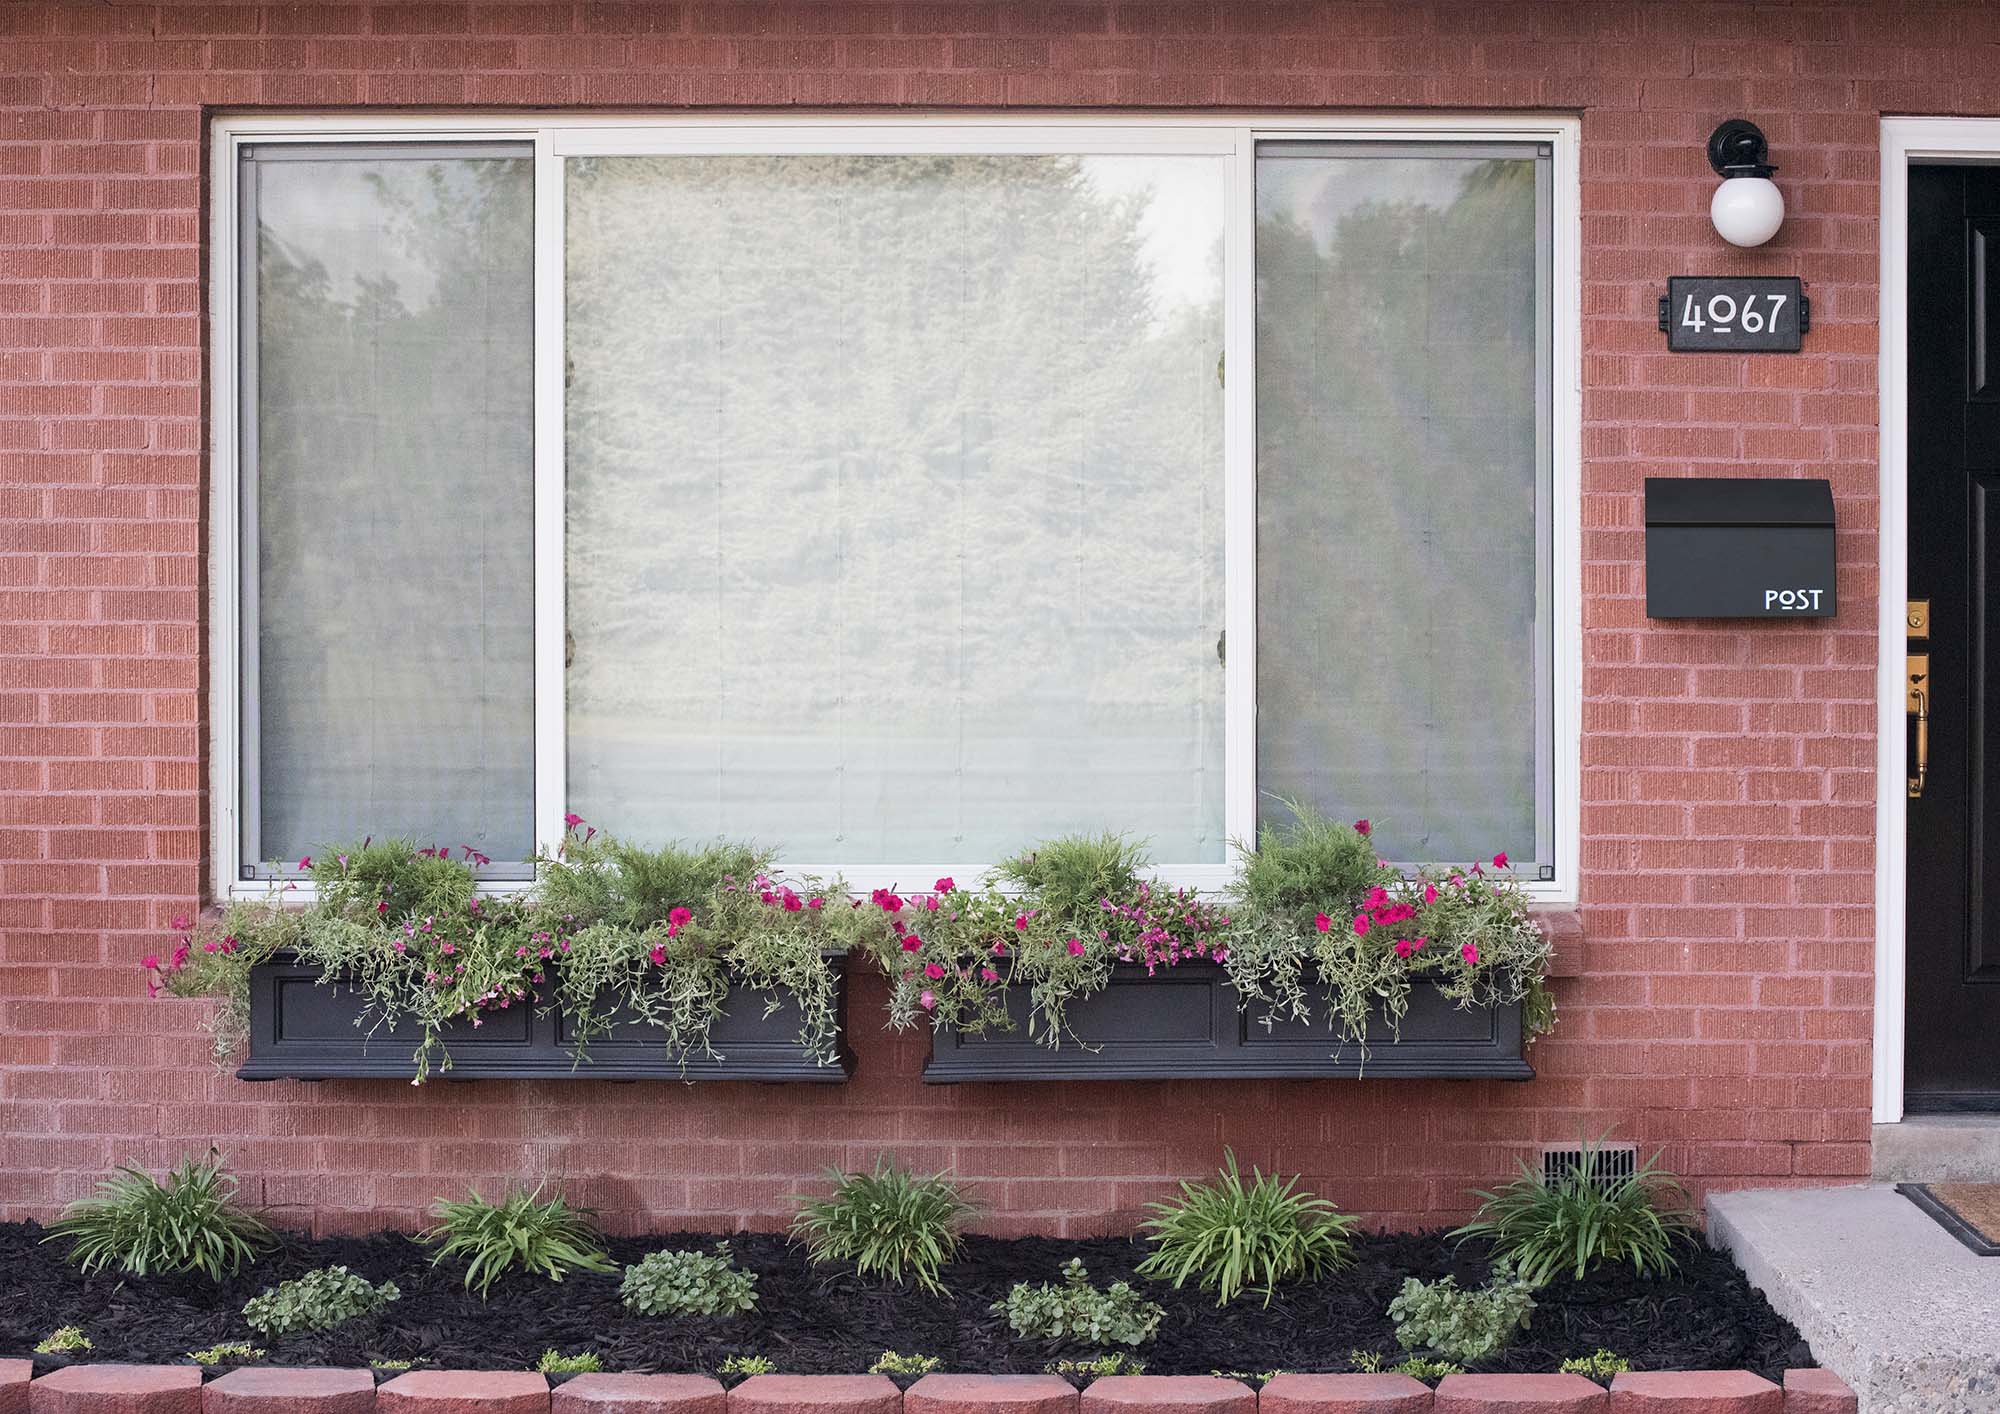
You’ll only need a handful of materials for this project. Here is everything we used to install these window boxes:
- Self watering window box
- Measuring tape
- Pressure treated lumber for the build out (if needed)
- Tapcon masonry screws
- Impact Driver
- 9 inch level
- Box beam level
- Raised bed soil
- Vermiculite
- Miter saw
- Non biodegradable packing peanuts
- Flowers and plants of your choice
How to Install Window Flower Boxes
Step 1: Build Out the Lower Support (If Needed)
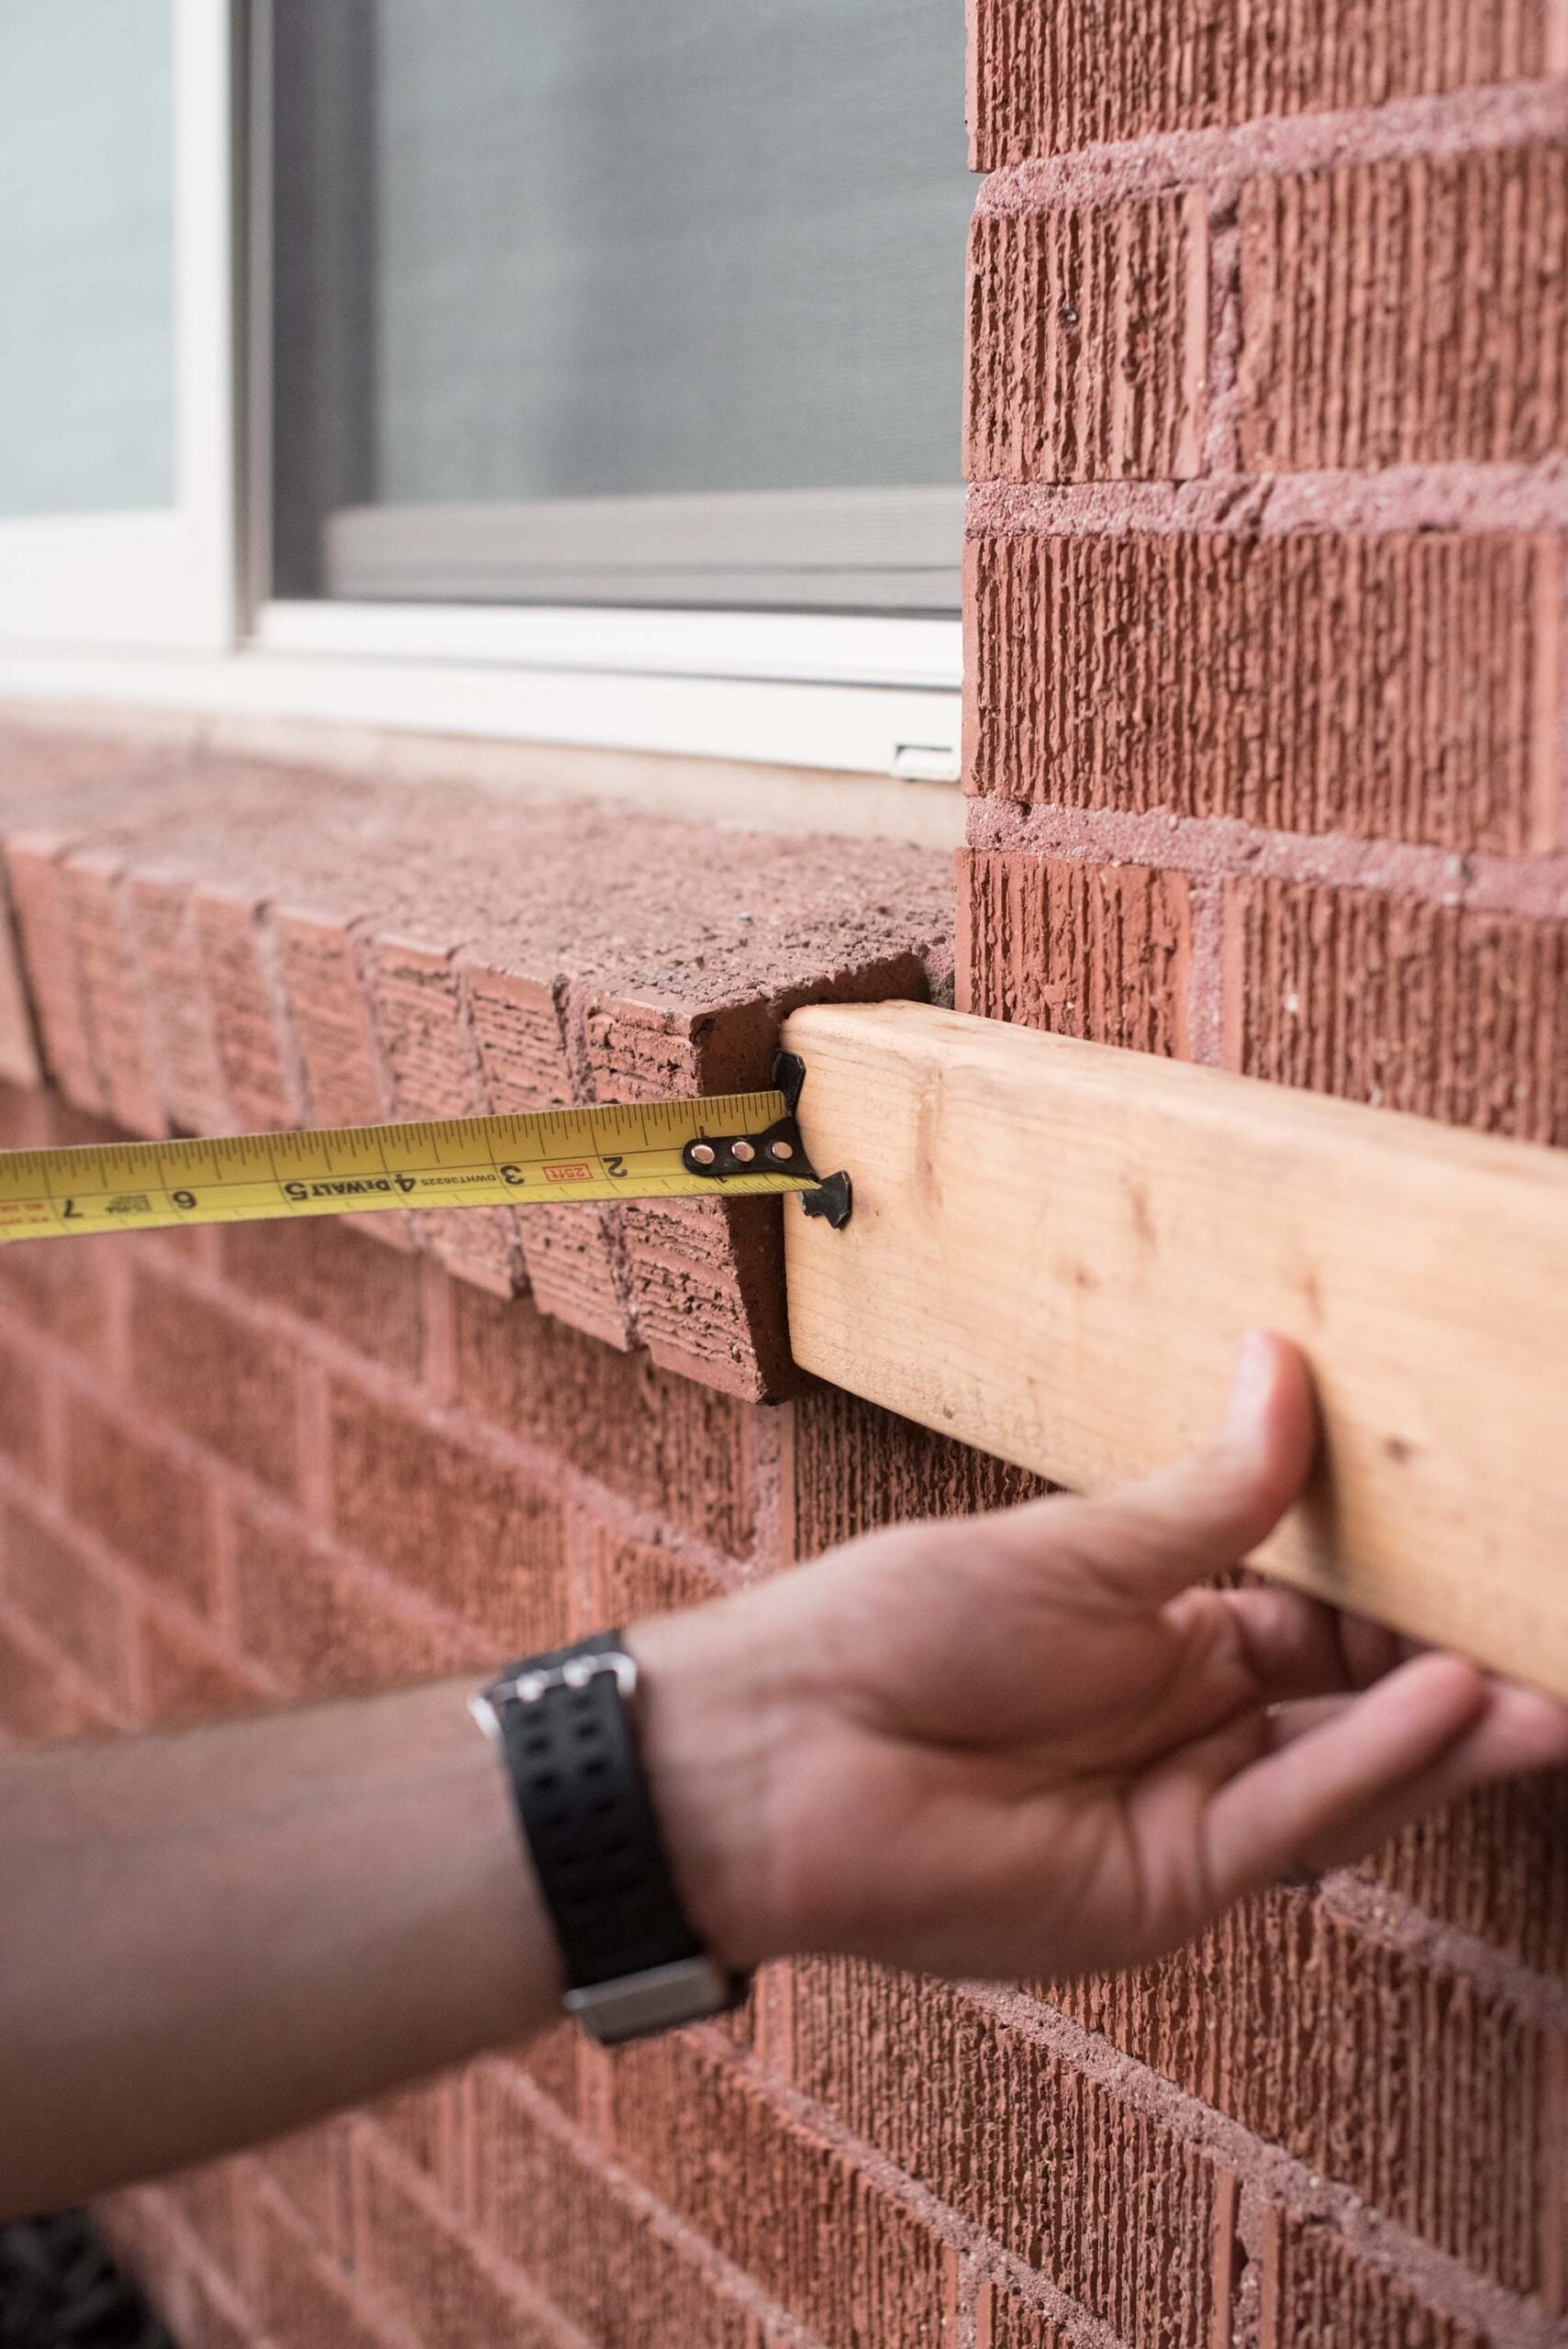
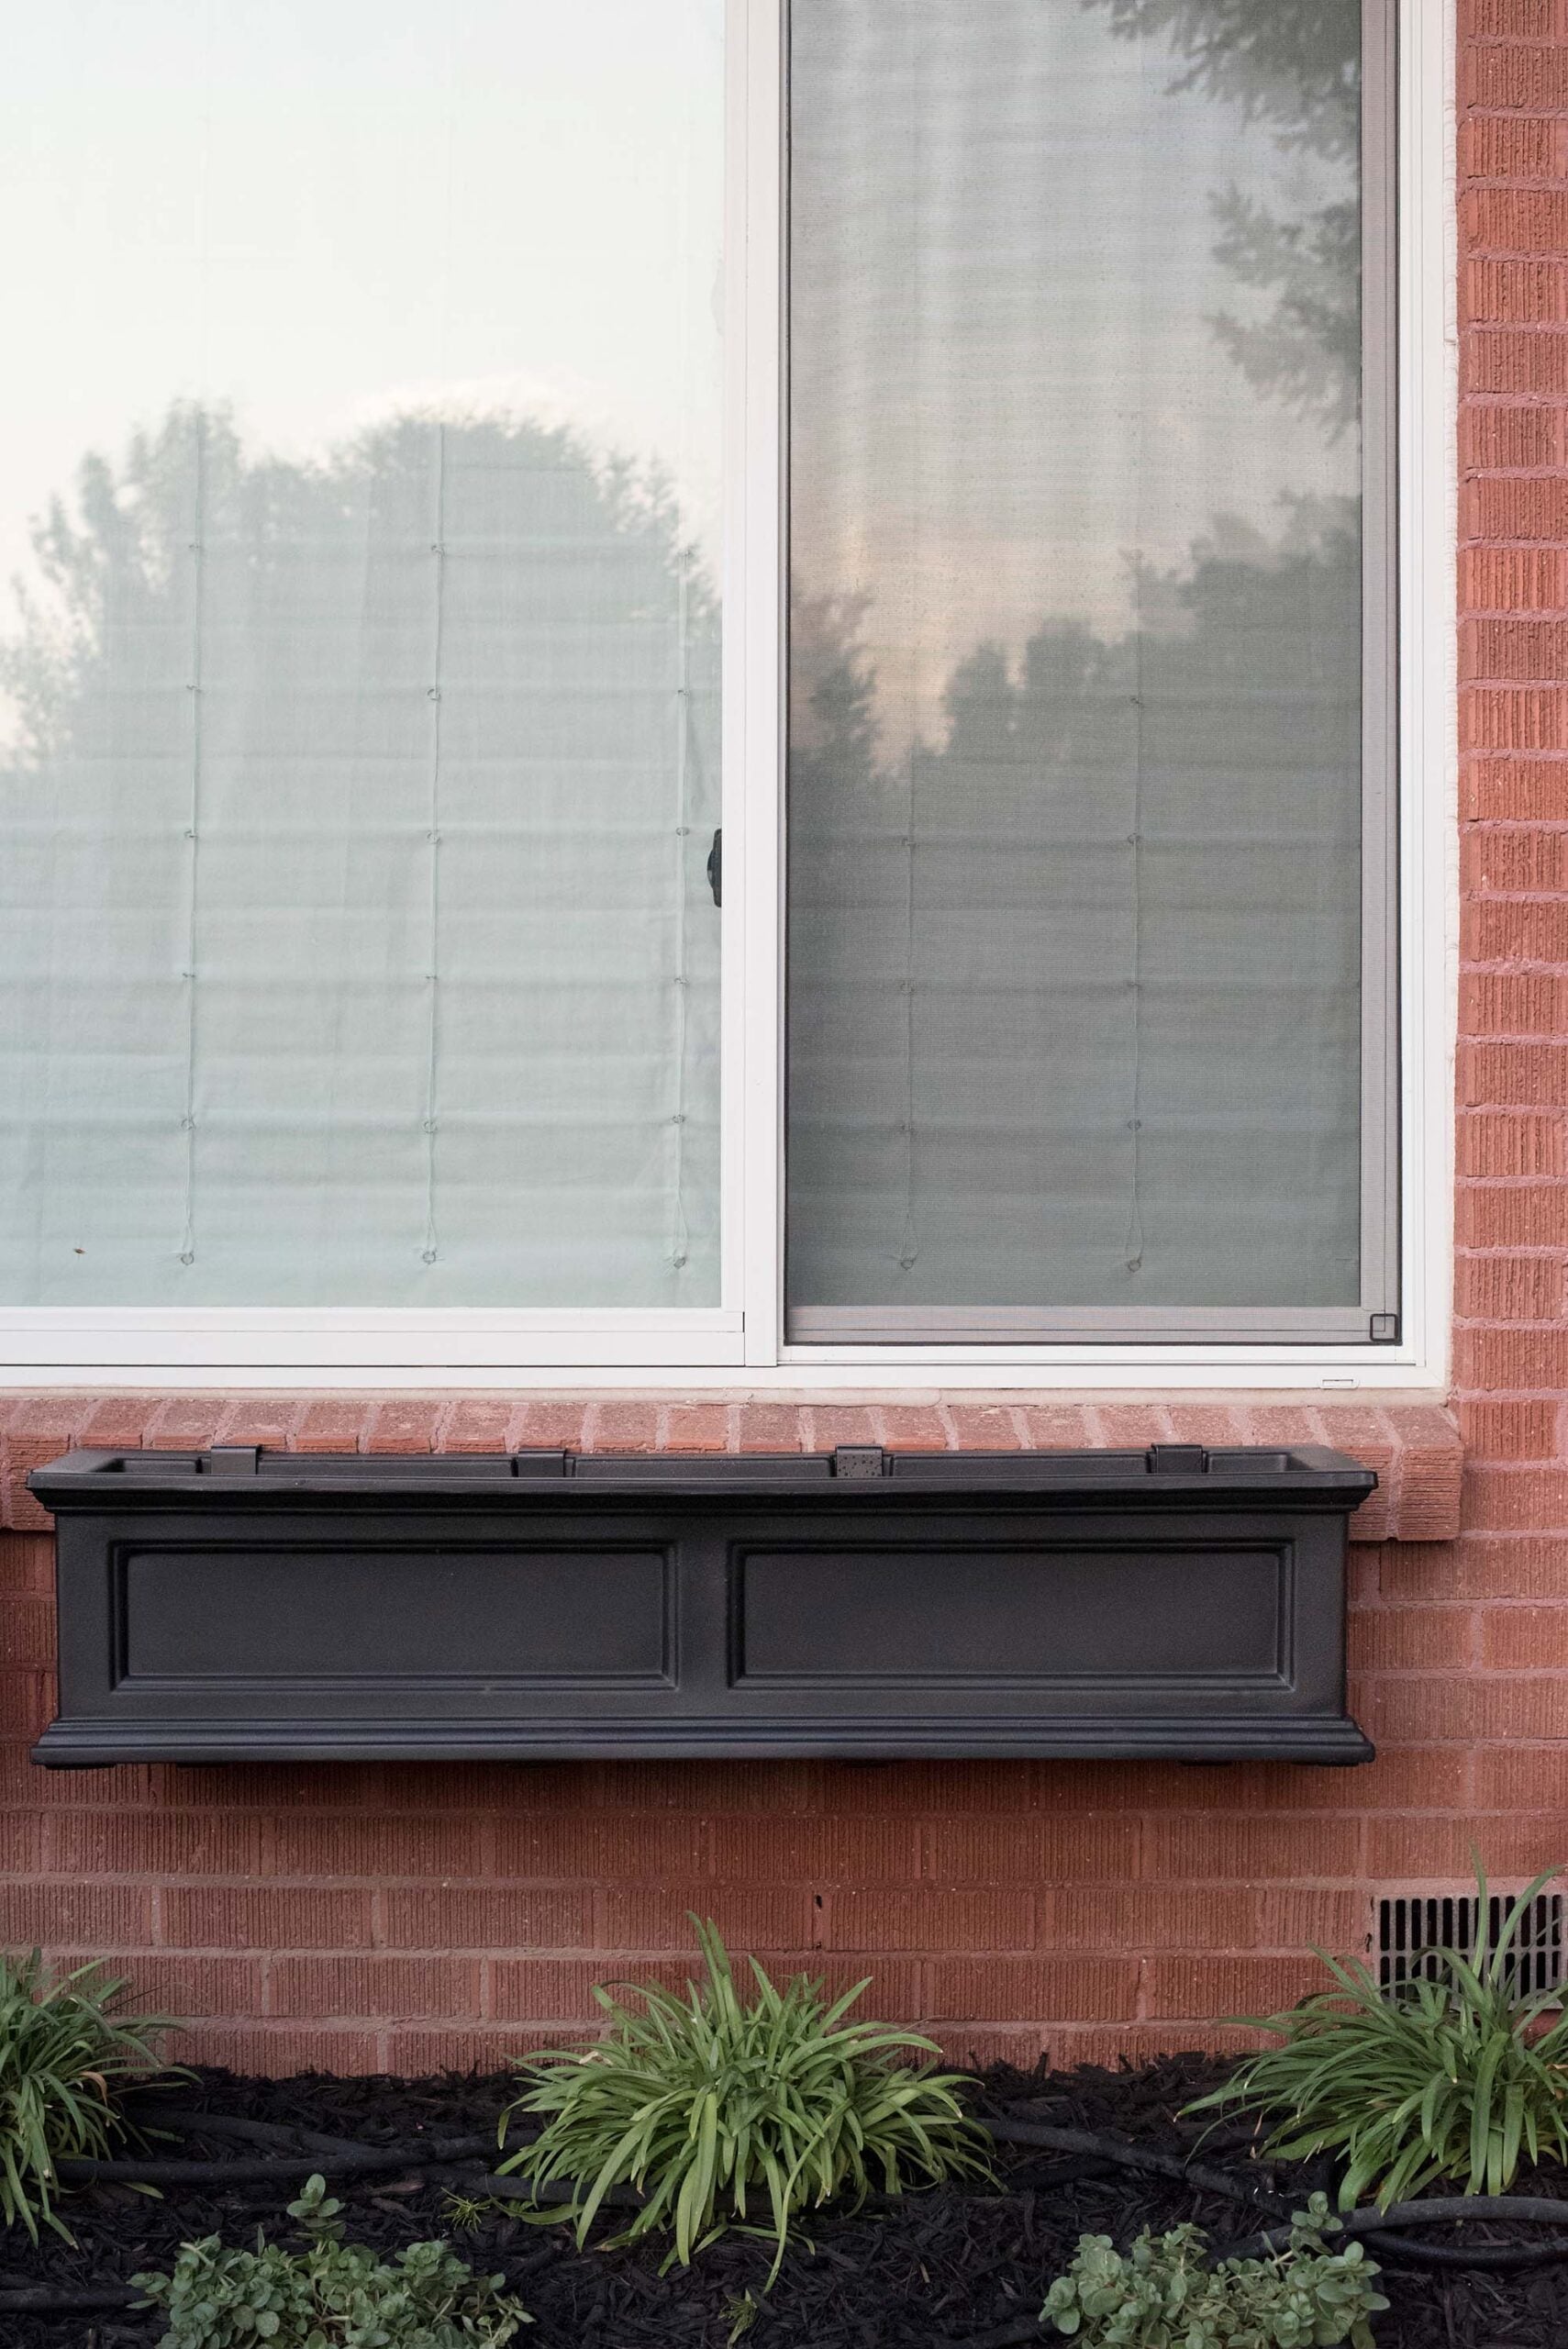
Our installation was unique because our brick exterior had protruding window ledges. I wanted the boxes to sit closer to the window instead of hanging awkwardly below the ledge, so we built out the lower support until it was flush. If your home doesn’t have projecting ledges, you can skip this extra step.
Step 2: Cut the Blocking
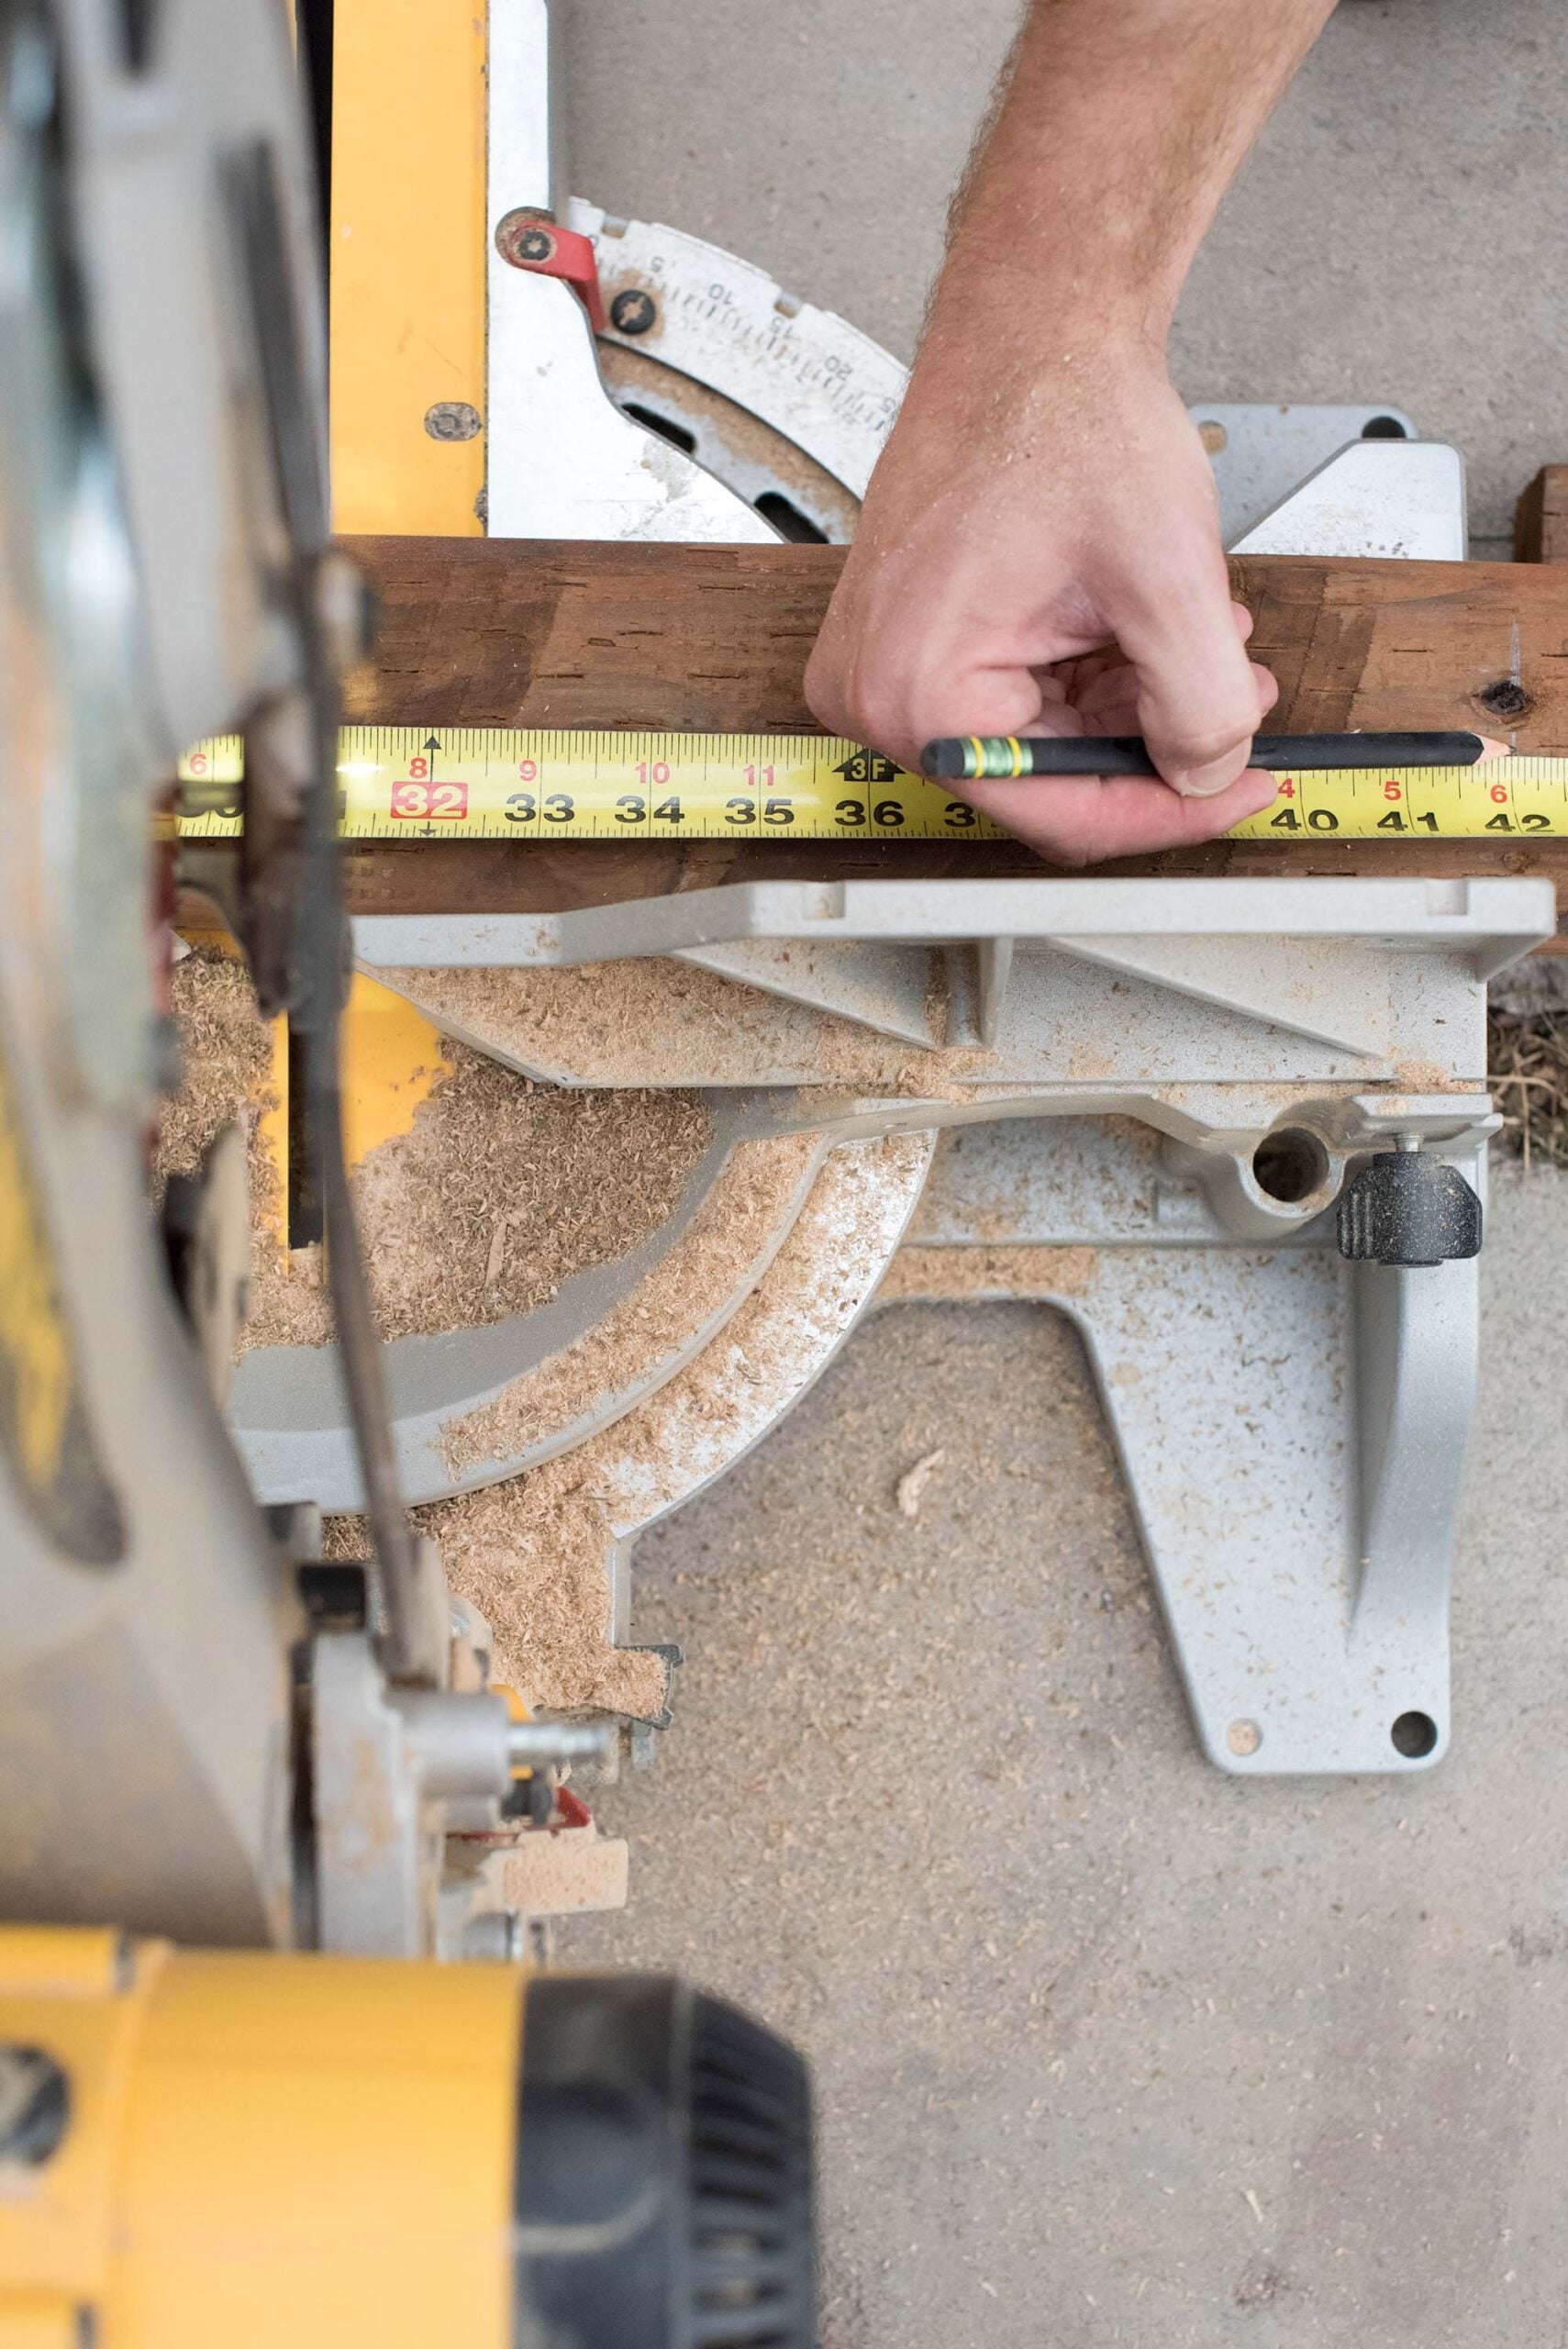
Measure the distance between your end brackets and cut the blocking slightly longer than that measurement. Leaving an extra inch or so makes alignment easier.
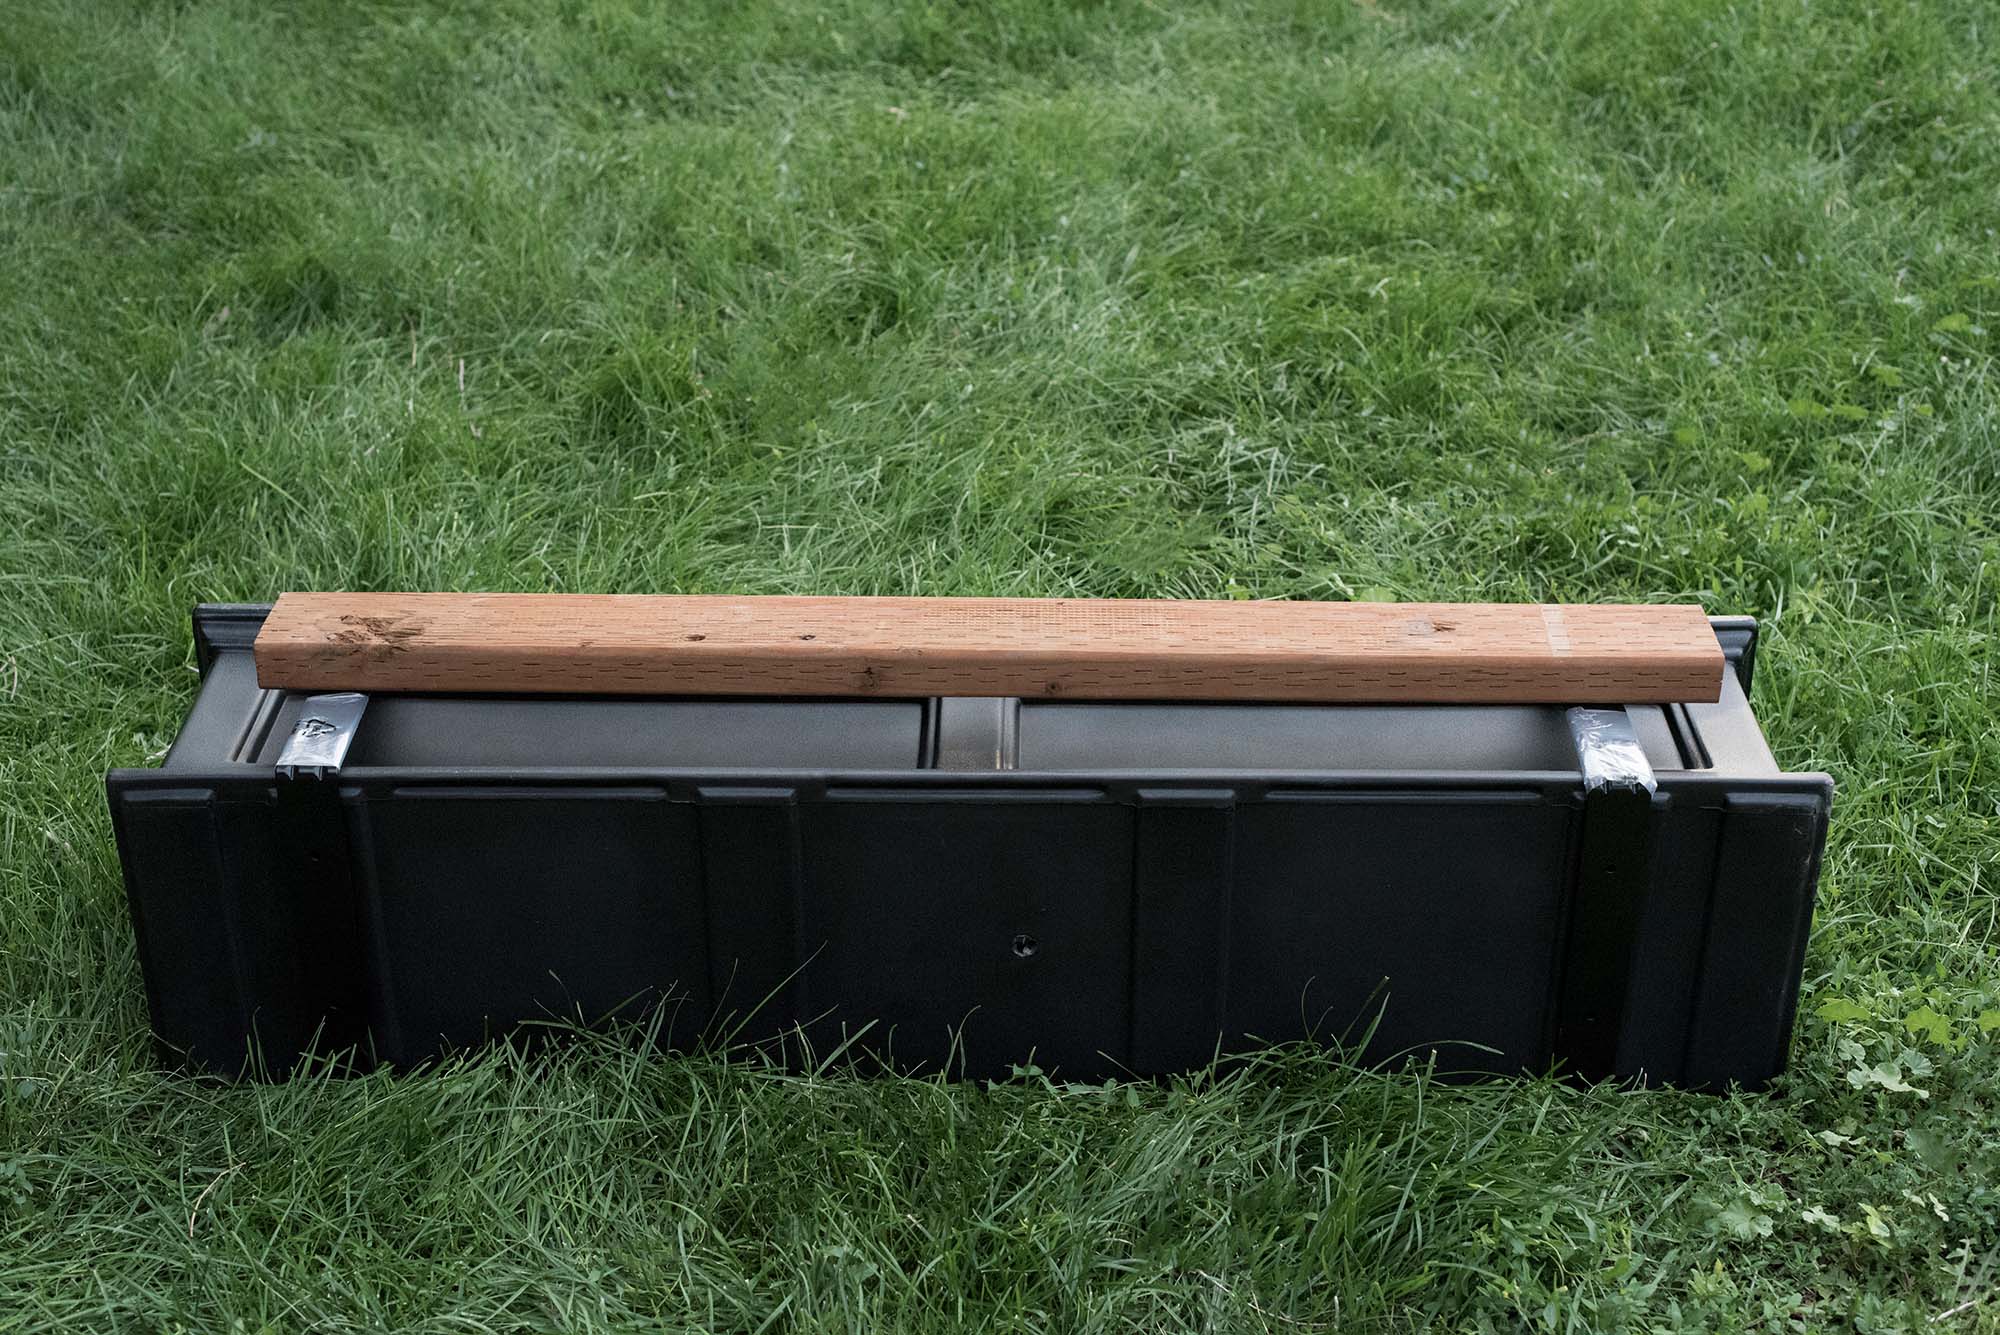
The above photo shows the outcome after the board was cut to size. Notice it’s a bit longer than the bracket width.
Step 3: Check the Depth and Level
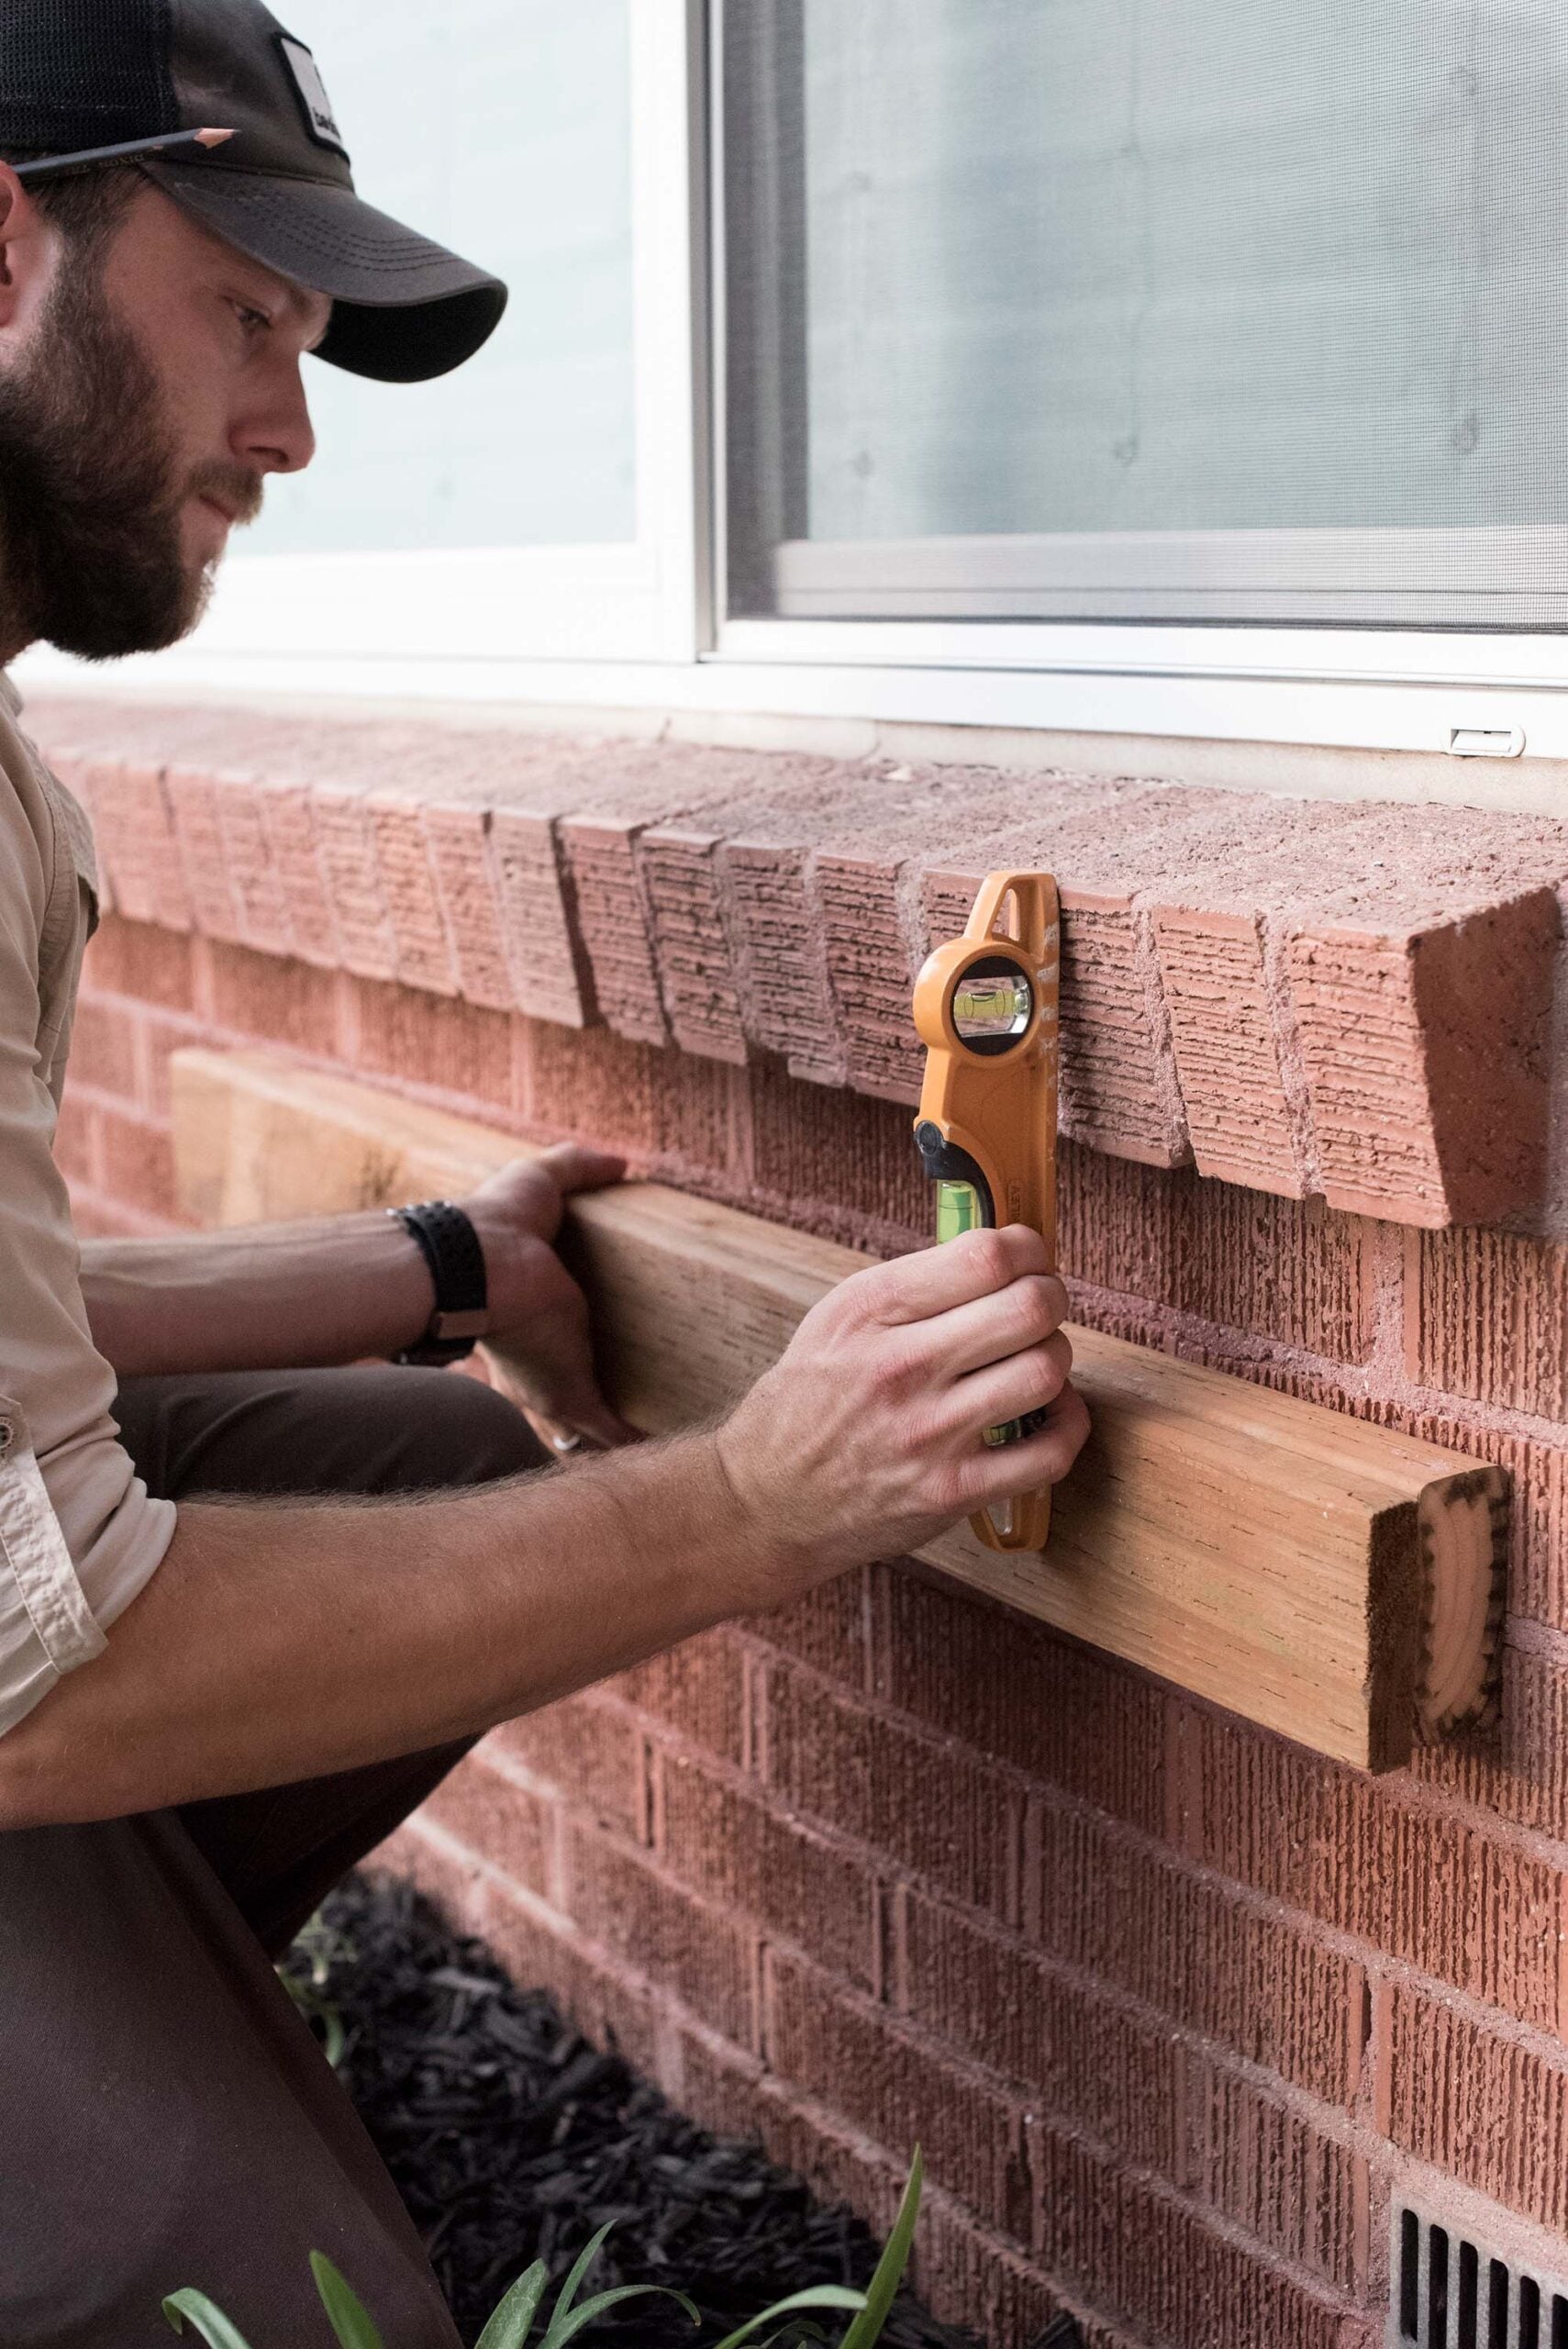
If your window ledge is wider like ours, you’ll need to rip a 2×4 to build out the bottom support so it’s flush with the ledge (that’s what we measured for in Step 1). Before mounting anything permanently, make sure the support sits flush with the window ledge and is perfectly level. This small adjustment ensures the finished window box hangs straight. Again- if you don’t have a window ledge, this step isn’t necessary.
Step 4: Measure and Mark the Placement
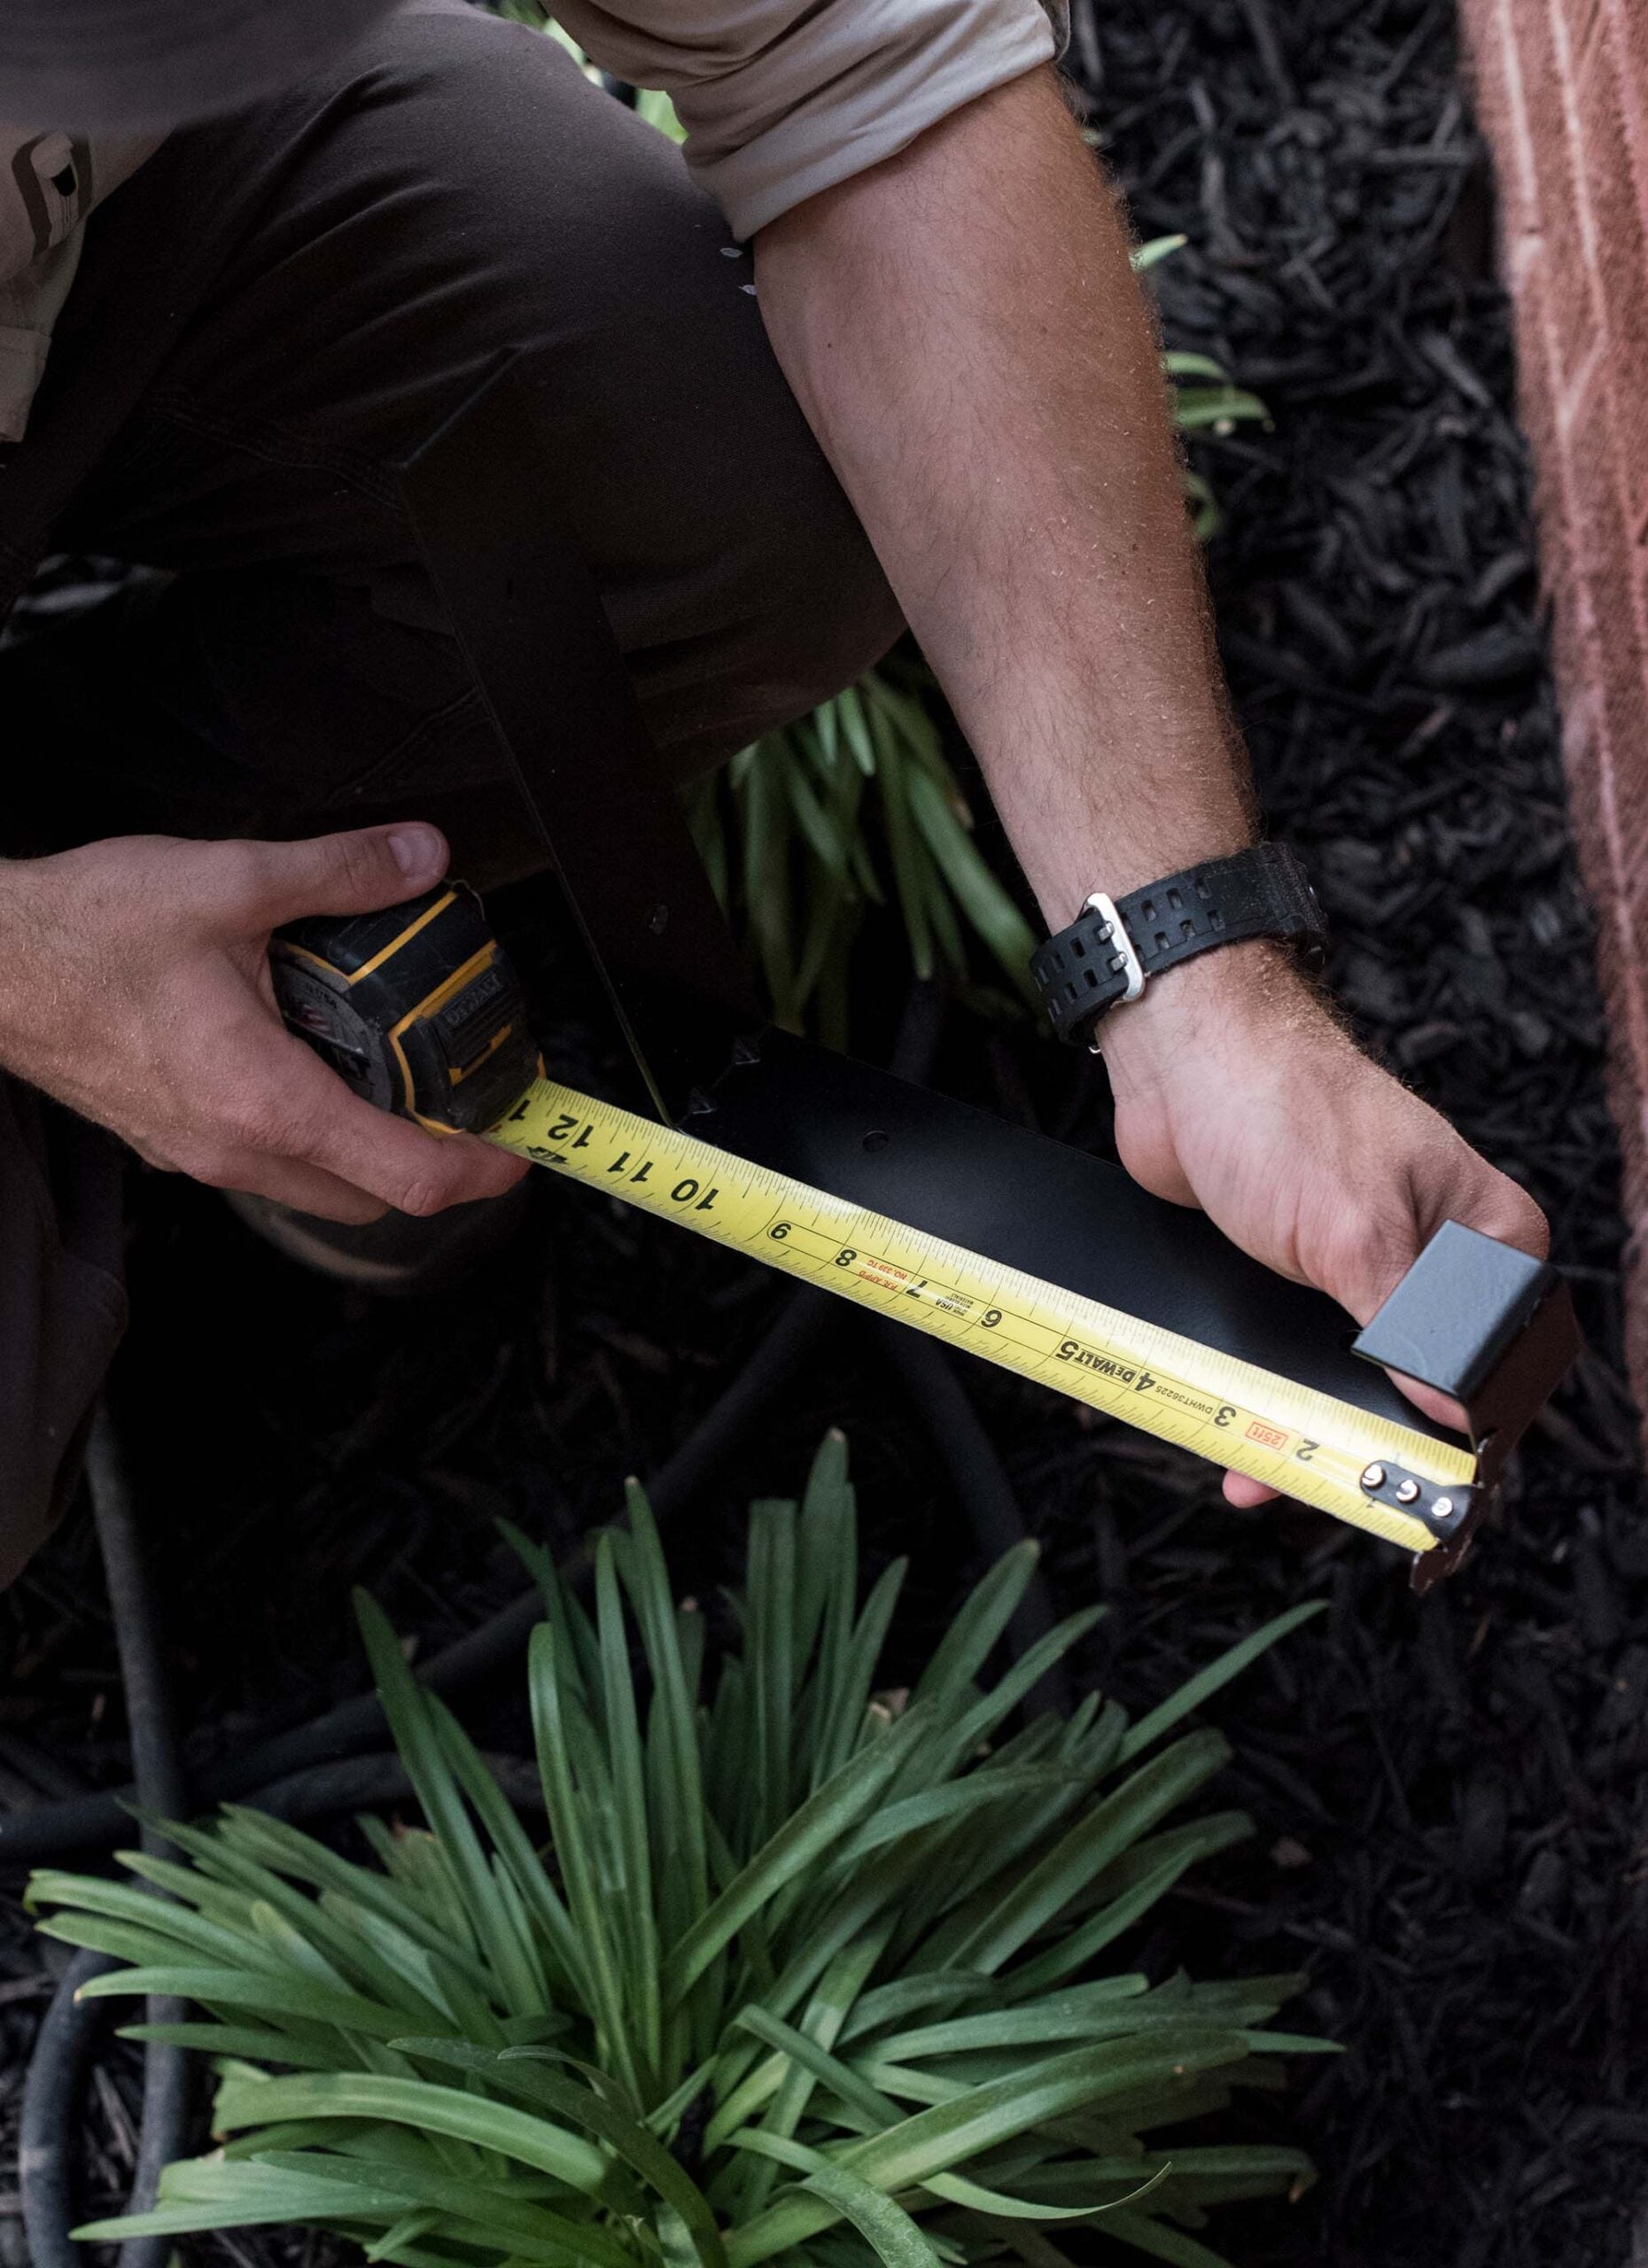
Measure the distance from the top of your bracket to the bottom screw hole. Measure that same distance down from where you want the top of the flower box on the house. This is where the center of your build-out will mount to the exterior. Taking a few extra minutes here saves a lot of frustration later.
Step 5: Drill the First Hole
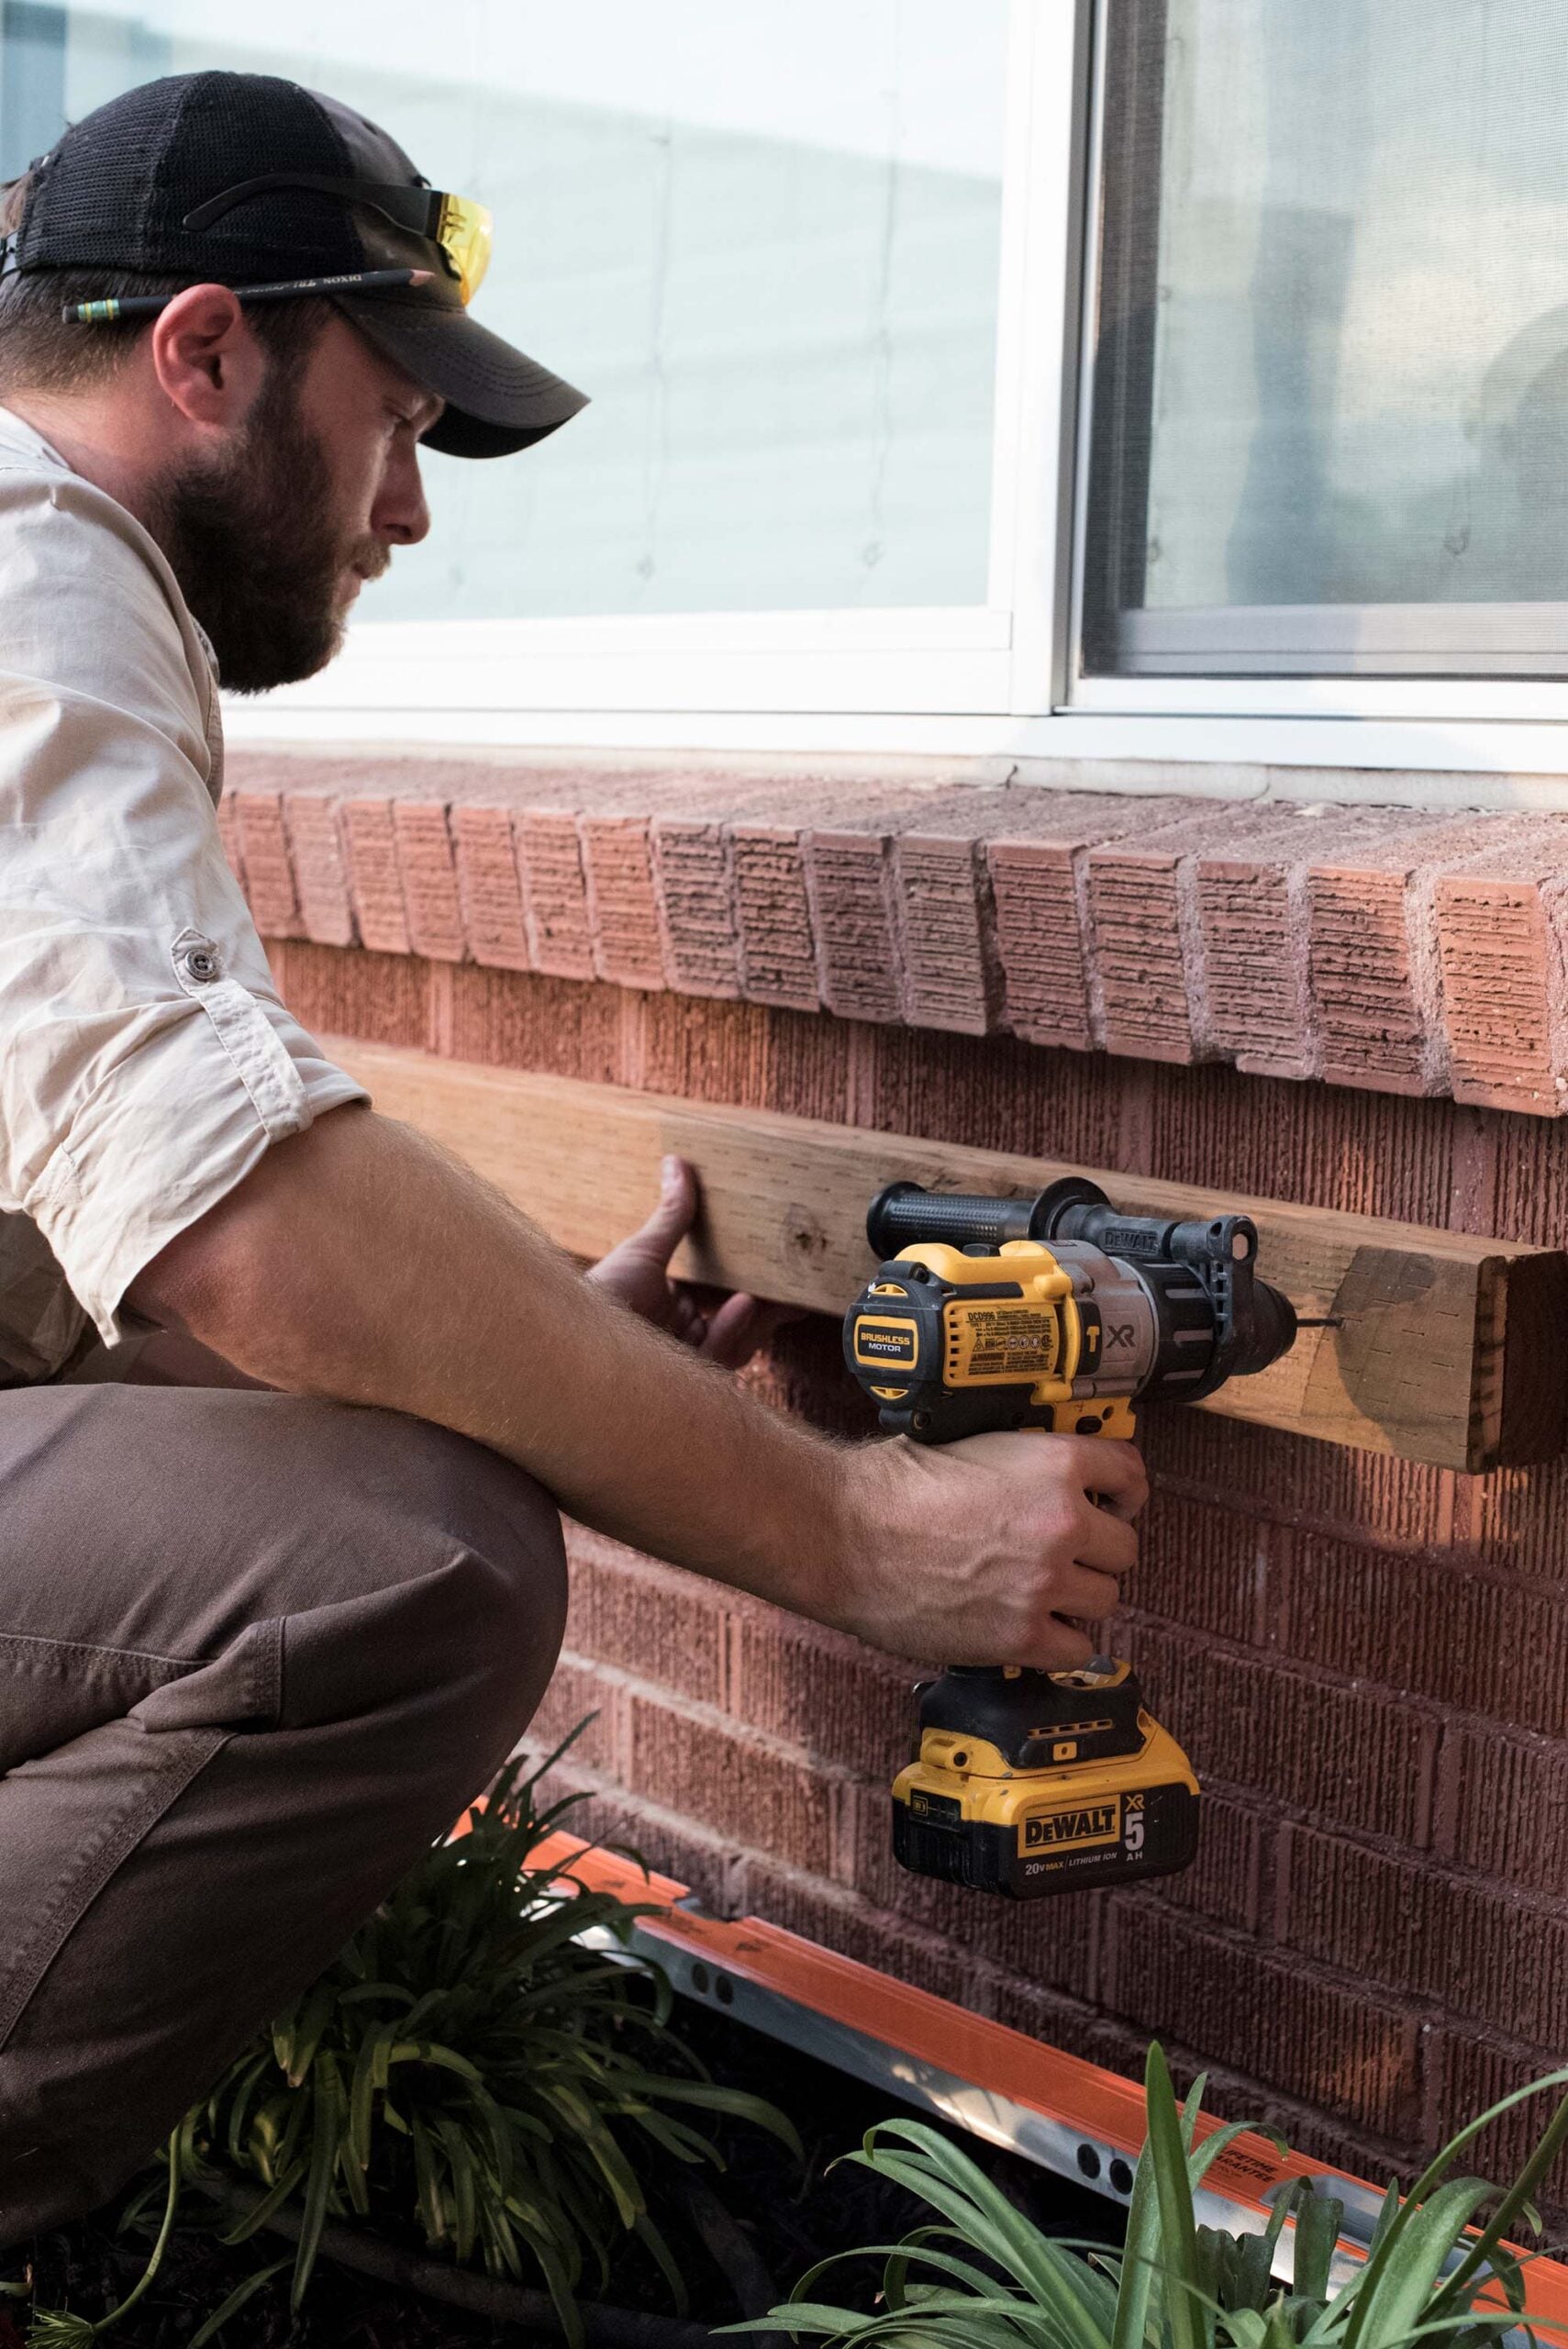
Align the support board with the mark you just made and drill through the wood just enough to mark the brick behind it.
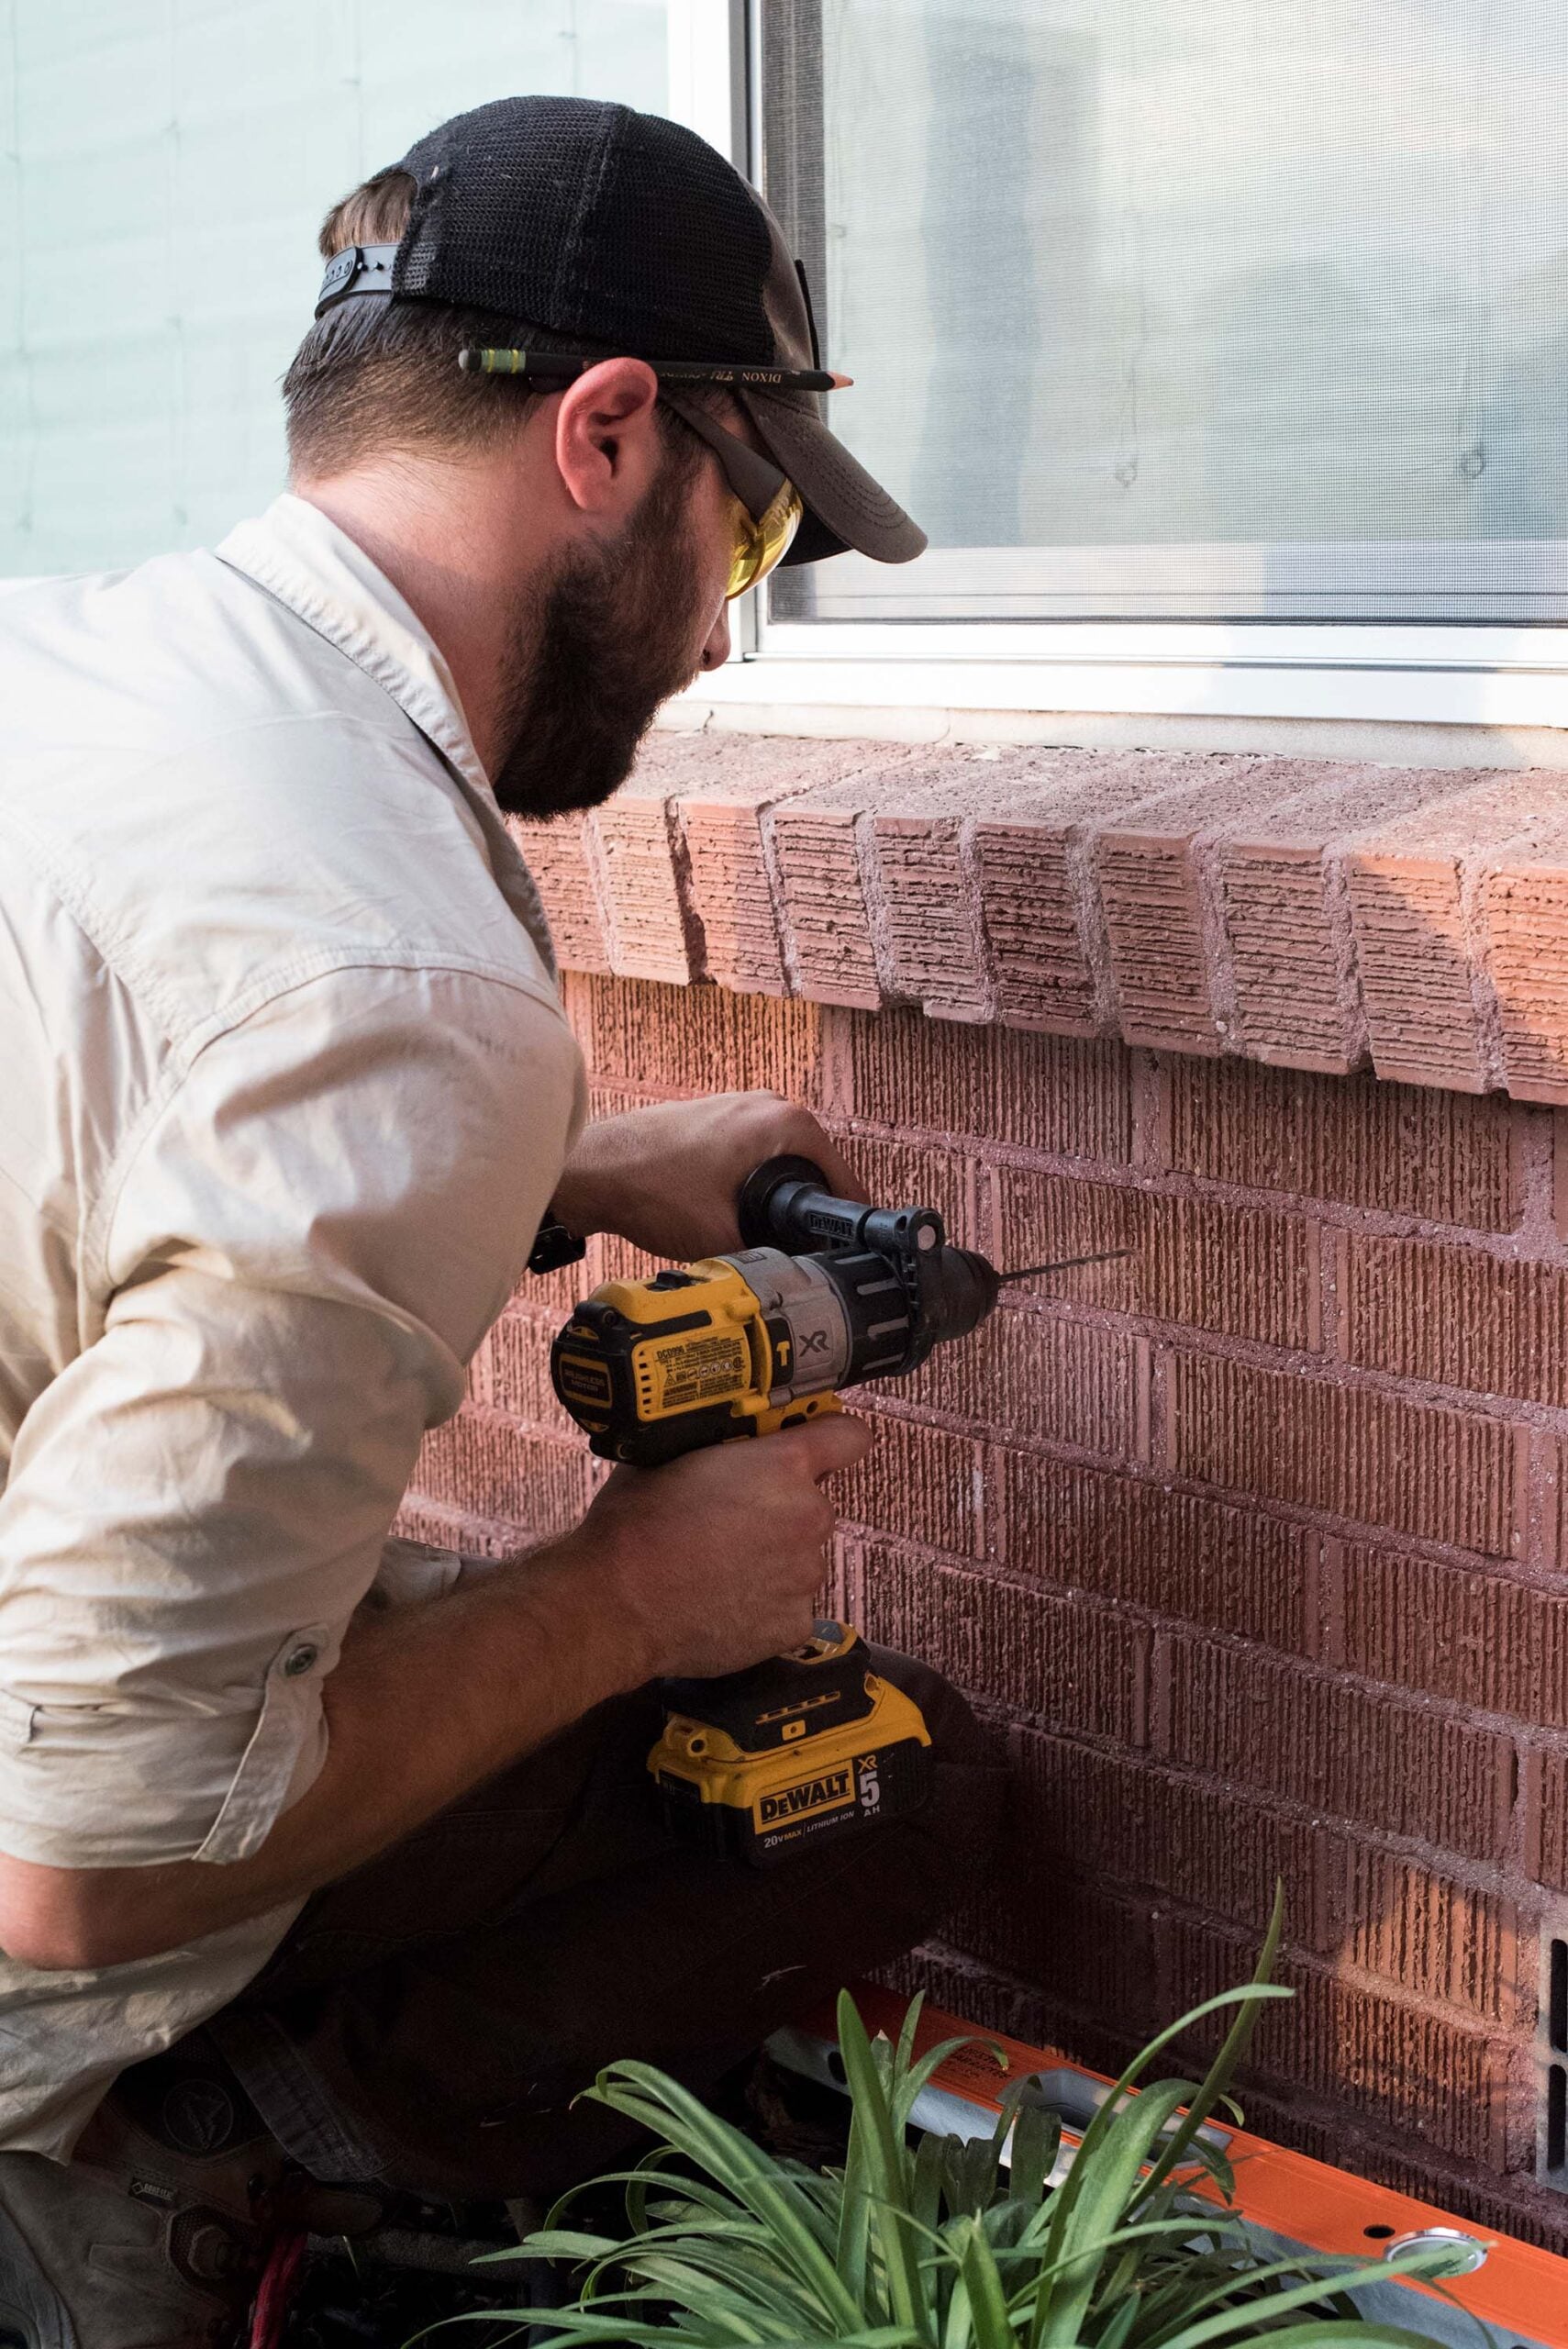
If you have a brick exterior, you’ll need to use a hammer drill with a masonry bit to drill your holes. Remove the board and finish drilling the masonry hole before reinstalling the lumber.
Step 6: Secure the Support
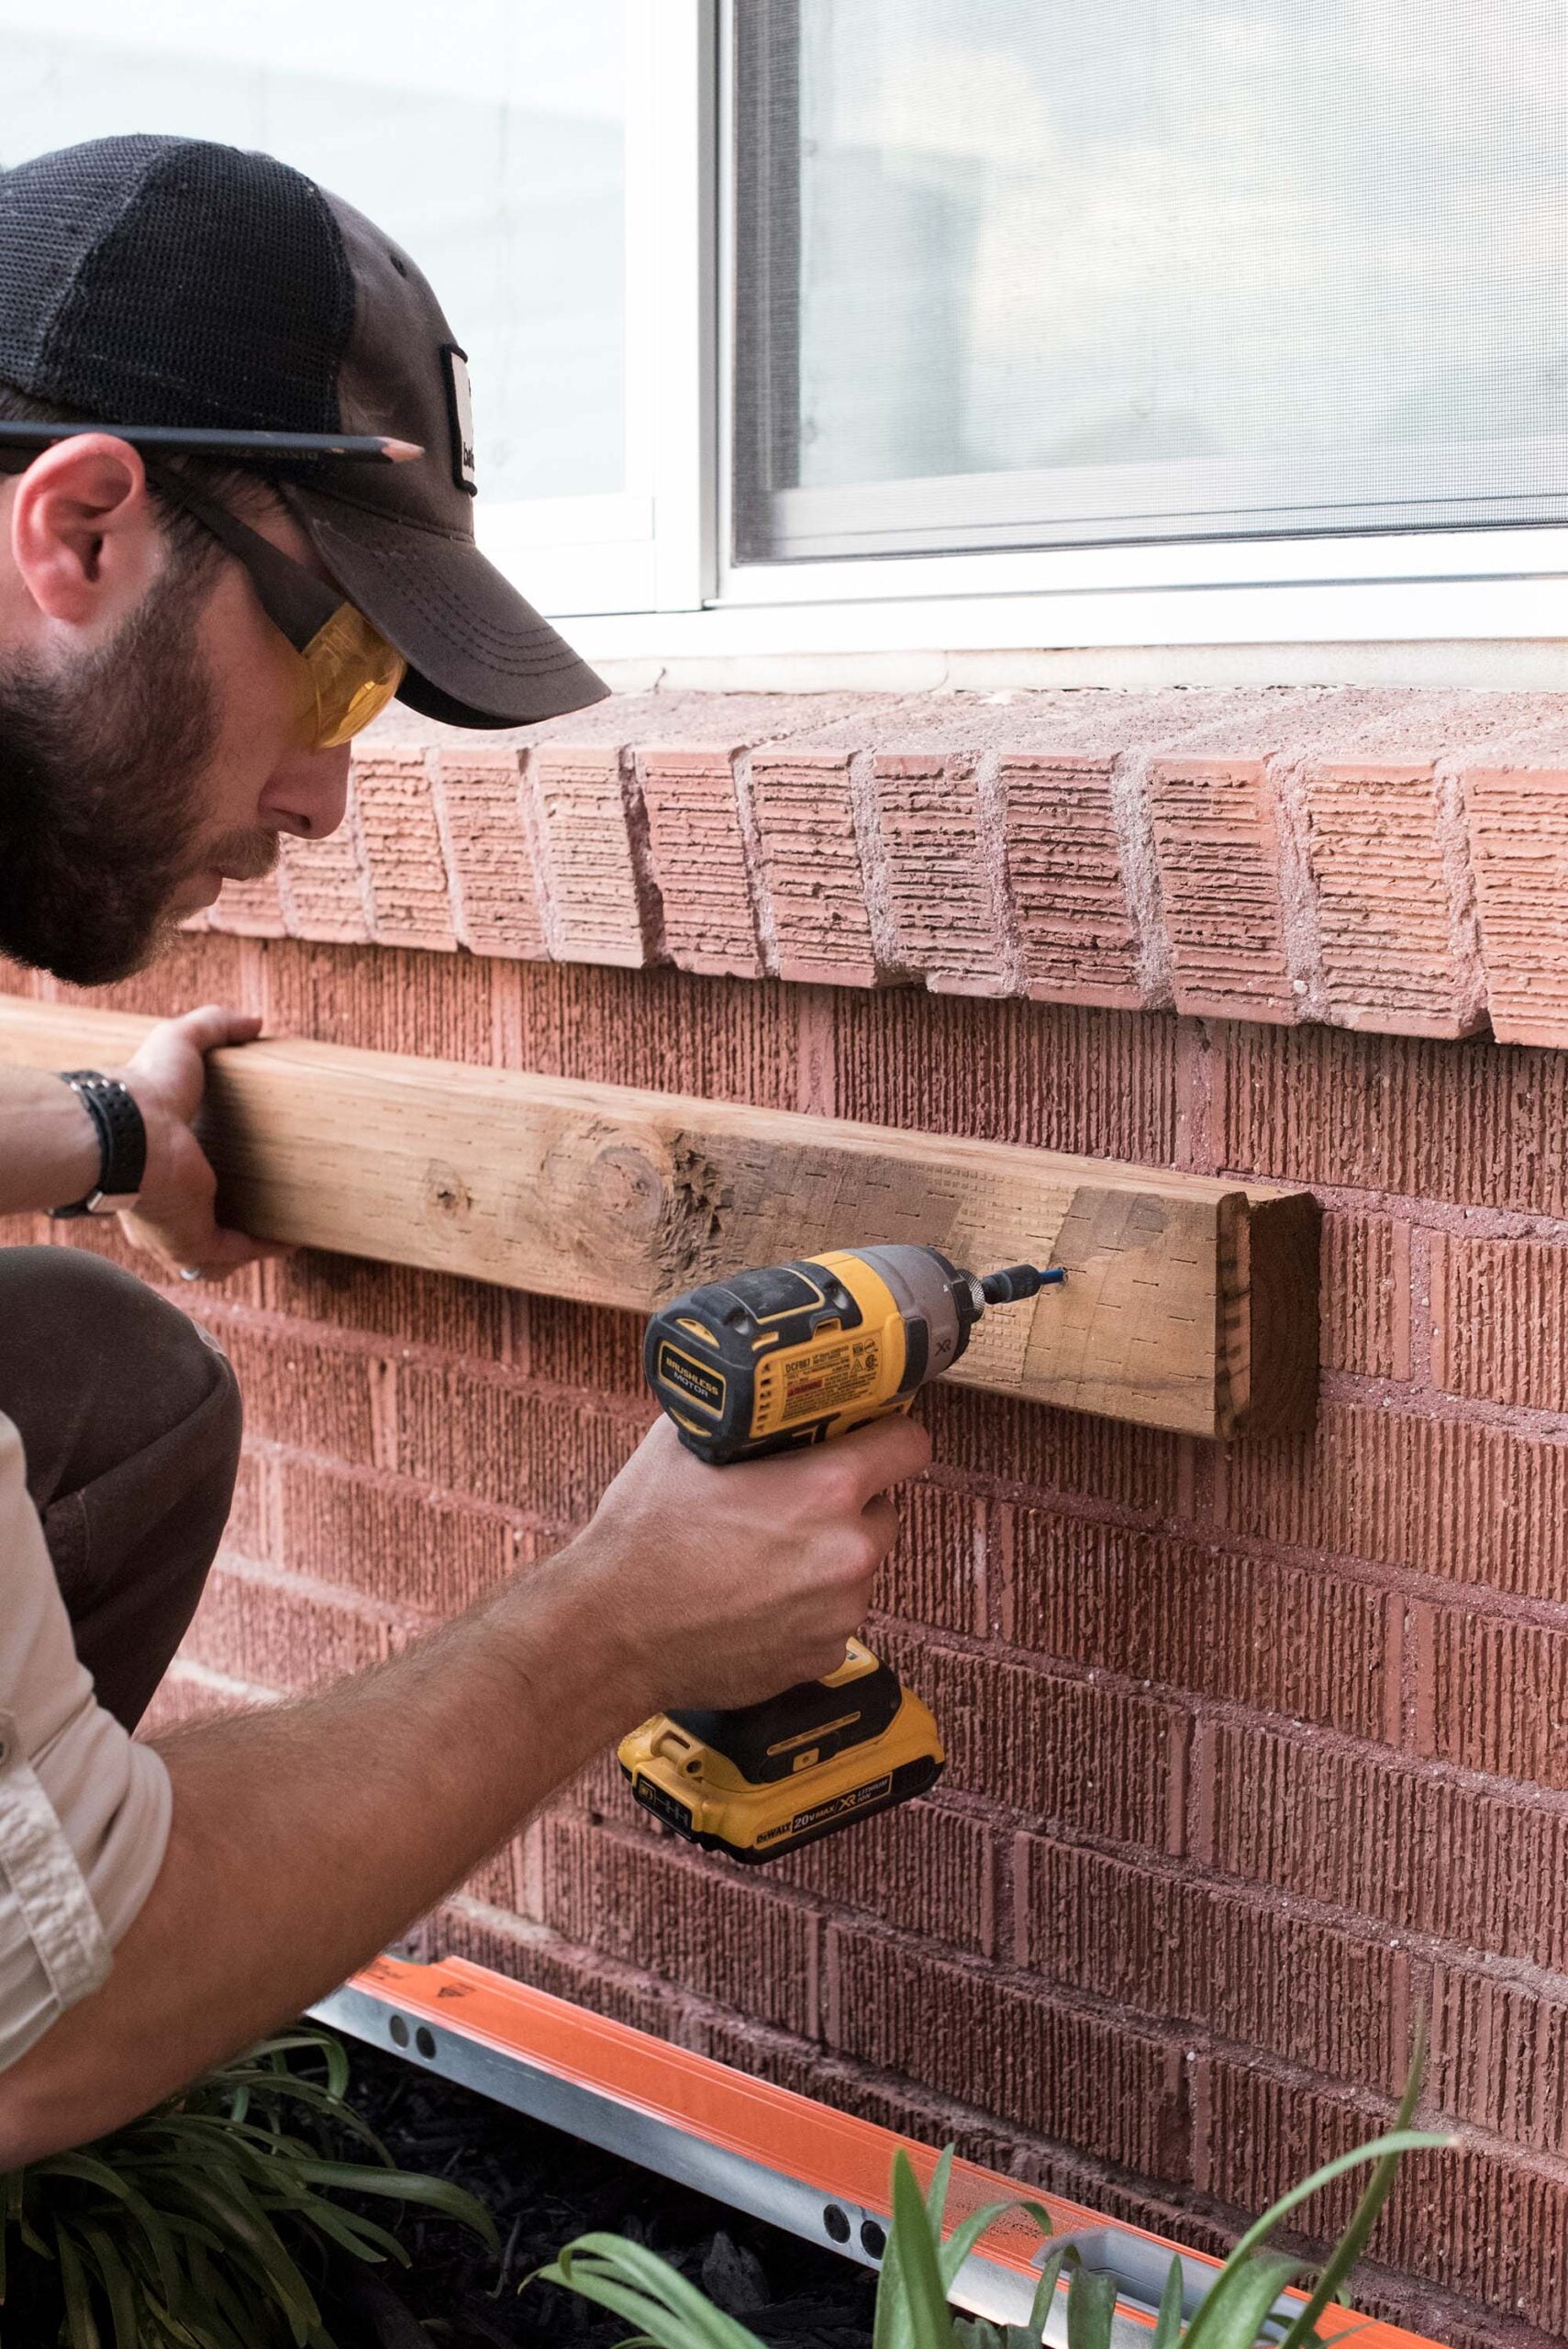
Using Tapcon masonry screws, attach the first side of the support board to the house.
Step 7: Finish the Build Out
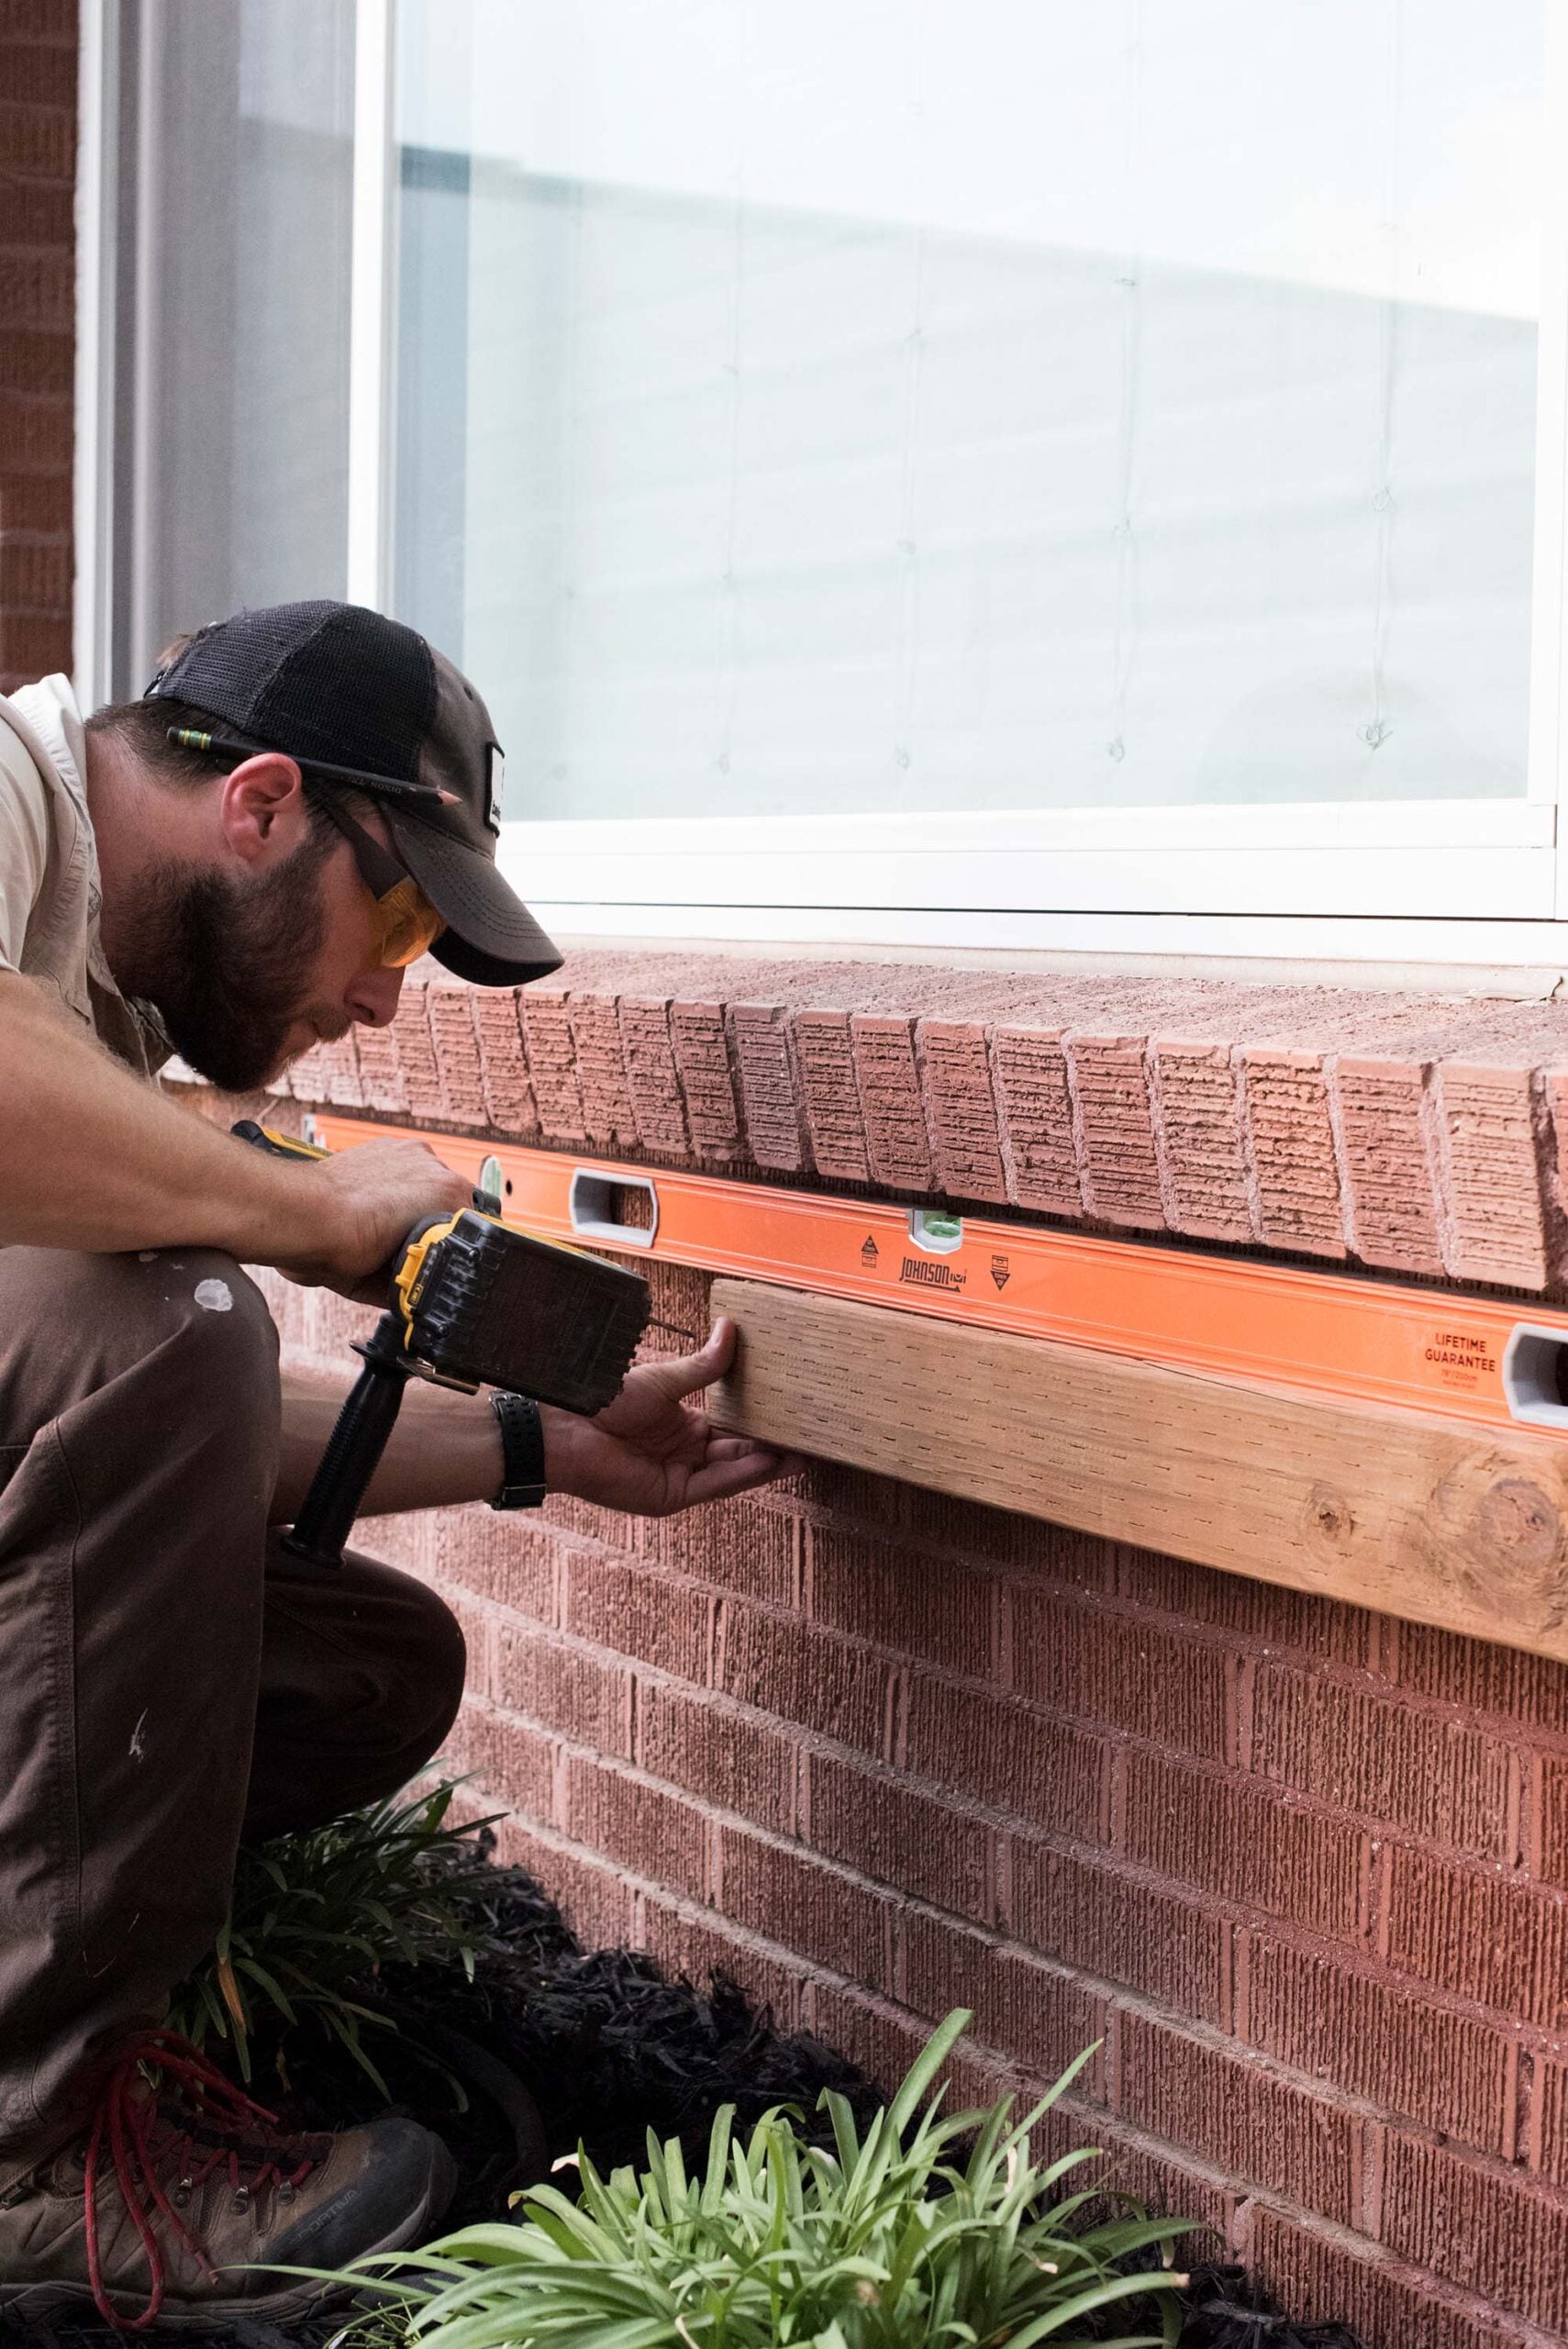
Level the board carefully before drilling the remaining holes. We used six masonry screws to keep everything solid and secure.
Step 8: Measure for the Brackets
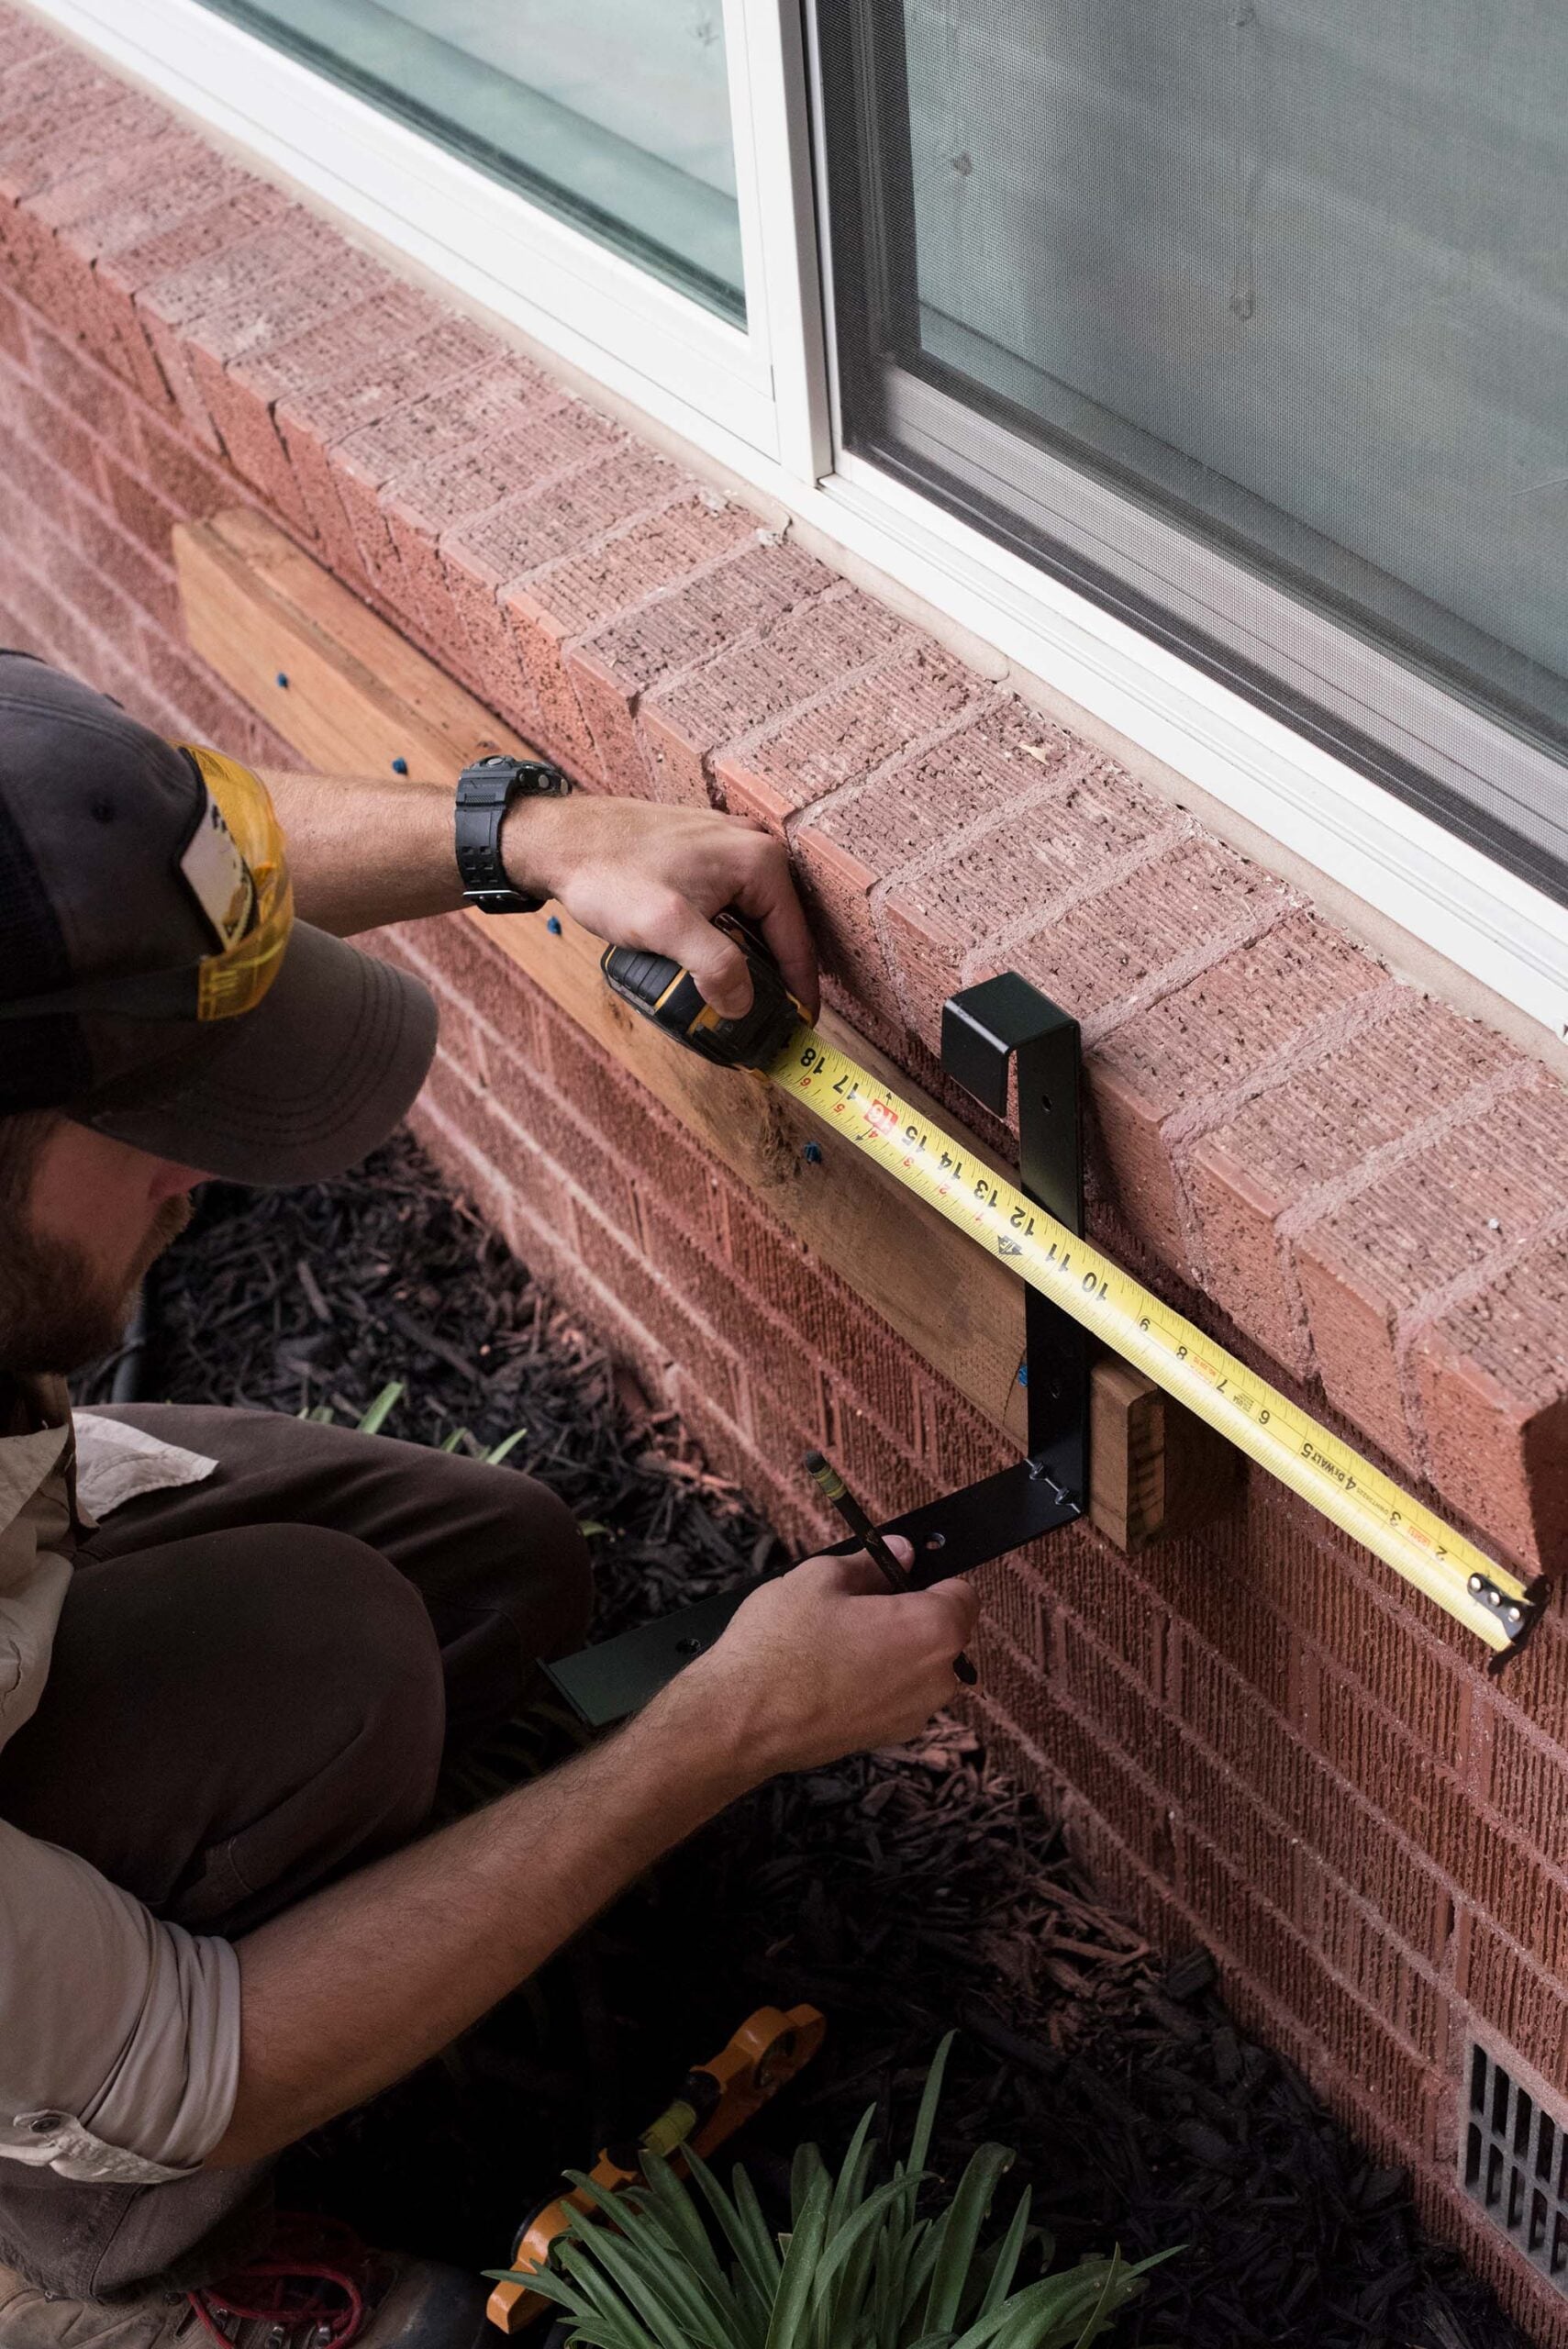
We positioned our window boxes about six inches in from each side of the window because it felt balanced with the proportions of our home.
Step 9: Check That Everything Is Square
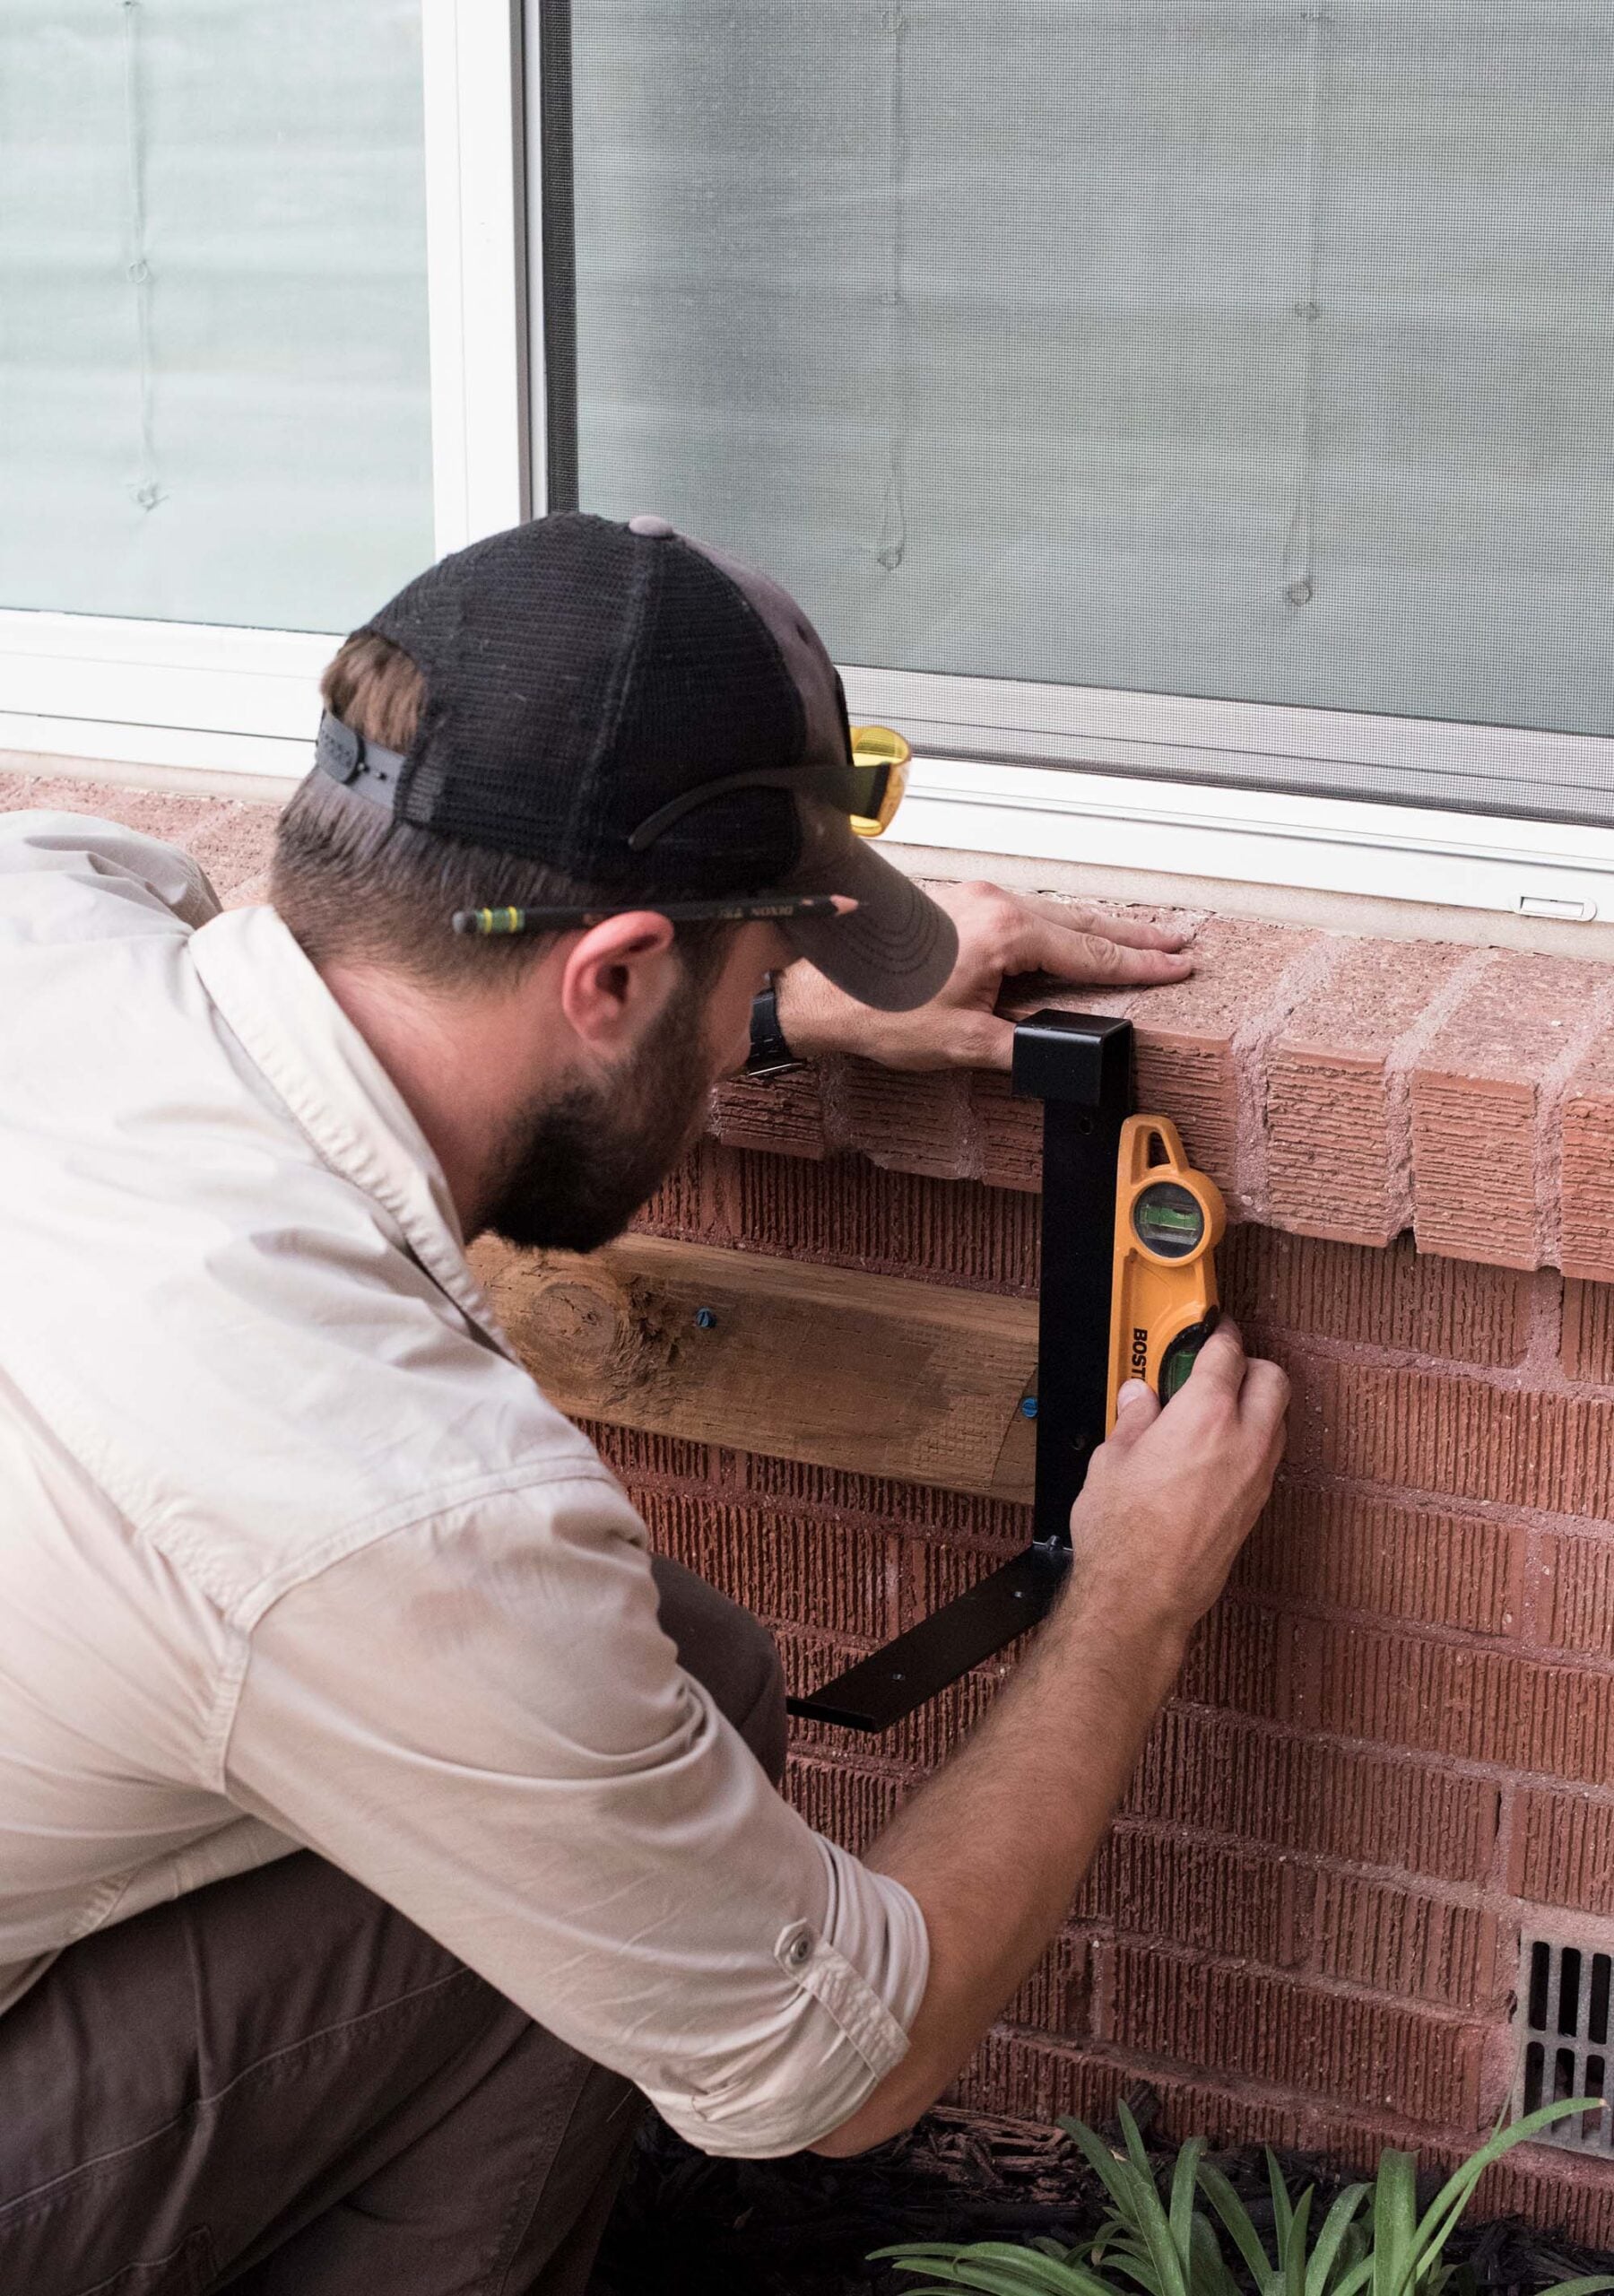
Before permanently attaching the brackets, use a 9 inch level to confirm they’re perfectly straight.
Step 10: Install the Brackets
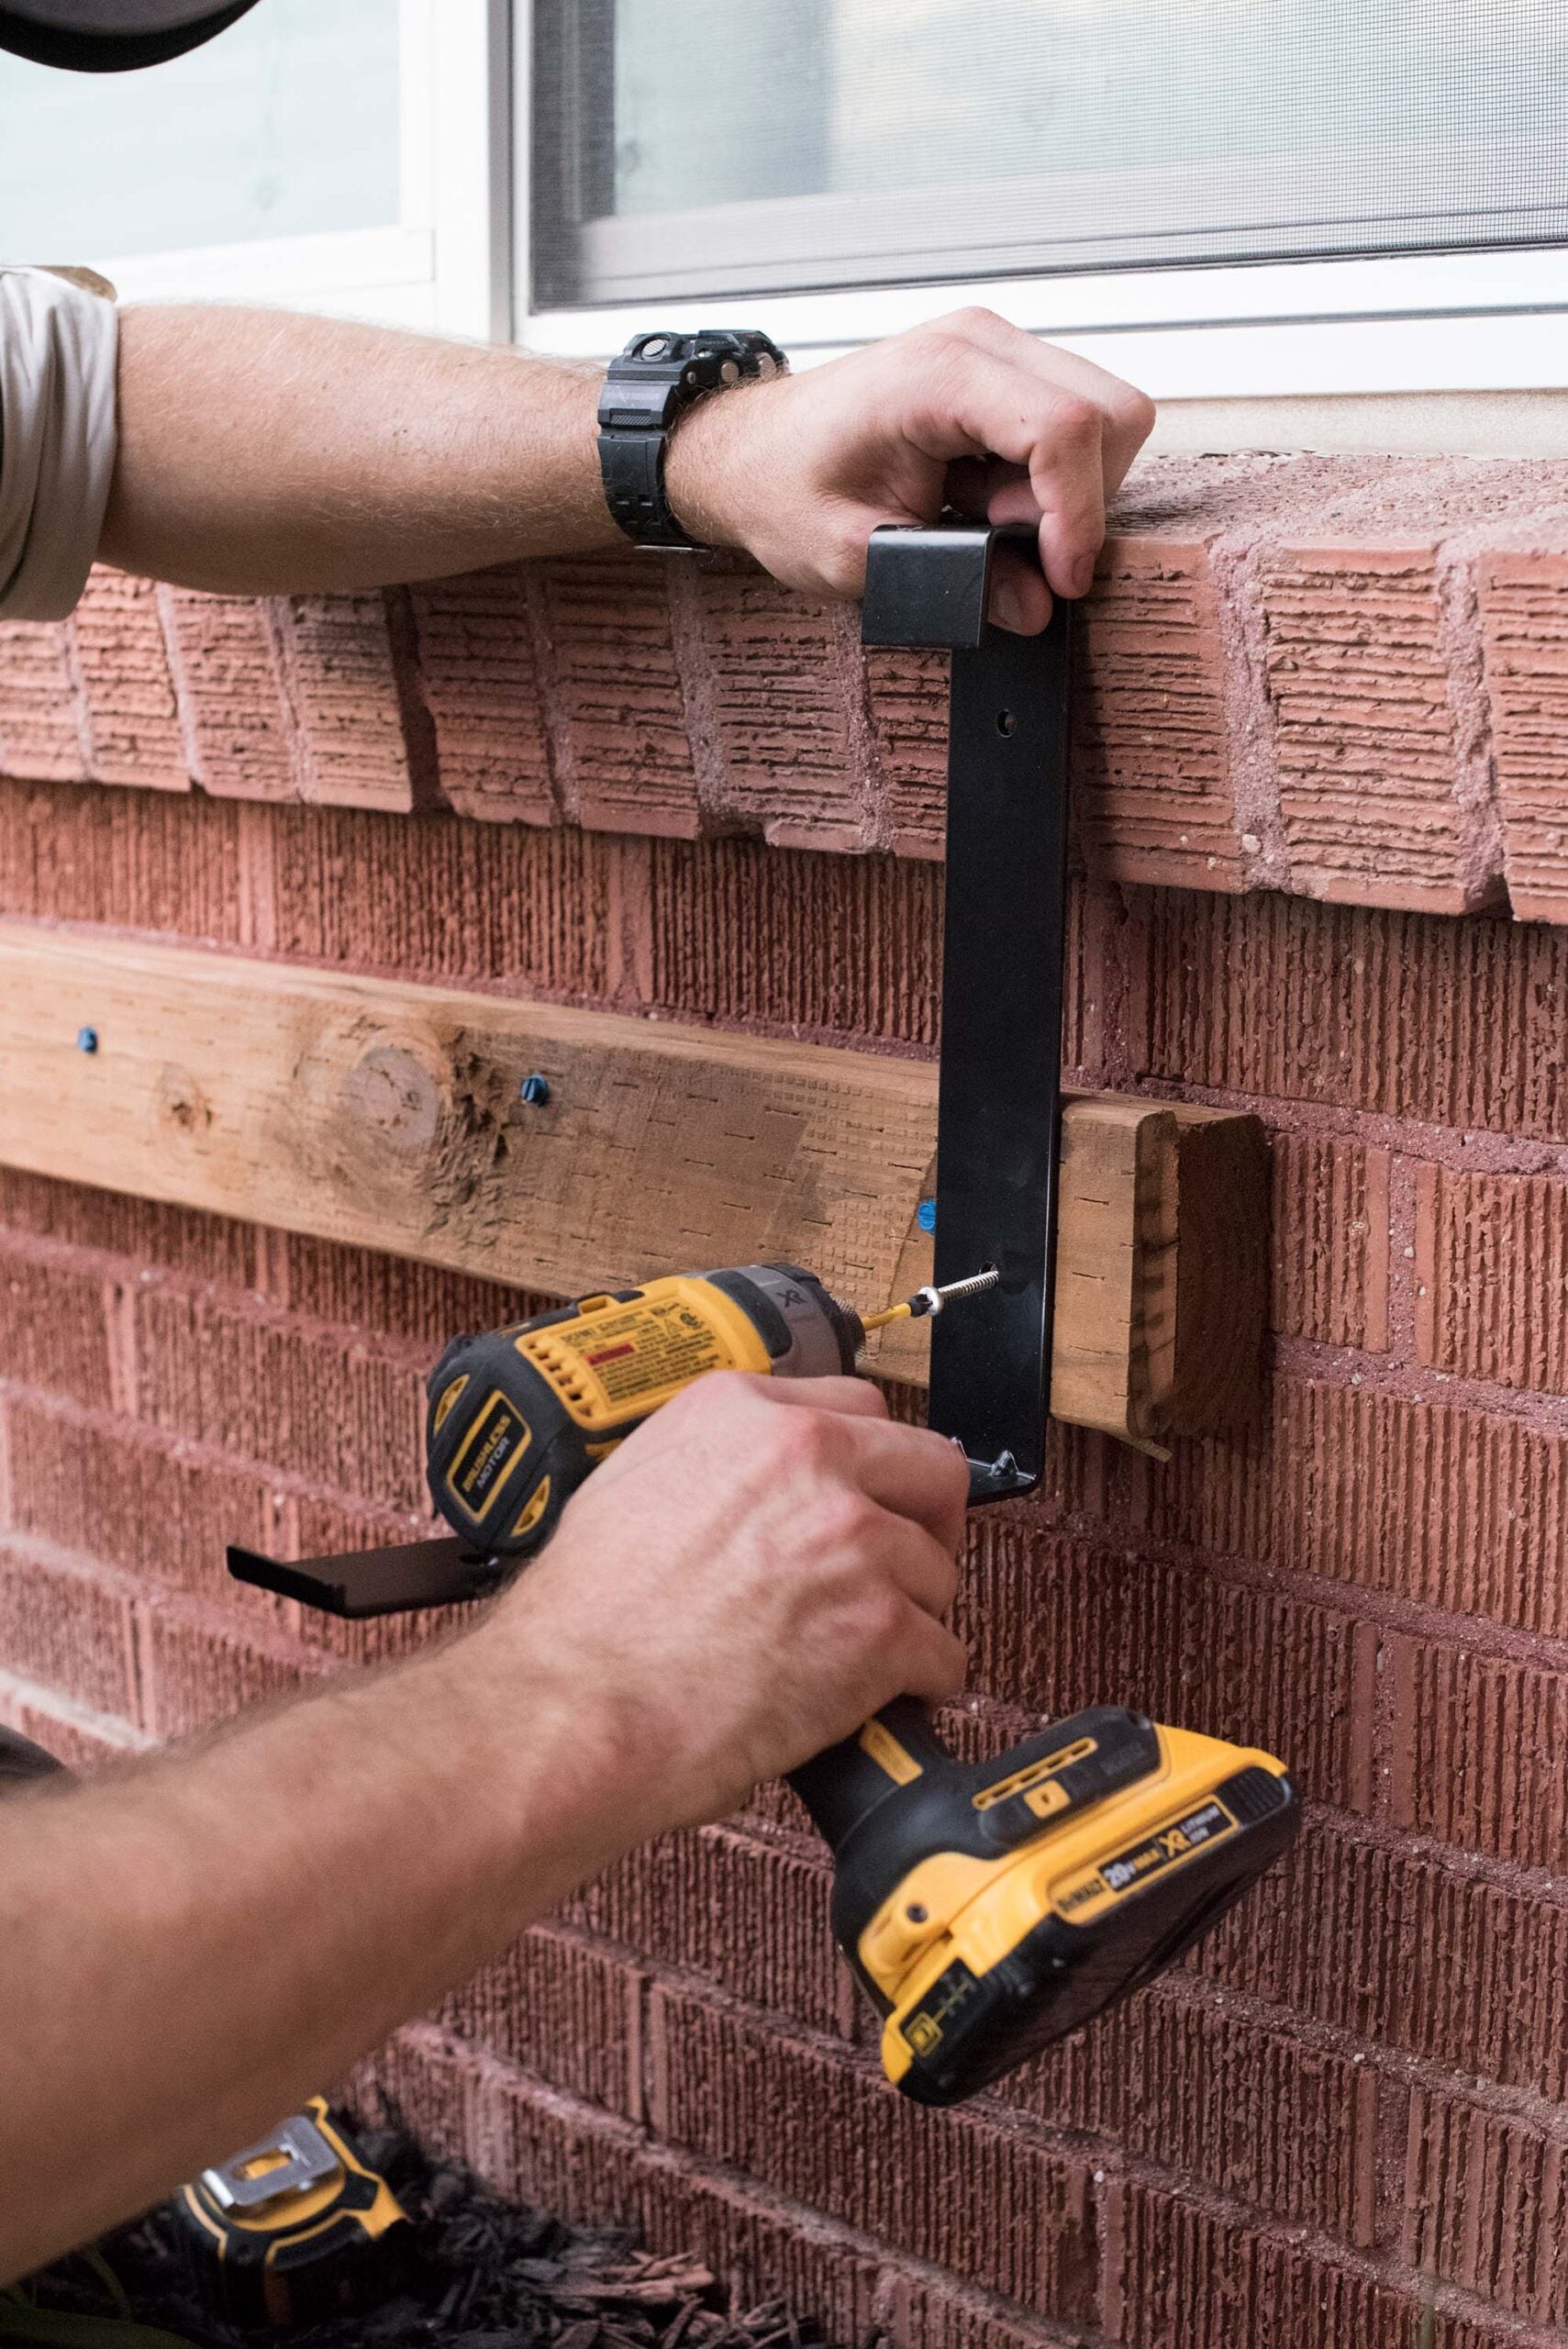
Secure the lower portion of each bracket with screws. Once the bottom is in place, move to the top.
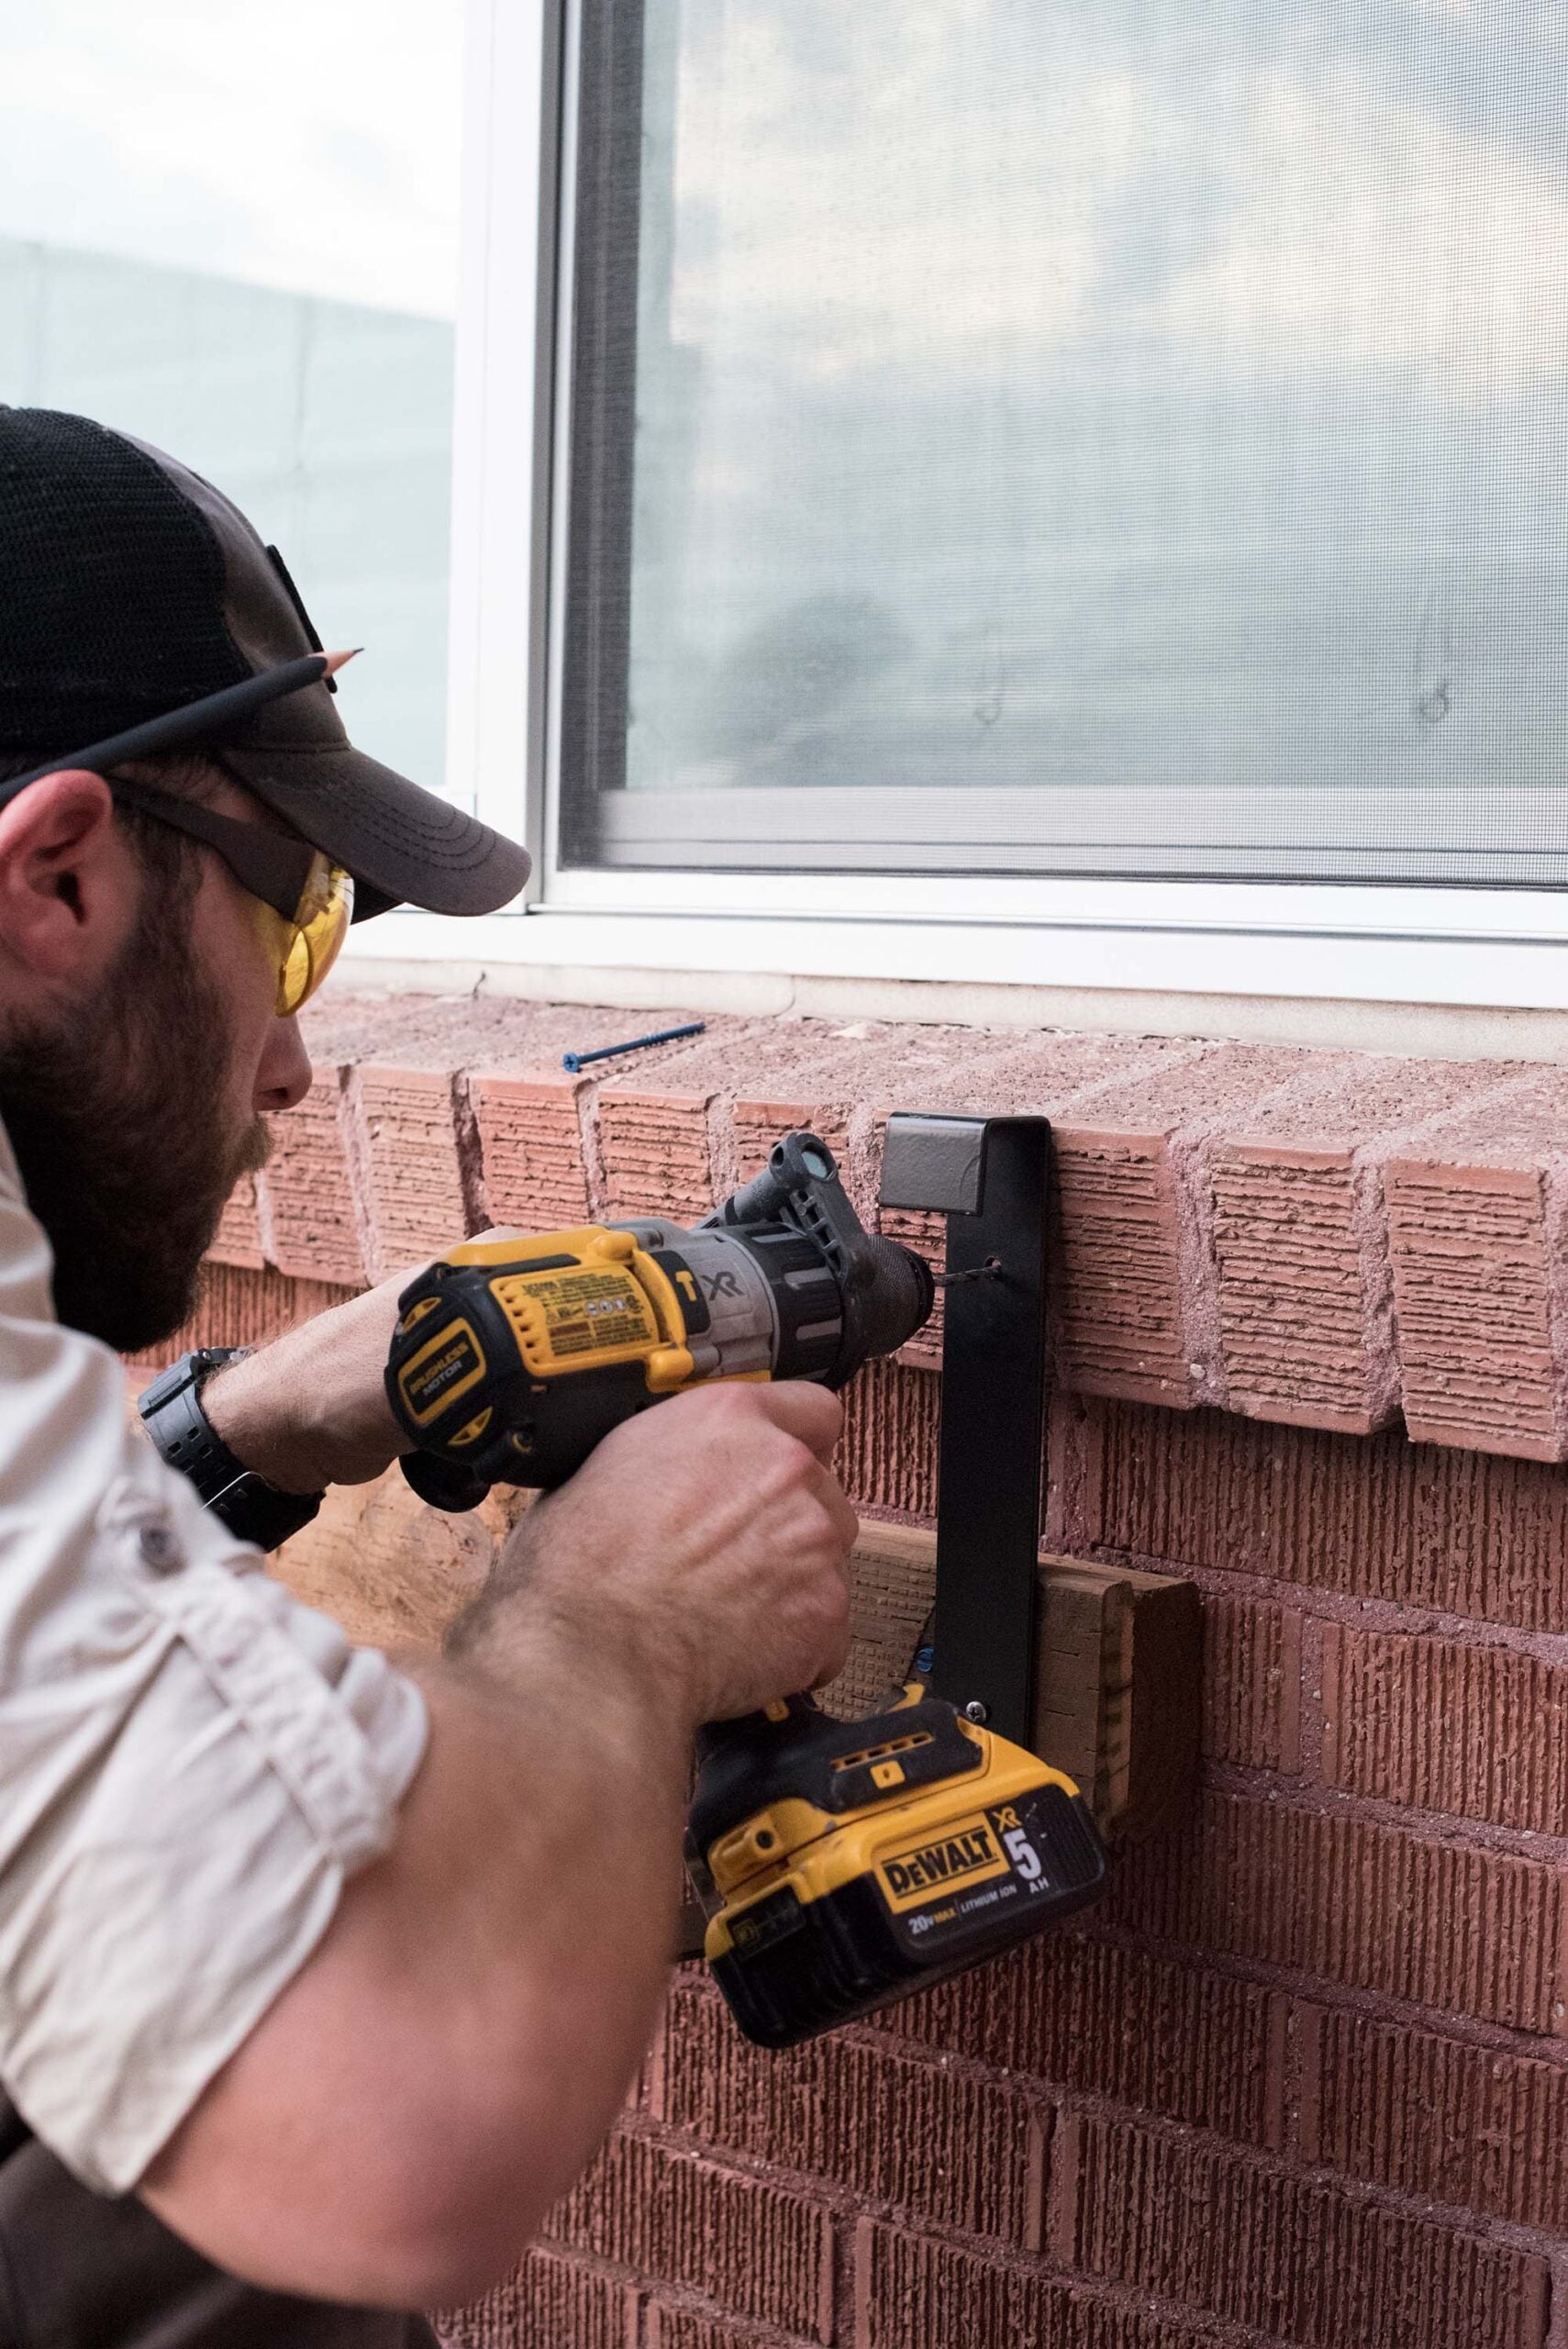
We used a masonry bit and impact driver to drill a pilot hole into the brick, then secure it with a masonry screw.
Step 11: Install the Remaining Brackets
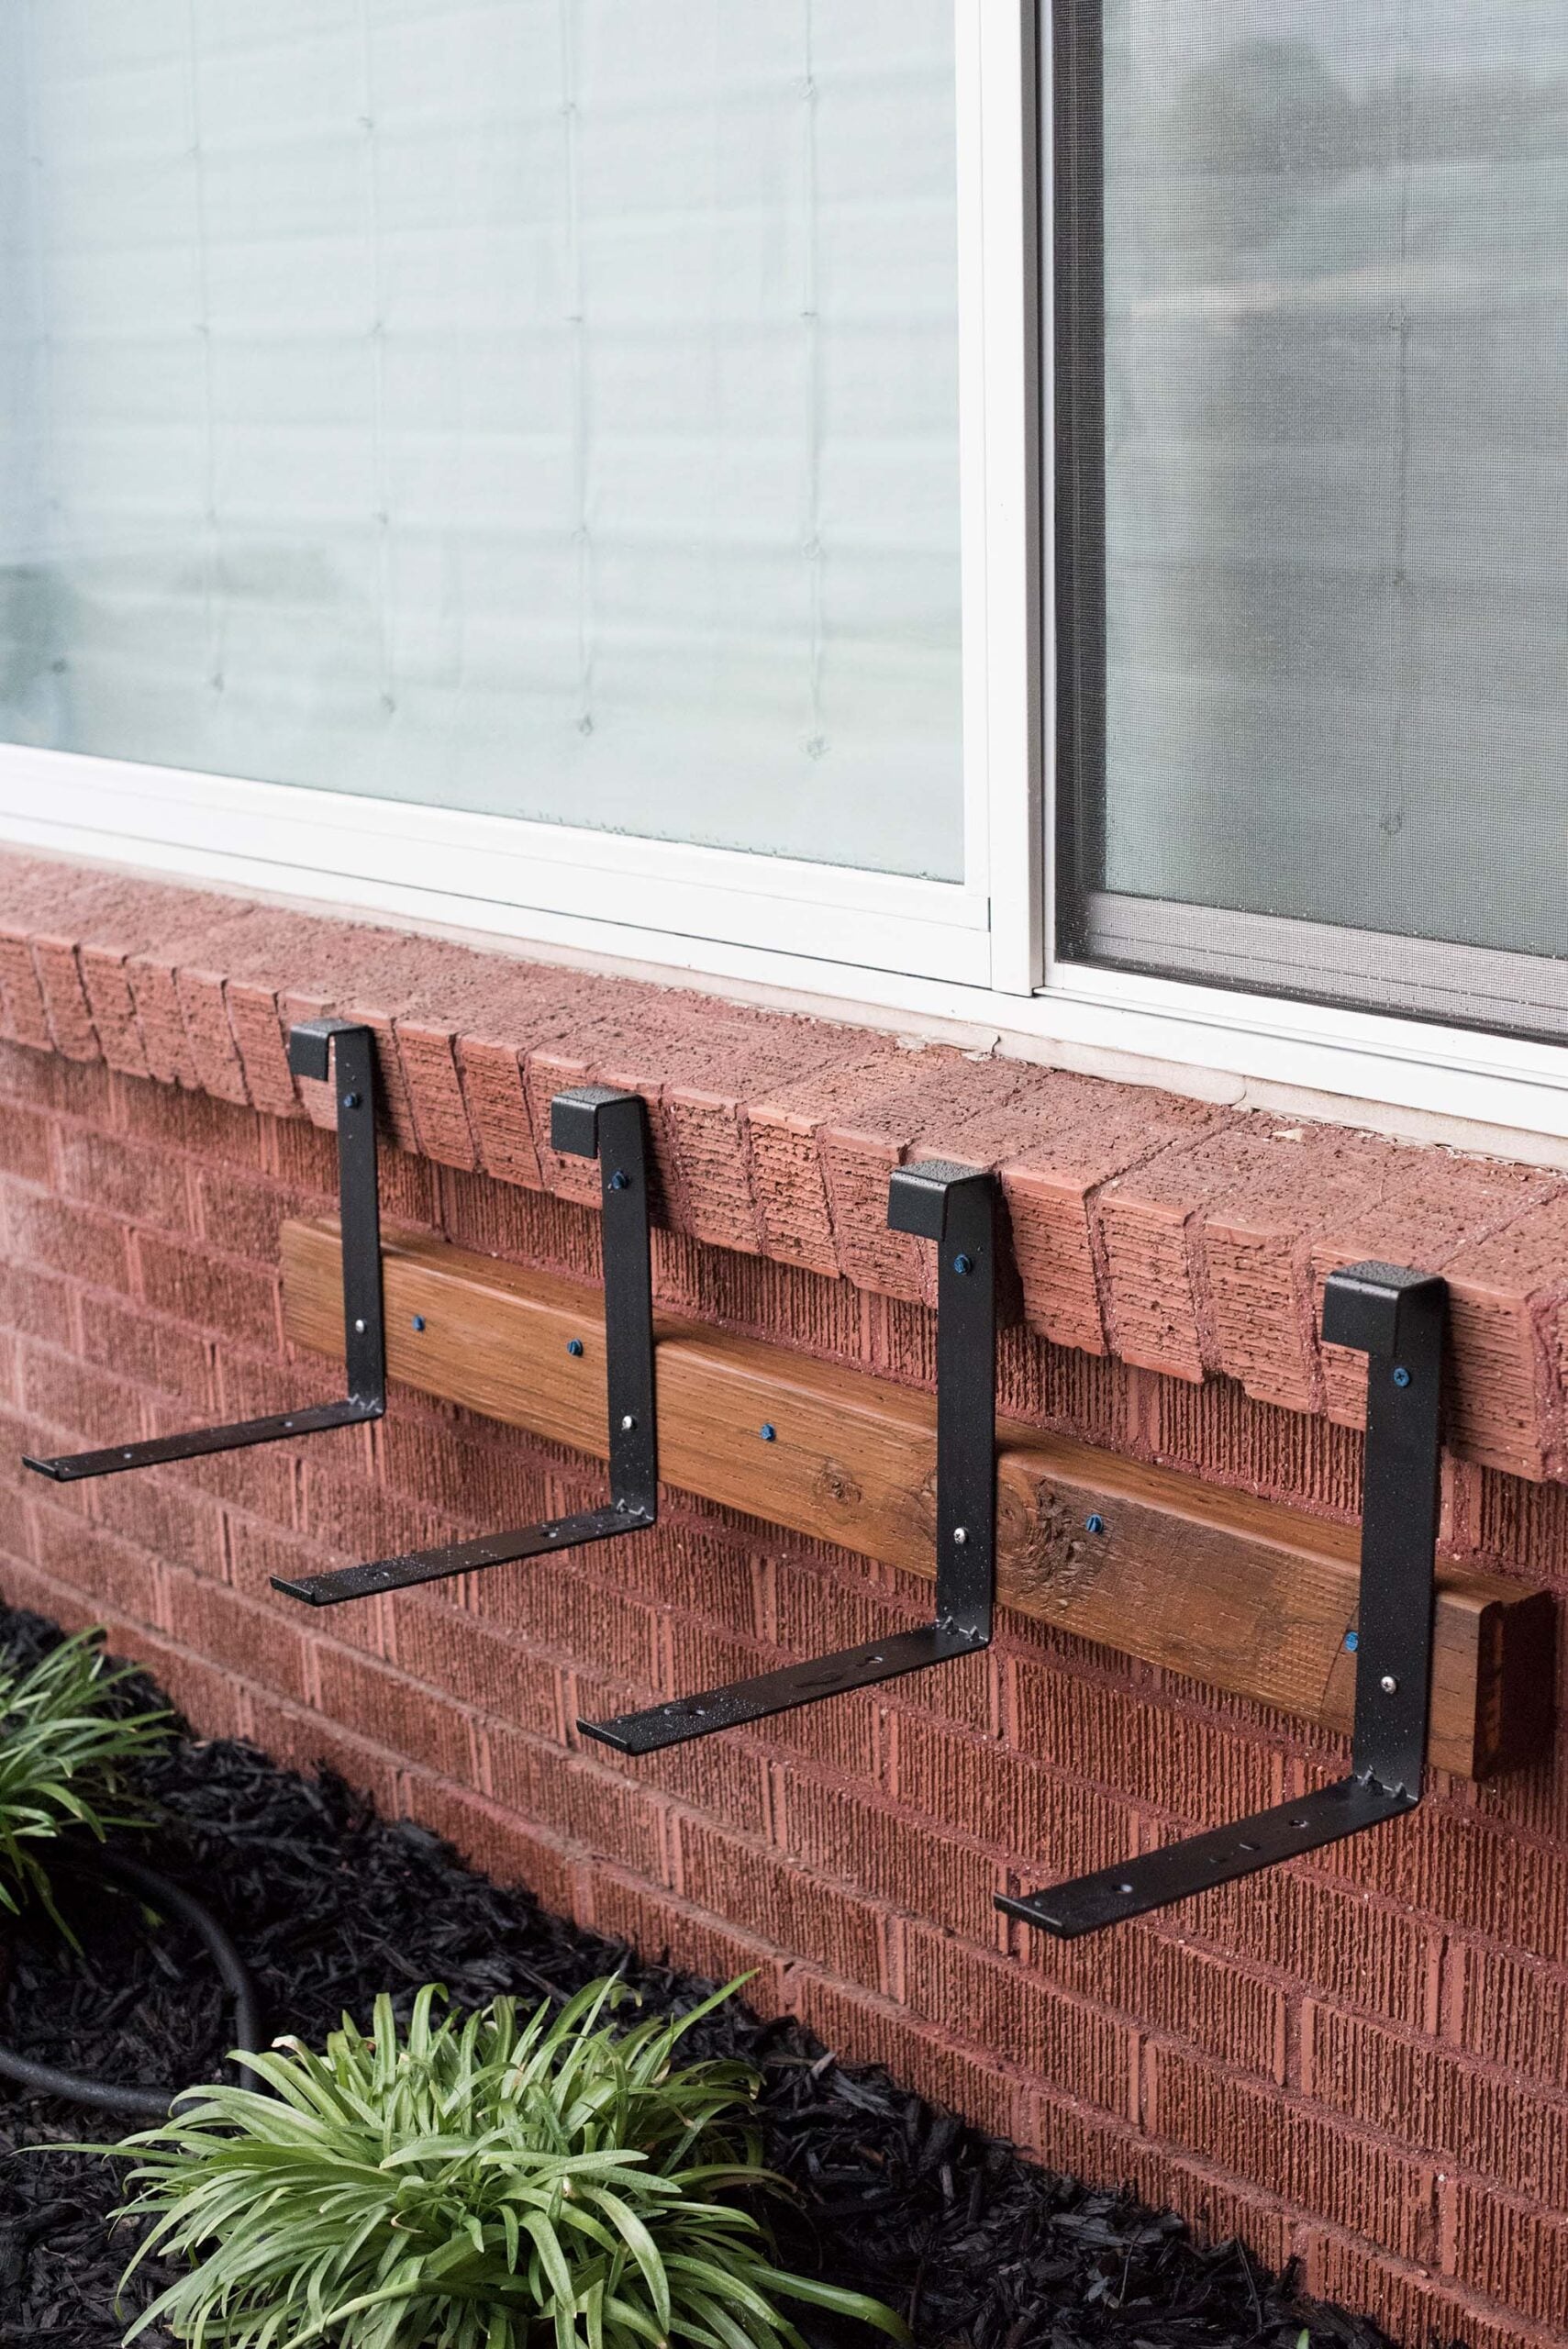
Repeat the same process until all brackets are securely mounted.
Step 12: Hang the Window Box
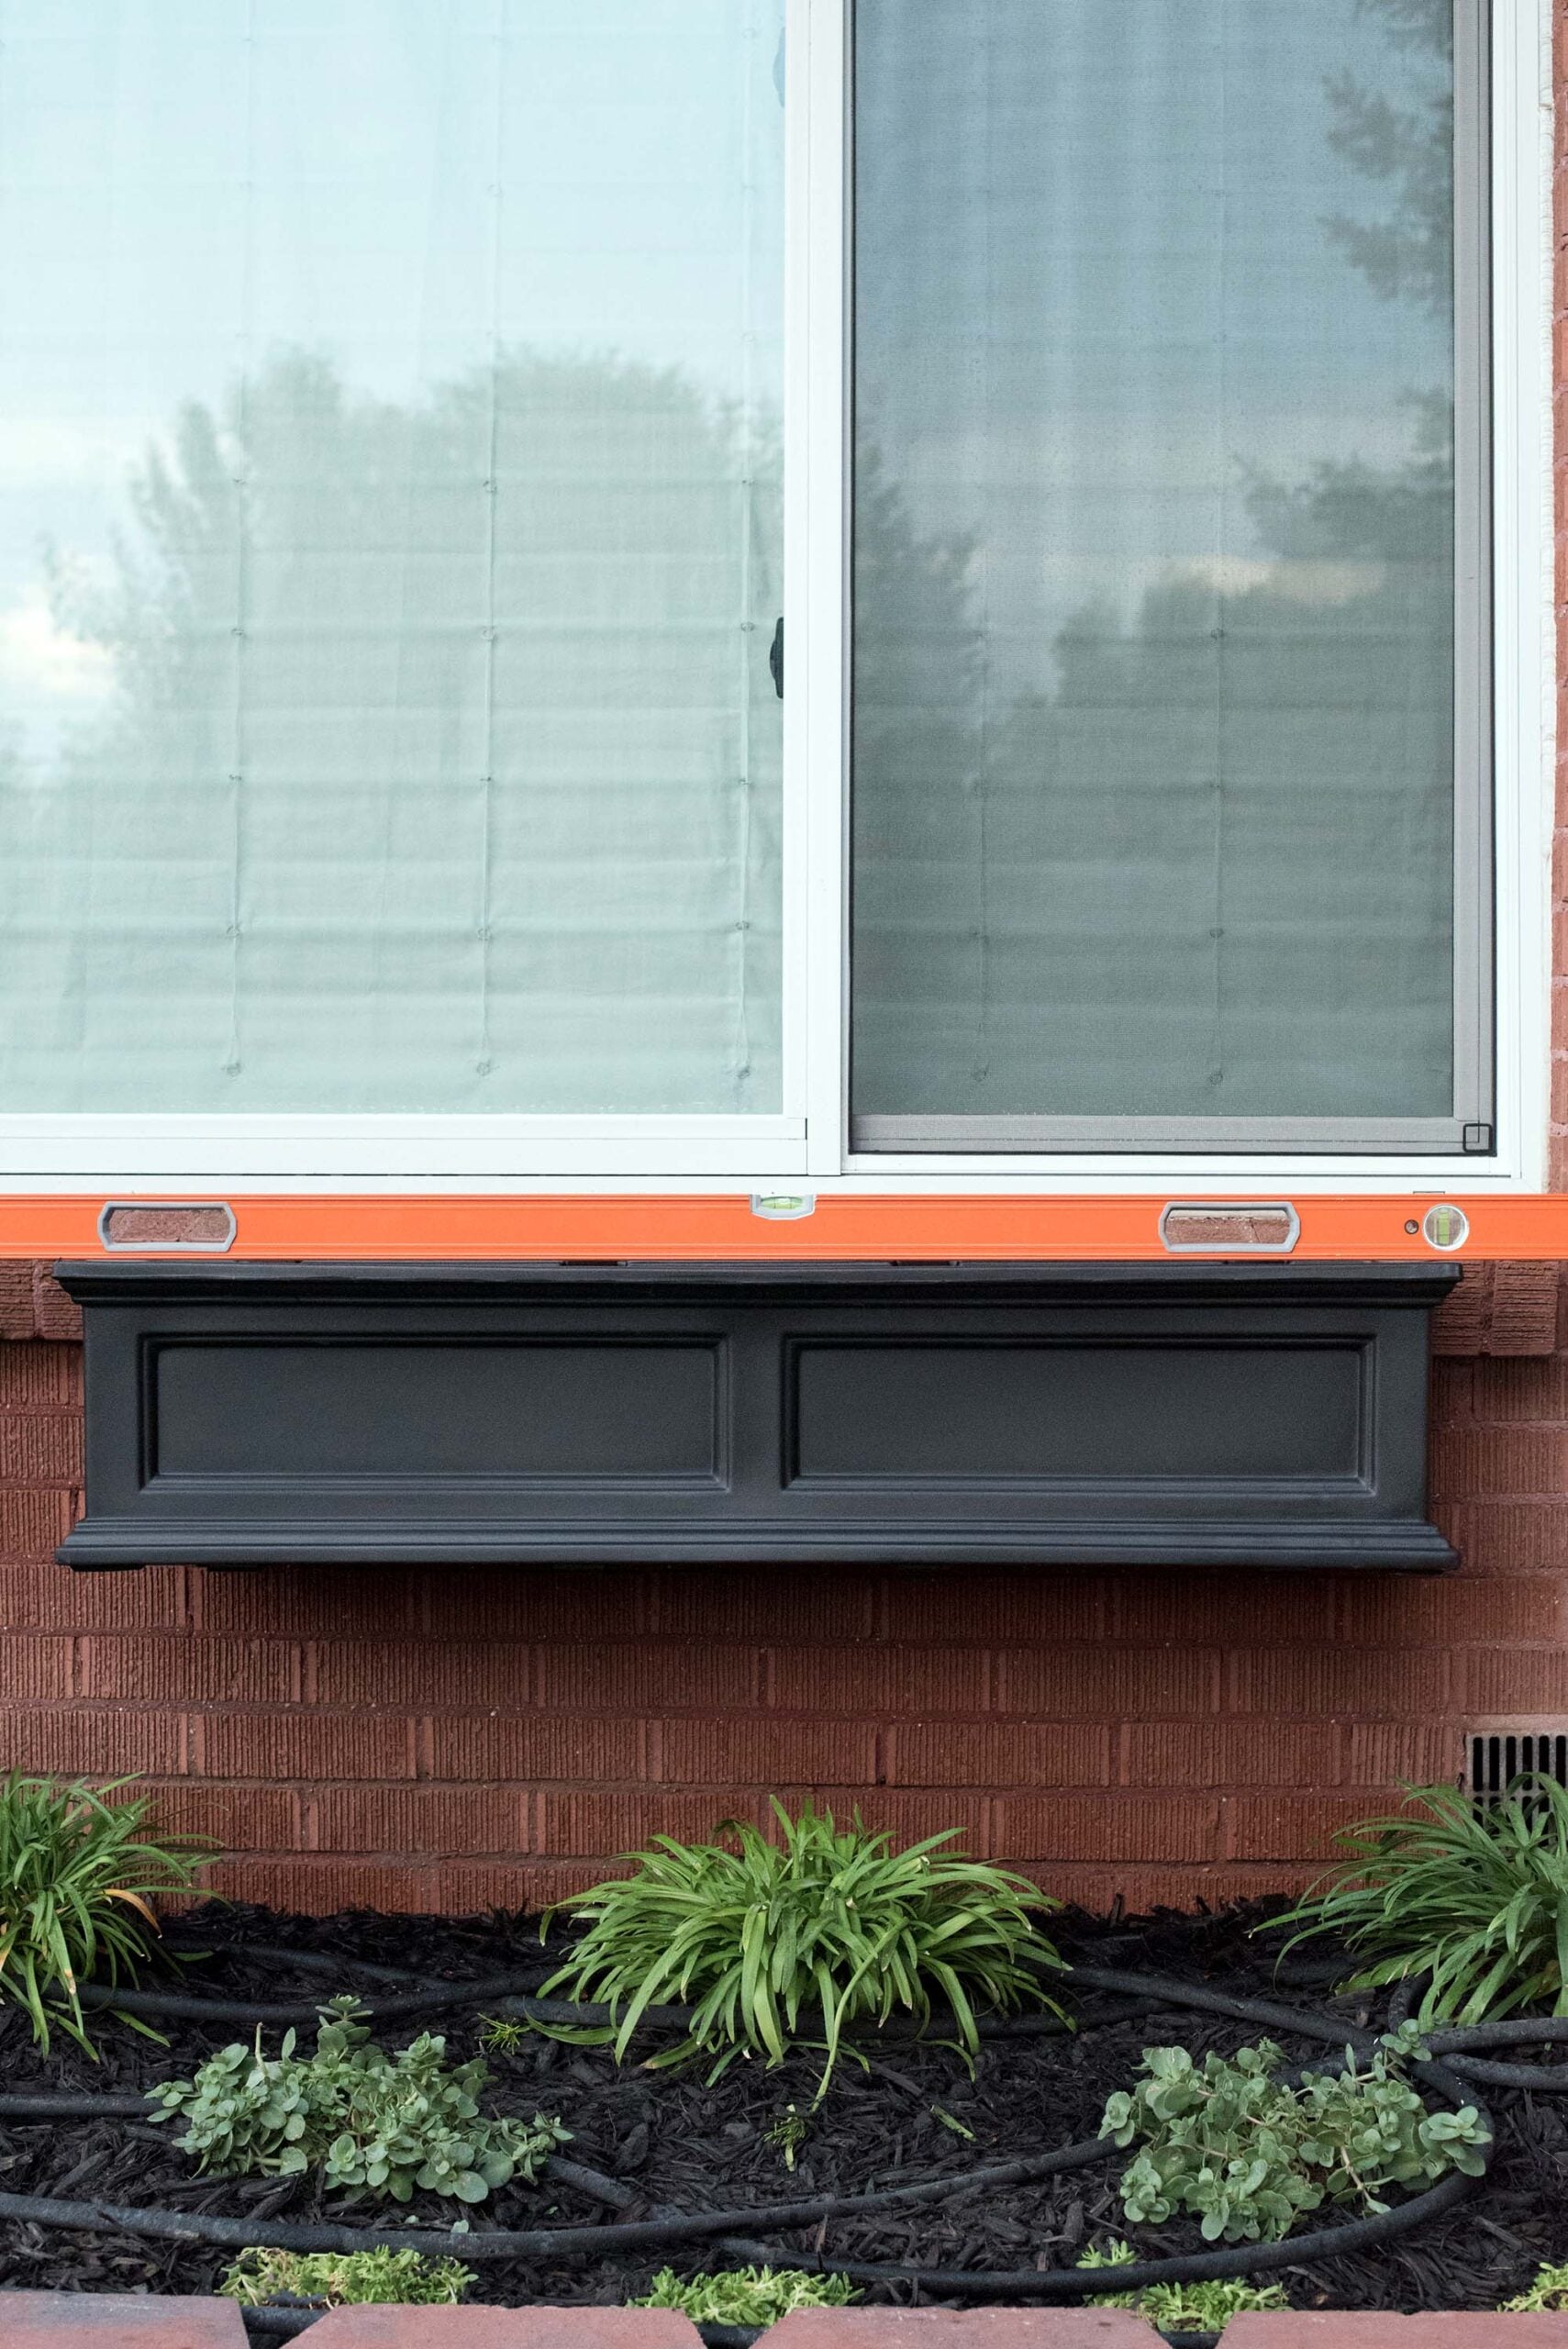
The Mayne window boxes simply hook onto the brackets, making installation surprisingly easy.
Once they’re hanging, check one final time that everything is level.
Step 13: Mix the Soil
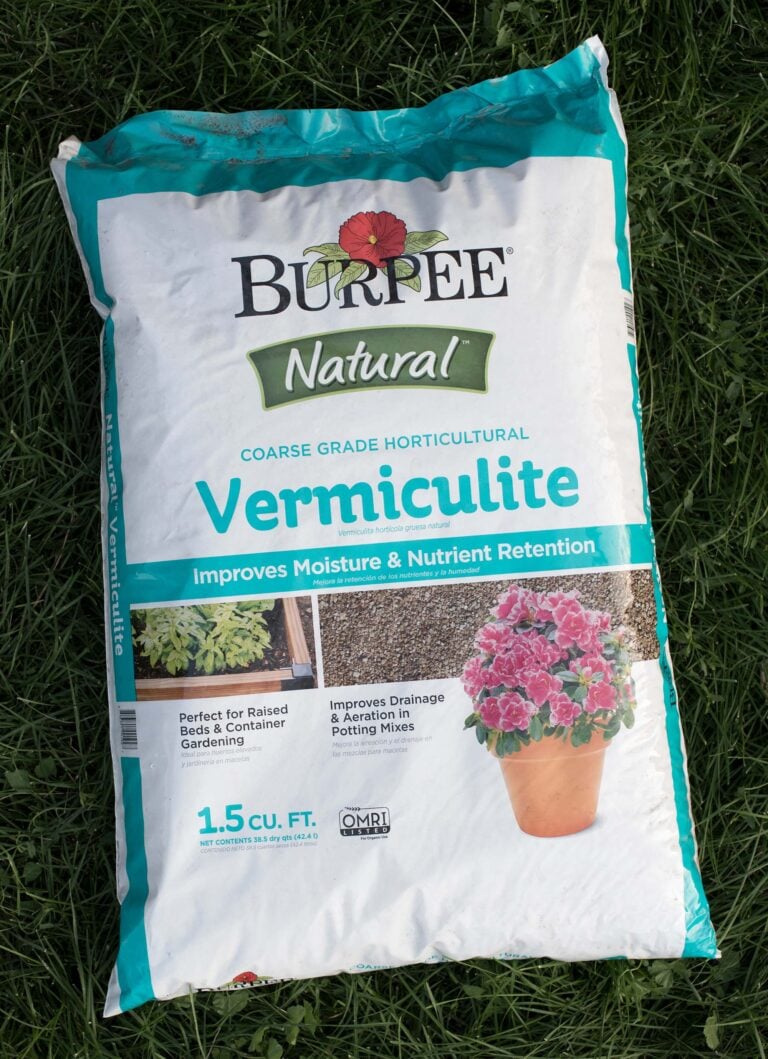
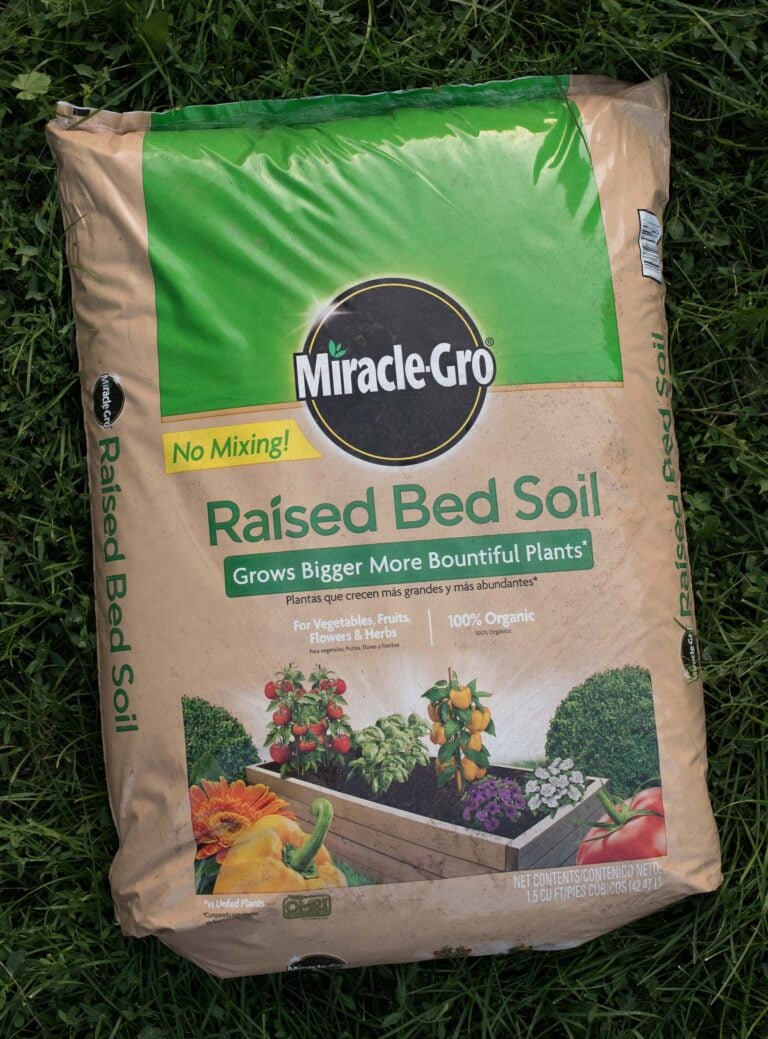
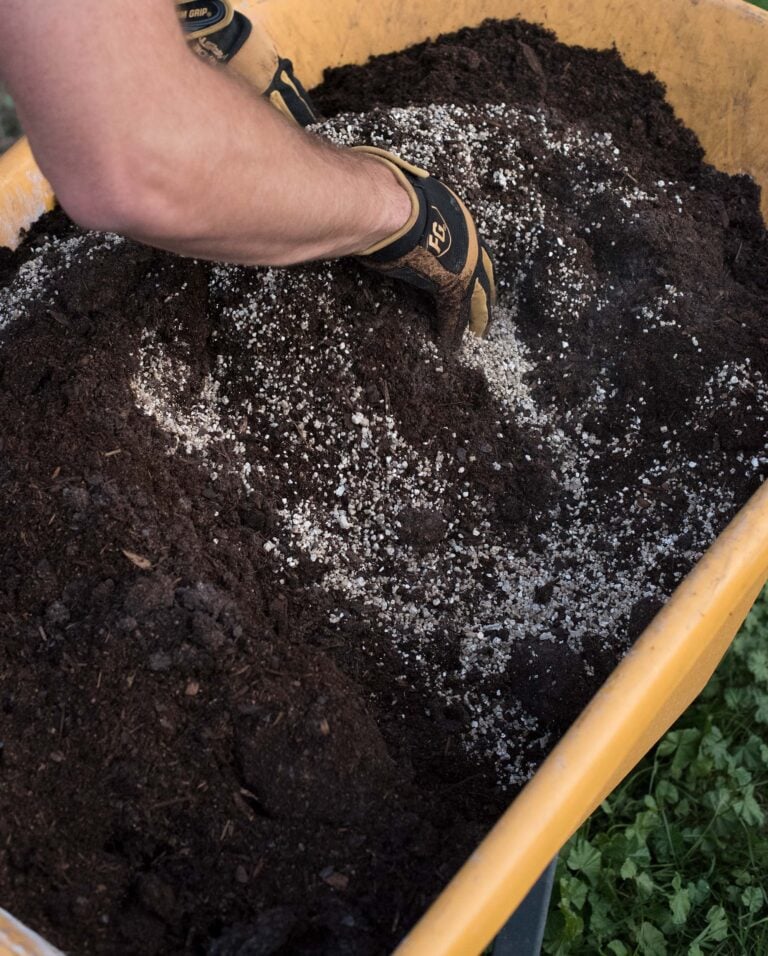
I mixed vermiculite and raised bed soil in equal parts. The vermiculite helps retain moisture, nutrients, and also lightens the weight of the planter which helps reduce stress on the brackets over time.
Step 14: Add Filler Material
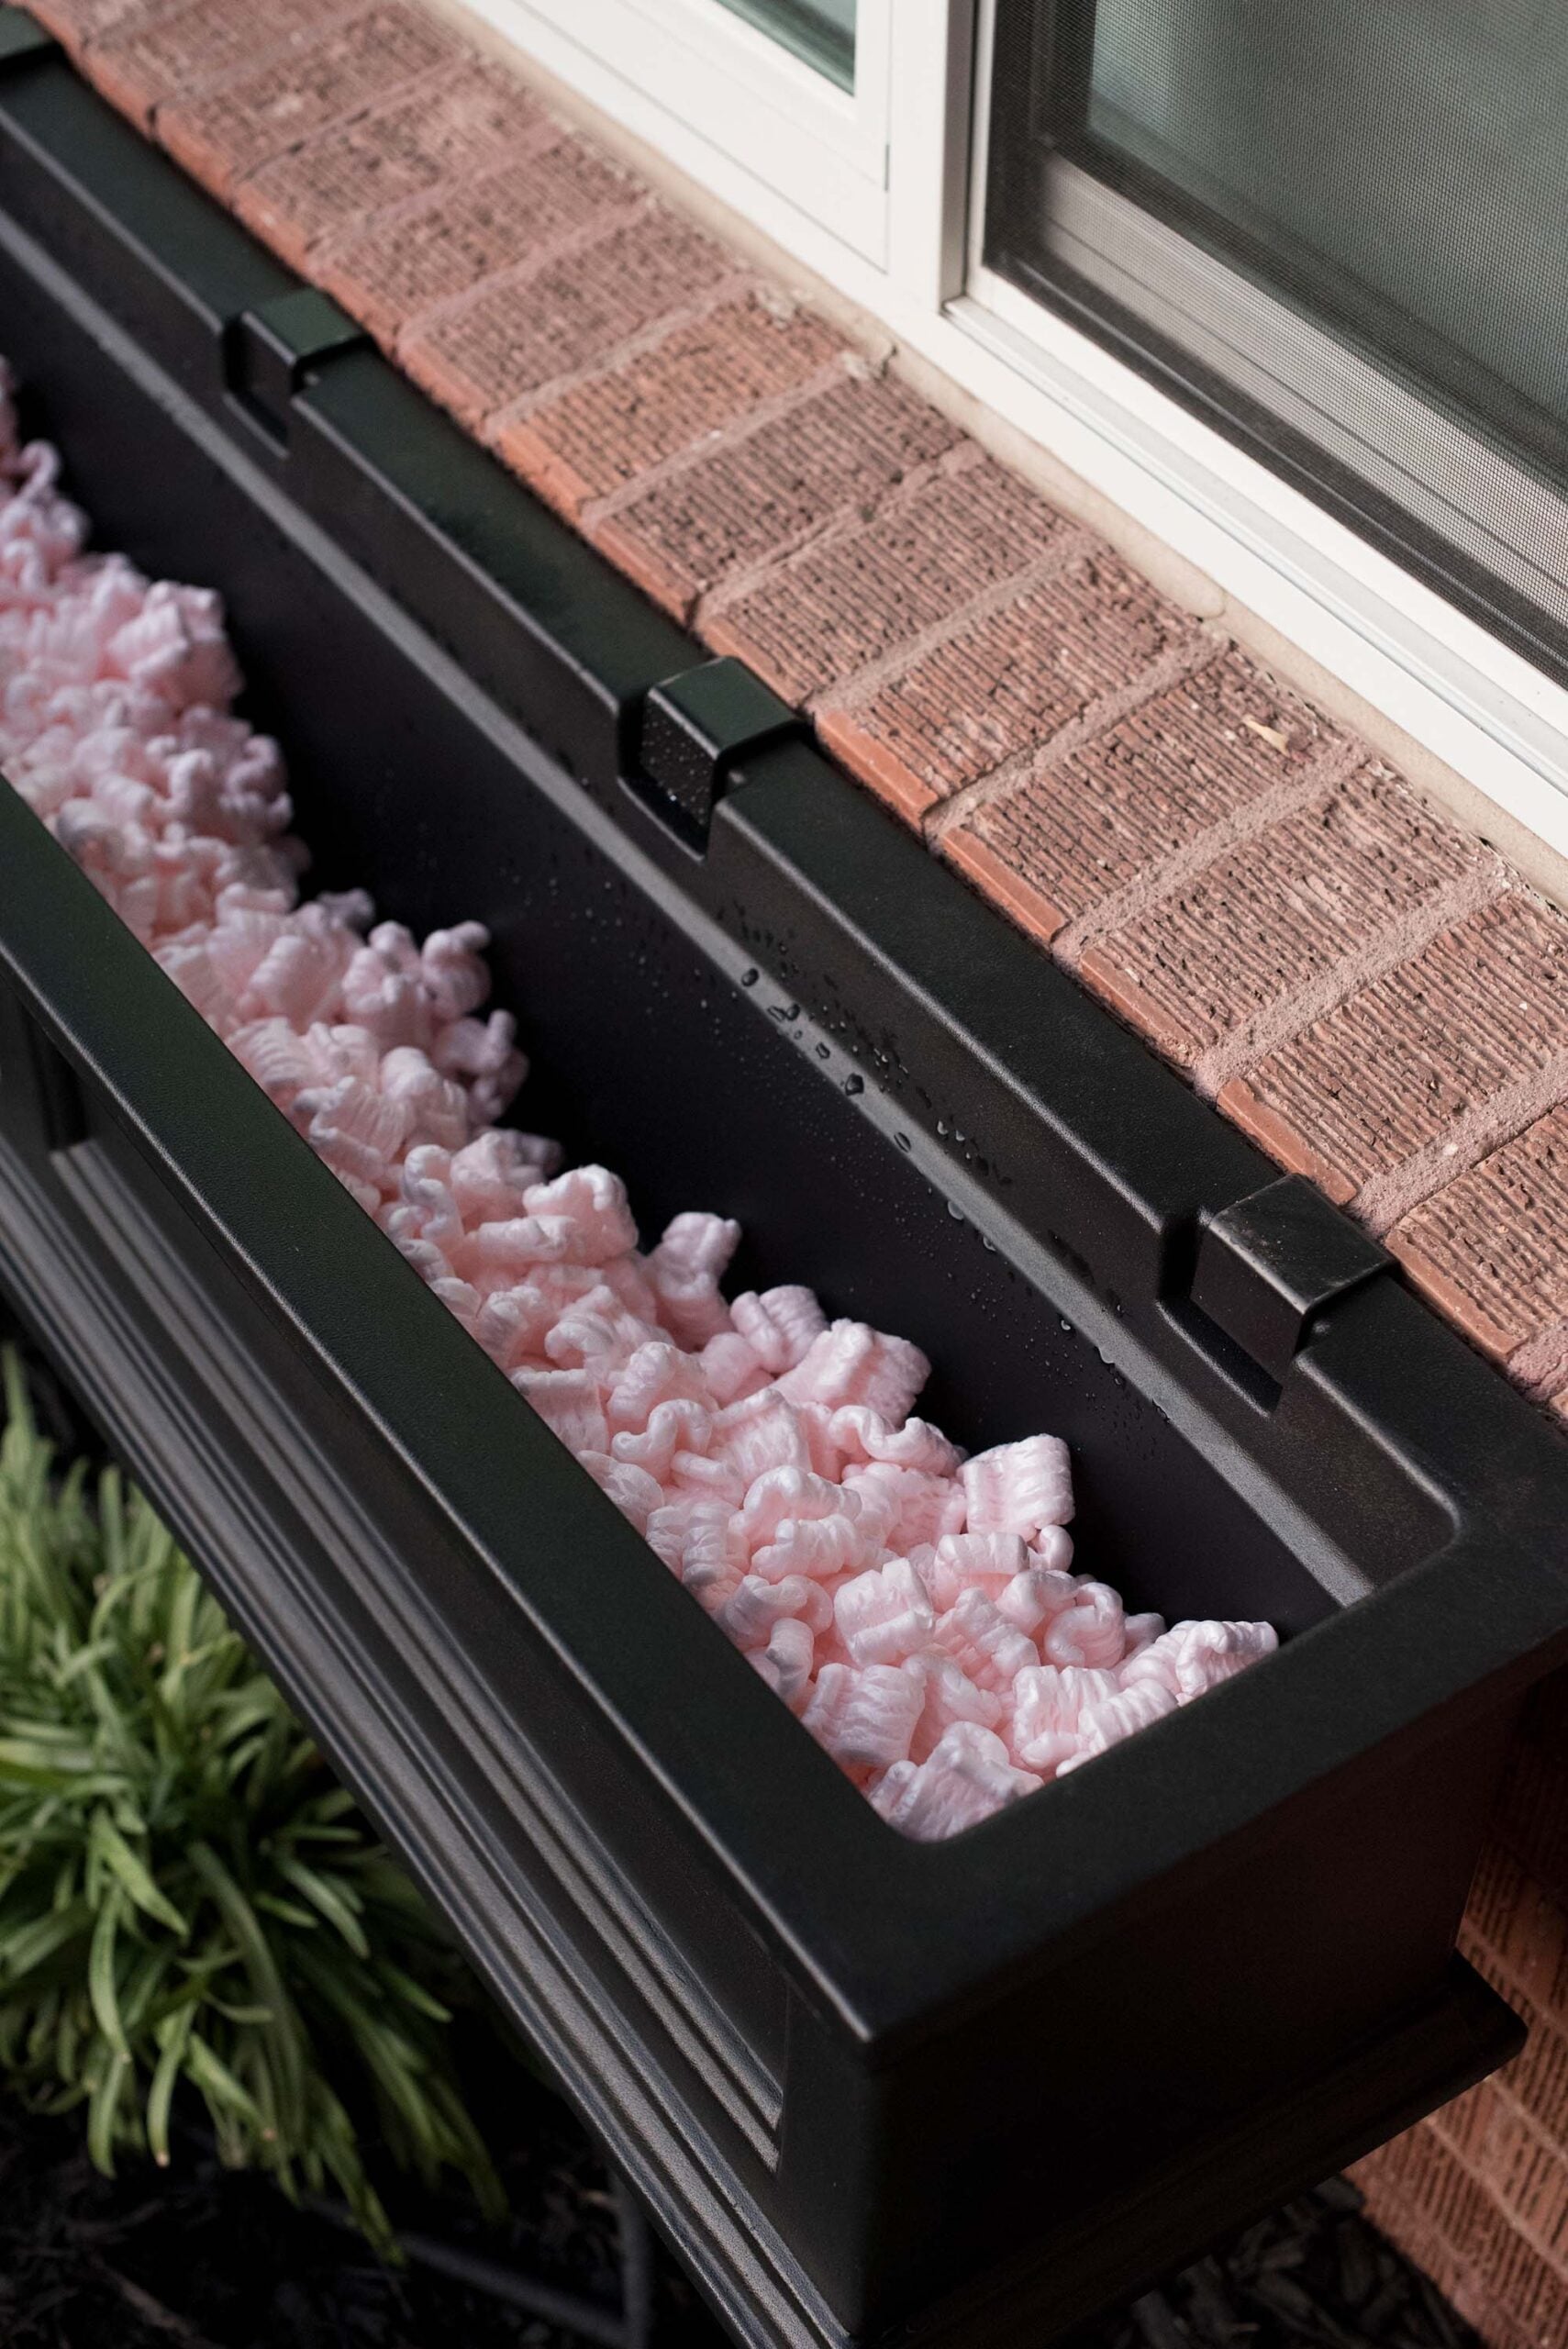
Before adding soil, fill the bottom two to three inches of the planter with non biodegradable packing peanuts, mulch, cardboard, or other lightweight recycled material. This reduces the amount of soil needed, improves drainage, and keeps the finished planter much lighter.
Step 15: Fill with Soil
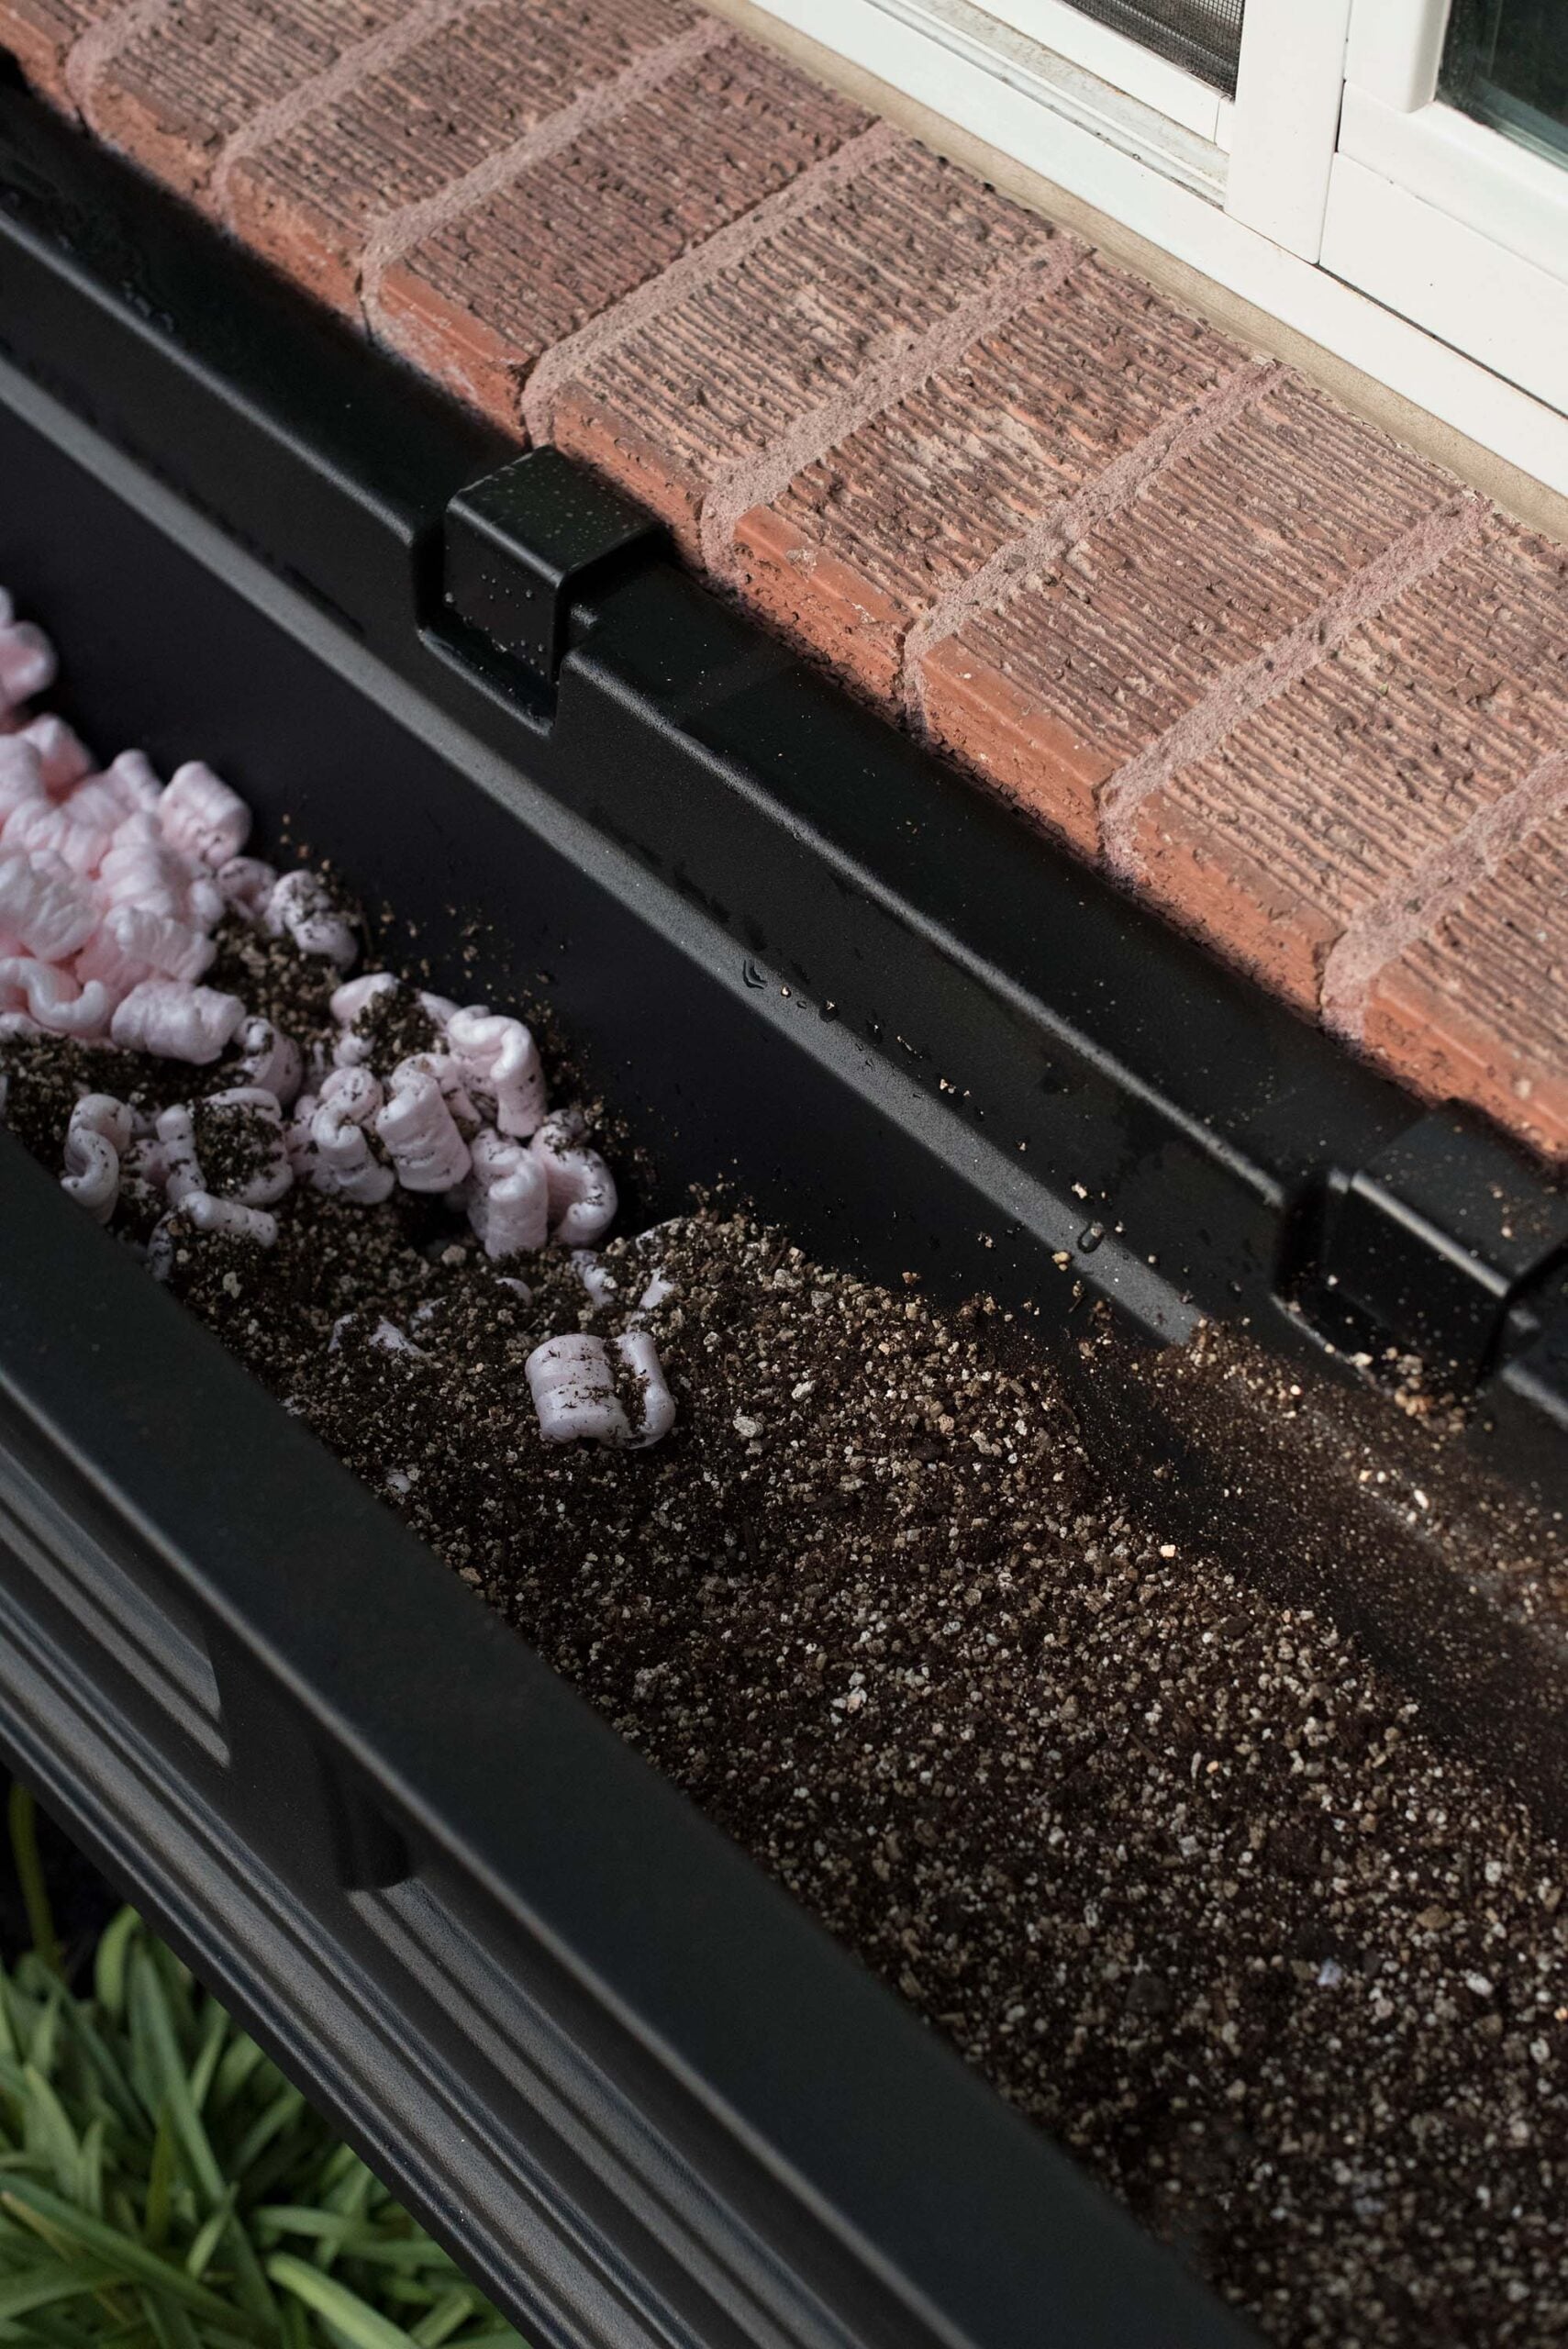
Once the peanuts are in place, add the soil mixture, leaving enough room for planting.
Step 16: Plant Your Flowers
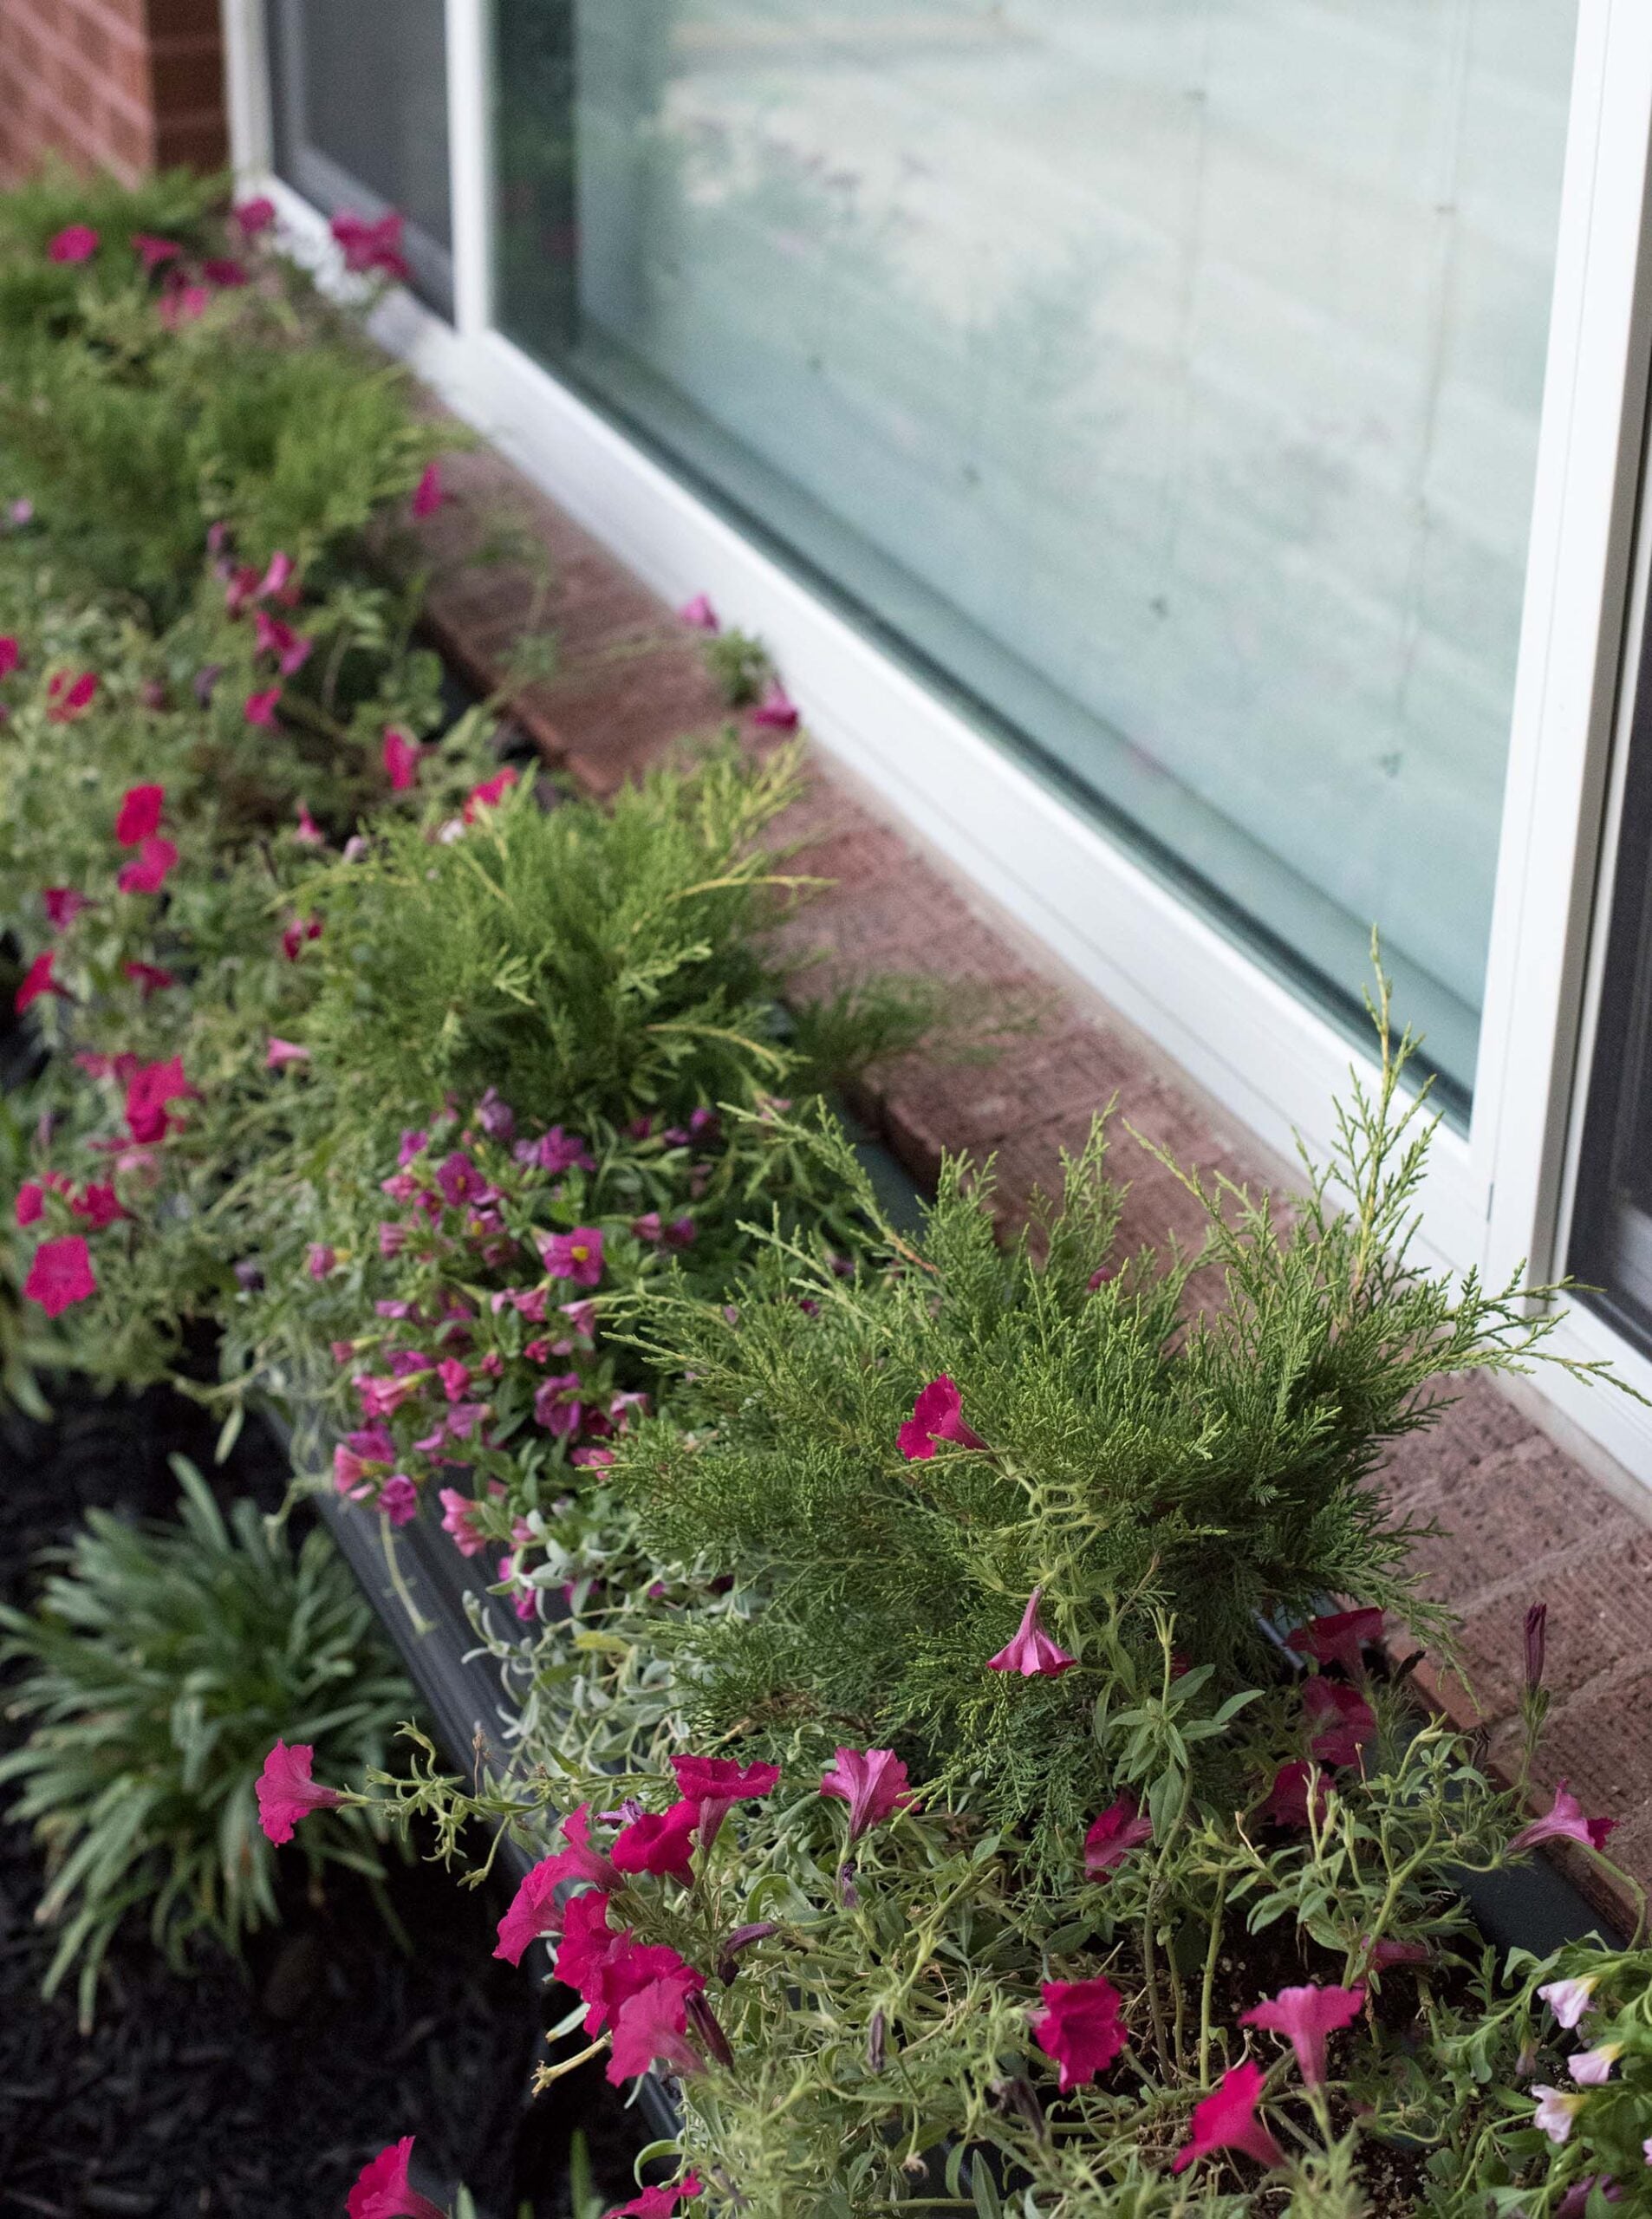
Now for the fun part: begin filling your window boxes with plants and flowers. For this project, I planted Snow In Summer, Calibrachoa, Supertunia Vista Fuchsia, and Old Gold Juniper. The combination provided a nice mix of trailing plants, vibrant blooms, and evergreen structure.
Watching everything fill in over the season was incredibly rewarding.
Planting Your Window Boxes
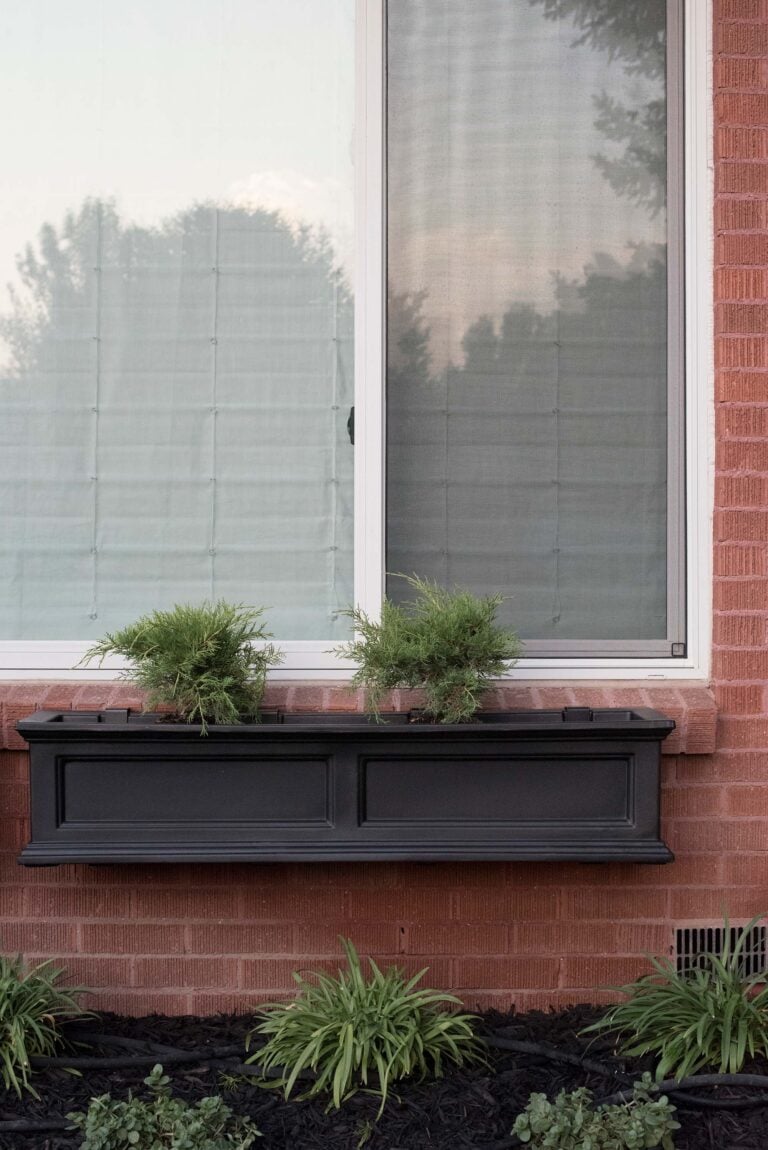
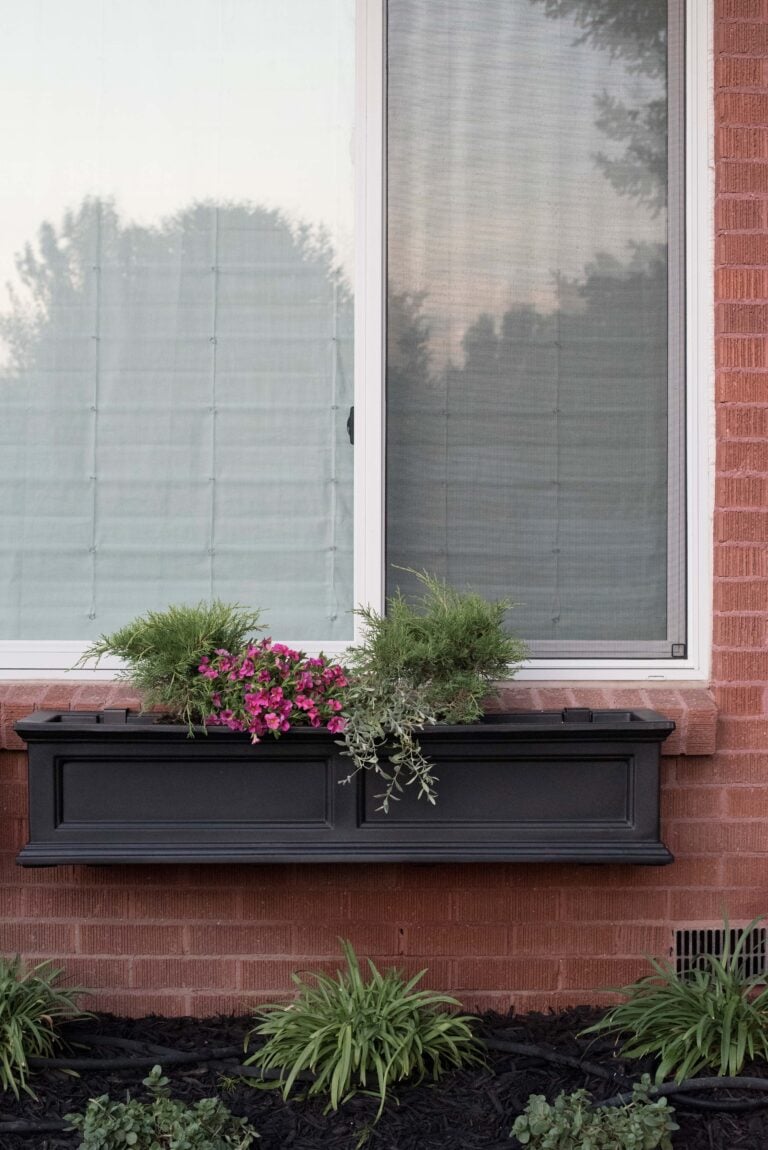
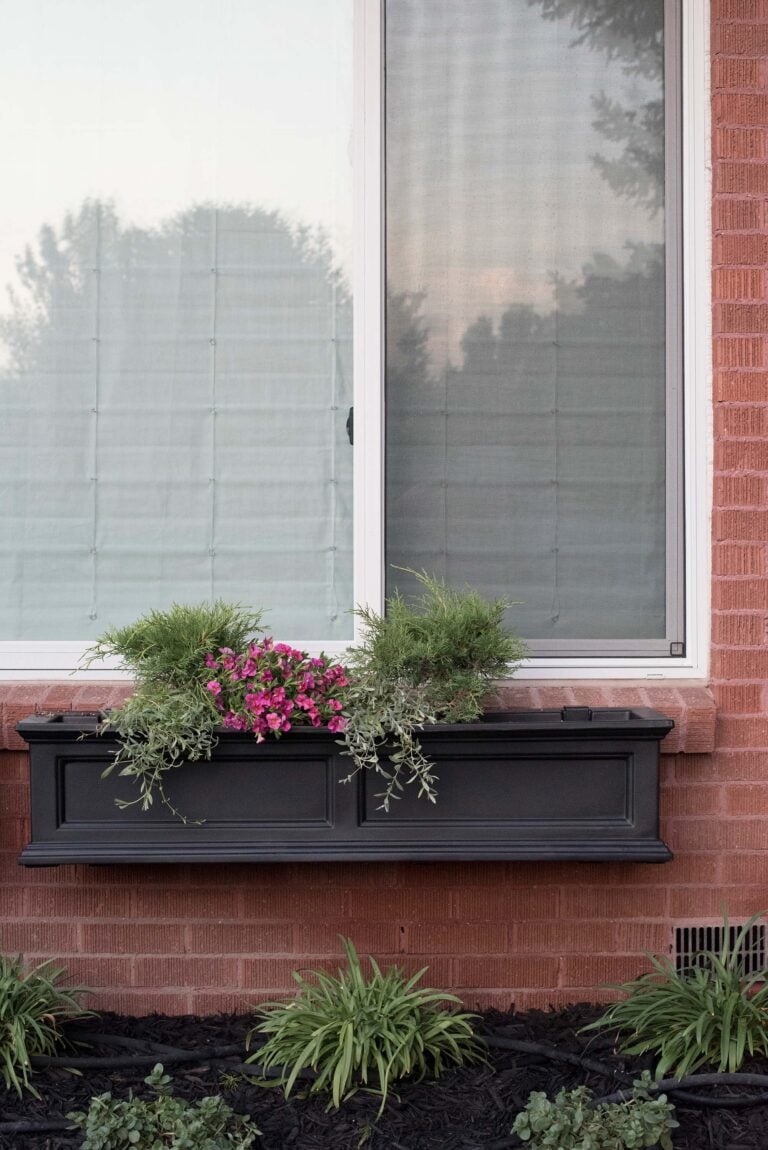
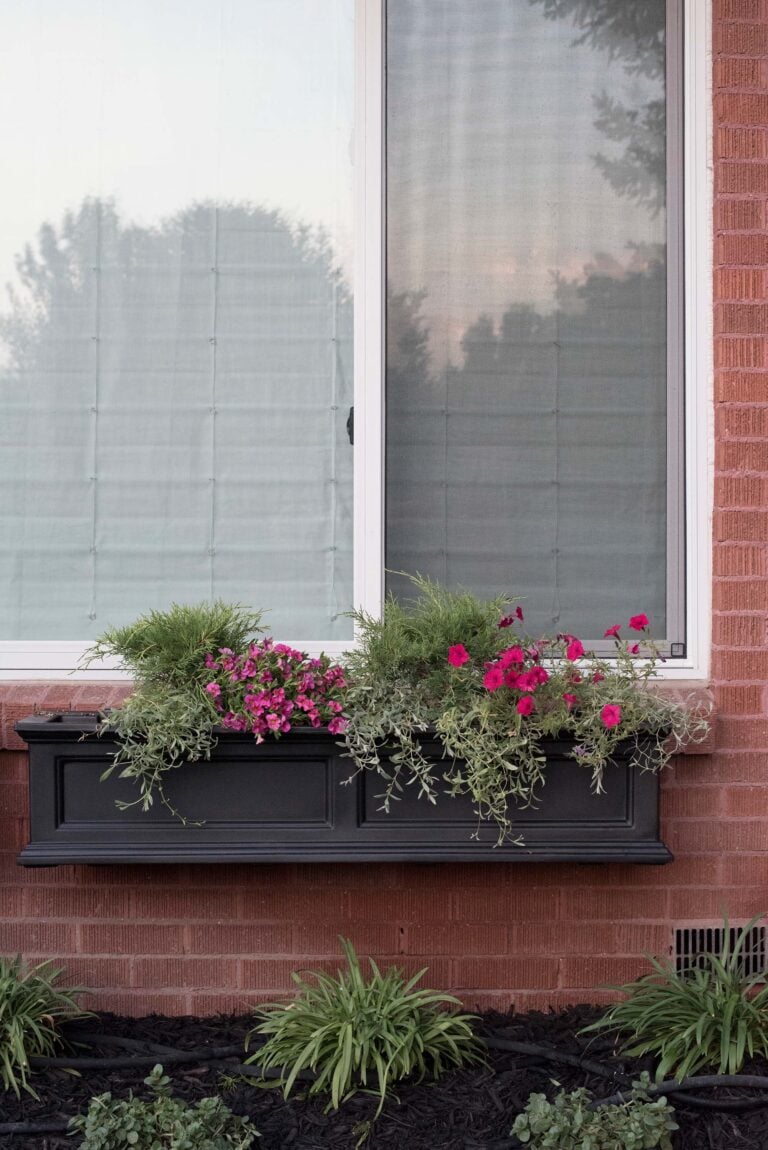
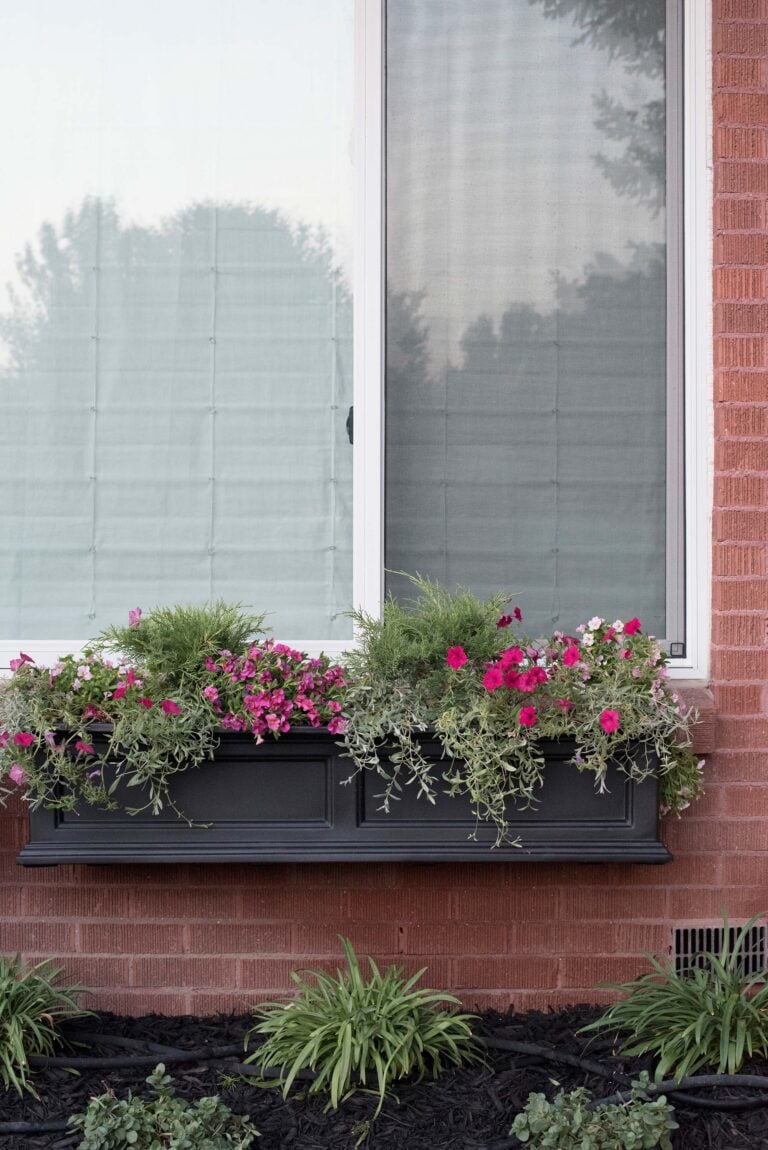
When planting window boxes, I like to work in layers. Start with an evergreen or structural plant that gives the arrangement shape. Mix in flowering plants for color. Finish with something that trails over the front edge to soften the planter. Repeating the same combination in every window box creates a much more polished and intentional look than using different plants in each one.
Designer Tips for Beautiful Window Boxes
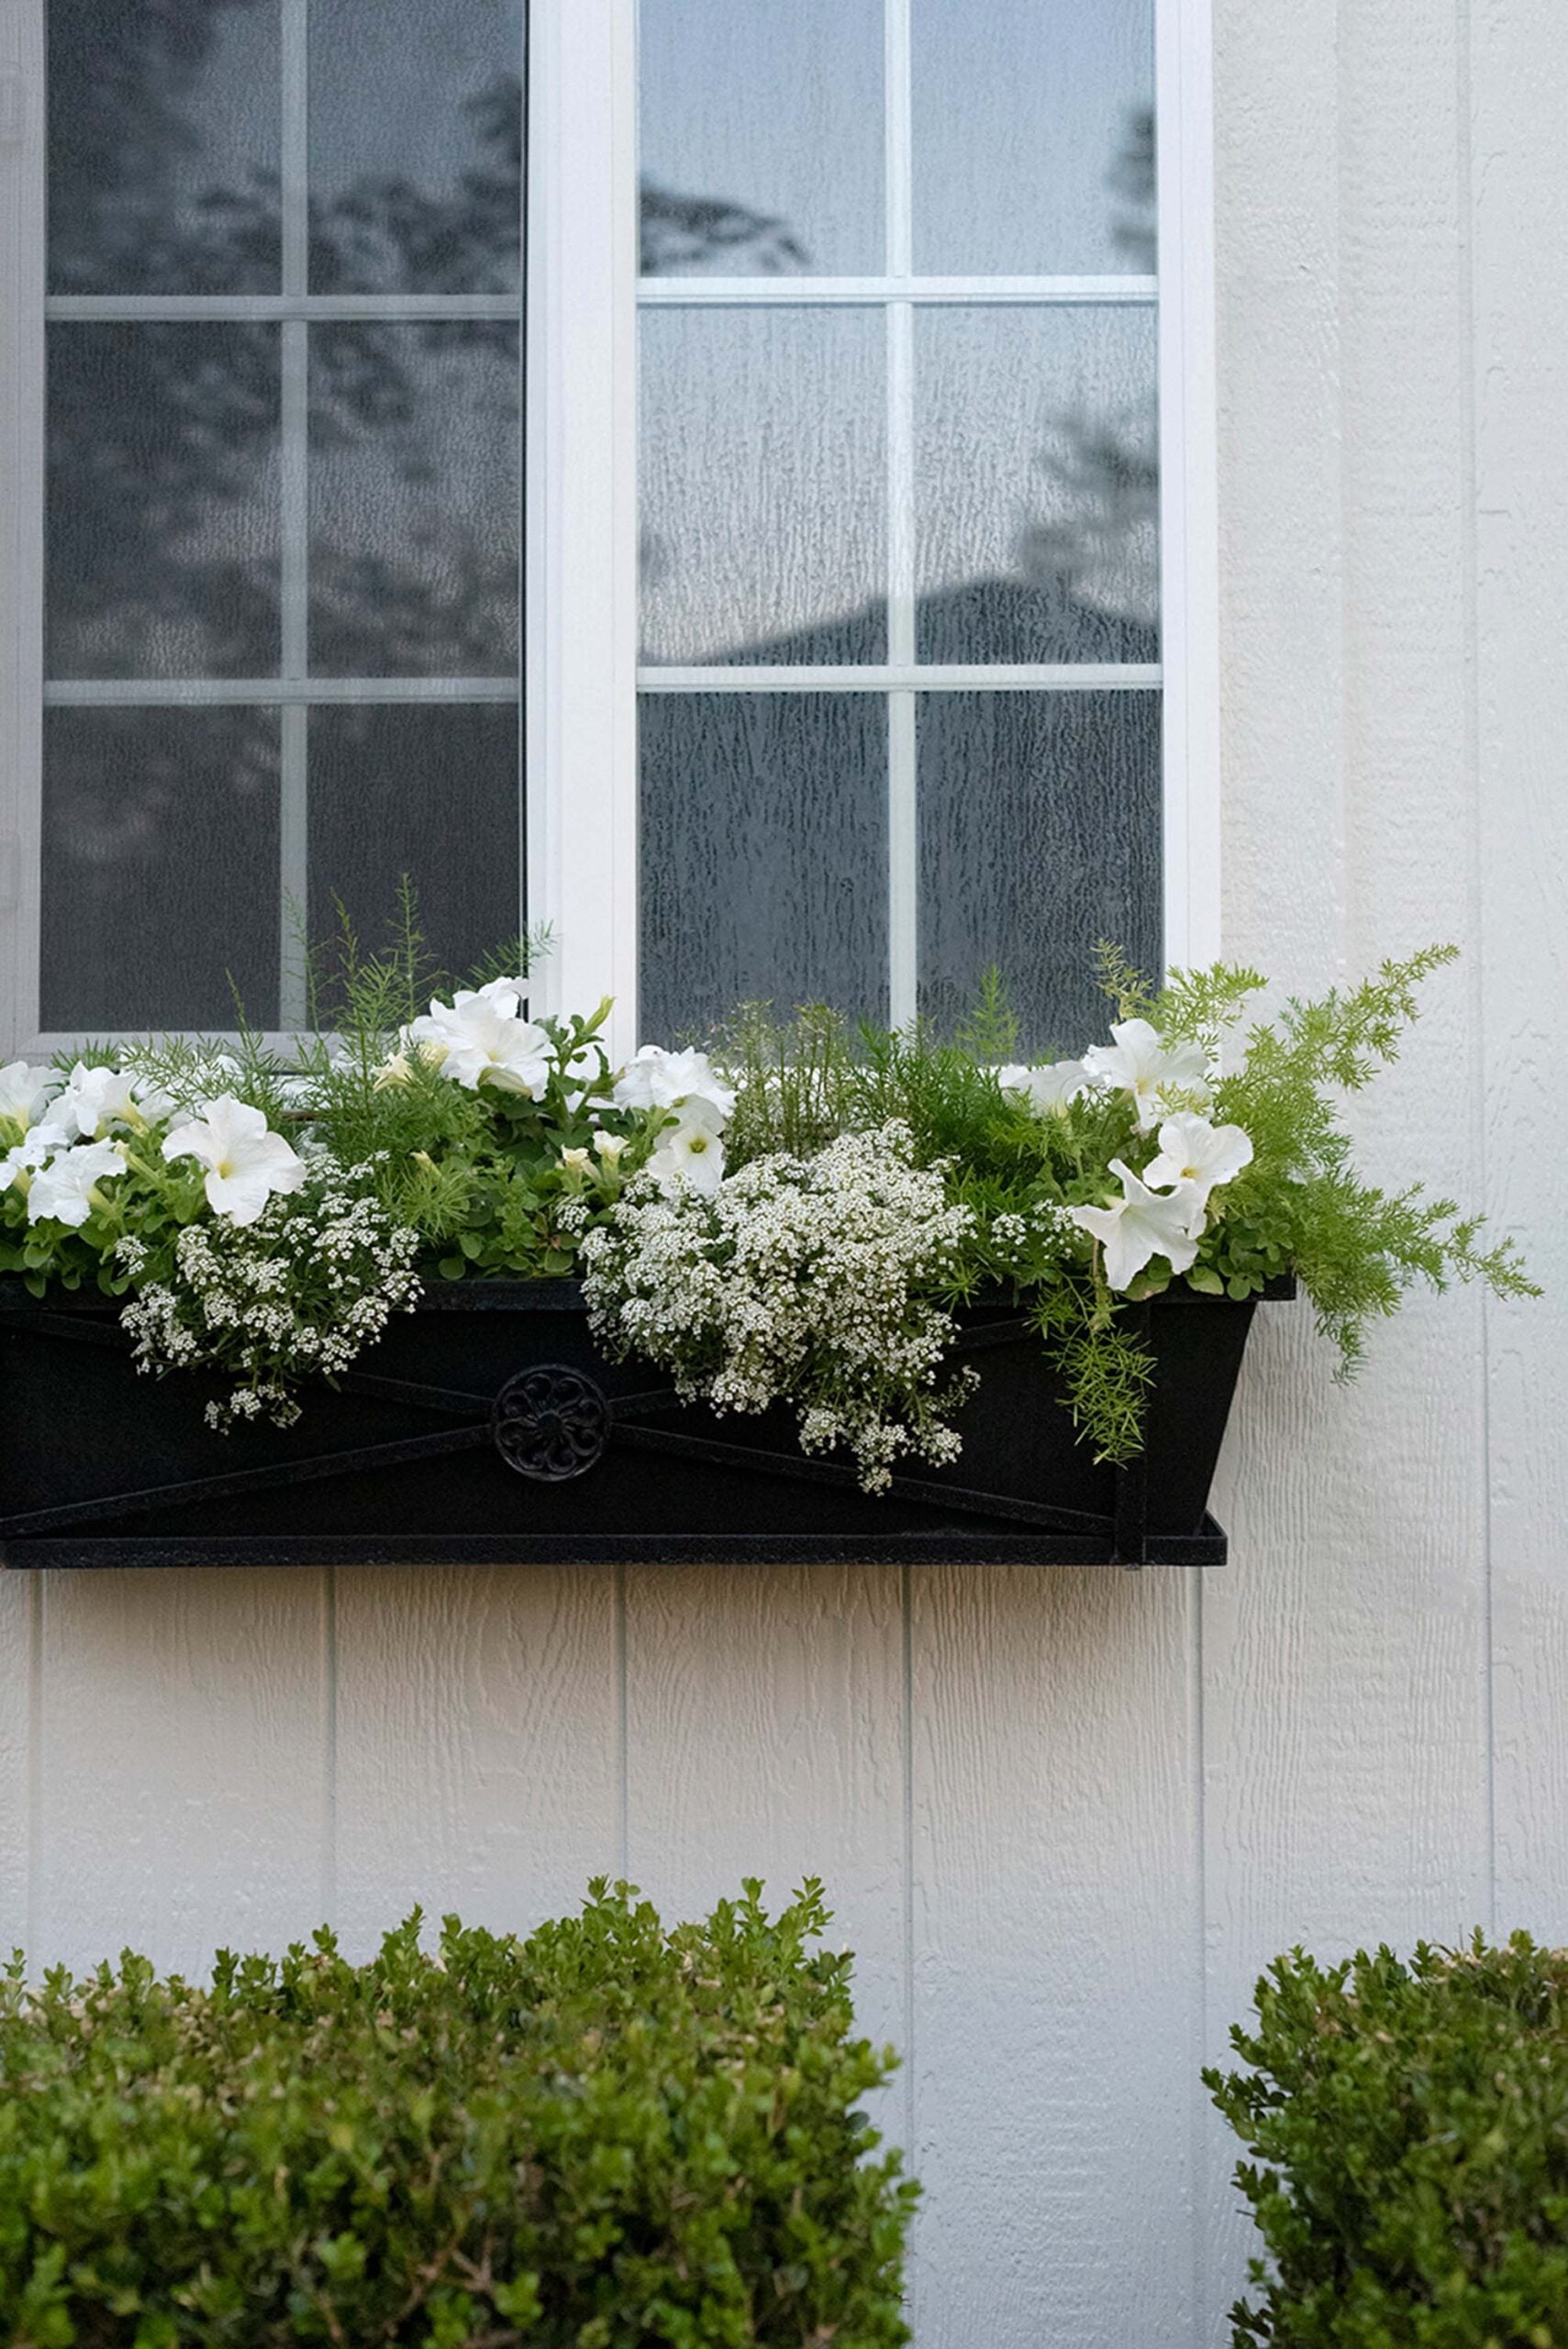
Window flower boxes look best when they feel like part of the architecture rather than an accessory. Keep the spacing consistent from window to window. Avoid overfilling them on planting day. Giving flowers room to grow almost always produces a prettier arrangement a few weeks later. Choose a restrained color palette instead of mixing every flower that catches your eye at the garden center. I almost always prefer repeating two or three complementary colors rather than using everything available. Swapping seasonal flowers for evergreen branches, berries, pinecones, or magnolia leaves allows your window boxes to look beautiful long after summer ends. Here are my easy winter window box DIY with faux greenery and another fall window planter box.
Questions?
In my experience, yes. They’ve required far less maintenance during the hottest months and have held up beautifully over the years. Here is the Mayne self watering window box I used.
I generally recommend choosing one that’s about two thirds to three quarters the width of your window MINIMUM for the most balanced look- or the same size.
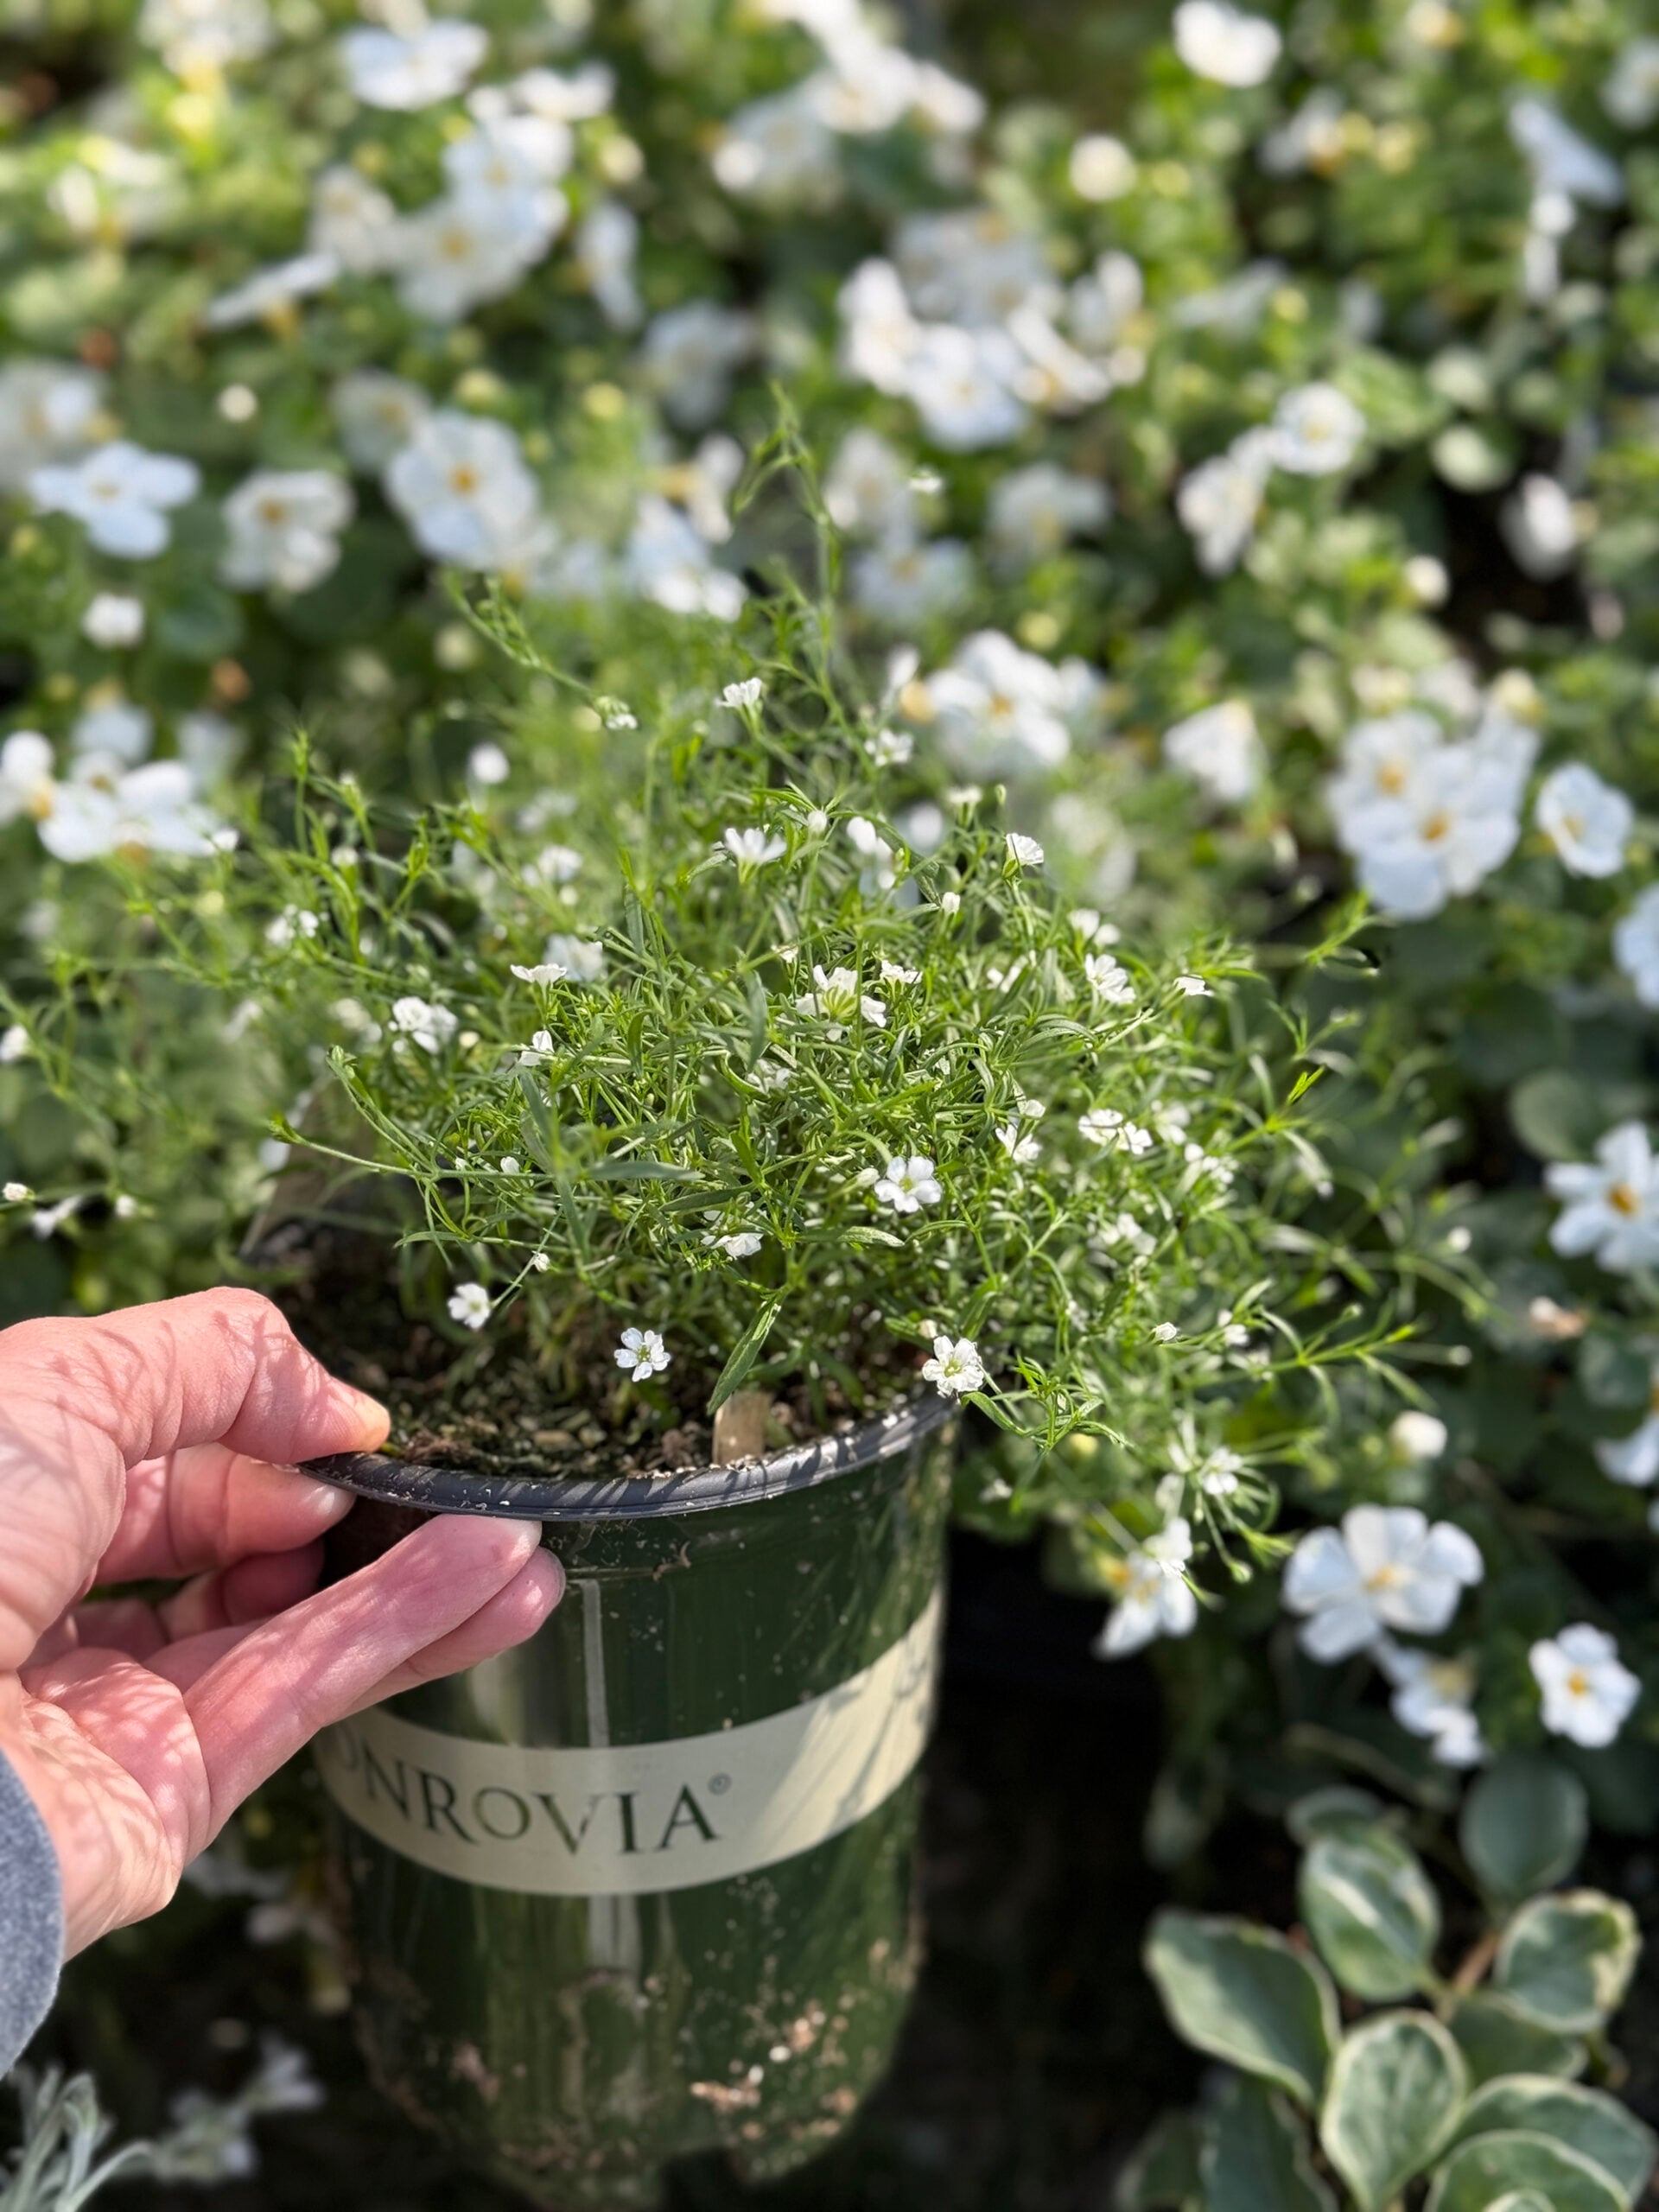
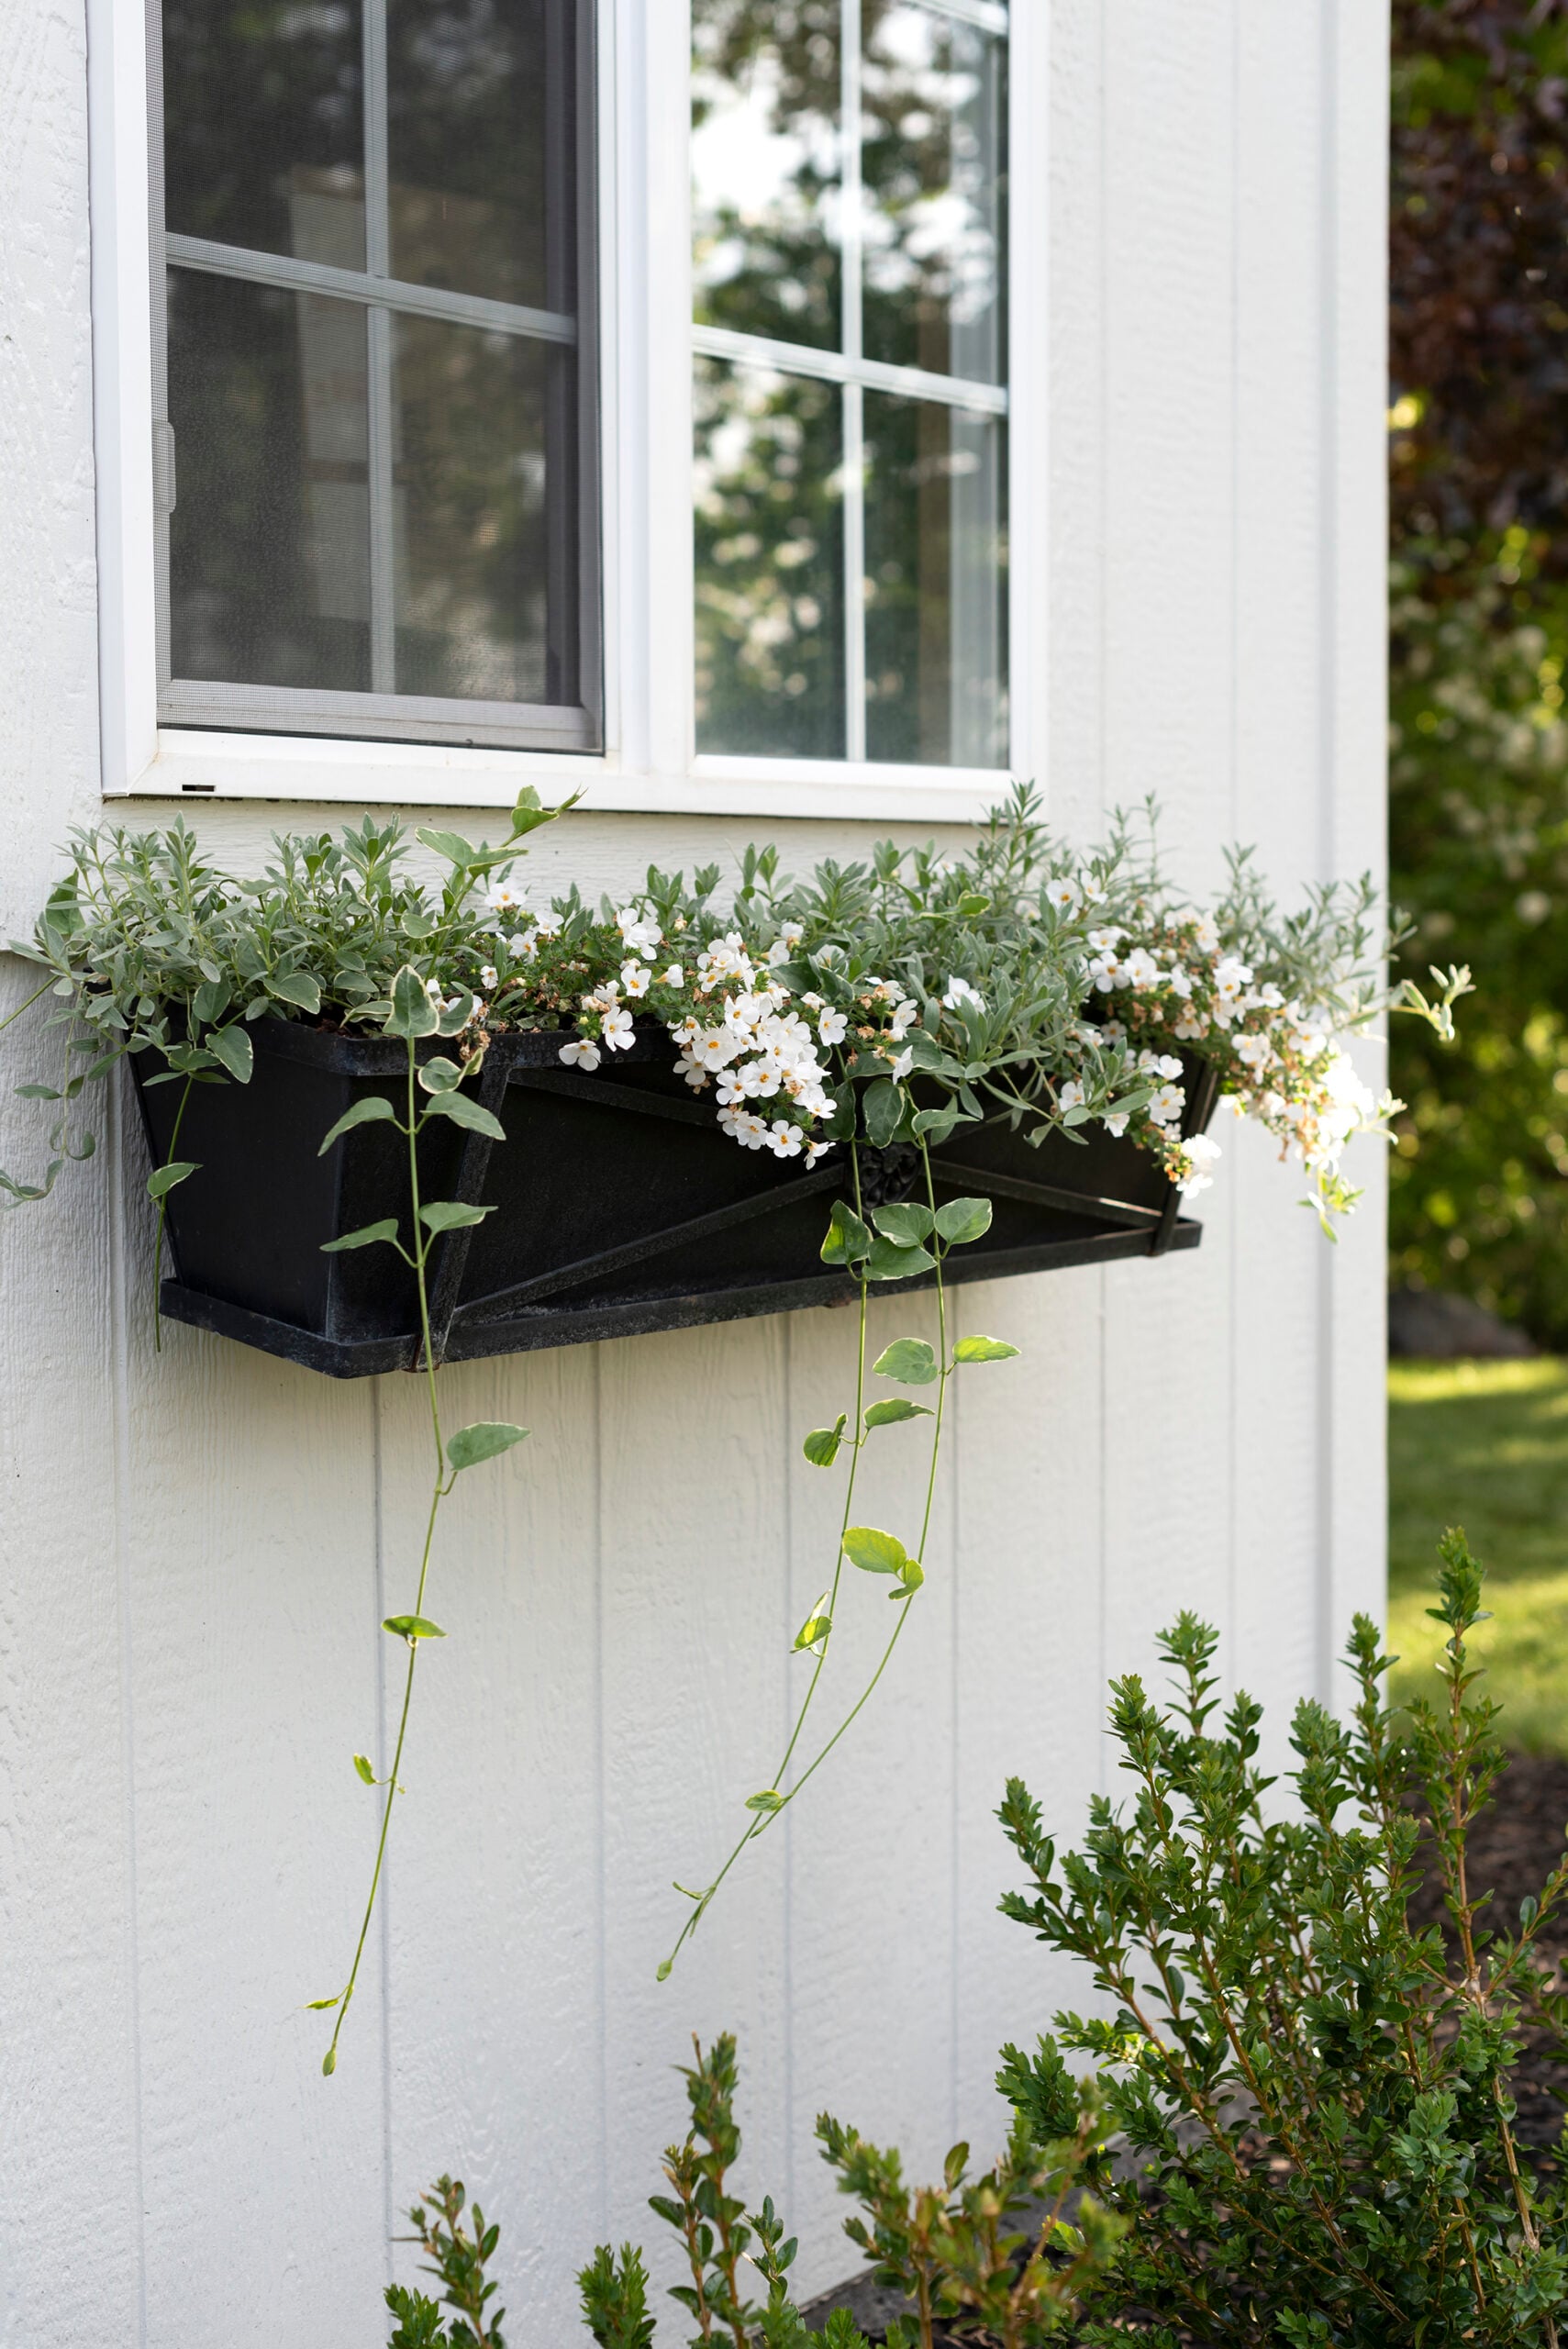
I love combining upright plants, flowering annuals, trailing varieties, and an evergreen accent. That combination gives you color, texture, and structure throughout the season. Bacopas are my favorite (pictured above.)
Costs vary depending on the window boxes you choose and how you fill it, but it’s one of the most affordable exterior projects we’ve completed considering how dramatically it improved our curb appeal.
Related Posts
Looking for more easy exterior projects to tackle this season? You might find some of the following posts helpful! Give these a read…
- The Best Fence Post Solar Lights for a Classic Look
- My Go-To Spring Gardening Essentials from Lowe’s
- How to Dress Up Your Door With a Classic Door Knocker
- Where to Install Outdoor DIY Solar Landscape Lighting
- 20 Things Every Outdoor Living Space Needs (According to A Designer)
- Wayfair Patio Finds I’d Buy Again
- Chic Garden & Landscaping Finds to Upgrade Your Backyard
- Our Cozy Tiled Backyard Lounge
Looking back, this is one of those projects that completely changed how I felt about our home. It made our big window look less clunky and added charm to our front exterior. It wasn’t the biggest renovation we’ve tackled, but it was definitely instant gratification. Every spring when I fill window boxes with fresh flowers, I’m reminded that thoughtful details often make the biggest difference. If you’ve been putting off your own curb appeal project like we did, consider this your sign to stop waiting. You’ll probably wonder why you didn’t install window flower boxes sooner. As always, if you have any questions, leave me a comment below! I’d love to hear what you think. I know this post was long, but I wanted to share detailed instructions for every single step. It’s a really simple DIY that takes minimal effort- even if you’re drilling into brick.

They look smashing! I think all those steps might only seem simple to you guys, though. Will you run some drip lines up to the boxes or water by hand? I’m not sure how “self-watering” works.
Thanks, Peggi! It’s really not as difficult as it looks- I promise. I just wanted to take a million photos so each step was very clear. We’ll water by hand, but the planter is also self watering. Basically it has a reservoir that releases water as needed… it’s actually pretty genius and saves us from watering everyday in the crazy Utah heat (and drought). We’re using soaker hoses for the bottom raised bed though…. at least until everything is well established. xo
Love it! What kind of plants did you use for the landscaping? I’ve been looking for some good landscaping inspiration.
They’re all linked in the post, Emily! Just scroll on up and you’ll find all of the plants for the flower boxes and landscaping :)
Where did you get the brackets? I’ve looked everywhere!!
Great question!! They come with the window boxes :)
Wher did you get the window boxes?
They should be linked in the post! :)
Hi,
Thank you for sharing your experience. You flower boxes look beautiful.
I am planning to hang the same flower boxes but am afraid to damage my brick wall. What length tapcons would you recommend to avoid drilling completely through and out of the brick?
Were you concerned with the weight of the box damaging bricks or water getting in?
Your advice is much appreciated.
Regina
I was wondering the same thing. Flower boxes can get very heavy and bricks do not have a lot support in the horizontal direction (i.e. with force pulling them away from the wall). I am considering a similar project but I don’t know if I need to be worred about the bricks pulling away from the wall in the long term.
I would love to see how you remodeled the inside of your home, too! We have the exact same brick!!!
Thanks, Phyllis! You can see that home tour here: https://roomfortuesday.com/utah-home-tour/ … we’ve since moved onto another home, but I loved this place!
I have an extra long front window like yours. Is there a design reason you went with two boxes instead of one long one?
I just liked the look of two… it breaks up the window nicely!
Good morning! I’ve always adored flower boxes- and yours offer so much charm to the exterior. I’m glad this post clearly showed your ledges. Mine are pot shelves that are extremely deep. Is it possible to put window boxes on pot shelves? This is one aspect of our exterior I’ve never done a deep dive on (surprisingly). You may have sparked some curiosity. I love the idea of our pot shelves enhancing the exterior appeal of our home, but don’t really know where to start. Pinterest maybe? I’d love to know your thoughts. I hope you’re having a fantastic week!