How to Faux Paint a Vent Cover to Seamlessly Blend with Stone
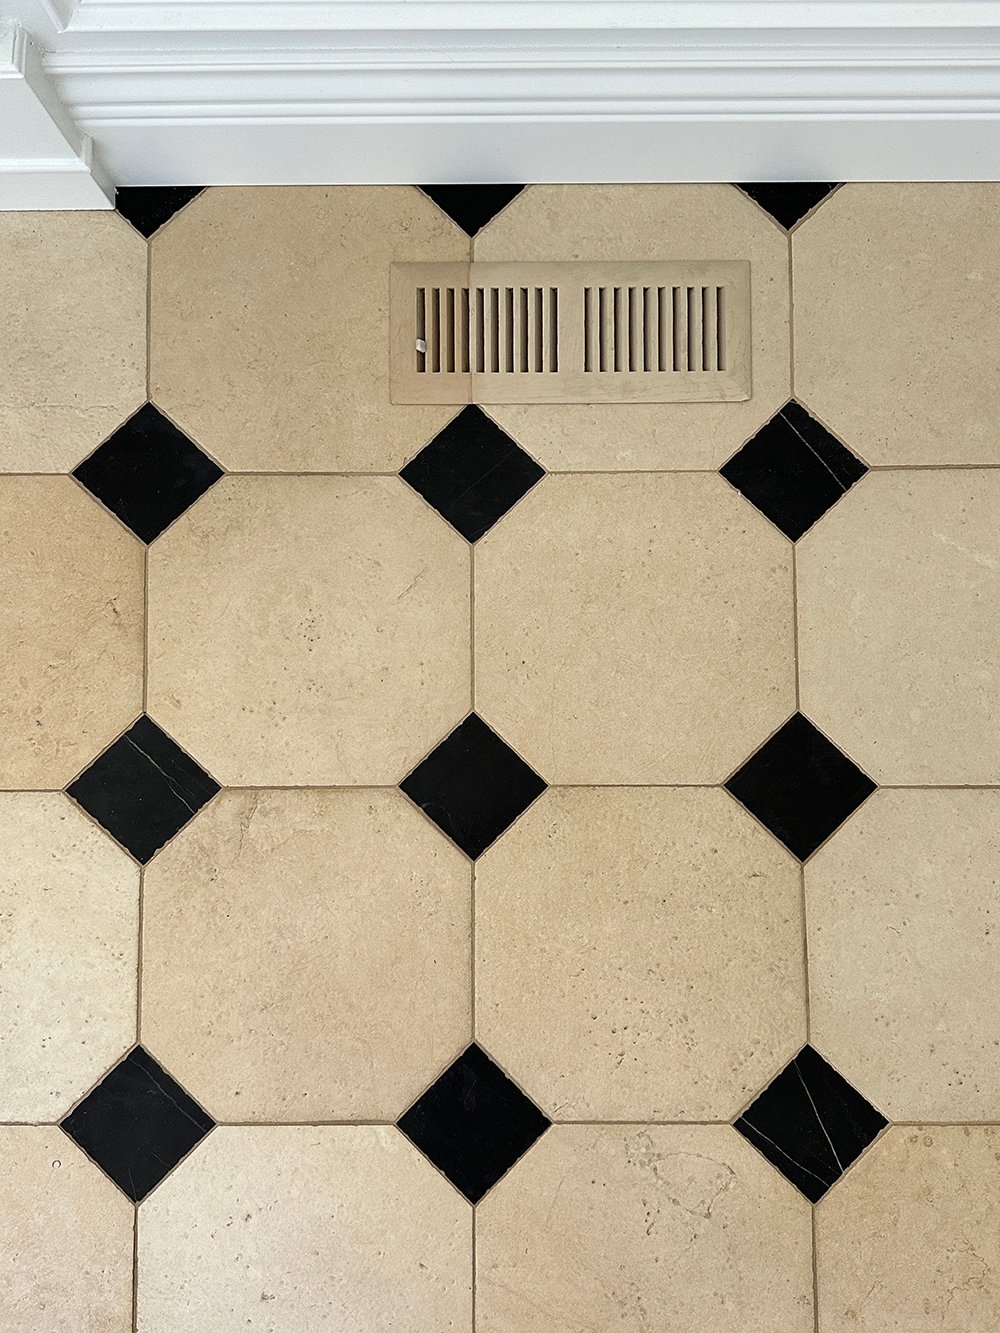
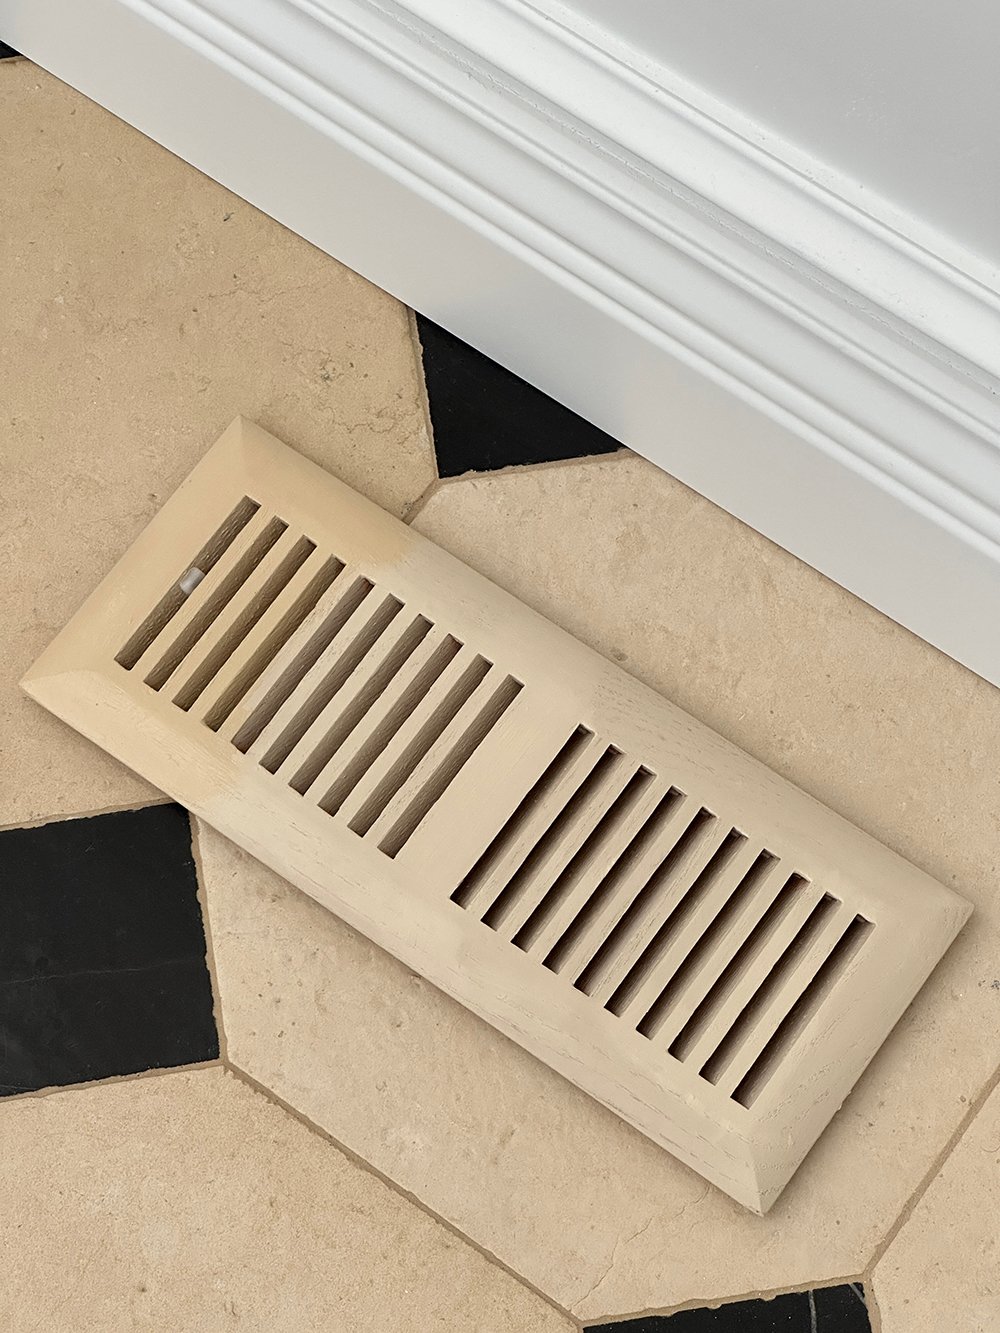
We’re hoping to wrap up our entryway renovation by the end of the month and that includes some pesky tasks at the bottom of our punch list… little things we’ve been putting off. One of those tasks includes painting our air returns and vent covers. All of them felt intuitive, in regard to selecting the best color or finish, except for the one vent that lives atop our gorgeous limestone flooring. Initially, I ordered a metal cover and that felt out of place. Next, I considered a custom stone cover, but it seemed too bulky and too far out of budget. I finally decided to faux paint a wood register vent that looks like limestone, perfectly matches our one-of-a-kind tile, and is lower profile. If you’re facing a similar dilemma, click through for a complete tutorial on how to faux paint a vent cover to seamlessly bend with stone!
If you’ve missed any of our entryway renovation, be sure to check out the following posts (in chronological order below) to catch up… as the big reveal is coming soon!
- Entryway Renovation : Before Images & Demo
- Our Entryway Tile + Alternative Options
- Entryway Renovation : Demo, Stair Parts, & Flooring
- Entryway Renovation : Millwork Details
- Entryway Renovation : Millwork & Electrical
- Entryway Renovation : Painted Stripes
Why Faux Paint a Vent Cover?
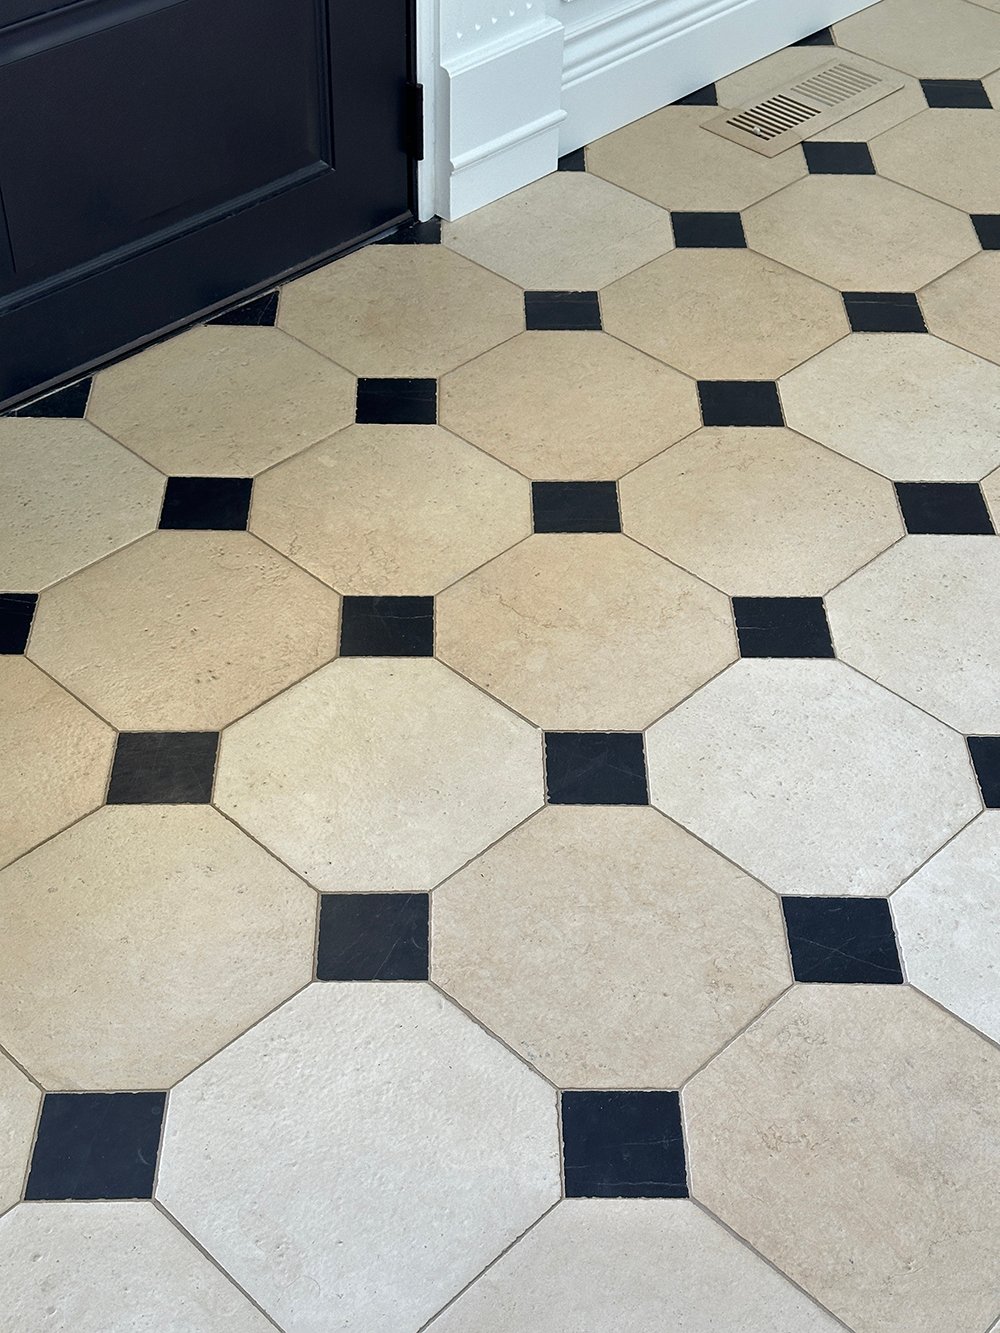
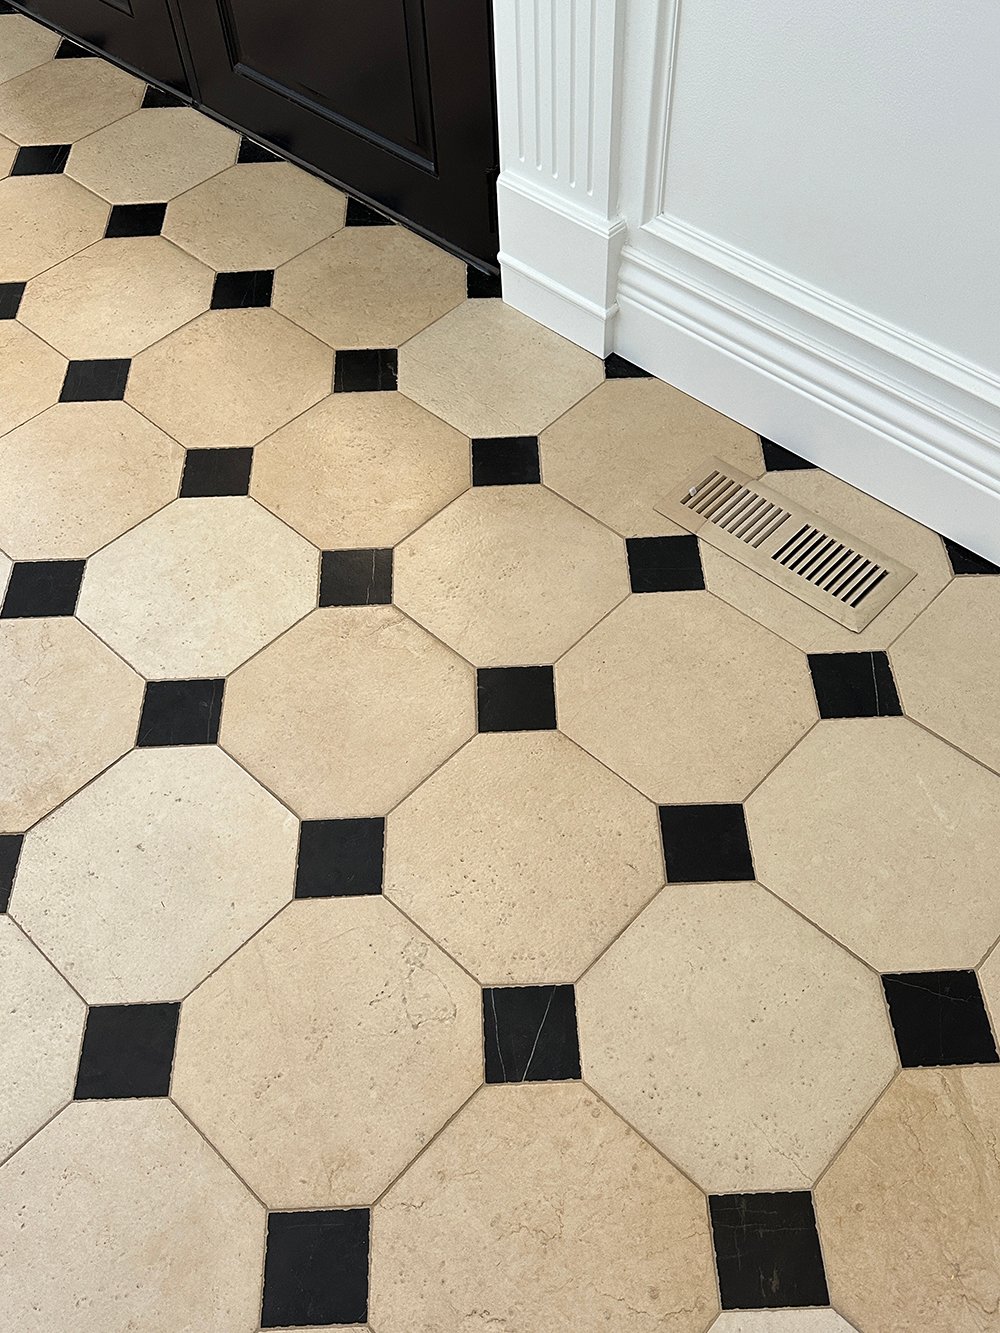
In my situation, the black metal or iron cover felt too busy with our tile. The alignment didn’t look very good and the high contrast aesthetic was bothering me. I also considered an expensive limestone option, but given it’s a natural material and varies, there was no guarantee it would match our flooring. That option also felt clunky. I wanted something that would seamlessly blend and essentially disappear- rather than demand attention as a focal point. The low profile of a wood register was ideal, so I decided to faux paint the wood to look like the tile it covers.
Supplies
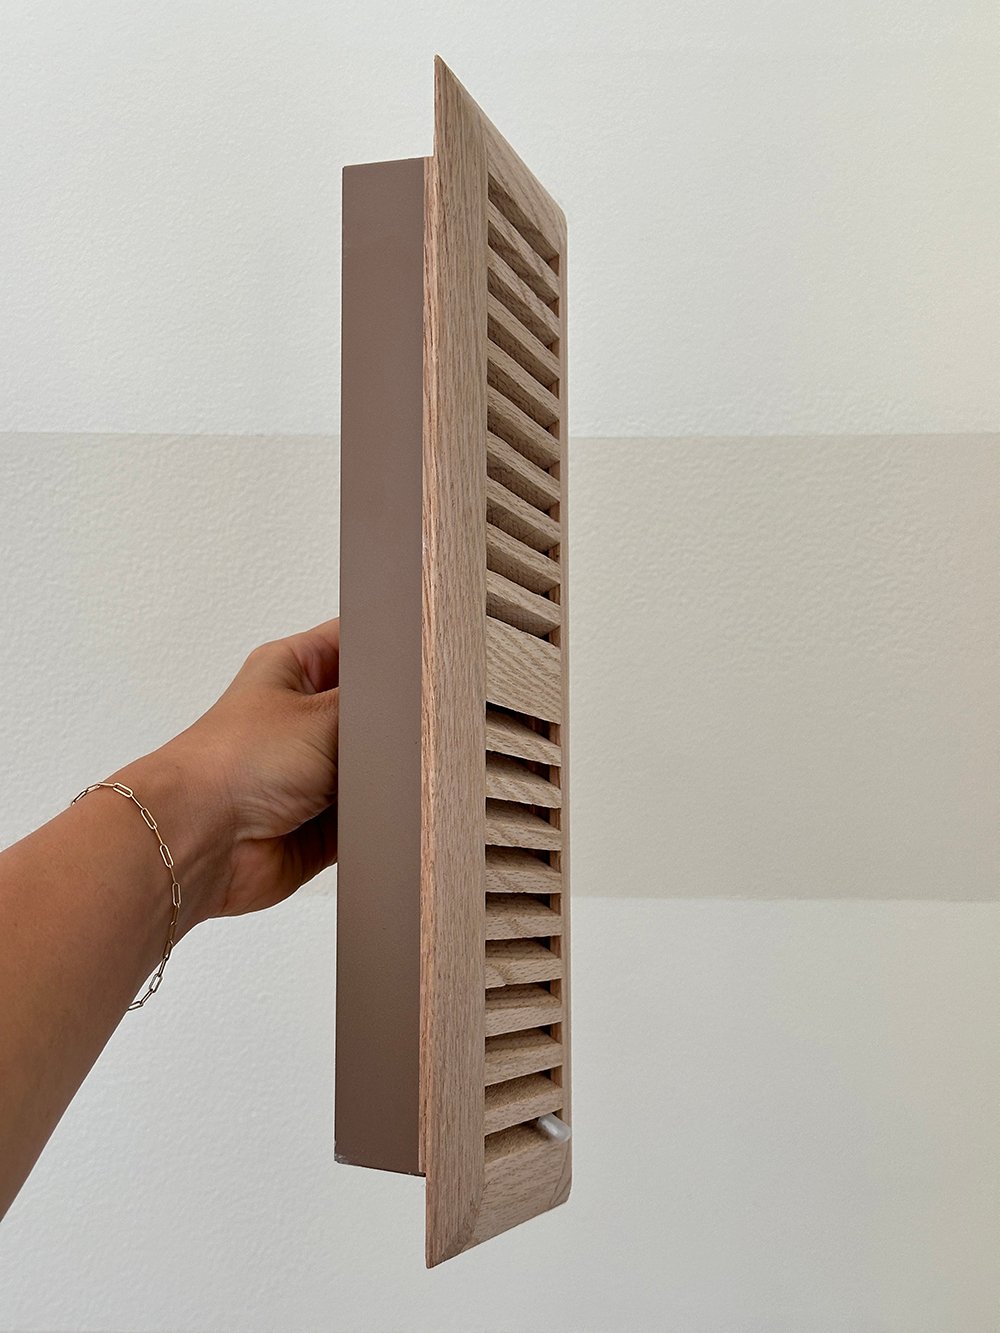
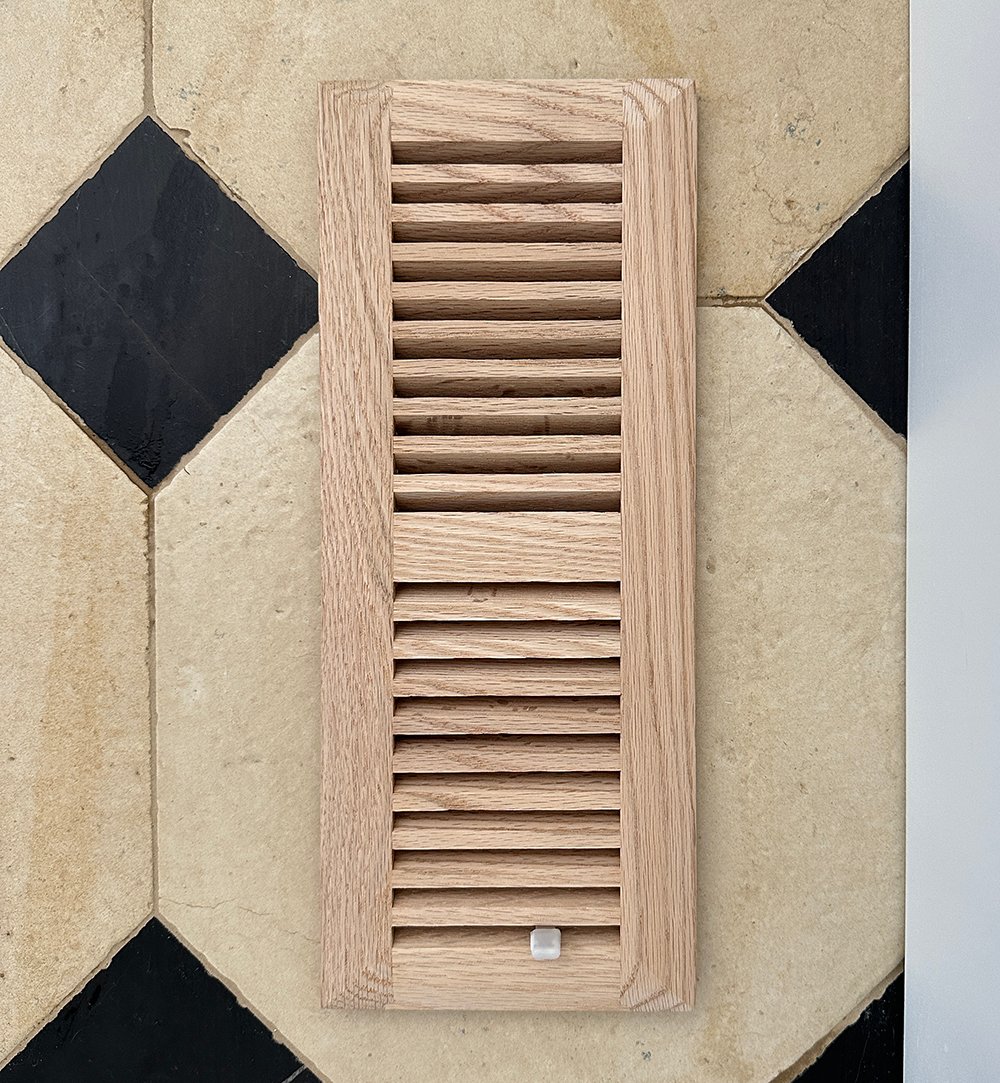
The good news is… simple wood register covers are inexpensive, making this project very affordable. This one cost me less than $40 and is made of red oak. It’s also a standard size (4″ x 12″). Here’s what you’ll need:
- Wood air return or vent cover
- Acrylic paints
- Palette knife
- Cup of water
- Towels
- Paper plates or palette for mixing
- Brush set
- Clear coat or sealer (if preferred)
Mix the Main Color
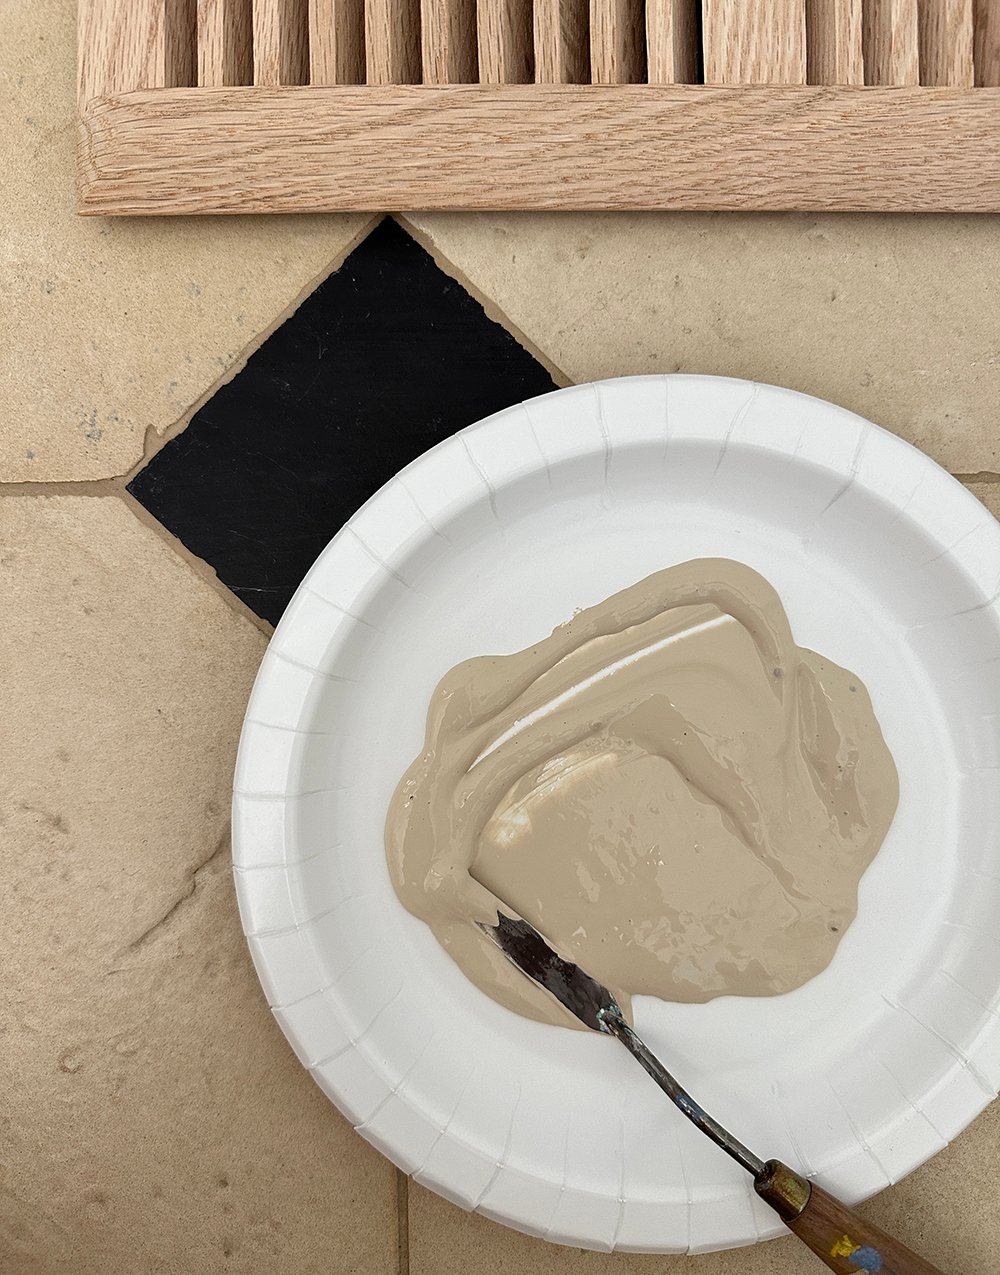
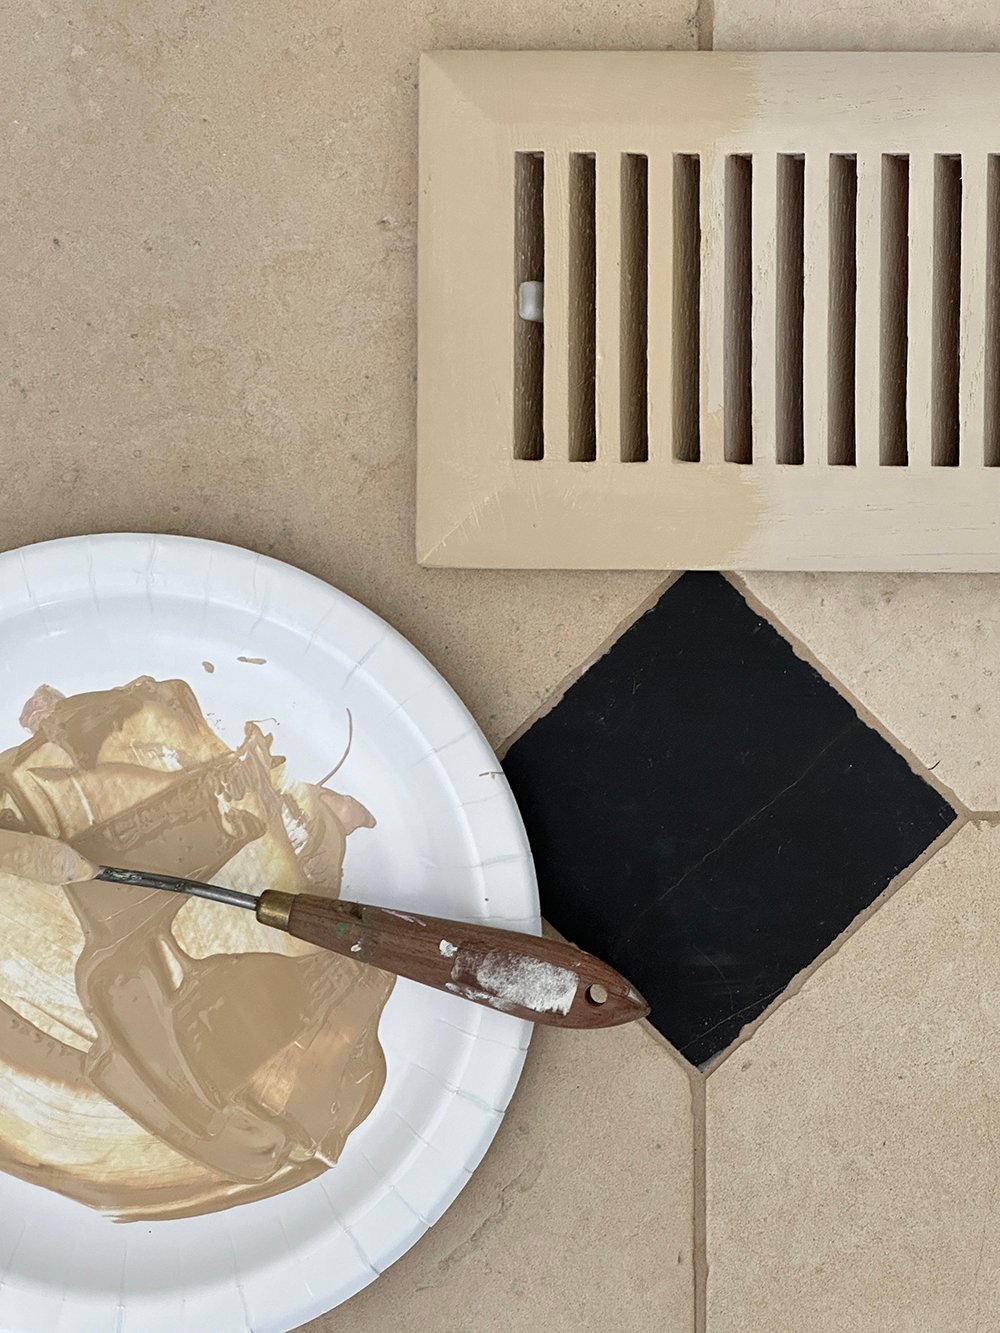
If you’re not an experienced paint mixer, I’d suggest grabbing a bottle of acrylic paint that looks close to the color of your stone or tile… then you can adjust it as needed. The first color you’ll need to mix is your base color. Mix a lot of this one, because you’ll use this base to mix all of your colors.
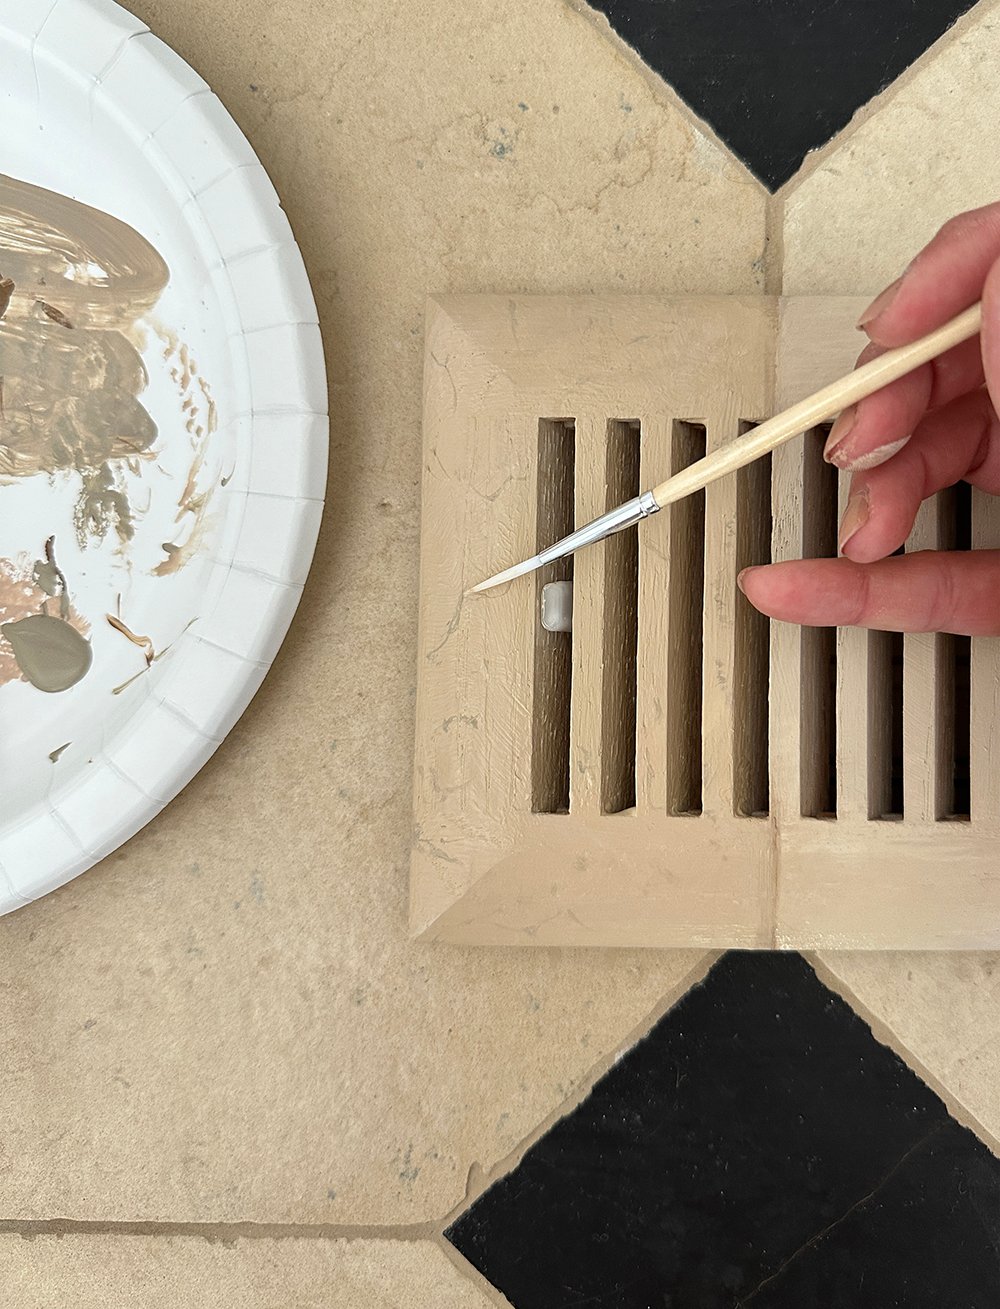
If you’re trying to match a color and texture, I think it’s much easier to faux paint next to whatever it is you’re trying to replicate. Therefore, I painted the cover in place, but not fully installed or pushed down. It was floating an inch or two above the floor, which made it easy to paint all sides, simple to see the texture & color beneath it, and allowed me to get an accurate color match. If you’re able to sit on the floor and paint your vent cover, I highly recommend this method! Otherwise, grab a spare tile and do your best at a table or workstation. We just have so much variation in our limestone, this was easiest.
Apply a Base Coat
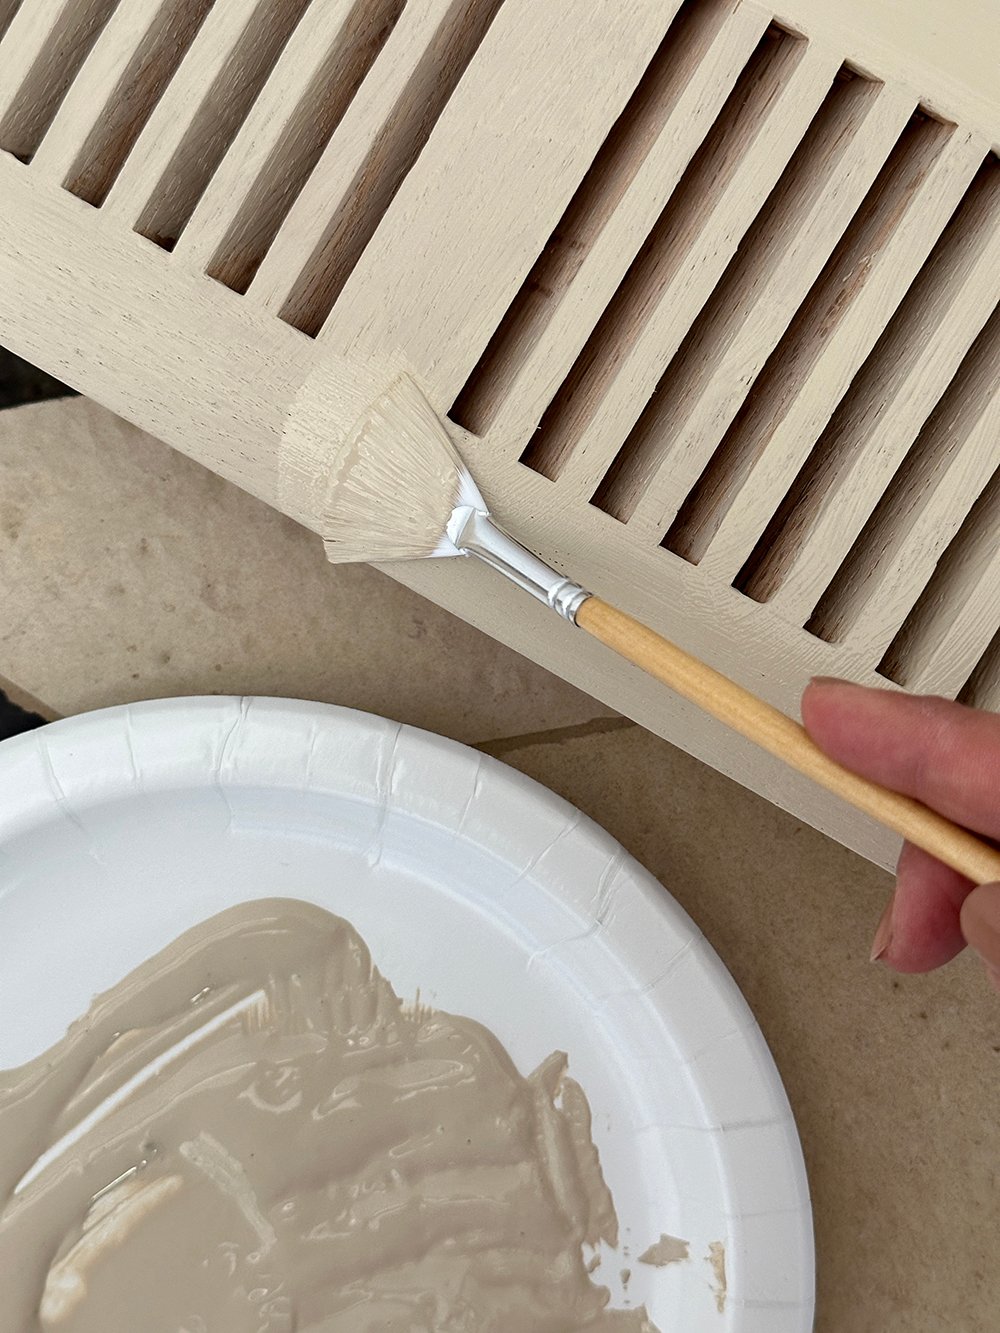
I think a fan brush is easiest to apply the paint because of the flat shape… you can easily get into the louvers. Apply the base coat to the entire vent cover, allowing it to completely dry.
Make Adjustments to the Main Color
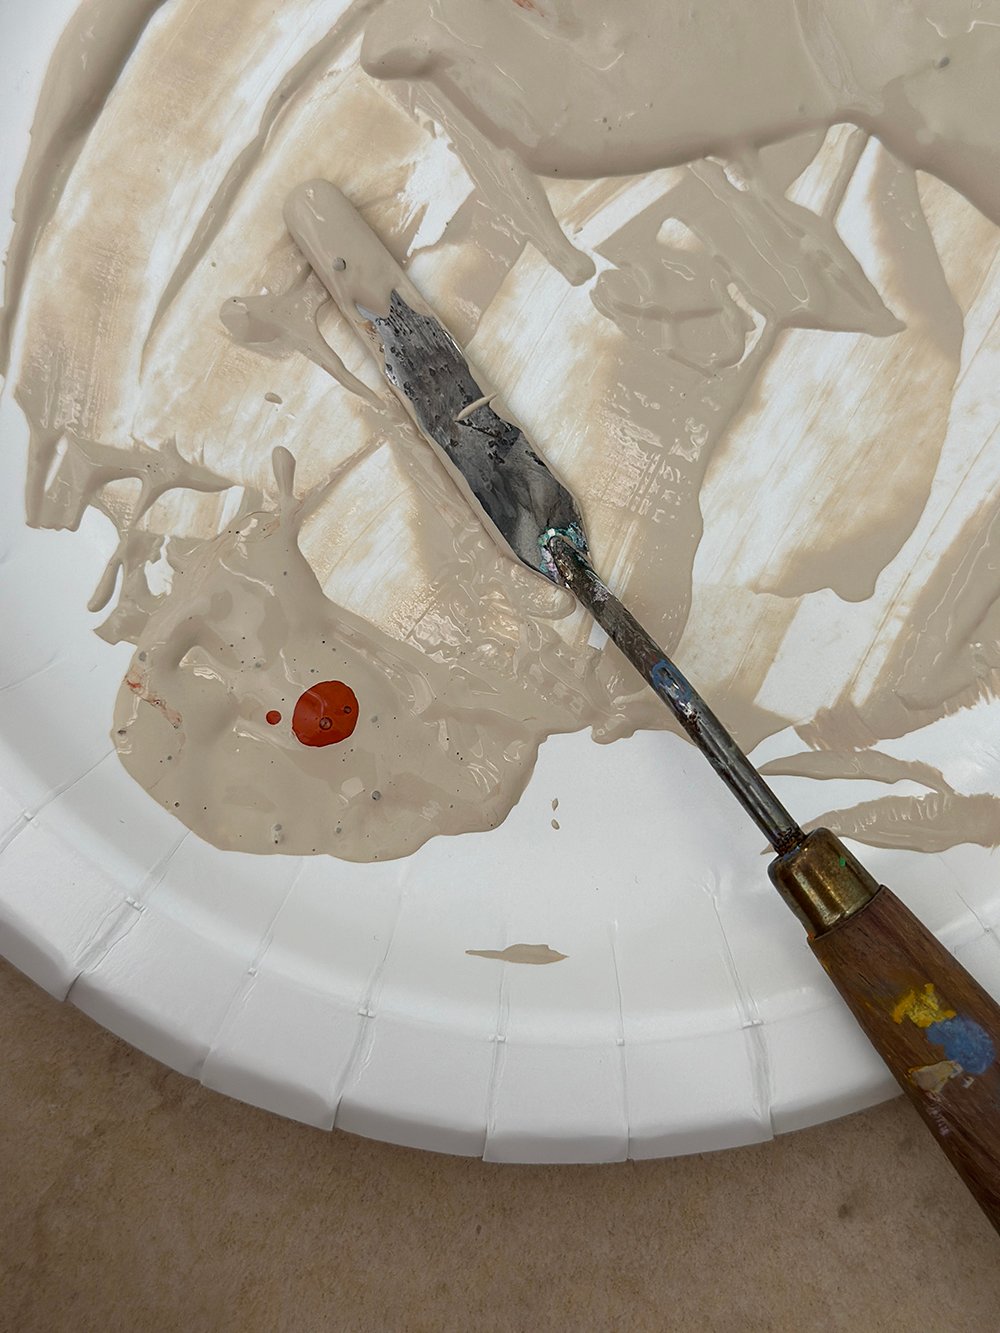
Next, make adjustments to the main color. As you can tell, my cover sits atop two tiles… and they’re slightly different colors. One is warmer and darker, and the other is cooler and lighter. I needed to add a drop of red and brown to my base color, making it darker and warmer to match. A touch of yellow and white did the trick for the lighter option. Use your palette knife to mix a little at a time, reserving plenty of your base color for more adjustments. You can always come back to it, if you overcorrect.
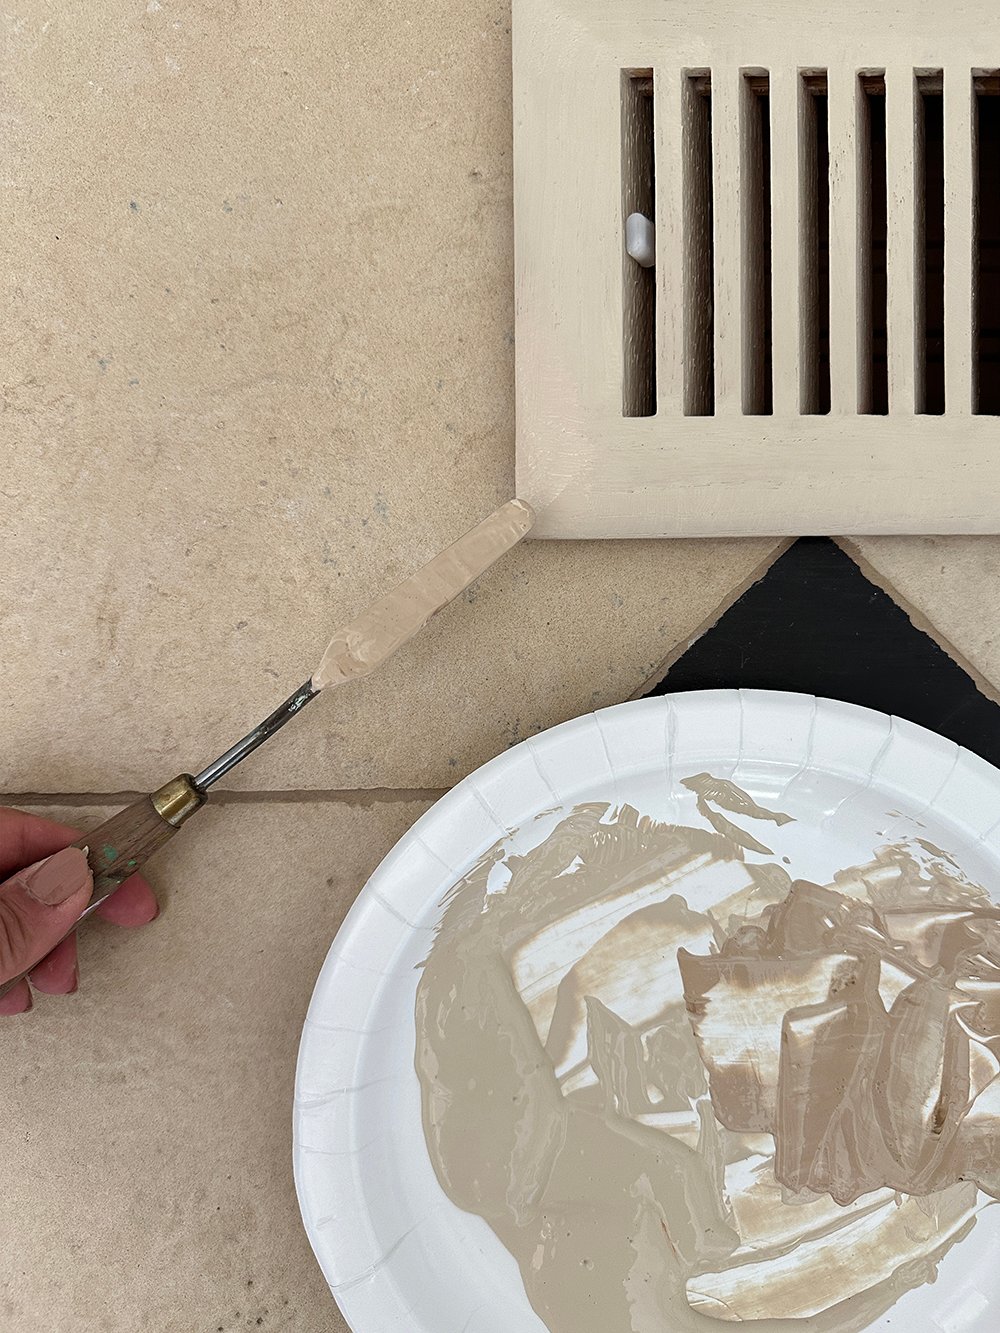
Replicate the Color of the Stone
Apply the color to match the stone surrounding it. I began by color blocking my darker and lighter colors. Allow it to dry before you begin adjusting further, because the color can change or darken a bit, depending on the paint you’re using, once it has dried.
Continue Adjusting Until It Matches
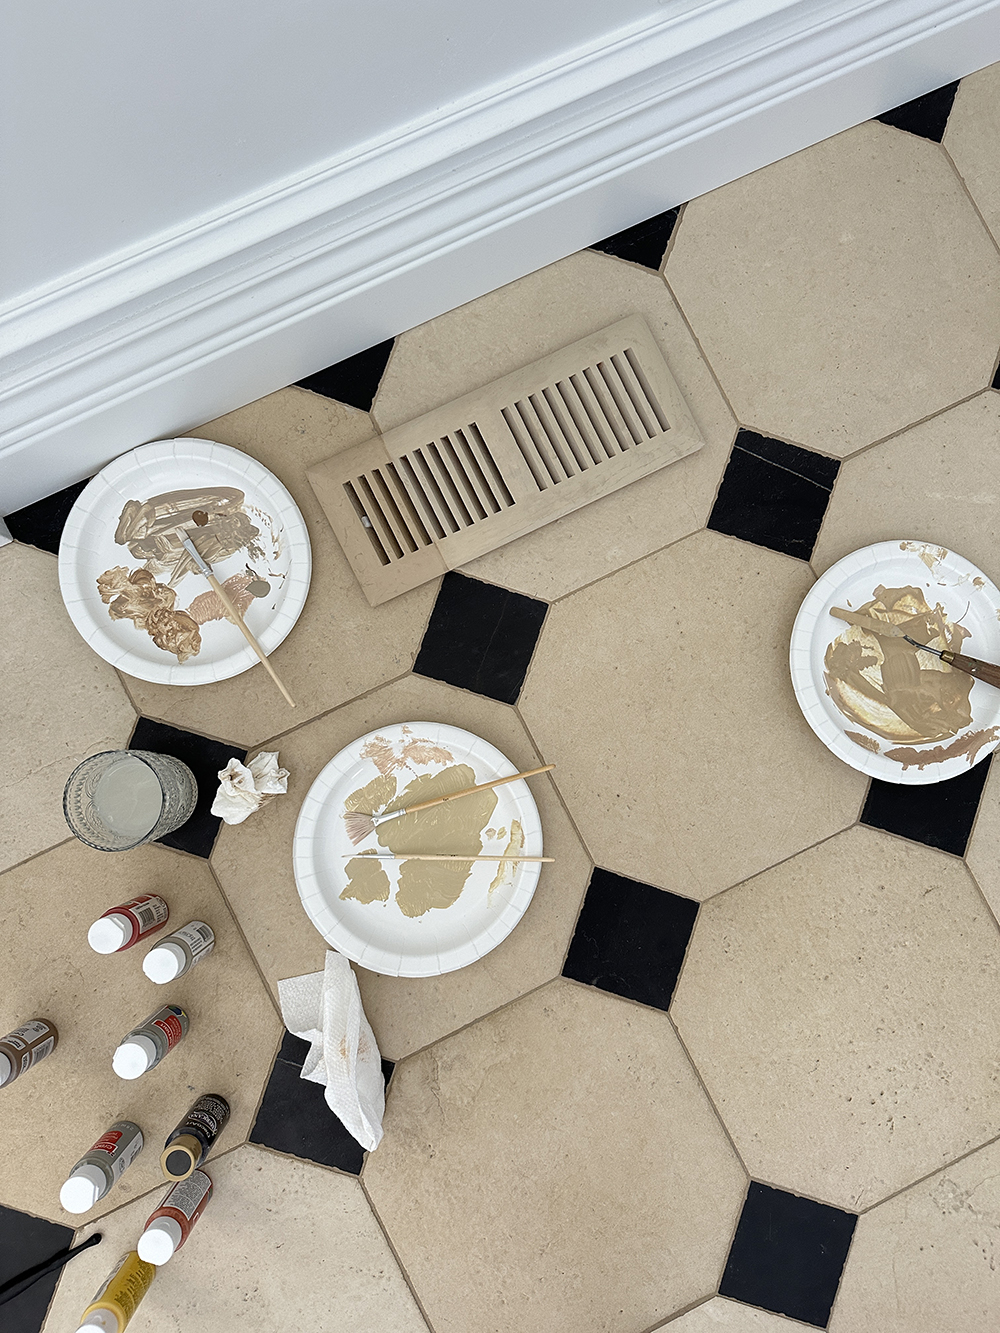
While it may seem stressful, keep in mind- paint can always be mixed, remixed, and rematched. Keeping working it until you’re happy with the color match. Mine took a few tries… and a few palettes:
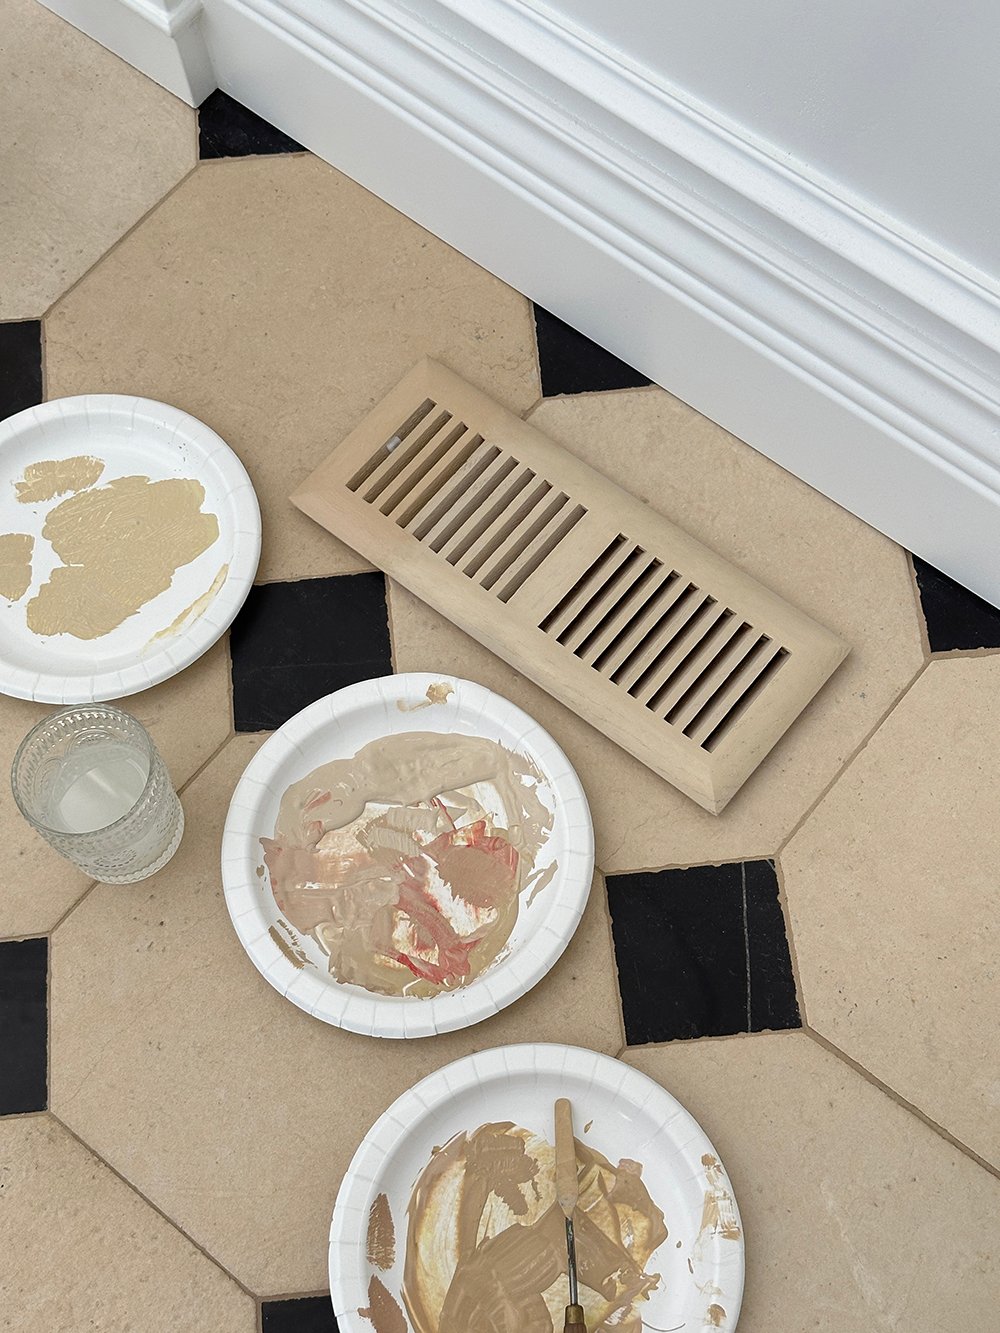
Another tip is to step back and analyze the color. Sometimes when you’re too close to it, it’s difficult to see what adjustments need to be made. Standing back and looking at it from afar often provides clarity. I did this 5-6 times during the process.
Begin Adding Texture & Detail
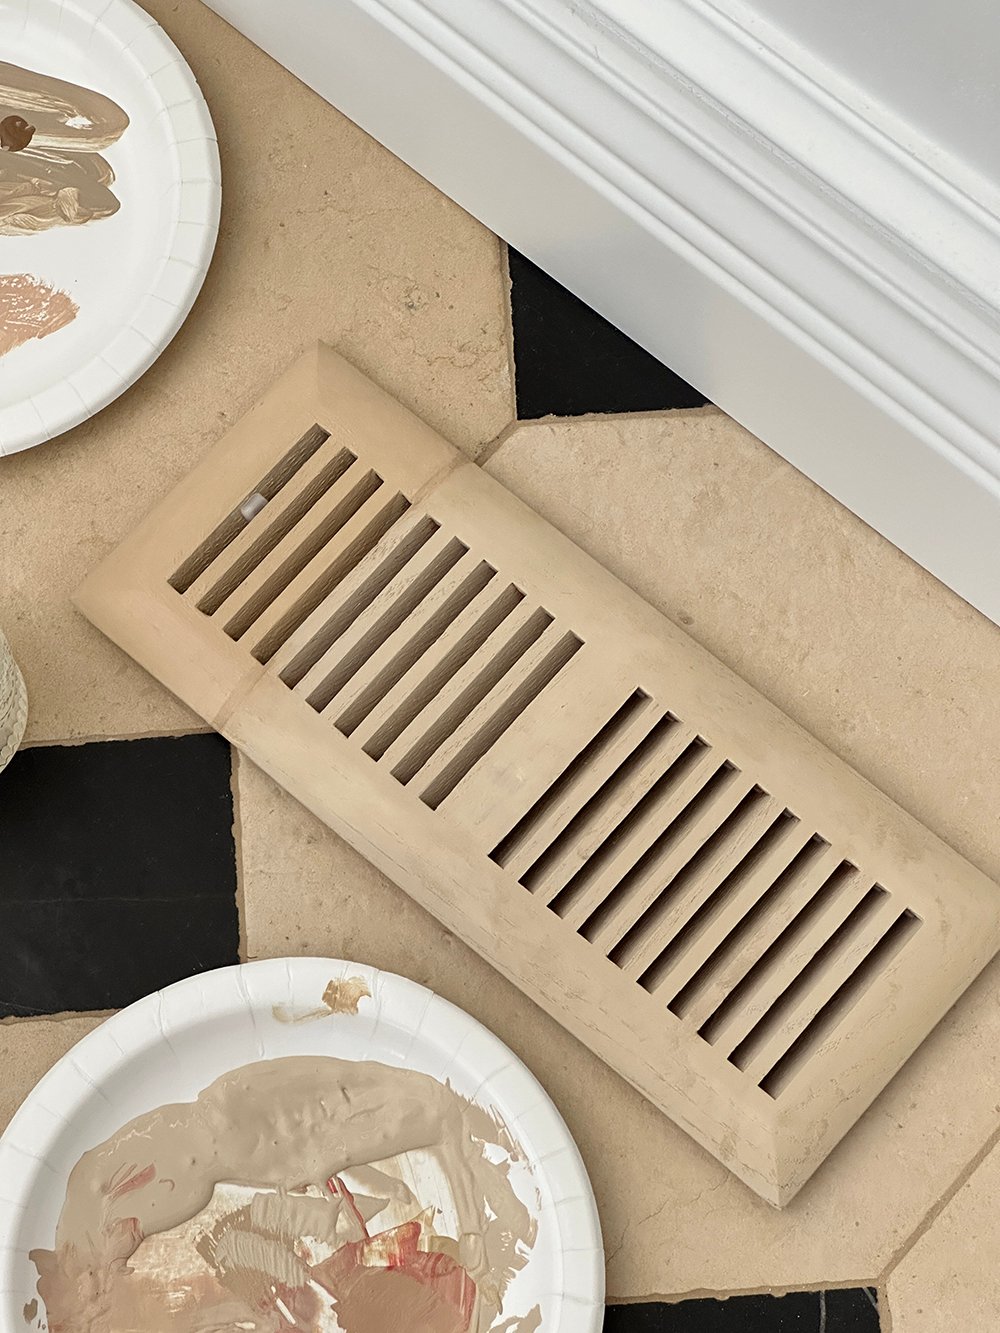
Once you’re convinced you’ve nailed the color profile, you can begin adding texture and detail. In the image above, I began adding texture on the right side of the vent cover… creating a tumbled stone look. Experiment with dry brushing, different types of brushes, wadded paper towels, or even a sponge to achieve different textures.
Next, I added detail on the left side of the cover. This tile had a bit more veining and gray spotting throughout, so I tried to replicate those details. I also added a faint “grout line” to trick the eye into reading the cover as tile… from afar, of course.
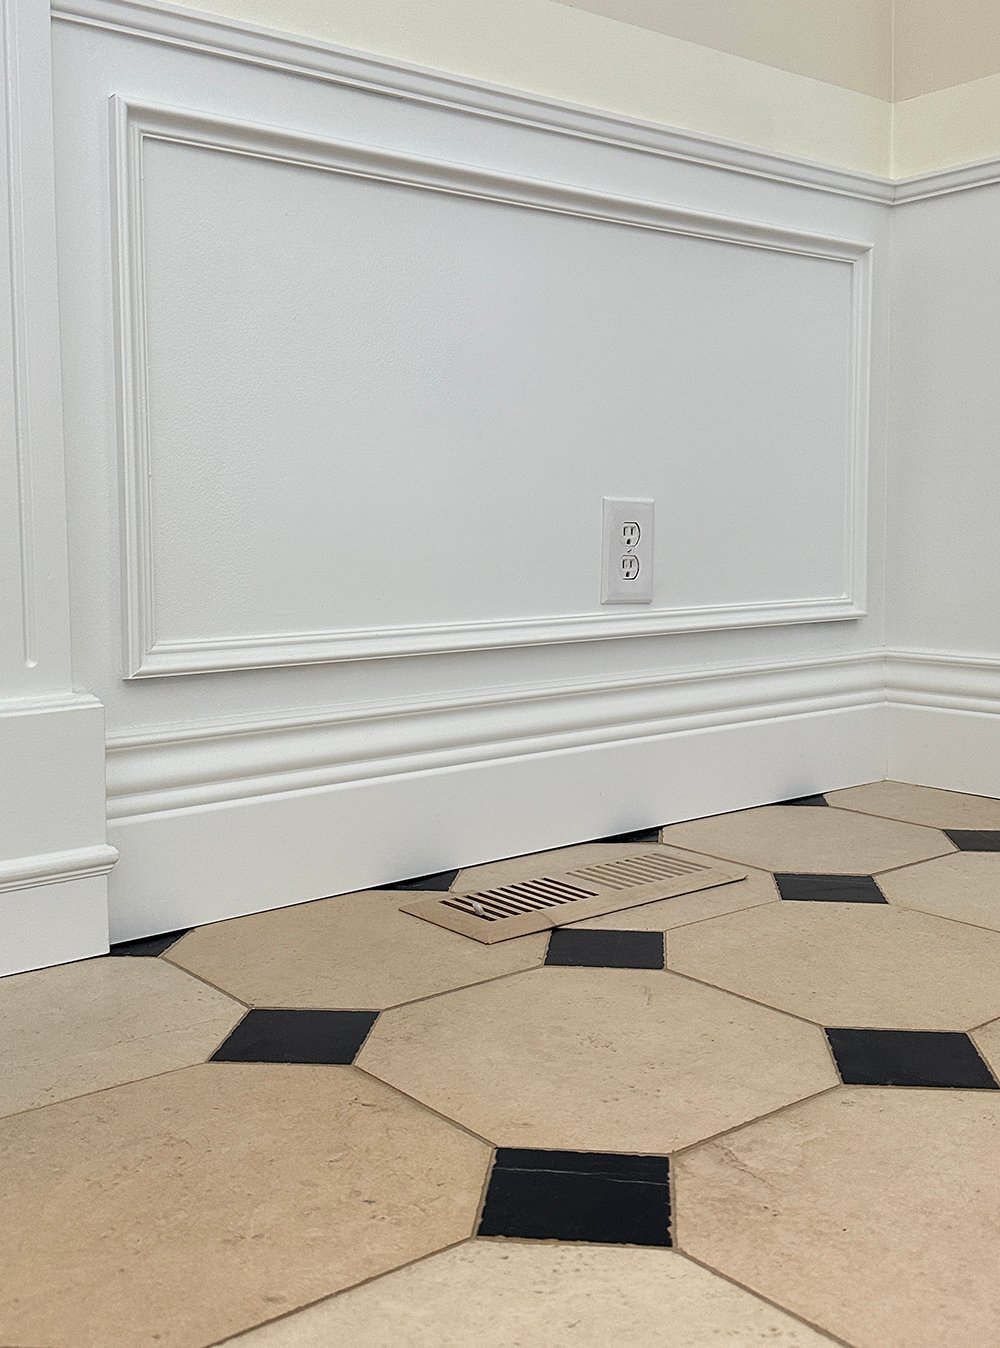
Install the Vent Cover
Allow the cover to completely dry and cure before installing it. I allowed mine to sit for a day, before I pushed it in. It took some force and pressure, so I wanted to make sure the paint was totally set. If durability is a big concern, you can definitely spray a coat of varnish over top the faux paint. If it’s located in a high traffic area, that would probably be a smart idea. Just be sure to select the varnish or top coat that best matches your stone… matte or gloss, depending on the finish. Ready to see my end result?
FAQ
Yes! It will be the exact same process… just with different colors and texture, depending on your material. It would work well against marble, soapstone, or any natural stone that has variation!
Ha, quite a few! Most recently, I shared How Paint Color Percentages Work and When To Use Them.
Of course- it’s this affordable option from Amazon. It’s available in two sizes and in red or white oak.
This is an easy way to achieve a high-end look on a budget! This idea actually popped into my head last fall while we were staying at Hotel Peter and Paul in New Orleans. We toured a few historic homes and all of them had faux painted millwork. I wondered why I hadn’t tried it in our home. In one tour, I couldn’t even differentiate the real nero marble from the faux painted marble. I made a mental note to faux paint the next time I had a stone challenge or a project that felt too far out of budget. Months later, the vent cover was proving difficult, so I decided to test it.
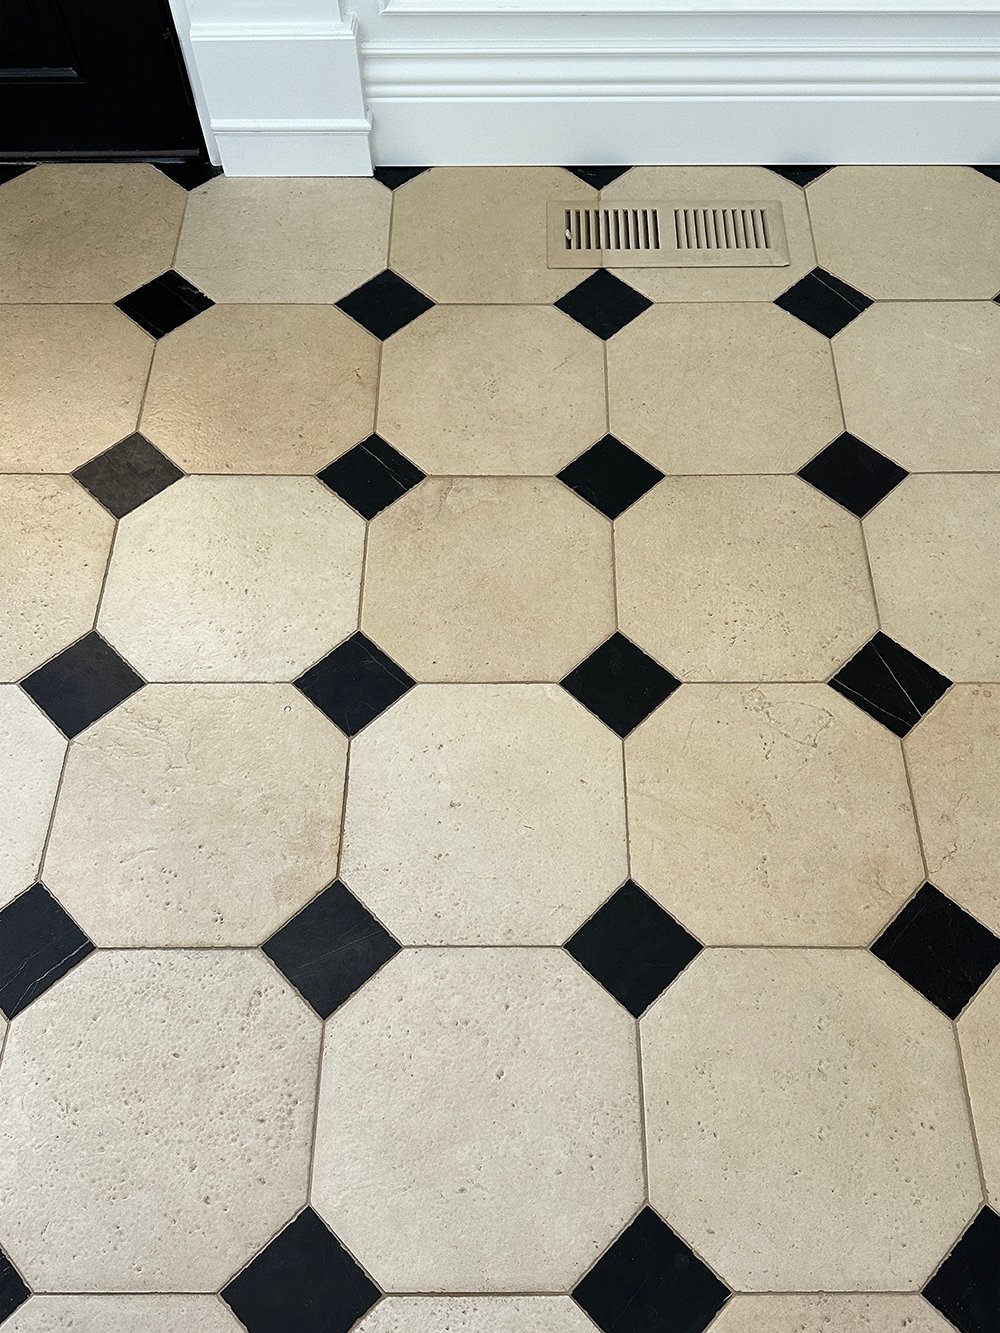
I’m really pleased with this solution and how it turned out. Would you ever try faux painting a vent cover or air return? If so, I hope this tutorial is helpful! Be sure to pin it for later. Cheers to a fabulous weekend ahead, friends. We’ve got boating, house projects, and frozen margaritas on our agenda!