DIY Floral Plaster Relief Art with Pressed Flowers
This project was one of the more fun and meaningful ones I’ve tackled. I thoroughly enjoyed making these floral cameos! Over the past few years, I started pressing flowers during some really heavy seasons… surgeries, appointments, get well messages, and all the in-between moments of our IVF and infertility journey felt deafening. I needed something grounding and reminders of hope, so I started saving and pressing flowers. Fast forward to finishing the nursery, I knew I wanted to make the room feel personal. To me, art is one of the easiest way to add meaning. I thrifted a couple oil paintings that felt reminiscent of important dates and the landscapes that accompanied them, but I really wanted to do something with my florals. That’s how this DIY floral plaster relief art came to life. I love the way they turned out and the story they tell… they were also surprisingly easy to make. Click through for a quick plaster casting tutorial!

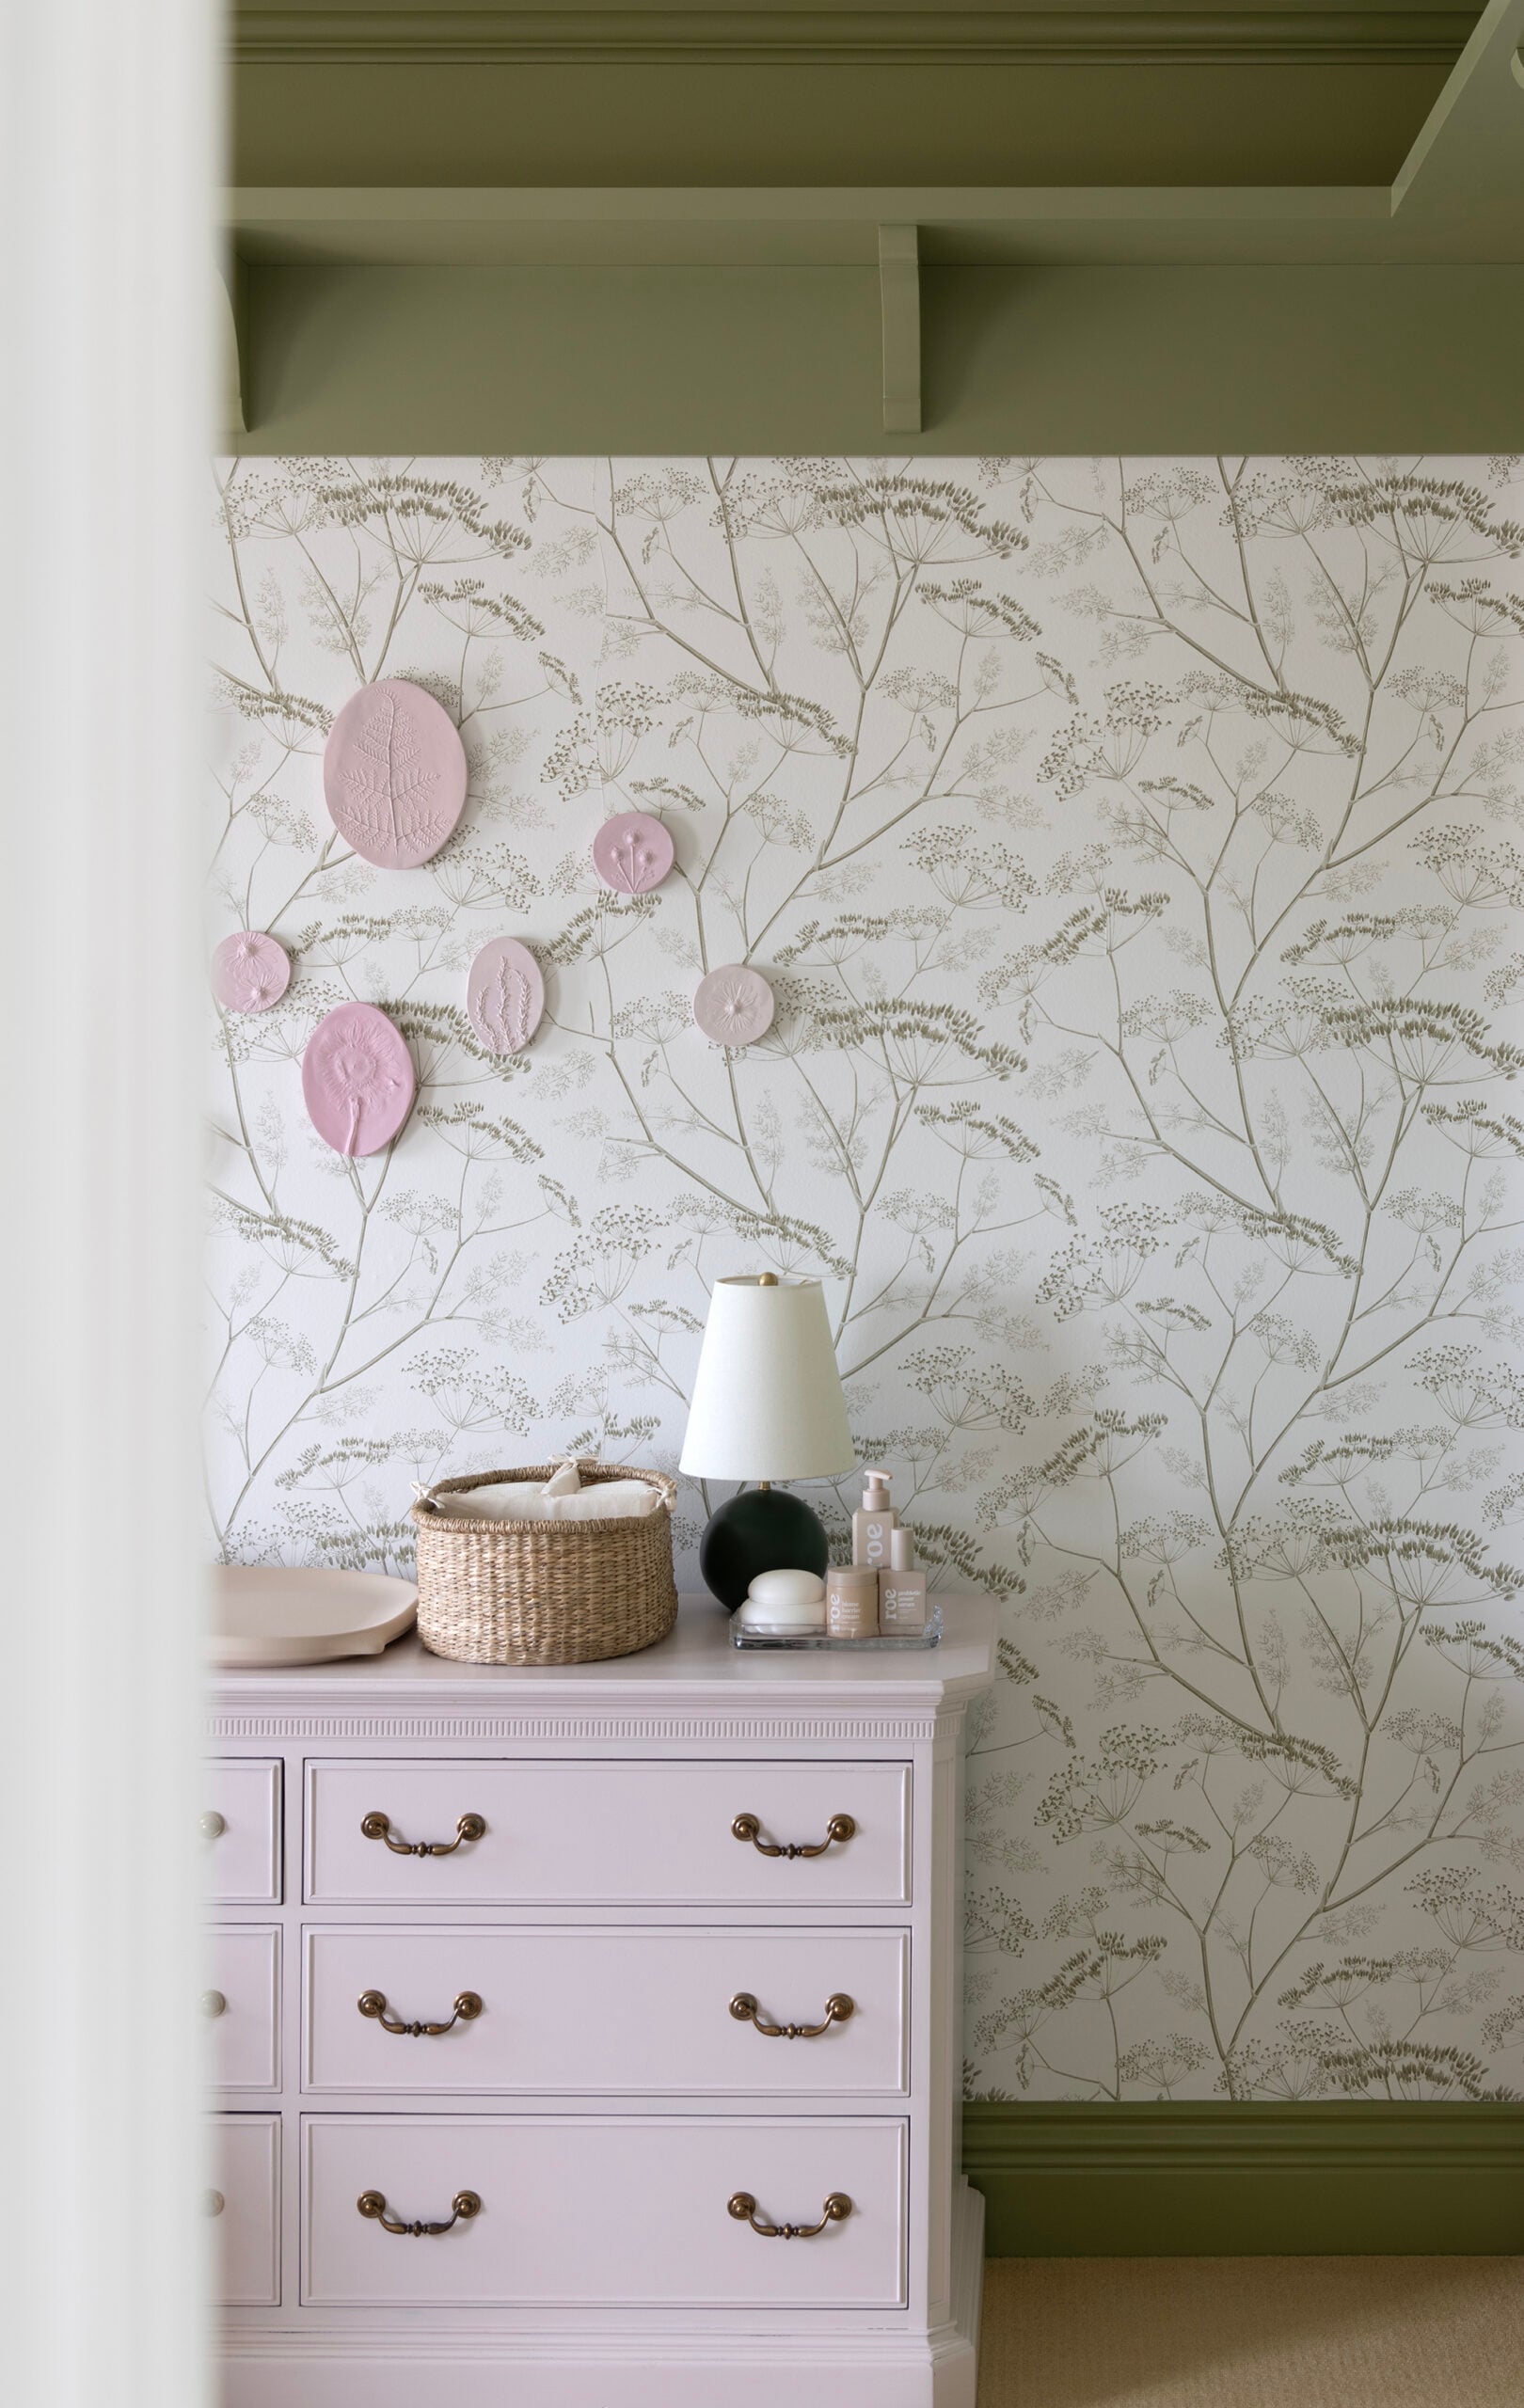
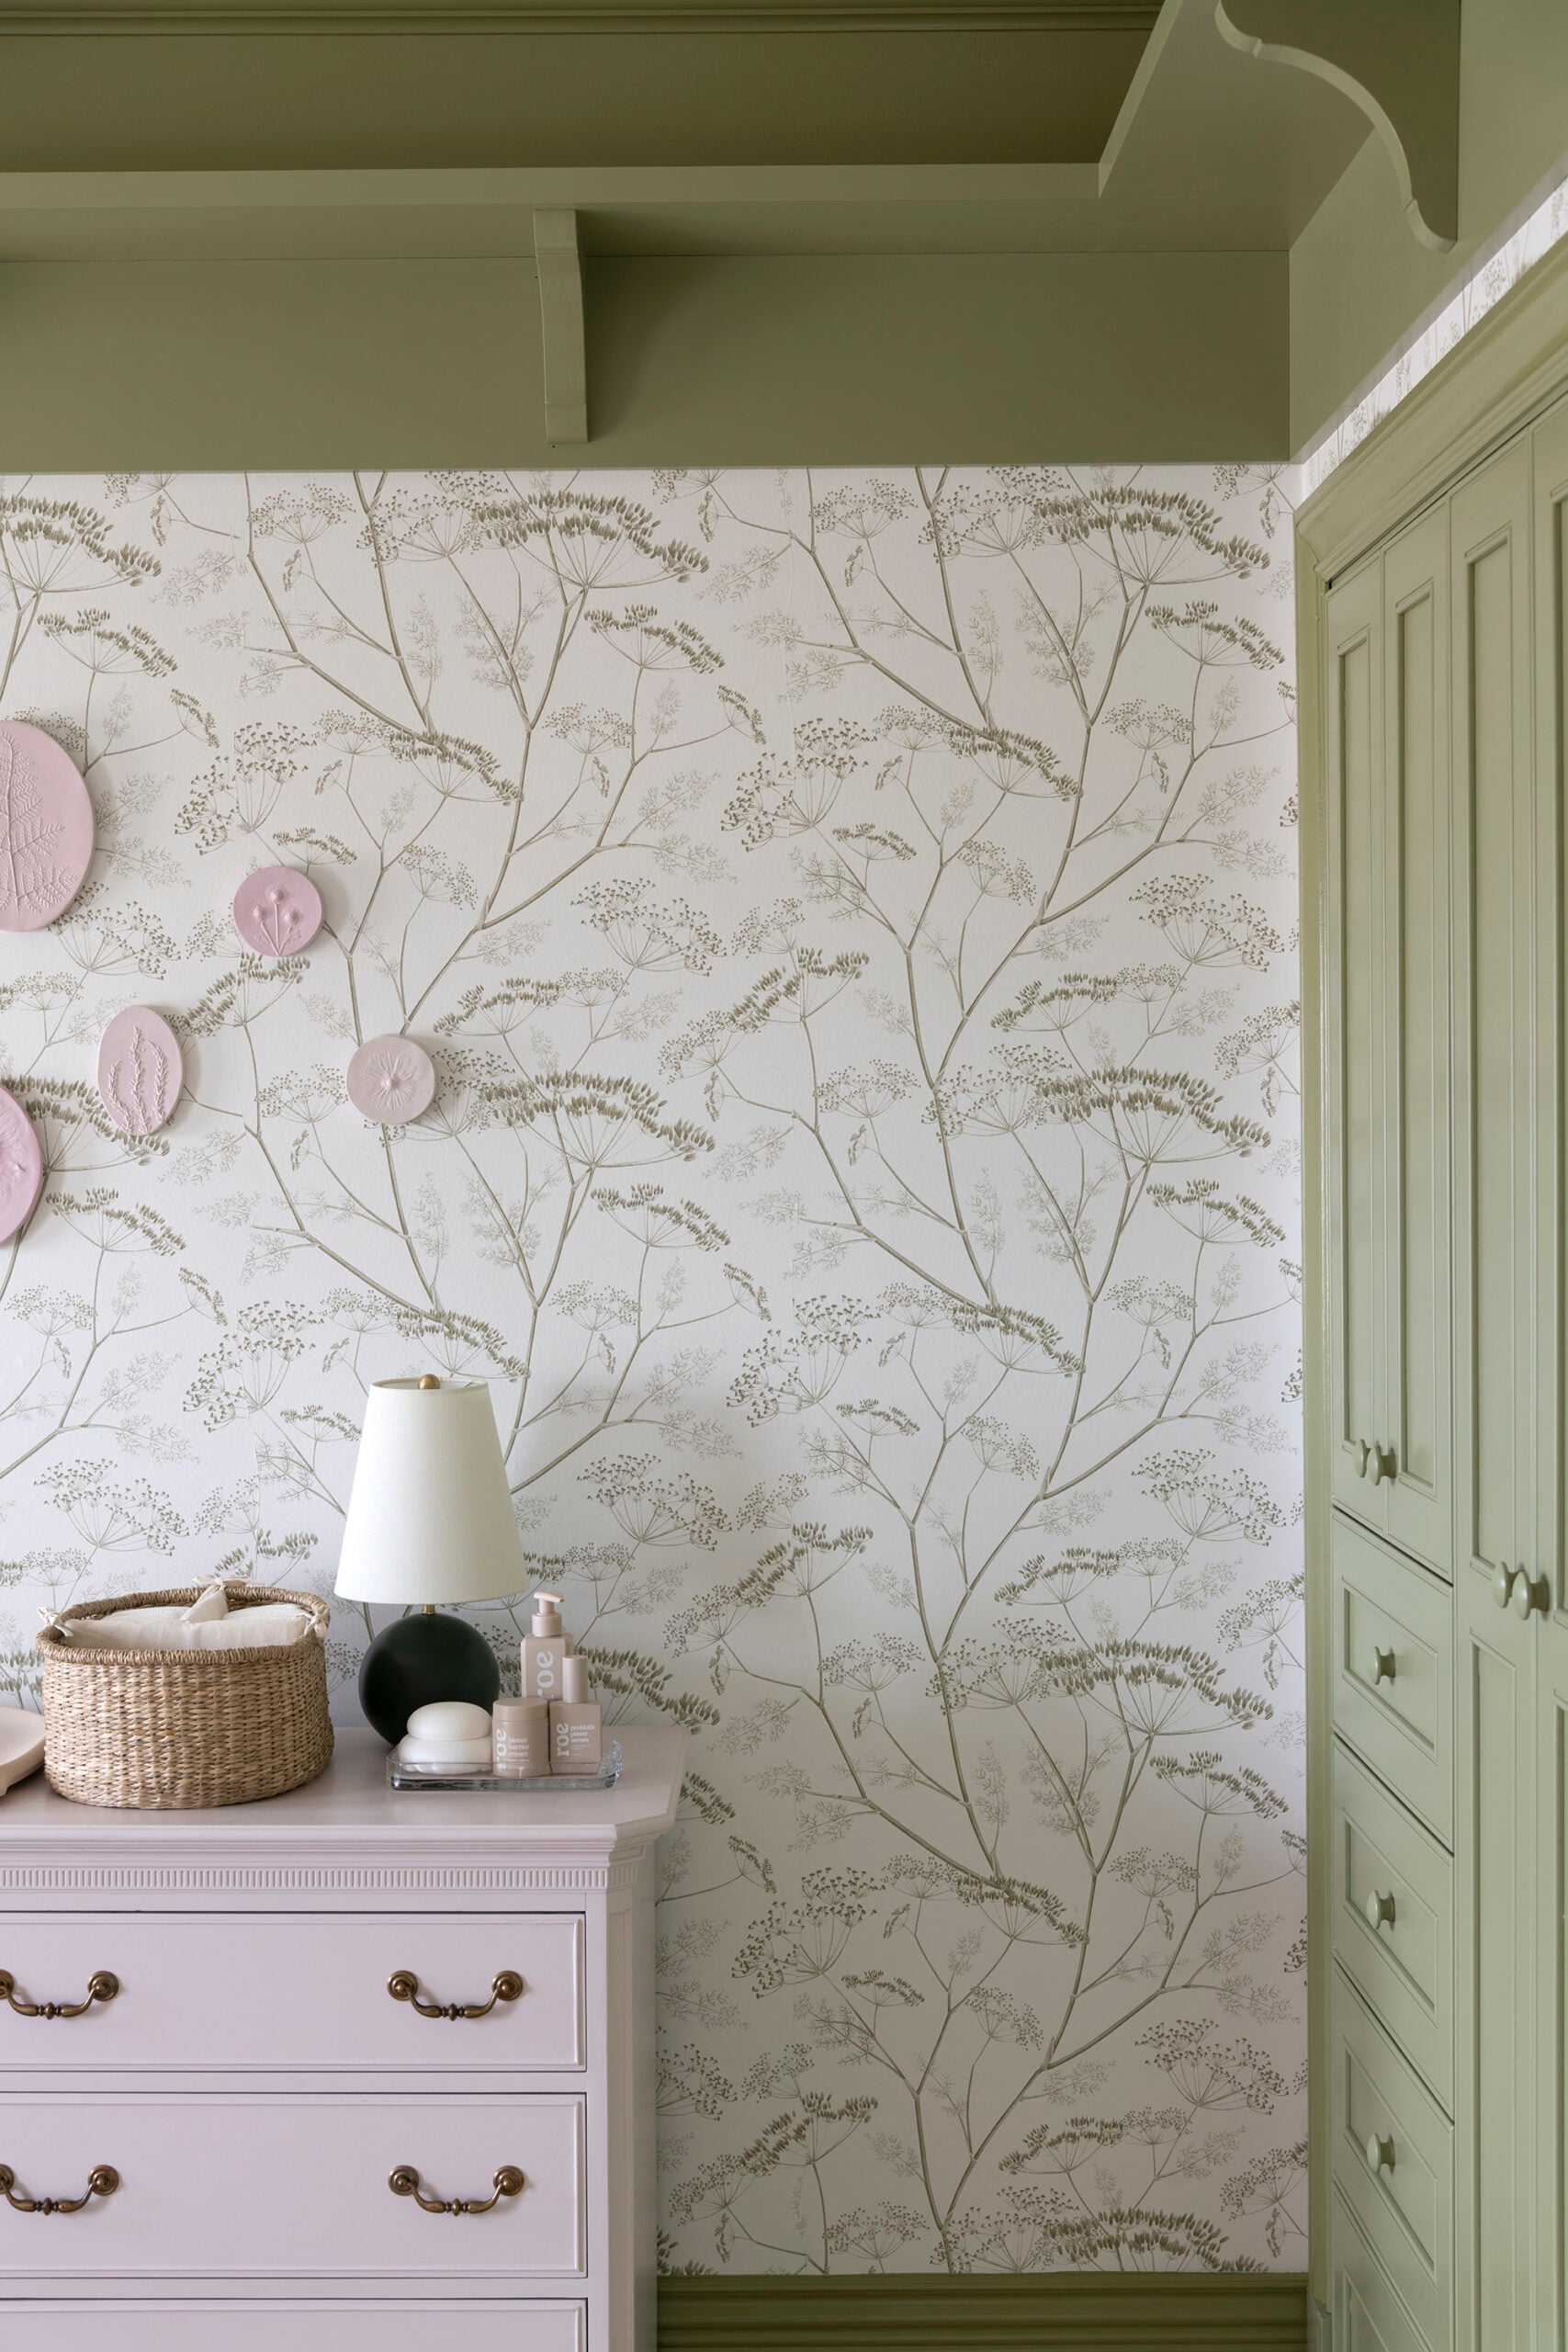
If you missed it, be sure to tour the entire room… nursery reveal: a timeless room for baby girl! Emmett and I are both so happy with how everything came together. We’re looking forward to bringing our daughter home and making memories here.
What Is Plaster Relief Art?
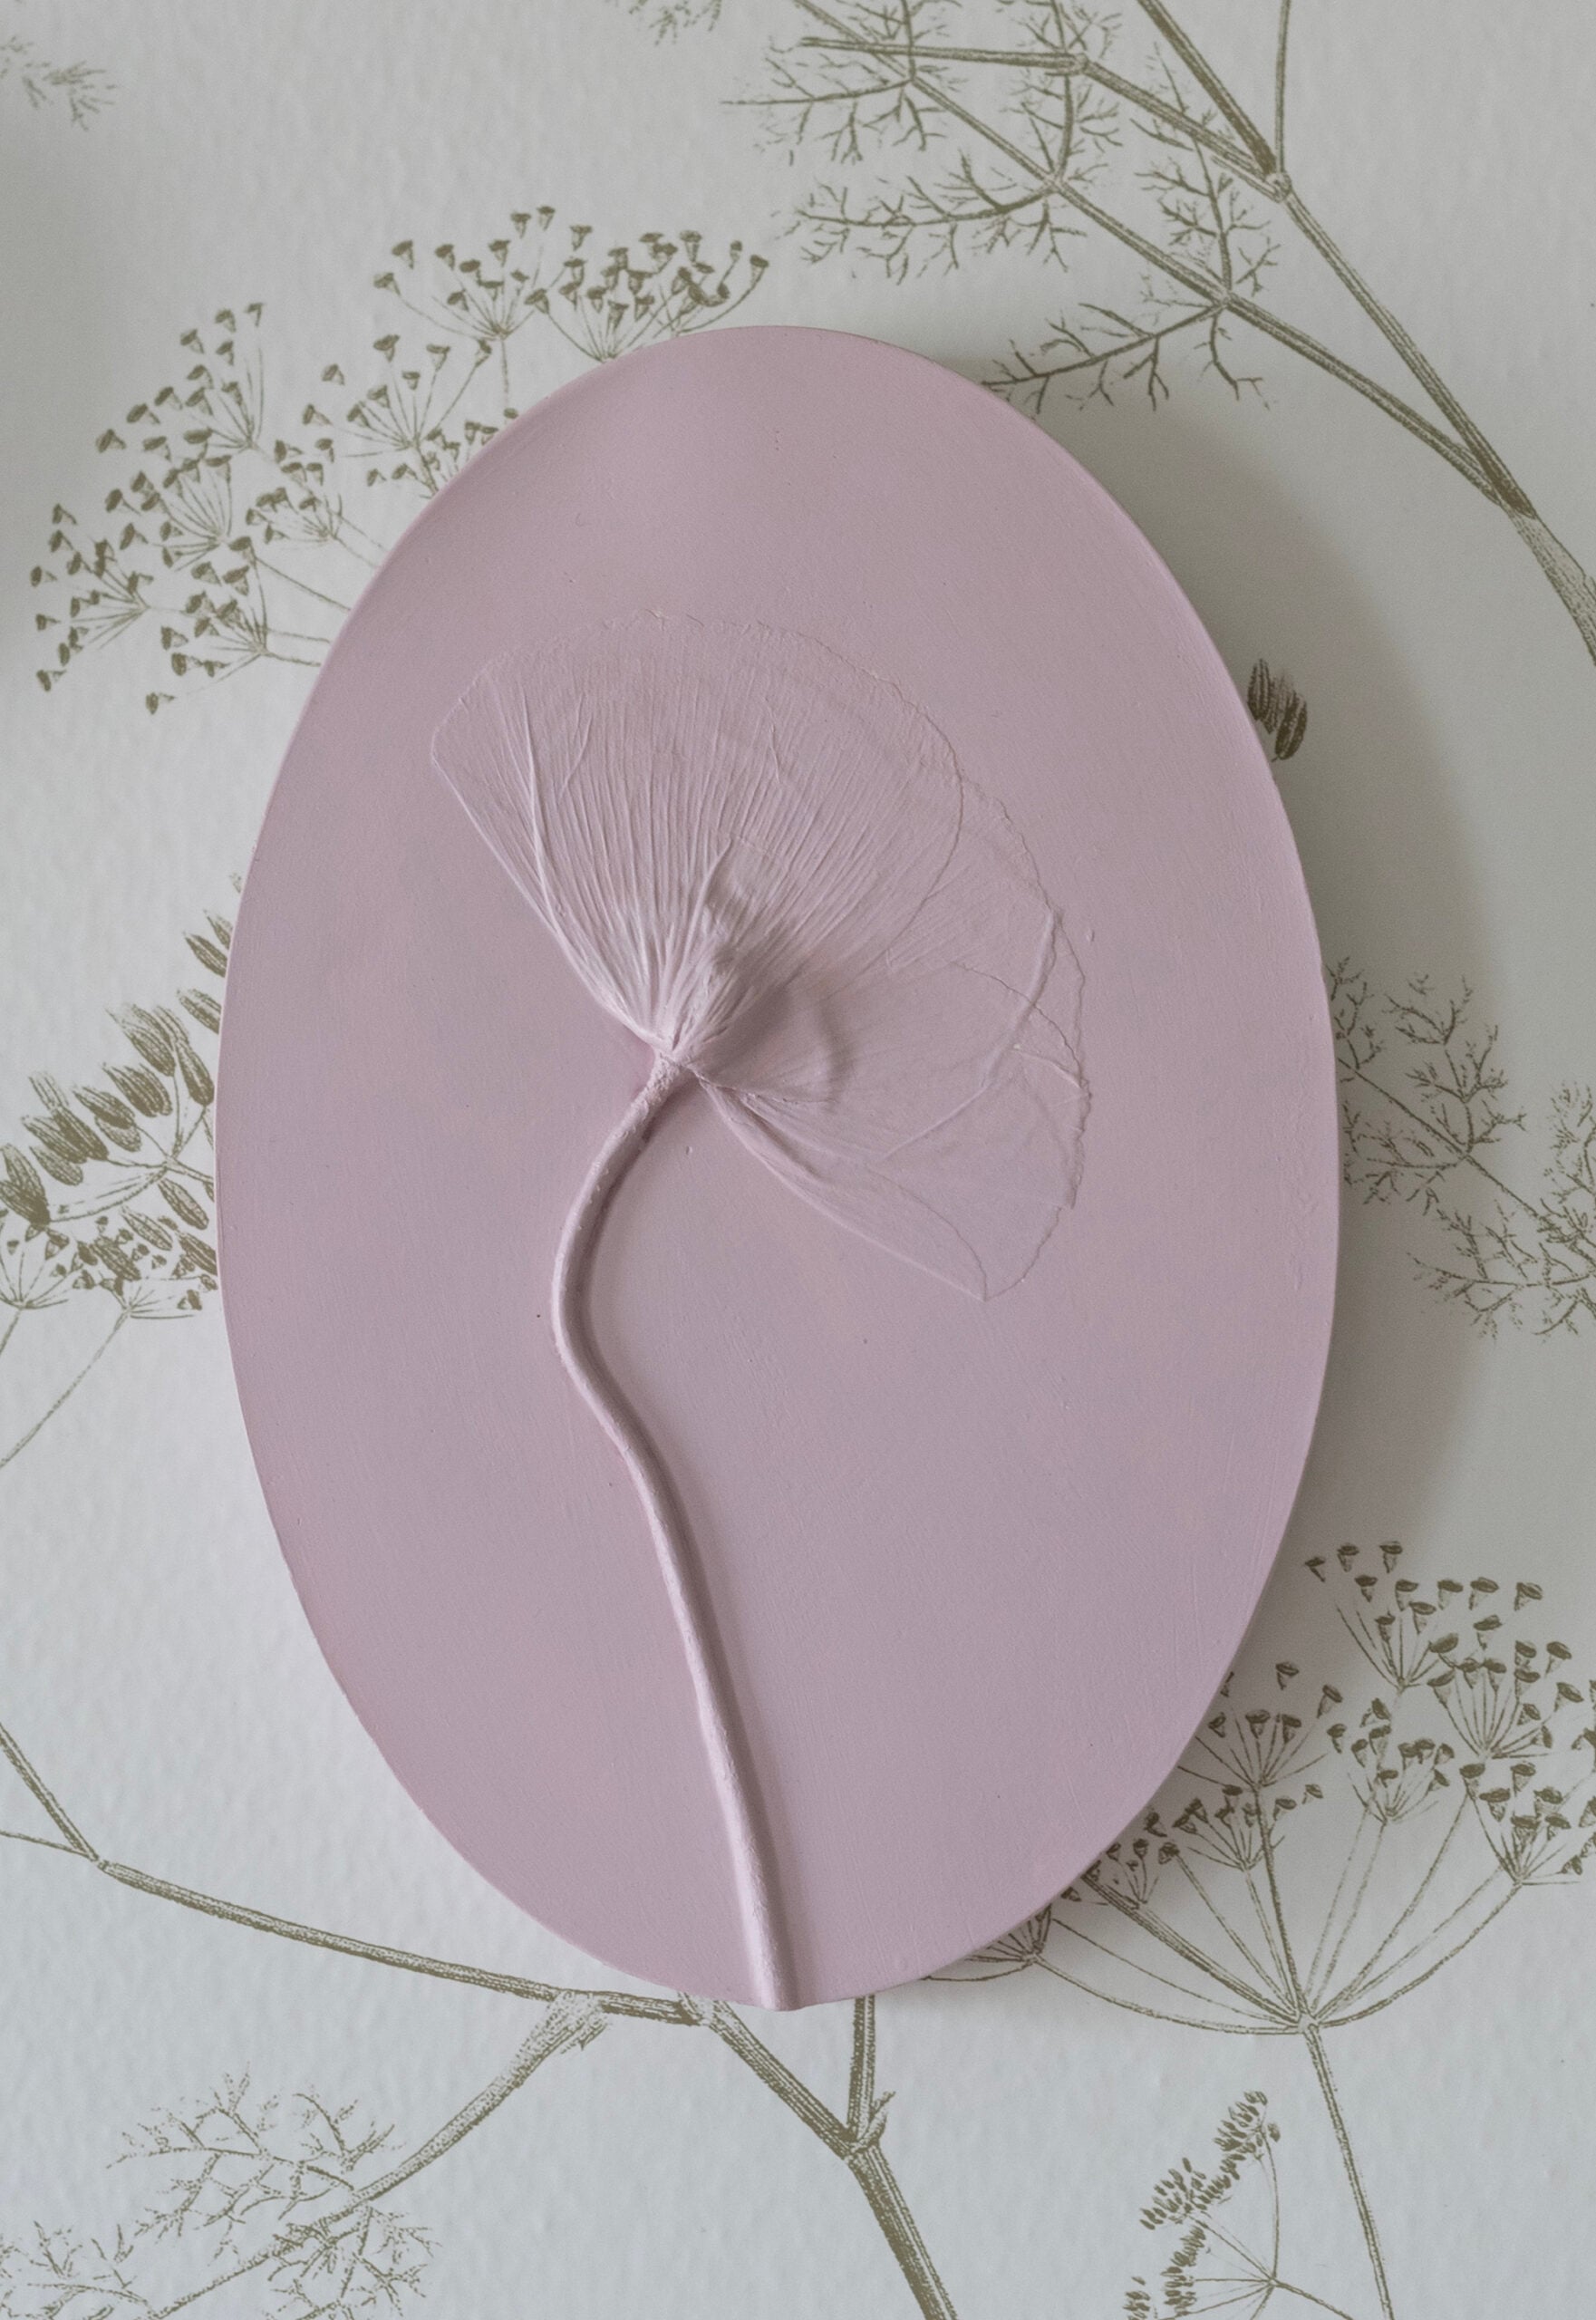
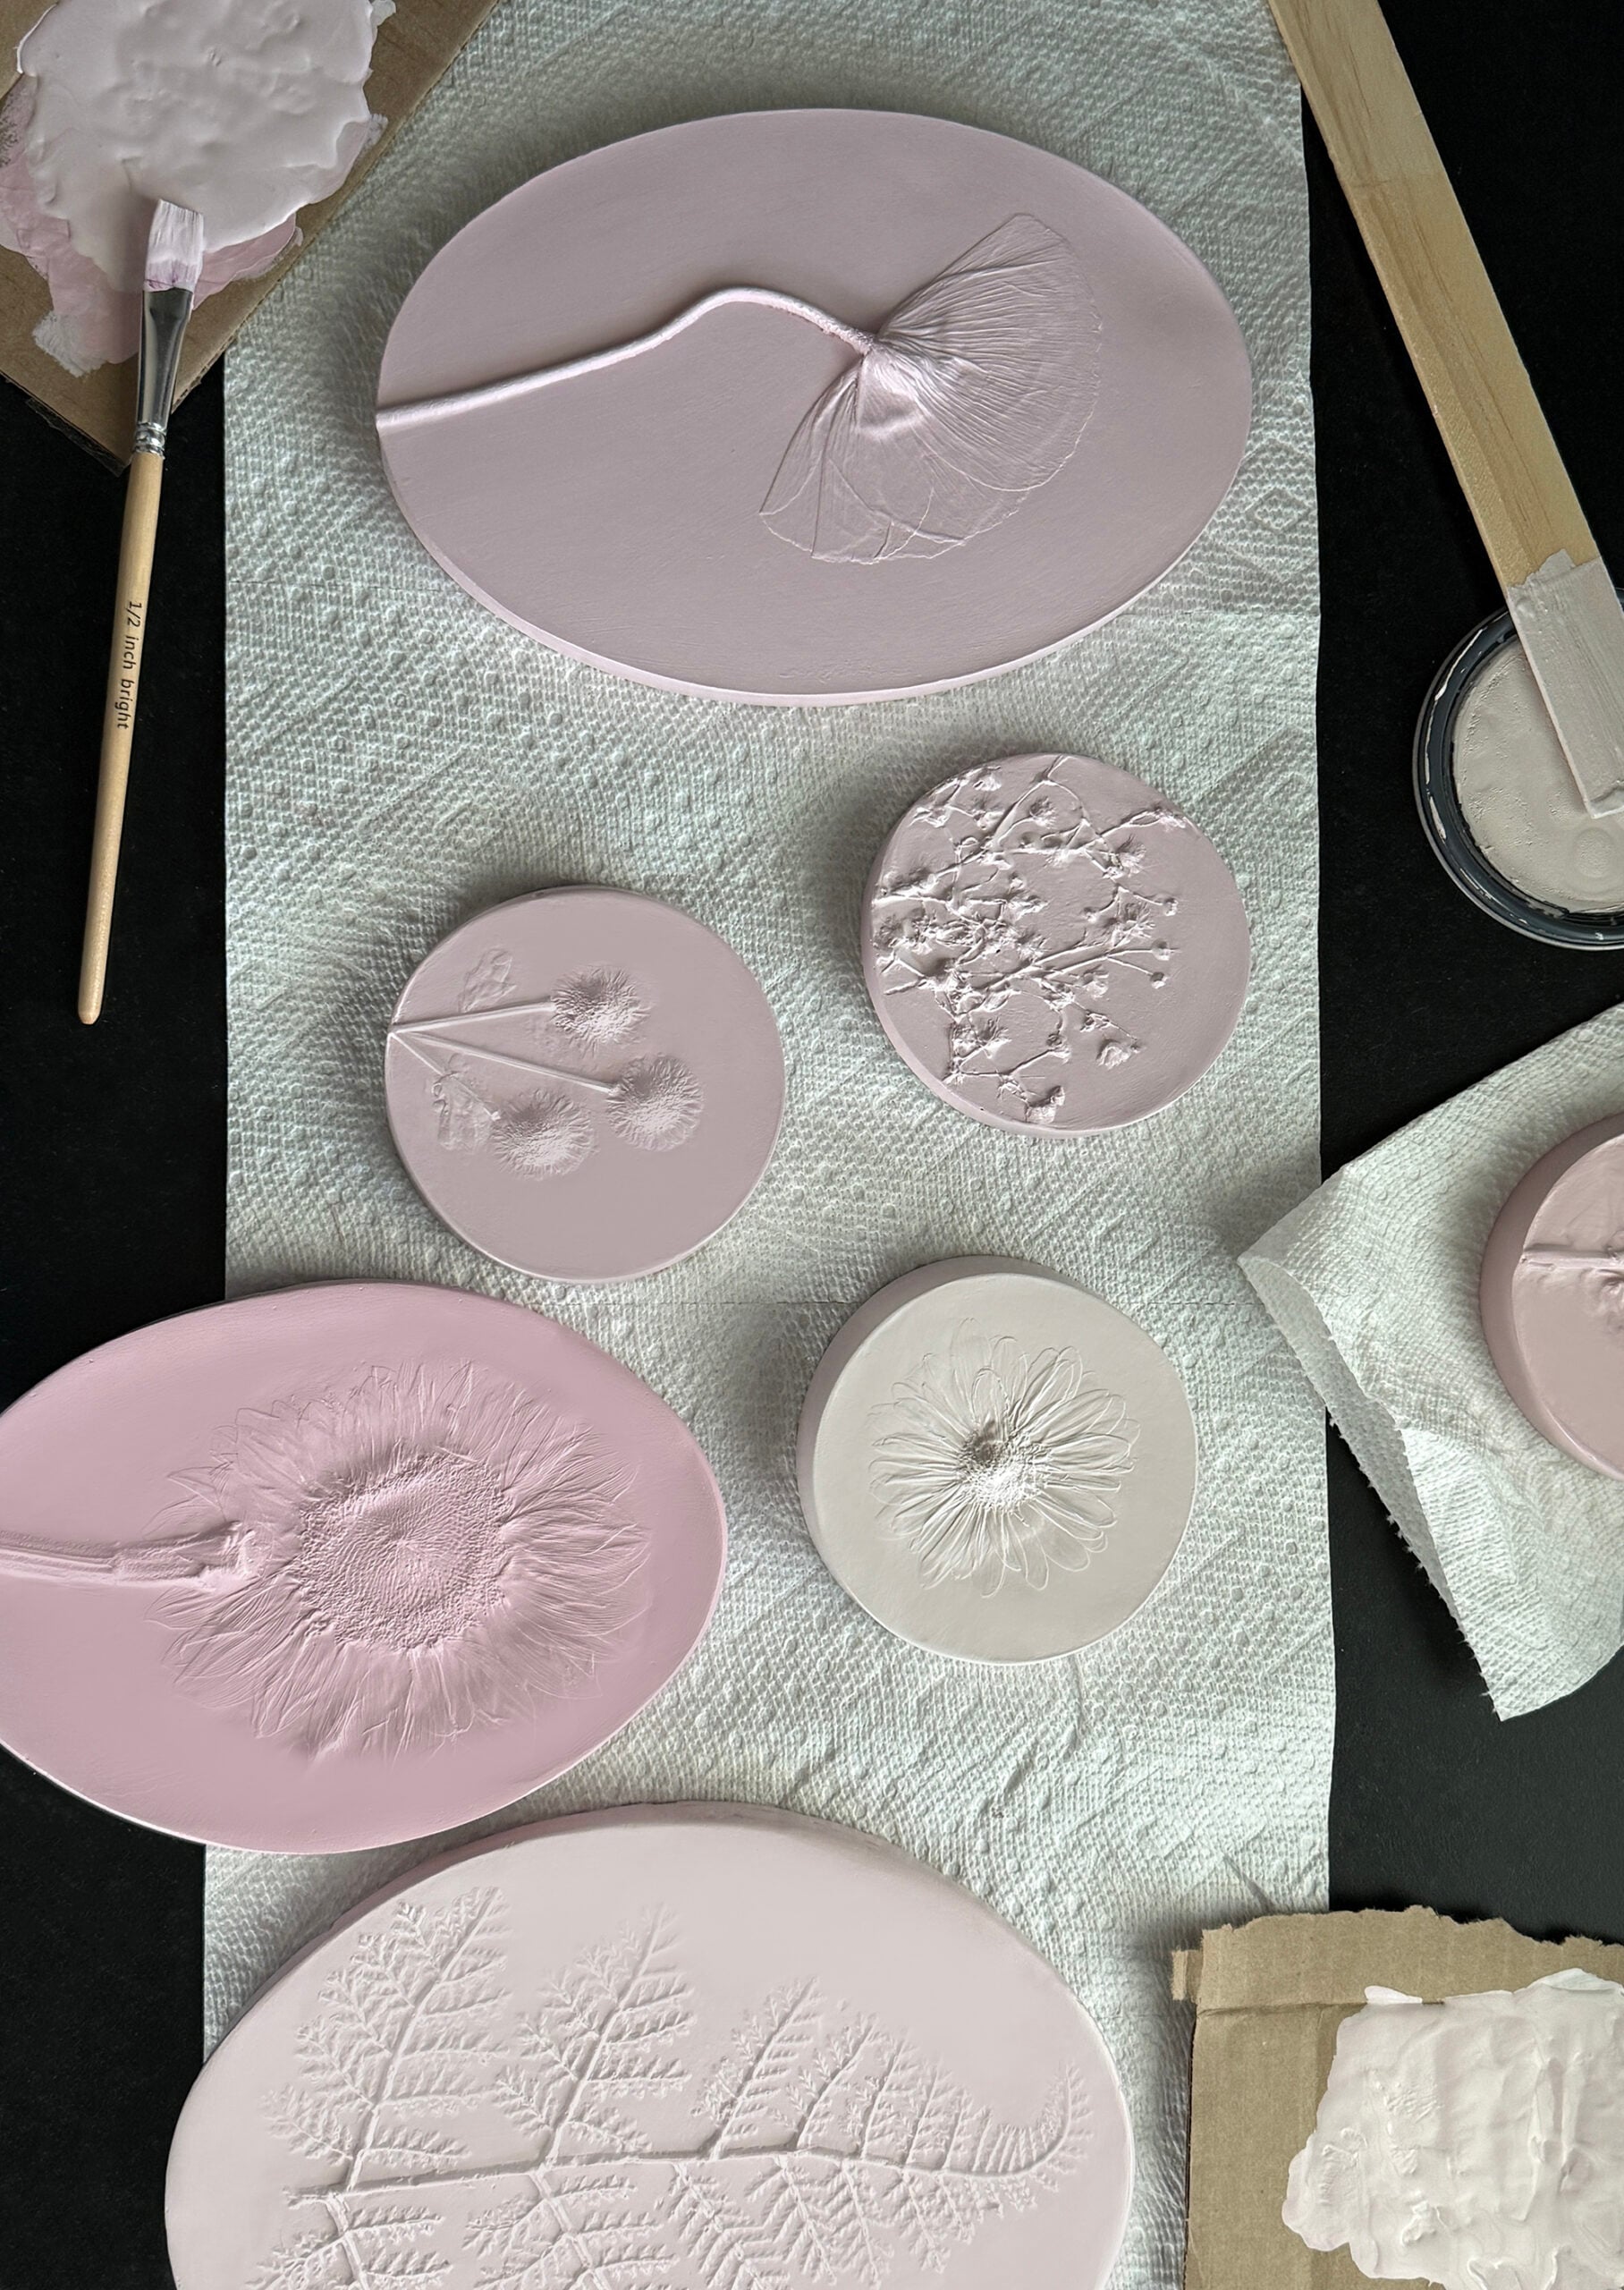
Plaster relief art is a type of dimensional artwork where flowers, botanical elements, or any 3D object are embedded or pressed into plaster to create a raised, sculptural surface… think old world European plaster aesthetic. What I love most about this style when working with flowers is the tension between structure and softness. The plaster feels architectural and sculptural (similar to plaster busts), while flowers or botanicals feel fleeting and delicate. Pairing the two preserves a moment in time. Here’s how I did it…
Why I Chose DIY Over Buying
I originally fell in love with pieces like these during my art school days in Italy. They’re stunning and incredibly detailed. If you want something heirloom quality and ready to hang, buying one makes total sense. For me, this project was never just about aesthetics. I wanted to use flowers that actually meant something to me, have control over the composition and color palette, while creating pieces that felt tied to our story. For me, it was a beautiful way to preserve sentimental moments and reminders from our journey. If you’d just like to replicate the look without the DIY though… check these out for a similar (probably more professional-looking) aesthetic.
Materials You’ll Need For Casting
Here’s a list of everything you’ll need for this fun art project. Once you have the supplies, it would be easy to make this quickly as you find or save flowers periodically…
- Resin plaster (this works better than regular Plaster of Paris)
- Basic (non drying) modeling clay
- A shallow plastic frame, molds, or cookie cutters (I used these for the oval shape)
- Pressed or fresh flowers
- Mixing bowl and paint stir stick
- Twine and scissors
- Sanding sponges
- Optional: acrylic paint or limewash for finish
How to Make DIY Floral Plaster Relief Art
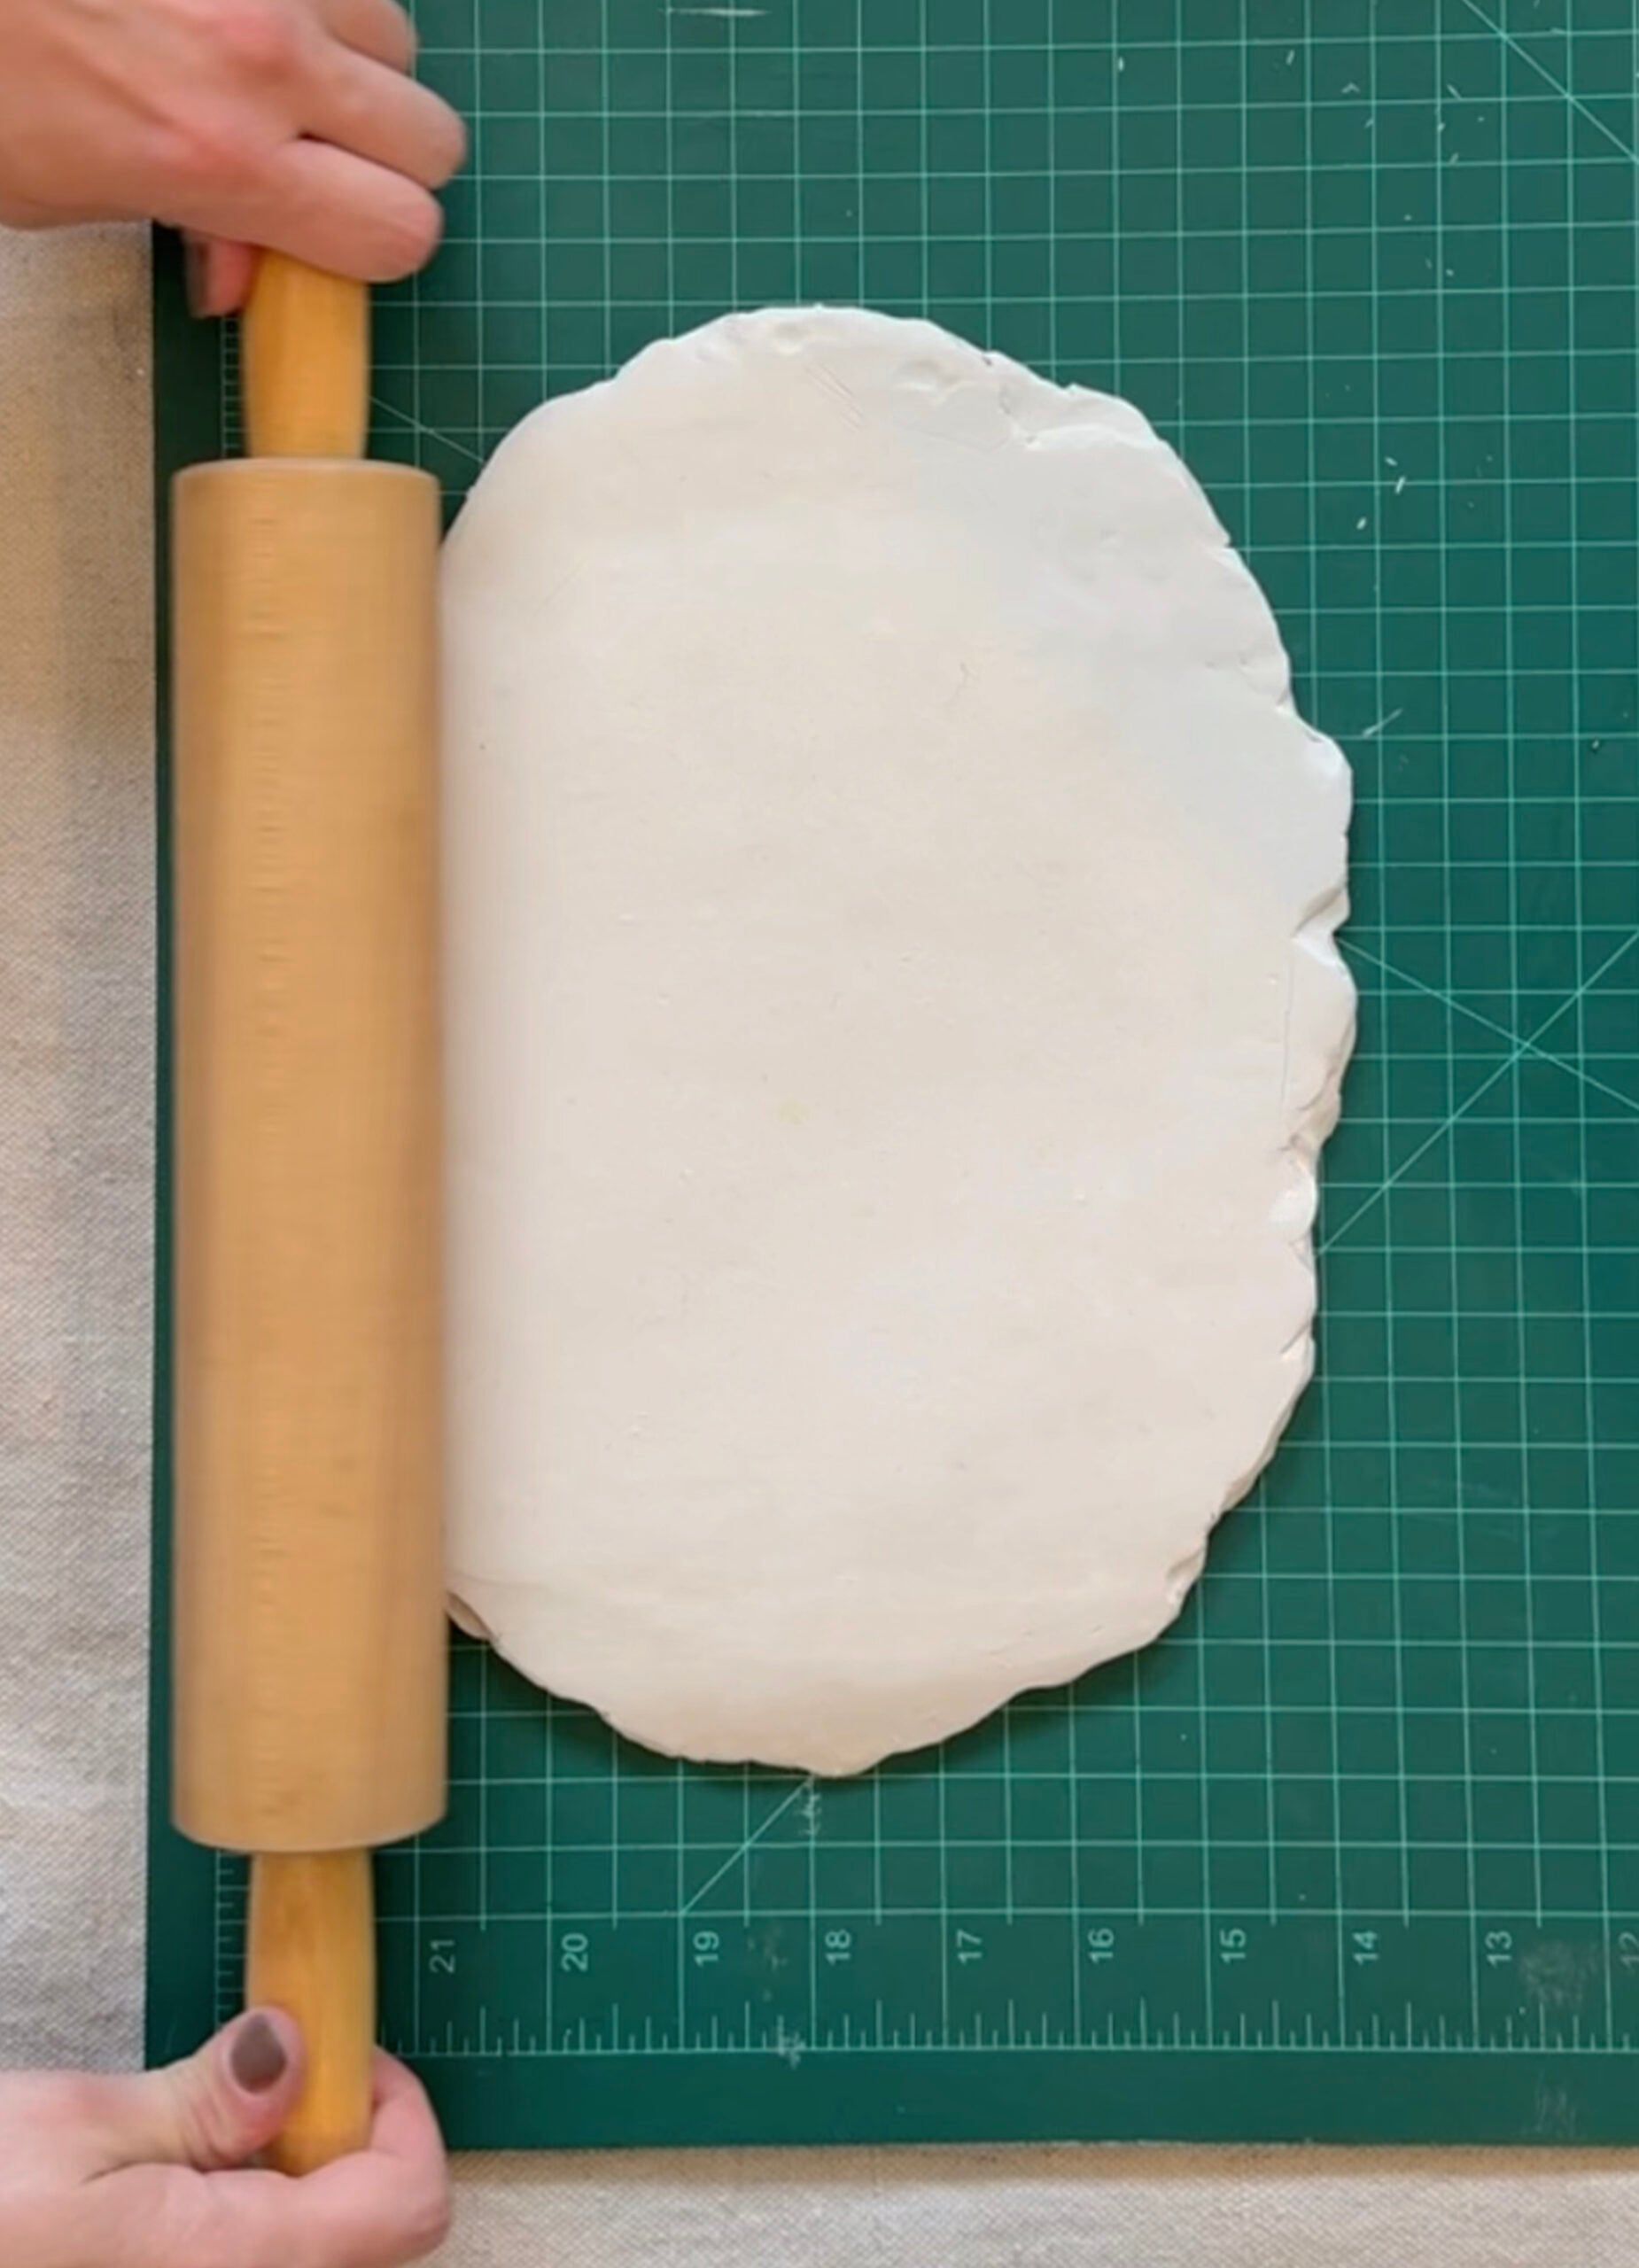
1. Prep Your Flowers and Modeling Clay
If you already have pressed flowers, you’re ahead of the game. If not, go ahead and use fresh flowers. I used a mix of both, and it works either way! Most of my flowers were collected during specific milestones, which felt special. Pro tip from experience… bulkier blooms create more depth and a deeper relief, where thin or pressed flowers look more delicate. Roll out the modeling clay, making sure it’s larger than your mold.
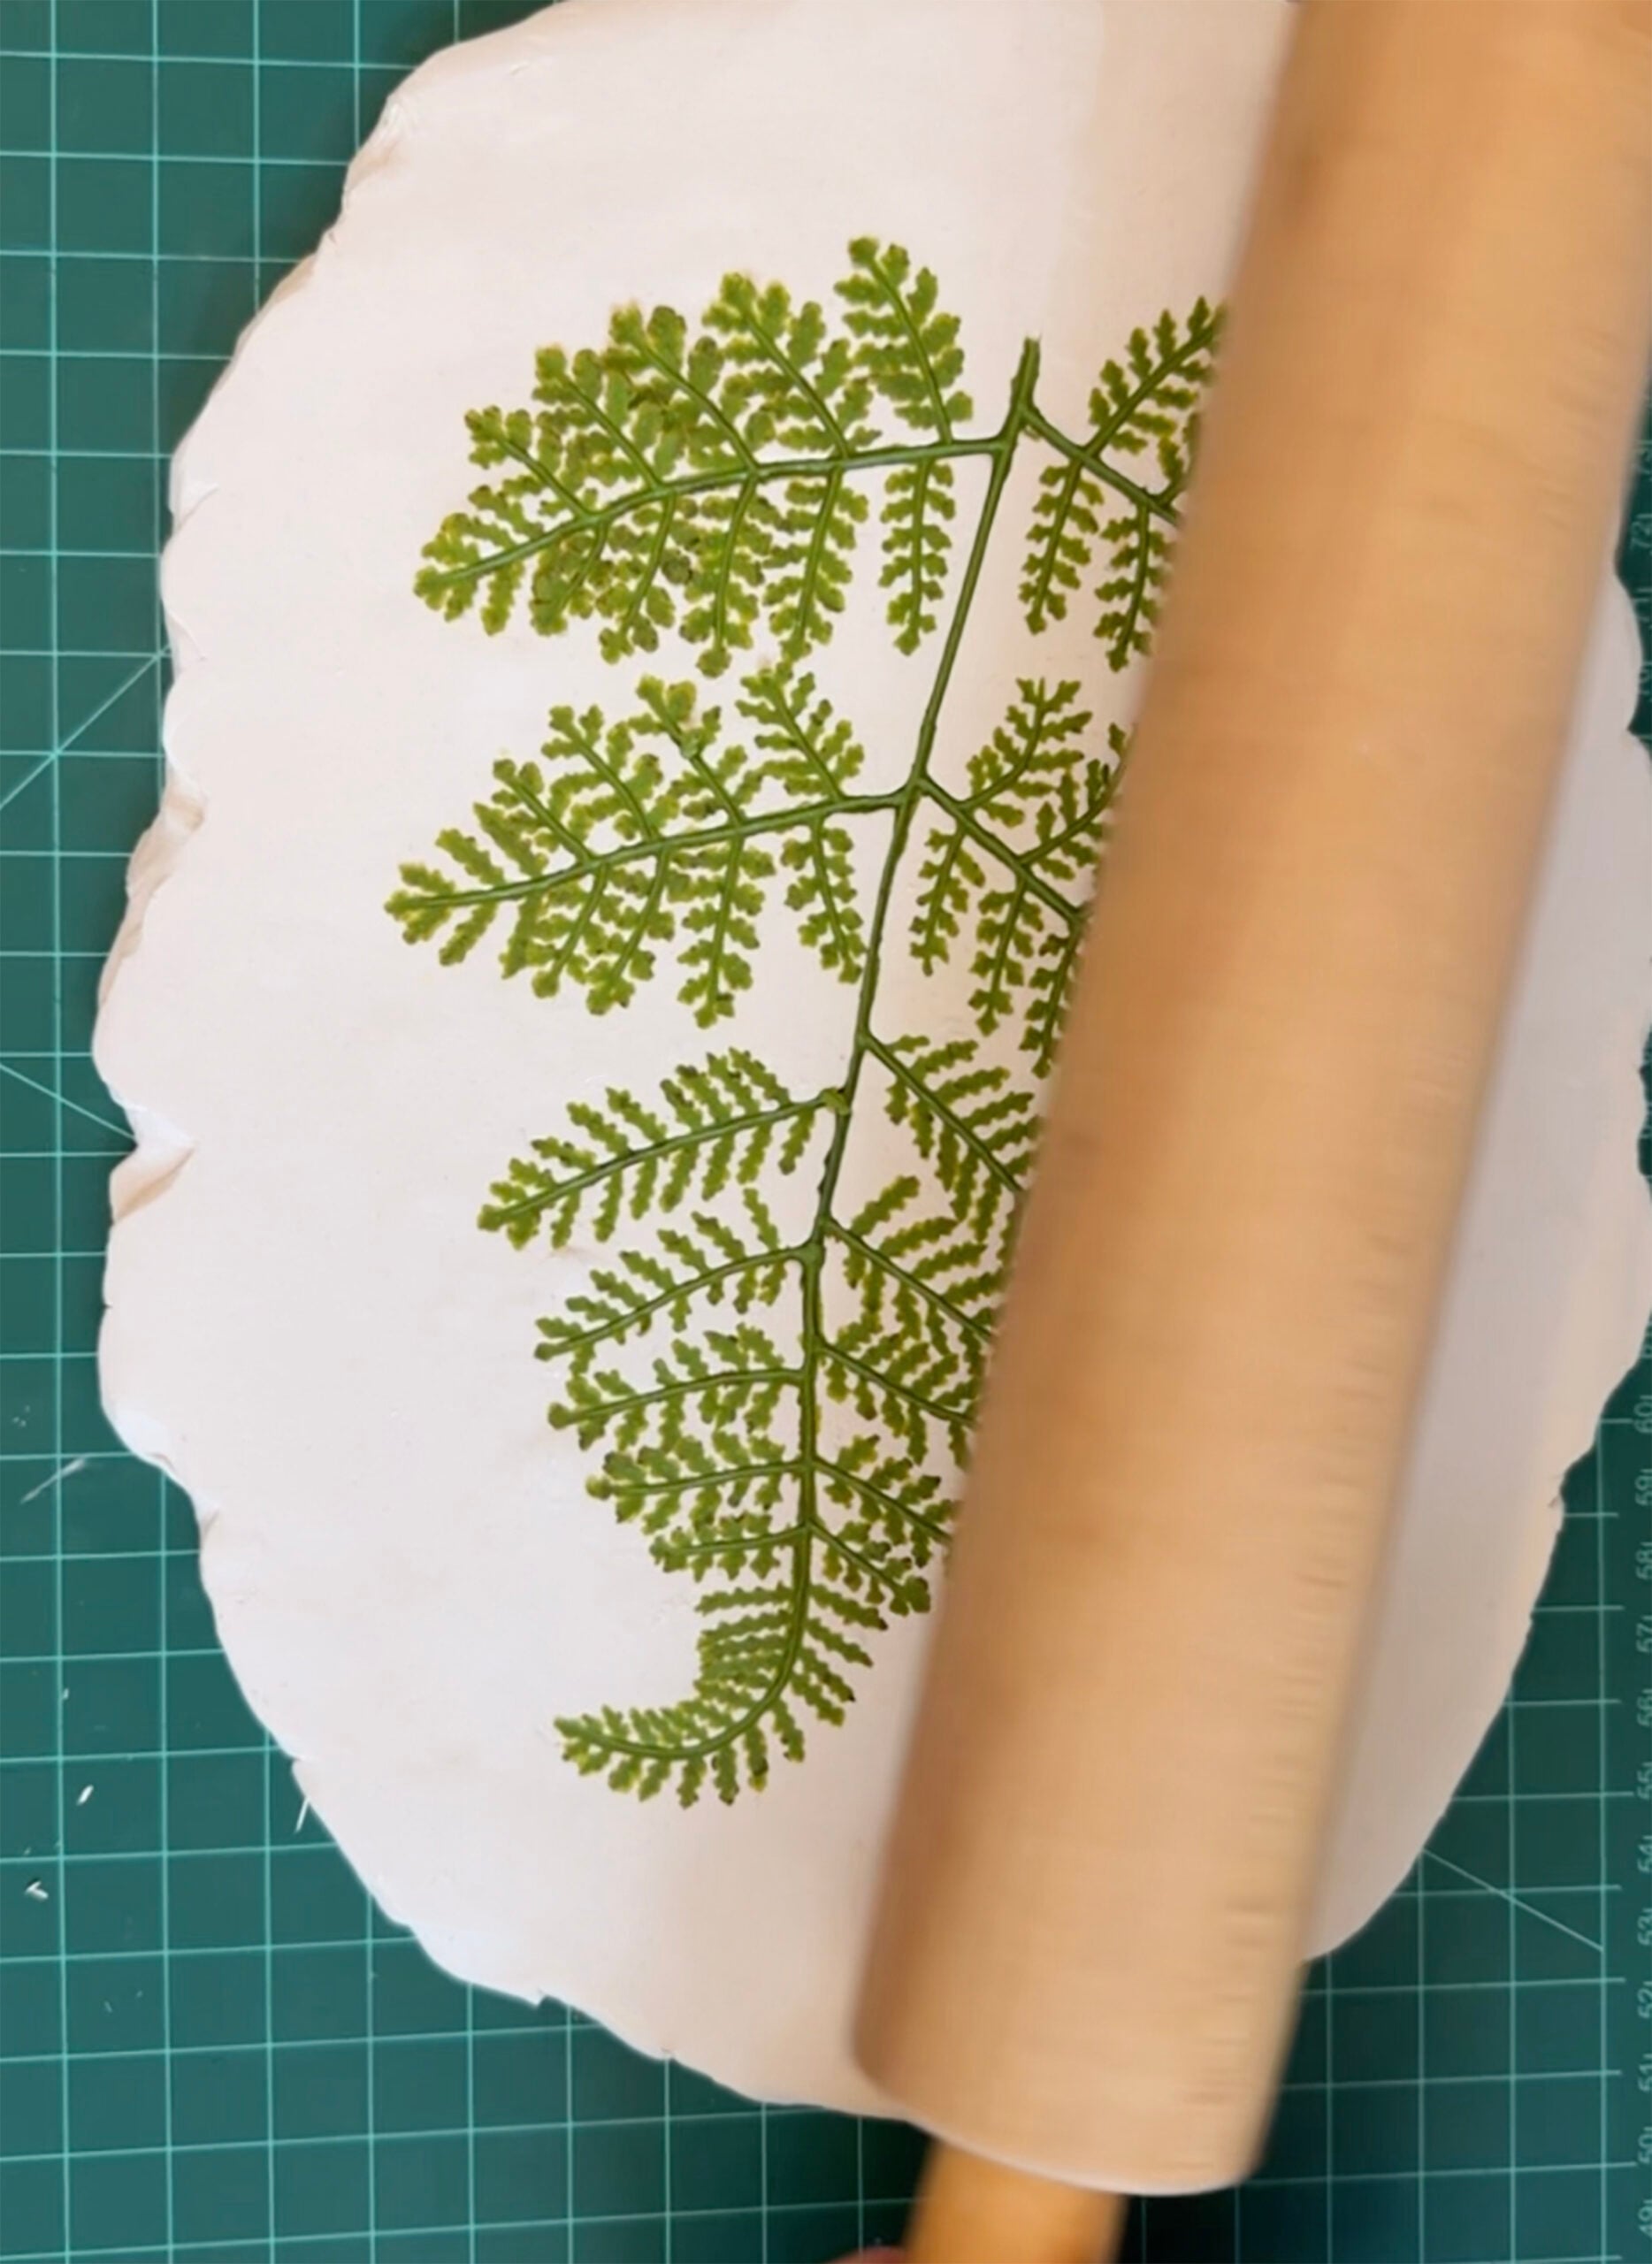
2. Arrange and Press Your Flowers
Grab your flowers or botanicals, arrange them on top of the modeling clay in your desired composition, then press them into the surface with a rolling pin. Use firm pressure. Once they’re set deep into the clay, gently pull them out. Tweezers can help if you’re working with delicate petals!
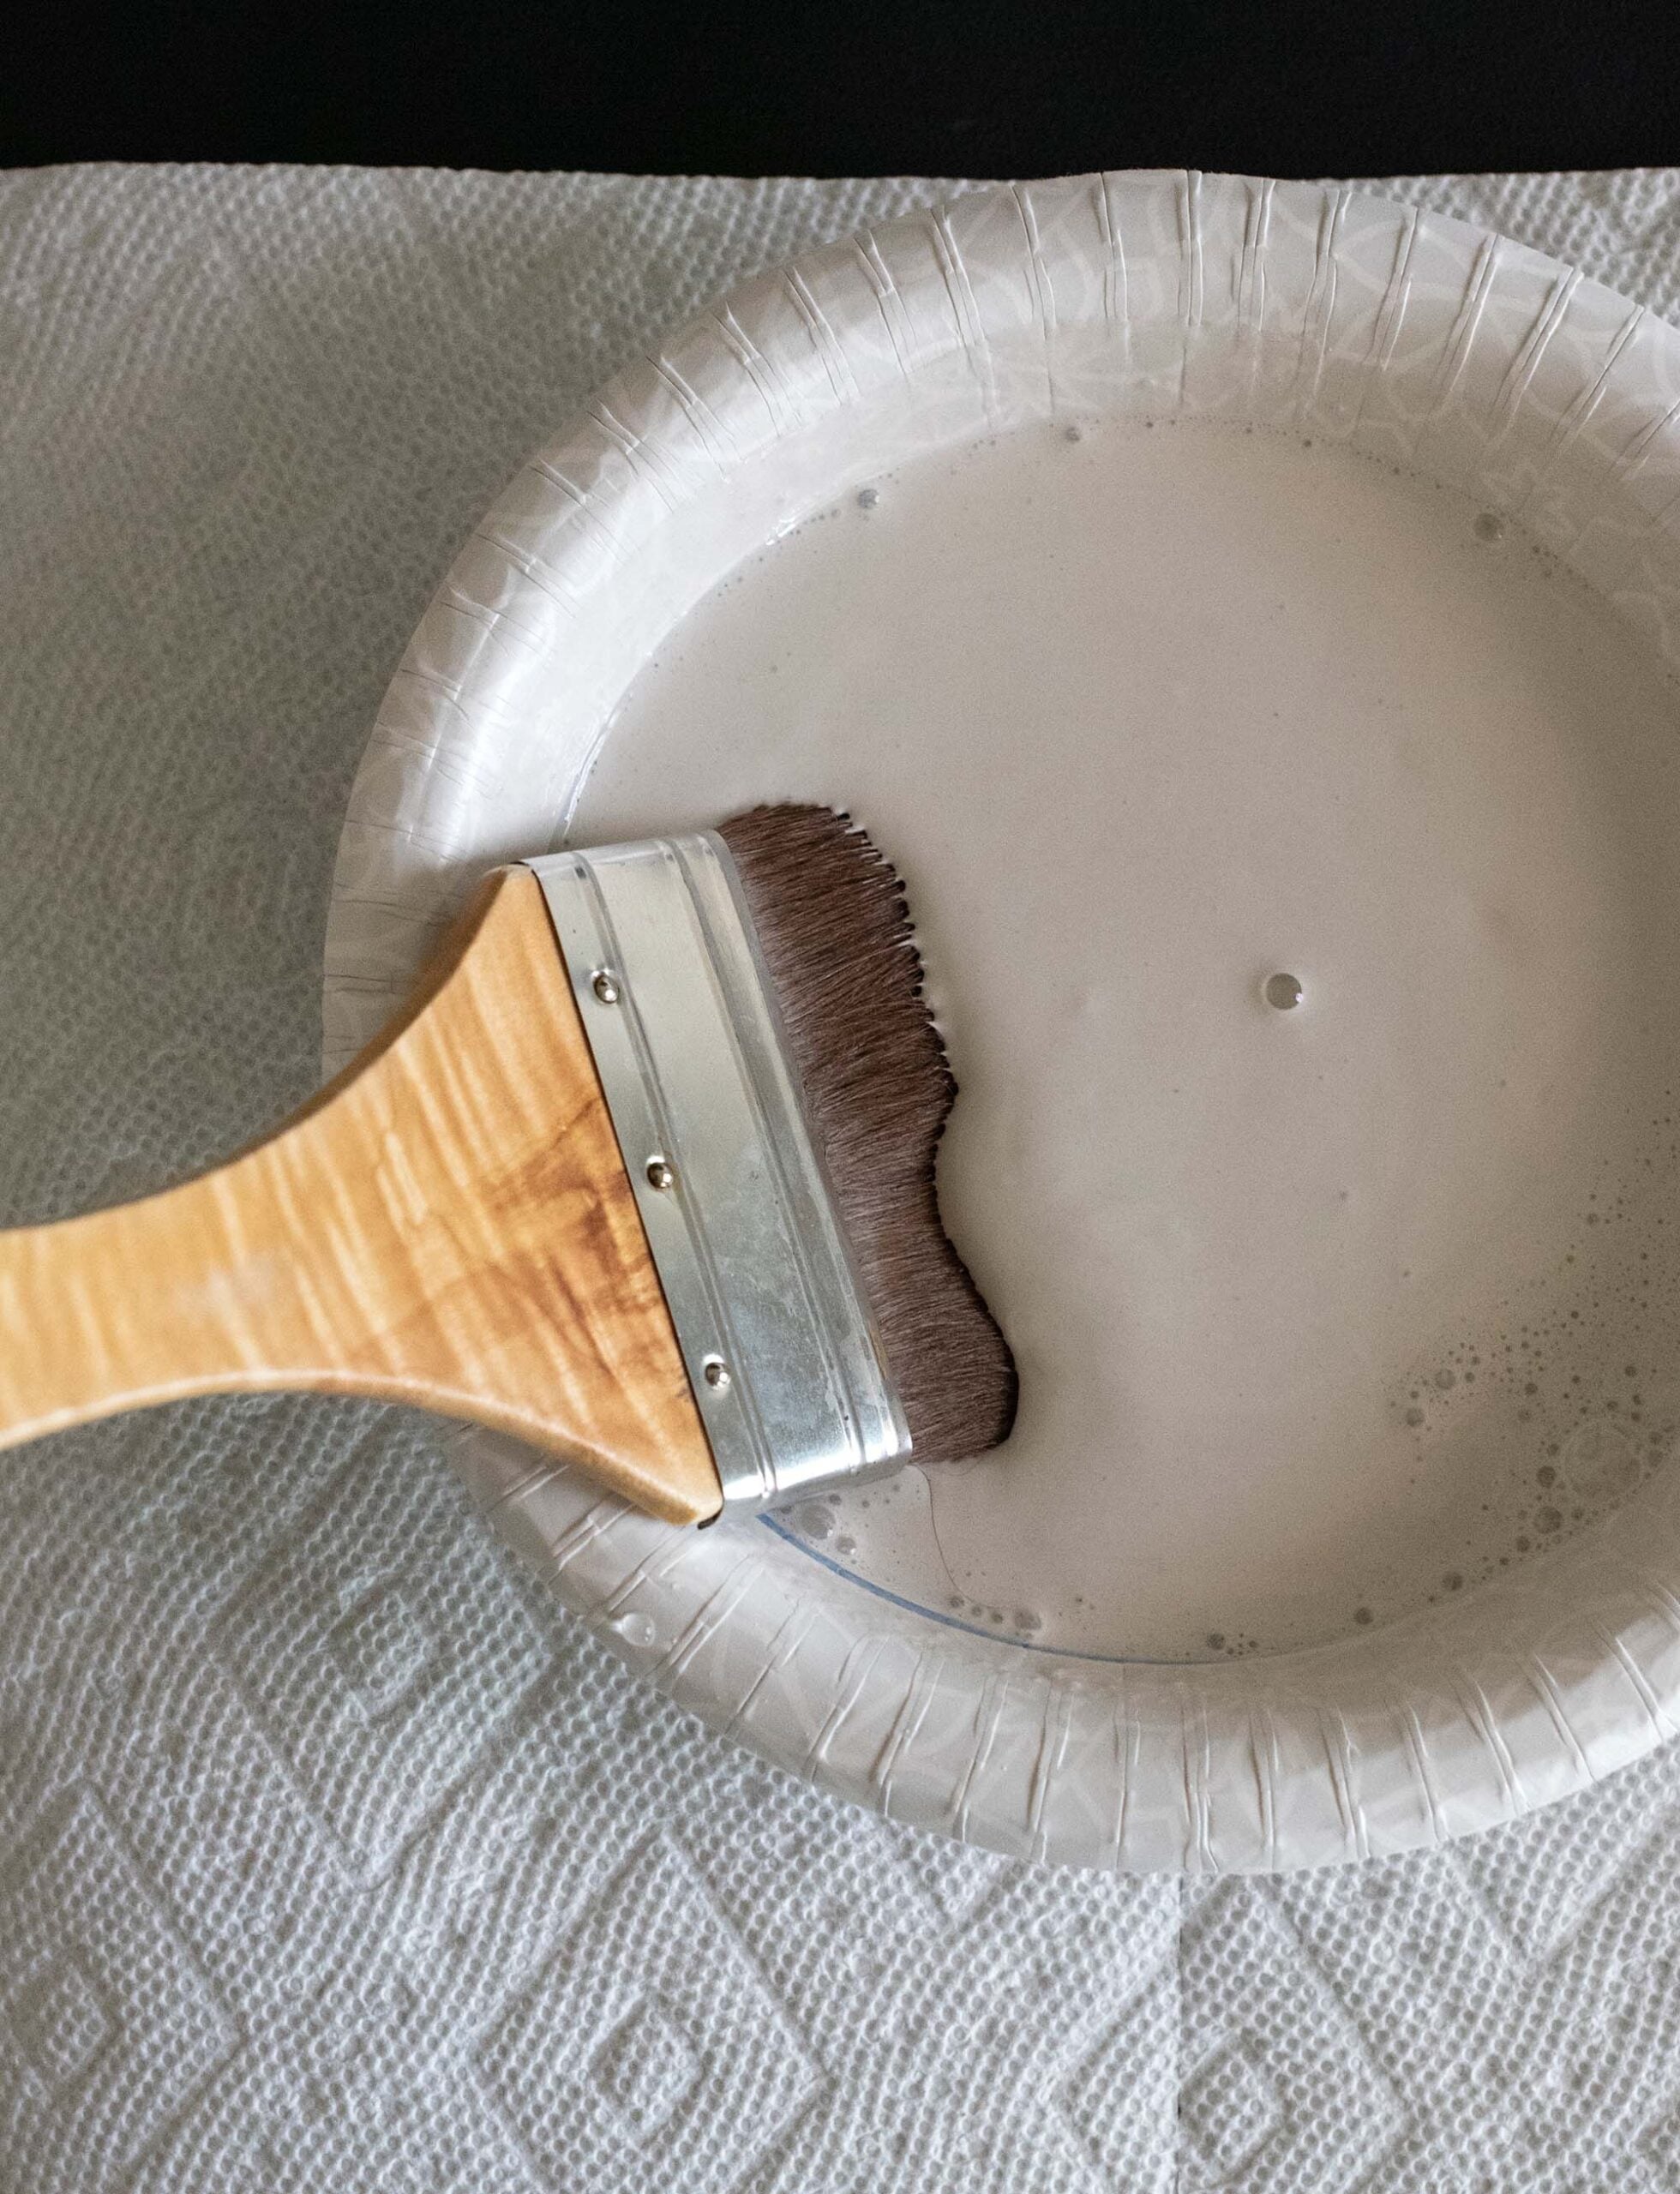
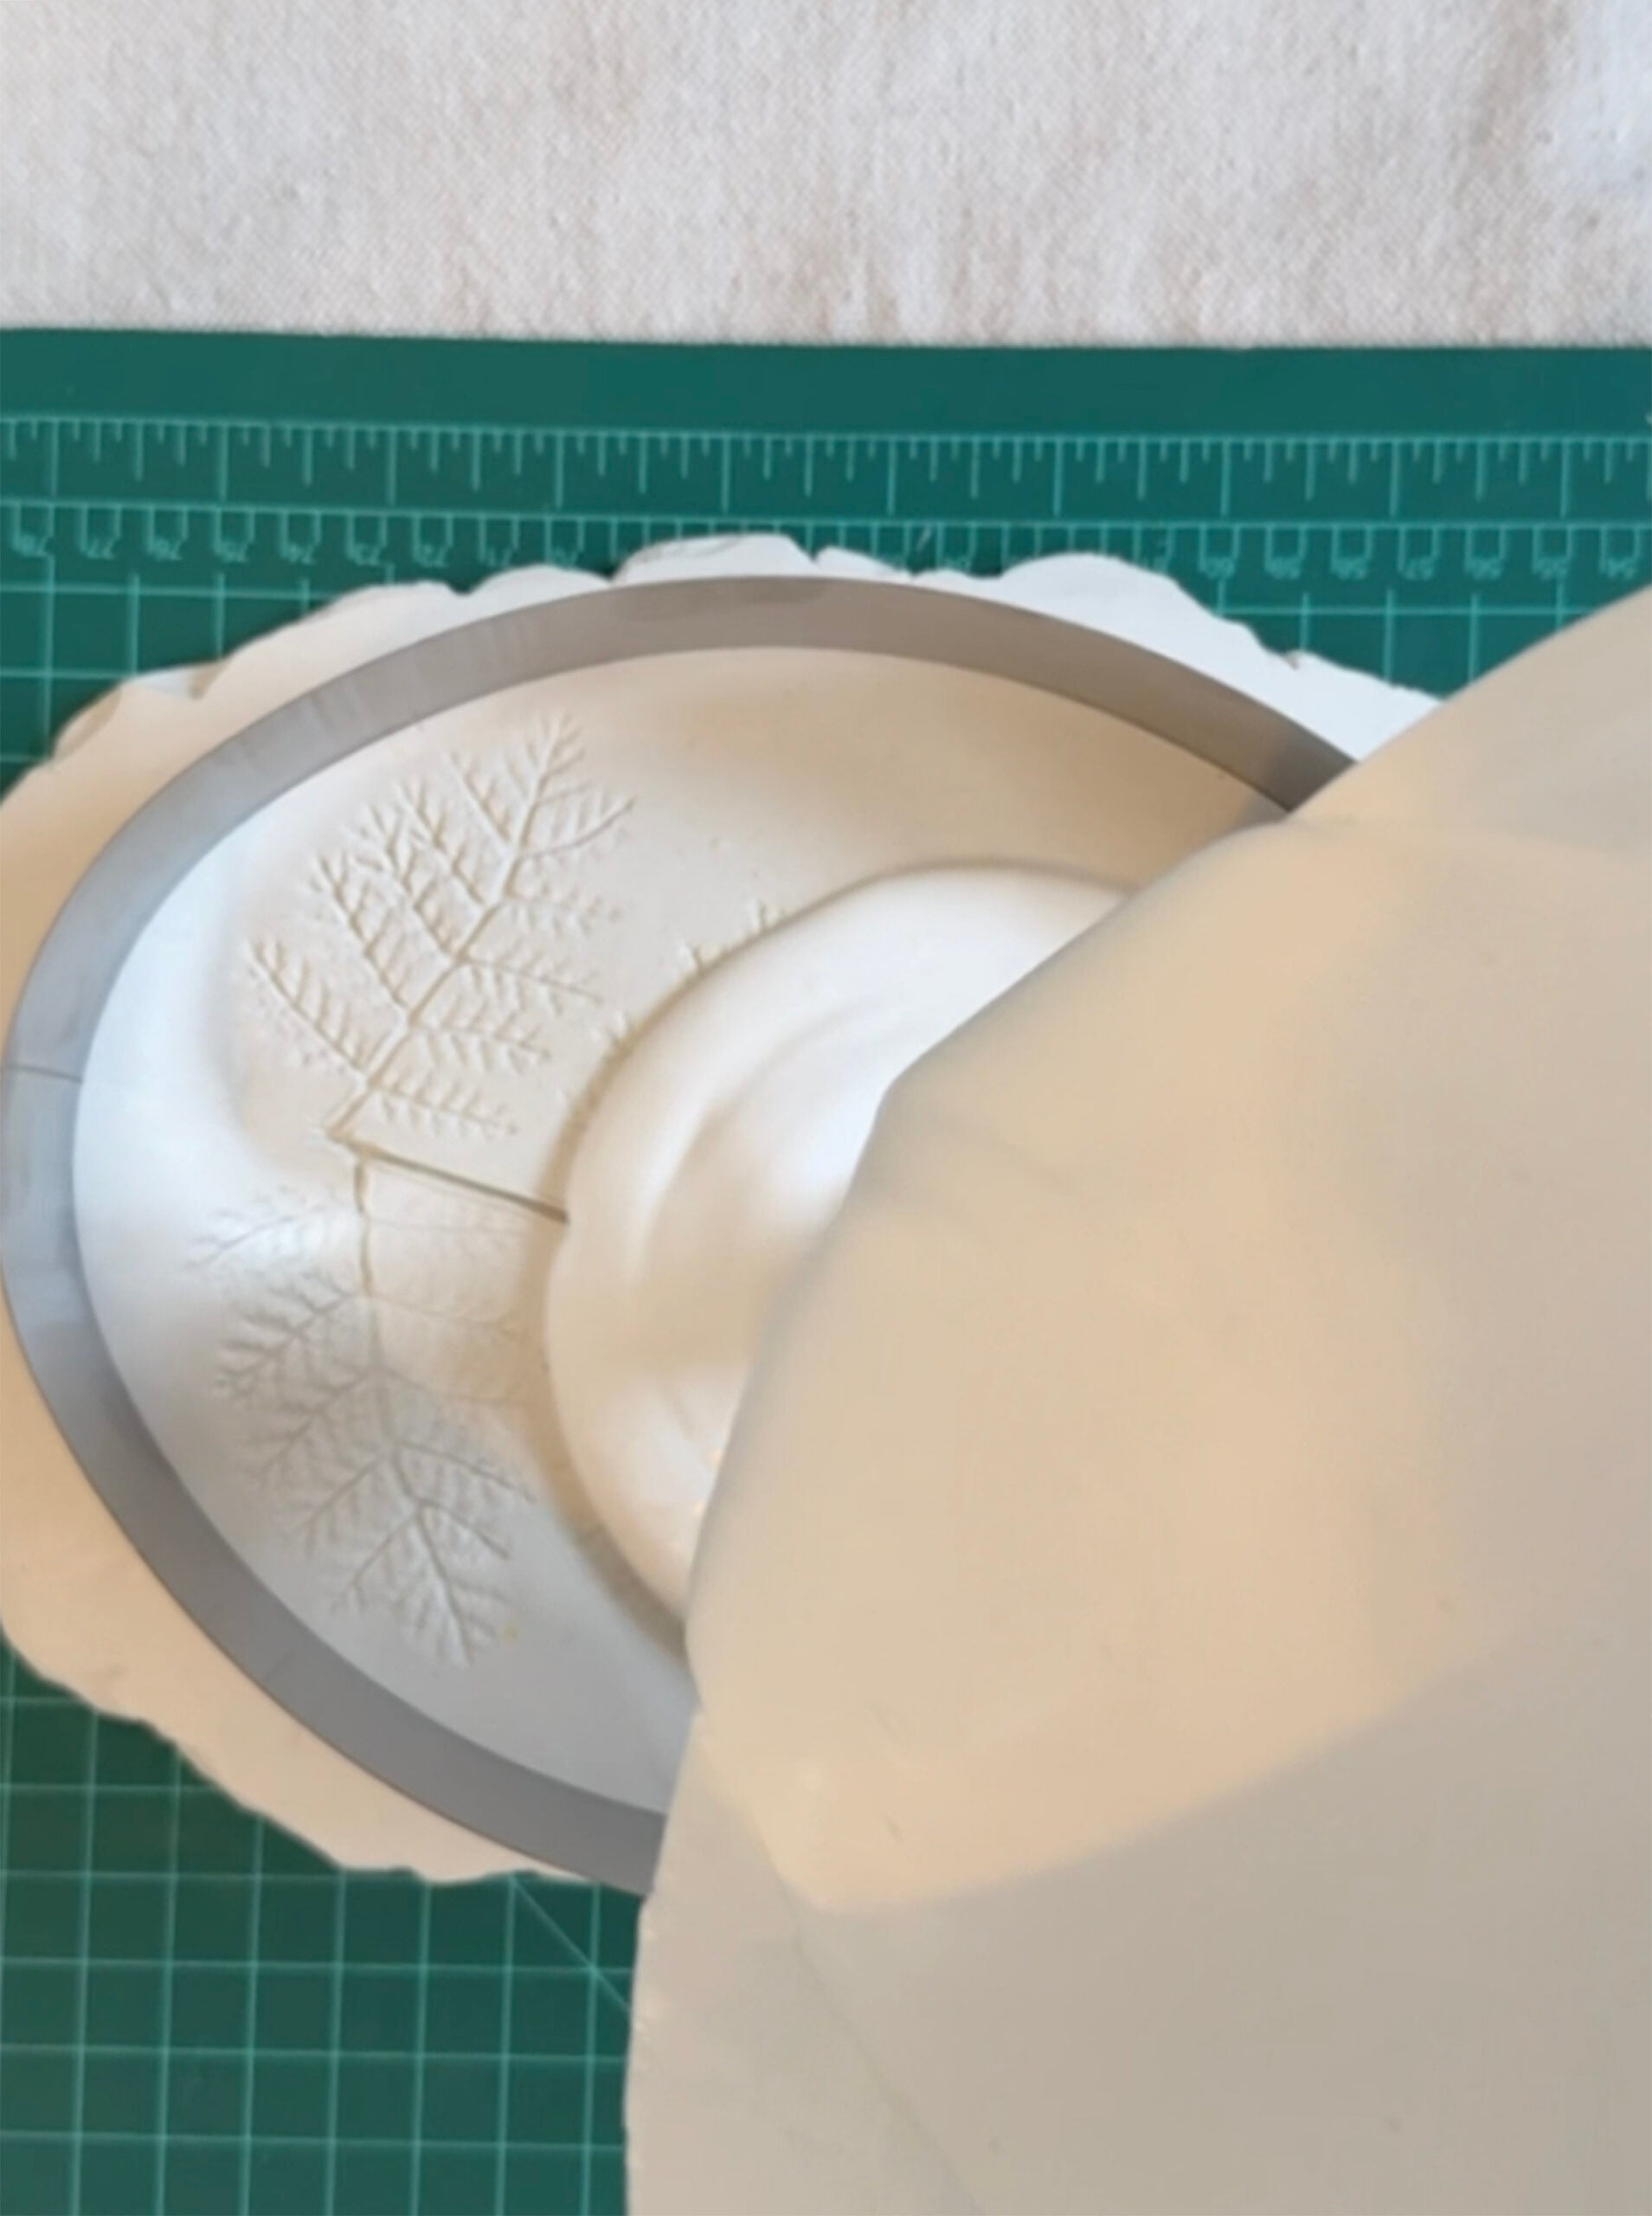
3. Mix and Pour the Plaster
Once removing the flower, press your greased mold into the modeling clay (I just used shortening to grease the mold), to form a sealed perimeter. Follow the instructions on your plaster. You want a smooth, pourable consistency that is not too thick (think pancake batter). Pour the plaster into your mold or frame and gently tap it to release air bubbles.
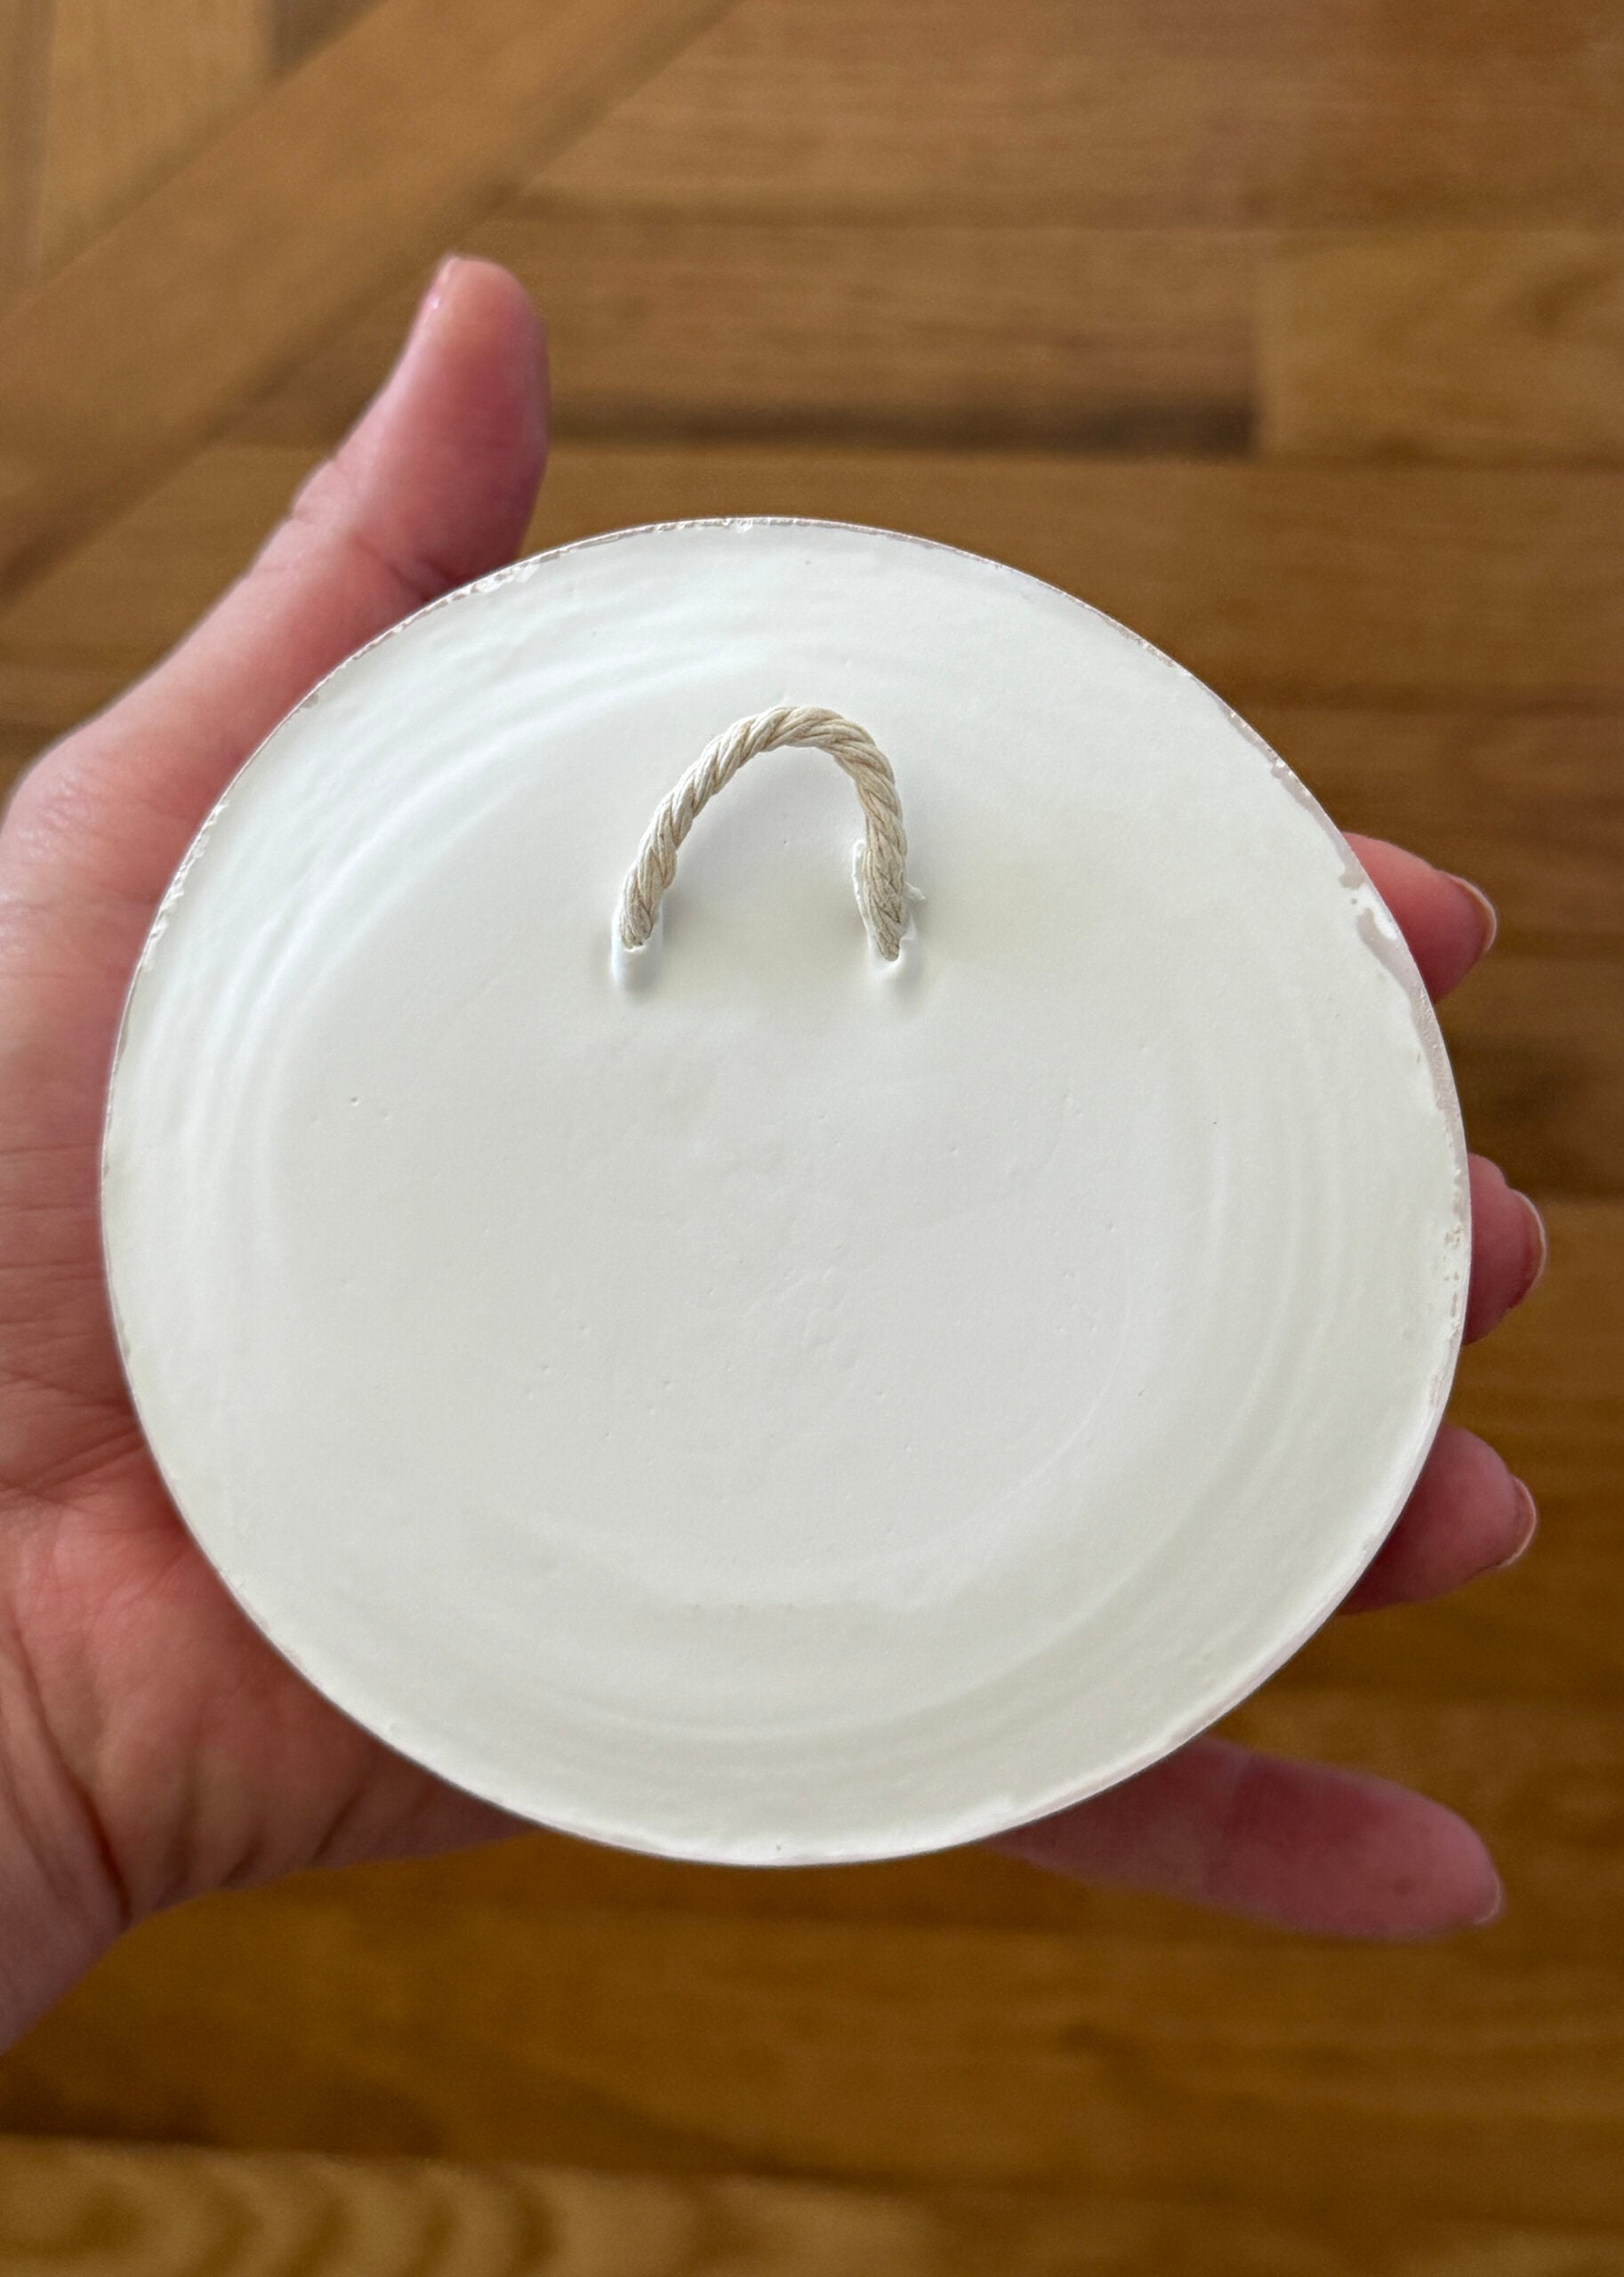
Add a loop of twine, rope, or ribbon to the back for easy hanging (see the below image). Timing matters here. You have a short window before the plaster starts setting.
4. Let It Cure
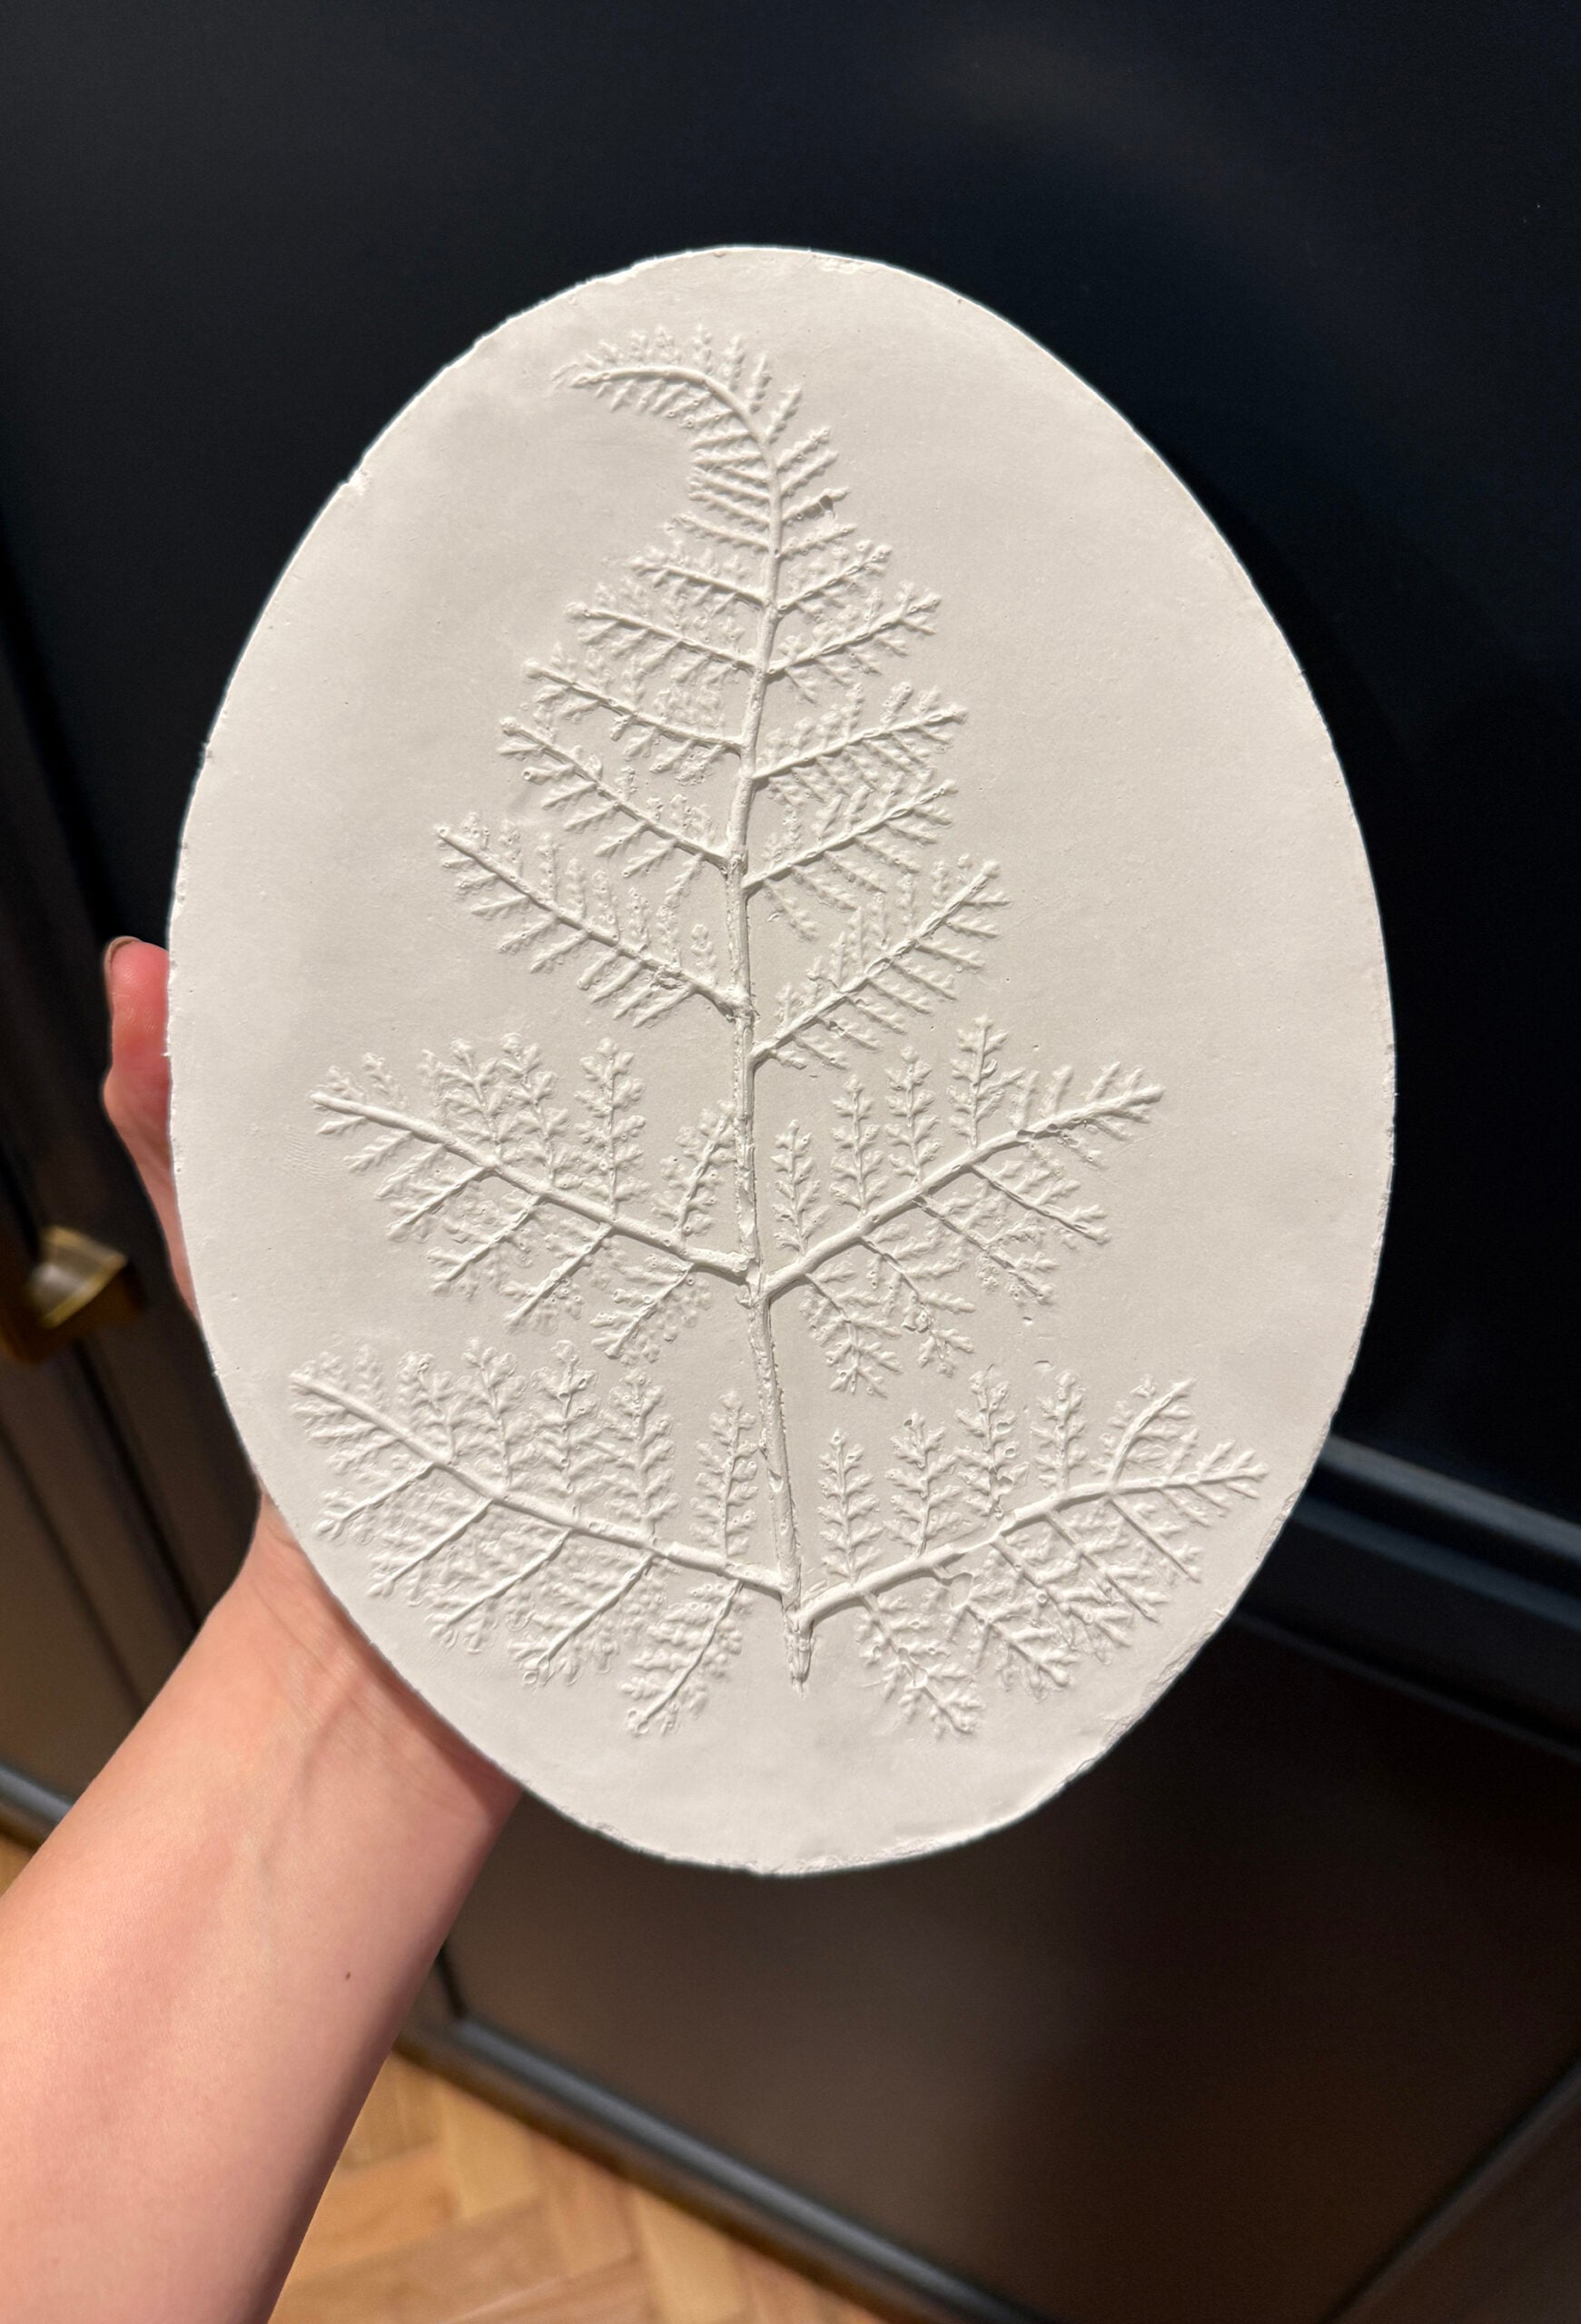
Allow the plaster to fully set. This usually only takes 20-30 minutes. Once it’s set… pop it out of the mold. Then allow it to fully cure! The complete curing and hardening process usually takes 24 hours. Once cured, sand any rough edges or surface imperfections with your sanding blocks. Keep in mind, they won’t be perfect, but I think the handmade texture is part of the charm! The below image shows my fern cameo before sanding…
5. Sand and Paint

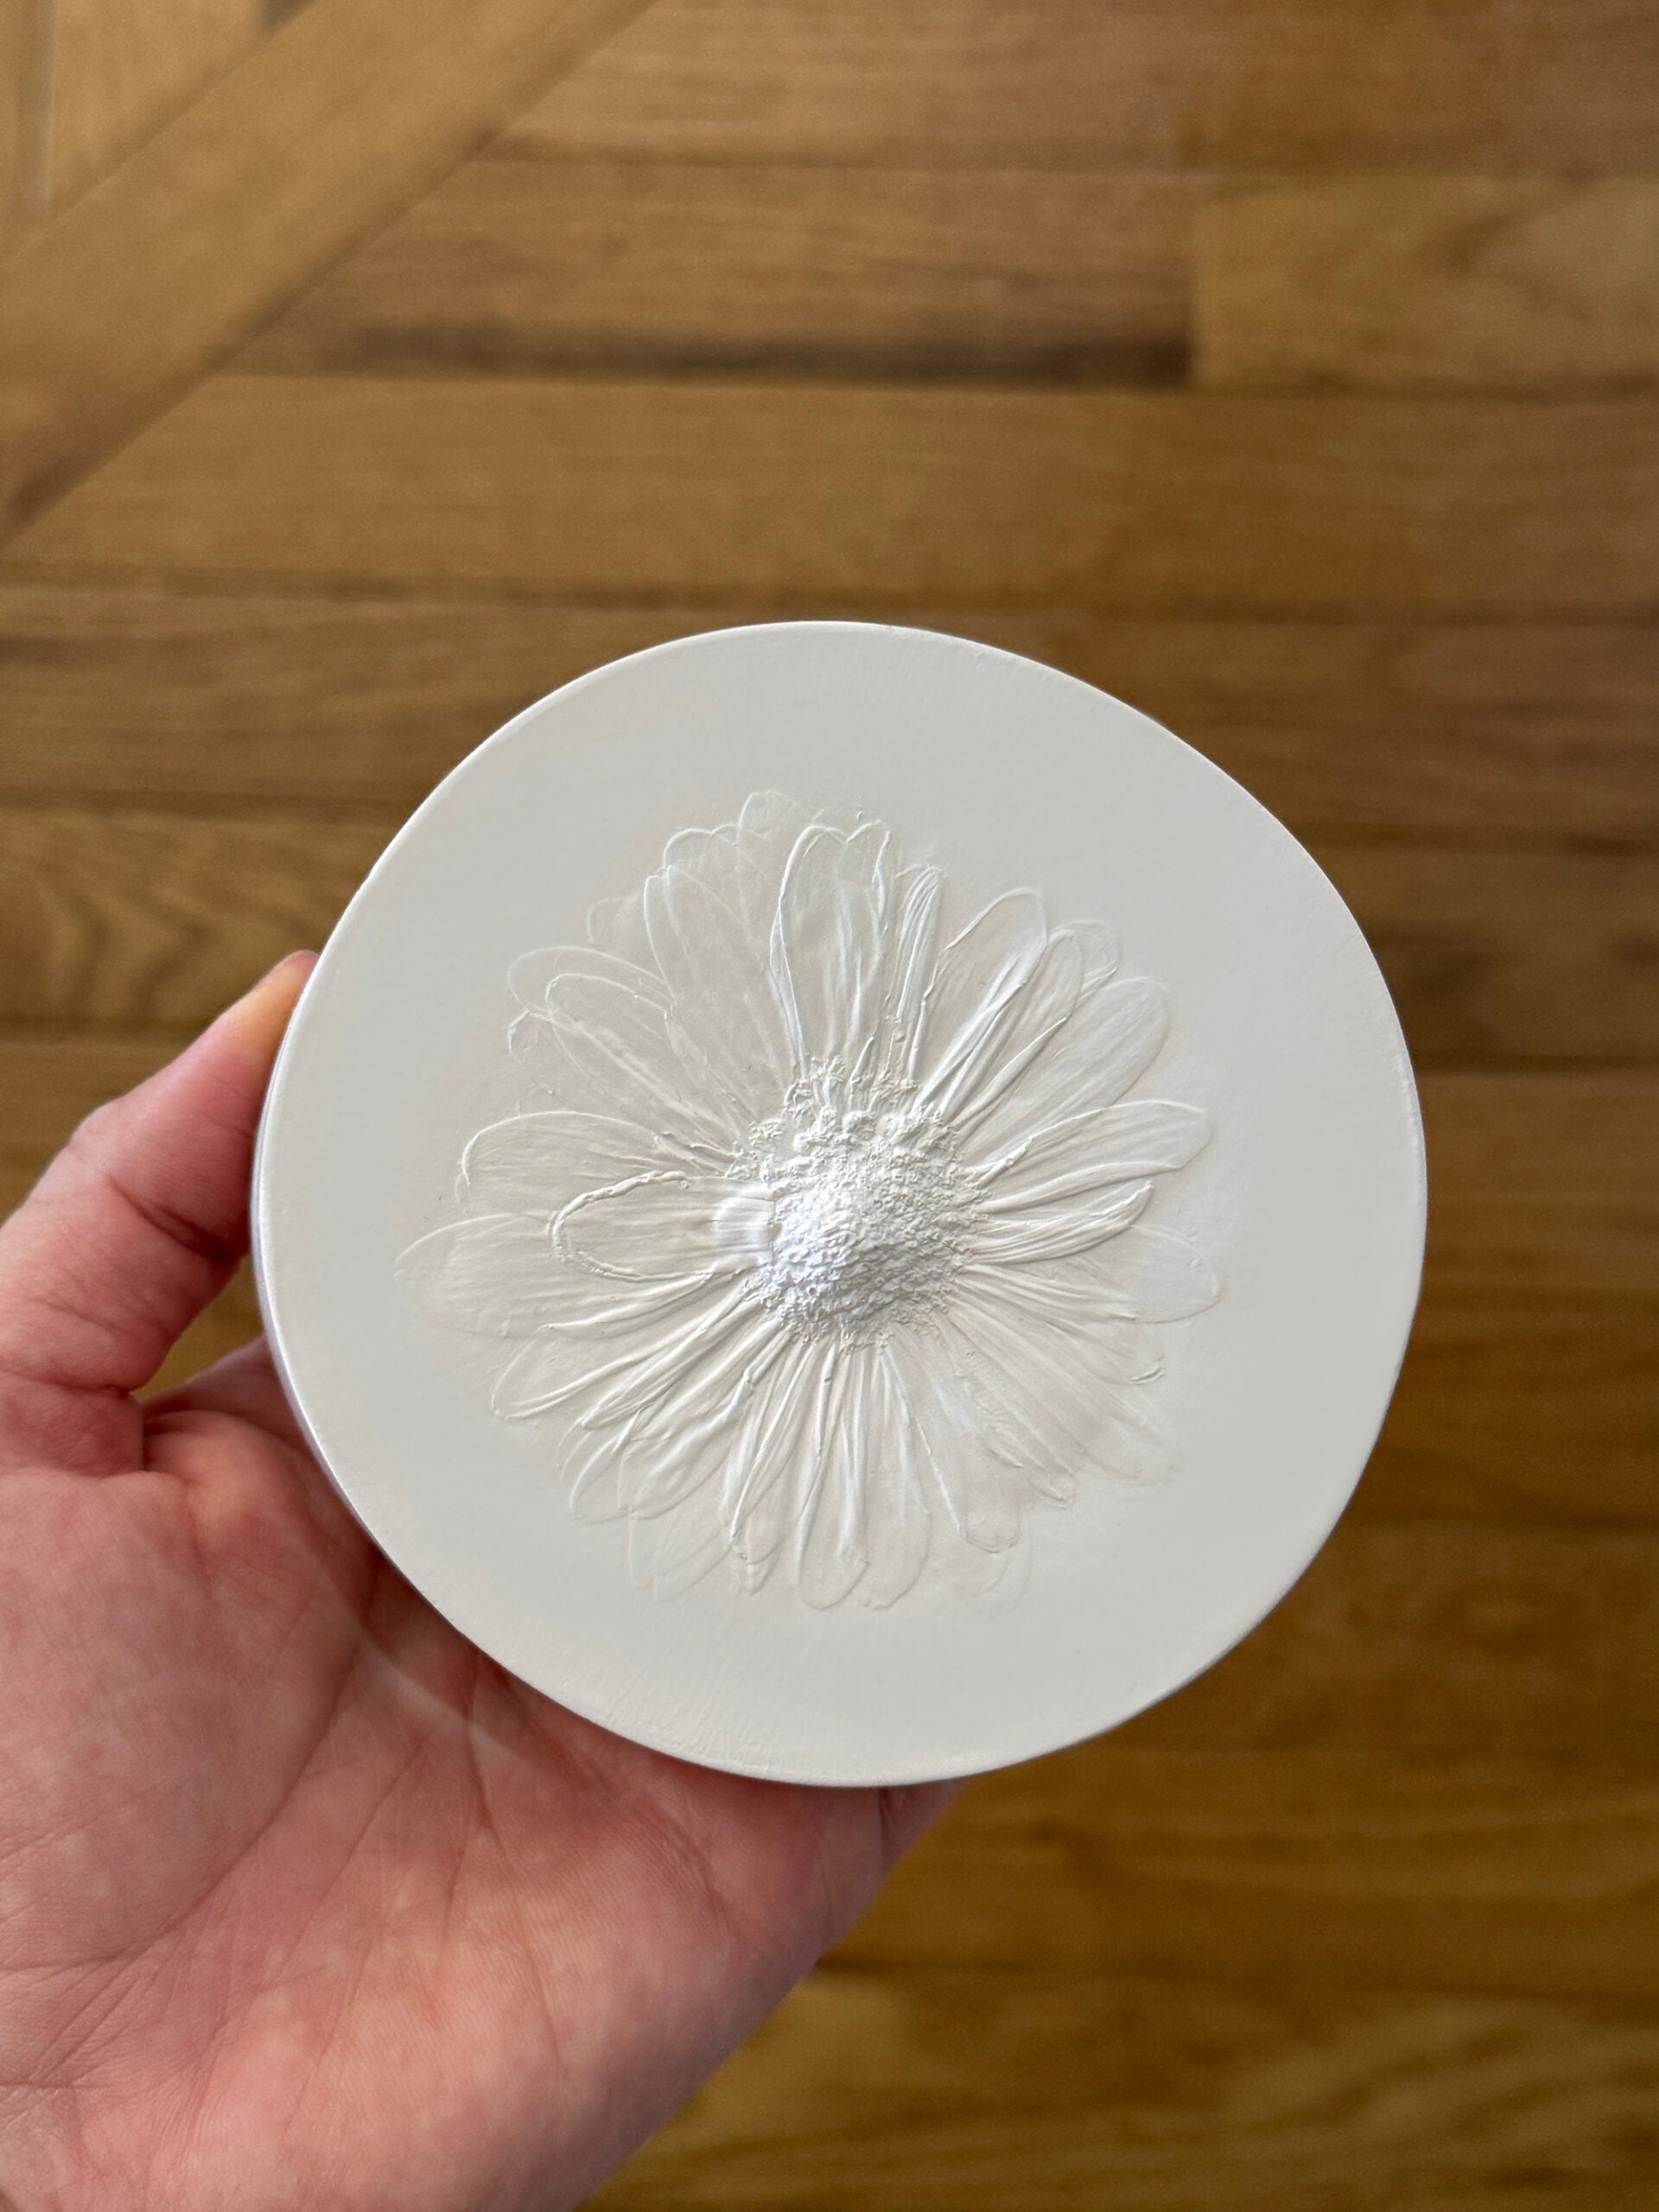
If you want a more elevated look, you can apply a coat of paint or limewash. I kept mine tonal and neutral, using hues in the same color as the dusty lilac dresser in the space. In a nursery especially, I wanted it to feel calm and soft- not busy.
Design Tips From Experience
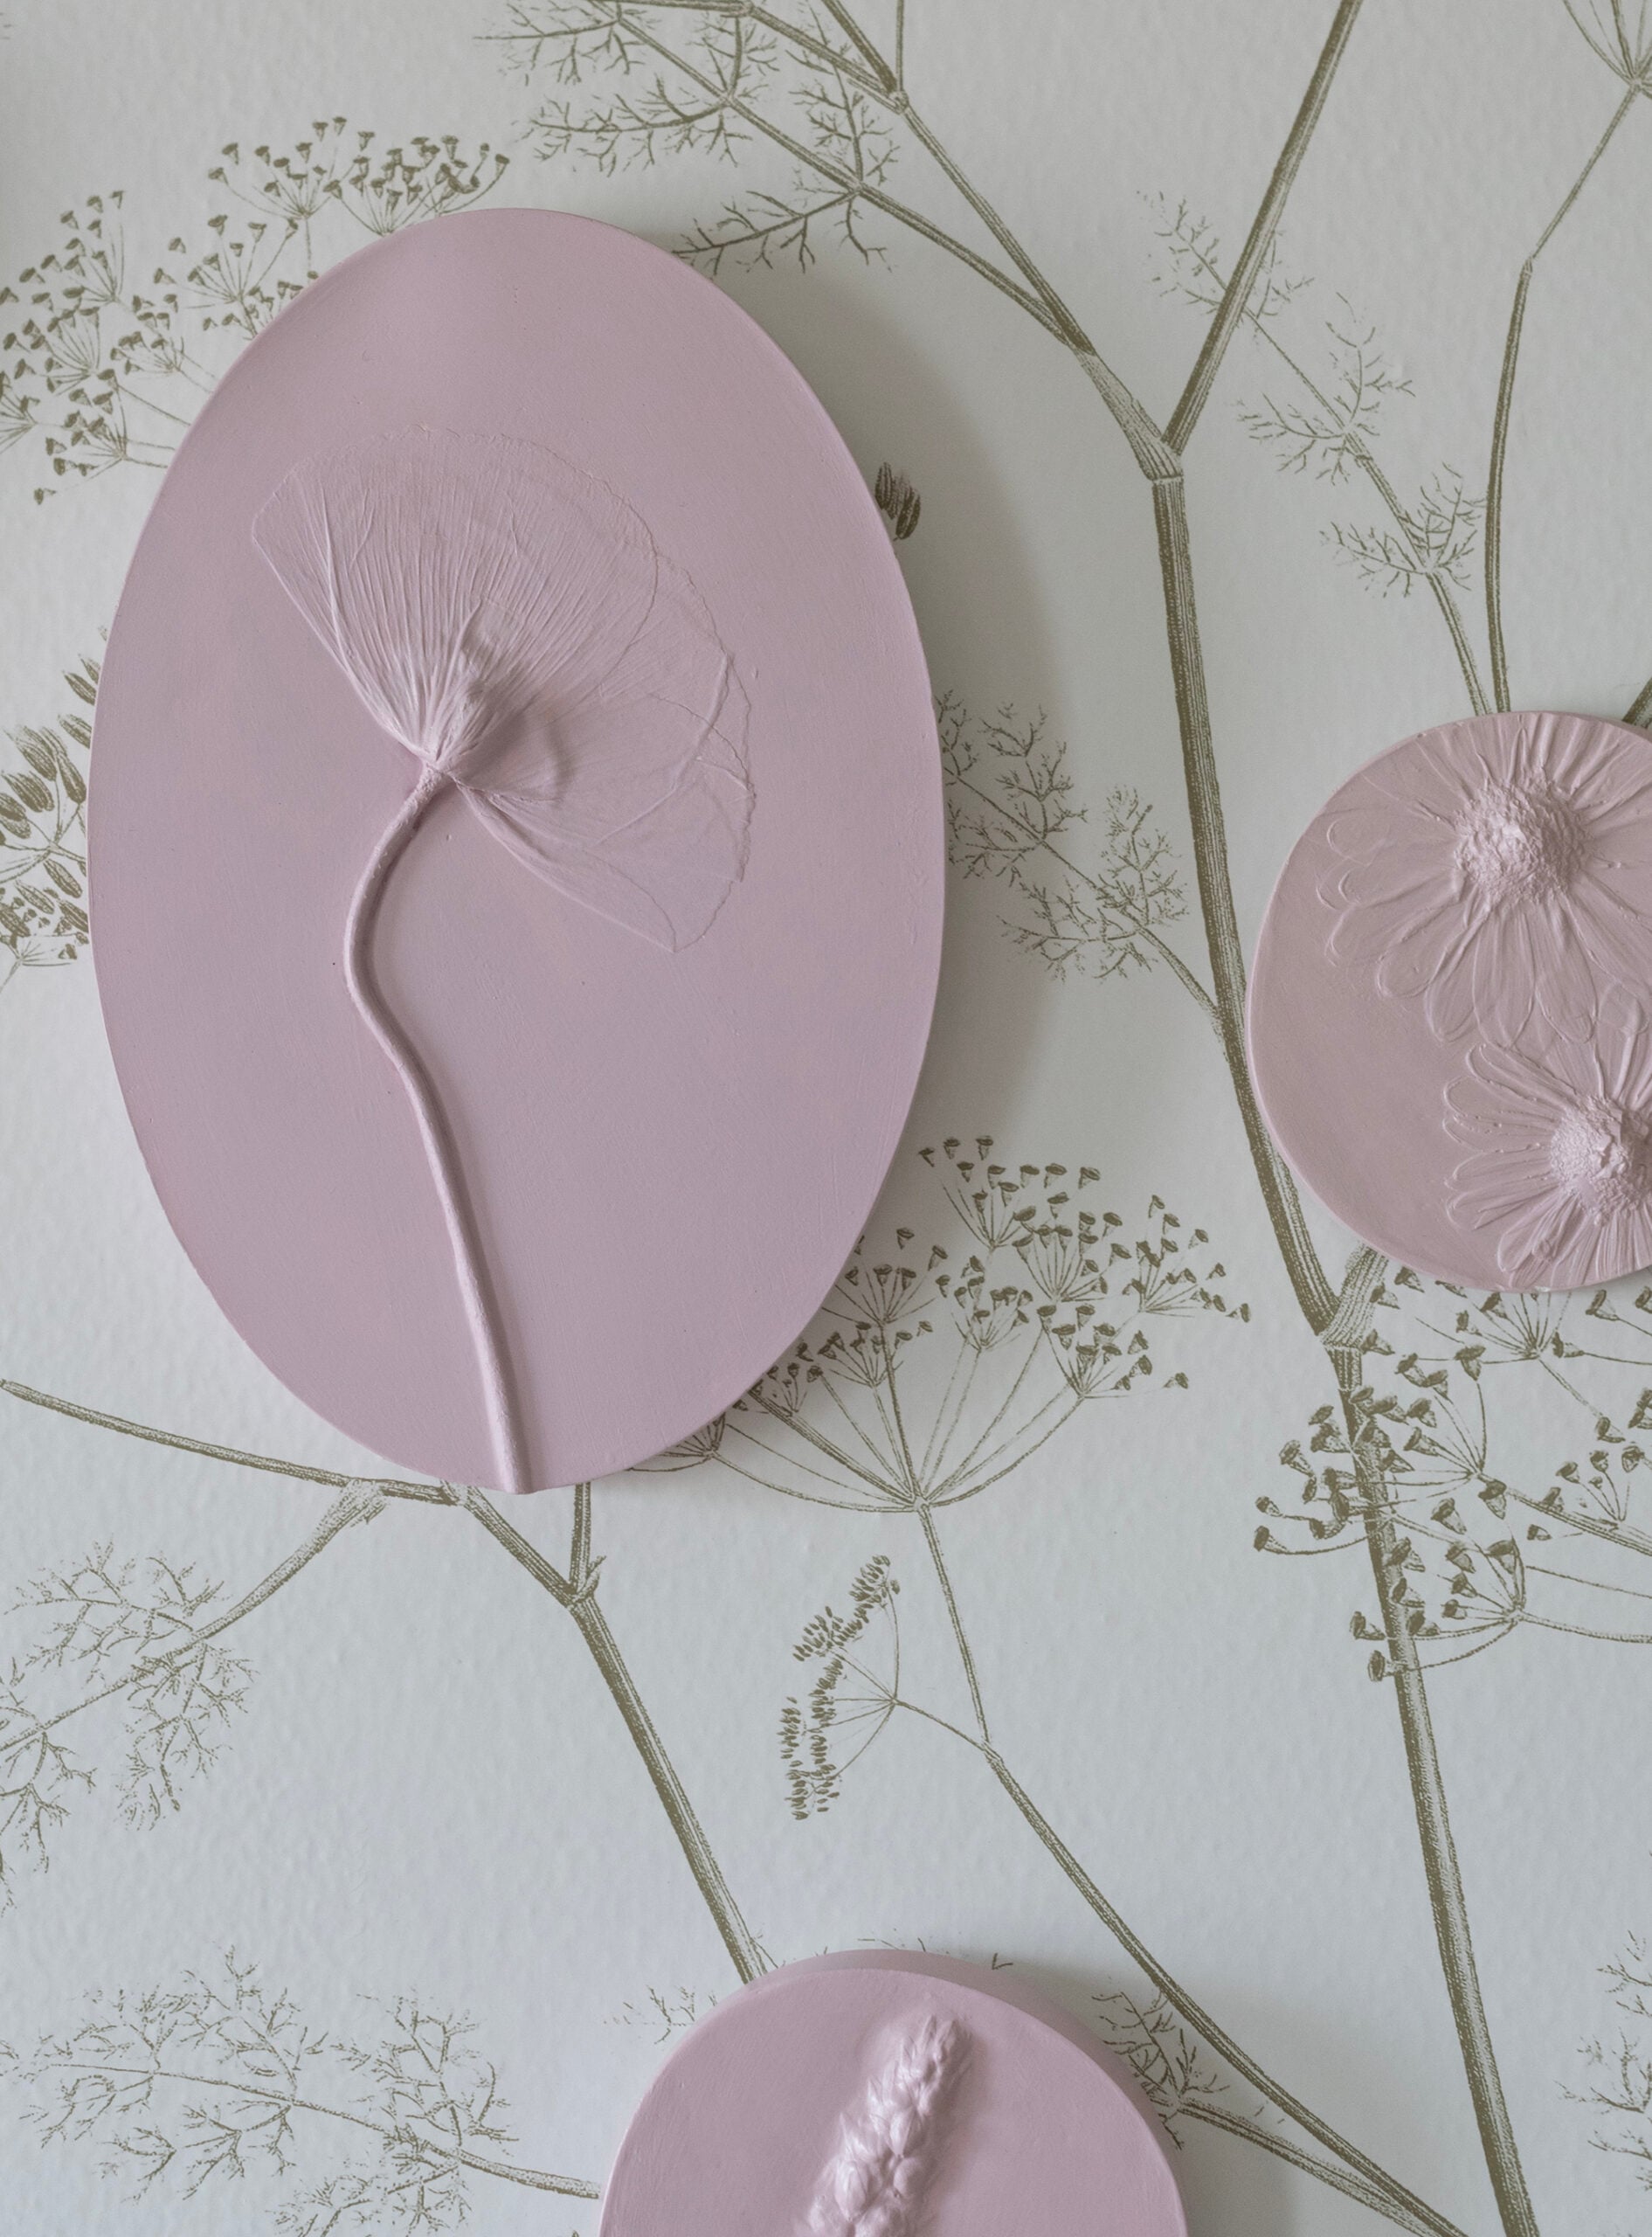
- Think about scale first. A small piece can feel lost. I recommend going larger than you think, especially for a focal wall. Or- plan to make multiples for a gallery wall. Another idea? Frame them with a mat that takes up a lot of negative space to increase the scale!
- Limit your color palette. If you’re going the gallery route, choose monochromatic or complementary colors for a cohesive look.
- Embrace imperfection. The slight cracking, uneven edges, and texture are what makes these feel custom rather than machine made. Embrace the handmade qualities, or you’ll drive yourself nuts trying to perfect these.
- Test your composition before committing. Lay everything out before pressing it into the plaster. Once it’s in, it’s in.
A Meaningful and Fun Project
I’ll be honest. You could absolutely buy something similar and it would be beautiful. But it would not hold the same weight. Every flower in this gallery marks a moment. Some hard, some hopeful. Now it lives in a room that represents a completely different chapter. That contrast is something I don’t think you can replicate by clicking add to cart. If you’re someone who values layered, meaningful art, this is the kind of project you should definitely try! I seriously enjoyed it.

Questions?
I think it would be awesome for older kids, tweens, or teens! It’s probably too messy and meticulous for small children… if you’re looking for any sort of outcome you can actually use as art and install.
It’s optional! You could easily leave the natural plaster finish and do without the paint.
Related
Looking for more posts on artwork or DIY art projects to try? I’m going to share some of my favorites with you below…
- Easy DIY- How to Update a Bust With Plaster
- How to Make Your Own Photographic Art
- Design Discussion : Nude Art
- How to Choose the Best Picture Light for Your Artwork
- How to Make DIY Pressed Flower Wall Art
- How to Easily Layout and Install a Gallery Wall
- Traditional Neutral Gallery Wall Picks
- Custom Framing Art Tips, Cost, and Frame Selection Ideas
- How to Turn Inexpensive Framed Art Into Custom Artwork
This is one of those projects that goes beyond just filling a blank wall. It tells a story. It holds memories. I hope you give it a try… let me know if you do- I’d love to see what you create! Feel free to leave any questions for me in the comment section below.

These turned out incredibly beautiful! They’re the sweetest touch to the nursery, and it looks like such a fun project to try. I may have to get creative myself because I love this look! I hope you’re having a great week so far!
I love, love, love these! And the process seems pretty approachable. I’ll be adding this to my list of Fun Projects to Do When I’m Avoiding Difficult/Boring Ones. 🤣 Cheers to a momentous April!!💜
i think these are so beautiful. i’m about to retire and don’t have any hobbies, but i think i would like to try this. i wonder what did you use for molds and especially the oval mold? also, how thick did you make them? (in inches of thickness) best regards, wscott
I absolutely love all the meaning behind the florals!!! What a sentimental art project to have in your daughter’s room!