Tips for Healthy Houseplants
I’m a huge fan of houseplants. If you follow me on Instagram or Pinterest, you probably already know this. I’ve posted about them in the past, but recently I’ve had a lot of really great questions from readers asking how to maintain and grow healthy houseplants. If you hate houseplants and find this topic boring- stop reading now, haha! Otherwise, here we go.
I’ve definitely had my fair share of houseplant fails, but through trial and error- I feel like I’ve pretty much got it down! Although I’m no expert, these are some tips I find helpful.
01 : L I G H T I N G
Each plant has different light level requirements. It’s as simple as reading the tag or researching the plant to determine where it should live within your home. When thinking of light and the amount of sun your plant needs, consider the intensity or strength of light. Is it filtered through sheer drapery, direct sunlight, or reflected off of something? Don’t forget to turn or rotate your plant every so often, so it grows evenly. I rotate my fig tree every other month.
You should also determine the duration of sunlight you plant needs. Even if your plant is sitting directly on a window sill, will it be shaded for the majority of the day? Compare different sides of your home, like east versus south. This should really help you narrow down which plants will thrive in specific rooms. Don’t feel bad if you get it wrong at first… worst case scenario, you move them around until you find the right spot. I do this all the time; trial and error really is the best way to learn.
02: C L E A N I N G
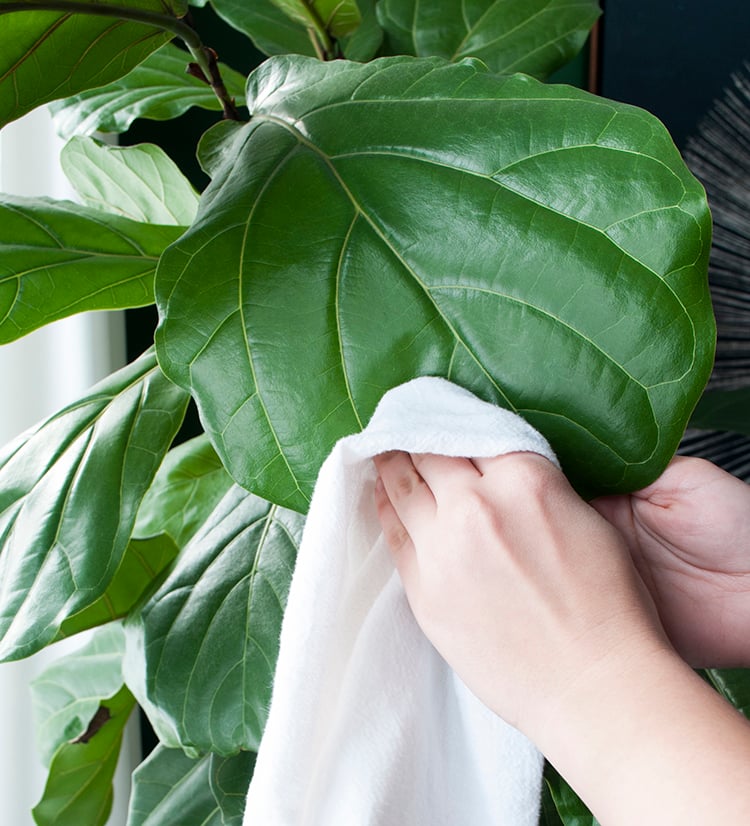
Most people forget to clean their plants. Leaves often become dirty and dusty. This blocks sunlight, stunting their growth. Wipe the leaves with a damp sponge or towel. I usually just use warm water and a dish towel- no soap required! Not only will it make your house look tidy, I really can tell a difference in growth a couple weeks after cleaning.
For plants with smaller or spiky leaves, sometimes it just takes a feather duster or a gentle shake.
03: W A T E R I N G
Obviously all plants need water to survive, even those native to the desert. The tricky part is figuring out how often to water them and how much. Plants typically require less water in the winter than they do in the spring/summer, which is their growing season. Over and under watering is how the majority of house plants die. Sometimes I find it easiest to put them in the sink or shower and spray them down really well, while other times all it takes is a spray bottle.

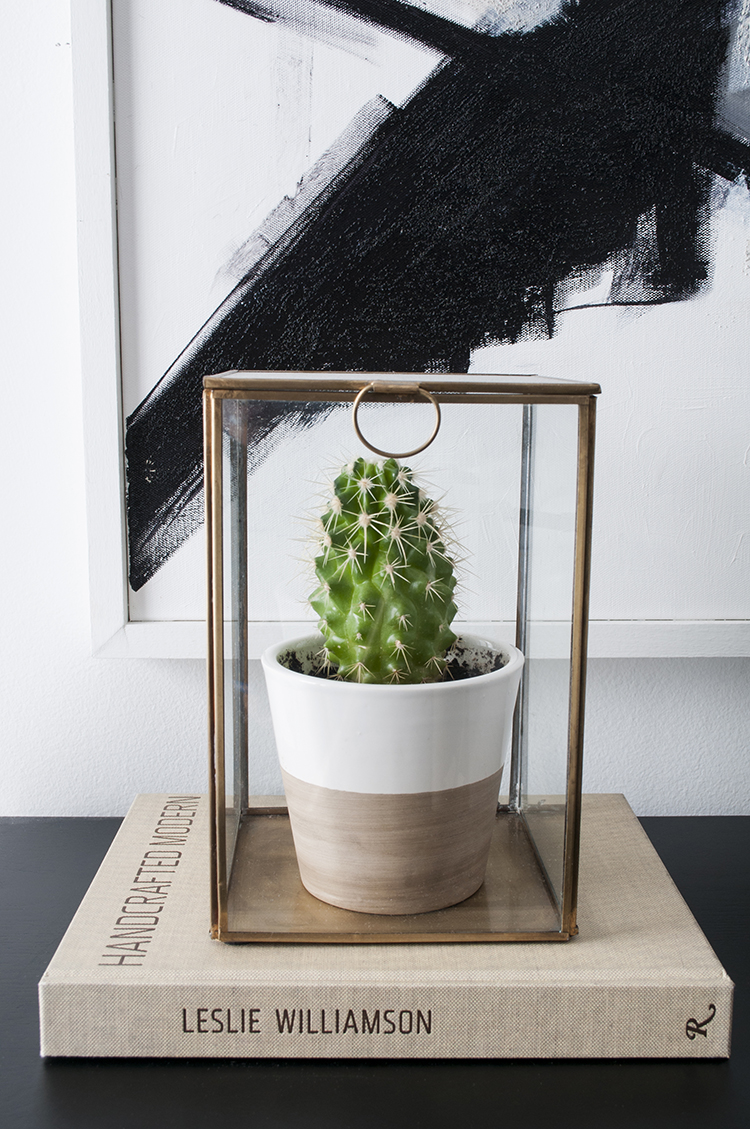
Again, you should research each specific plant, but my rule of thumb is to allow the soil to dry out before watering again. Be observant and monitor how your plant changes with more or less water. If it’s not doing well, make gradual adjustments. Sometimes I only water this little cactus once every other month!
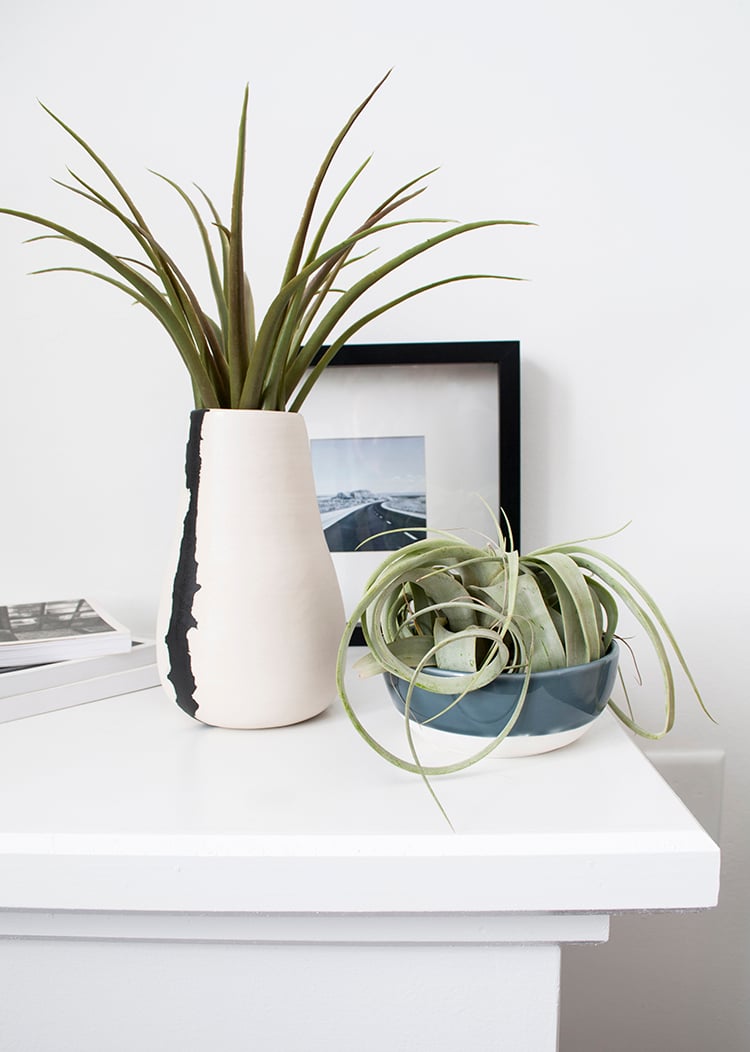
For air plants, submerge them in a sink of lukewarm water for 3-4 hours. They love a good soaking! I usually do this every other week, with regular spray bottle watering in between.
04: T E M P E R A T U R E
Most homes are warm enough to sustain any sort of houseplant; contrary to what you might believe, most houseplants dislike hot and dry environments. Don’t confuse full sun with a high temperature. Plants usually don’t do as well in the winter months because of the humidity. Our homes are very dry and we like to crank up the heat. Position your plant in a consistent climate- avoiding vents and drafts.
05: F E R T I L I Z I N G
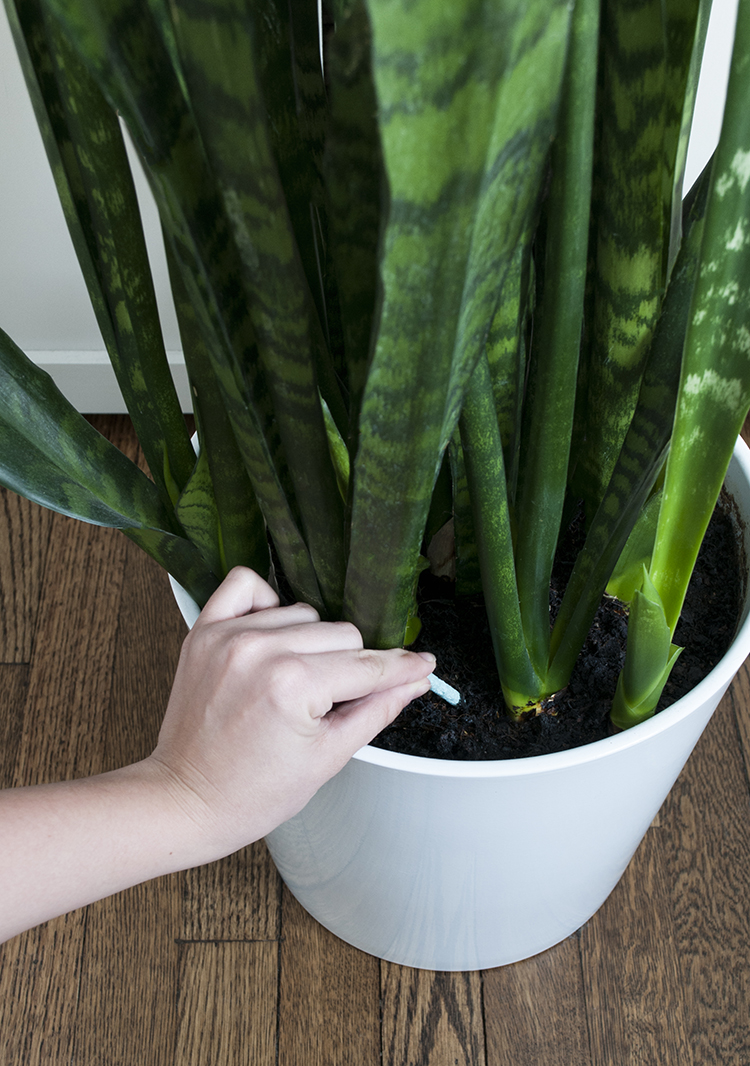
I like fertilizing my plants every 3 months or so. I’m pretty religious about fertilizing my larger plants (snake plant, fig tree, etc). I’m also all about saving time, so I use Miracle Grow Plant Food Spikes because they’re super easy. Just follow the instructions on the box and you’re good to go! You literally just press a little spike into the soil. I have noticed a big difference in growth since I started fertilizing my plants. Just remember, never fertilize a plant that is too dry. Water your plants, then fertilize a couple days later.
06: R E P O T T I N G
I’m not going to lie… growing up on a farm, I was raised on the Farmer’s Almanac. Some people think it’s crazy, but I still like to look at the best dates for things like repotting. Regardless if you do it by the book, don’t repot your plants in the winter. This is usually a dormant stage; it’s best to encourage growth during the plant’s natural growth cycle in the spring.
When increasing the pot size, too large can definitely be a bad thing- I learned this the hard way. Be sure to buy a planter that is 2″ – 3″ larger in diameter than your existing pot. This spring, I plan to replant this snake plant. It’s gotten so tall this past year and is definitely ready for an upgrade!

Remember to think about drainage when repotting. If you find an amazing planter you absolutely love, but it doesn’t have a drainage hole… no worries, don’t panic! In my experience, it really doesn’t matter that much. If you buy the correct type of potting soil, and add some gravel to the bottom of the planter prior to potting, it should drain just fine. My fig tree is super happy and it’s been in the same pot (with zero drainage) for over two years now.
I don’t really spend too much time on my plants because I feel like if I ignore them, they do better. Seriously. It sounds crazy, but try not to over analyze anything. Don’t worry about watering them all the time, just let them go and experiment with different methods. Once you get the hang of it, you’ll fall into an easy routine.
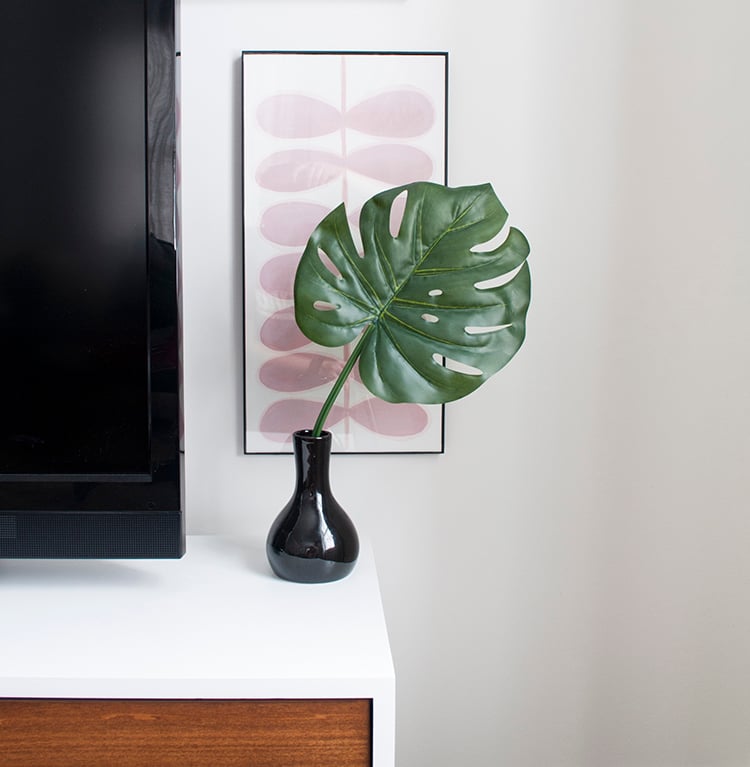
If all else fails and you truly don’t have a green thumb, go faux! Would you believe me if I told you the above leaf is faux? Well, it is… you’ve been tricked! The only thing you have to worry about is dusting it. This is the only faux plant in my house, but they do make them rather convincing these days… so it’s another good option.
Let me know how it goes or if you guys have questions! Hopefully your plants will begin to thrive and you’ll start to notice a difference. I also signed up to write a couple guests posts for the Interior Collective again (cool quartz DIY coming soon!), so you can also find a version of this post over there.
*As seen on the Interior Collective.
Great tips, I use the same fertilizer too. I love plants and this was my first year adding succulents. I had no idea that in the winter they were in dormant stage and I ended up killing two of them by over watering them as if it was summer :-( very sad about that. I also didn’t know that I shouldn’t re-pot them in the winter either, which I am happy to have learned from this post, I have some new plants that I just bought containers for and haven’t had time to get around to it, so I will wait to that in the spring. I also have a few plants with no drainage wholes that I added rocks to the bottom and they have been happy for years in their pots. It’s like you said with some trial and error and reading tags, looking them up, asking around…. it gets easier.
Sorry, the paragraph under the snake plant next to the desk there’s typo “it really doesn’t matter than much”
Thanks! Corrected and updated ;) that’s what I get for late night drafts. Ha
It happens to the best of us!
I have an obsession with plants too. And you’re so right, they do best when you don’t fuss over them. But when I do my regular watering I find myself smiling and talking to each plant haha! They seriously make me happy. I read your other 2 posts you linked above and I’m going to pick up a few of the plants you listed. Loved this post. Have a great day!
I’m the same way… glad I’m not the only weird one ;) ha! So happy to hear you liked the post. Enjoy your day too, Leah! xo
Great post! I’m going to try those fertilizer sticks.
How often are you watering your snake plant? I was told to water once a month or even less, especially in the winter. Unfortunately, I’m noticing some dried out tips on the plant. I’m thinking of shortening that watering schedule to every three weeks or so.
Thanks, Kerrie! I love the fertilizer sticks- they’re so easy. I usually water my snake plant once every 2-3 weeks; it maybe gets 2 cups of water. Just be sure the soil is dried out before watering and you should be good. Hope this helps! xo
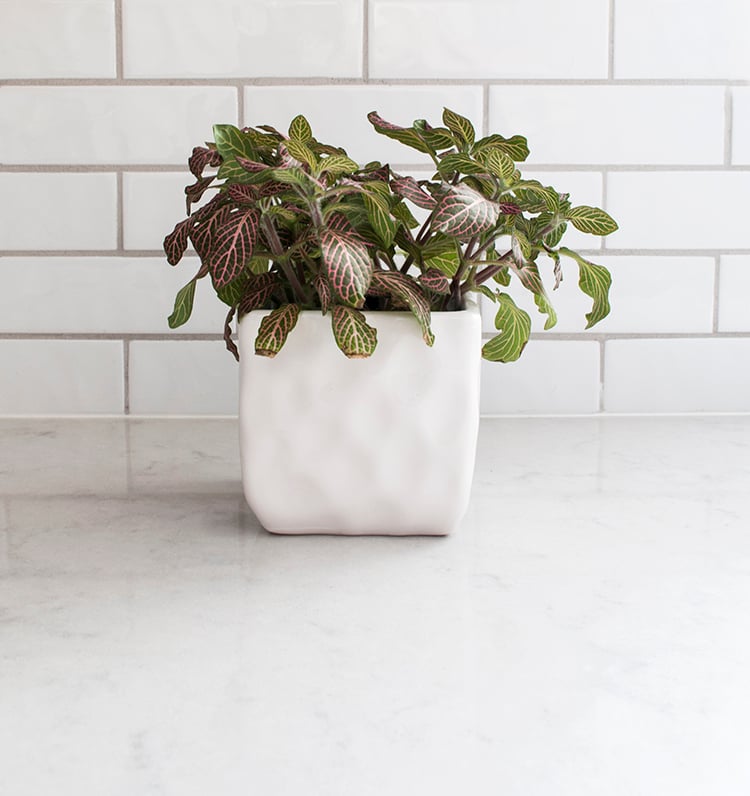
I’m loving all of your gorgeous planters and pots! Where did you get the pot on the kitchen window sill and the pot that holds the cactus? Those are exactly the kinds of containers I’ve been searching for without success!
Thanks so much! The pot in the window sill is vintage. I love finding vintage planters on Etsy, Ebay, or at estate sales. The planter holding the cactus is from Crate & Barrel. Unfortunately, this is a tough time of year to find planters. Give it another month and spring items will resurface online! Good luck ;)
This is awesome, thank you so much! I’m just getting into my plants & I love having them so much. Do you have any tips specifically for succulents? x
Thanks, Delaney! Succulents are definitely one of my favorites. Depending on the type of succulent, I like to use a spray bottle for watering (rather than pouring from a cup or pitcher). They don’t take a ton of water- especially in the winter; be sure to allow the soil to dry out completely. My succulents are usually the happiest in or near the window sill with lots of light. When repotting them, make sure to use a sandy soil or one that doesn’t retain too much water. Hope this helps. Good luck! xo
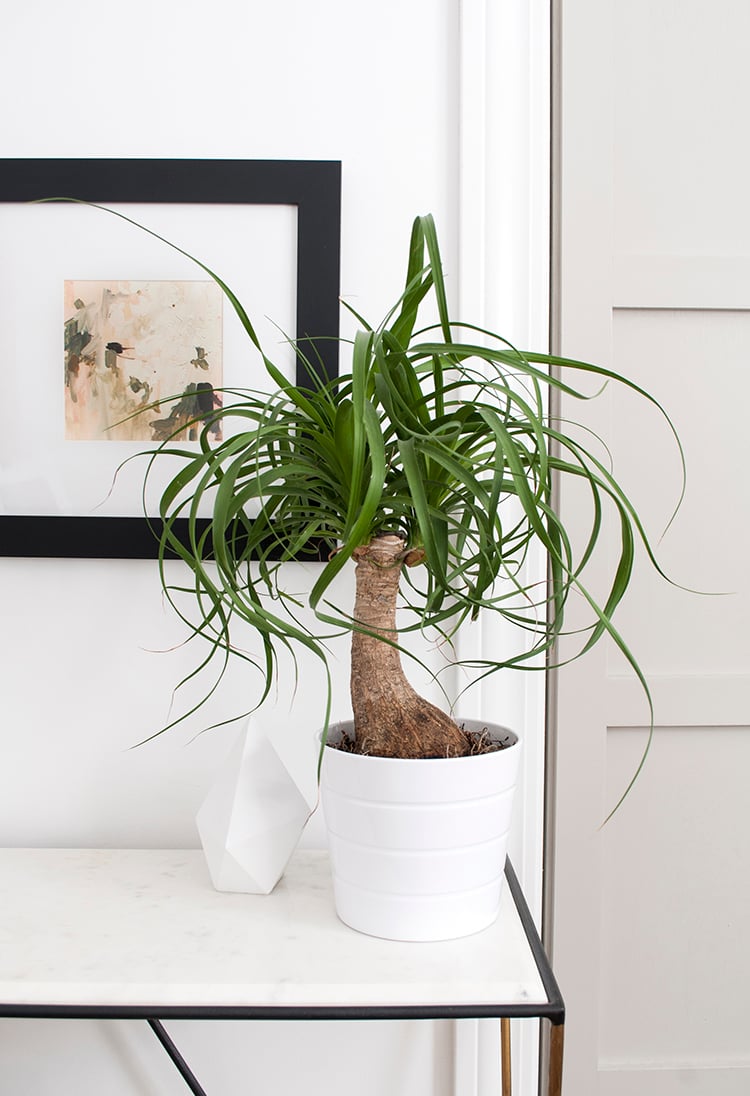
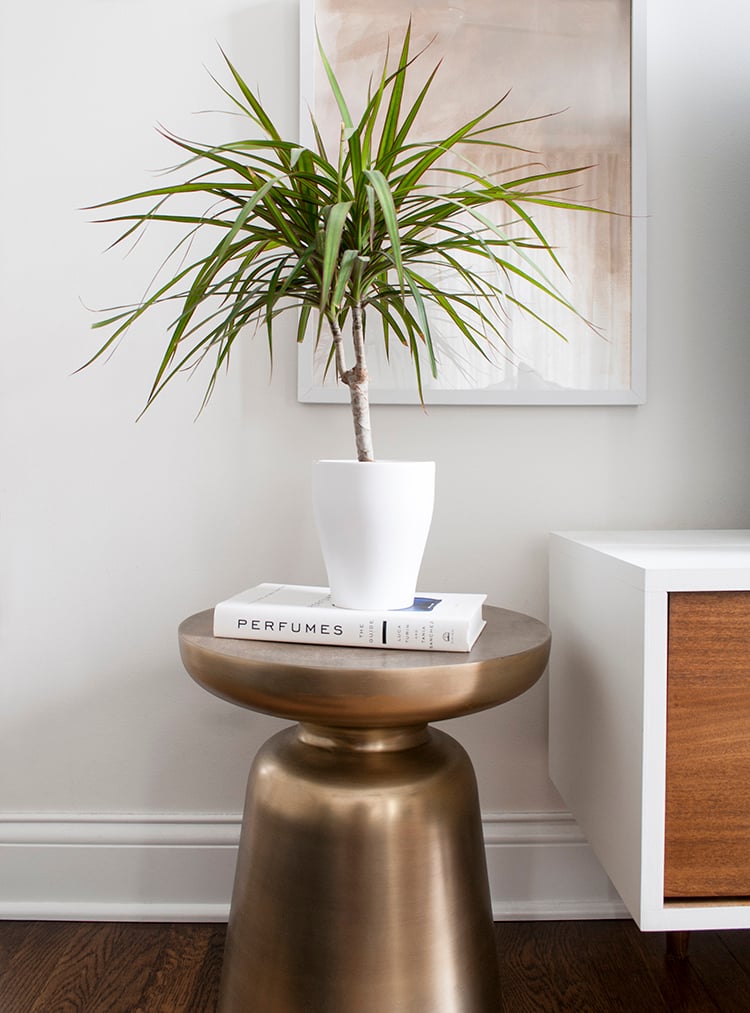
Sarah, Please please, please tell me the name of the plant in the very first picture. Saw one today for the first time at a friends and I HAVE TO HAVE ONE! LOL! He just calls it a Hippie House plant…reminds me of Cousin It, as big as his has gotten. Thanks for your help.
Ha! :) I love it! It’s called a ponytail palm (fitting for Cousin It). xo
Your blog is so beautiful and great! I’m a beginner with house plants and just starting to go with real rather than faux. This may be a silly question, but how can you tell when the soil is dried out completely? Is it just dry to the touch? Does it need to be dry at the bottom too? Thanks Sarah!
Thanks so much, Lisa! Not a silly question at all… yes, you definitely have to feel it. Sometimes the soil can be dry on top, but saturated at the bottom if you don’t have proper drainage. I usually insert a spoon to check a sample. It should crumble and not feel globby, if that makes since? Once you learn how much water your plants need, you probably won’t need to do this again. Hope this helps!
Question, if you a minute. I just repotted my plants for season and when I did my peace lily, now I had five plants in one whe I got this was the first time I separated them and I thought I had it right down the middle but cut a bulb in half, will this hurt my plant? Thank-you for your time my name is;
Hi Ruth, I wish I knew the answer to your question, but I haven’t had experience with splitting peace lilies. They seem pretty resilient, but splitting the bulb may be an issue. Luckily, this is their growth season, so hopefully it will be ok. Let me know how it goes! xo
Can you cut the leaves on the snake plant in half . ? I have two leaves thats split in the middle and turning brown in edging but very green all around it still. Going up down in middle
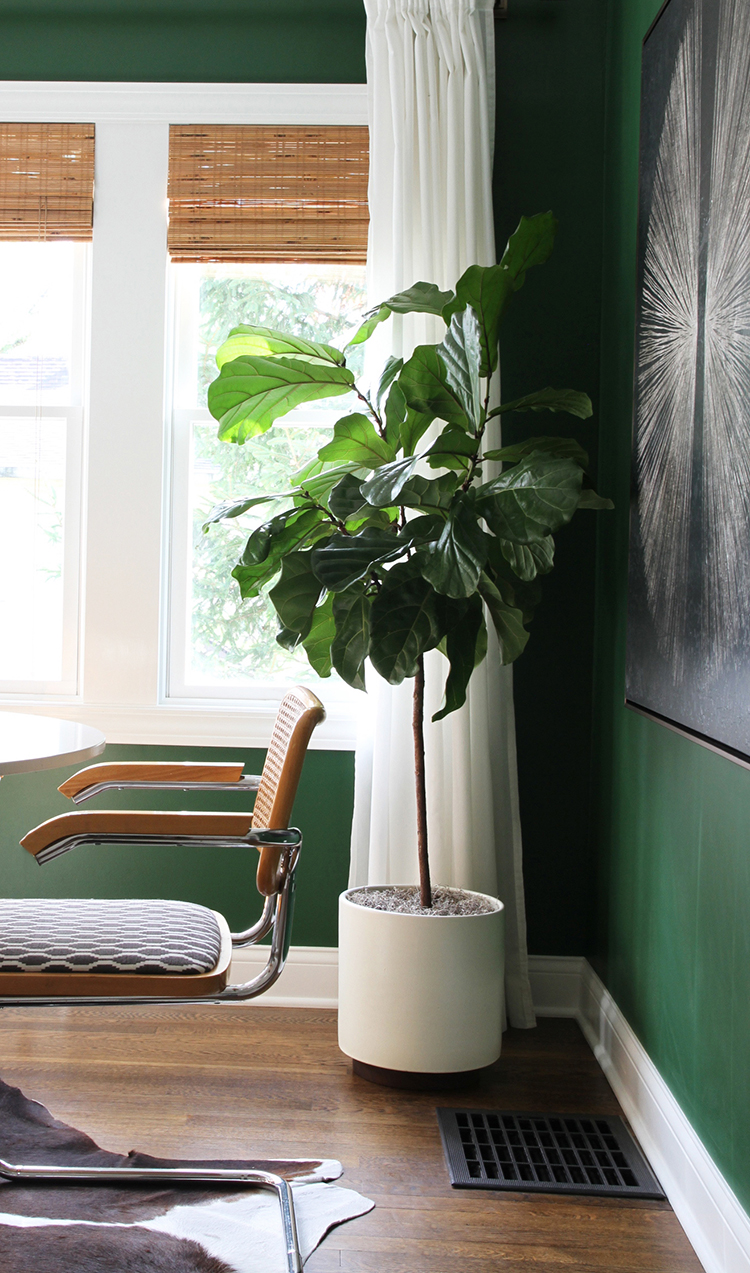
Where did you get your planter large white with wood base? In lighting 01.? In the green room. LOVE IT!
Thanks, Karina! It’s from Modernica. xo
Where did you find your planter with the snake plant? I can’t seem to find any large white planters that don’t cost and arm and a leg!😬
Hi Sarah, I was wondering… Did you leave your cactus in the plastic pot you bought it with & then inserted it with plastic pot & all into your designer pot? Or do you take it out of the plastic pot & repot into the the designer pot?
Hi Alex! I replanted it. Hope this helps! You can leave it either way… if your pot is too large you can always just set the plastic container inside until it grows large enough.
I have a snake plant. 1 leaf is huge and new leaves are sprouting which is great but when I’m watering it I get a pool of water in the bottom of the pot. I’m only watering a small amount each time. Do i empty the planter?
Hi Kell, I wouldn’t let the plant sit in standing water… it could get root rot. I’d be sure to empty it out and maybe add some new soil that will help absorb.