The Last Piece of Our Dining Set Puzzle
 Exactly one year ago, I shared our vintage dining set transformation, which was a total labor of love. It’s a fun story, if you haven’t read it yet! Today, I’m back with another dining set related post and an amazing find… the last piece of our dining set puzzle. Someone messaged me on Facebook months ago saying they had an identical dining set to the one we had restored and shared. Being so old and somewhat rare, it was amazing to see their set in great condition. The family was actually parting with it and asked if I had any interest in purchasing extra chairs. While I didn’t have a need for the table or chairs that matched my own, I asked if their table had a leaf. They were able to locate the leaf, which I bought from them for our dining set! It was a lucky situation because Emmett and I both agreed that a longer table would better fit our space, we wished it had a leaf, and we liked the idea of being able to seat more friends & family around our table. Just after our conversation, we ended up with that leaf that perfectly fit our set! The only issue? It didn’t match since we painted our dining set. If you’re curious to see how we made it work, this post is for you. Click through for our totally finished dining set and to see how it changed the shape and look of our (unfinished) dining room.
*This post is sponsored by Minwax. All content, ideas, and words are my own. Thank you for supporting the brands that allow us to create unique content while featuring products we actually use & enjoy!
 The table leaf was a great fit, but since we had basically rebuilt the dining set during restoration (new dowels and supports, etc), Emmett wasn’t happy that the leaf created a bow in the table, thanks to the extended length and weight. That was definitely something we wanted to solve prior to refinishing the leaf.
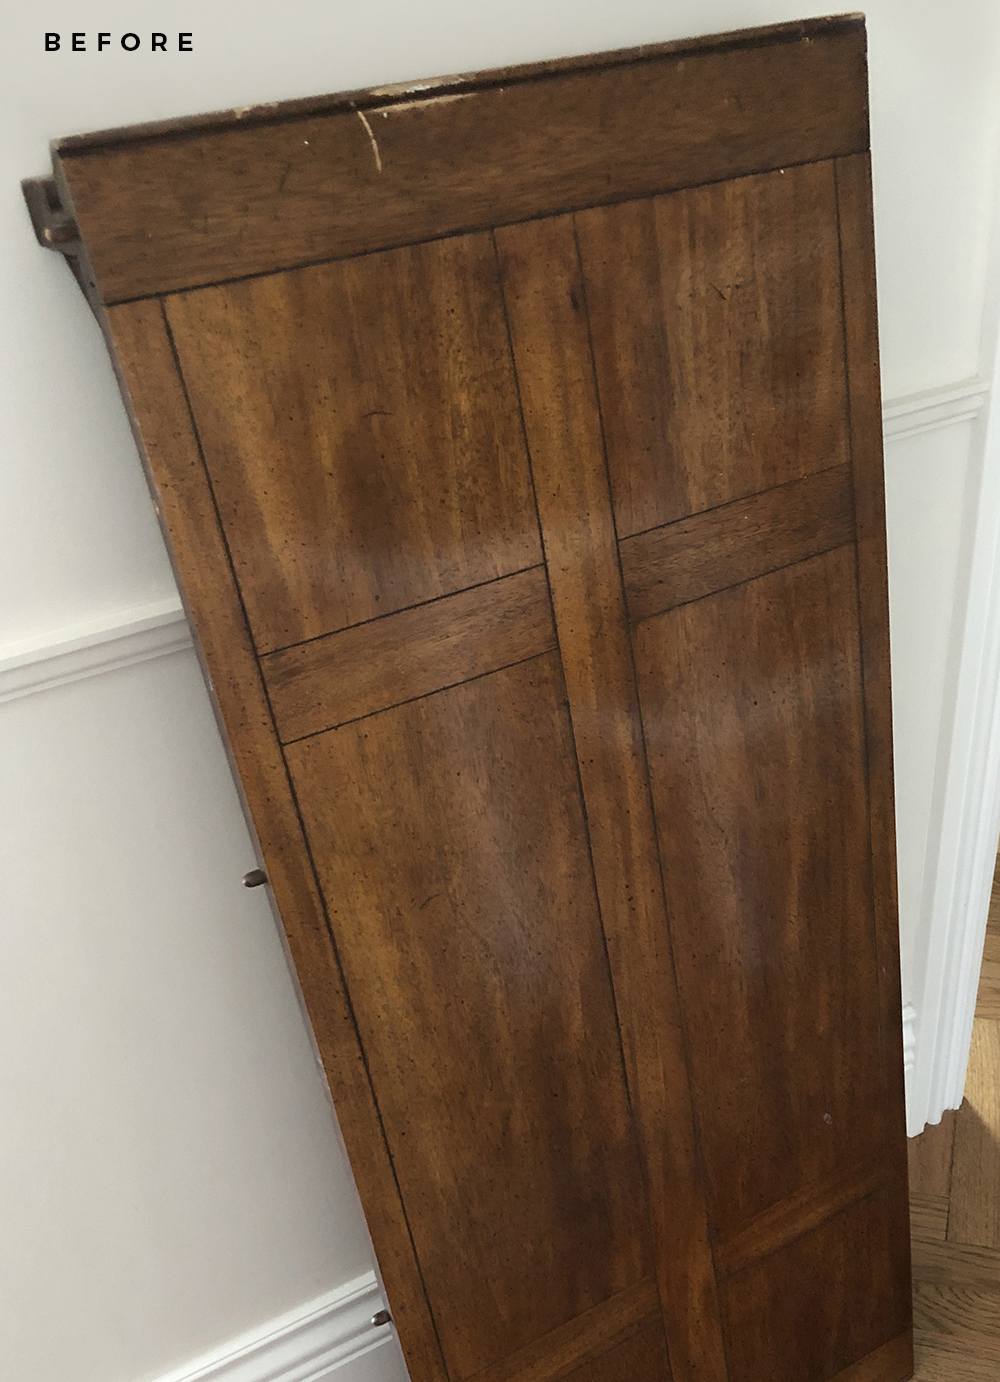
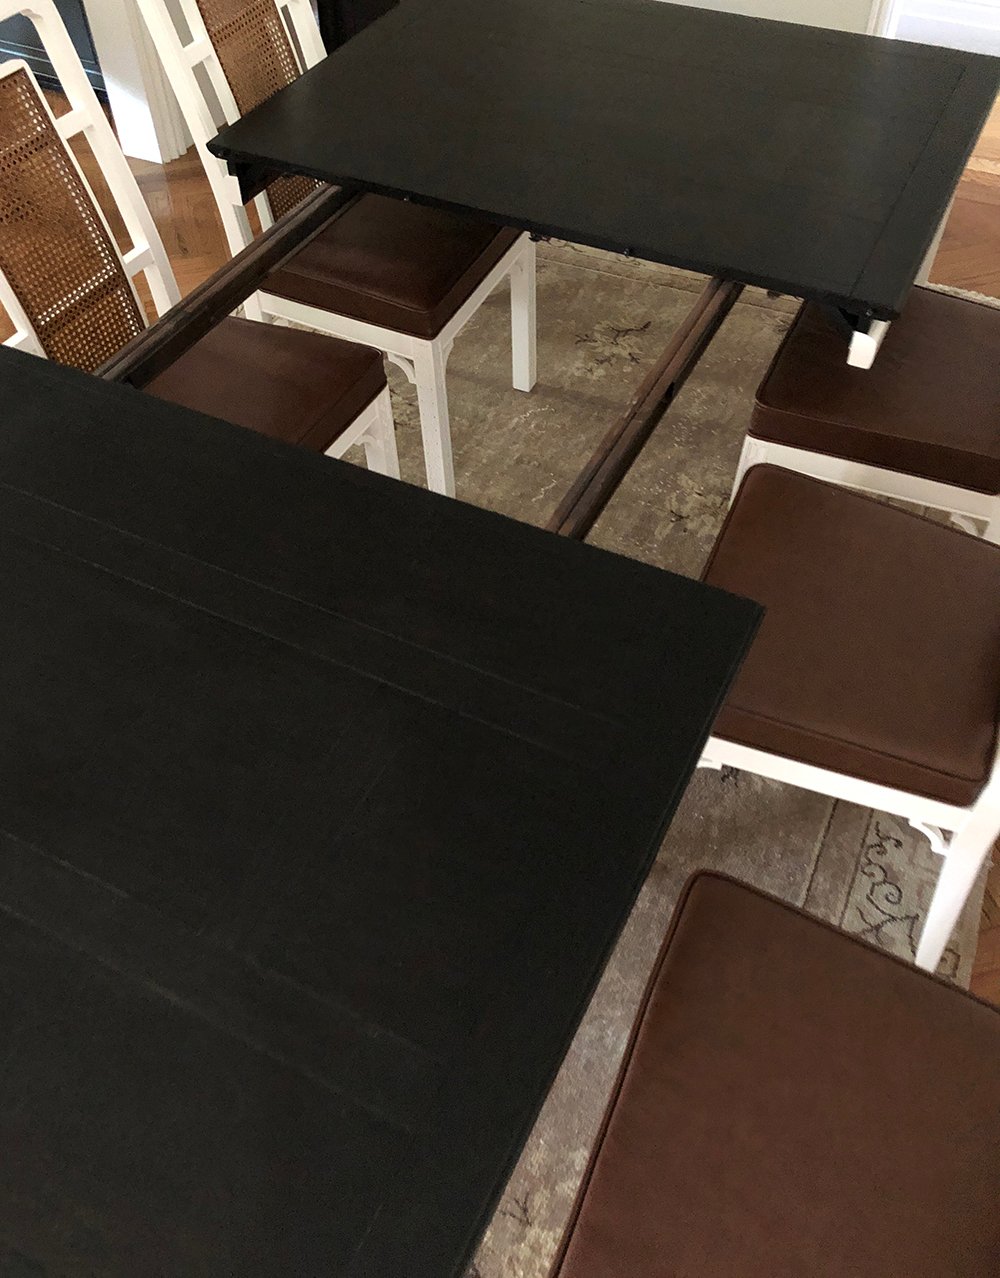 He decided to add some metal supports beneath the table to make sure it was extra sturdy and perfectly level. After all, our plan is to keep the leaf installed indefinitely for a larger table that better fits our dining room. We had spent SO many hours fixing the dining set, it only made sense to spend the time and effort to make it work perfectly. Once the supports were added, we needed to refinish the leaf so it would match. This is what it looked like before…
 I’ll share how we achieved the stained look below, because there were a LOT of questions about the black stain when I shared the initial makeover. This is what we used for this project…
SUPPLIES + TOOLS:
- Orbital Hand Sander
- Minwax Pre-Stain Wood Conditioner
- Minwax Wood Finish Stain in True Black
- Minwax Polycrylic Clear Matte
- Rags or Stain pads (for wiping)
- Rubber Gloves
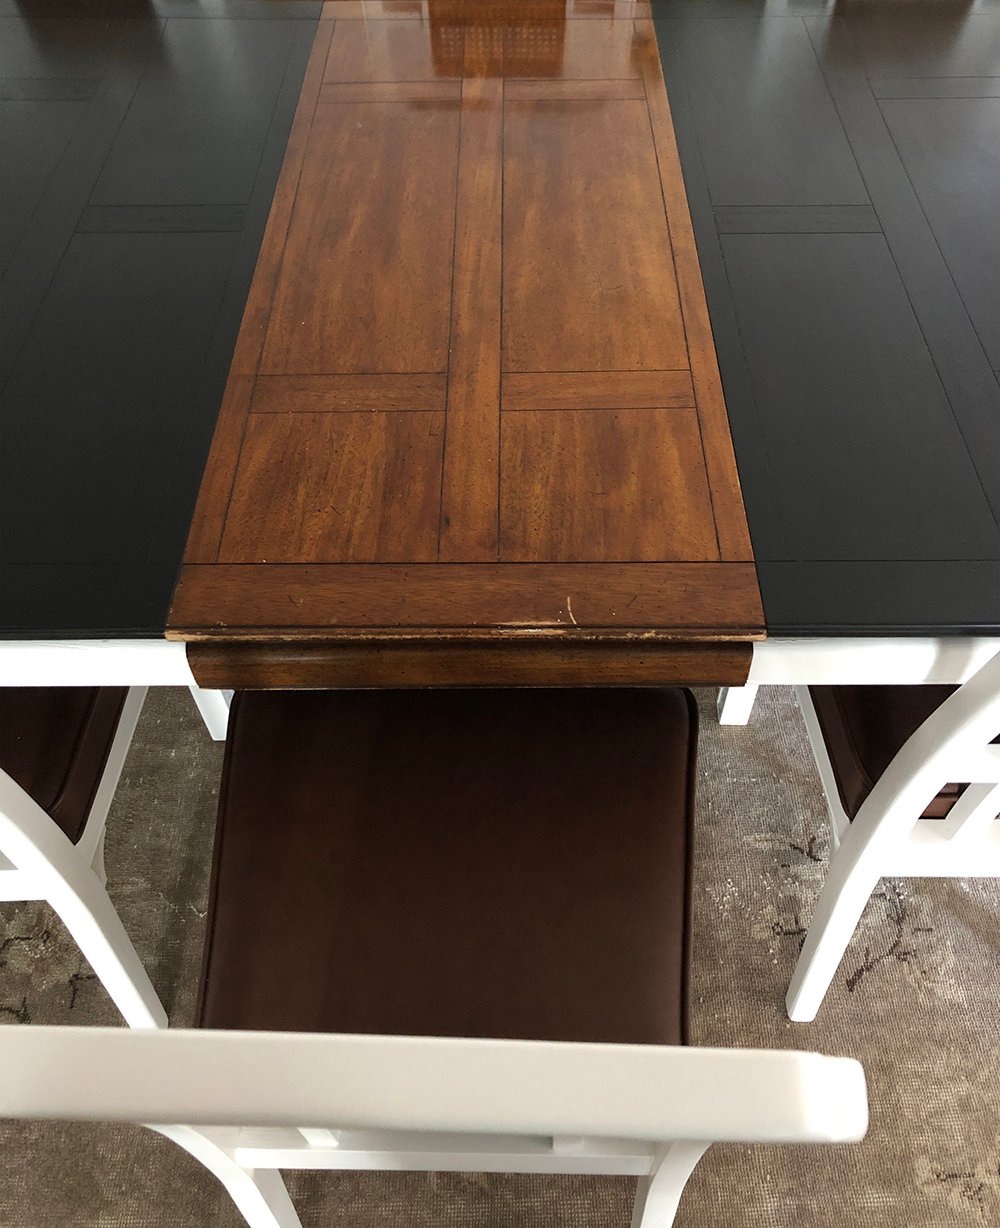
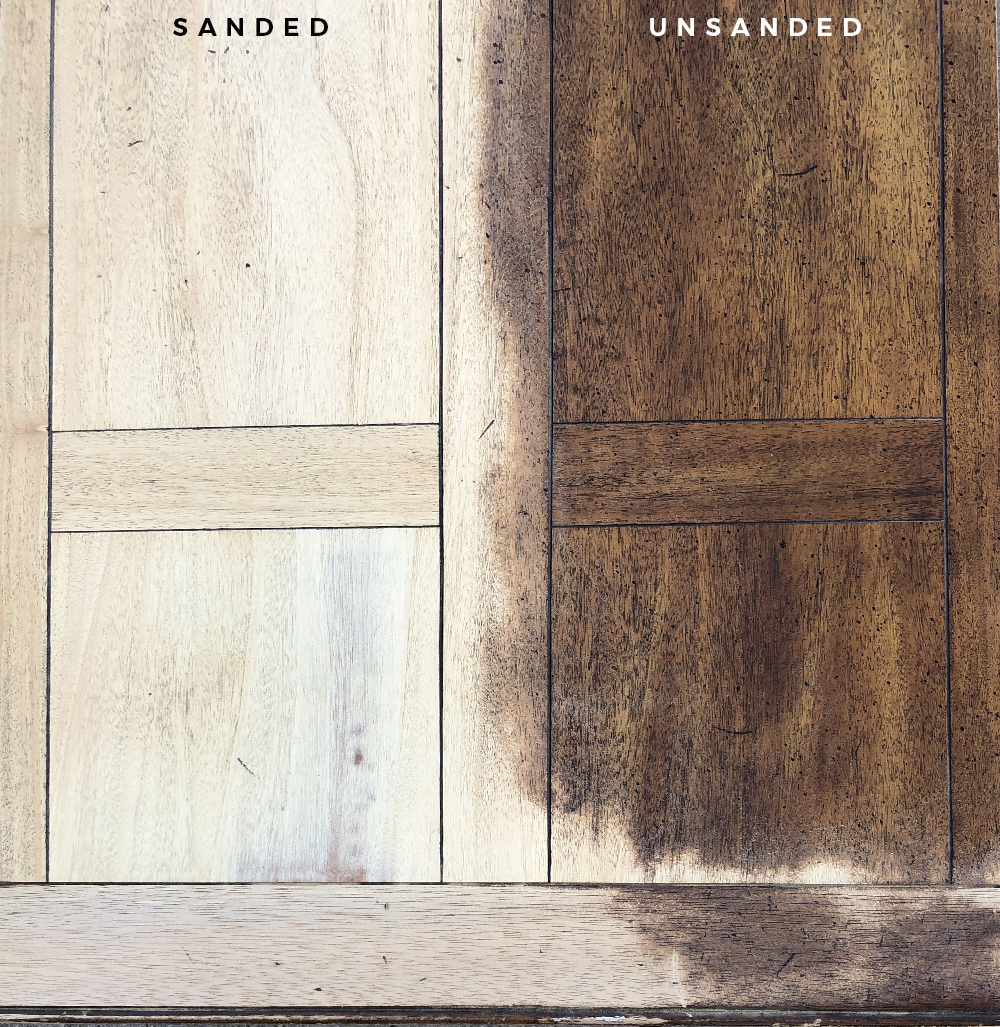 Step 1 // Sand the tabletop & apply pre-stain. Our first step was to sand the tabletop, exposing the raw wood beneath the existing finish. Here is a side-by-side comparison during the sanding process, pictured above. Next, you’ll want to apply a thin layer of Minwax Pre-Stain Wood Conditioner to finish the prep process.
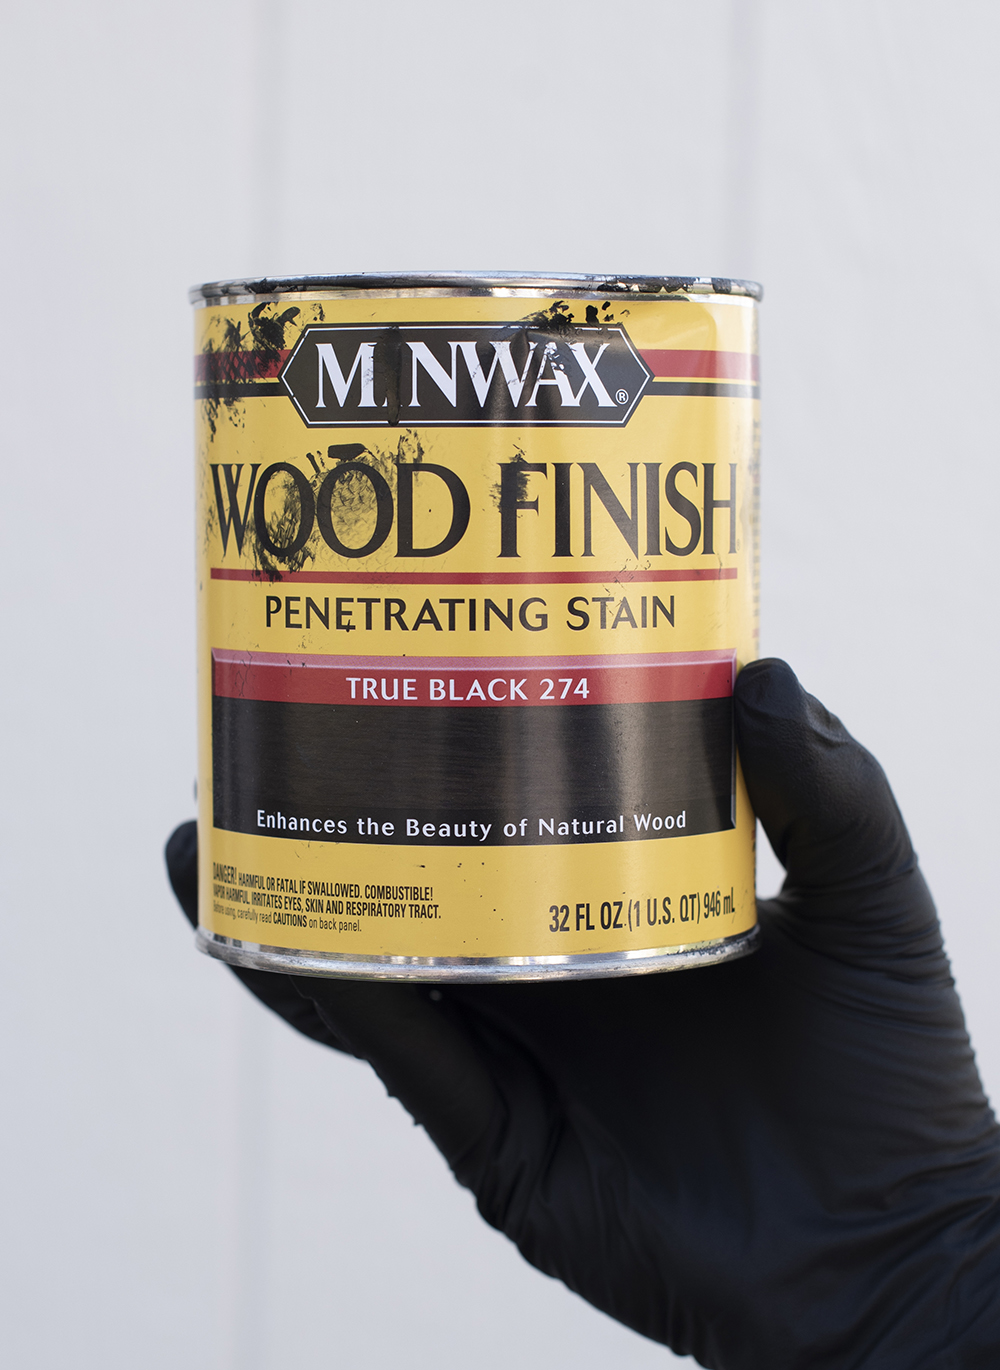 Step 2 // Choose your stain color. Since we used this same finish on our table a year ago, we had leftover and were able to make use of it… it’s so nice when that happens! It also explains why the stain can looks so “loved”. Ha! We used Minwax Wood Finish Stain in True Black. If you’re looking for a really rich, non transparent, durable black stain- this is the best. It’s super dark, not too cool or warm, and is very saturated.
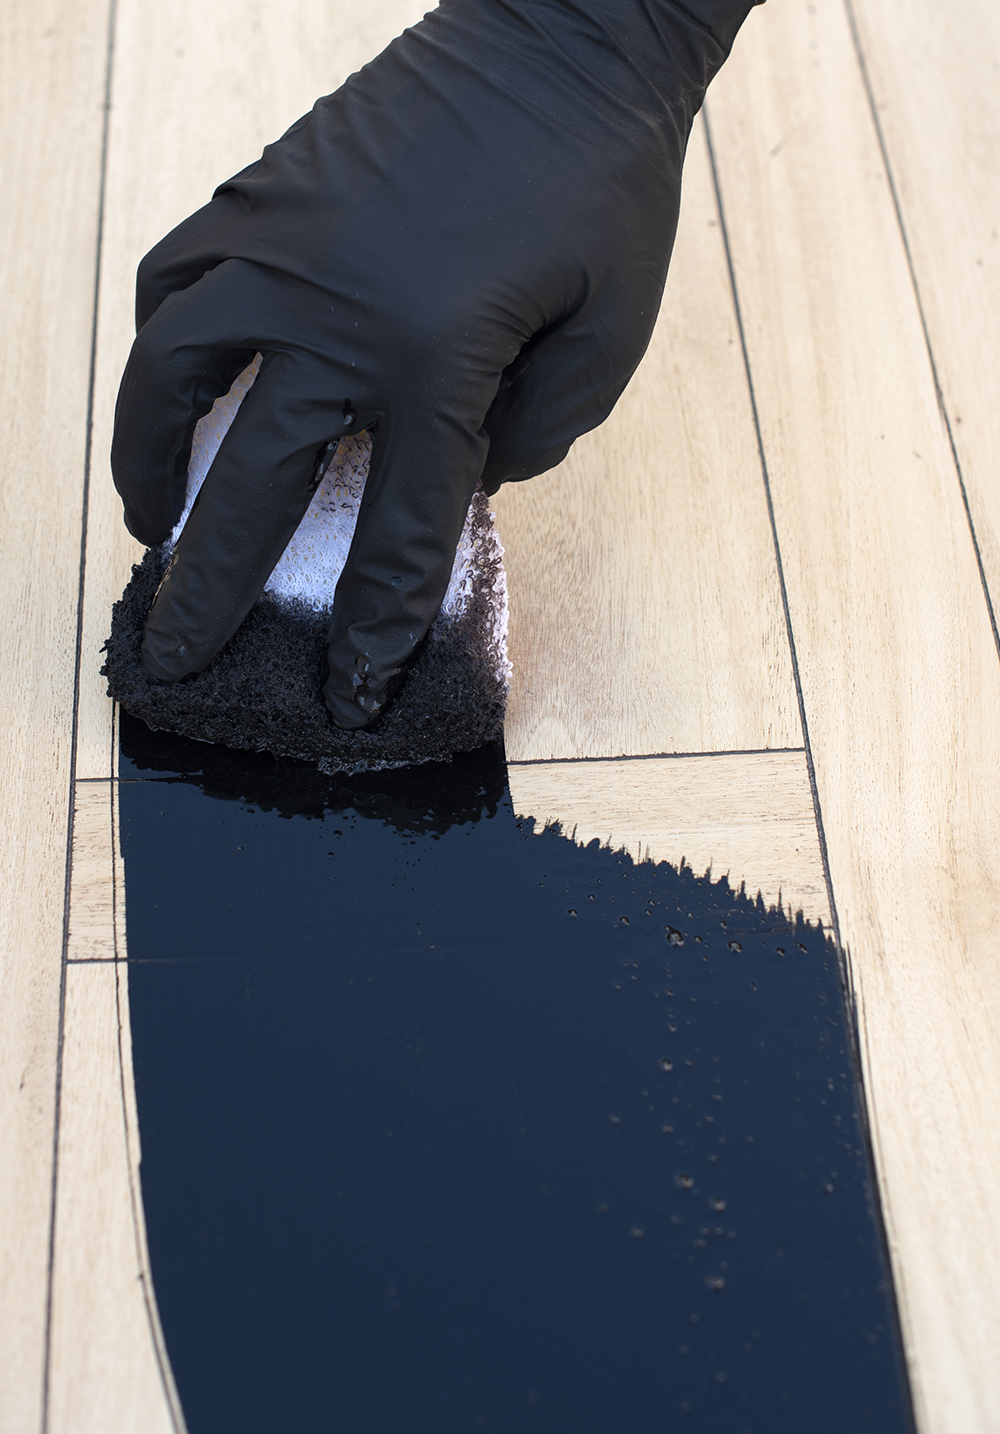 Step 3 // Apply the stain. Using the stain applicator, pad, or rag, apply the stain in an even layer. This stuff is DARK and it’s easy to apply thanks to the high contrast. I was convinced it would need a couple coats to achieve the super black look to match our existing table, but to my surprise- one coat did the trick and was a perfect match… a little goes a long way.
We allowed the stain to dry overnight, double checked the color, then we applied a topcoat (using the same method) of Minwax Polycrylic Clear Matte, for added protection. Once it was totally dry, we double checked again to make sure it was a perfect match. Sure enough, you couldn’t even tell the difference in the restored table and the newly finished leaf…
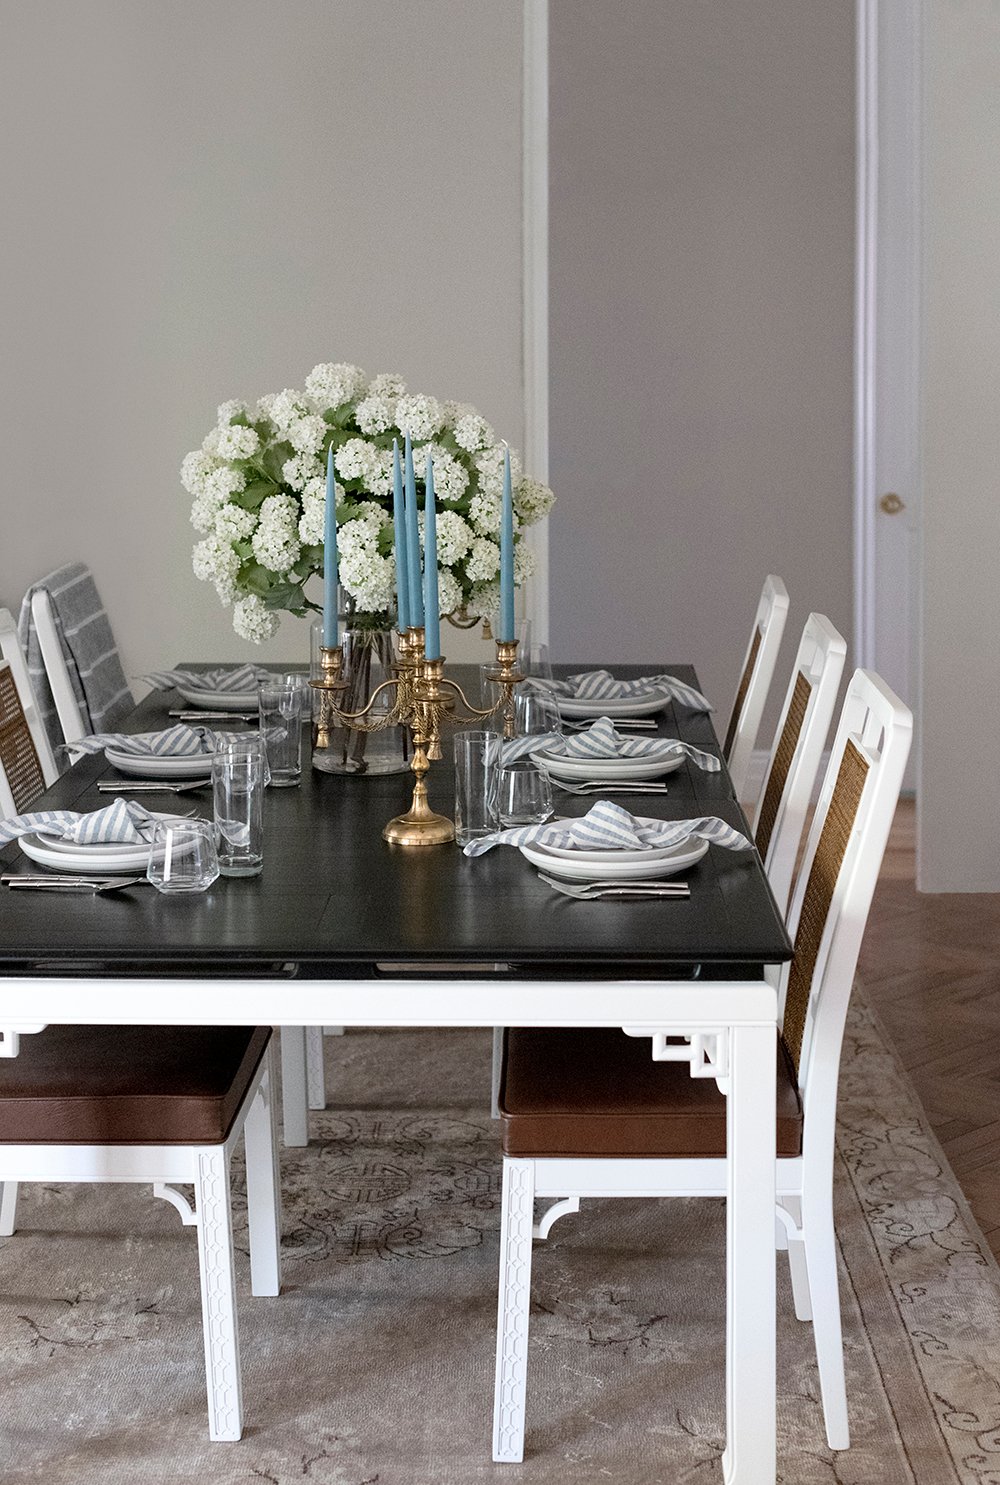
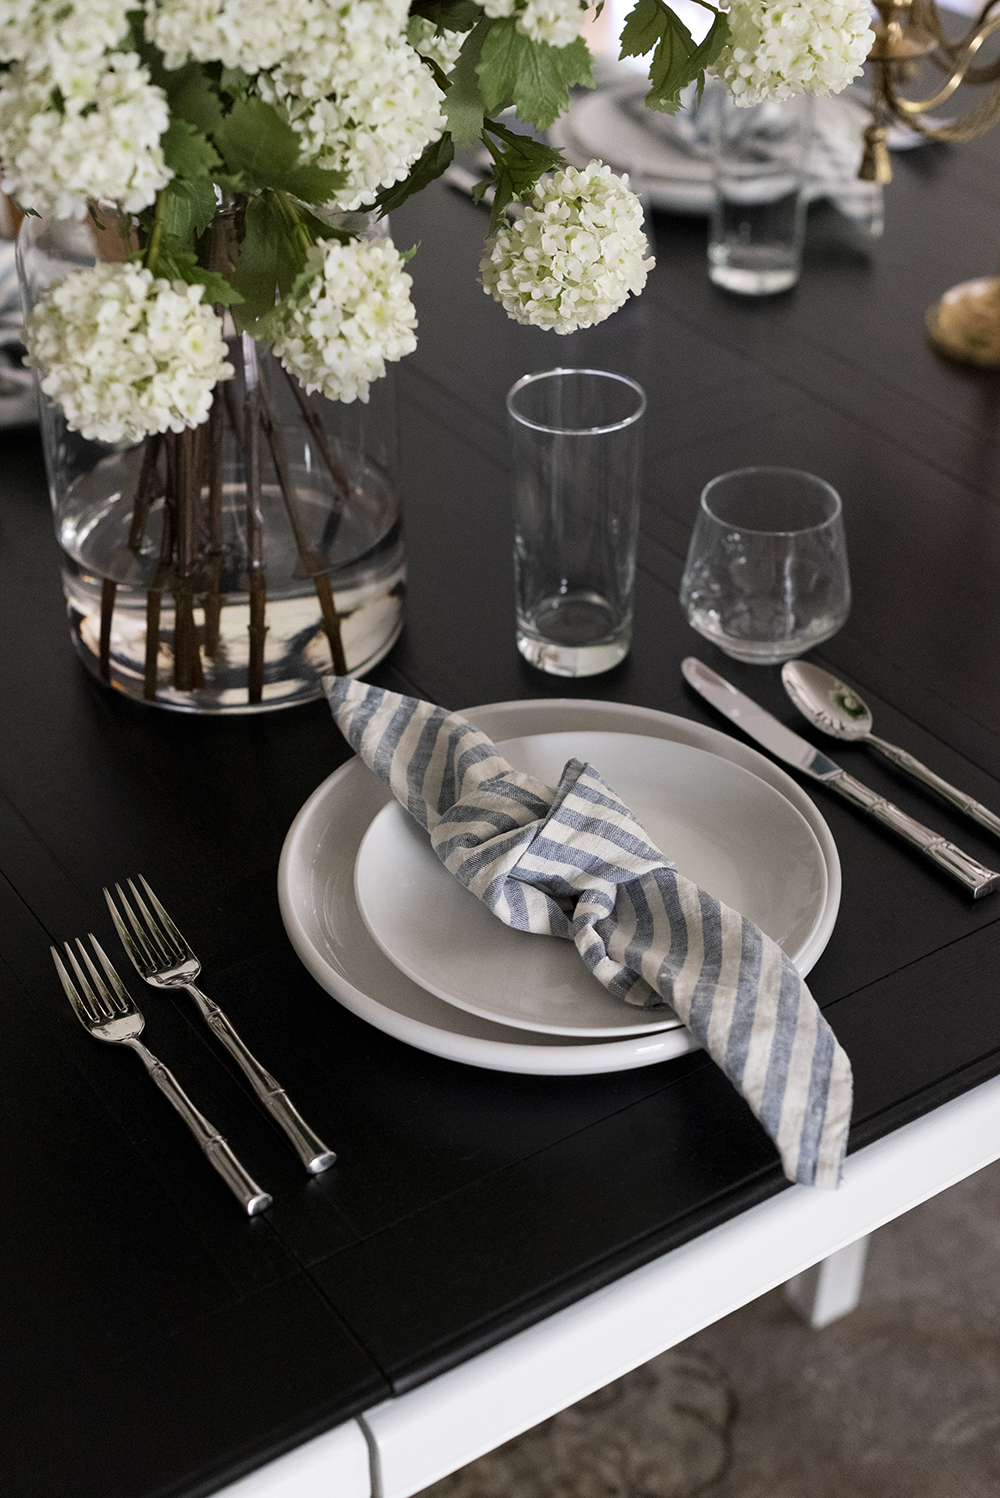
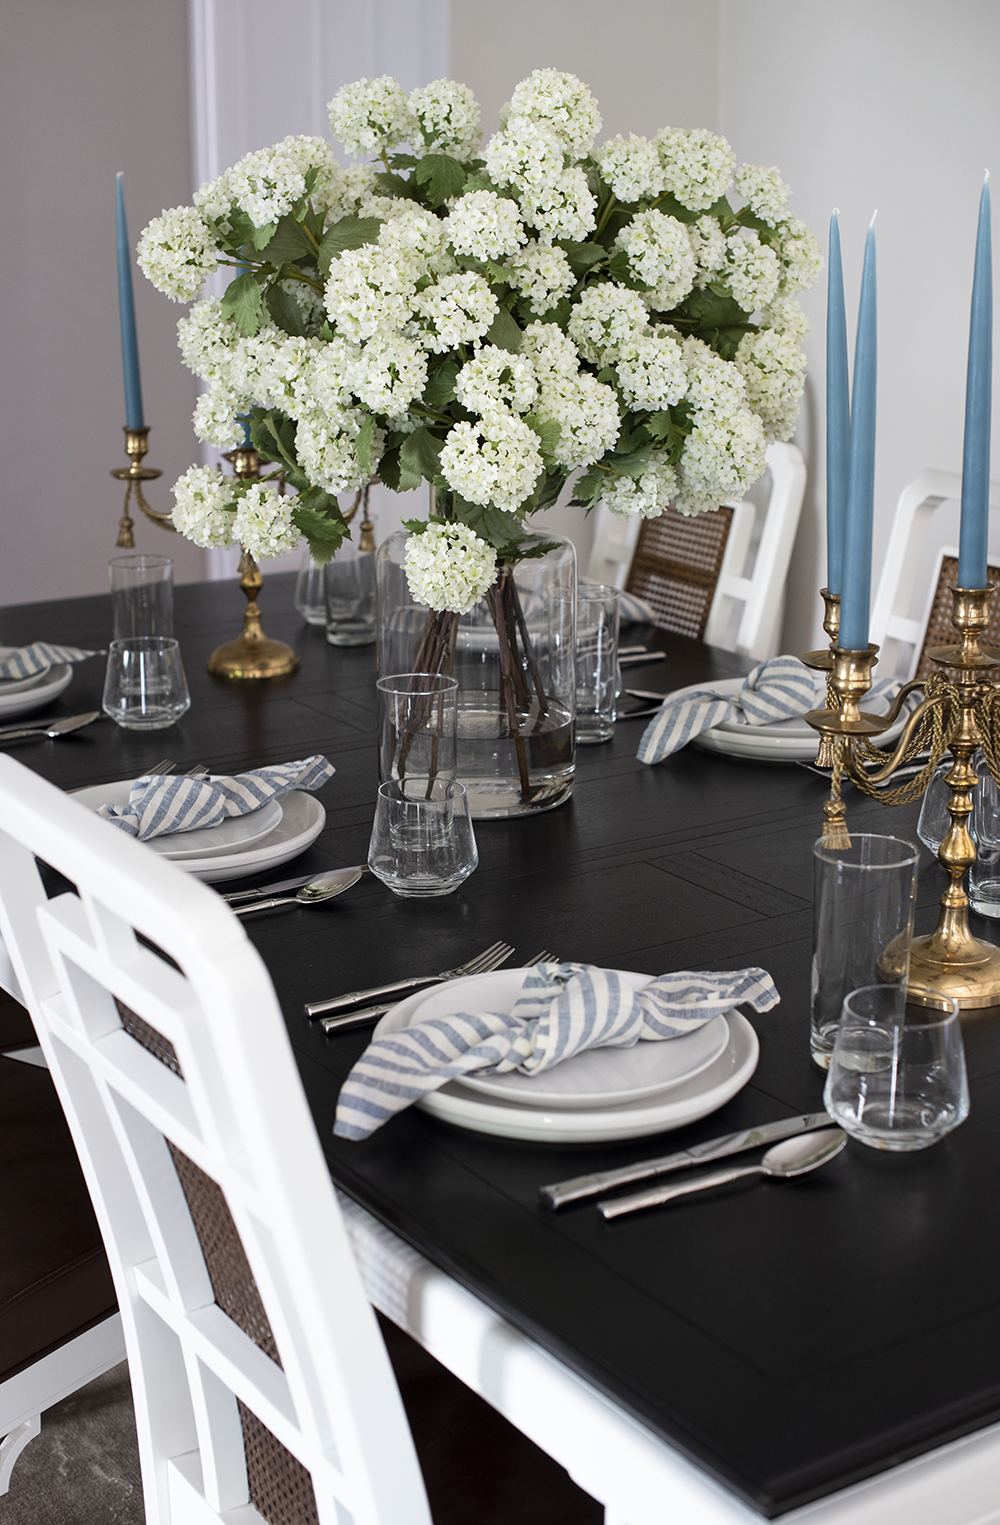 Do you see the leaf in the image above? It’s a perfect match! That was my biggest concern… that it wouldn’t match since we had finished our table over a year ago. Luckily, it looks like it was all done at the same time and really seems to belong.
 It also goes to show that over the course of a year, our dining table finish didn’t fade or change in color at all. We used the same exact Minwax products (Minwax Wood Finish Stain in True Black and Minwax Polycrylic Clear Matte). That’s pretty incredible and I’m thrilled we were able to get an exact replica of the color. Emmett even gave me the “it may not match perfectly” speech prior to beginning the project- just to set my expectations.
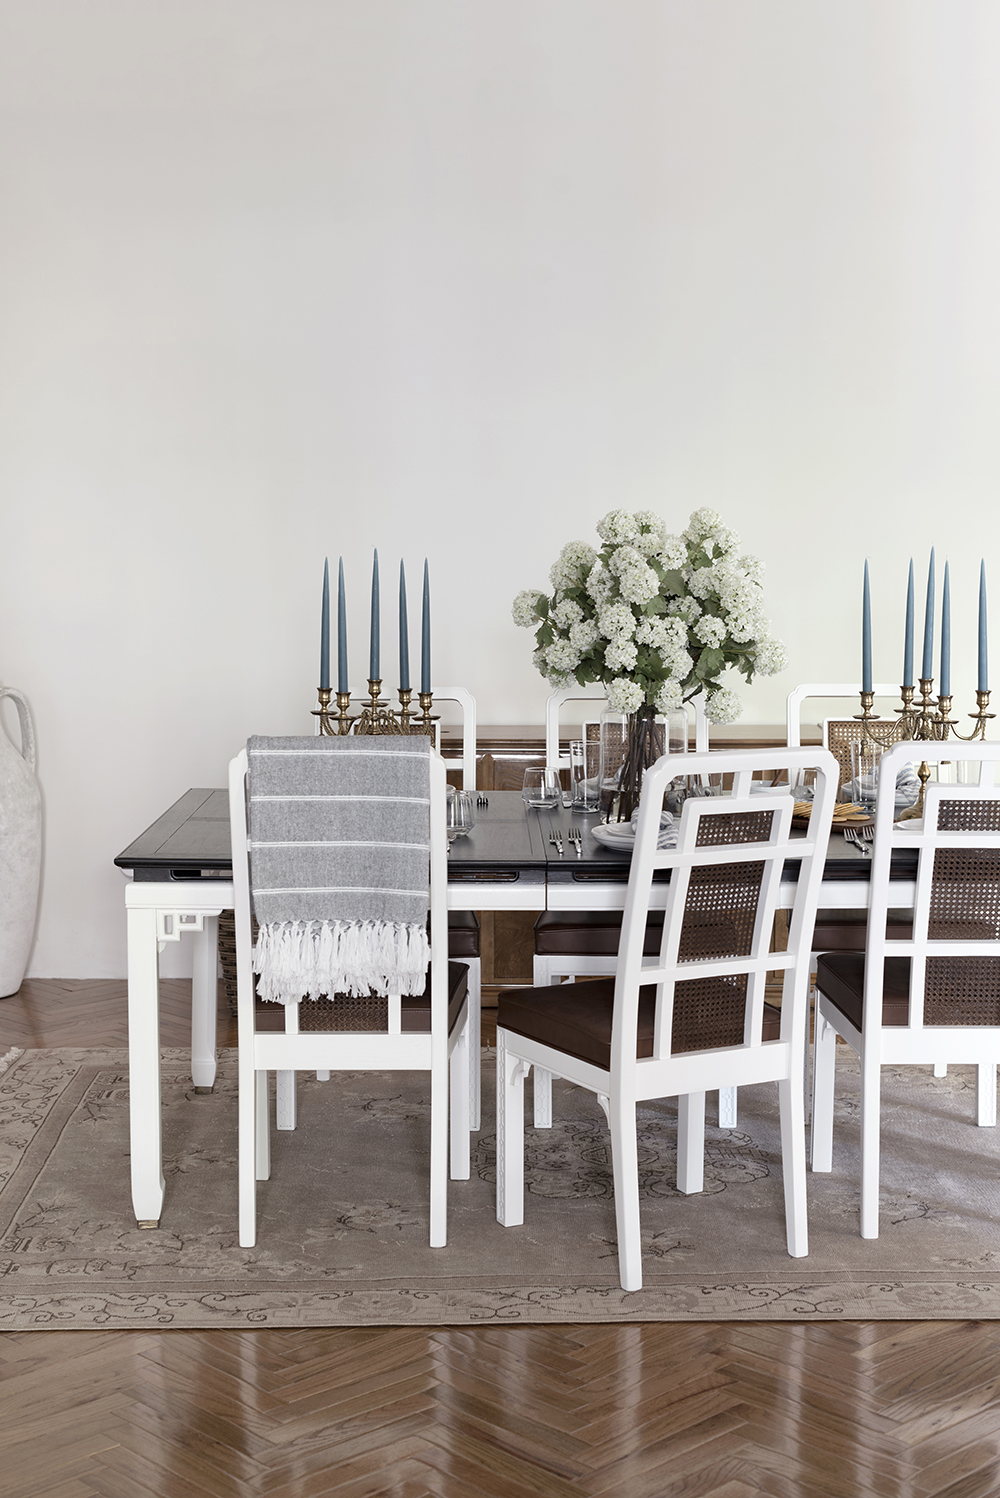 Our dining room is far from being finished, but having the larger table will make floor planning and entertaining much easier when the time comes. It just feels more balanced and has me excited about the space. I also now have the option to add head chairs at the end of the table, whenever I dive into the dining room design plan. It’s funny how the addition of a simple table leaf really changed the lay of the land!
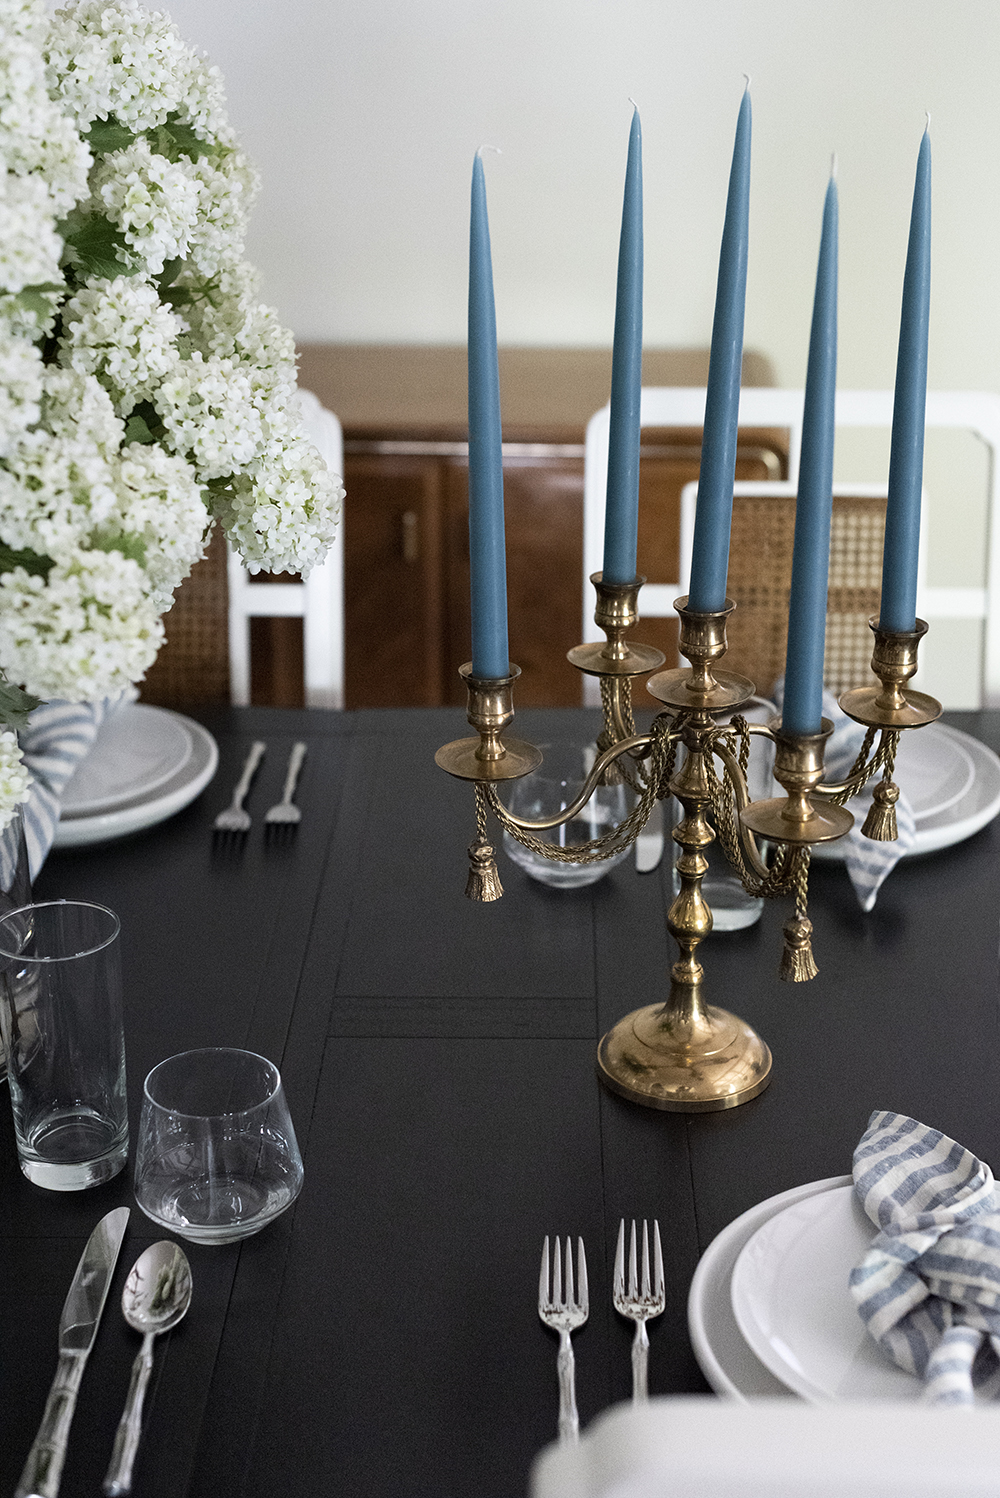
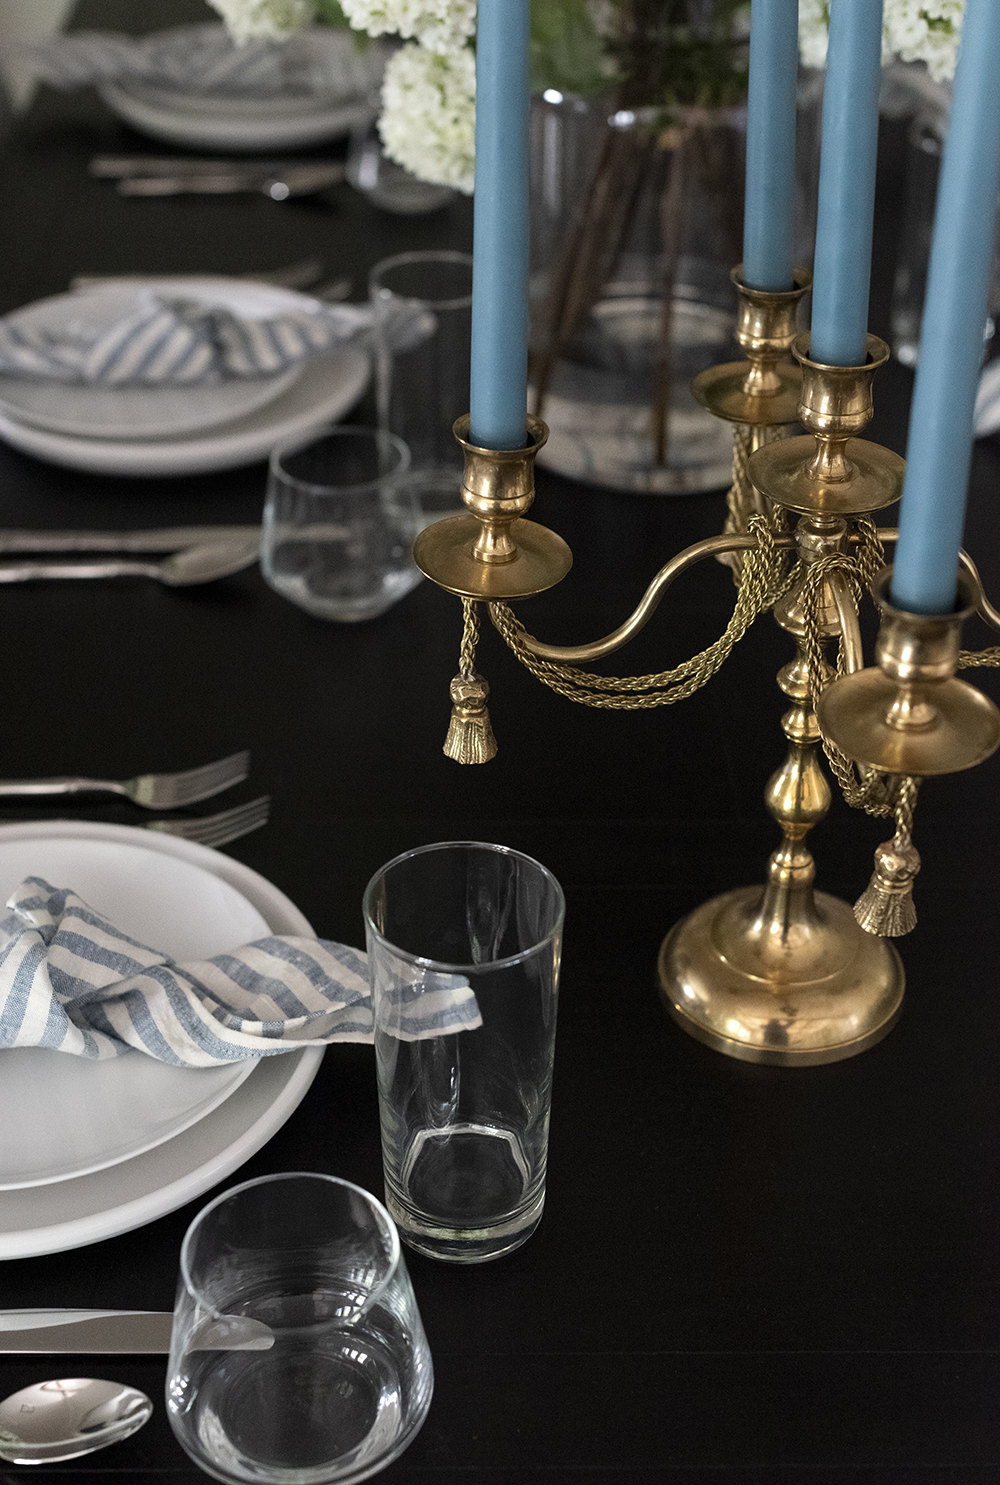
 To celebrate officially being finished with our antique dining set, I set the table and we had four friends over to sit around this beauty with us and share a meal. I’m a believer that the dining table is a sacred space- it’s a place to connect, converse, make memories, and share food with loved ones. I’m looking forward to having many more meals, and now we have the space for two extra people. It’s wonderful!
 Do you ever have those moments where something in your home feels like it was just meant to be? That was the table leaf situation for us. I couldn’t believe so soon after our conversation about wishing for a longer table, the exact antique leaf we needed showed up. I’ve never even seen another one of our dining sets online or in person. I’ve seen a couple chairs here and there, but never the entire set, table, or leaf.
 If you have any questions about stain, furniture restoration, refinishing, or our specific dining set journey, I’d love to answer them in the comment section below! This won’t be the last piece of furniture we stain black. It’s such a beautiful rich color, and we still have some stain leftover. Now I’m trying to decide what could use a fresh, updated finish.
What an incredible find! Your table styling is exquisite. Where did you source the candelabras? They are incredible!
Thank you so much, Stephen! Those are vintage from my shop: https://tuesdaymade.com/collections/vintage-decor-1/products/vintage-brass-candelabras-pair
Wow!!! What an incredible journey with your dining set-it really was meant to be! While I loved the dining set as it was, adding the leaf just took that space to a whole new level.
I have a few questions about refinishing: How do you know what grit to use for getting down to the raw wood? Do you start with the same grit for every project of this kind, or is it wood dependent? I plan on sanding down my China hutch and giving it a mega update, but fear and lack of confidence have stalled that plan (especially since the coffee station mishap).
I’m also curious what you would choose for captain chairs-and I’m hopeful that will somehow to turn into a blog post when the time comes. It turned out beautifully Sarah-and that durability, and color preservation is why I will only use Minwax stains! Thanks for sharing! Xoxo
It really was! The leaf made the table fit the room so much better- the scale finally feels right. Happy to answer your questions :) The sand paper depends on the type of wood (hard vs soft, etc), if you’re removing existing paint or stain, and what your end goal is (paint or stain). We usually pick the sand paper based on the project and condition of whatever it is we’re sanding. If you’re not sure where to start- test an area on the backside to see how it sands! Start light, then go harder (in terms of pressure), so you don’t dig in without knowing how it will react. I love the idea of a captain chairs blog post! I have yet to find any, and I can definitely share once I start my search. I like contrast, so I’m envisioning something soft and simple (since our cane chairs are busy and mostly made of wood). I’m thinking the end chairs will be slipcovered or skirted upholstered chairs. Thanks for the kind words, Lauren! I’m so excited with how the table turned out :) xo
Stories like this are the best! Glad you were able to refinish the leaf and use it for your table. I know you are looking forward to holidays in the coming months. Your table setting is so beautiful!
I can’t believe we found the leaf! It was meant to be :) I can’t wait to host family and share holiday meals around the table. My mom is coming to visit in a few weeks, so we finished just in time.
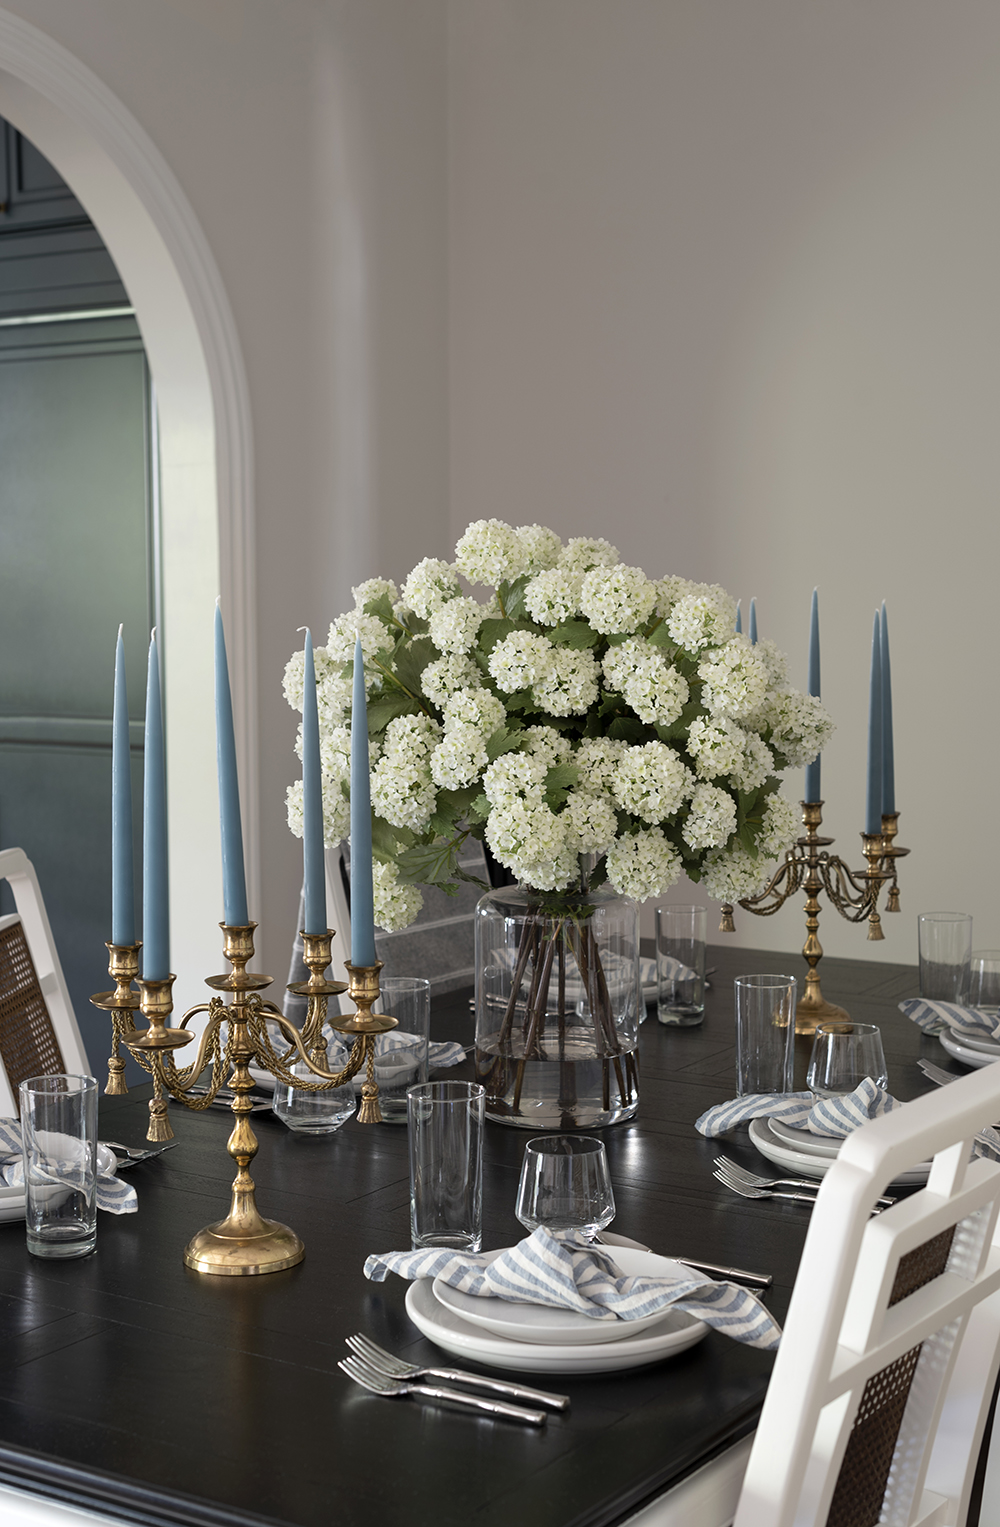
Horrrahhhhhh! Good to know about the stain one year later. And those hydrangeas are on point!
Yay!!! The stain was impressive- I’m shocked it matched. Can you believe those hydrangeas are faux?!!