Outdoor Succulent Planter DIY
 Last summer we finished up our GIANT backyard renovation and got to enjoy it a month or two before the weather turned cold. I planted two large pots full of succulents and they really thrived, so I decided to do the exact same thing this year! This time around, I photographed my entire process in case any of you want to give this easy gardening DIY a try. If you live in a hot, dry climate like me… this planter of succulents does really well and is capable of withstanding the heat. It’s easy to keep alive and with every passing week, the succulents grow larger and begin spilling over the edge of the planter (a look I absolutely love). Click through to see how this season’s compare to the ones I arranged last year, and to get the full tutorial.
In case you’d rather watch this in “video” format… I saved a highlight to my Instagram story, just click here. Otherwise, carry on to the post below.
 I replant my succulents every year (the above photo is from last summer), but if you have room for them inside during the cooler months- you could totally bring them indoors, place them in bright light, and they’d easily survive indoors throughout fall and winter. I’d just recommend watering them MUCH less. Obviously my planters are really large and we live in a small house, so it wasn’t really ideal to bring them inside.
Ready to see how they’re done? Here’s what you’ll need to get started…
S U P P L I E S
- planters
- regular potting soil
- cactus potting soil
- succulents (I buy a BUNCH of live plants from here, believe it or not)
 Step 1 // Gather your planters. Since I do this once a year, I pull my planters out of our shed, dust them off, and get ready for planting. Maybe someday I’ll buy new ones or swap them out, but for now- I’m content with what I have. That gray concrete guy…. he’s from Little Big Town. Any country music fans around here (Emmett LOVES country & we hail from Kentuckiana)? Seriously- that planter came from Karen Fairchild (the lead singer); I hit up their estate / garage sale. I digress… back to the DIY!
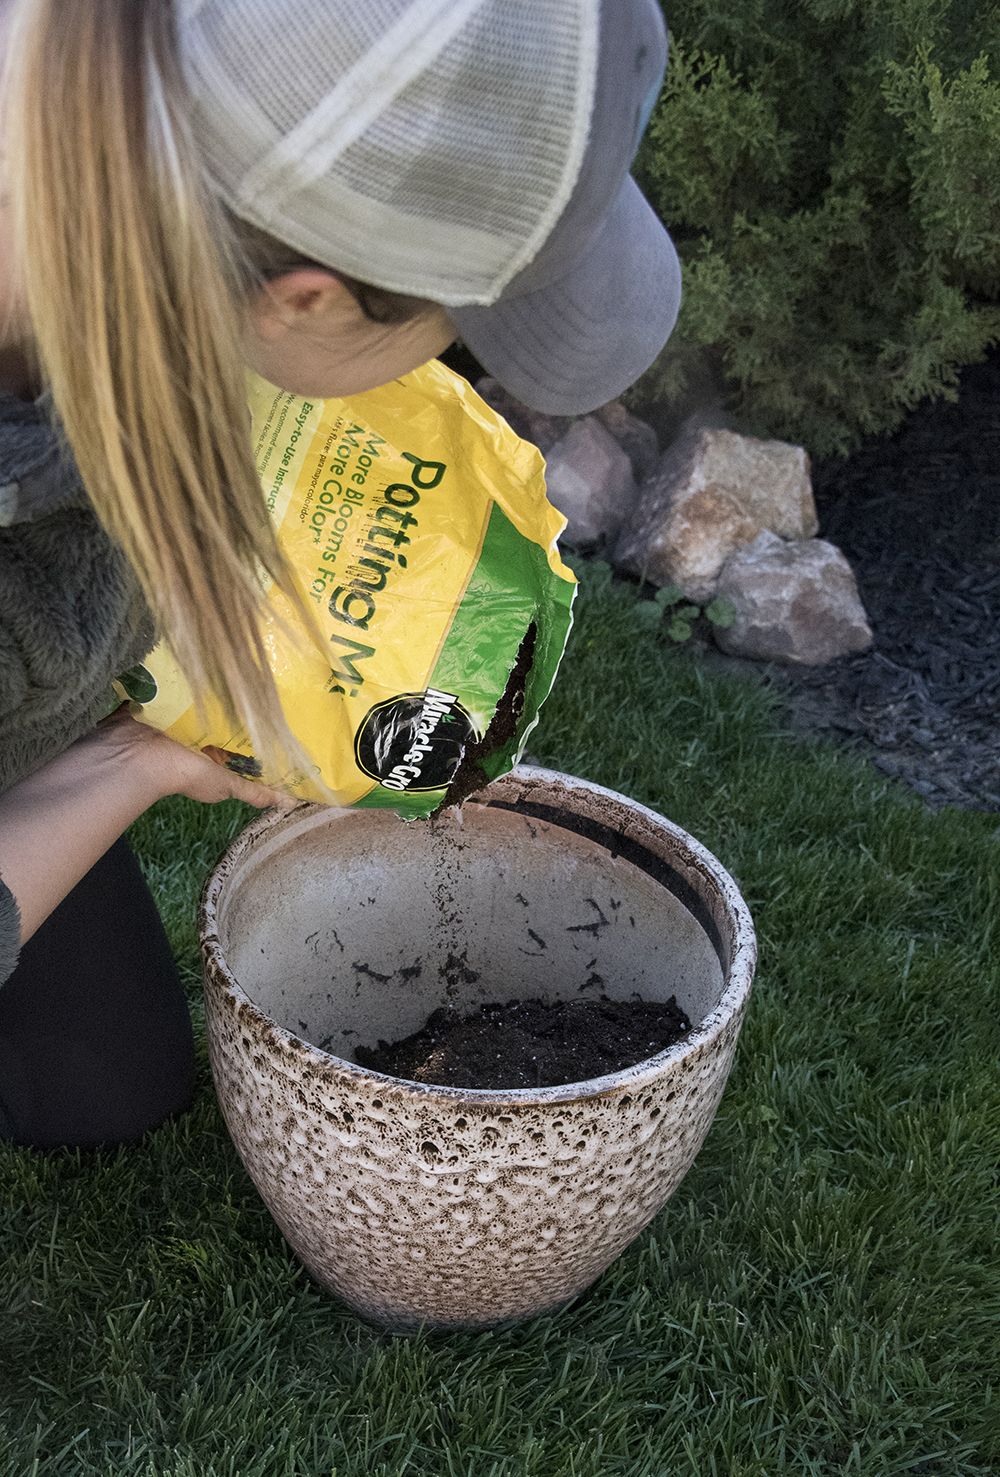 Step 2 // Add the regular soil. I fill the bottom 3/4 of the planter with regular potting soil. I find this helps to keep everything fertilized and takes up the majority of the room in the pot (since succulents have small roots and don’t grow deep). Someone also suggested filling the bottom with styrofoam, so the pots are lighter and you’re not wasting money on soil that isn’t really getting used, but I like a heavy planter (peace of mind that it won’t blow over), but that idea does make a lot of sense! Totally up to you.
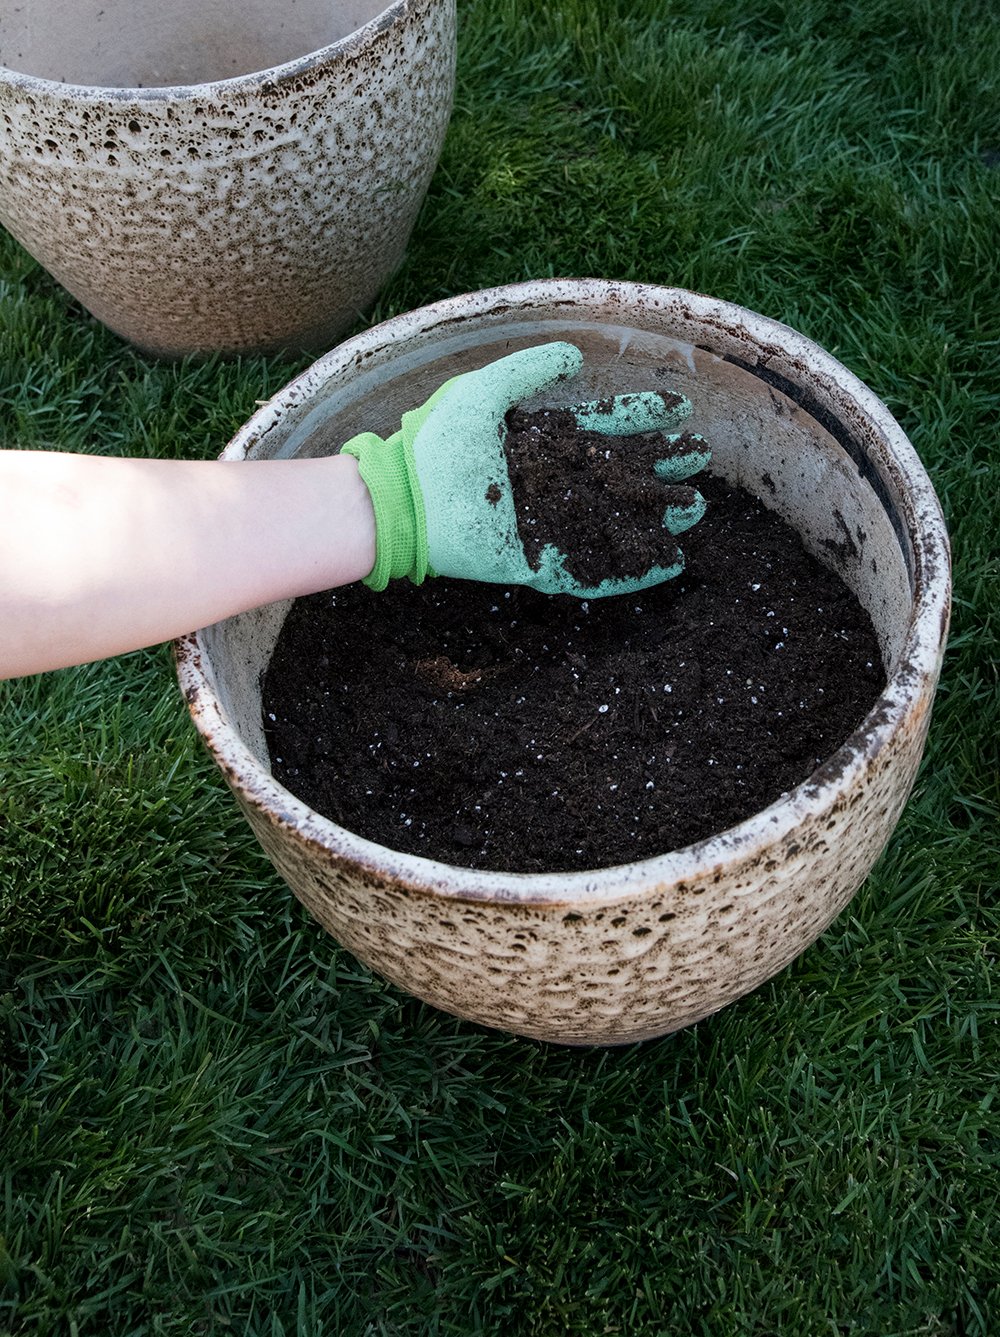 Step 3 // Add the cacti soil. Next I fill the remainder of the planter with cactus potting soil… this ensures it won’t become damp and drains well. It dries out a lot faster and is specifically made for cacti and succulents.
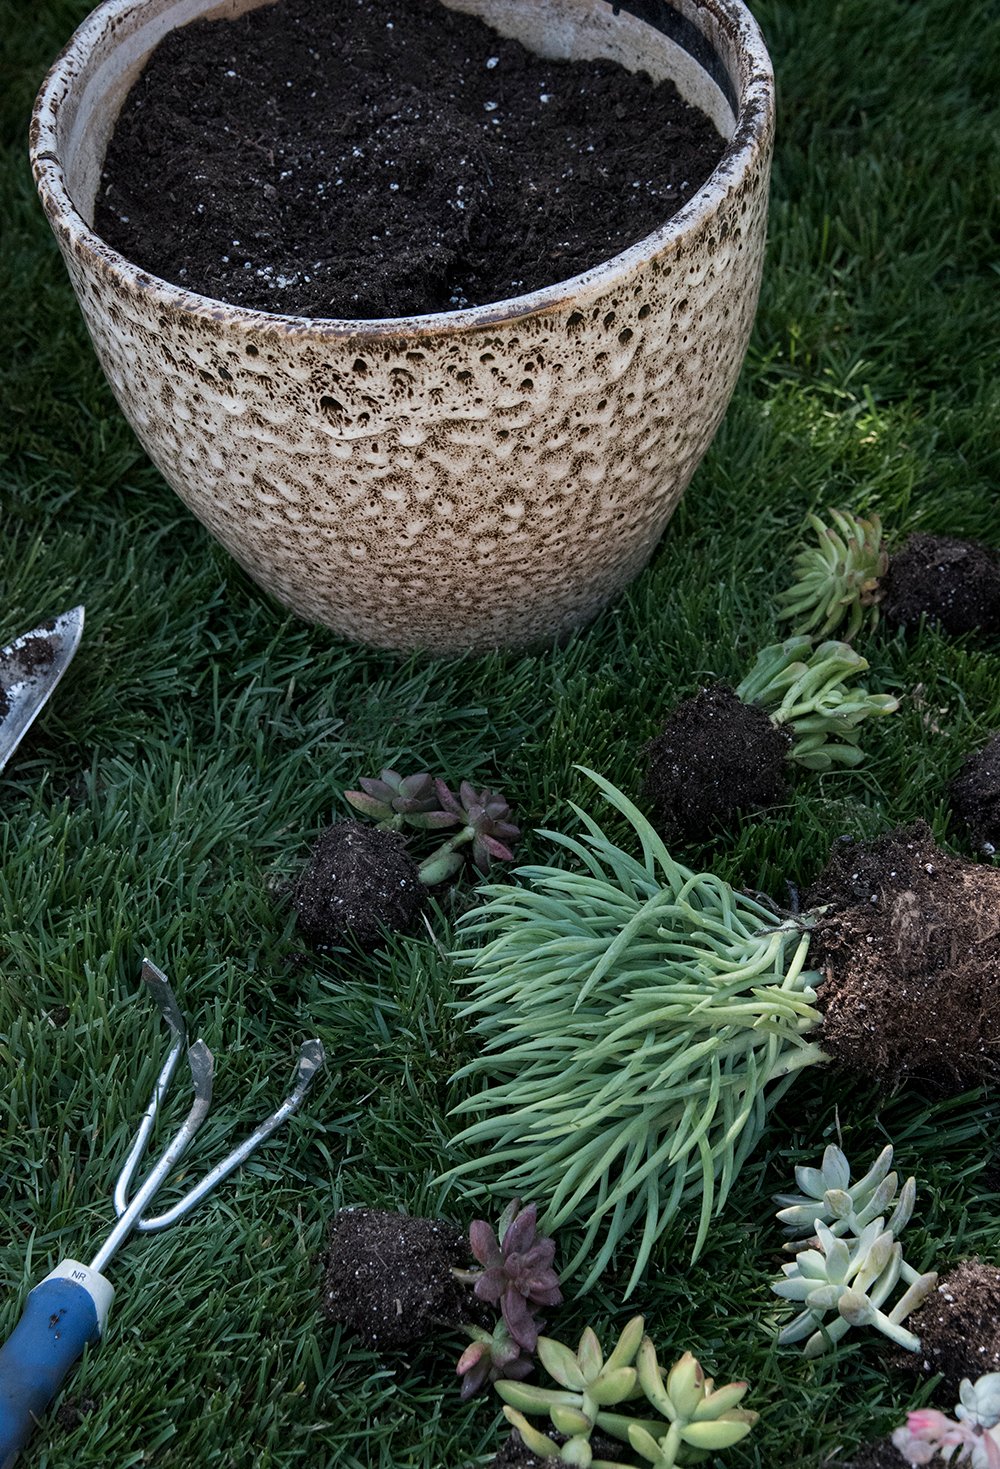 Step 4 // Layout your options. I find it easiest to remove my succulents from their containers and scatter them around so I know what I’m working with. I’ll also take this time to remove any bad places, and trim them up so they’re in healthy condition going in (no root rot, mushy parts, etc).
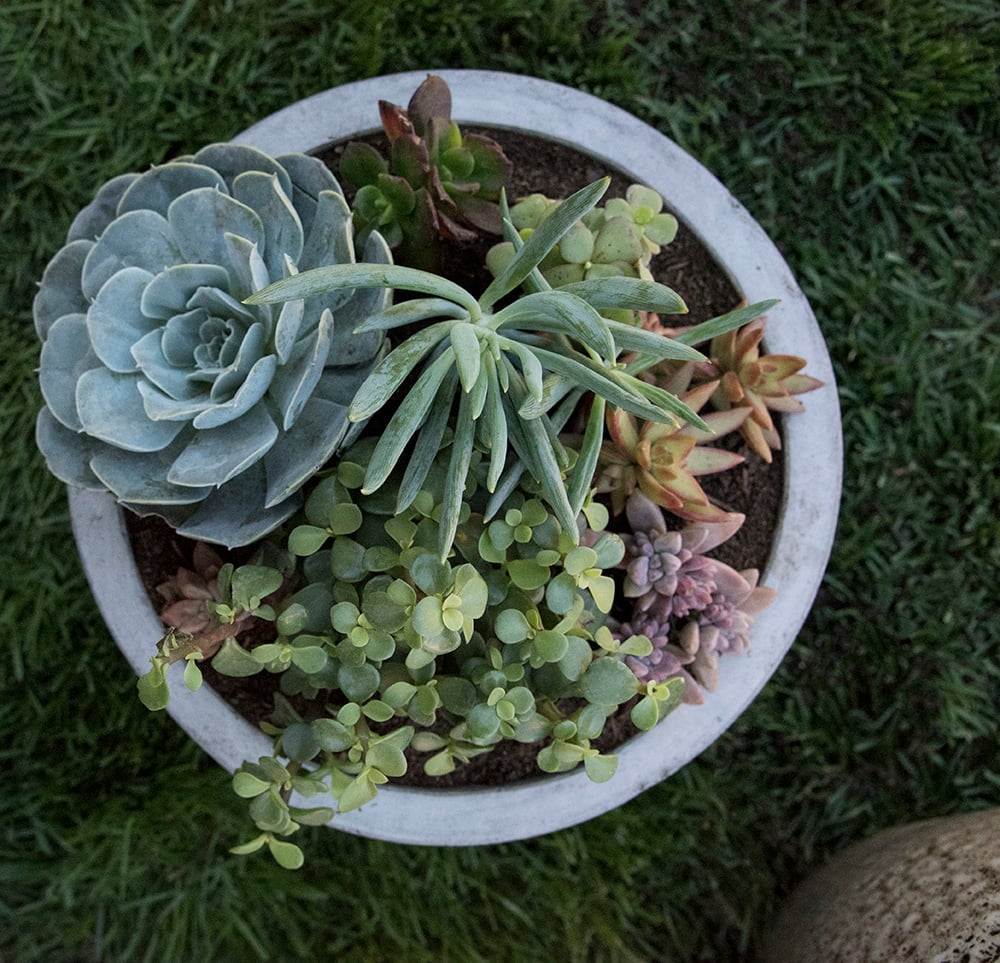
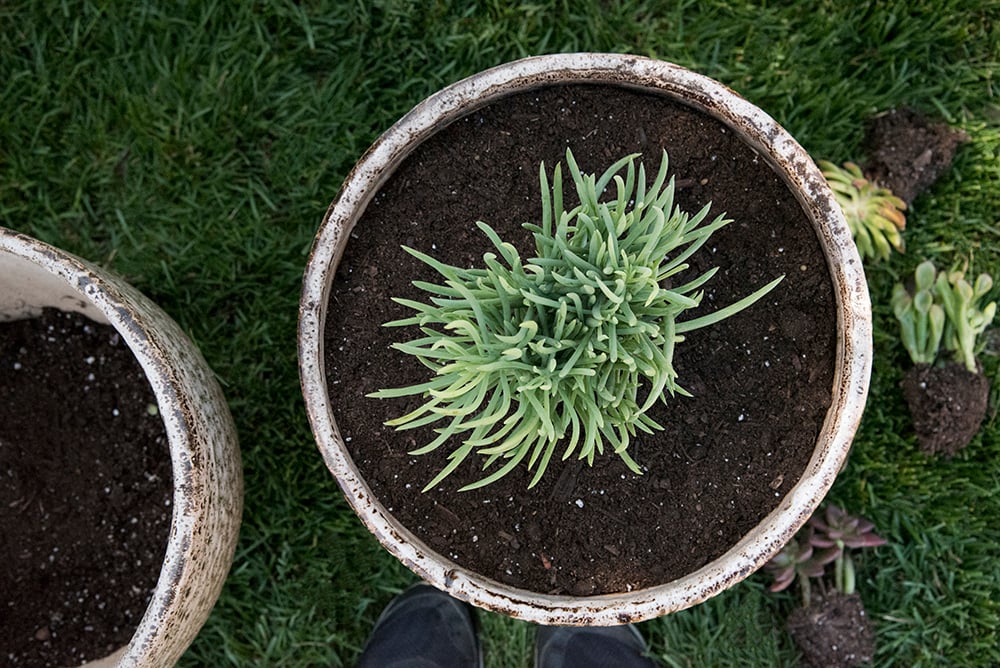 Step 5 // Begin planting. I prefer to work from the center out. I’ll put my tallest succulent or most textural piece in the center and taper away toward the edge.
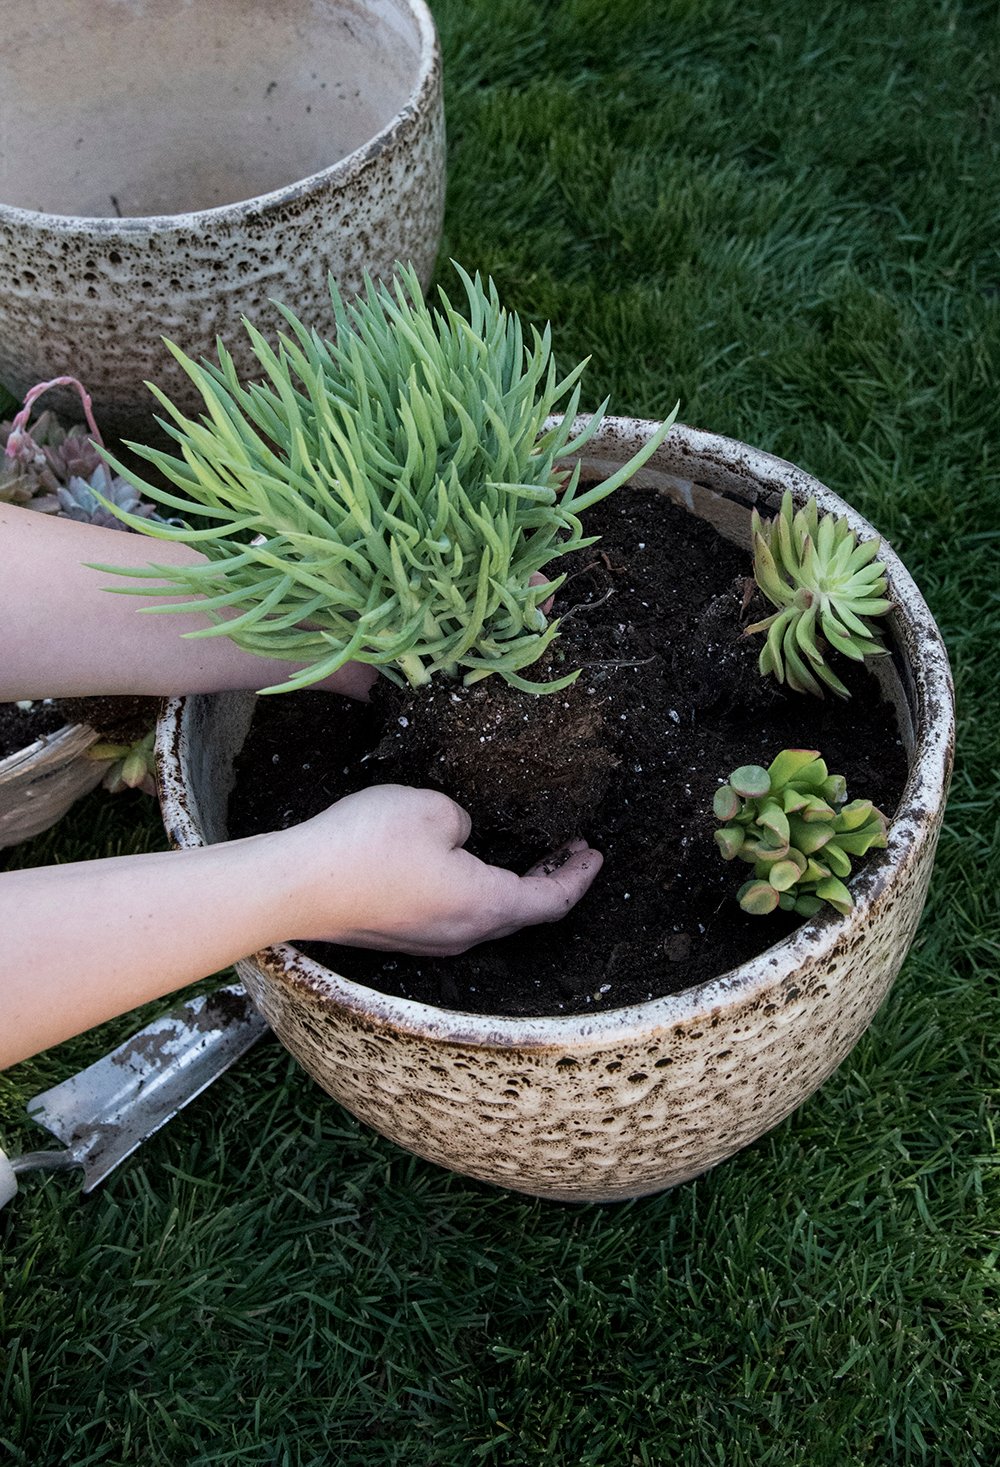 At this time, I also consider color, shape, texture, size, etc. It’s sort of like floral arranging! This is your opportunity to have fun and get creative with your planter. Last Saturday, when I put these together, I had the best time and it put me in a great mood!
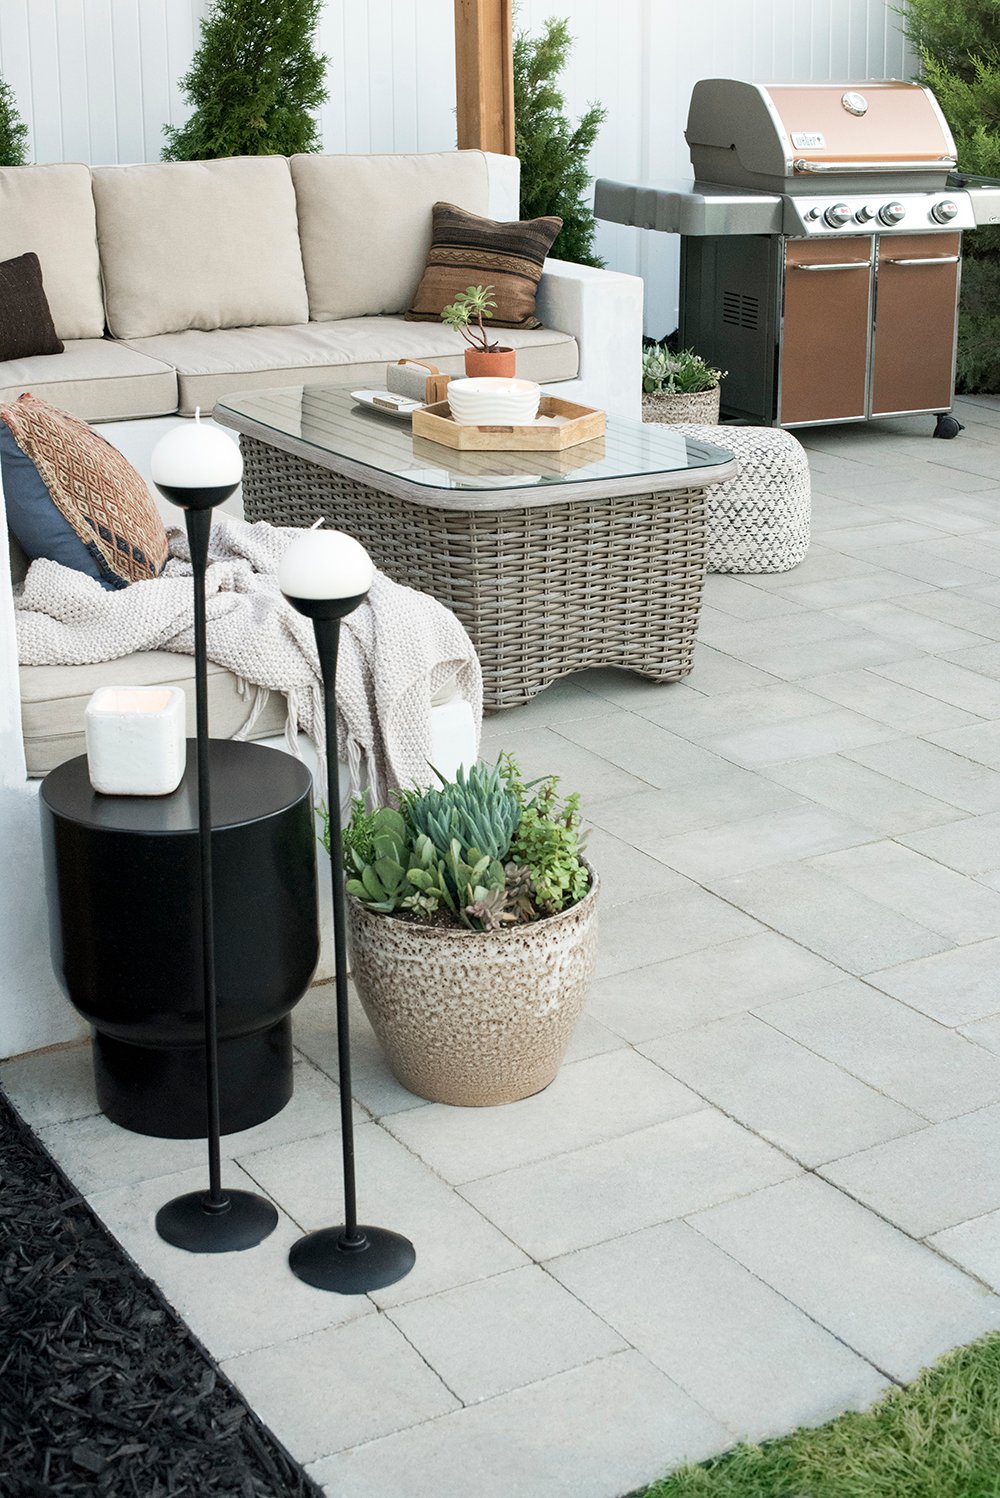
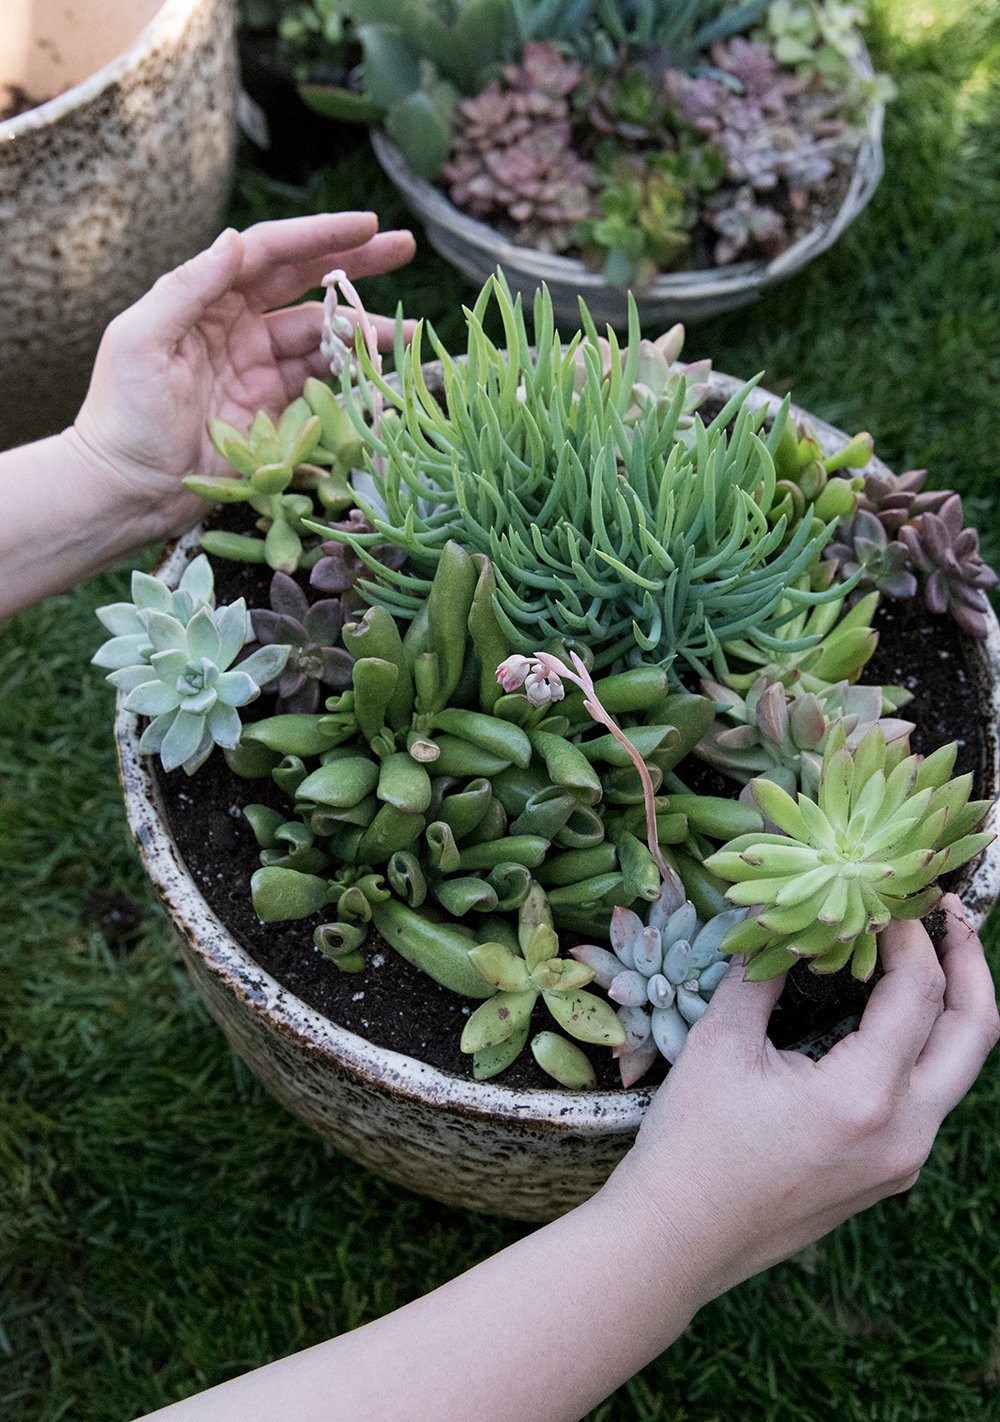 Step 6 // Water & watch it grow! After everything is planted, I’ll give it a little drink of water and call it done. Easy peasy! If you’re wondering about post care, it really depends on your climate. I live in Utah, so the summer season is hot and dry. I water these really well once a week during that time and then forget about them. It’s amazing how resilient they are. During the spring season (aka- now), I’ll only water them every other week. Check out my finished results for this spring / summer below…
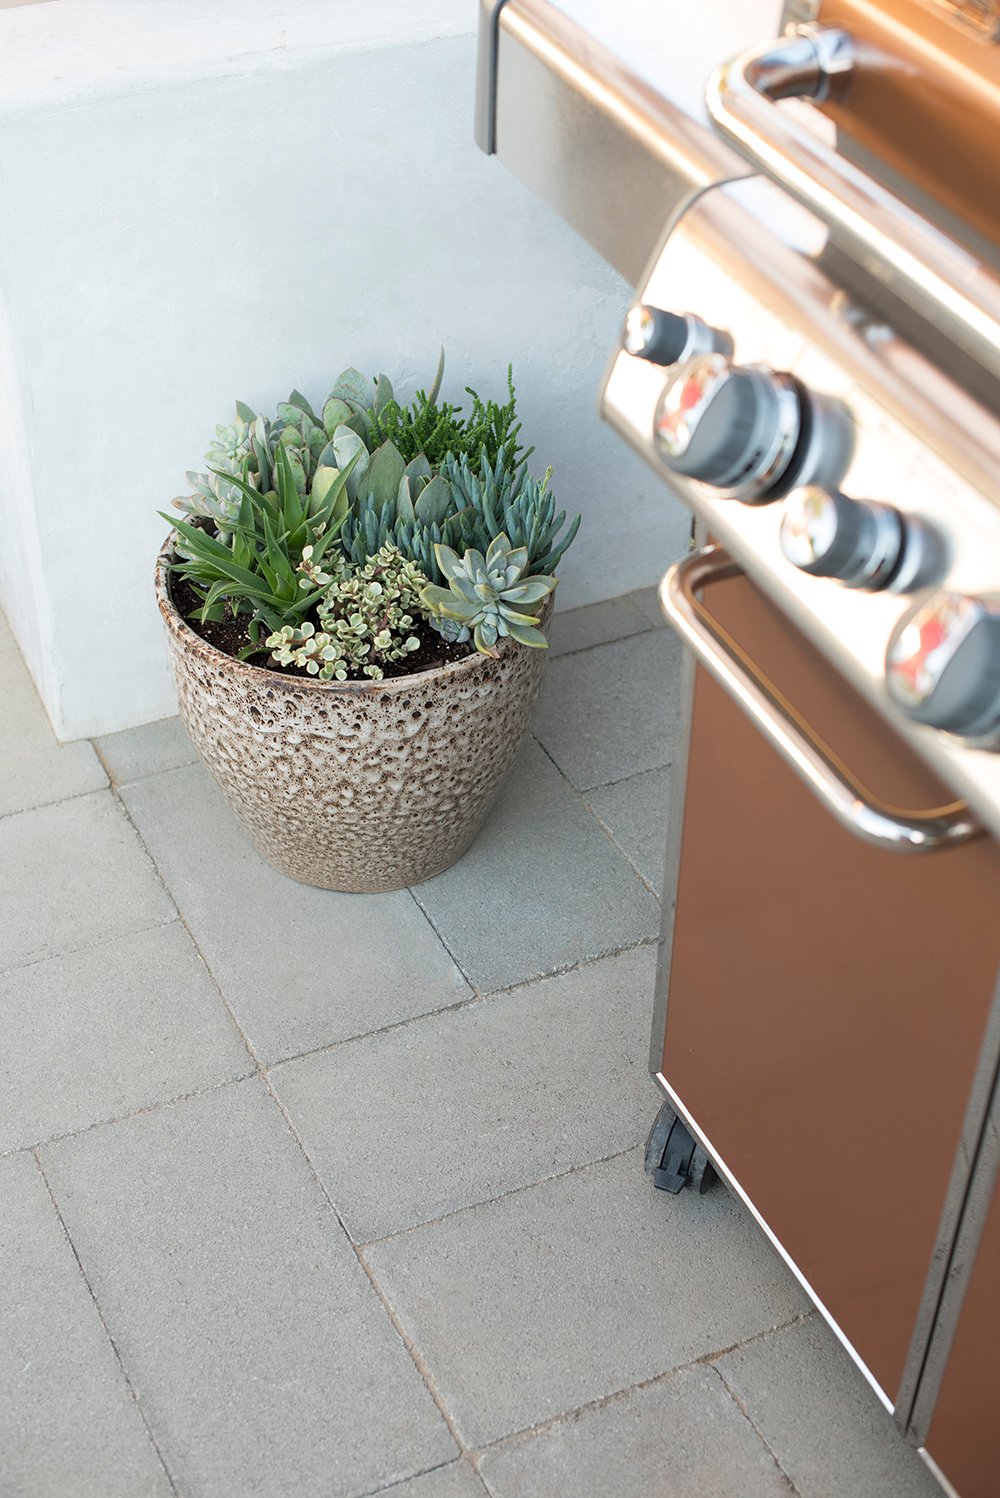
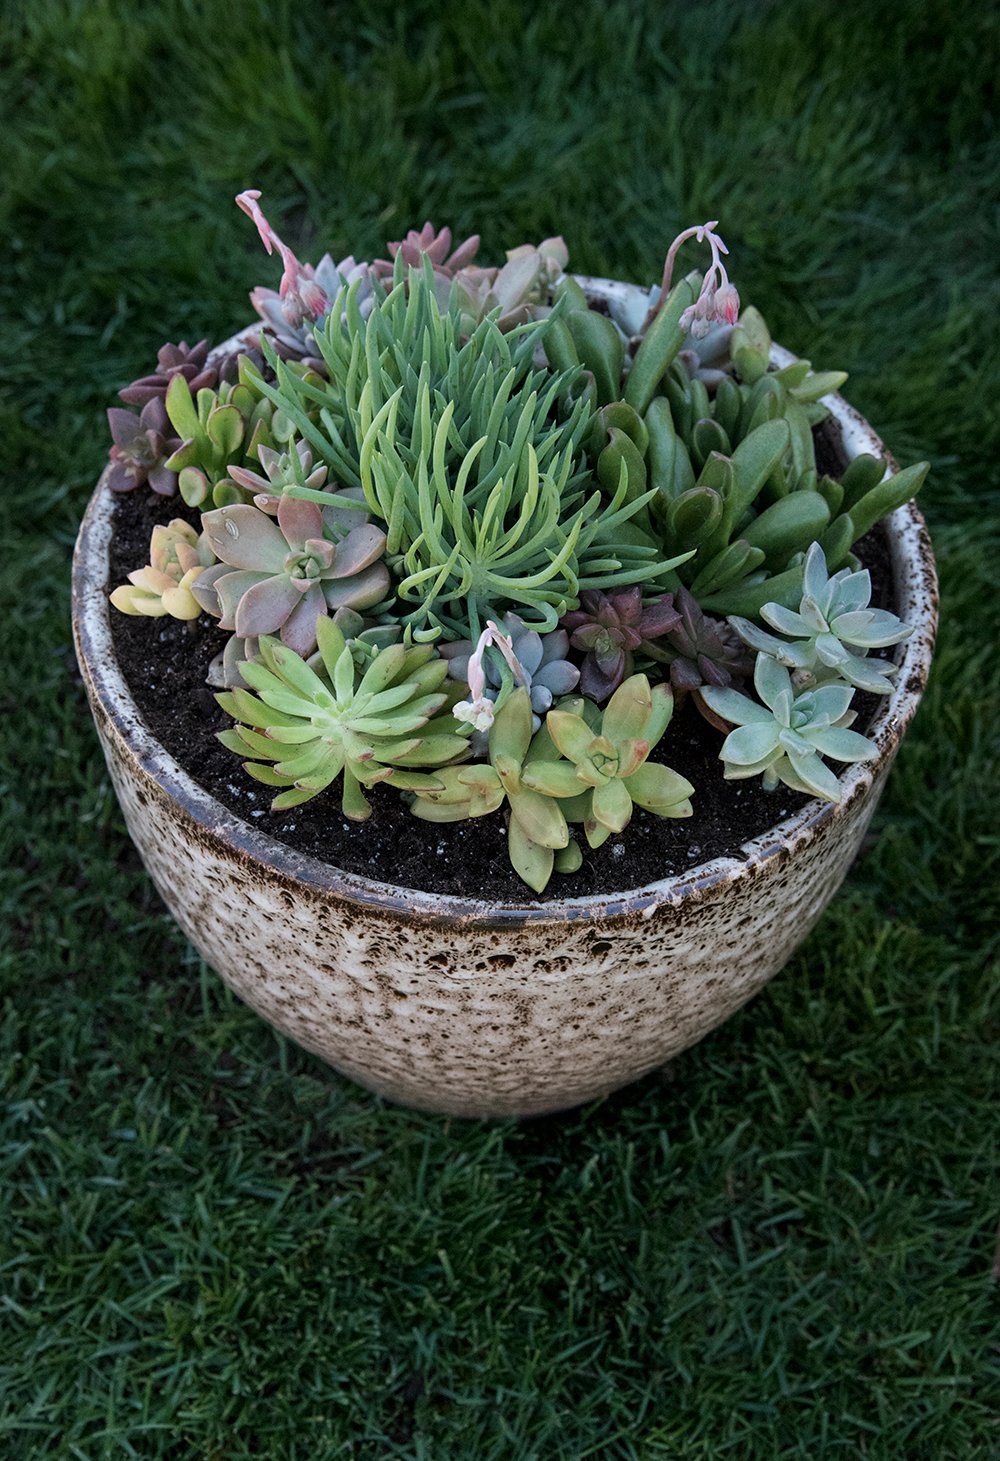 These actually grow really fast outside. I was super surprised last year at how BIG they got… even after planting late in the summer season. Eventually, the succulents will waterfall over the edge and look really luscious in the planter. You won’t be able to see the dirt around the edge next month, I’m guessing.
 I’ll be sure to post some updates on Instagram as they grow so you can see how it actually looks the majority of the time once things are well established (another reason I like planting early).
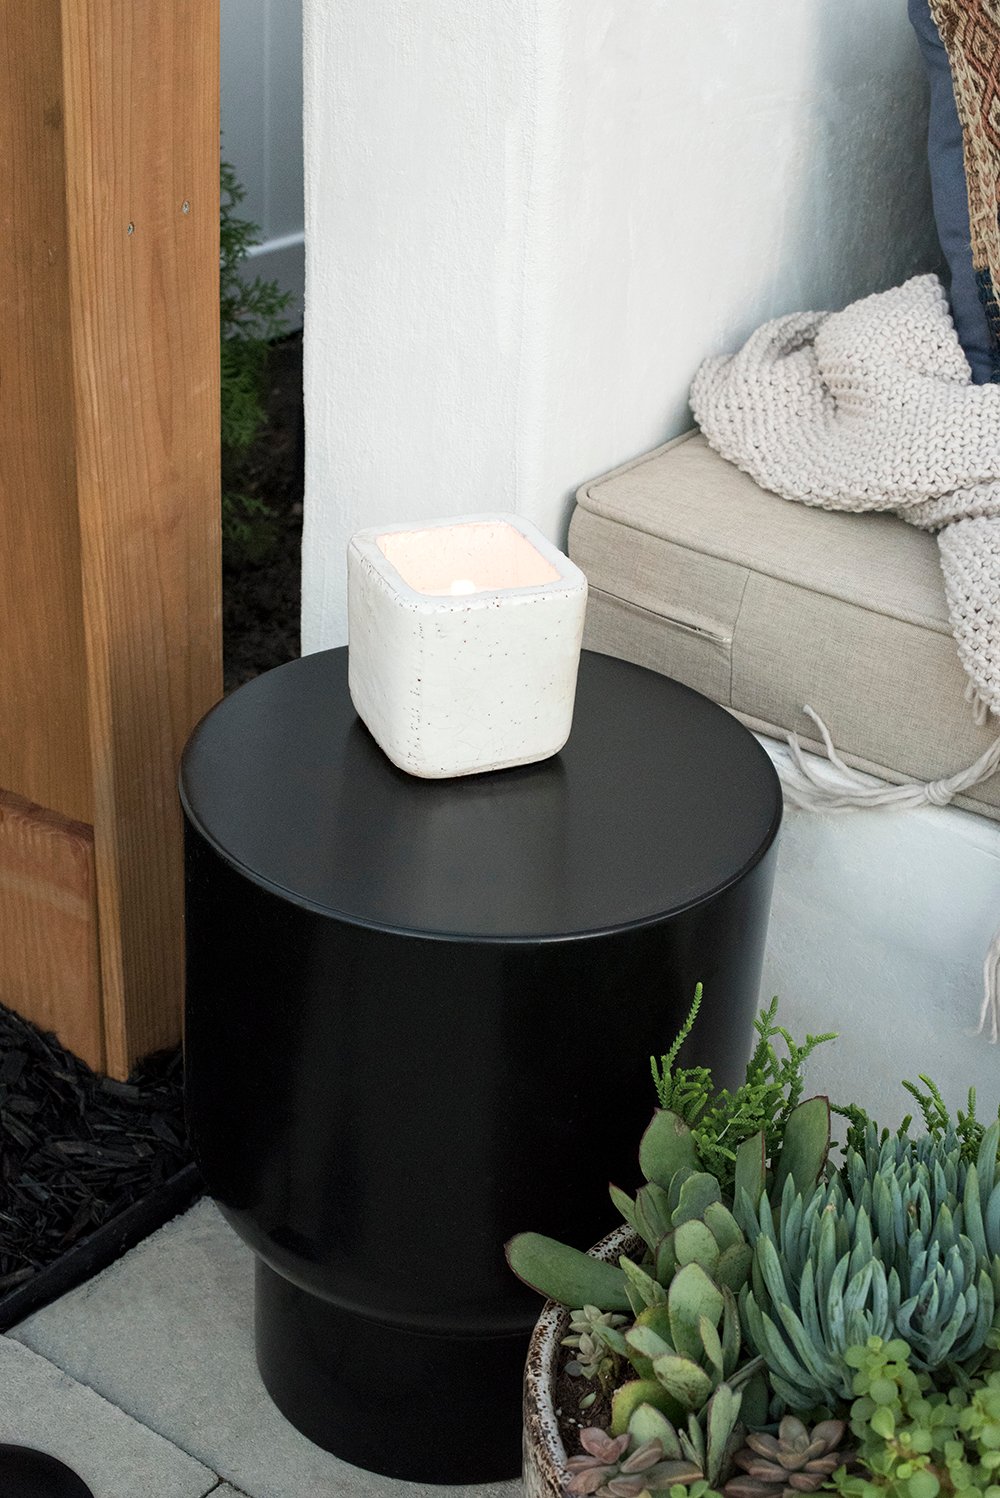
Basically, by the time I’m serving margaritas to my gal pals, setting up the corn hole boards, and the heat is setting in, these plants will be tall and gorgeous. Last year everyone asked about them, and they’re SO easy & fun to do!
 Here’s to hoping I can put out the patio furniture, cushions, and style everything in the backyard this coming weekend! The weather is supposed to be gorgeous and I’m desperately needing a break from the One Room Challenge.
 For more backyard, exterior, and outdoor living posts, I created this new blog tab… click here for more! Have you guys started planting and thinking of your patio, deck, or backyard yet?
I loved your succulent planters from last year and I am glad you decided to put together a tutorial. Your plant game is strong and I have always aspired to have healthy plants in my home like yours! I hope to put together succulent planters for my patio this summer! Thank you for sharing this!
Thanks girlfriend!! Can’t wait for you to come back out and see them in person :) I’ll have a margarita waiting on you. xox