How to Upholster the Seat of a Chair
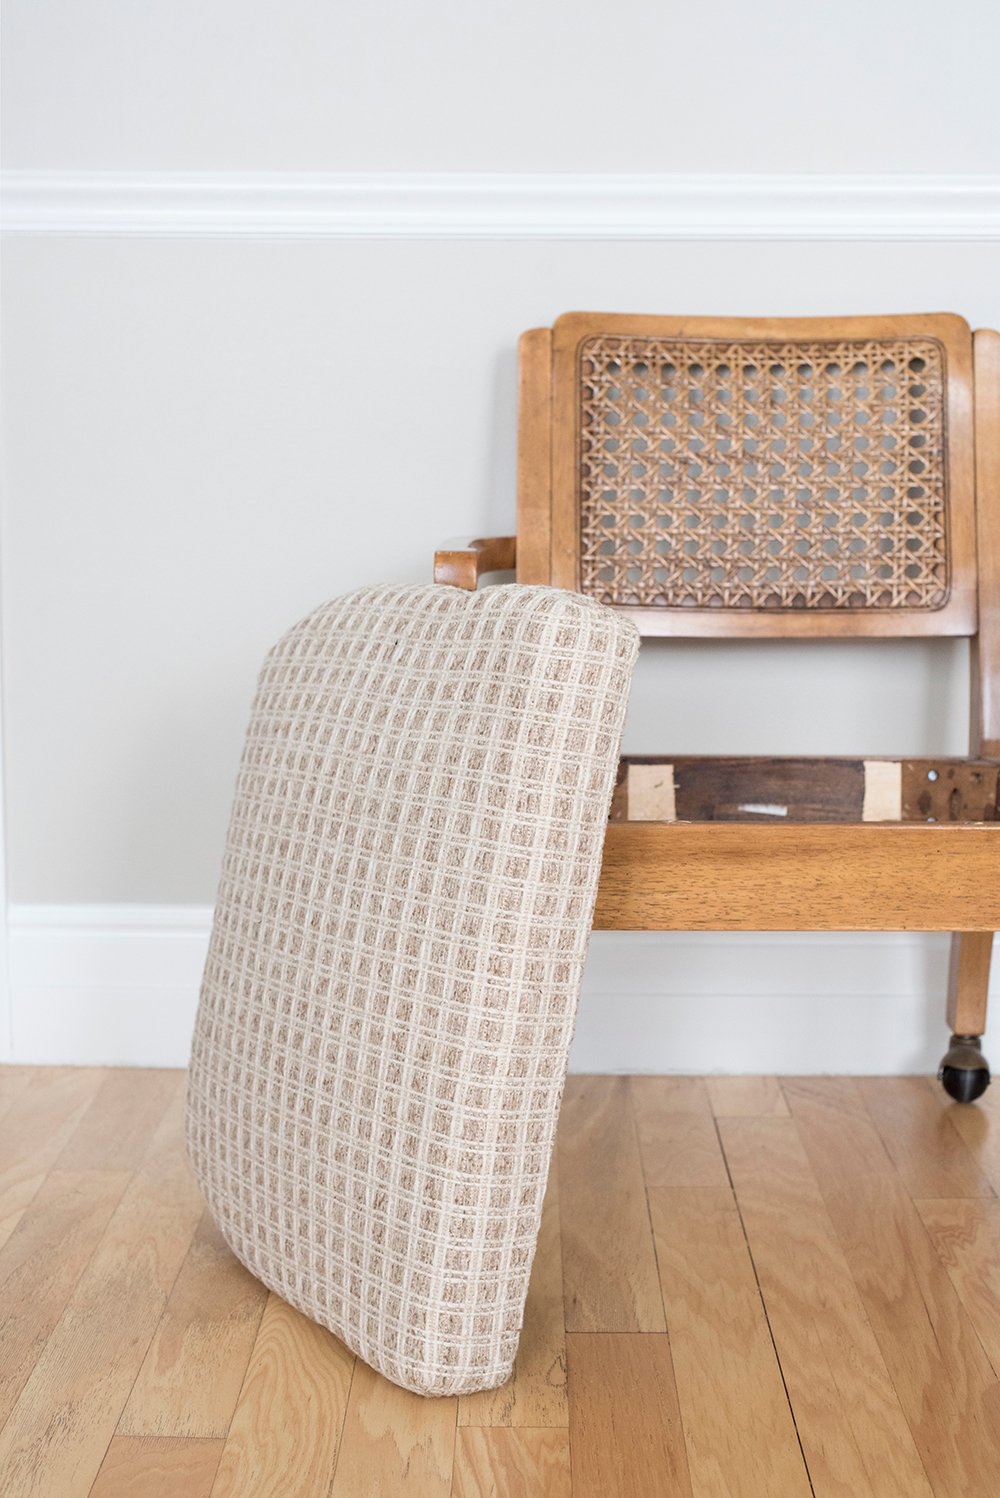
 A couple weeks ago I took you thrifting with me and you might remember I brought home this cute cane back chair on casters. For $20, I bought it with the intention of reupholstering the seat cushion and I didn’t waste any time! I had leftover fabric because I didn’t end up upholstering my vanity stool for the guest bathroom, so figured I might as well use it for this project. Lots of you have asked for an upholstery tutorial, so here we go… click through for a tutorial on how to upholster the seat of chair. It’s incredibly easy and makes a world of difference! It took me under an hour and some elbow grease to update this stunning little chair that now sits at our built-in workspace.
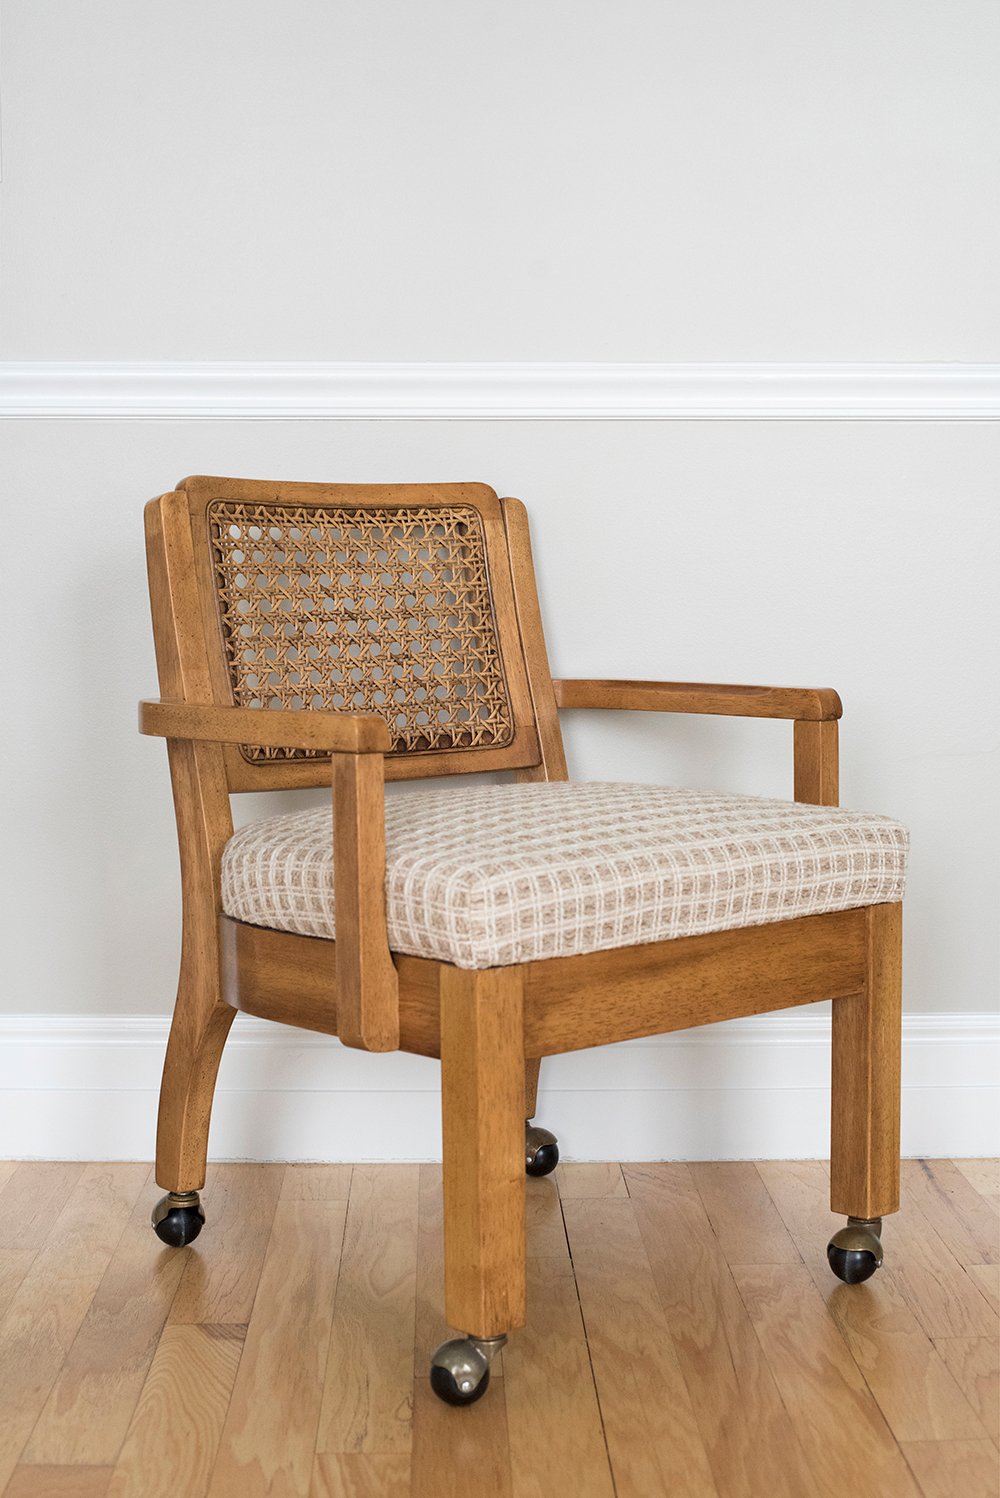 The above image shows the chair as I bought it. It was honestly in great condition… the only thing I didn’t love was the fabric on the seat cushion.
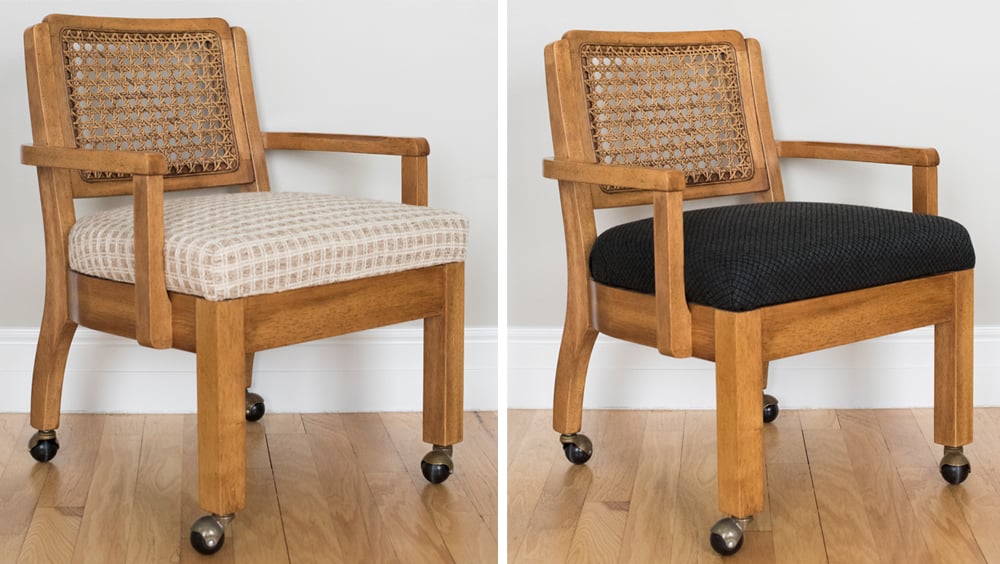
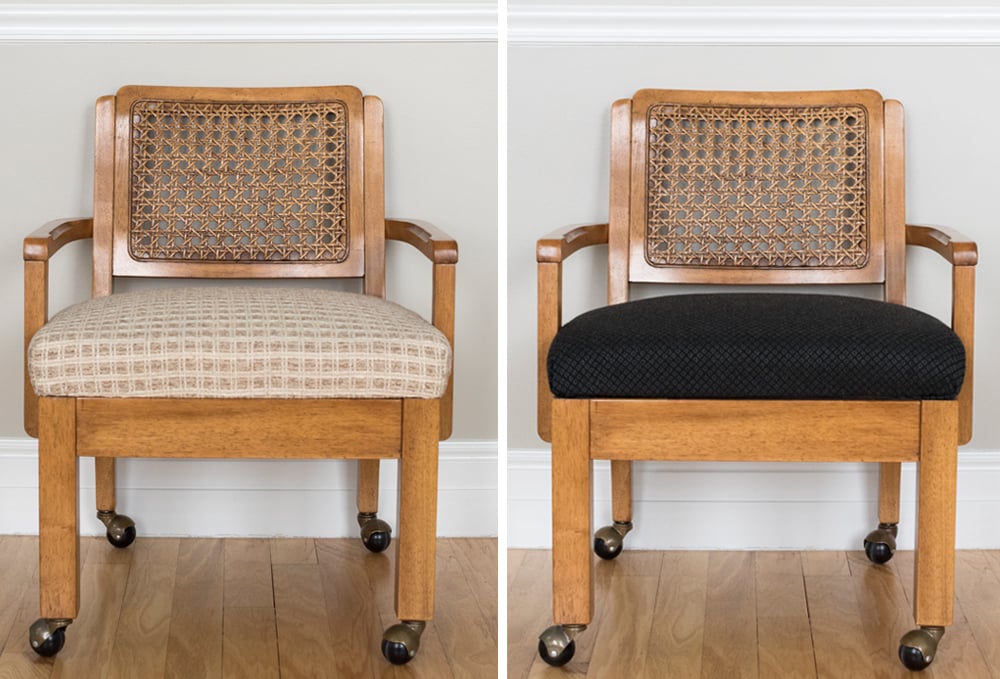 Ready to see how I took this chair from the before to the after? Let’s get started! Here’s what you’ll need…
SUPPLIES + TOOLS:
- chair or seat cushion that needs reupholstered
- heavy duty staple gun
- staples
- pliers
- flathead screw driver
- power drill (or screw driver)
- upholstery weight fabric (I linked a similar one- mine came from a local shop)
- dust cover fabric
- scissors
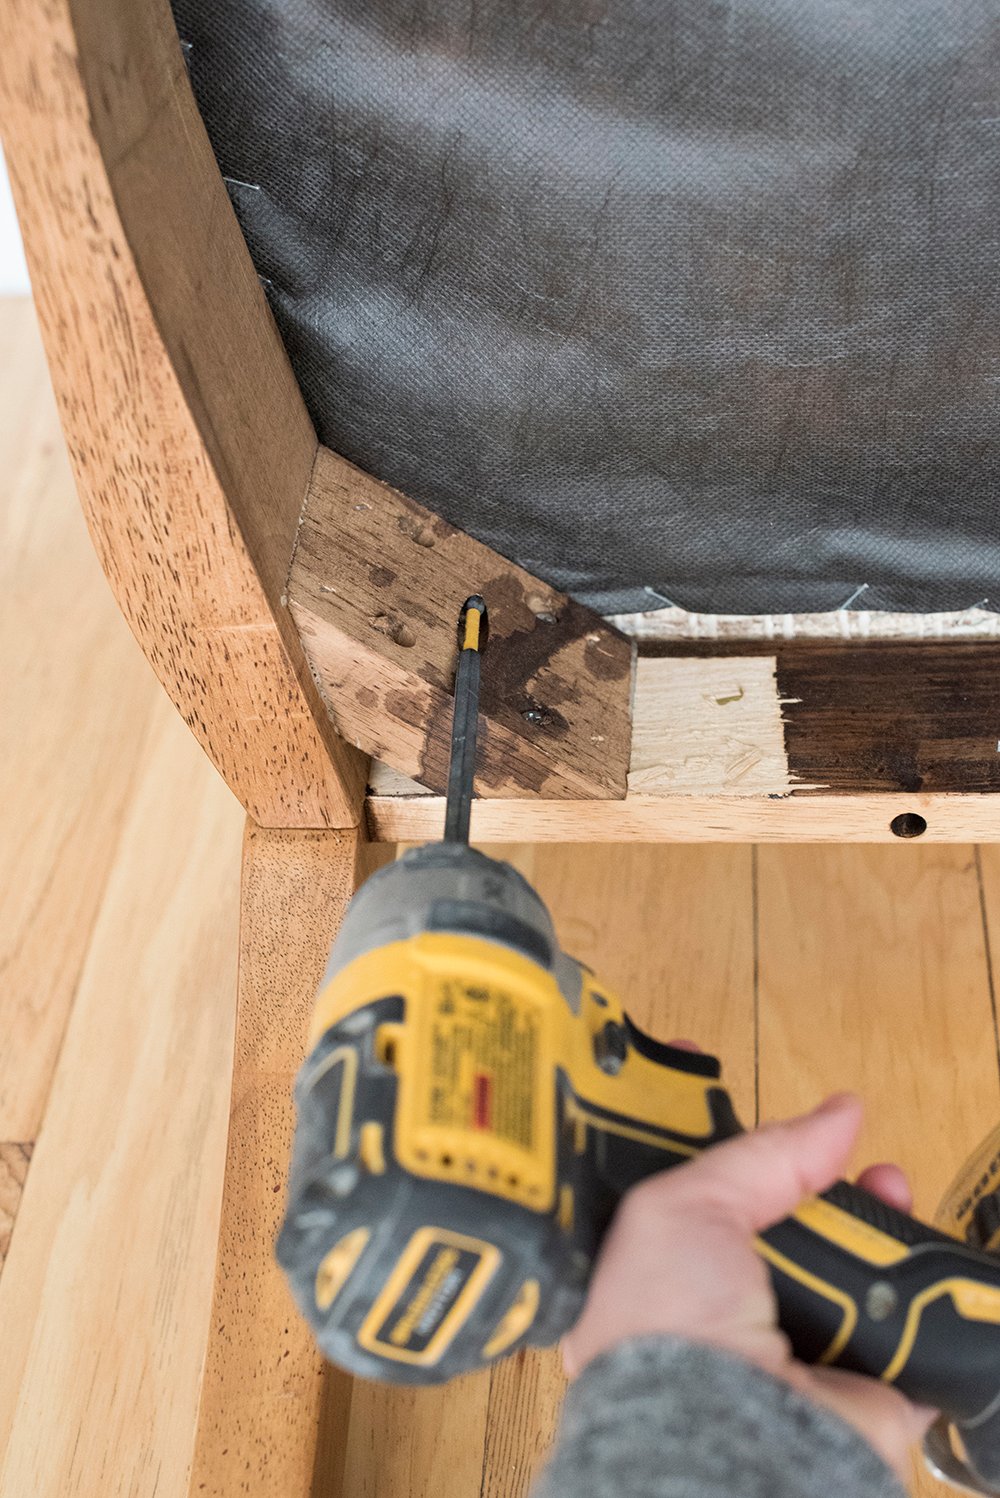 Step 1 // Remove the seat. Begin by removing the seat of the chair. I used a power drill to make quick work of this, but it was honestly overkill. I totally could’ve used a regular phillips screwdriver instead.
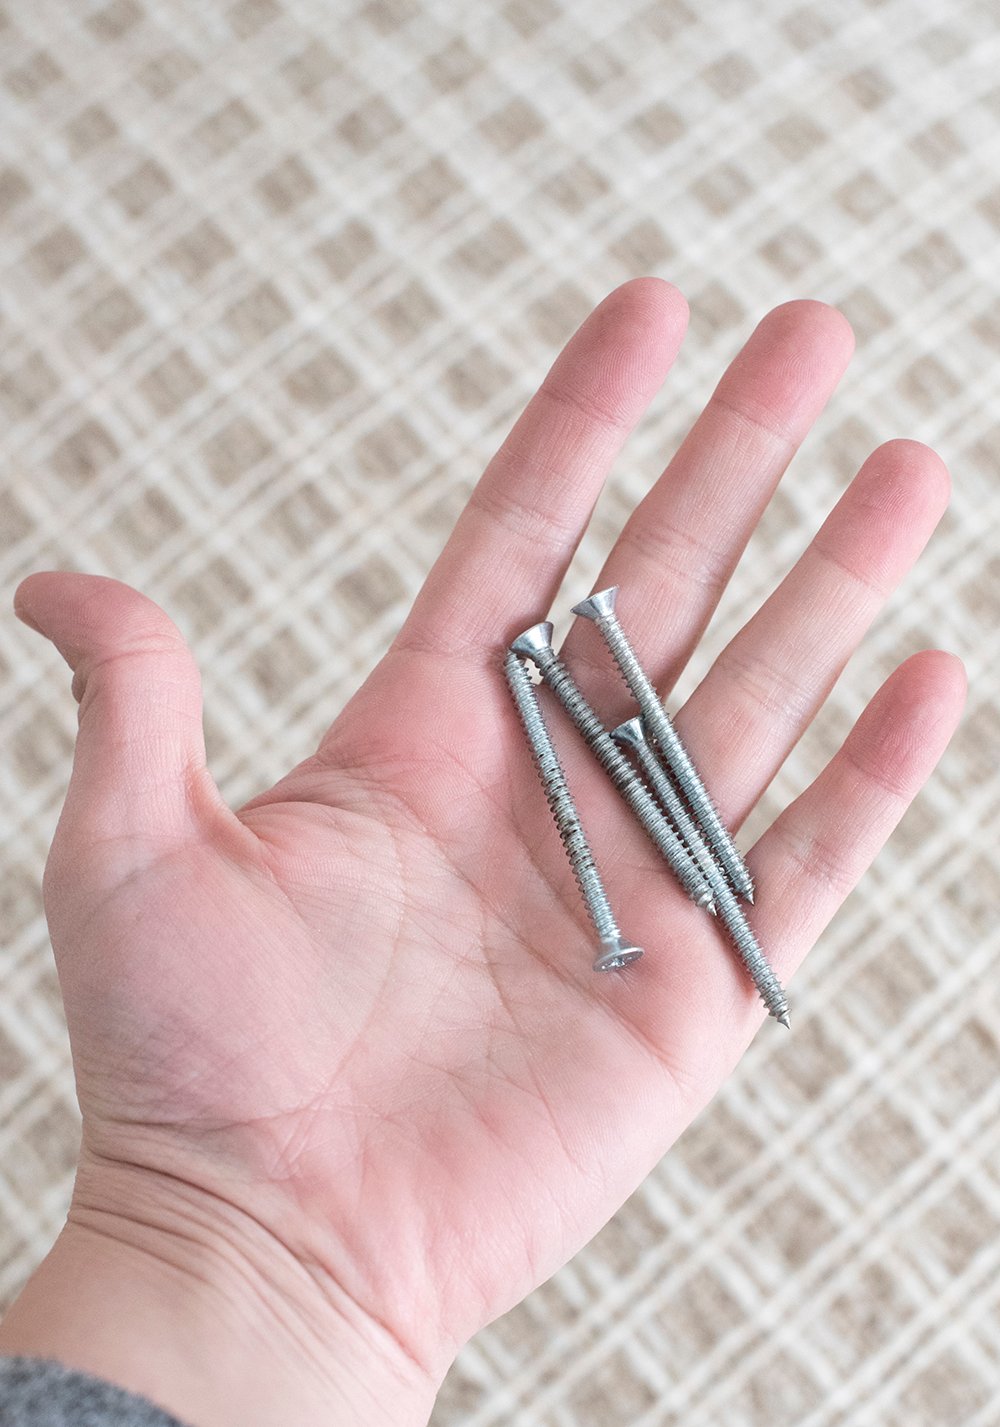
 There were four screws holding the seat into place, but obviously this will depend on the chair. Put the screws in a safe place out of the way while you’re upholstering.
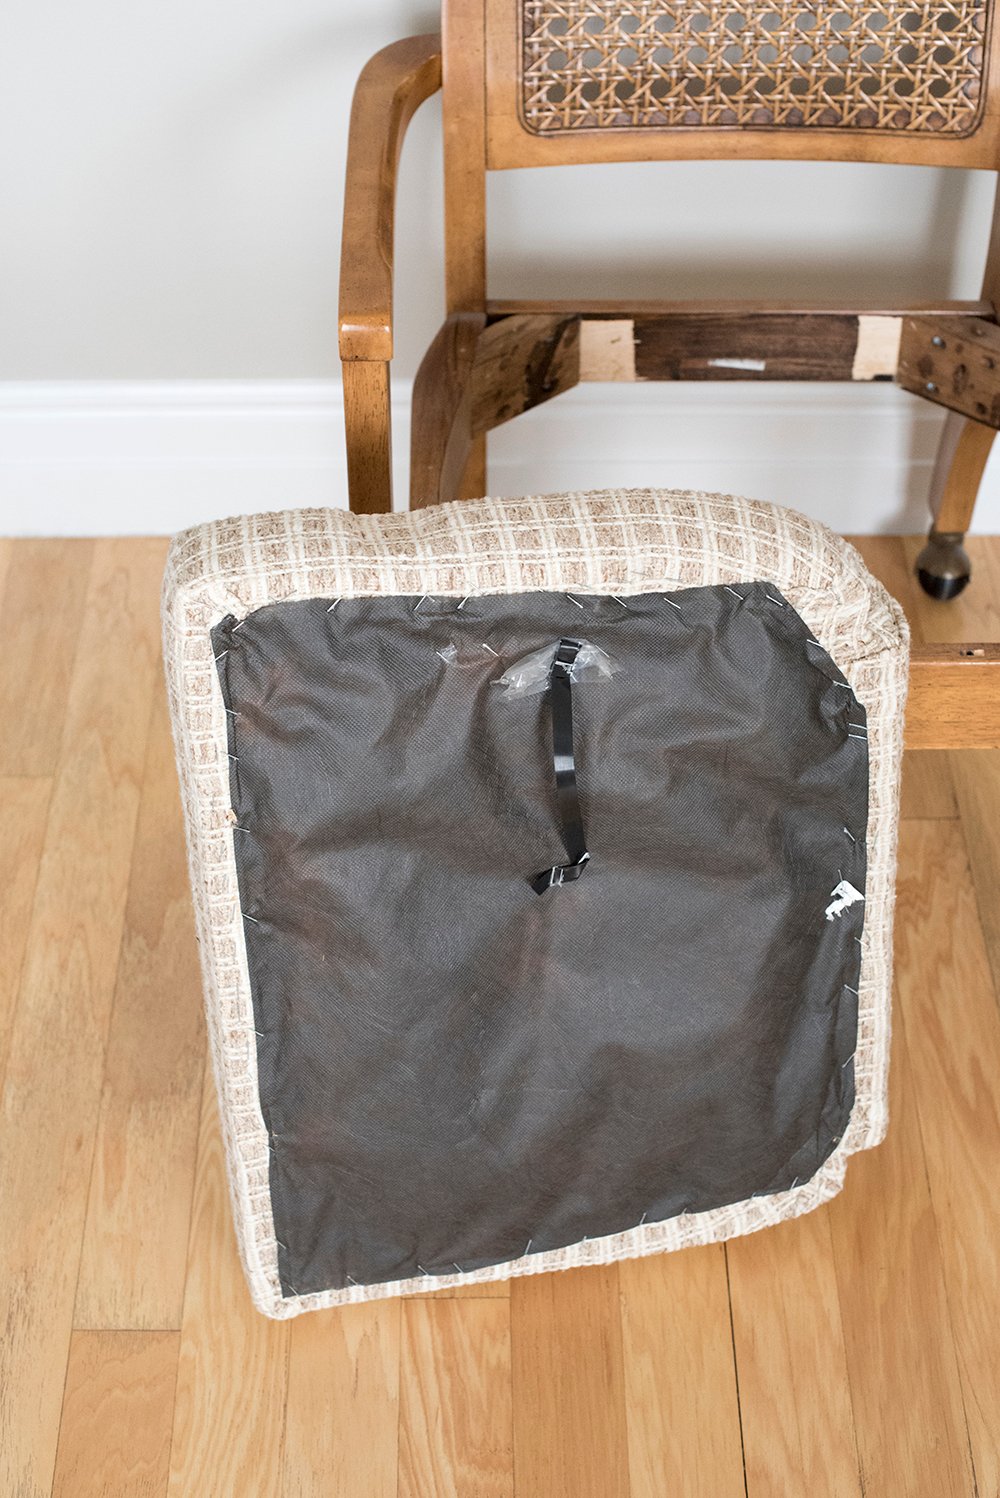
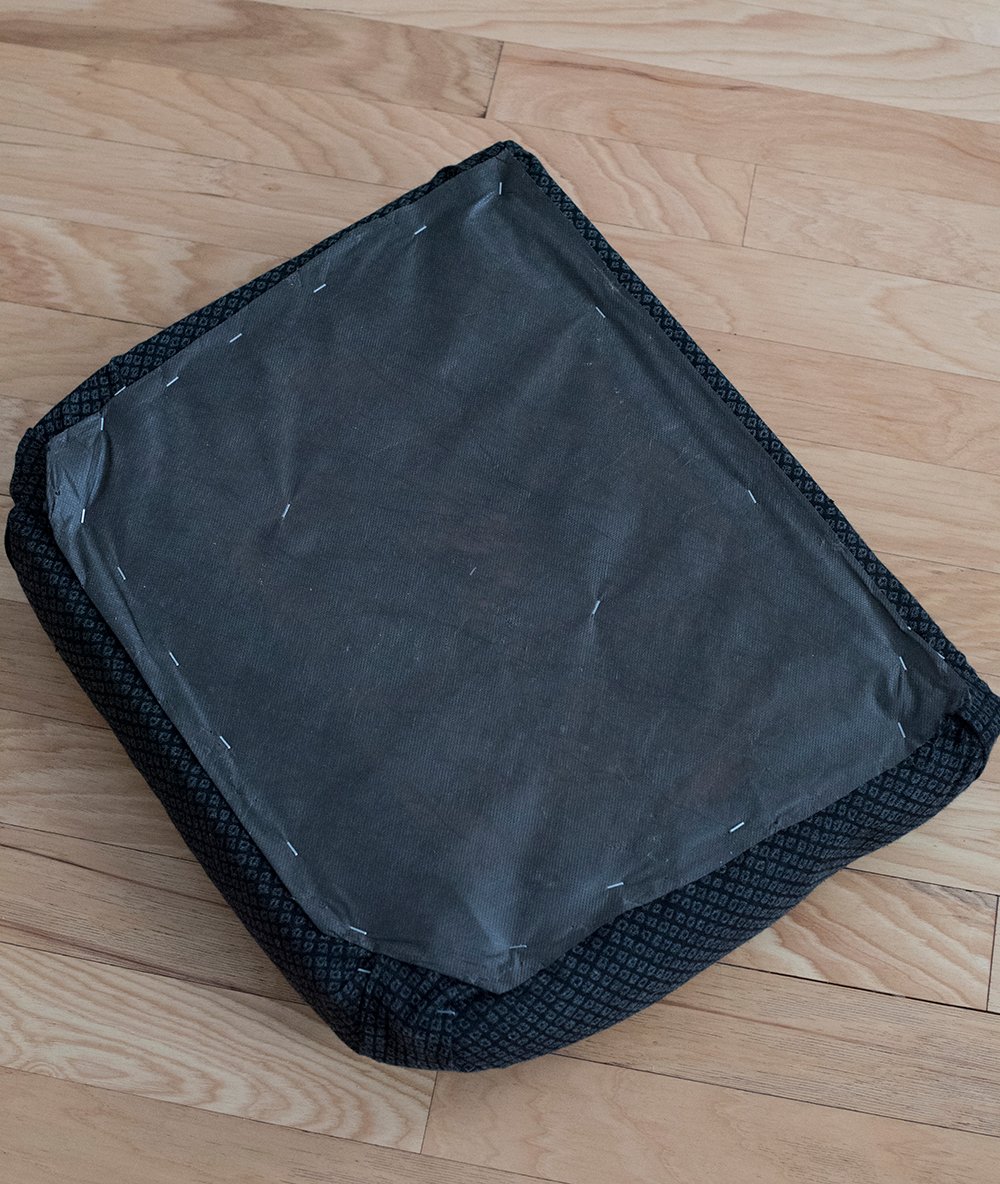
 Here is what my detached seat cushion looked like… the bottom side is usually pretty ugly.
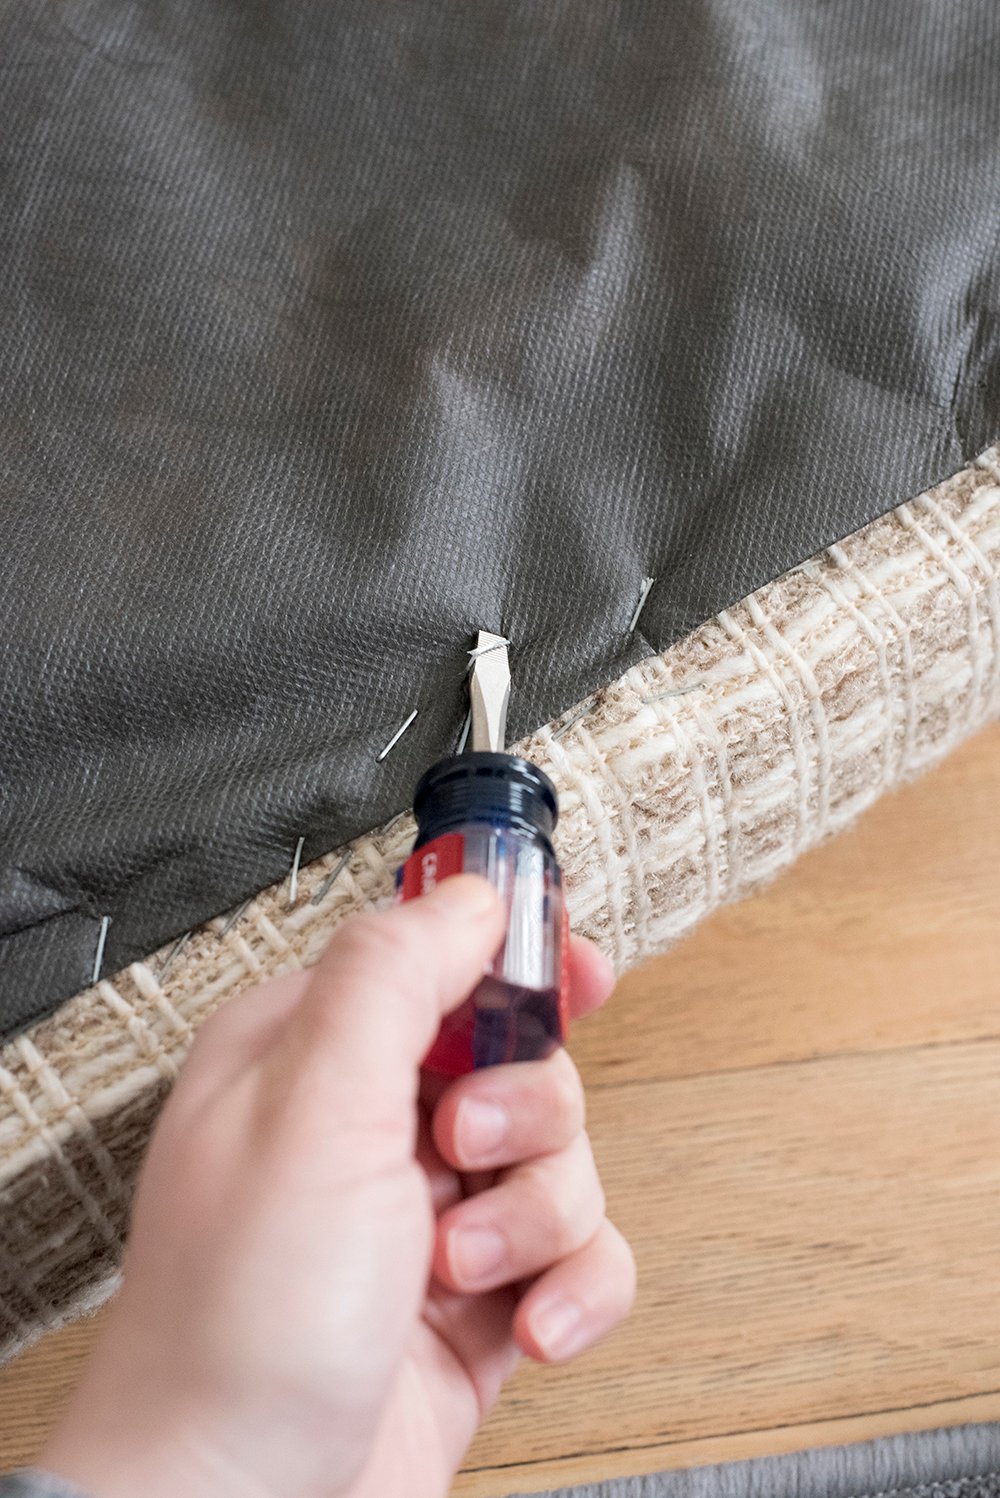
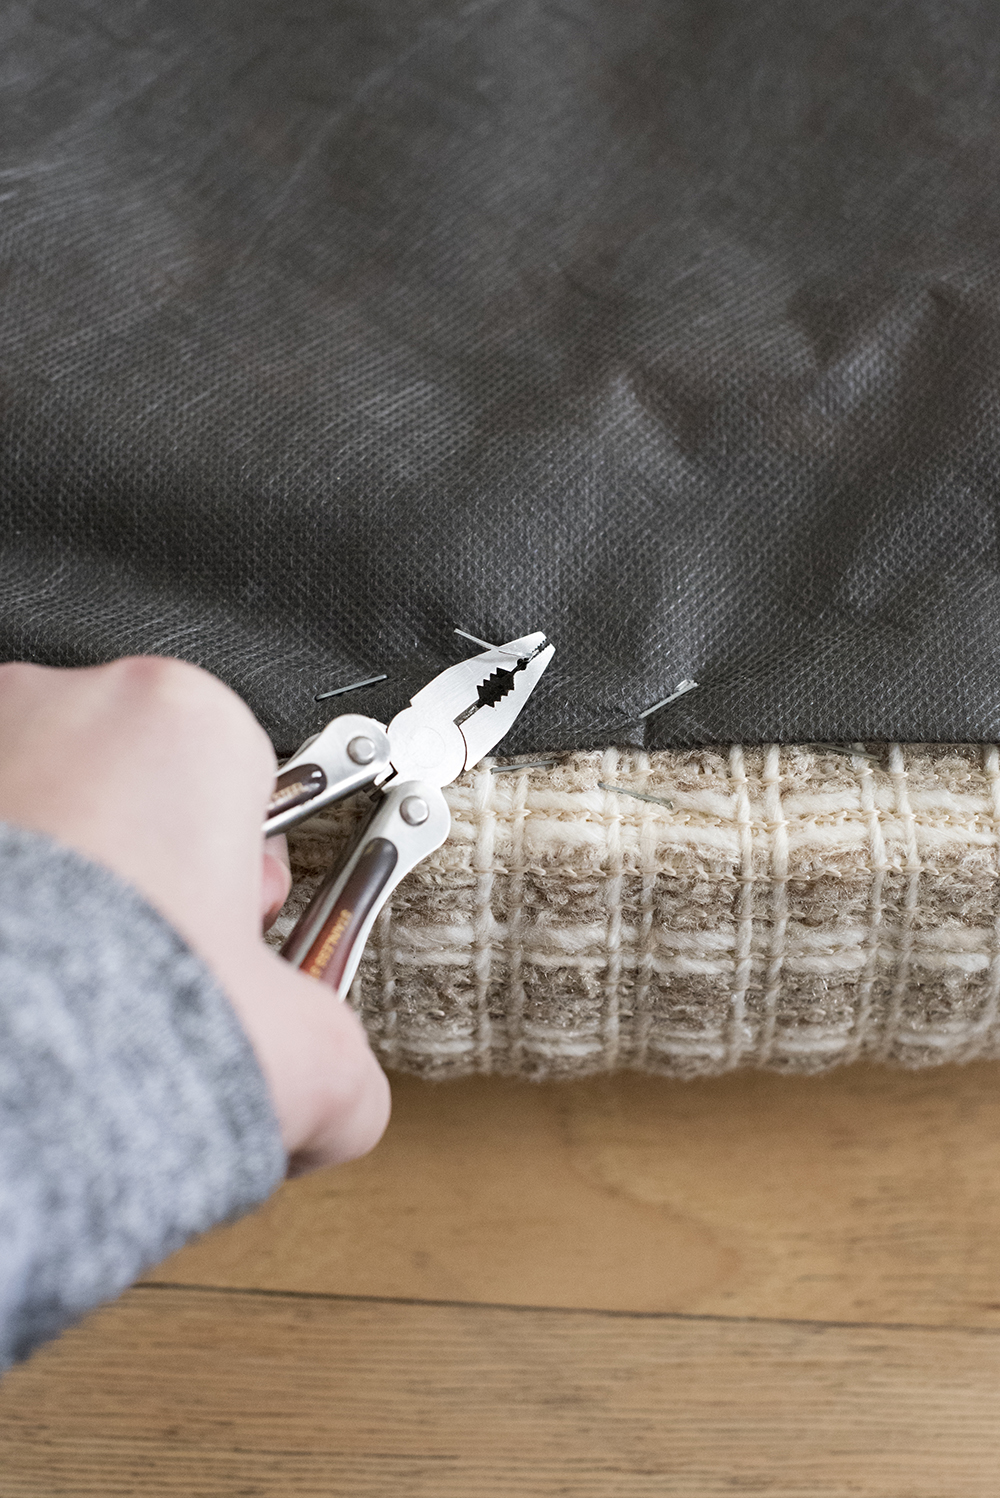
 Step 2 // Remove the staples and existing fabric. Next you’ll want to remove the staples. This is honestly the most difficult and time consuming part of the process. I like to start by wedging a flathead screw driver under the staple to lift it. Once I have the staple lifted, I’ll go in with my pliers and pull each staple out. It’s not difficult, it just takes a little time.
 Why go to the trouble of removing the existing fabric, you might ask? In some scenarios you can certainly upholster OVER fabric. However, in this case, the existing fabric is pretty hefty and has a very textural weave. My new fabric isn’t as textural and upholstering over top of this would leave a lumpy look, which wouldn’t be very cute. I also feel like if you’re updating upholstery, you might as well remove the old, smelly fabric and replace it with something clean and new… that’s just my mindset!
 Step 3 // Clean the foam. Check the foam insert and determine if it needs to be replaced. My foam was in great shape, but if yours isn’t…. I’d recommend going to Joann Fabric or someplace similar to have a piece of foam cut. I ended up giving mine a quick vacuum and a spritz of Febreze and called it good.
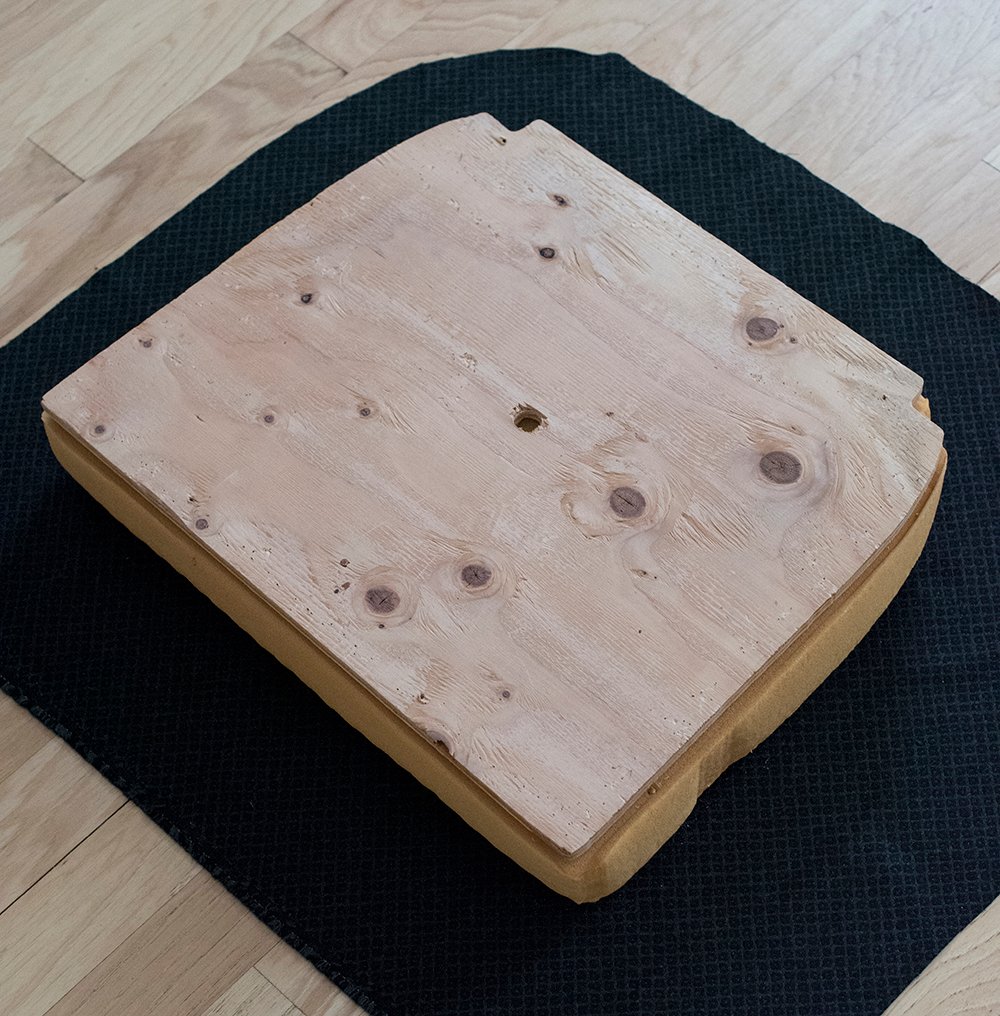
 Step 4 // Prep your fabric. You’re almost ready to reupholster! Place the pattern side of the fabric face down on your work surface (my work surface is the floor) and rest the foam seat cushion down on top if it. If your fabric is patterned, you’ll have to consider which way you’d like it to run.
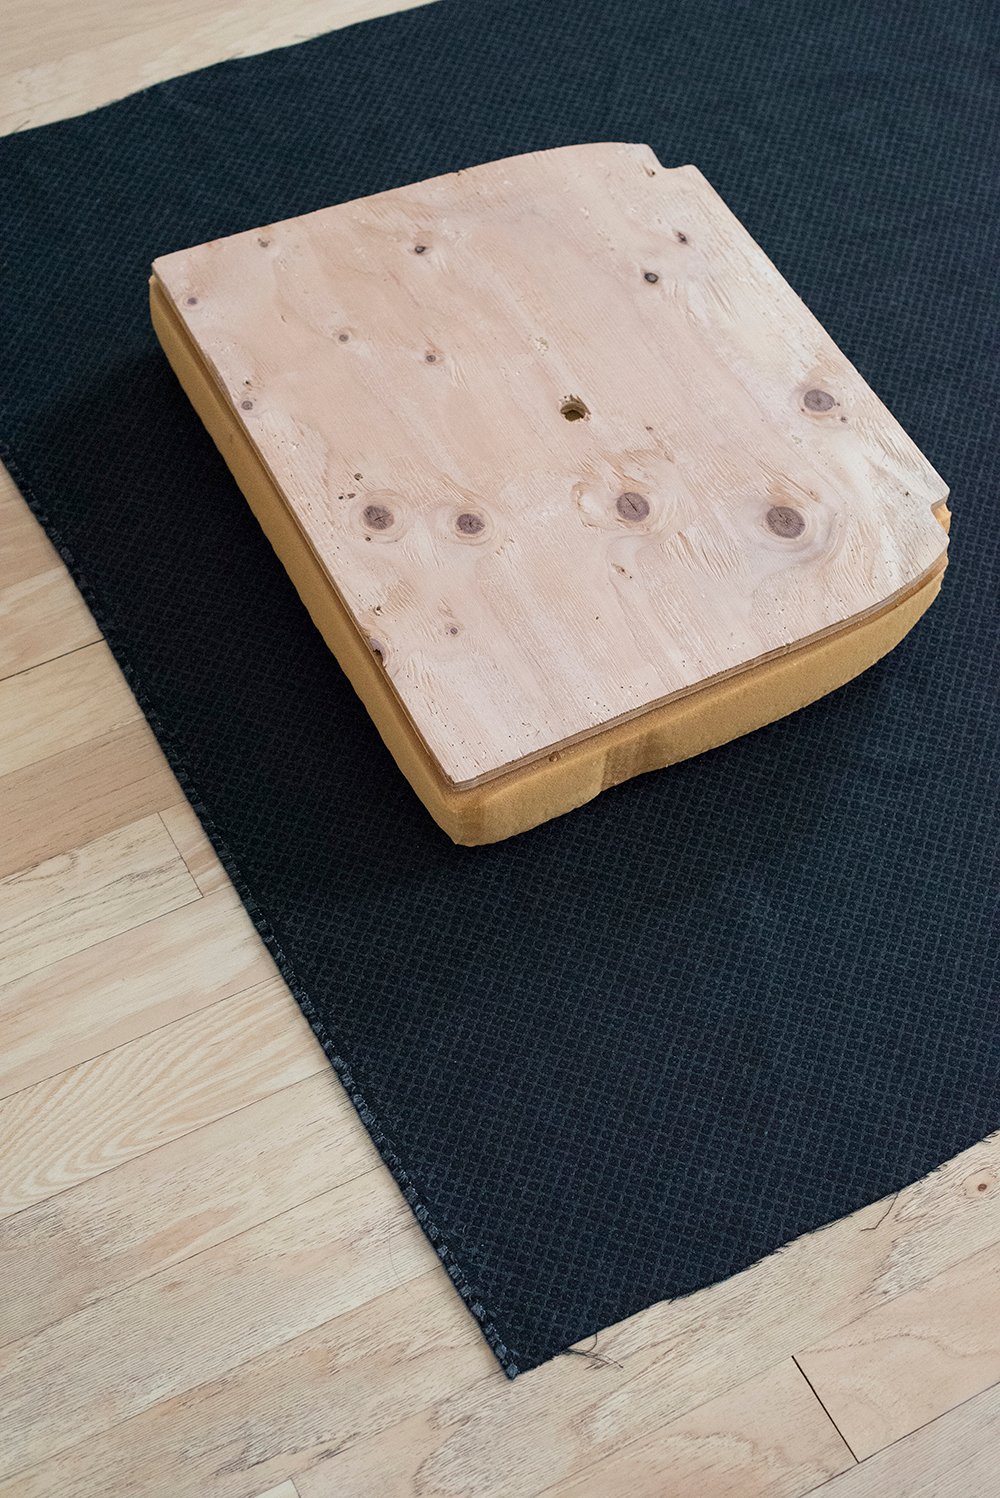 Next, cut your fabric to the shape of the seat cushion, leaving 4-5 inches all around. This measurement depends on how tall the seat is. I like to do a “fold up” test and make sure I have plenty of excess to staple to the bottom side of the seat.
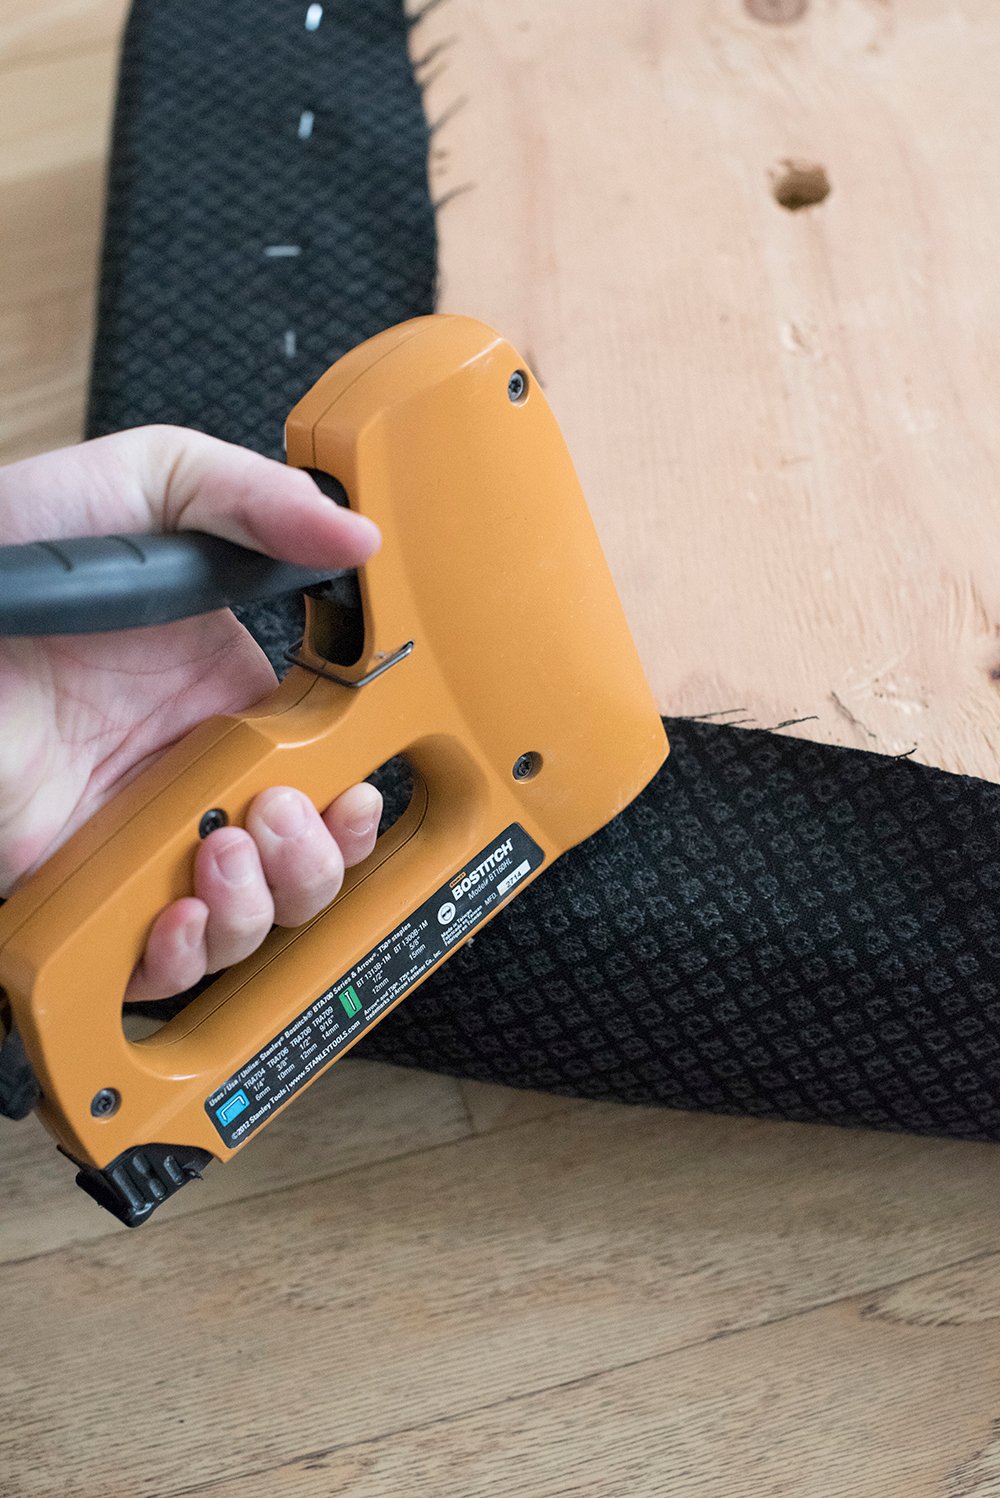
 Step 5 // Start stapling. This might be the most daunting part, but don’t panic! Fabric stapled to a chair seat is NOT permanent. Remember how easy it was to remove the staples from the old fabric? If you mess up, you can always undo it. Pull the fabric tight and staple around the perimeter of the seat cushion. When you get to a corner, think of wrapping a gift. I like to create 90 degree corners that look neat and tailored. I’ll share a story on Instagram if you’re interested in watching!
 Step 6 // Apply the dust cover fabric. I kept the “dust cover” from the existing upholstery, but if you have a new piece, cut it to size and staple it down to hide the exposed wood and haphazard staples.
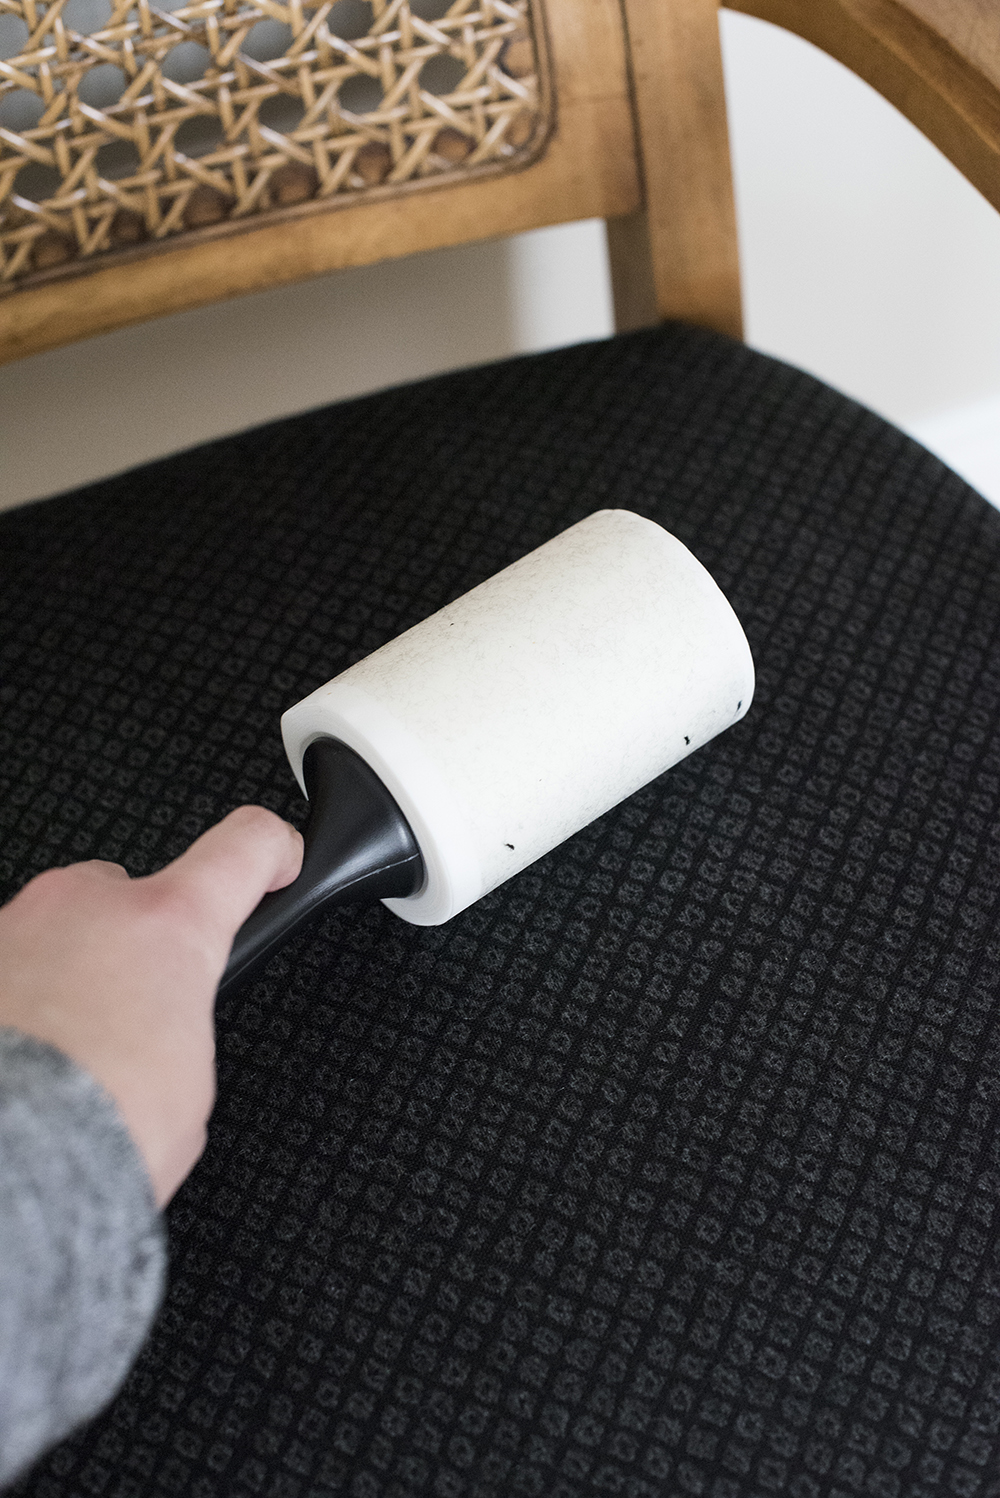
 Step 7 // Dust it off. I like to finish an upholstery project with a thorough cleaning. I added some oil to the wood and lint rolled the newly covered seat cushion.
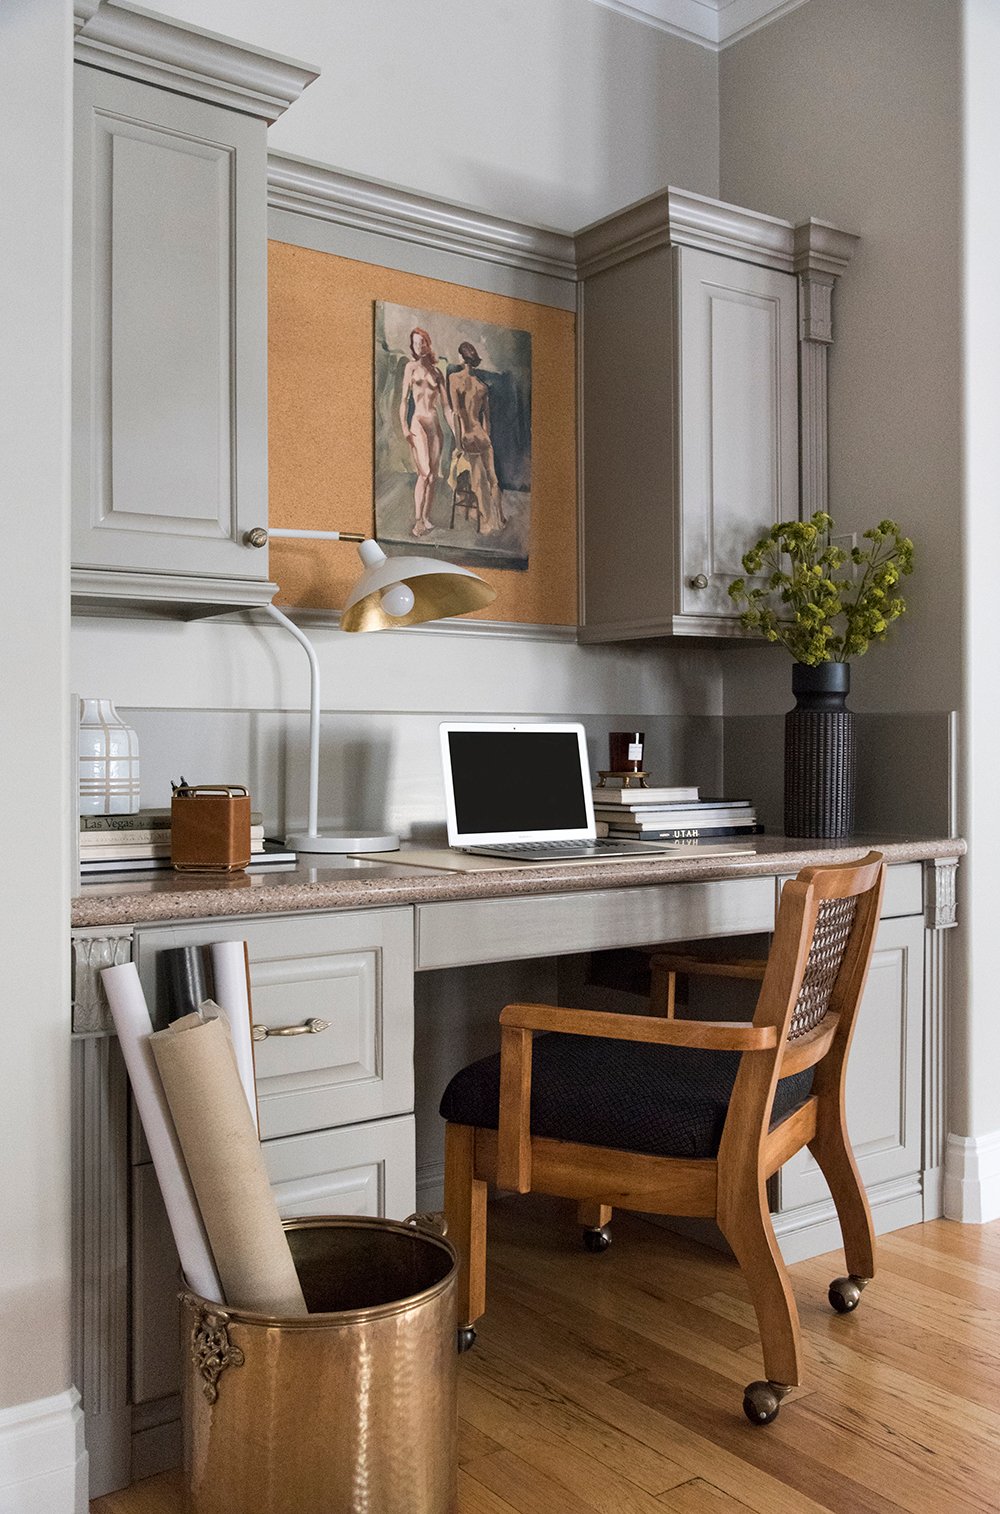
 That’s all there is to it! It’s not difficult at all. Would you have guessed this chair cost me $20?
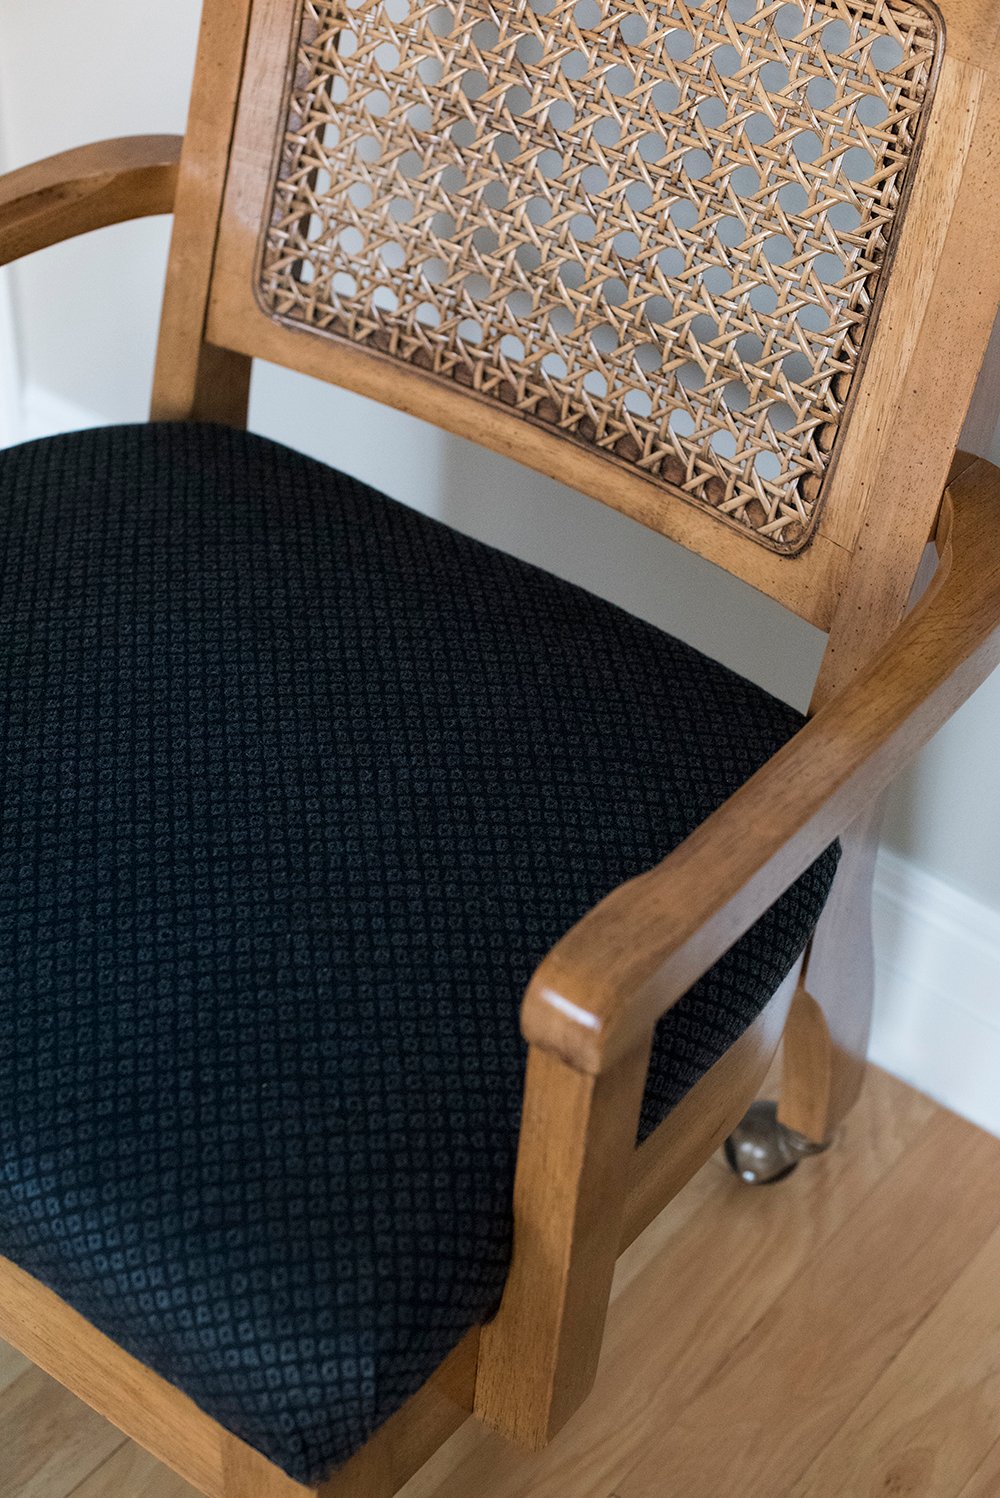
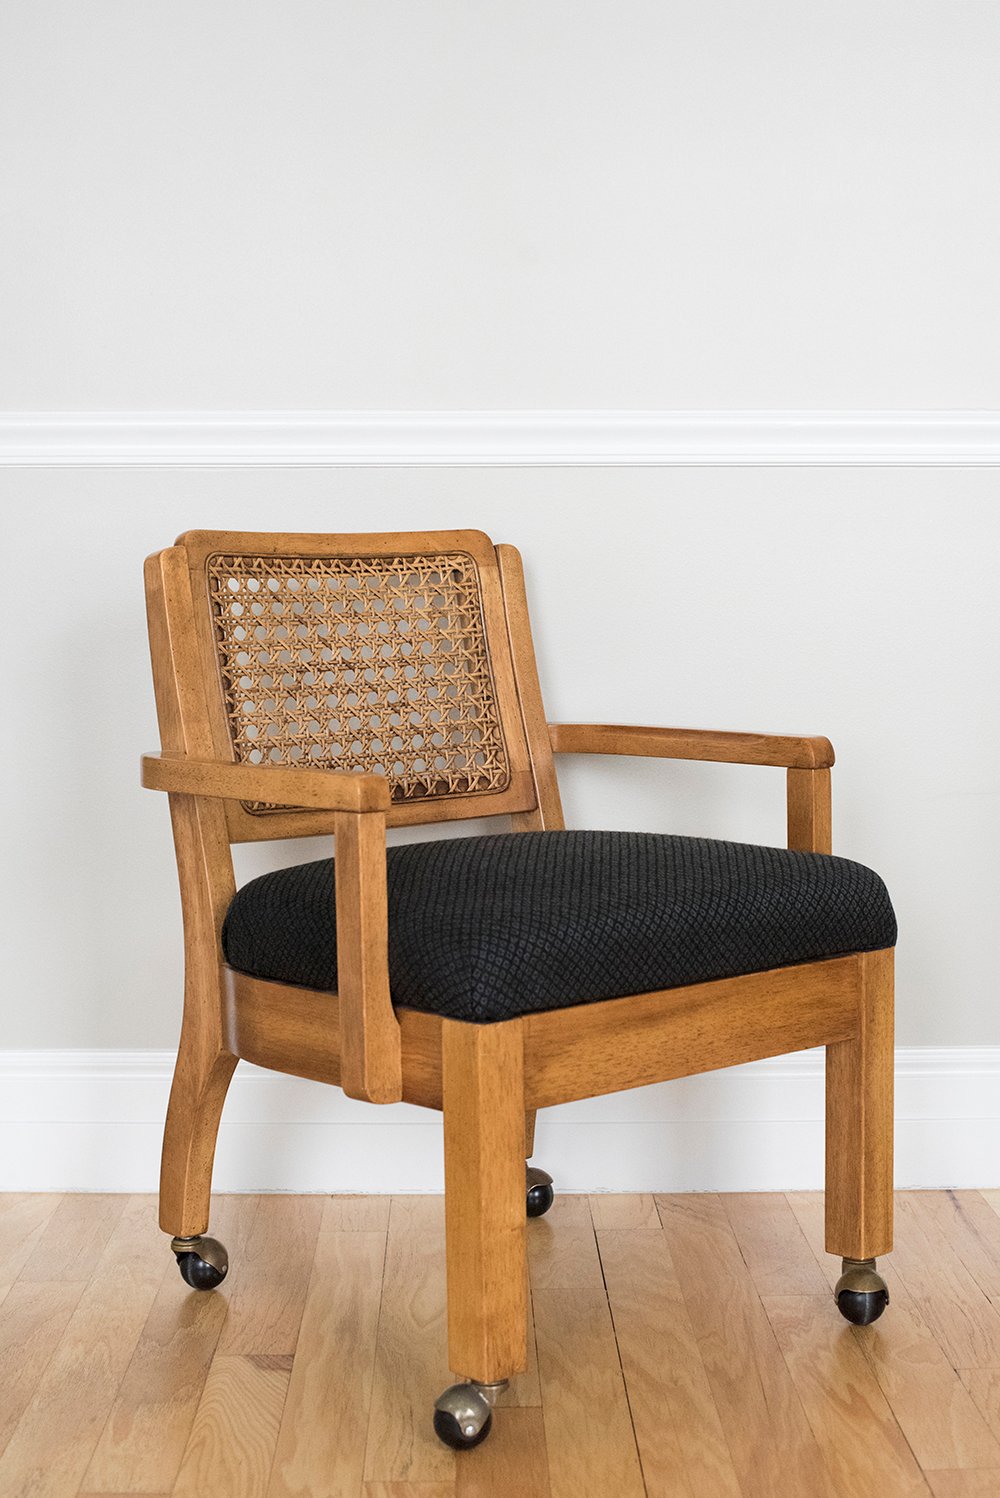 You know I love a woven cane back and the scale of this cane is just SO good. I also love the warm wood, subtle patterned fabric, and those brass casters. I’m really happy with the way it turned out.
 I think a lot of people are intimidated by upholstery, but it’s actually one of my favorite hobbies. I find it fun and relaxing. I promise it’s super easy! Hopefully this post helped to show that.
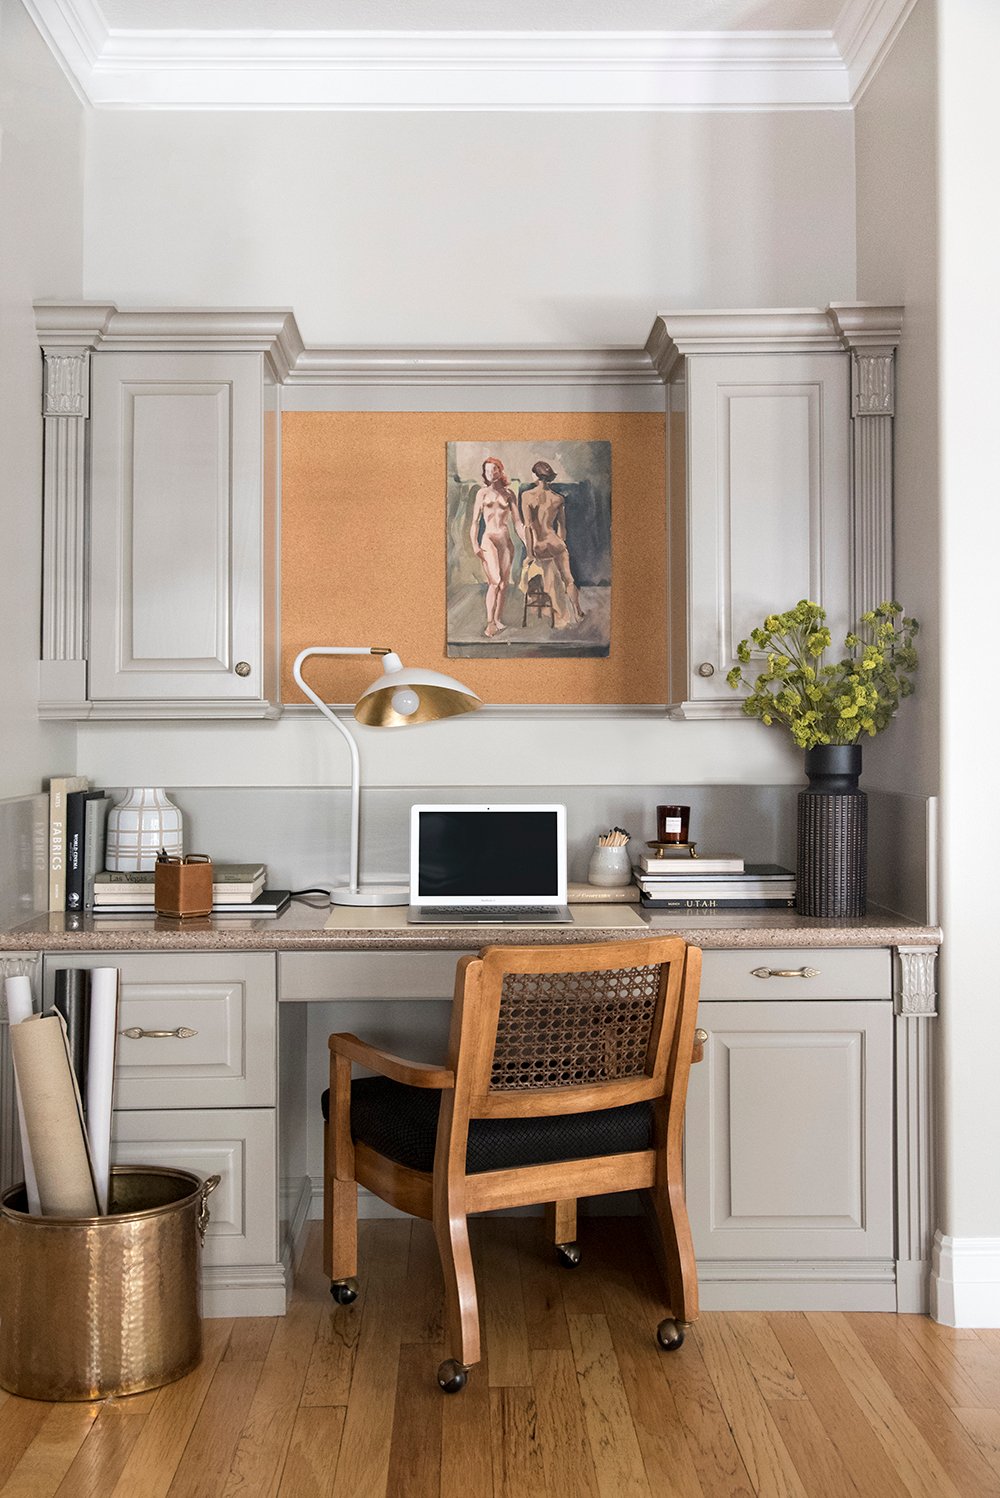
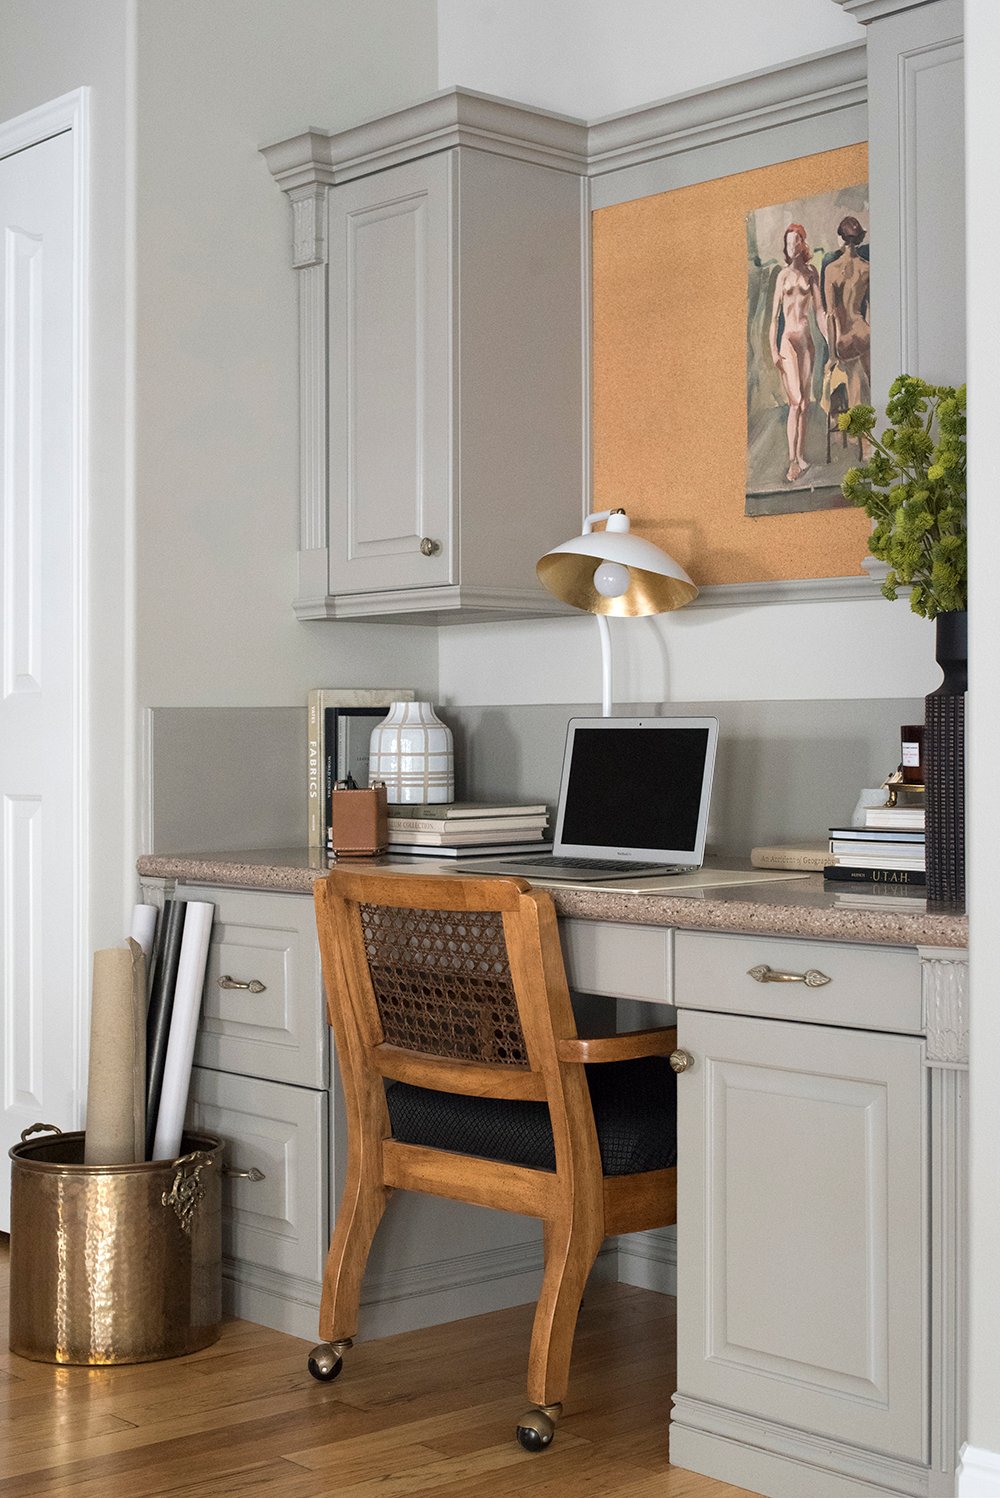 If you’re wondering about the intro image… that’s a rare view of a little built-in desk in our open concept kitchen / dining area. Emmett has claimed that desk as his workspace until it is time to demo it. We’re planning to open up the dining room when we remodel the kitchen someday, but for now- we’re both welcoming another small work area! I really don’t mind it.
 It was actually Emmett’s idea to put the chair here and I’m glad he suggested it because it fits perfectly! I had planned to put in my office, but I think this is a better place for the time being. In case you missed the “before” tour of our new house, check that out here.
 Have you ever reupholstered anything? My friend Ashley also just posted a chair makeover featuring how to fix old dining chairs, if you’re looking for a slightly style. If you have questions, leave them for me in the comments below and be sure to pin this for when your reupholstery time comes! I’m always happy to help. What do you think of my new chair?
That chair was meant to be black! And that mini office situation looks like somebody decided to dip into her prop closet.😀 My biggest successful upholstery project is a tufted ottoman. In my youthful ignorance, I once decided to try a vintage chaise. I figured I’d just strip it and then follow the steps in reverse to recover it. Guffaw. Removing staples from 50 year old wood is no joke. So many staples. Let’s just say that in an old shed somewhere sits the naked frame of a vintage chaise waiting for a more intrepid upholsterer! Limits learned. Happy Monday, Sarah!
I think so too! I did dip into my prop closet :) Ha!! We’ll see how long it stays like that before I put it all away and get paranoid about renovating dirt & dust. lol! A vintage chaise?! That’s a tall order. I don’t even know if I have the confidence to do that. I think I’d probably hire it out. I think you should bring it back to life- I want to see what this thing looks like. Happy Monday Peggi! xo
I wish I had your staple gun! I upholstered a headboard with a cheapo one and my hands hurt for days. My fabric looks pretty similar to the original fabric of your chairs, ha! I love it black, too, though! Looks great and love a quick project! That built-in desk looks so your style, I really thought it was photoshopped at first (your styling helped a lot!). I can’t wait to see how you upgrade it in the future.
It’s not an expensive one- I think it was around $20 or less, but I like it! I honestly liked the original fabric, but it wasn’t in great shape… it was kind of stinky and crusty (not a good combo, ha). We’re actually going to remove the built-in desk eventually… it’s in the kitchen / dining area right now and I want to make the kitchen slightly larger, which will make the dining room a little bigger and the desk will have to go, but for now- it’s fun! Without the styling, it’s not quite as cute. lol! Definitely not photoshopped though :) xox
I absolutely love your chair, as I’m also mildly obsessed with caning. The black looks great, and chair actually looks really pretty against the paint color of the built-ins, even though you’re not planning to keep them. :)
Thanks so much Julie! I really do like that little vignette now. With a little updating, it would be fun to keep it.
When we bought our house a little over a year ago, the window seat in the living room came with a cushion that just wasn’t our style. I reached out to a local upholsterer, and the quote was THREE HUNDRED DOLLARS to make me a new cushion cover, and that was with me supplying the fabric. I’m handy with a sewing machine, and so I just did it myself! I even made my own matching bias tape around piping to put the piping detail on the edges, and now we have a cushion that reflects our style, not the style of the previous owners.
That’s amazing! I absolutely love hearing that. Kudos on the piping detail too- those little touches make all the difference. Great job, Deborah! xo
This looks amazing and your clear step-by-step instructions + visuals really take the intimidation factor out! I have a set of six dining chairs that desperately need an upholstery update and this post will help me tackle the project! Quick question: how much fabric did your one seat cushion require?
Thank you for the always inspiring content :)
Thank you Danielle! I hope it’s helpful- it’s really an easy DIY to tackle. I had wayyy too much fabric because I bought it on a whim and didn’t have a project in mind for it- but the chair only needed half a yard. Thanks for following along, reading, and taking the time to comment :) So appreciate it! xox
Hello Sarah. Beautiful job on the lovely chair. Do you mind sharing the paint color for your cabinets? This is the exact color I would like to paint my kitchen cabinets.
Thanks Cat! I actually don’t know the paint color… I’m sorry. It was like this when we moved in. I wish I could be more helpful! xo