How to Install Hardwood Flooring in a Basement
When we began renovating the basement bar and basement media room, the one major thing that had to go was the existing wall-to-wall carpet. Flooring in a basement can be tricky… we considered tile, but ultimately landed on a basement-approved hardwood veneer from Stuga. I promised to share our installation process… click through for a detailed flooring tutorial!
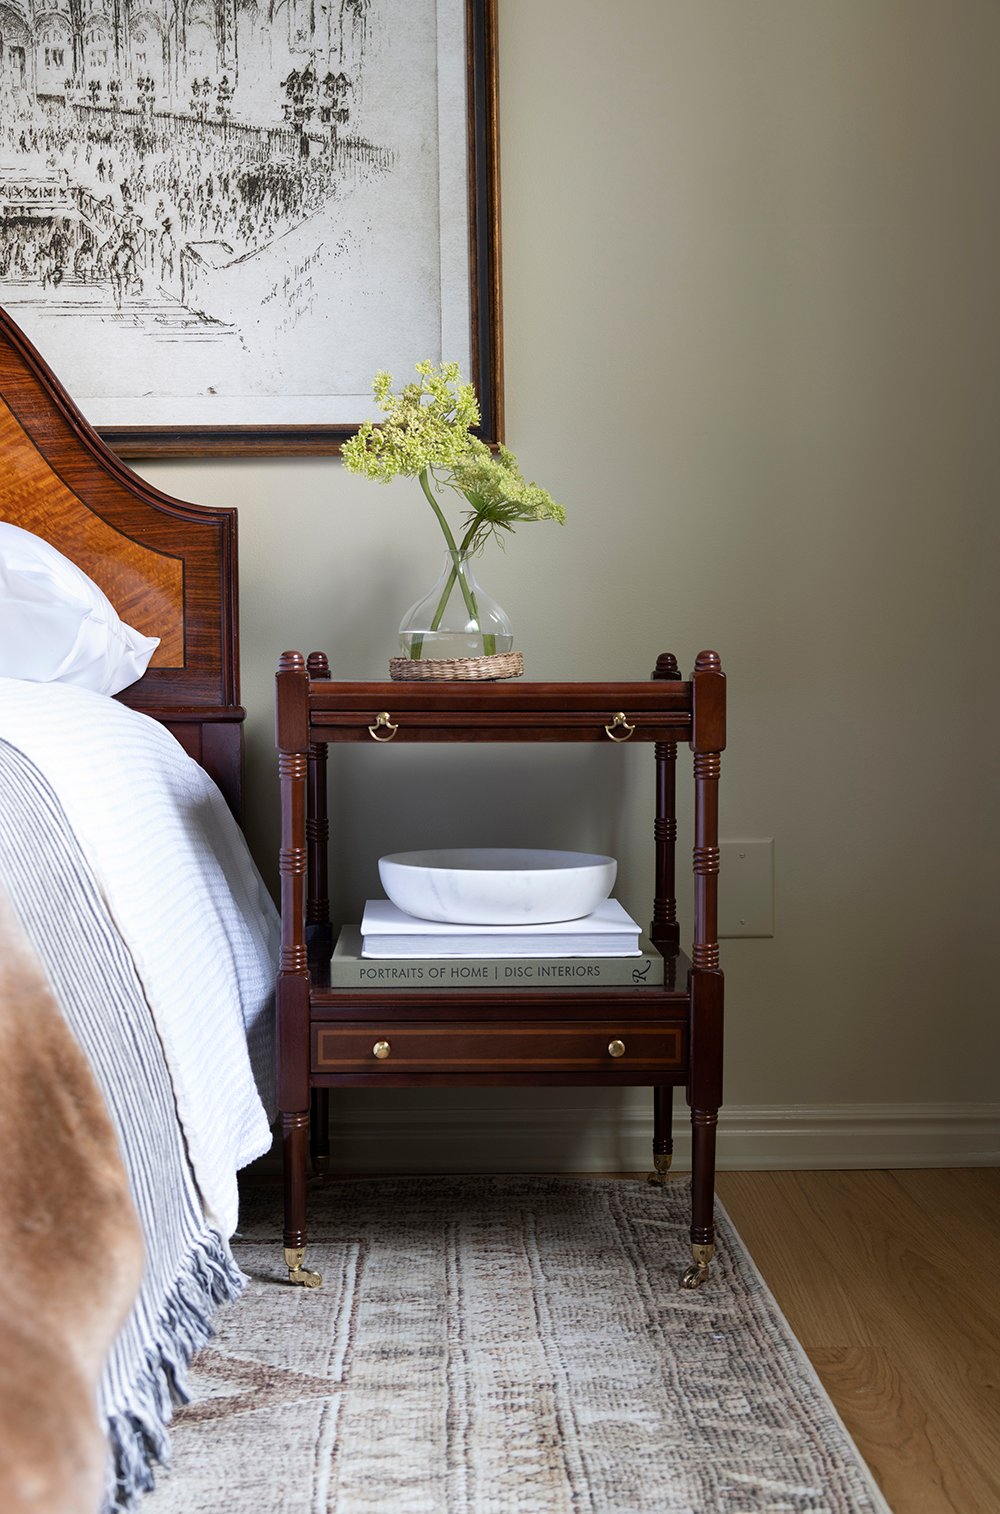
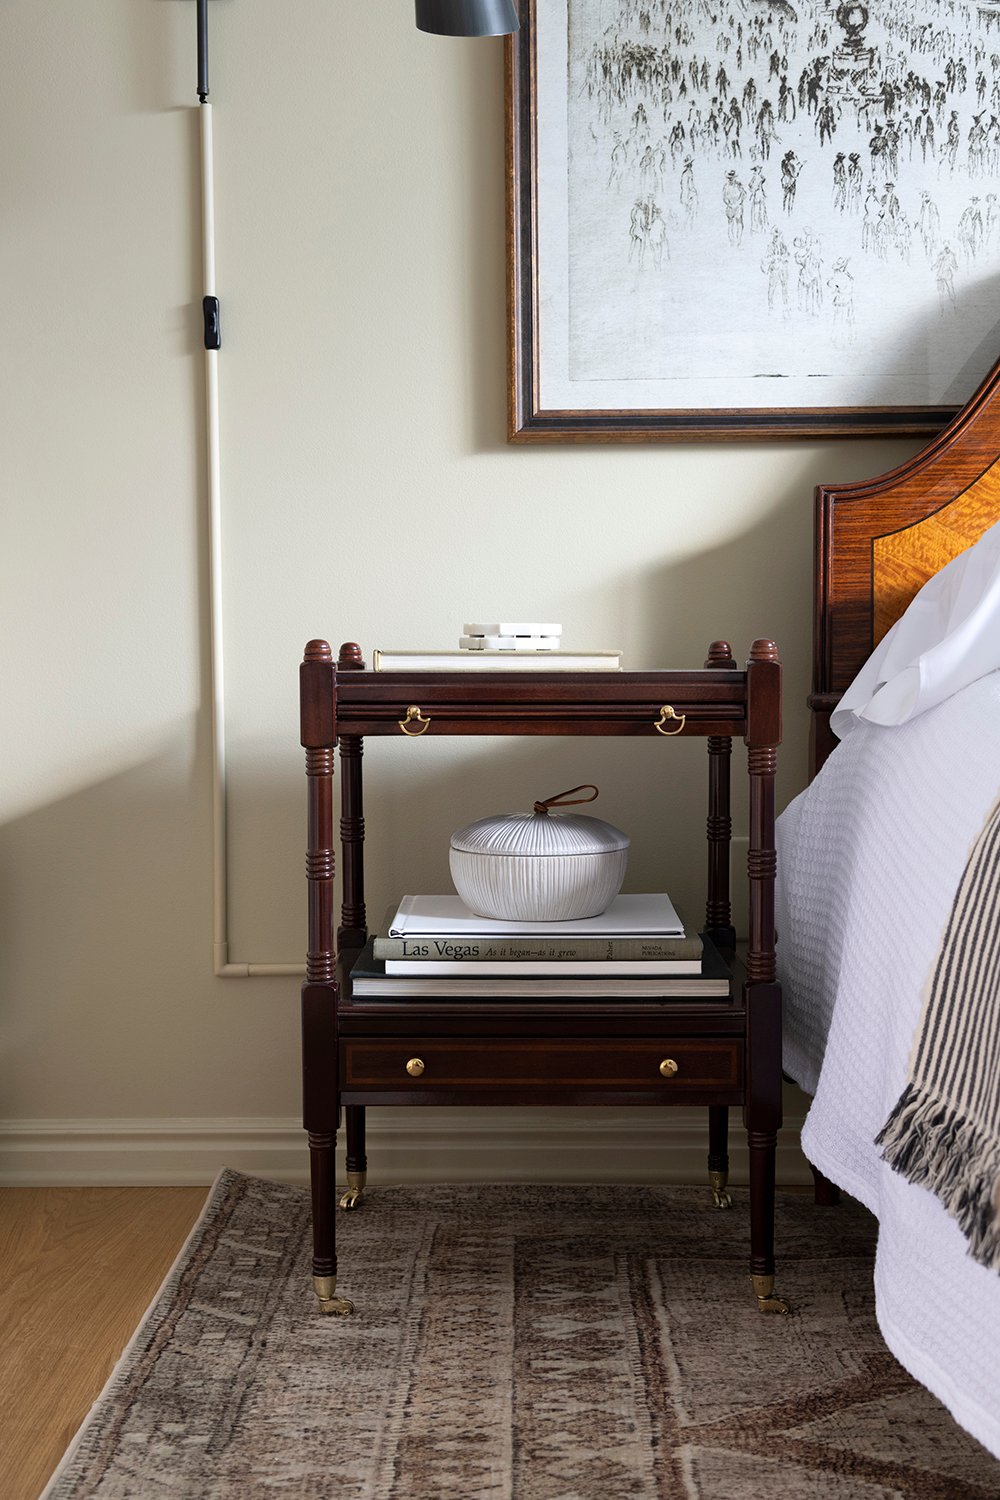
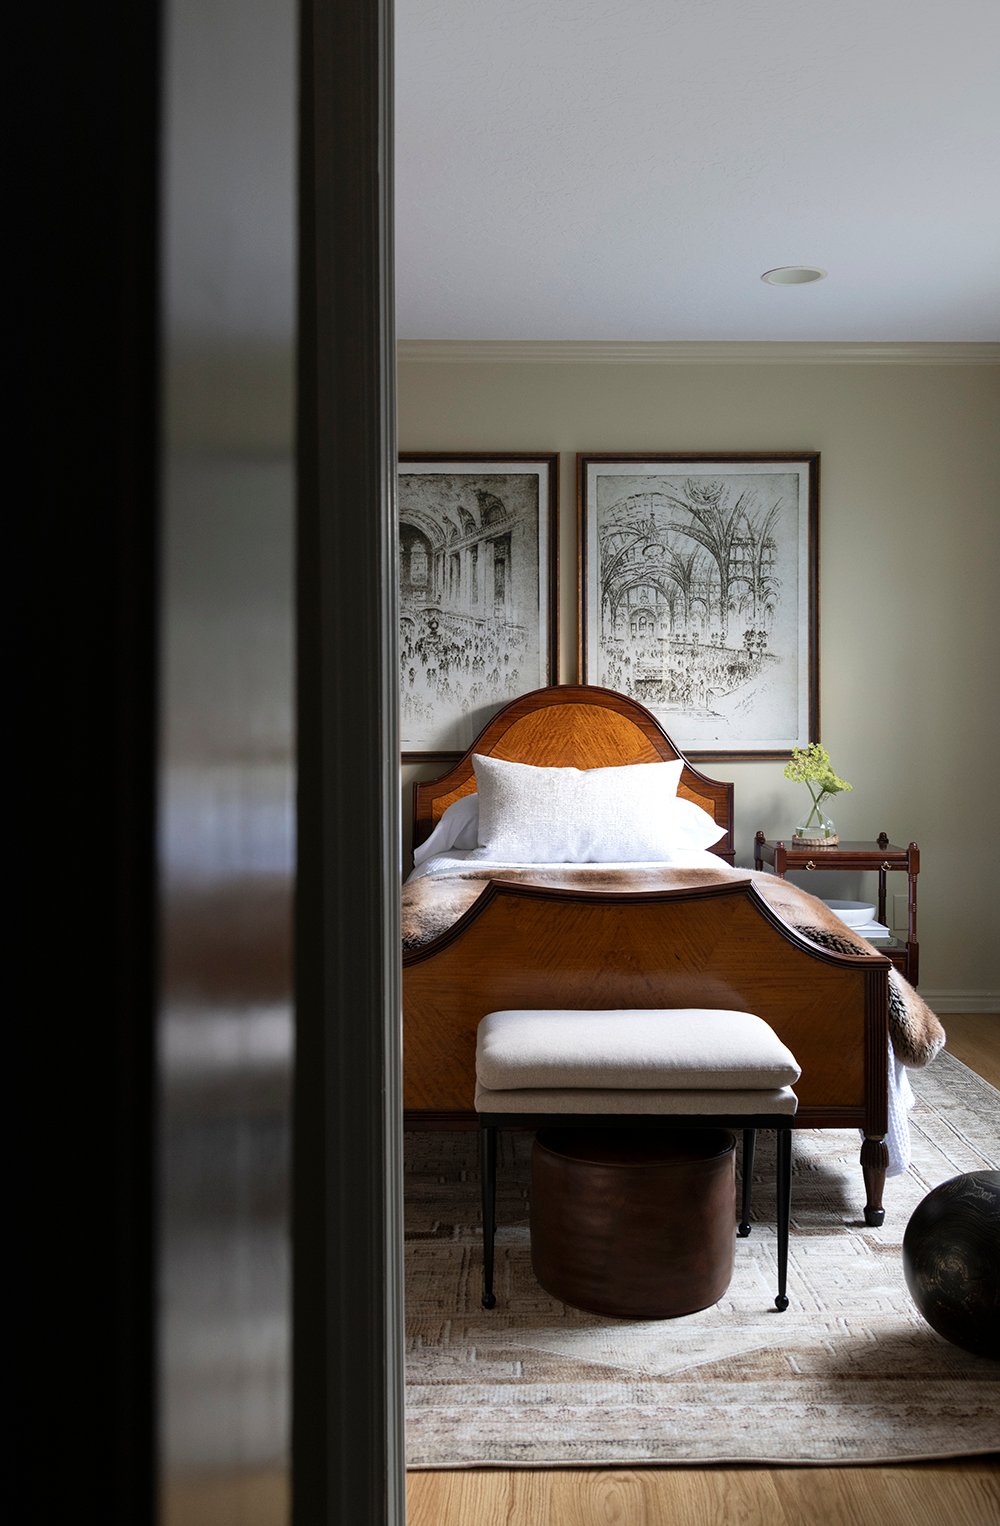
Having shared the basement bedroom reveal exactly one year ago, we’re finally finishing the space. The last two items on the punch list for this room is installing the flooring and replacing the interior door. Today, we completed the flooring- scroll on for the tutorial and before images.
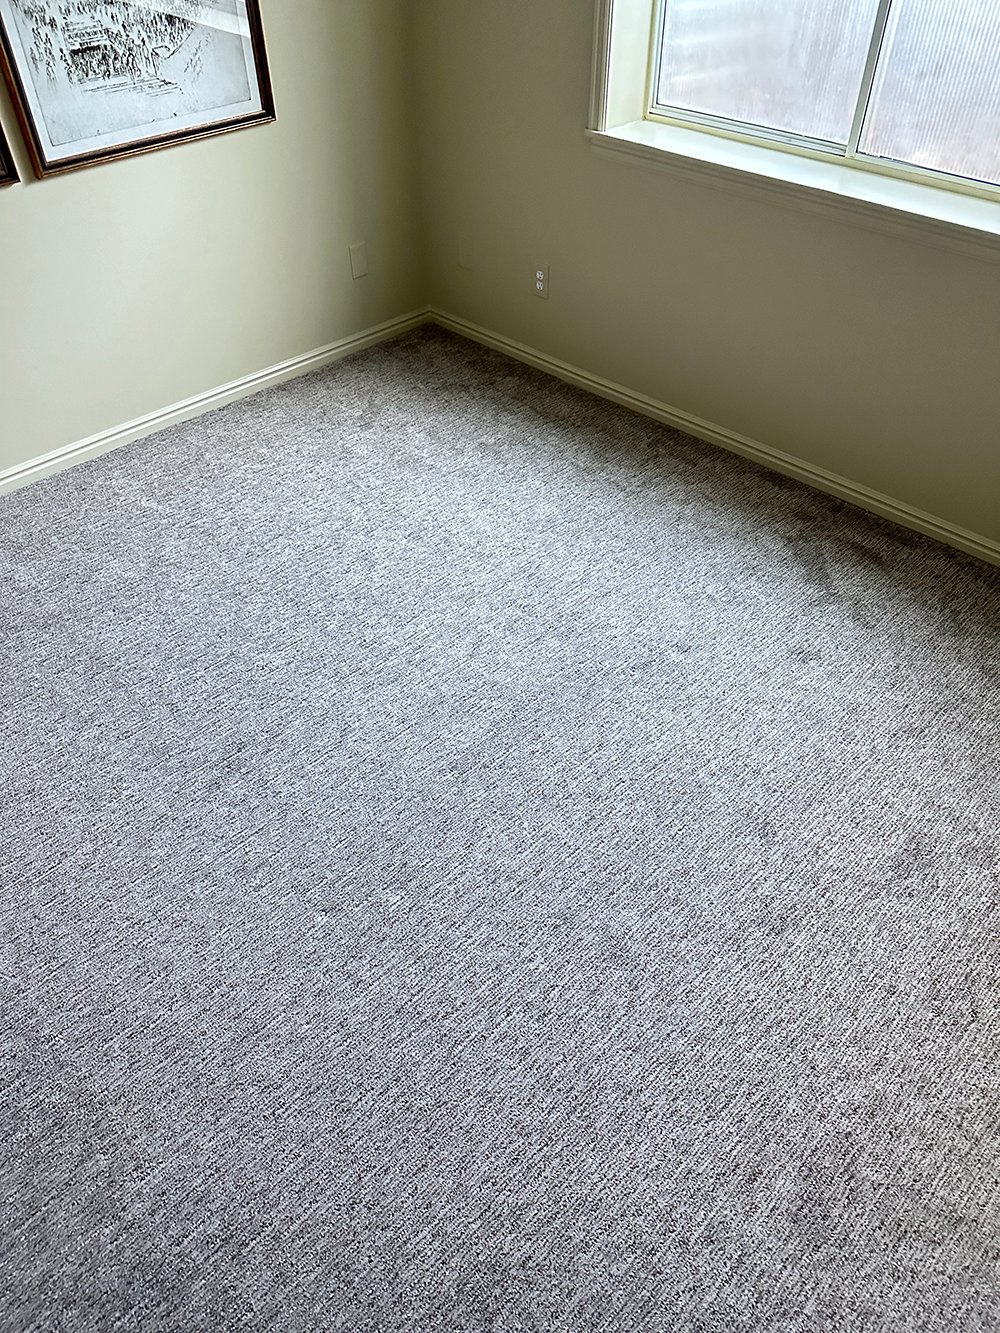
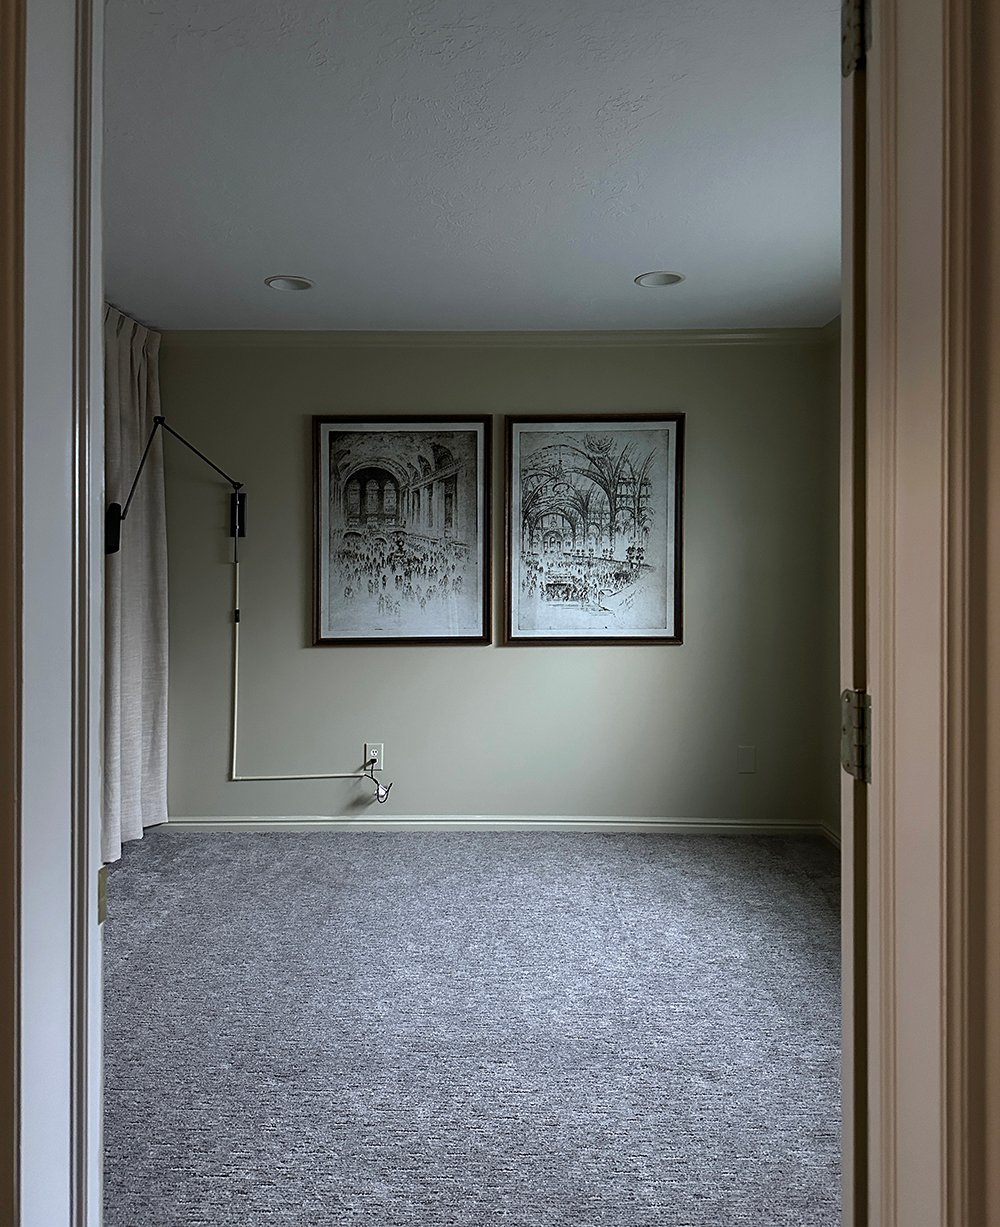
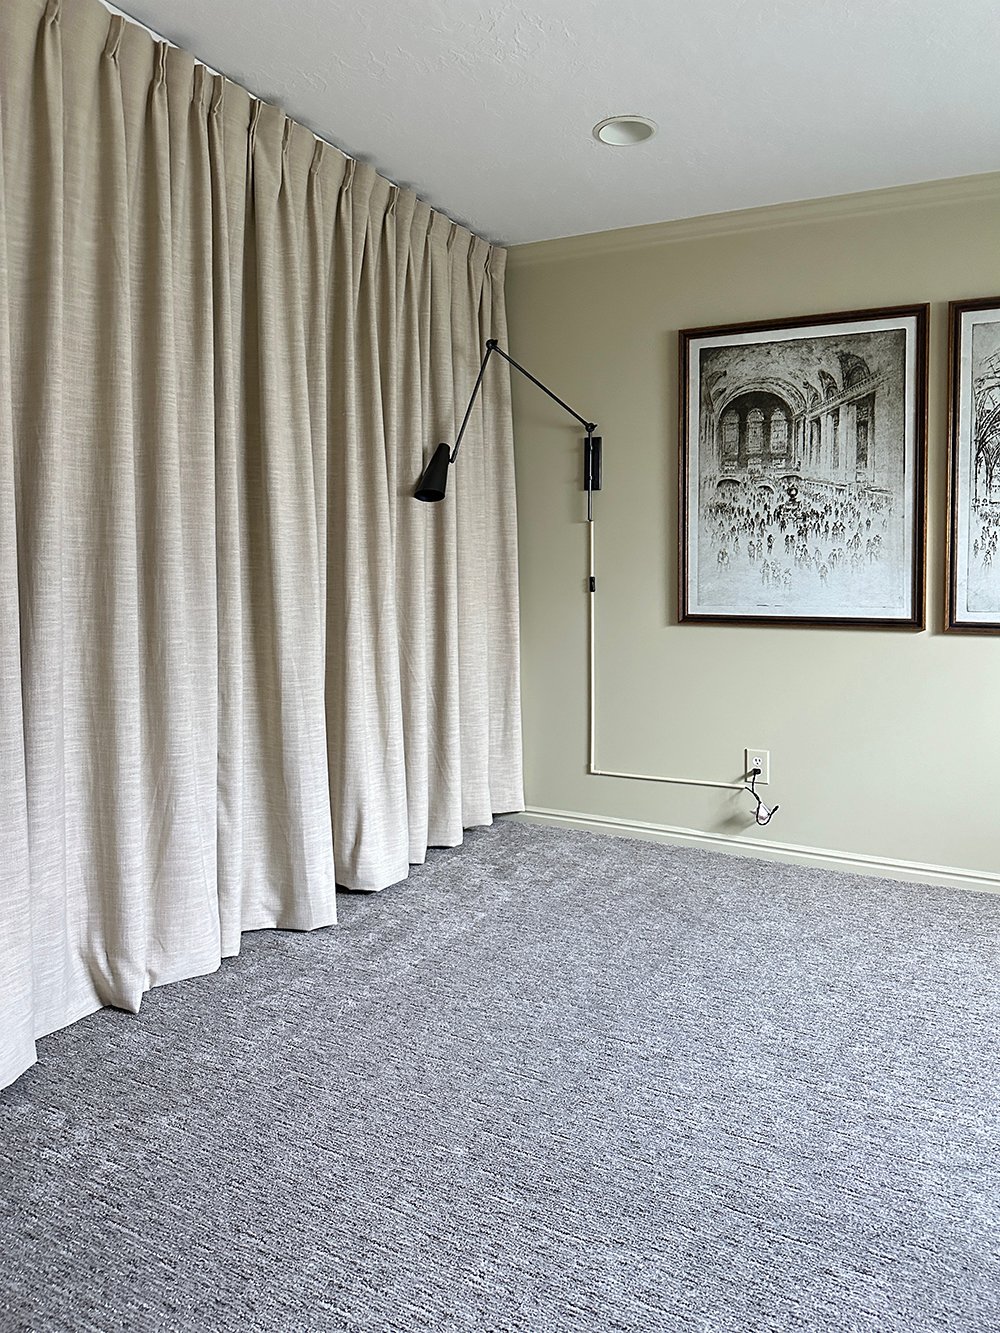
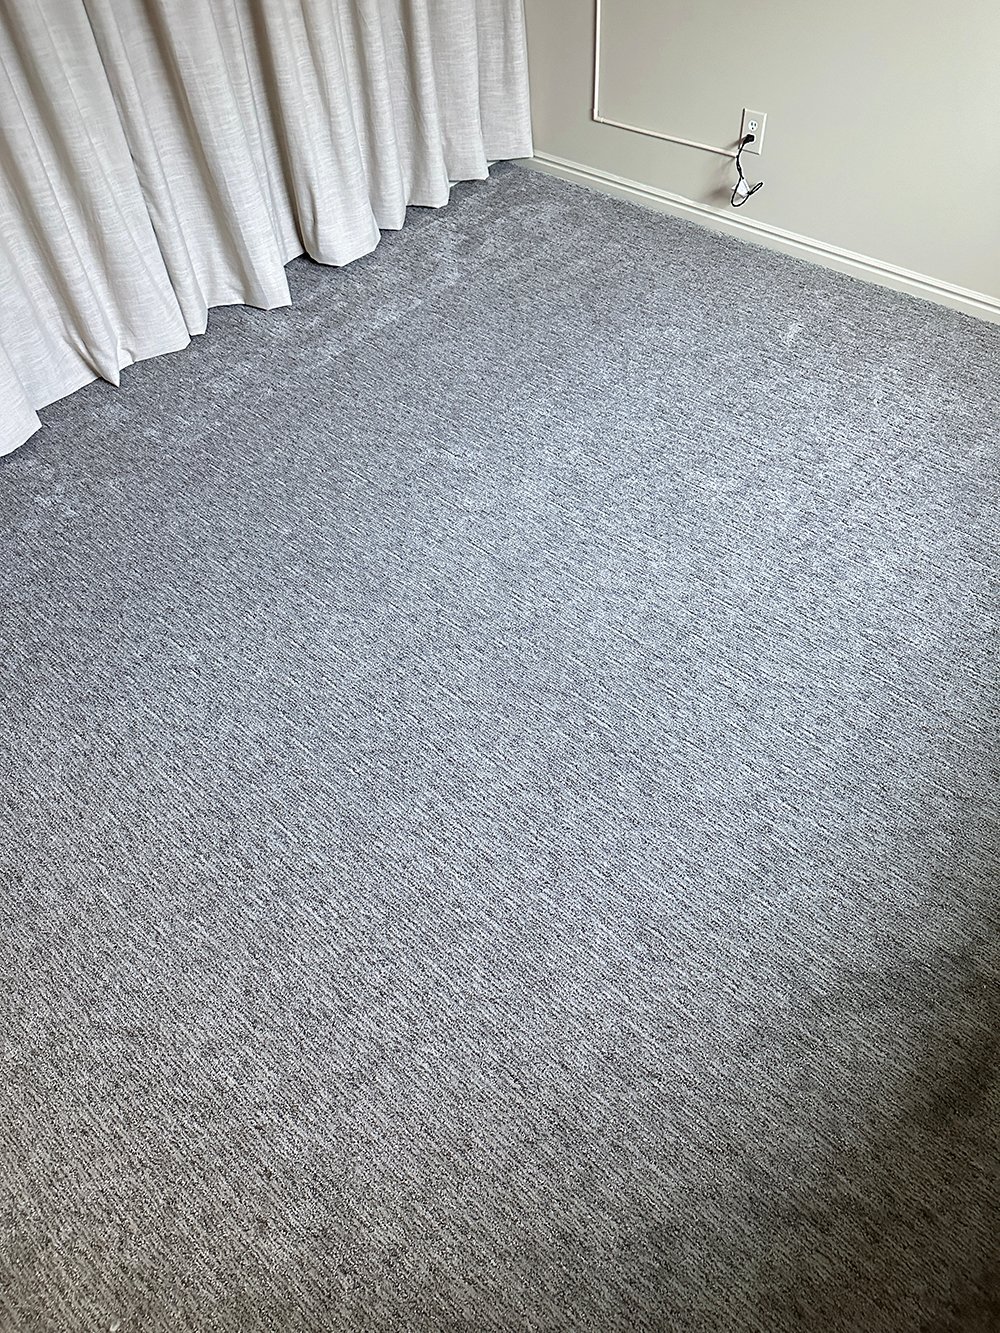
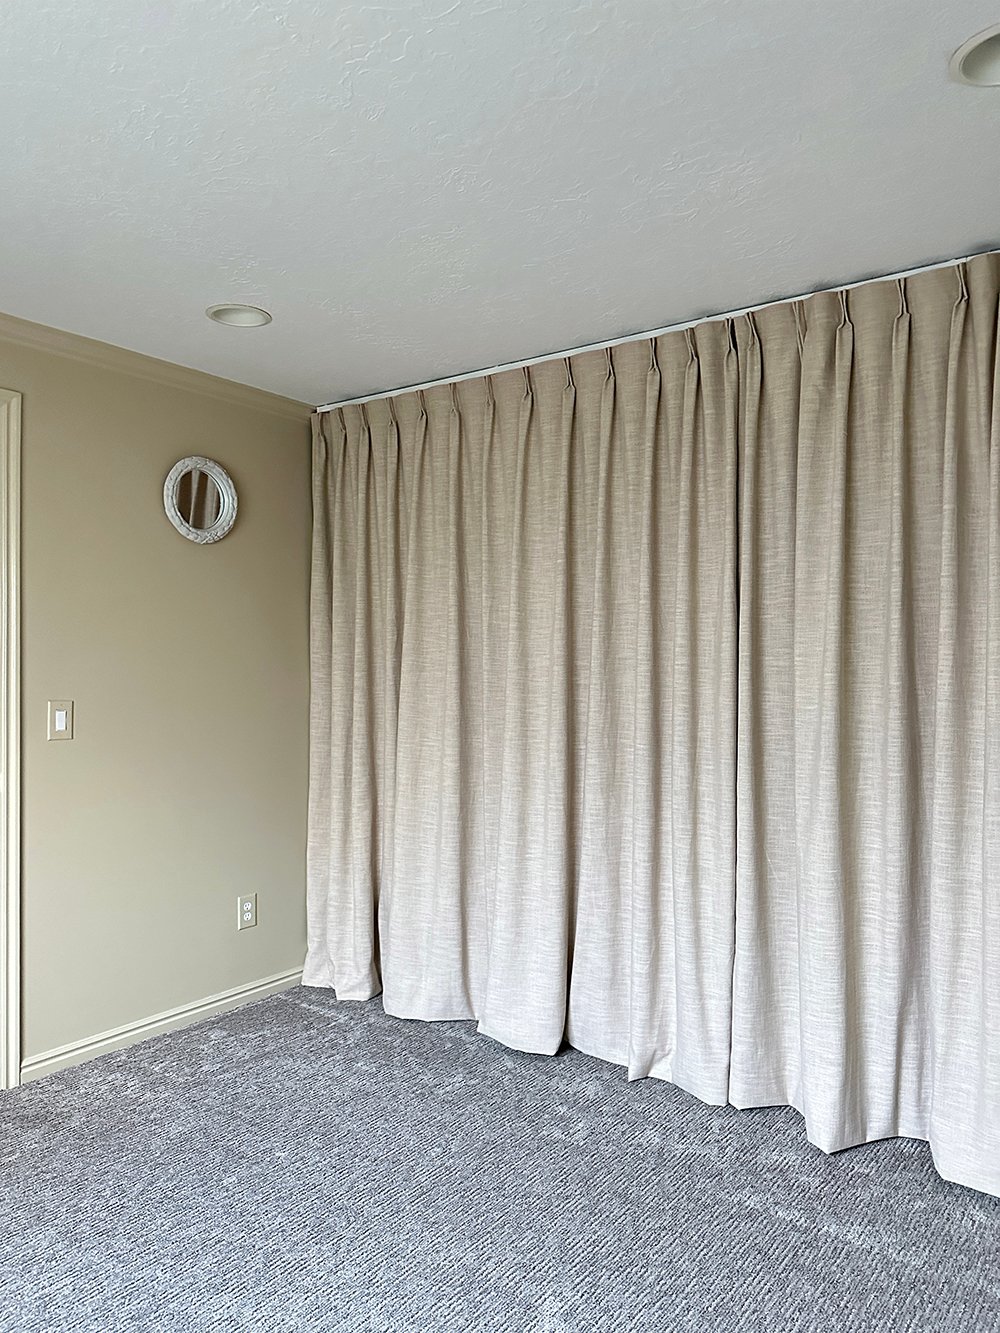
Before Images
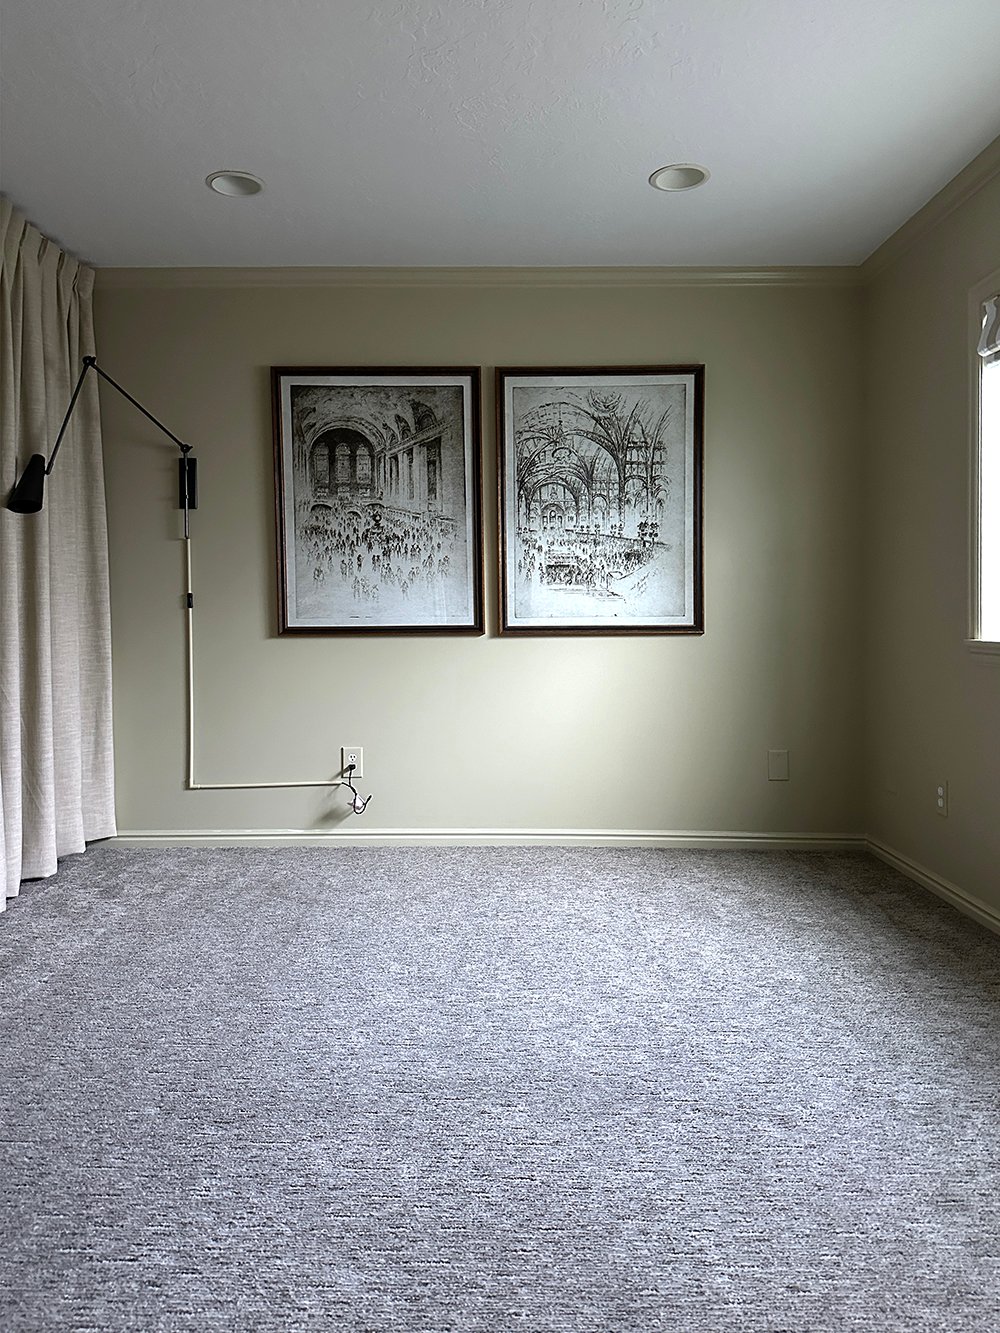
Here is a quick look at the carpet throughout the bedroom. I strategically covered it with an area rug for the room reveal and am excited to finally rip it out! The boring gray never matched our aesthetic and it wasn’t wearing well.
Flooring Selection
While we have real oak ¾” tongue and groove on our main and upper levels, we needed something moisture rated for the basement. If you missed our tutorial, check out how to install herringbone hardwood flooring… like we have upstairs! I’m still very happy with that flooring selection, it just wasn’t the best fit for our basement.
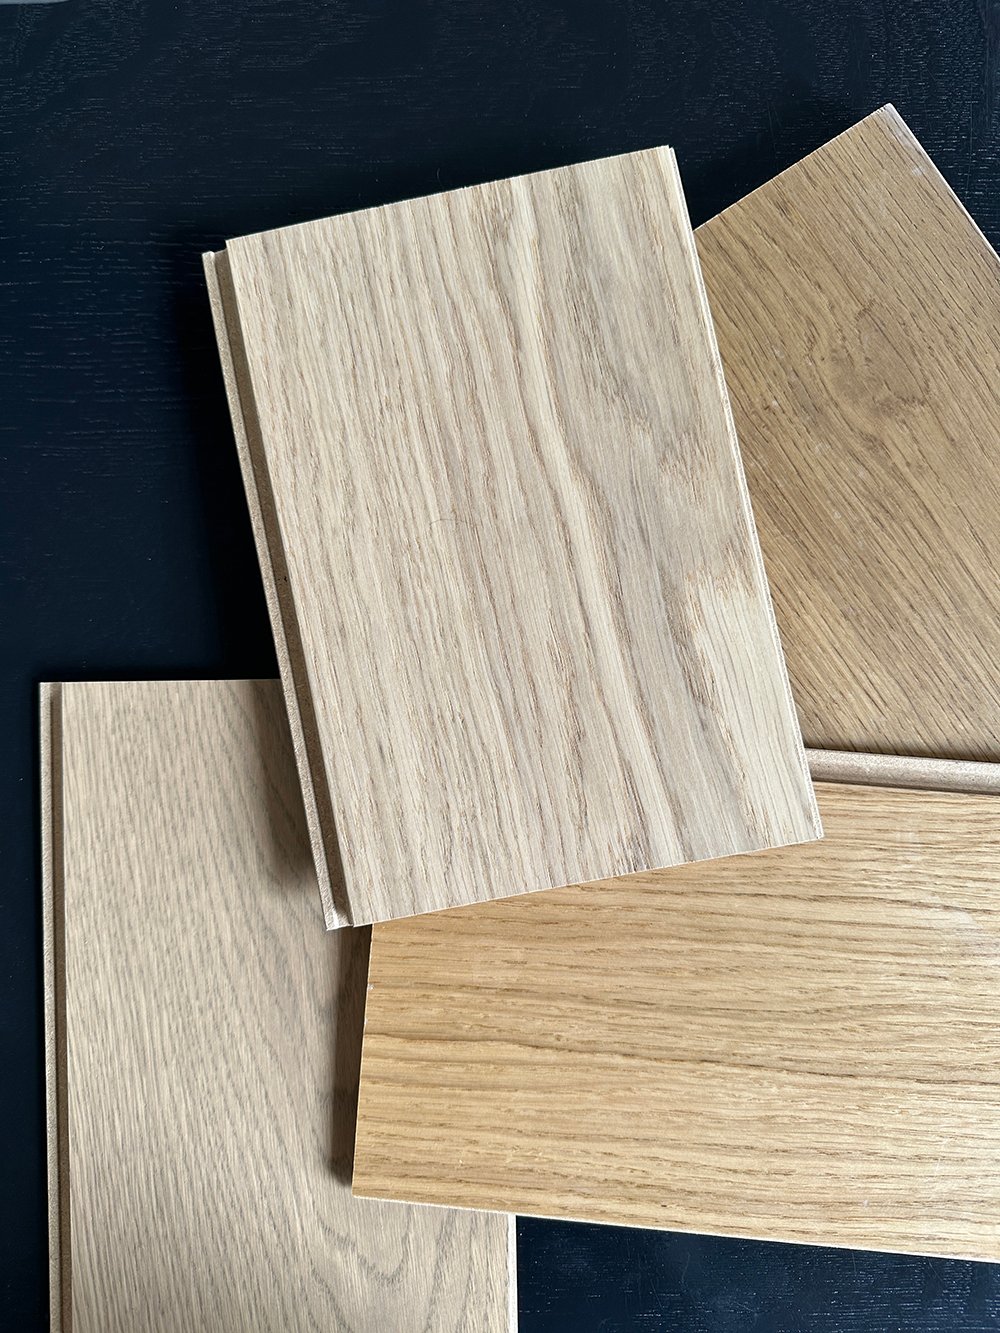
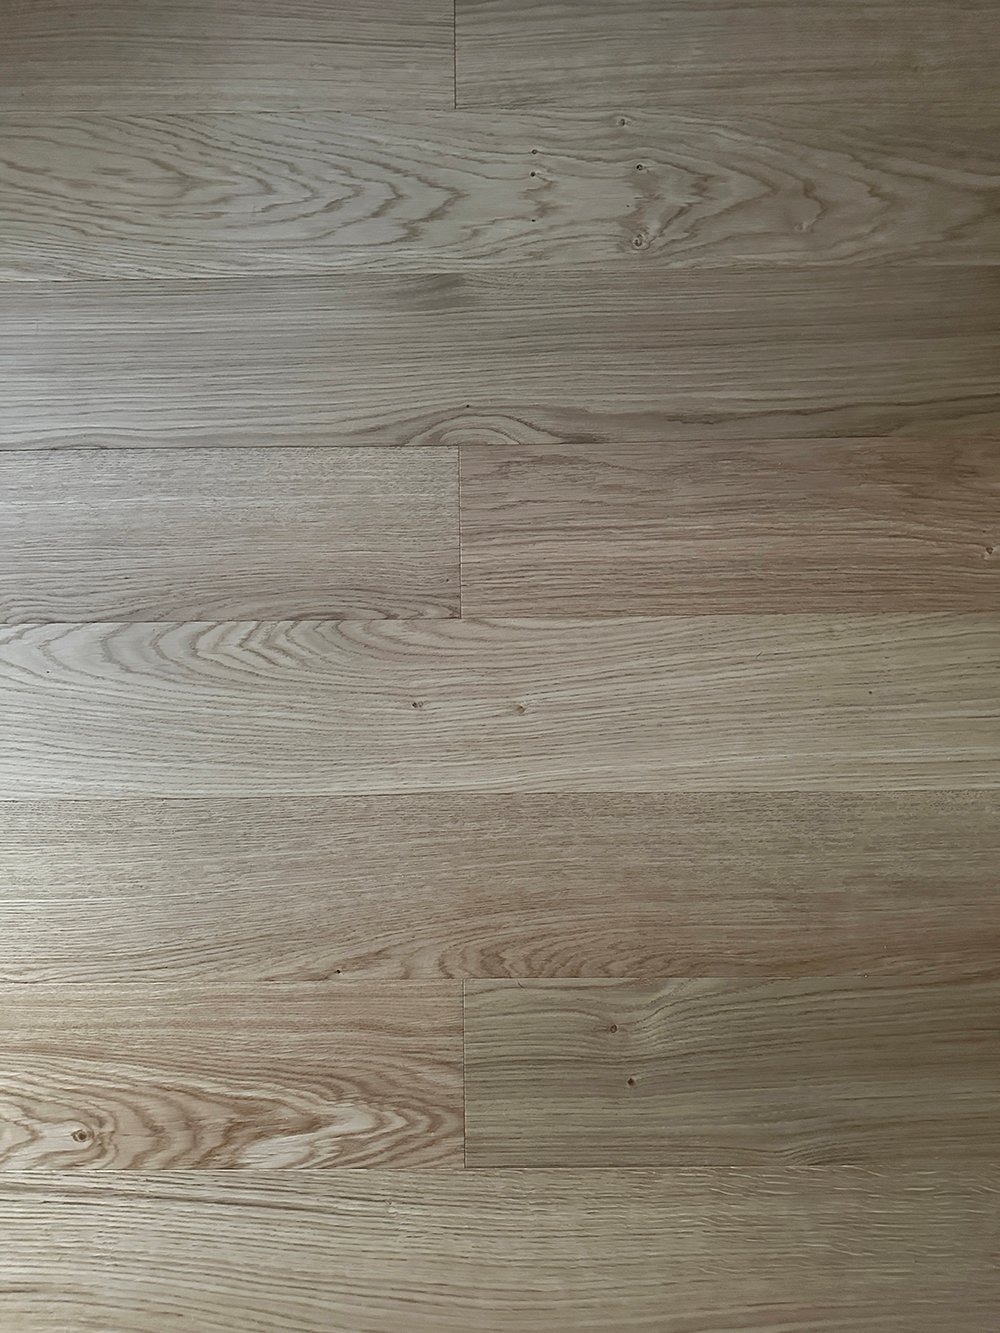
After ordering samples, I landed on Stuga’s All Aboard budget-friendly flooring. It’s a European white oak hardwood veneer… meaning it’s a real-wood alternative to vinyl or laminate, it’s durable, but it cannot be sanded or refinished (unlike our upstairs flooring). While this floor is basement installation approved, it must be floated or glued (not stapled or nailed- like other Stuga products).

Why this option? Aside from it being approved for basements, it has a tough acrylic finish and is very difficult to scratch. Each plank is 5 ⅞” wide and 71 ¼” long, giving it an updated look. Here’s what you need for installation…
Supplies & Tools
Click directly on each tool or supply below- everything is linked!

Part of the installation process that makes this flooring product suitable for a basement is the flooring adhesive I linked. It doubles as a moisture barrier, as you’ll see in the installation photos later on.
Remove Carpet
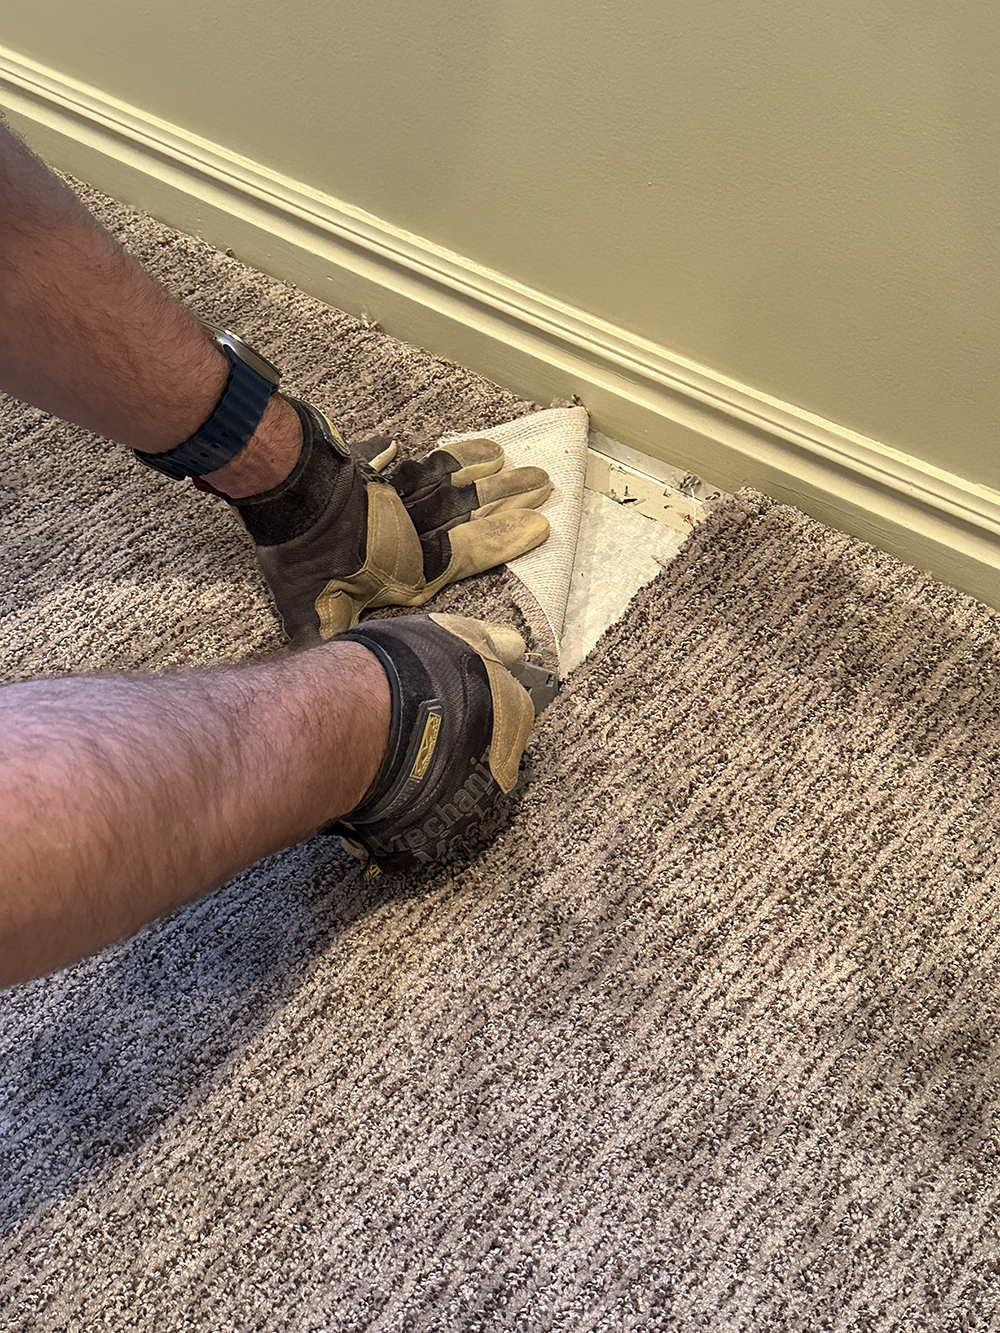
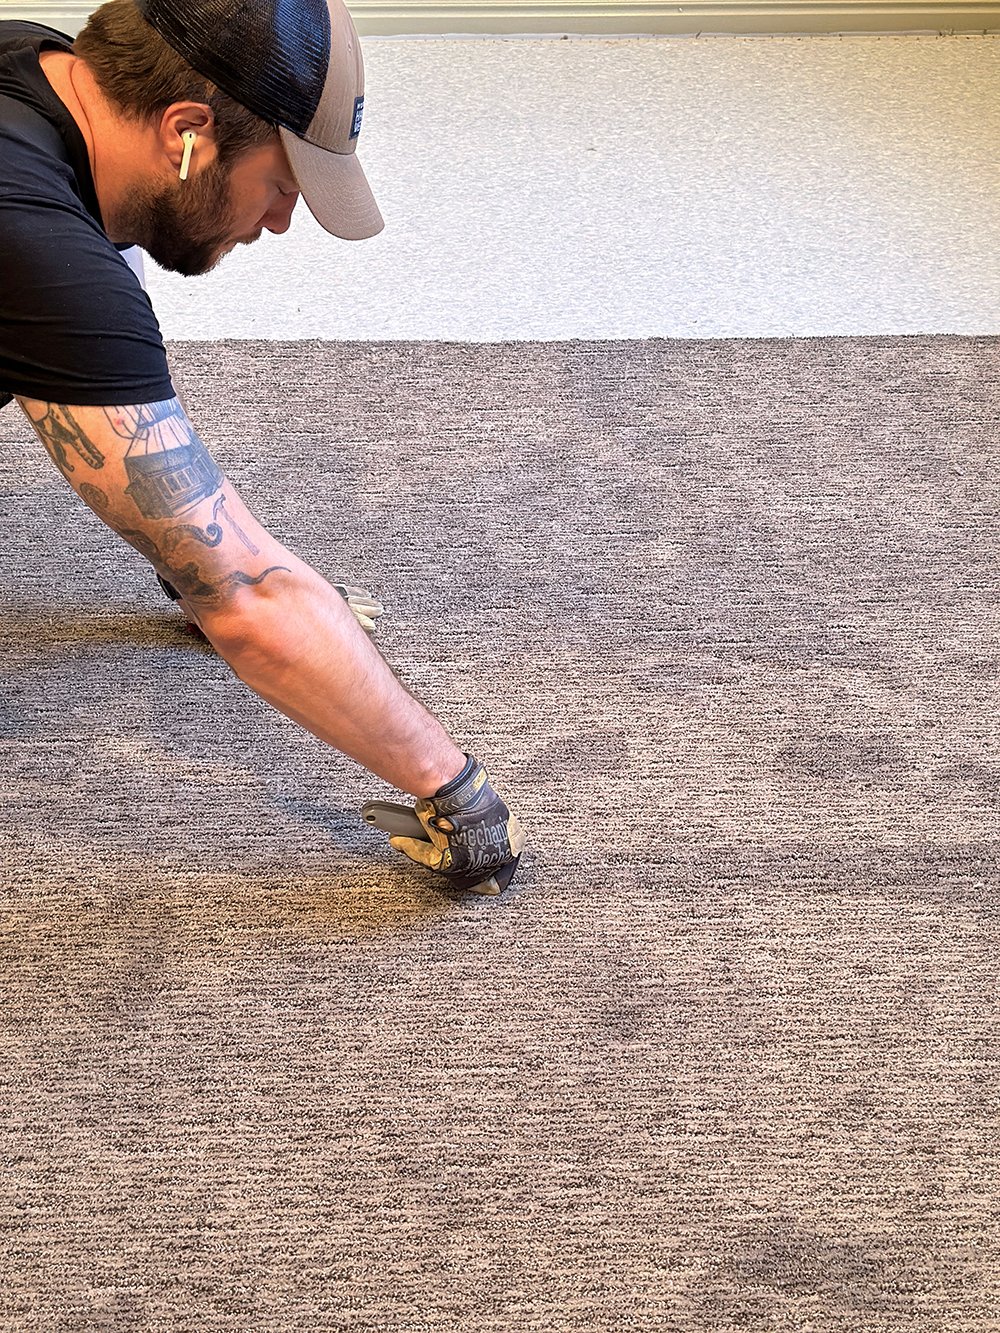
First, you’ll need to remove the carpet or existing flooring. Using a utility knife, cut the carpet into four foot sections, to make it more manageable to roll and remove.
Remove Carpet Pad
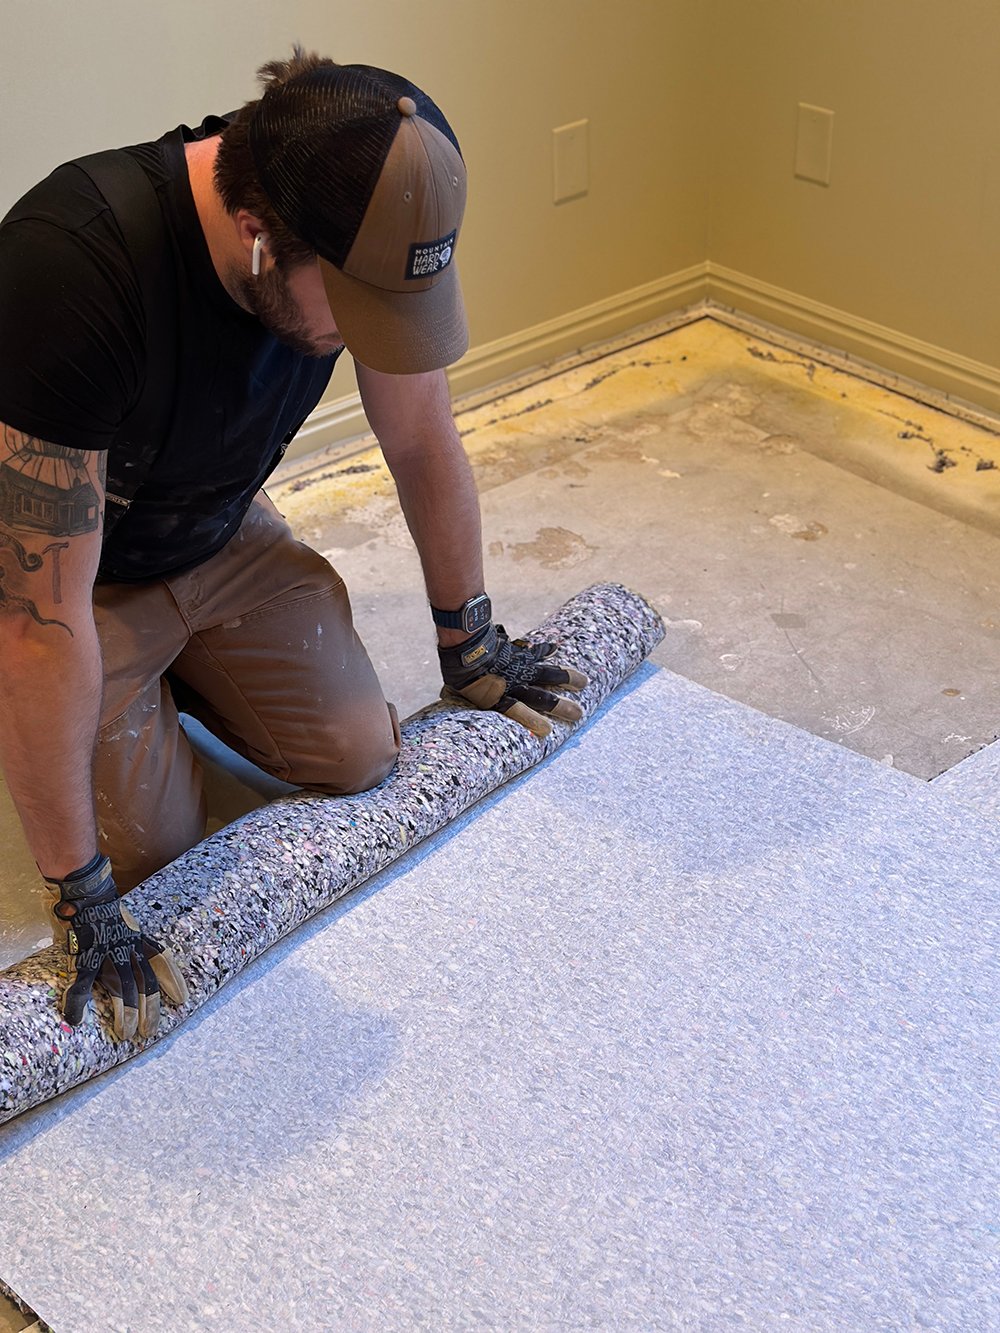
Next, you’ll repeat the removal process with the carpet pad beneath… cutting it into sections, then rolling, and removing.
Remove Tack Strips
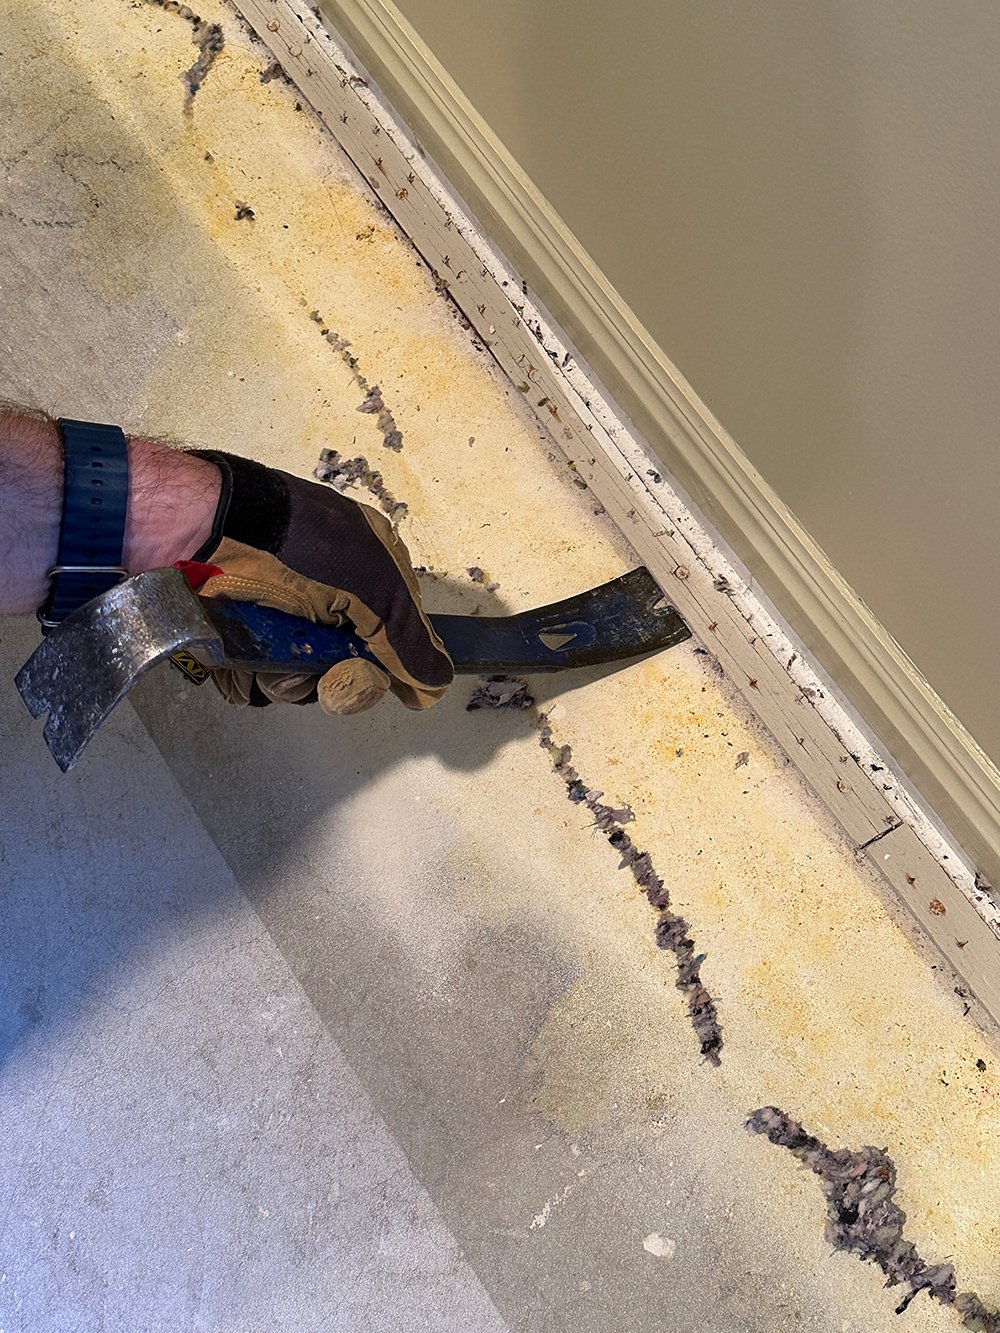
Grab your pry bar and begin removing the tack strips around the perimeter of the room. If you have a concrete slab in your basement- it can be difficult because they’re nailed directly into the concrete. This may require a hammer alongside your pry bar to work it loose.
Remove Adhesive & Clean
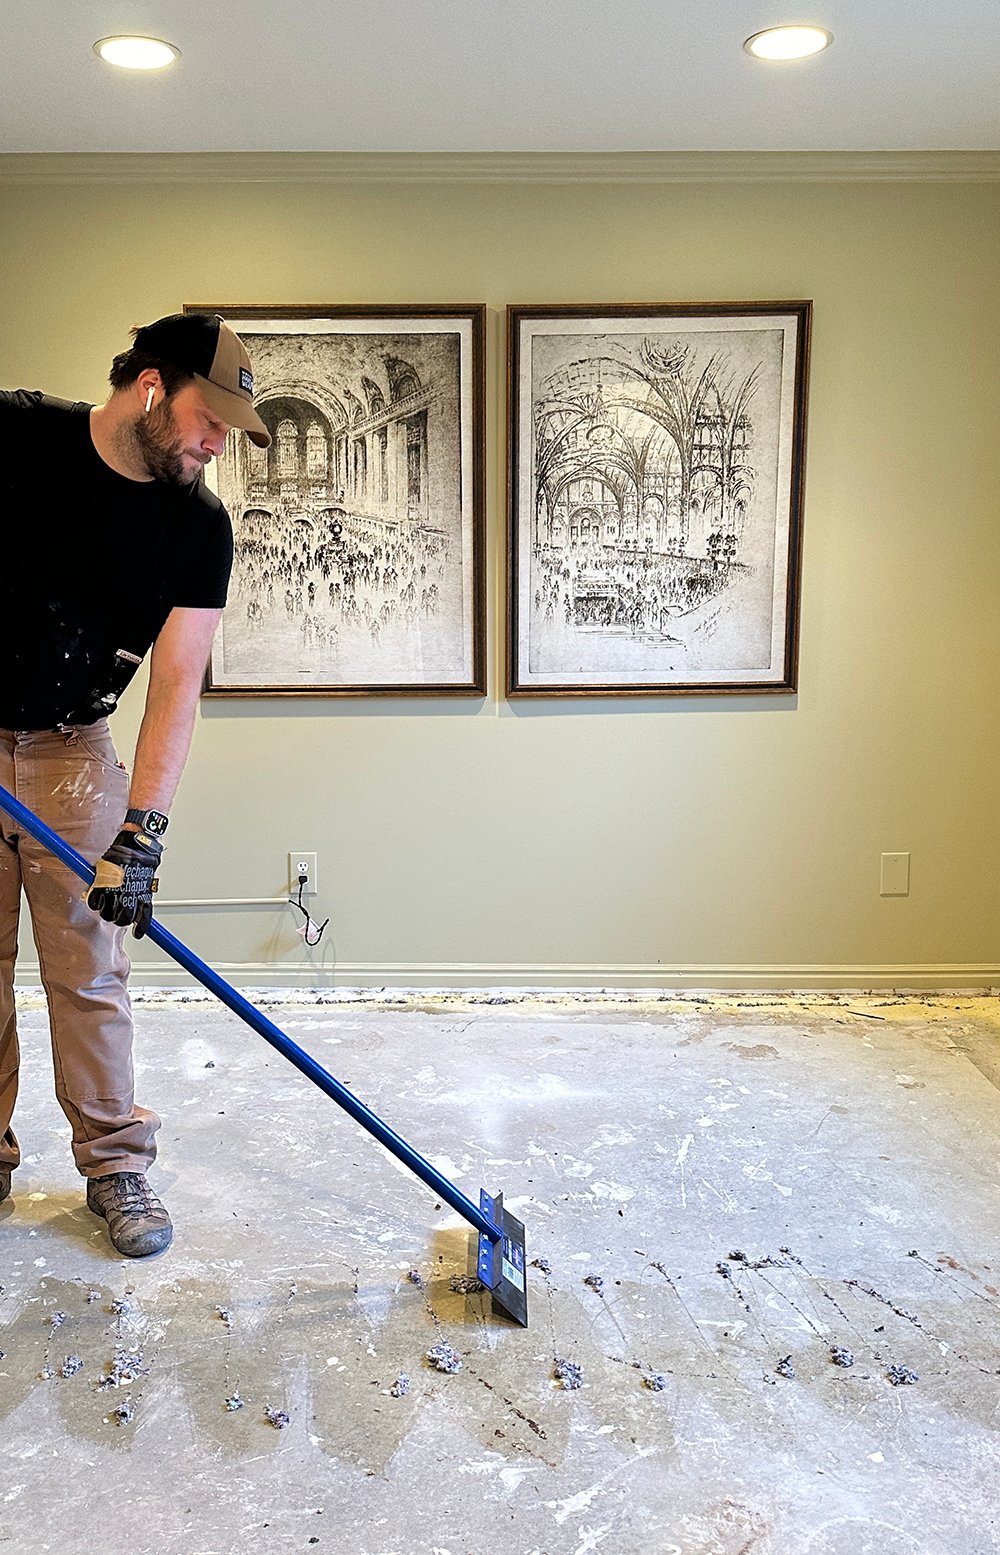
A blade scraper is the best way to remove any existing adhesive from the concrete, left behind from the carpet pad. Once we scraped the entire floor clean, we vacuumed thoroughly with the shop vac, cleaning up all debris. Once the floor is clean, you’re ready to get started!
Begin Flooring Installation
Determine Layout
You’ll want to determine the direction in which your flooring will run, measure for the layout, and take into consideration what pattern you’d like to use. We decided to install the flooring on thirds in a running bond pattern… unlike our intricate herringbone flooring upstairs. Using a straightforward pattern saves a lot of time and cutting.
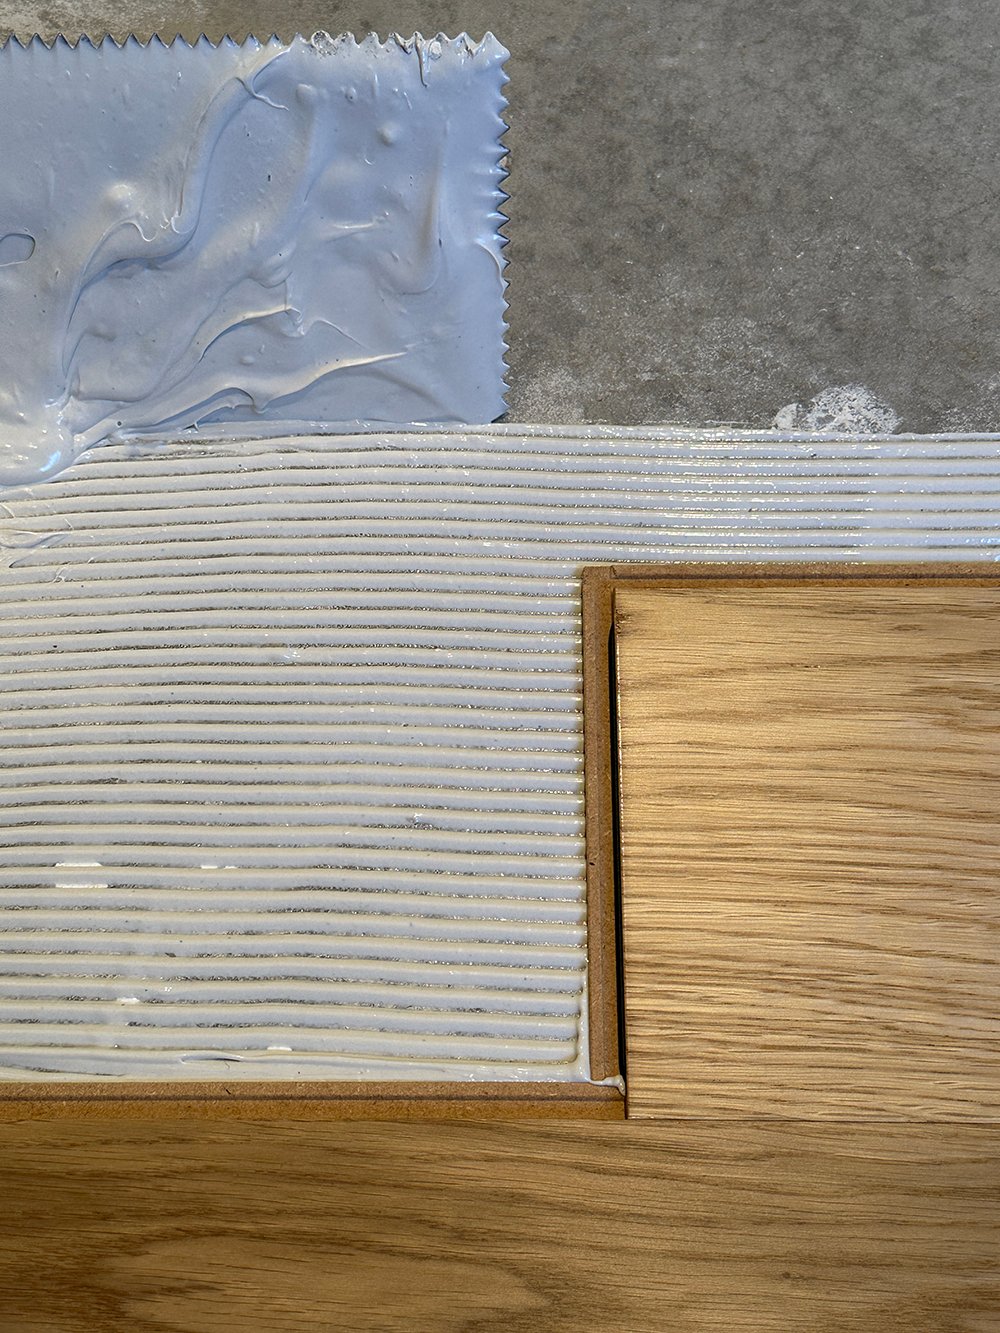
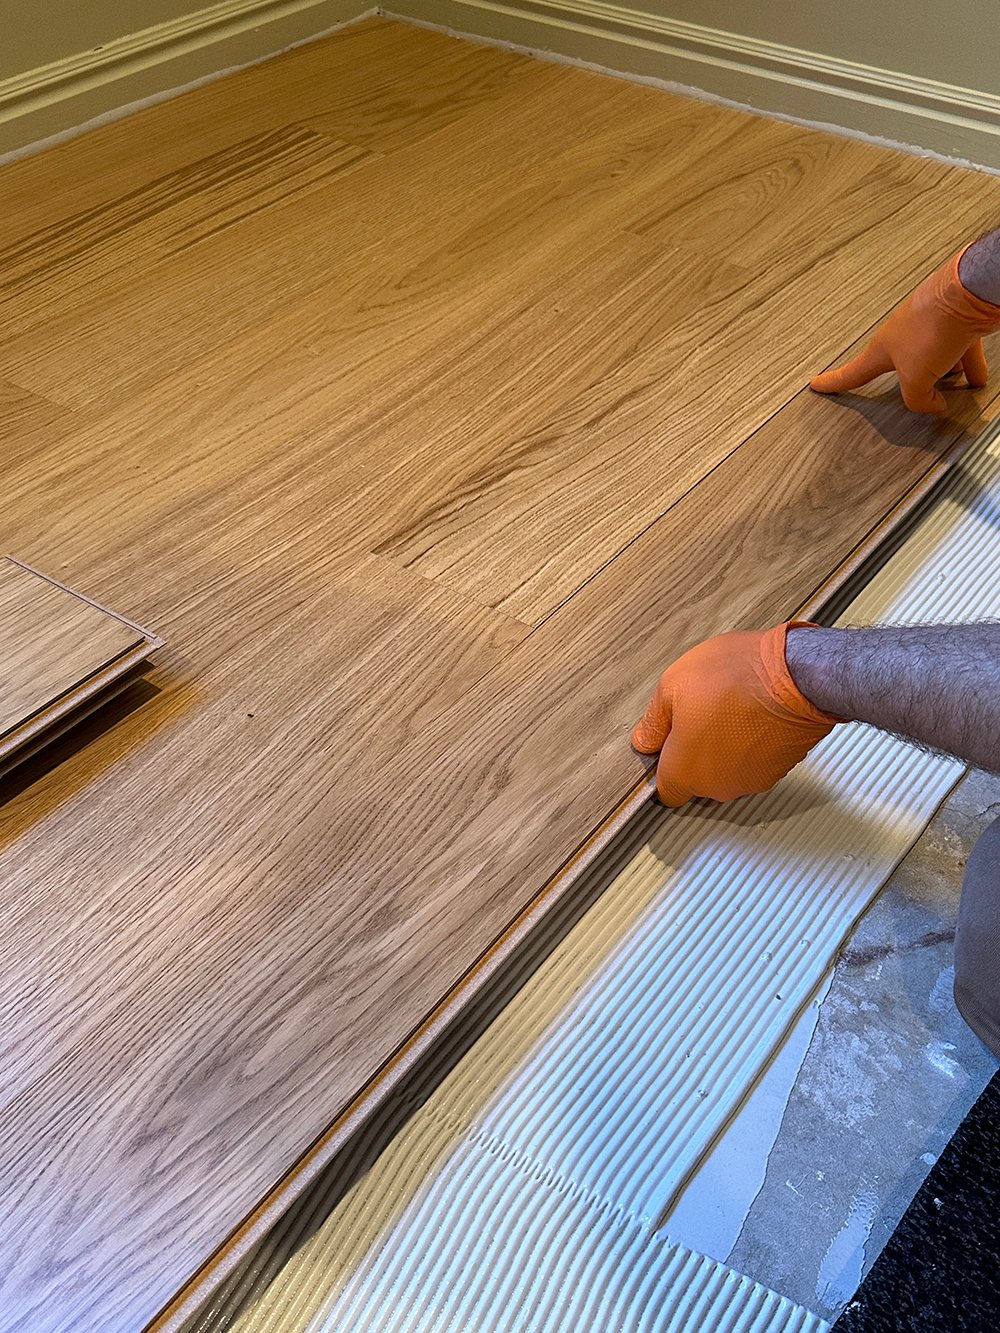
Adhesive Application
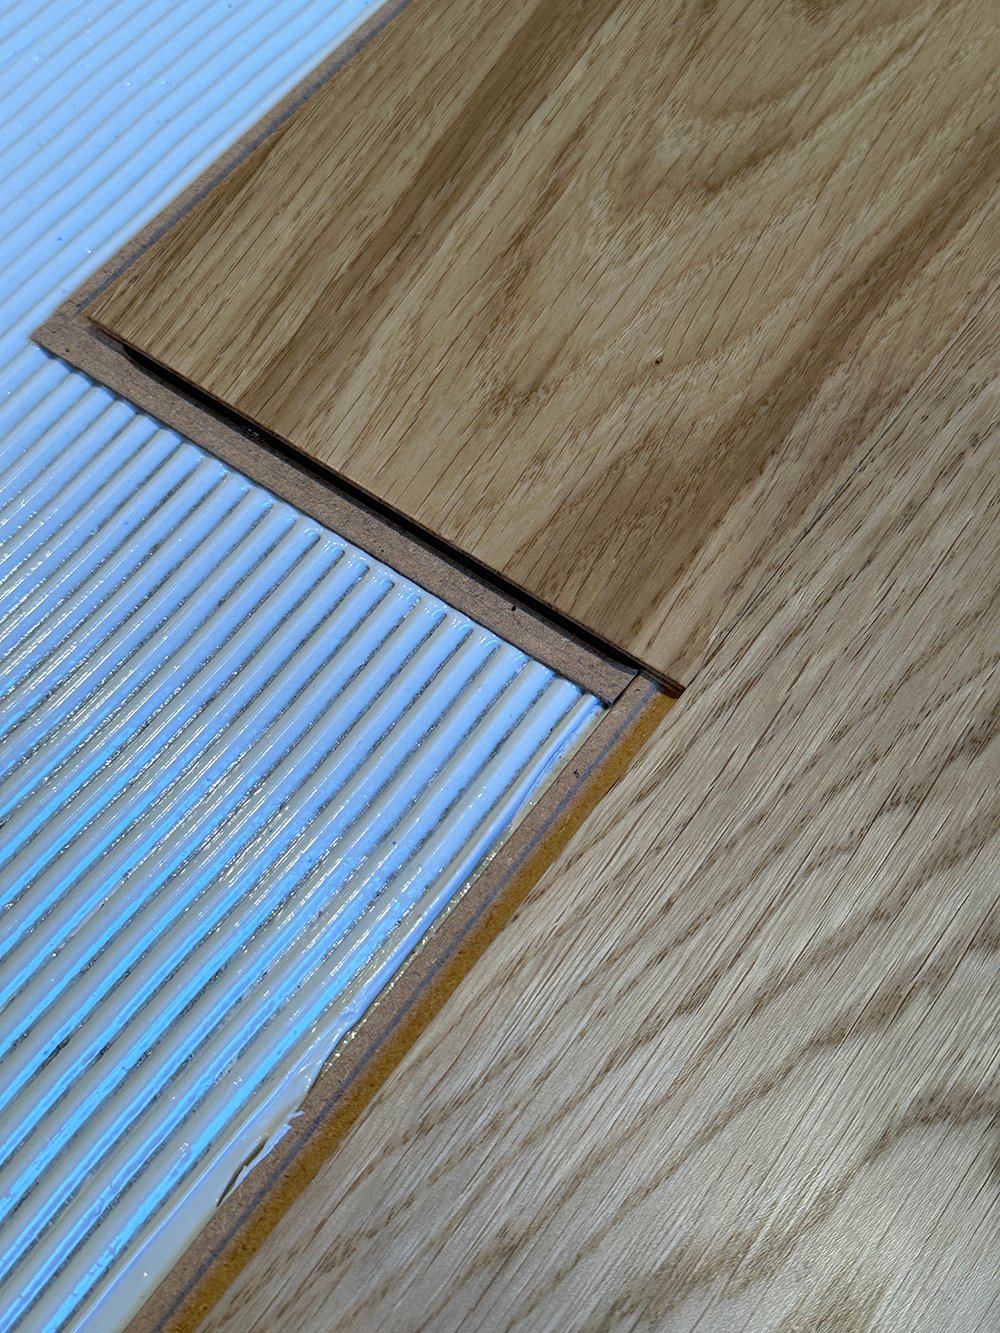
Once you’re ready to lay the flooring, begin by troweling on an even layer of adhesive… working in sections. Make sure the entire section is completely covered in adhesive (with no gaps), because this acts as a moisture barrier.
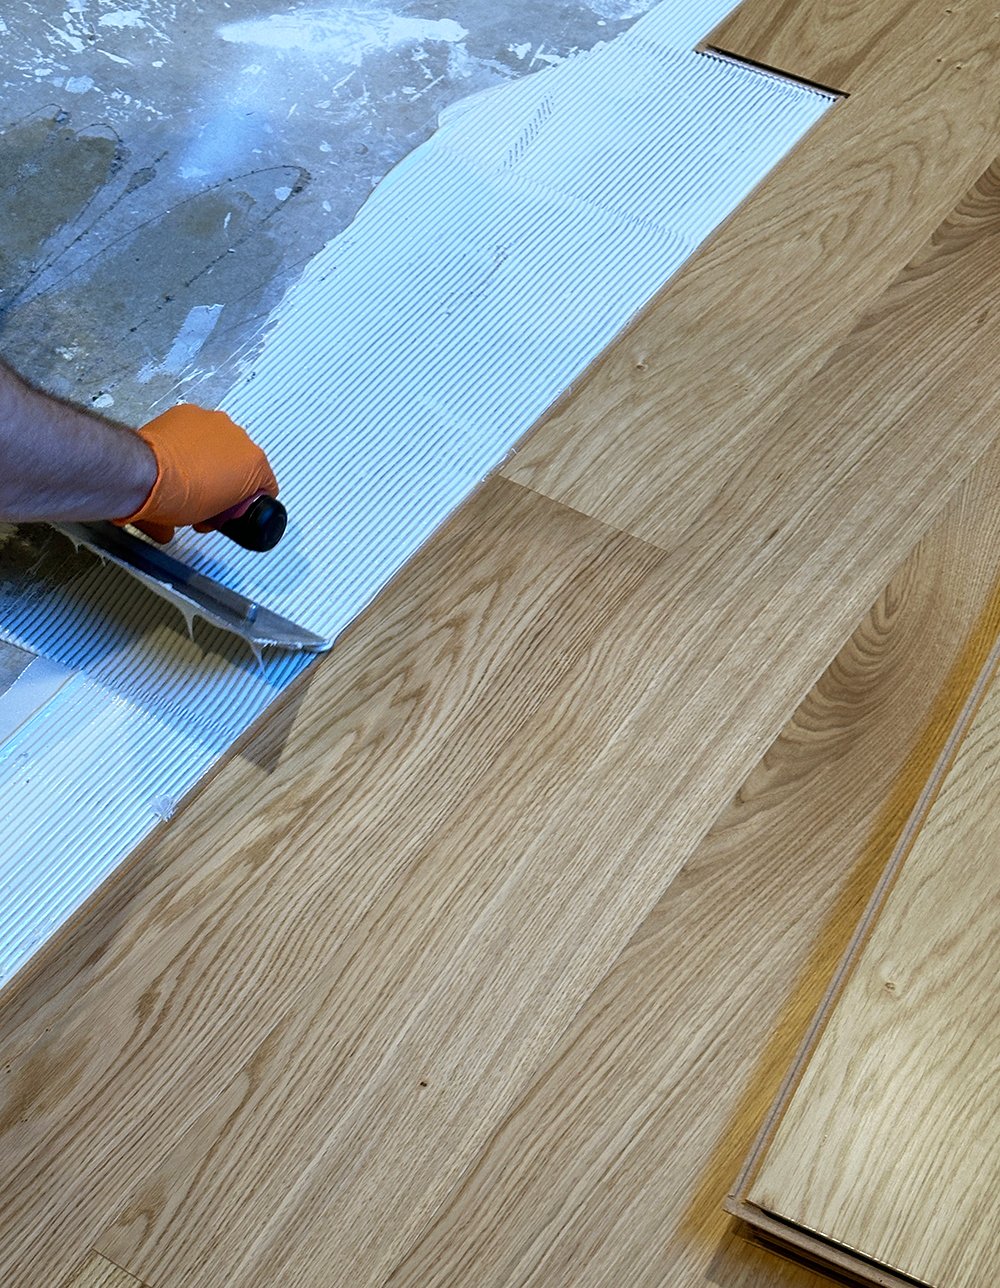
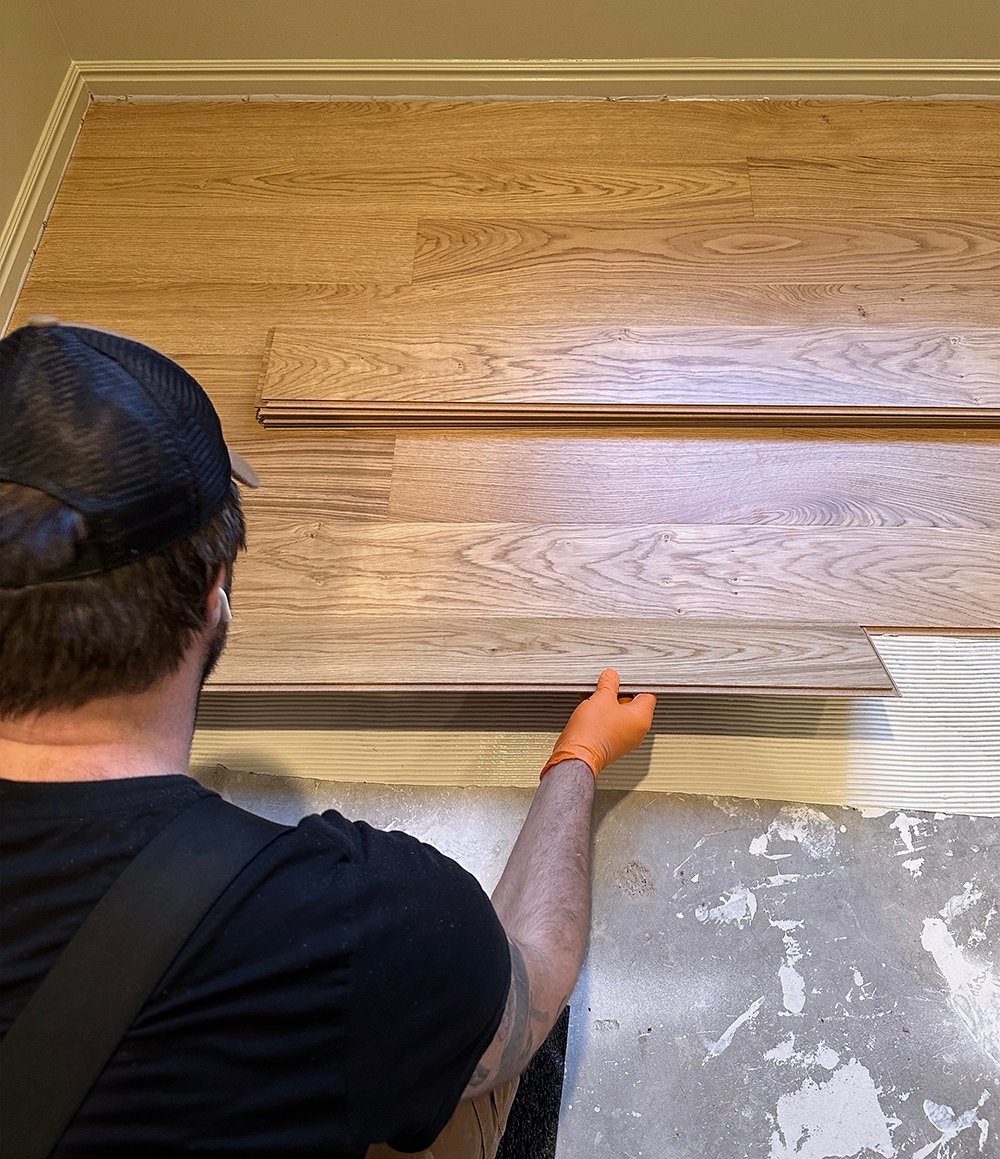
Install Flooring
This particular type of Stuga flooring is interlocking- meaning it installs easily by snapping together. Most locking floors have to be installed directionally, so double check the joints and make sure each plank is turned in the correct direction. Once you snap each piece into place (over the adhesive), roll it to ensure proper adhesion with the moisture barrier.
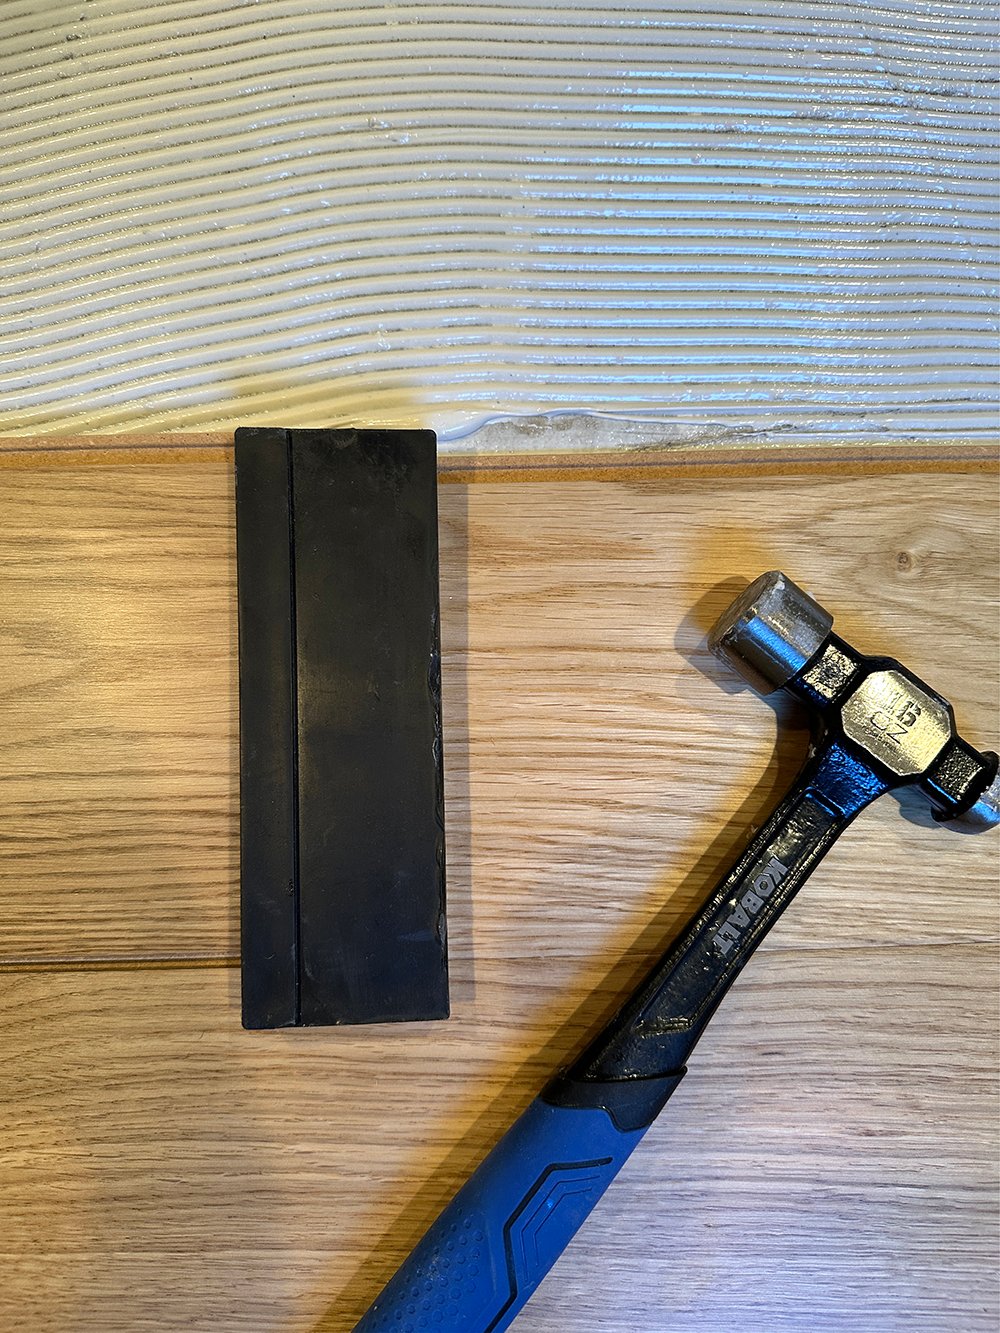
Helpful tip… use a tapping block with a hammer to ensure the planks have a tight seam as they lock together. This handy tool protects the plank (damage free while hammering) and easily snaps them together.
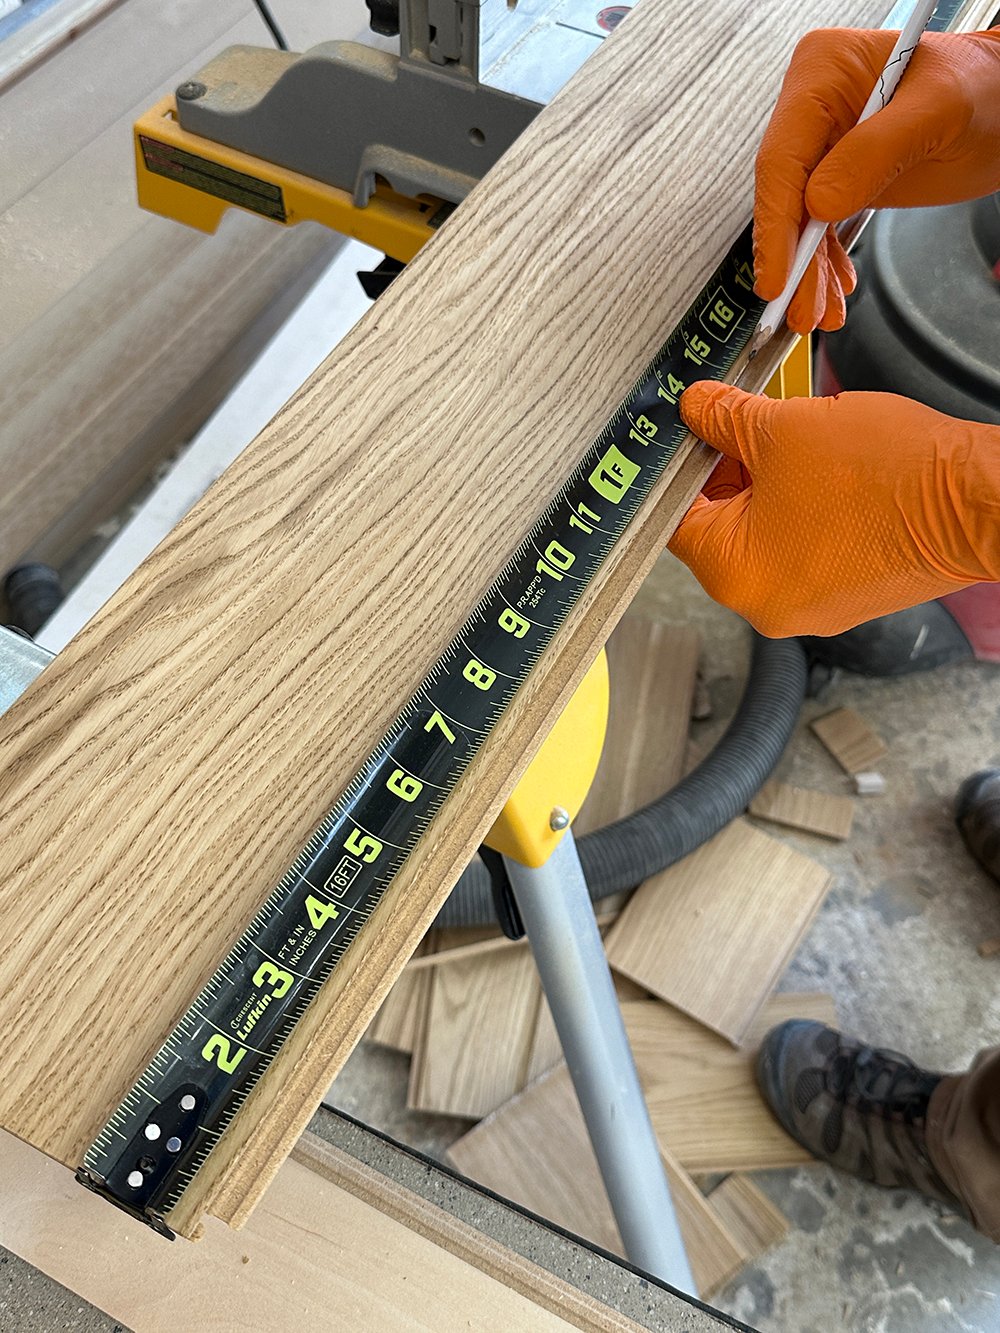
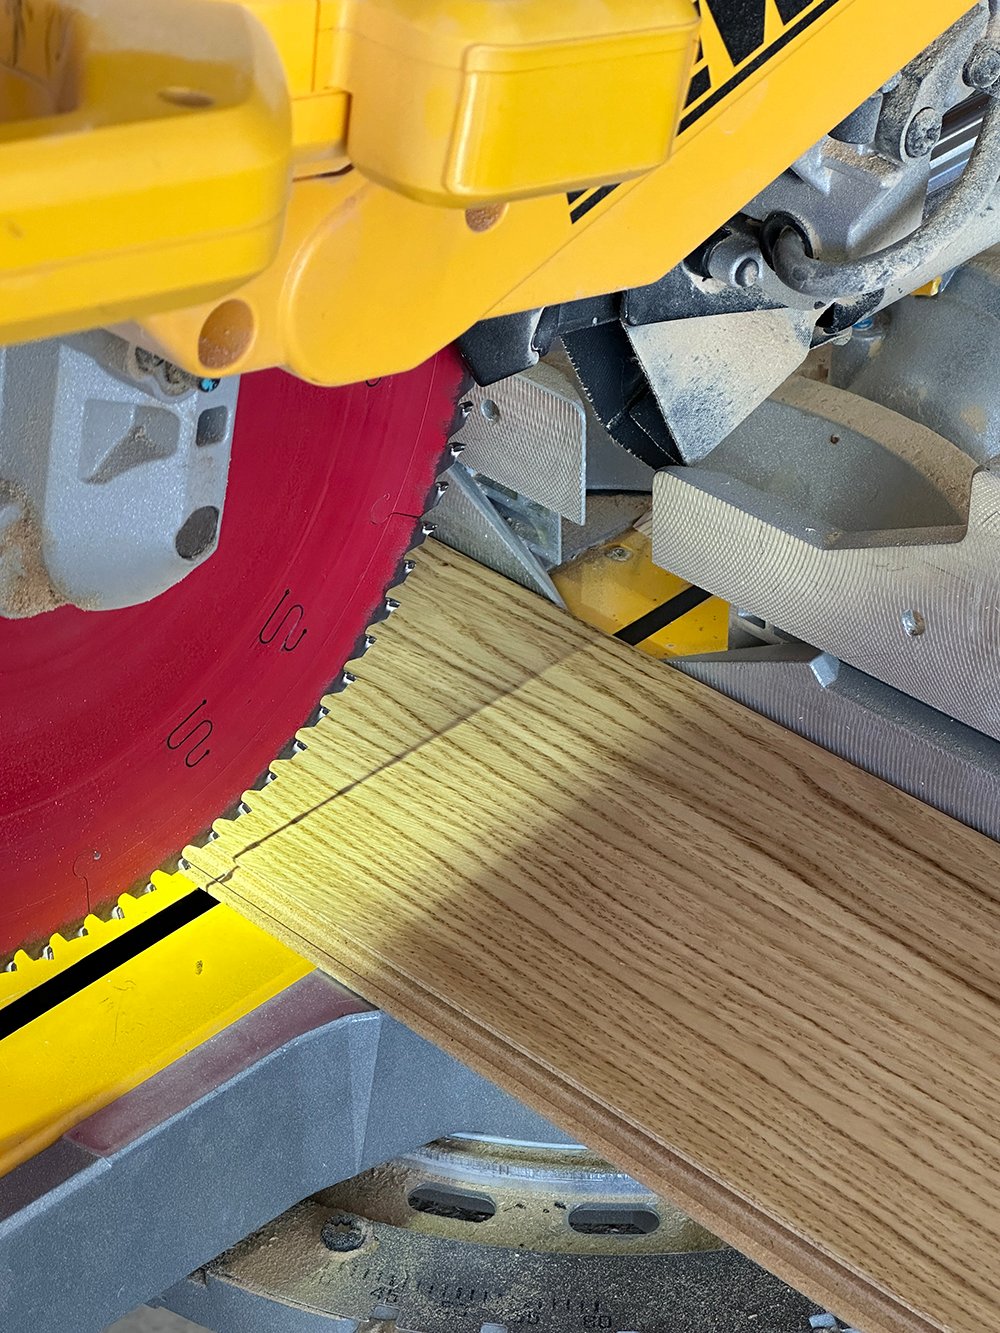
Making Cuts
Measuring and cutting the material is pretty straightforward, but having access to a few different types of saws can be helpful! The miter saw is used to cut your board to length. The table saw is used to cut your board to width… ripping it down the middle against the wall, parallel. The jig saw is easiest for notching your boards around door jambs and corners.
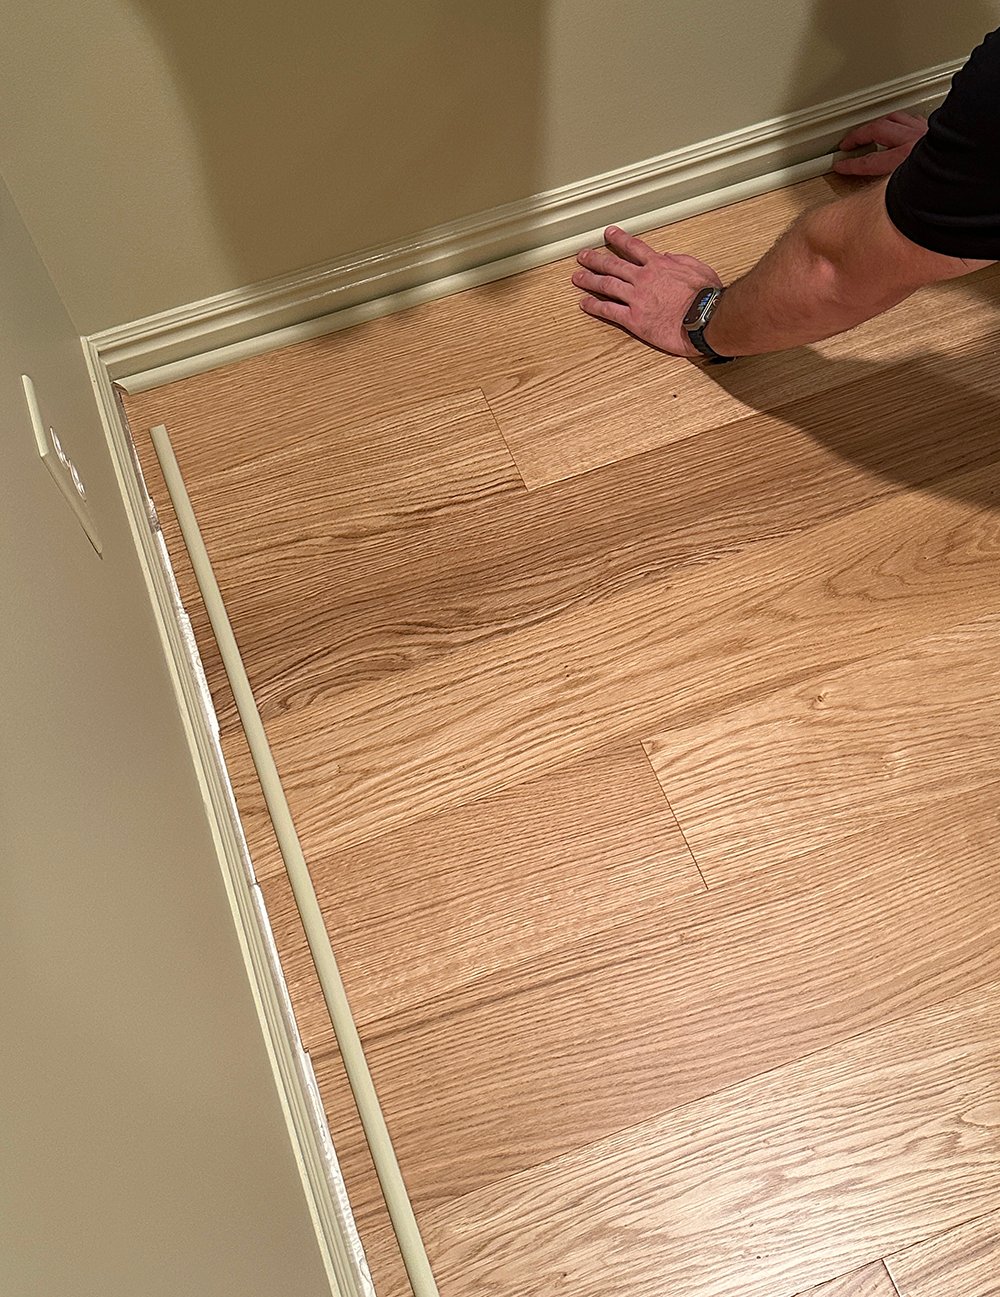
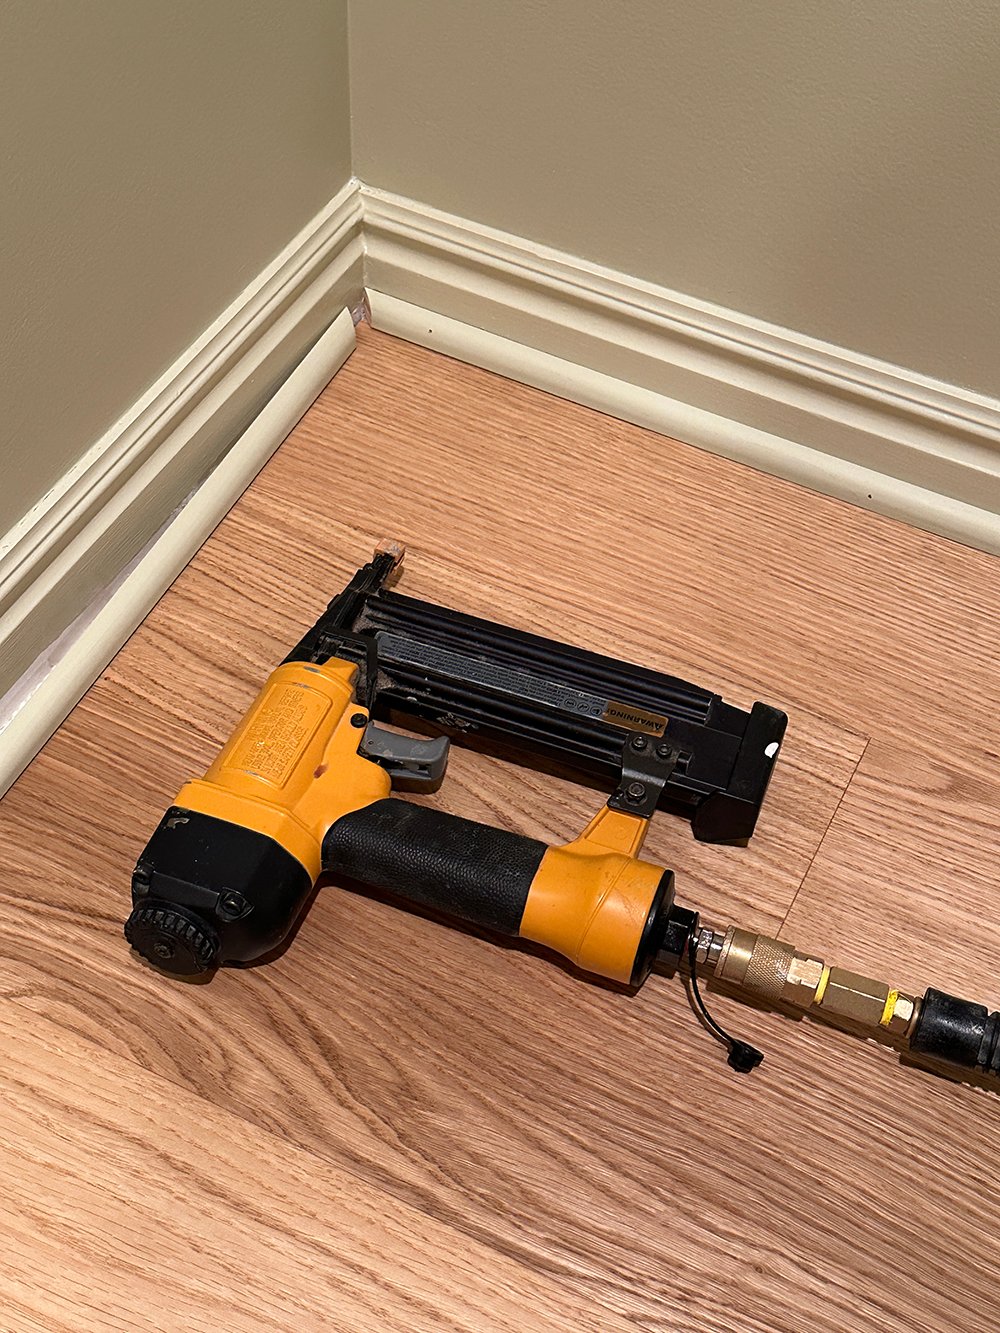
Install Millwork
The last step is to install (or reinstall) the millwork. You’ll notice the negative space between the flooring and the baseboard around the perimeter of the room… that’s called the expansion gap. Per the manufacturer’s recommendation, it allows for proper expansion of the floor, and is covered by millwork- in our case, quarter round. Alternatively, you can remove your baseboards and reinstall them on top, for a cleaner aesthetic (sans quarter round).
FAQ
I vacuum regularly and I like to use Rejuvenate when mopping. I use the same cleaning process for our upstairs hardwoods, too! It works great.
Per Stuga’s instructions, no acclimation is necessary. That said, they recommend storing the flooring in a controlled environment that’s protected from the elements. We left the material in our basement for a week before we unboxed it for installation.
We used a ¼” by ⅜” v-notch trowel for the adhesive.
It does feel cooler than our upstairs hardwood flooring, but that’s to be expected in a basement. To combat that, and to make it feel more cozy- I integrated plenty of rugs! We had previously discussed heated tile throughout the basement, but that would have overextended our budget… and I’m fairly certain, non-heated tile would have felt colder underfoot than wood.

I hope this post was helpful if you’re considering installing hardwoods in a basement! I’m really happy with our flooring and it was a breeze to install. Please let me know if you have any questions in the comment section below. I’m happy to help!
Good morning and happy Monday! I was feeling quite confident about this tutorial until you mentioned three types of saws! 🤣 Seriously, while I’m 100% certain I will never install flooring, your clearly outlined and photographed process seems straightforward. (BTW, what’s more satisfying than ripping out carpet?) Most importantly, the results are beautiful! Bonus points for creating a welcoming canvas for more vintage rugs. I have complicated feelings about basements in general. Nobody rejects extra living space, and a delightfully cool, secluded retreat in the scorching heat of summer is divine. Also, a horde of rambunctious cousins can cavort happily after Thanksgiving dinner while the adults relax (mostly) unmolested upstairs. A definite plus! But the potential flooding and general damp chill? Less wonderful. That’s what makes all of your down-under spaces über amazing. The cozy factor is off the charts! Honestly, how do you convince guests to leave?😉 Thanks for a profesh installation guide and helpful product introduction. Cheers to a new week! Can you believe April is just about gone?🤯 Have a wonderful day, friend!💜
Good morning, Peggi! Happy Monday. Three saws is probably overkill, but they were all used (and helpful)… so I figured better to be honest. Lol! I keep adding vintage rugs to the basement. Basements are tricky spaces, aren’t they? That level has oddly become one of the coziest in our house. The new floors are looking great down there, but we have quite a bit left to tackle. I really want to get a sauna, so we’re trying to figure that out before we continue the hardwoods down the hall. I have no idea what that transition could look like. We’ll see! I really can’t believe April is basically over. I’m headed on a girls trip to the beach later this week and can’t wait for some quality time at the ocean! I hope you also have a good week ahead :) xo
As usual, this looks great! I do have a question for you. With 2 slightly different wood floors between the basement and main level, what did you use on the stairs? I have the same set up and I don’t want the transition to be odd.
Thank you, Monica! We have yet to tackle the stairs, but I’m thinking we’ll keep them consistent with the stairs that bridge our main and upper level… painted treads with a natural woven runner (that matches). Therefore, it won’t matter what type of wood. If you’re going to choose two different hardwoods, I recommend they come from the same family (same color family or same species). Both of ours are oak, and both are a warmer stain that feel like they’re from the same family. I’d also isolate use to an entire level or floor, rather than a single room. Hope that helps with your transition!
I live for your flooring tutorials! Good morning Sarah. You are always able to un-complicate what appears to be a complicated process. I truly value that aspect of all your tutorials, but when it comes to flooring, they’re especially helpful. This doesn’t look difficult at all! Did you have to check your slab for level before beginning the process? Most click lock flooring I’ve found has suggested using a concrete self leveling product before installation, but I rarely see examples where that’s necessary. Can you expand on how to know if you need to do that? I love that your adhesive is a two-for-one. Would this process be the same for someone installing on a main floor with concrete slab?
This next question isn’t specific to Stuga flooring, rather it’s a general question regarding any type of click lock flooring. Is it possible with this type, to create borders around fireplace hearths or at transitions between flooring types? If anyone would know, it would be you and Emmett. Your results are undeniably gorgeous. The basement definitely got quite the upgrade, and the color you selected is gorgeous. We have finally narrowed down flooring options for the front room, and Stuga is a top contender. Thank you for the detailed tutorial; knowing what goes into installation is so important, and this looks straight forward. I love the way the basement is coming together. You and Emmett have been hard at work, and it’s just beautiful. Does this room complete the flooring throughout? We had an eventful weekend complete with a knee injury for me. Hopefully the damage will heal on its own without intervention, but I await a follow-up with ortho to determine that. In the meantime, your girl is hobbling on crutches and forced to the couch for rest and elevation. I’m not great at not moving. Lol. This week ought to be interesting to say the least. Hope your Monday is off to a fantastic start!
I love to hear that, Lauren! It really isn’t a difficult process… it just takes some planning and attention and to detail. We didn’t have to level our slab before beginning (no leveler required). If you’re installing this on a main level, you can opt to float the floor- instead of using the adhesive for the moisture barrier. You can also glue it down, but either would work! You can create borders, but since the planks are directional (and click into place), you have to modify the plank with a router. We’re actually doing that for the thresholds and transitions from room-to-room. I’ll try to remember to send you a video once we tackle the next space! I’m really happy with Stuga- we’ve had zero issues and their products are super nice. We still need to install flooring throughout the basement halls, the home gym, and address the stairs… plenty left to do! So sorry to hear about your knee! I hope it’s able to heal on it’s on with rest (oof, crutches!!). I know you’re not good at sitting still, so consider this your reminder to TAKE IT EASY. Ha! Hang in there, friend!
Happy Monday Sarah!
Thanks for the flooring tutorial and info on Stuga! It looks easy when the Gibsons do it 😜 Ha! Andrew and I don’t always make the best duo on home projects I must admit but you and Emmett are the dream team in tackling renovations. We would definitely hire this type of work out at our Burlington house however the cottage would be more likely with trades being a very scarce resource. So I sincerely appreciate the info 🫶
The flooring is beautiful and the fact that it can be used in a basement makes me think it could be suitable for our 3 season cottage. It’s a damp and moist environment so flooring is quite tricky there. It would be so nice to replace the lifting linoleum that looks a hundred years old. It’s pretty awful and new floors would be so nice. Doesn’t look like Stuga is available in Canada but I’m going to check into it further.
Anyway your basement looks stunning and everything is coming together so beautifully. Have a great week! It’s been raining here so no garden work was completed yet but hoping to get the front yard completed this week 🌹 🪴😎
Happy Monday, Colleen! I promise it’s an easy process. Ha! I can’t wait to see what you have up your sleeve or envision for the cottage. We’ve also had a lot of rain here this past week. Today it’s sunny though- so I’m hoping to get some chores done outside after work. Good luck with your front yard this week!