How I Edit Interior Photos in Photoshop
 I hope you all had a wonderful, long holiday weekend! After my moodboard post proved to be popular, lots of you requested a quick tutorial to see how I edit interior photos. I know plenty of designers and bloggers who use apps or edit on their phone, but I’m pretty old school and edit every single photo in Photoshop. Click through to see how I do it in this quick 10 minute tutorial…
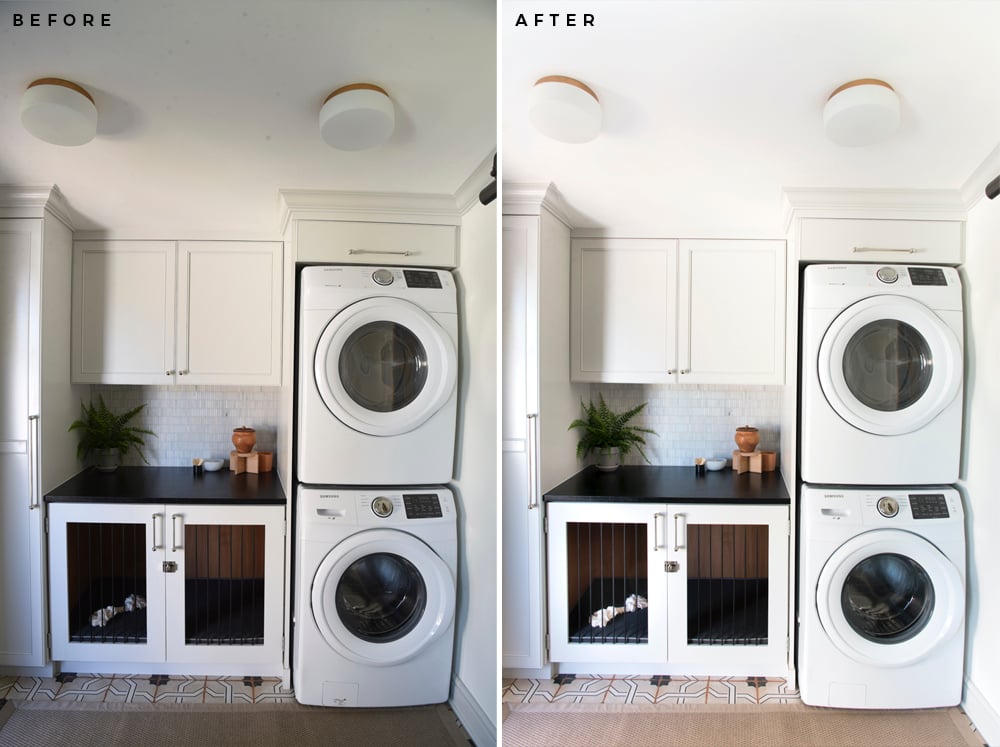
 I’m going to use an image of our previous laundry room as an example. I always shoot images in camera raw- and since I shoot with a Nikon, those files are .NEF files. I walk you through my entire editing process from opening the raw file to downsizing a finished .JPEG in the video tutorial below…
To give you a static visual- here is the image before and after editing. It looks a lot better, right? I tried to choose an image that needed a lot of work so I could show you more editing tricks, but the goal should always be to get the best image directly out of the camera to save on editing time.
 Photoshop takes a little practice, but once you get the hang of it, editing is a pretty quick process. If you’re spending the time (and money) to shoot with an SLR, you might as well take the time to perfect your photo in post production.
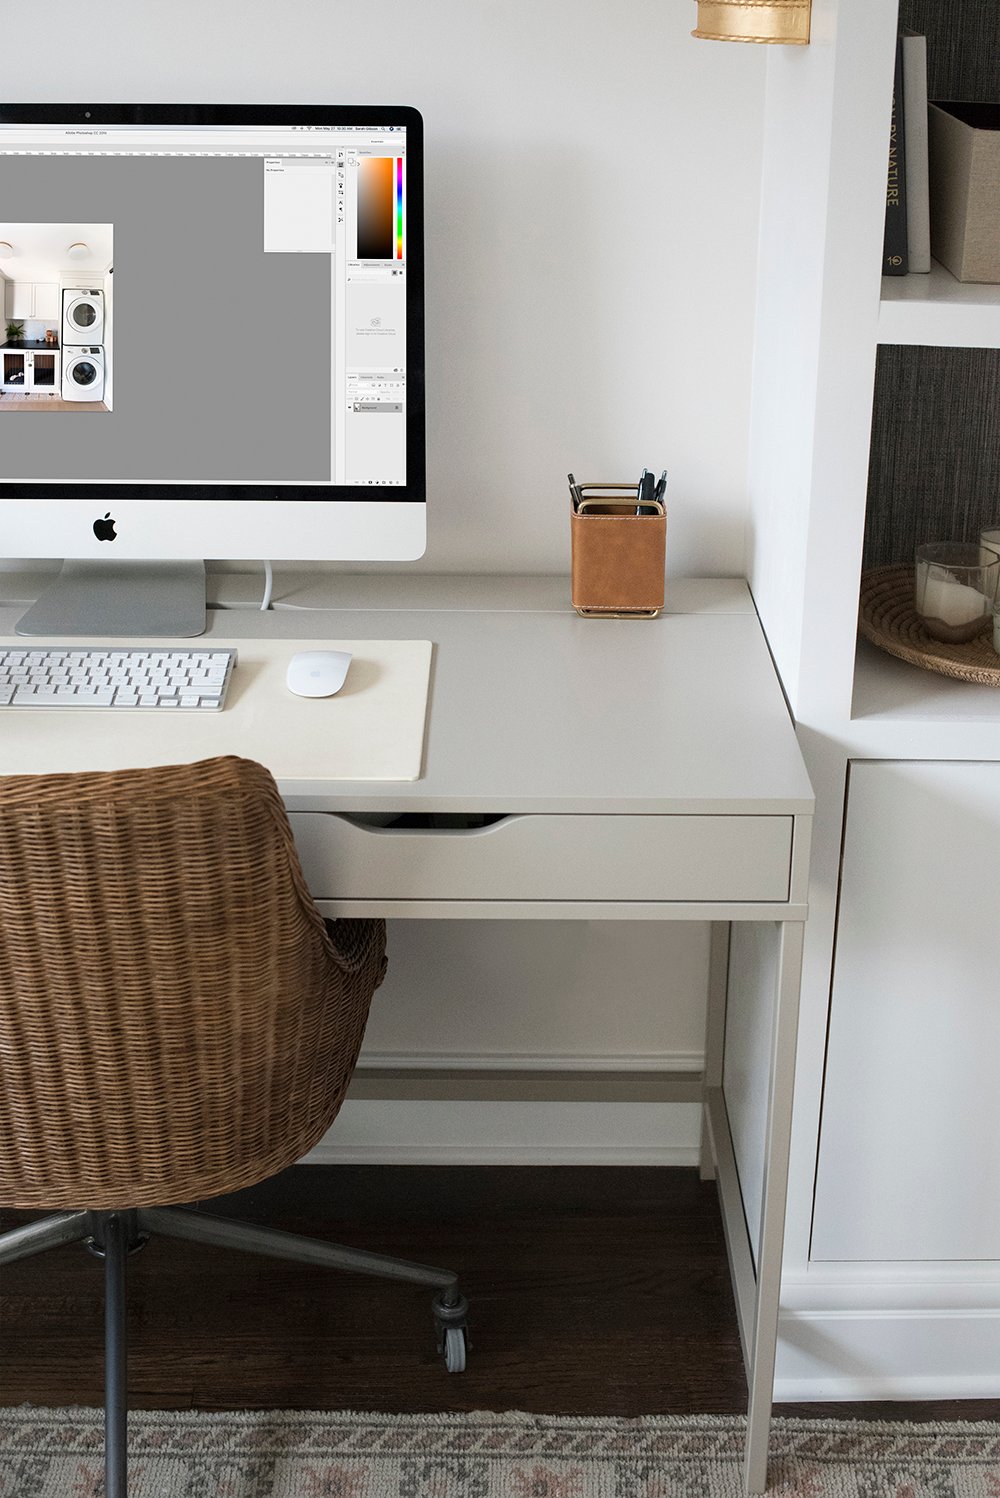
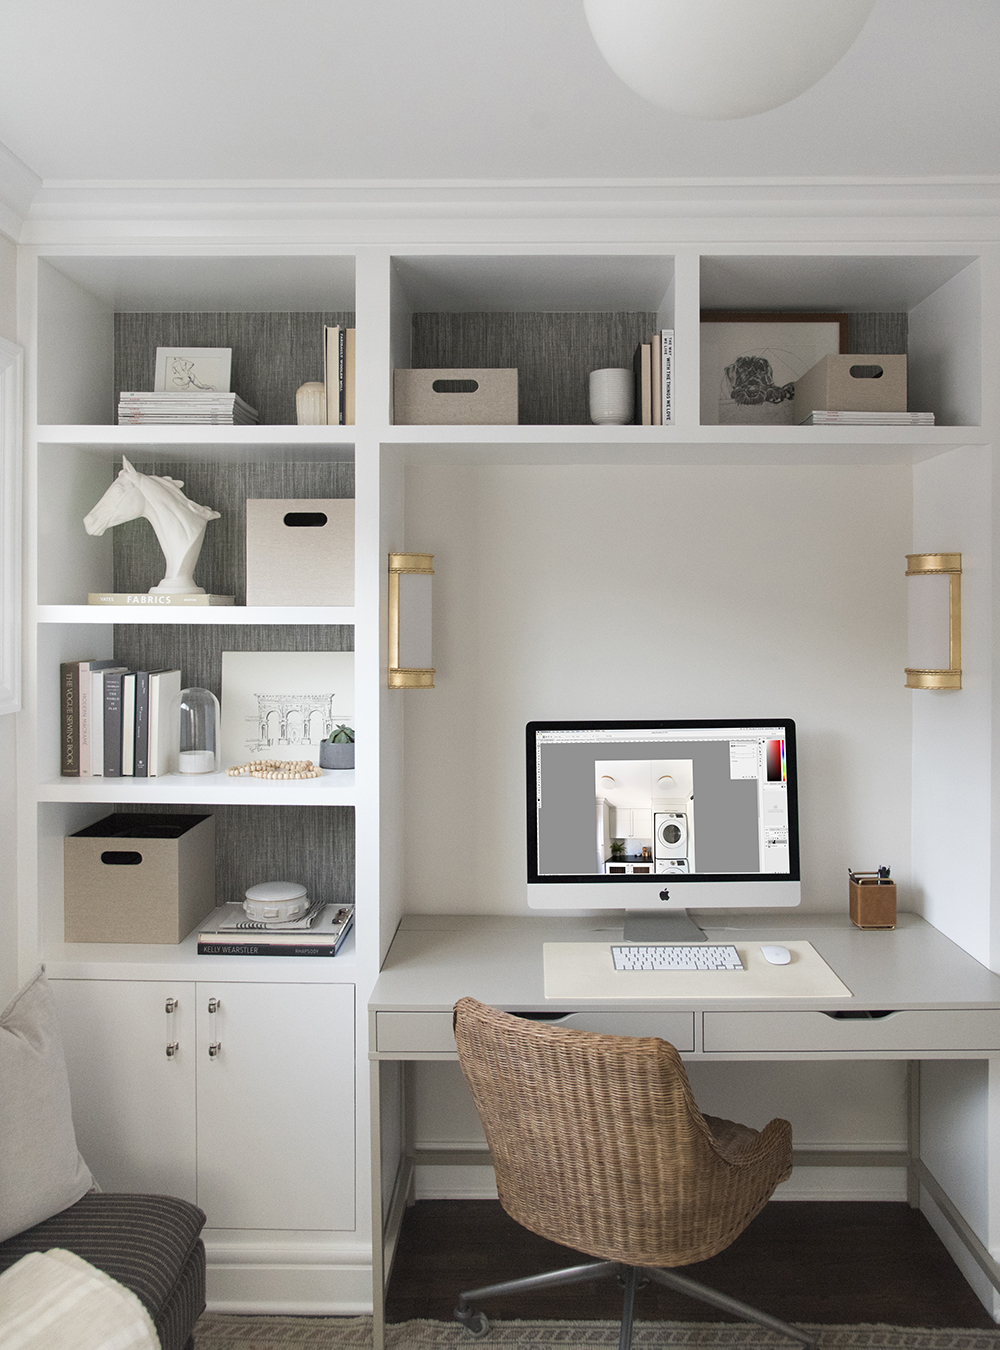
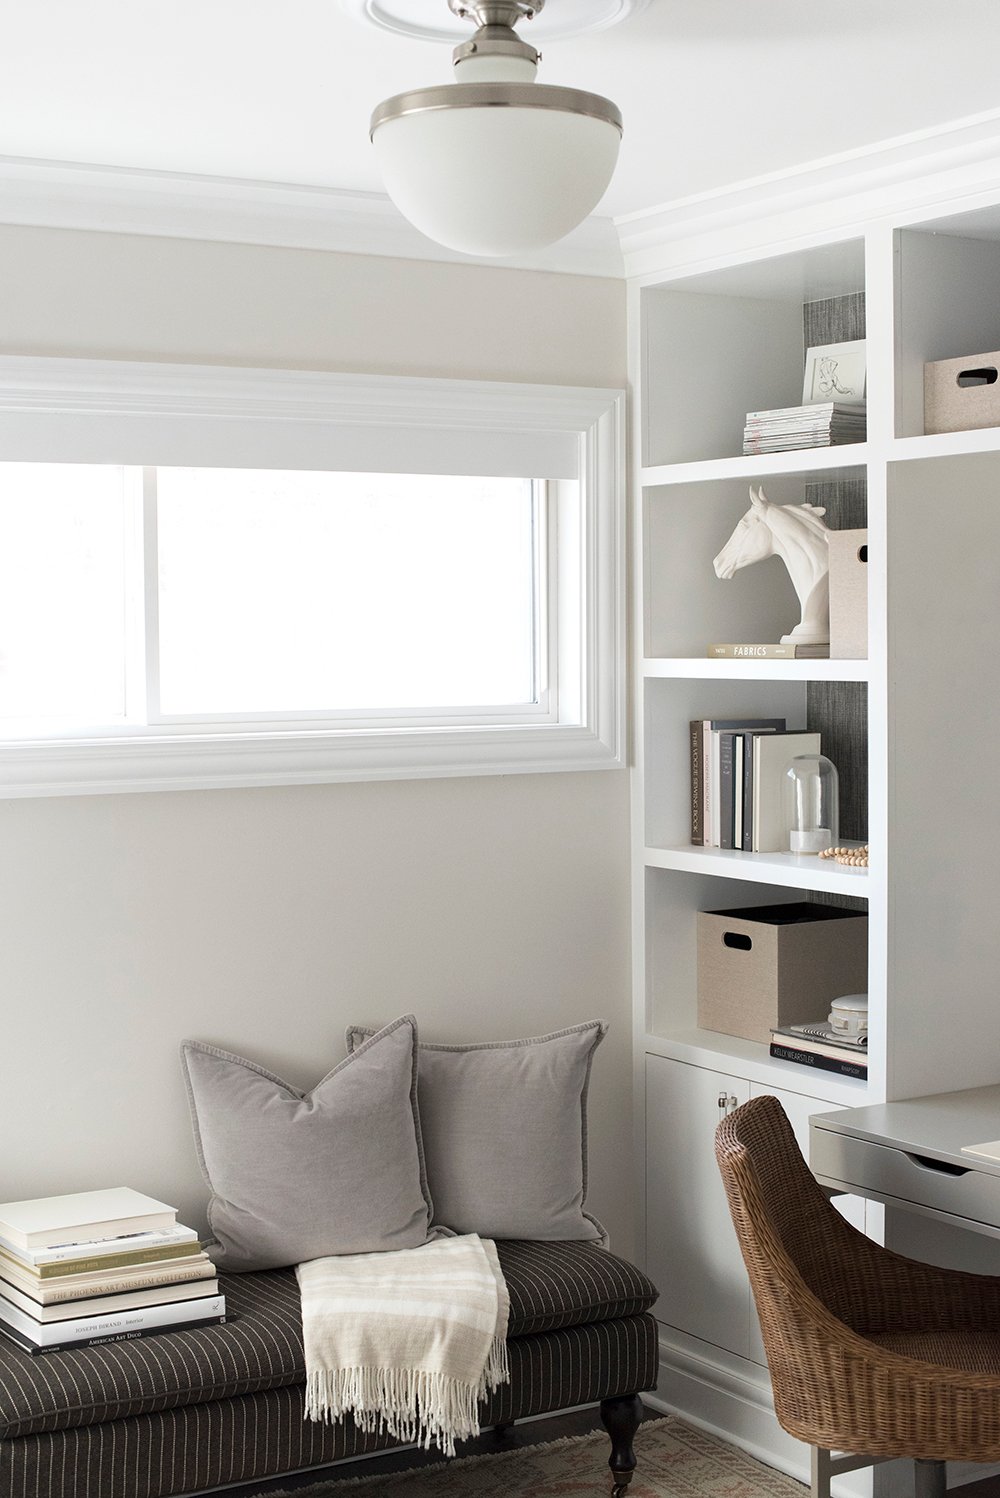 I’m dreaming of the day I have a beautiful and organized home office to edit in again. Once our kitchen is finished, we’ll have to jump to that space next. Questions or comments about Photoshop, shooting images, or the process? Leave me a comment below!
A. Another clear and helpful tutorial! Although I think calling it easy minimizes your artistry and skill.
B. I think my life needs one of those “healing brushes.”
C. No wonder my crappy phone photos never look like blog pictures! ( Except Joe pics…he always looks stellar.😜)
Haha, thank you! I wish there was a “healing brush” for life. That’s definitely my favorite tool :)
Loved this tutorial! Ok, question about downsizing a photo for the blog. Do you save the high res image as well as the downsized version for every photo Incase someone were to ask for an image for print? Or do you just save the downsized version and re-edit for a high res request?
Yay!! Happy to help. I save the high res images, as well as the resampled images for digital. I use a folder system on my portable hard drive to keep everything organized. Once I click into a post- I have access to the high res images, as well as the low res. Hope this helps!
Nice and helpful for me
So glad to hear that!
This is super helpful, thank you for sharing your process!
So glad to hear that, Lindsey!
Hi Sarah – Thank you for sharing all of your camera details (in the peek into your camera bag post) and these fabulous photoshop tips. I learn a TON from your photography posts – they are so helpful!! I appreciate that you dive into next-level editing tips and tricks, not just the basics. I just upgraded my camera and am trying to improve my interior shots (for my own blog), and your tutorials and advice are just the best. I’ll be revisiting this video to try out some of your tips. Thanks again!
I’m so happy to hear that, Erin! Hope you’re having a great week :)