
Easy Sconce Shade Upgrade for a Custom Look
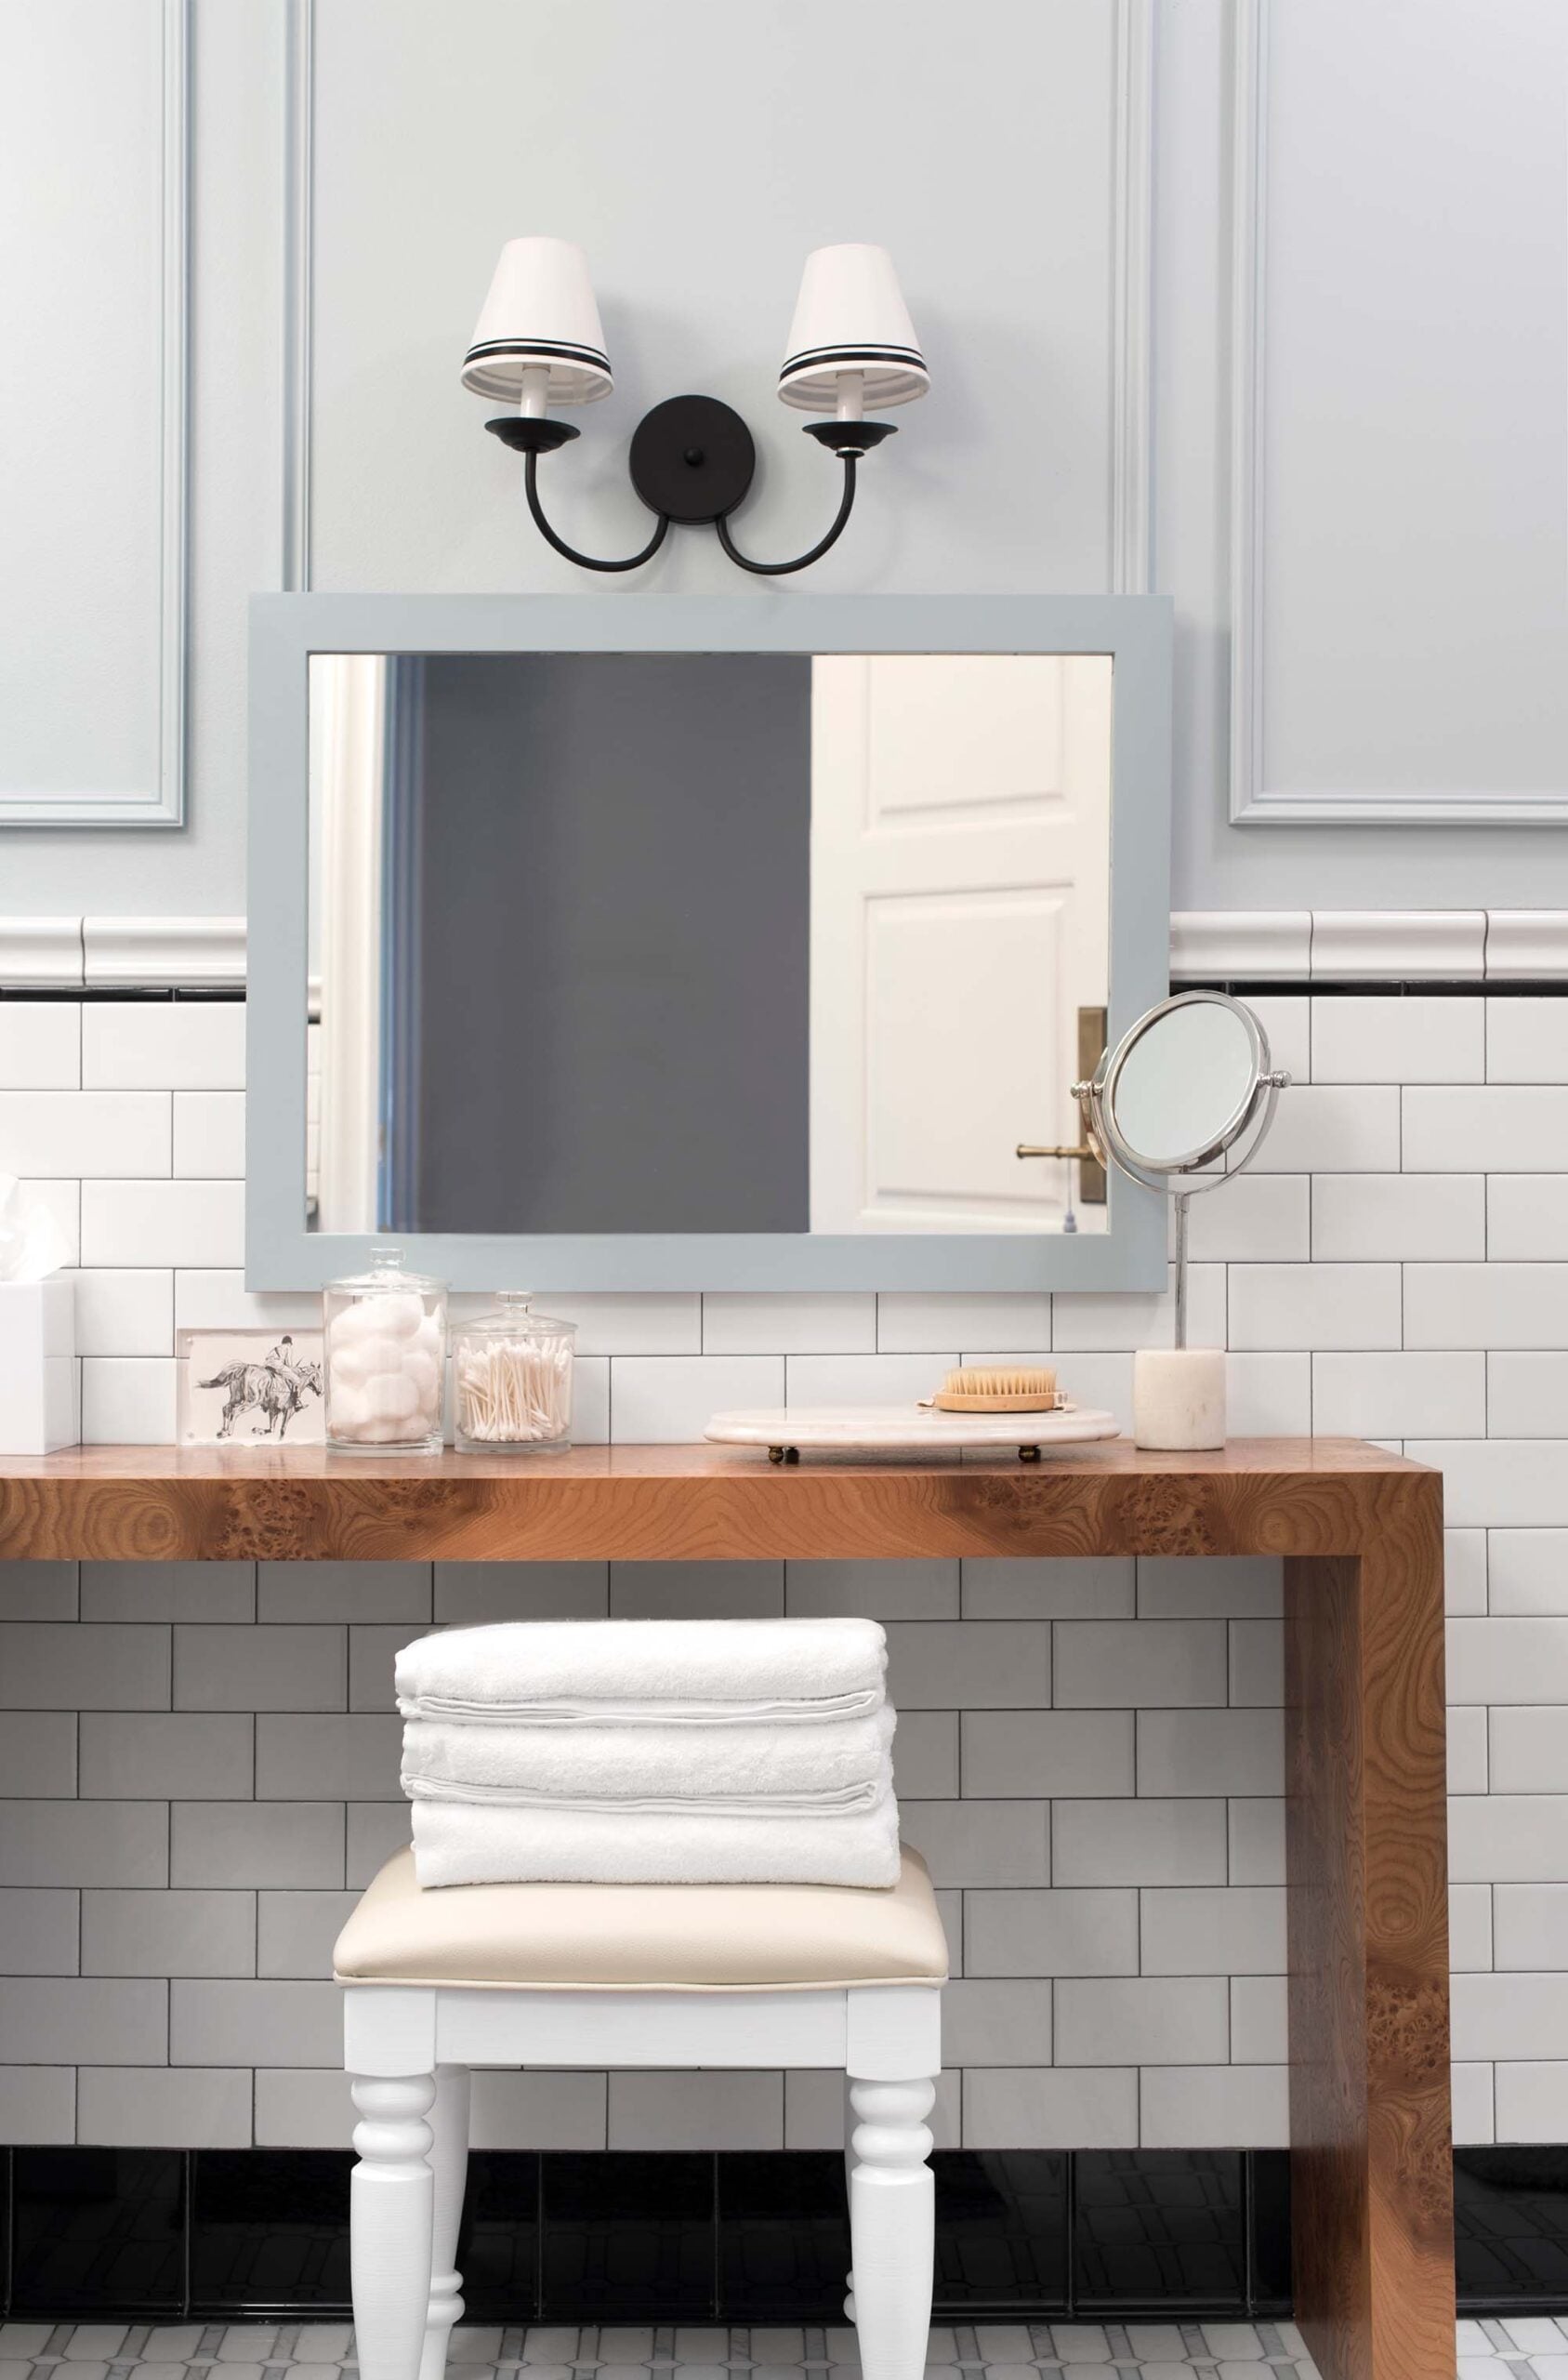
I’m certainly not the first person to update a lamp or sconce shade in this way, but I wanted to share my process and the difference it made for a fixture in my guest bathroom… it just felt worthy of a blog post that might inspire you. For our guest bathroom renovation, I found a very affordable light fixture, but wanted to stylize it a bit more. This easy sconce shade upgrade took less than ten minutes and completely changed the look of the fixture. The best part? It cost just a few dollars and still looks great years later. If you’re looking for a budget lighting upgrade that feels custom and elevated, this is one of the easiest projects you can tackle. Click through to see how I added a simple contrast border to the shade.
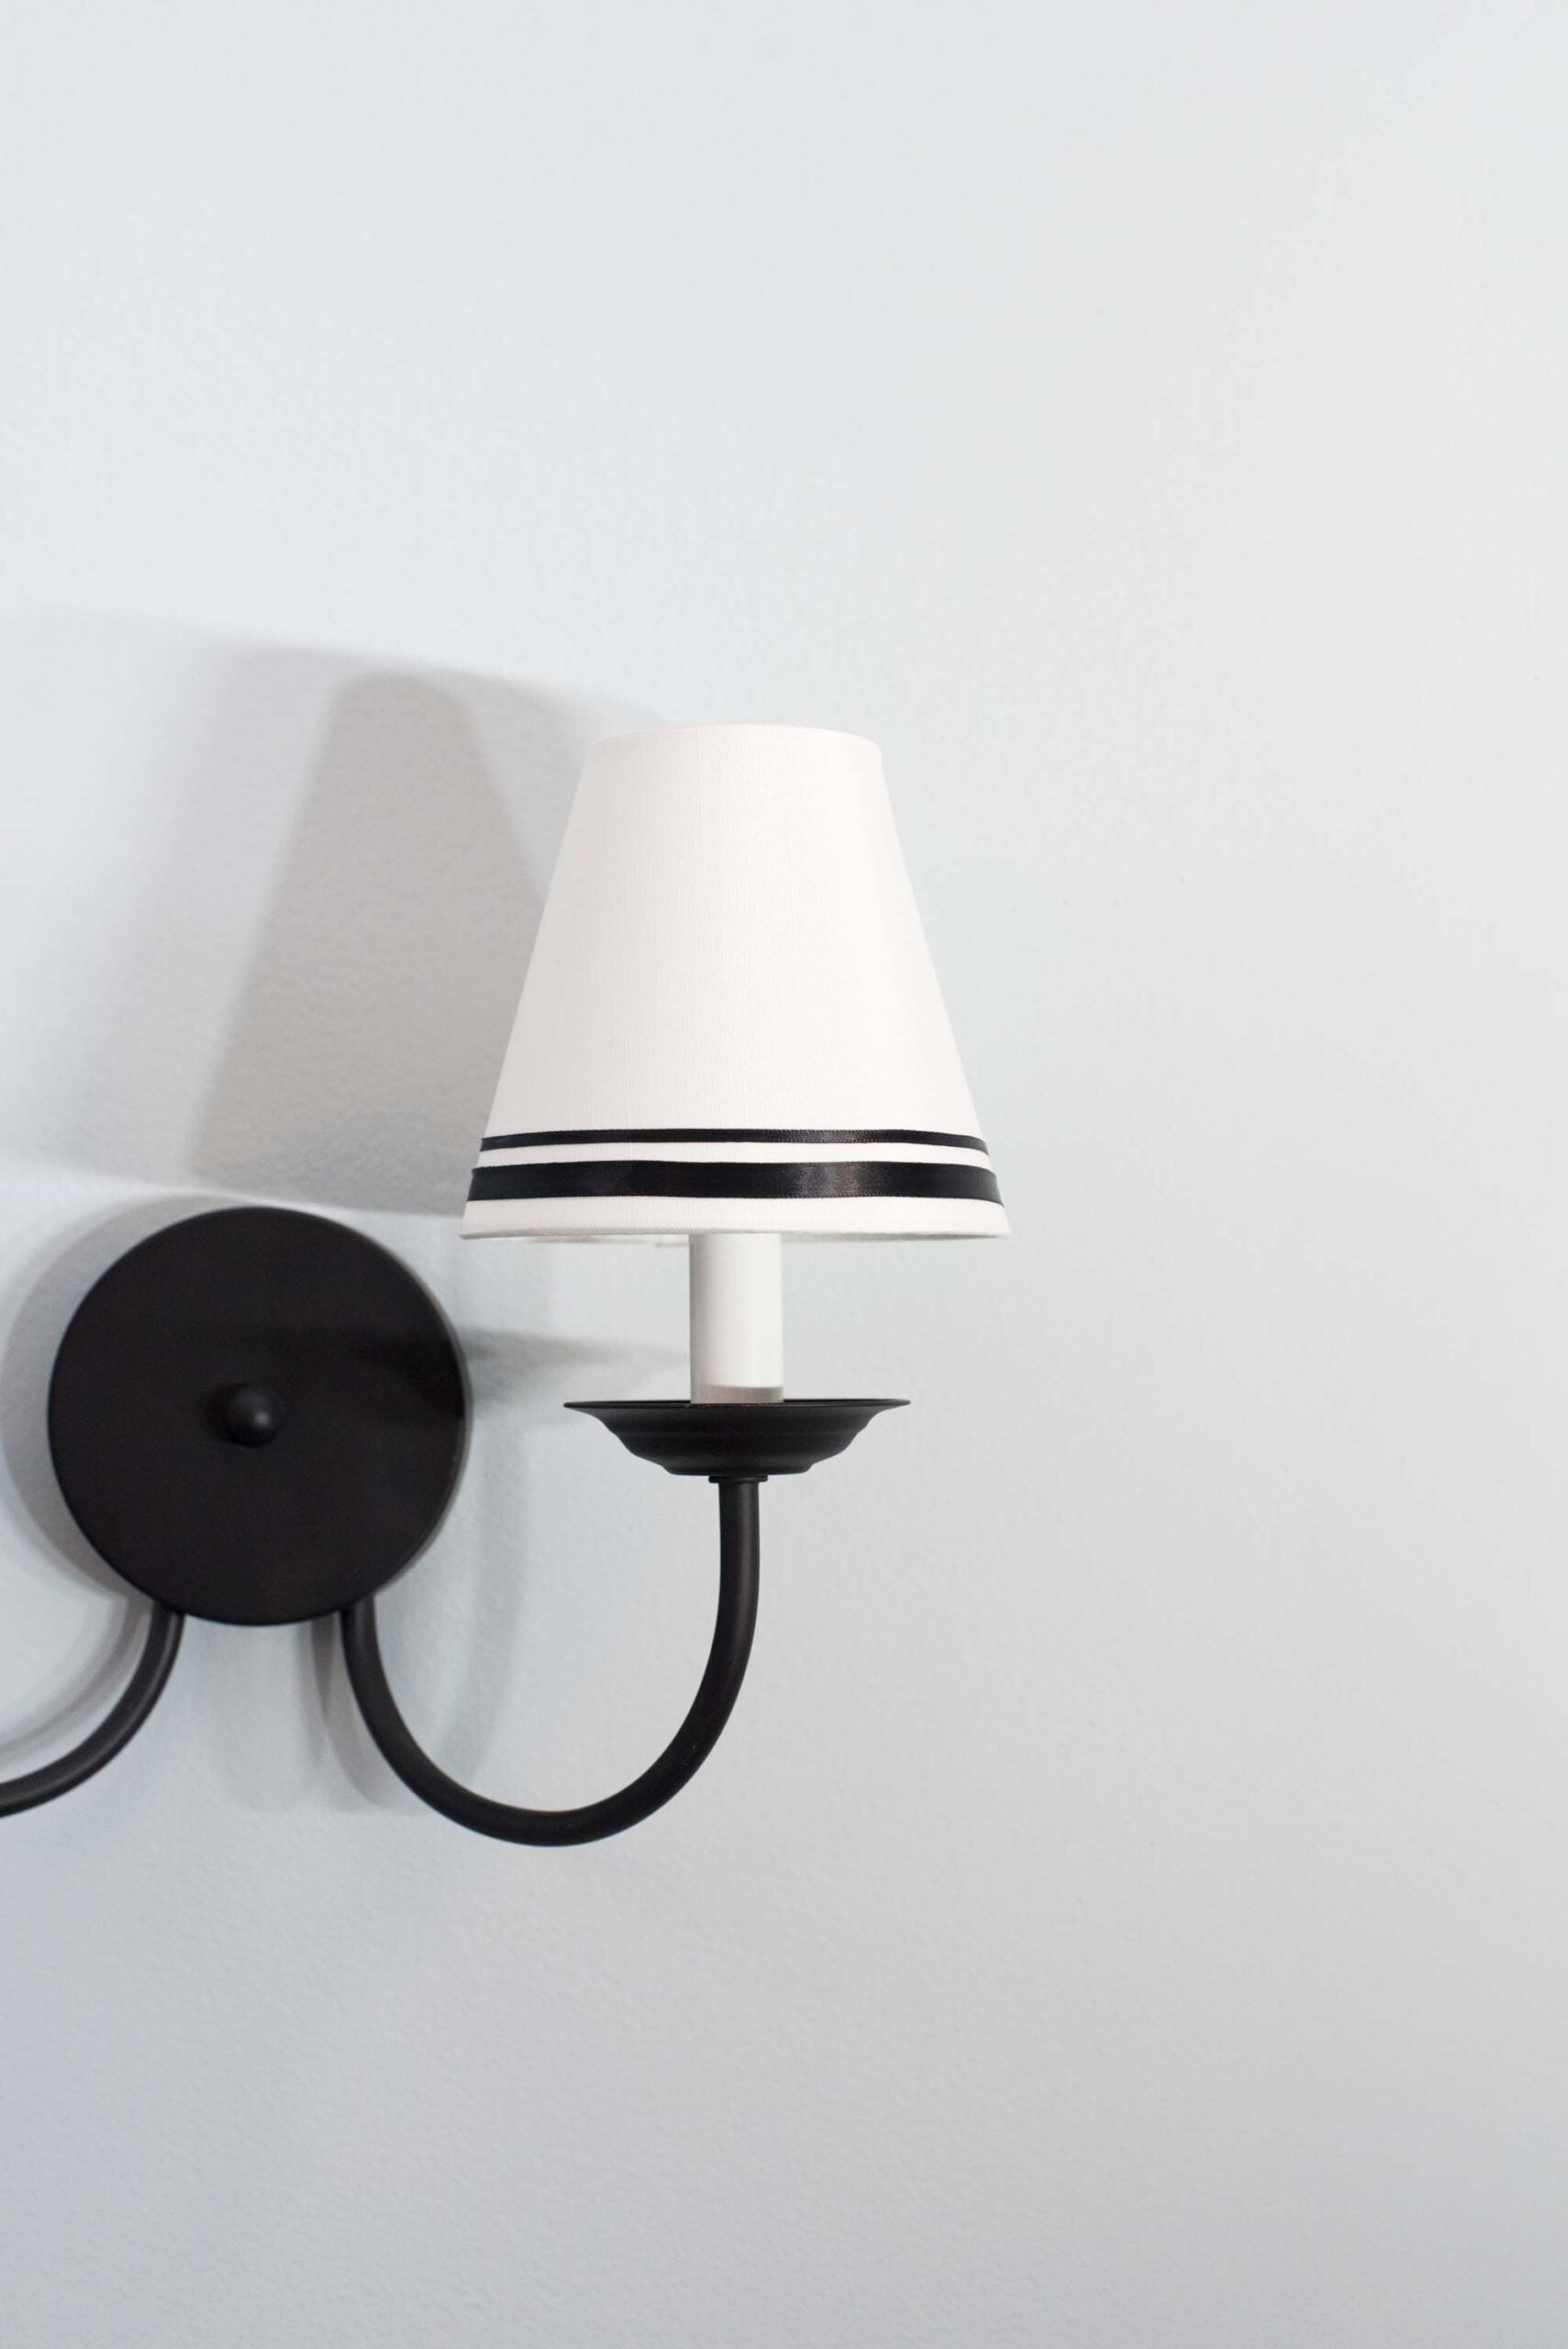
It’s hard to believe I shared the guest bathroom reveal seven years ago! I love using this space when we don’t have company… and now that our main bath is under construction, it’s the only functioning bath we have upstairs. Check out my plans for our primary bath renovation here; it’s going to be good! Here’s the latest primary bath renovation update. It’s coming along. Until then, let’s get to this quick DIY…
Why Upgrade a Sconce Shade?
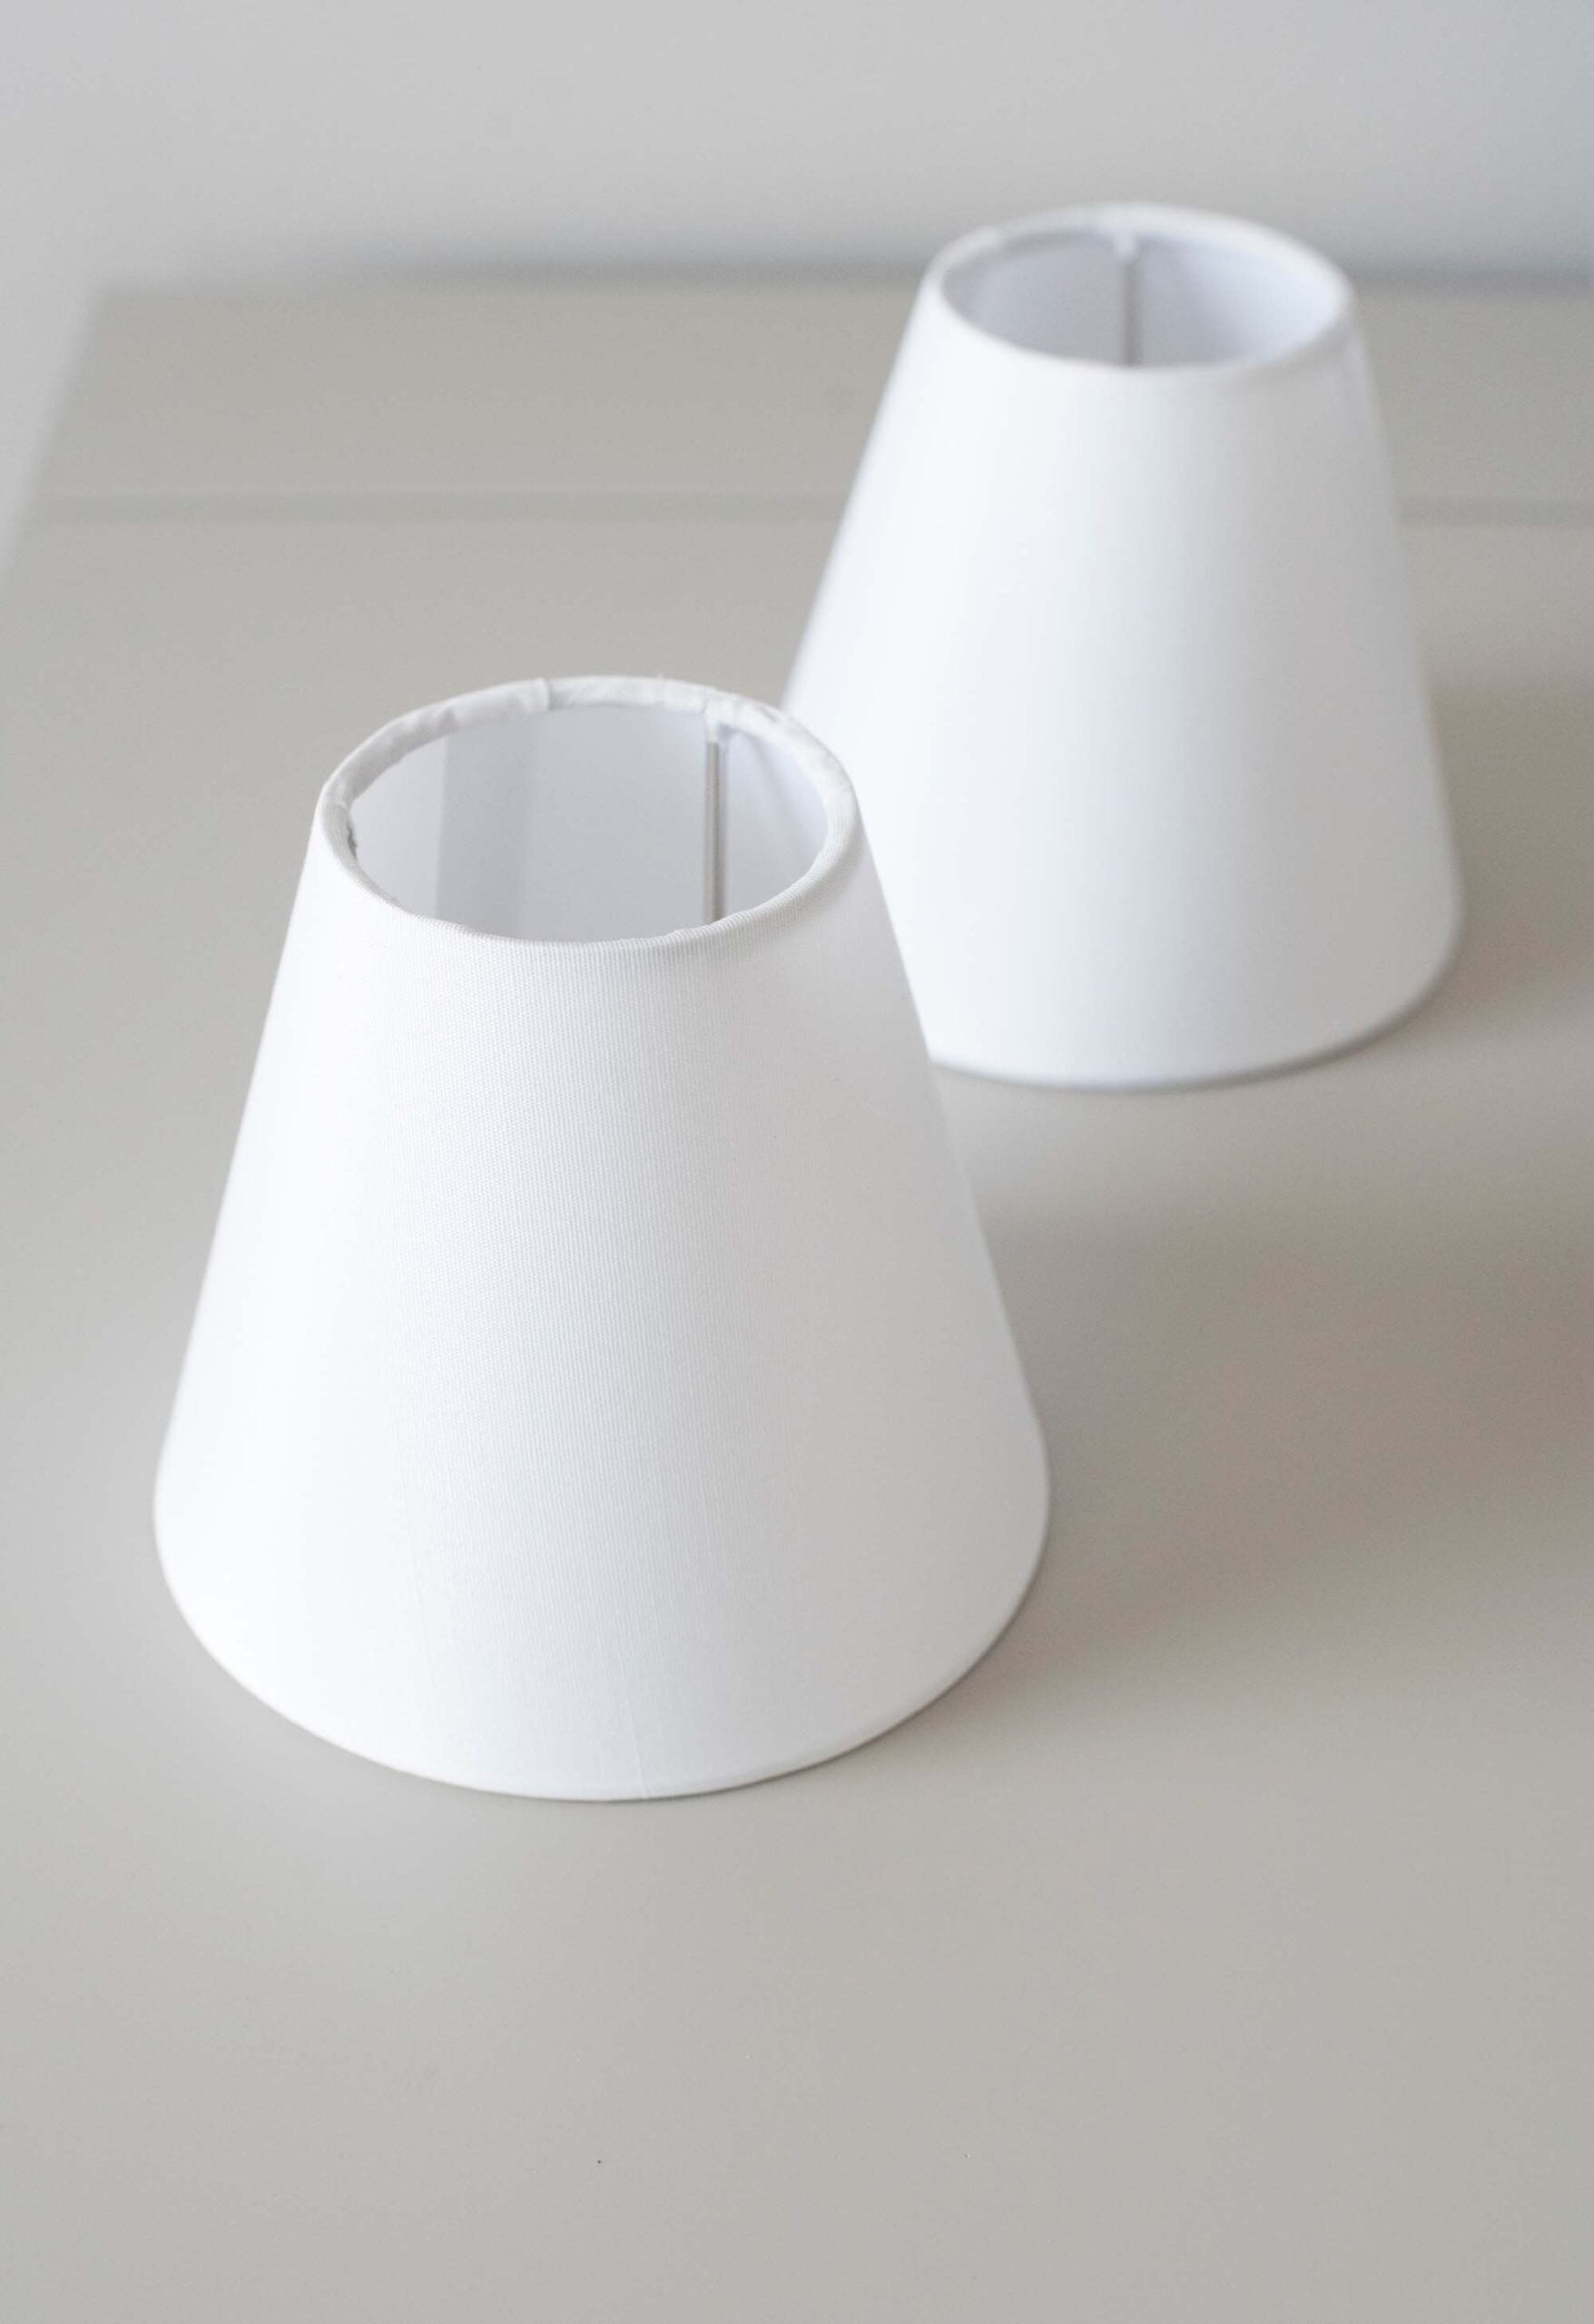
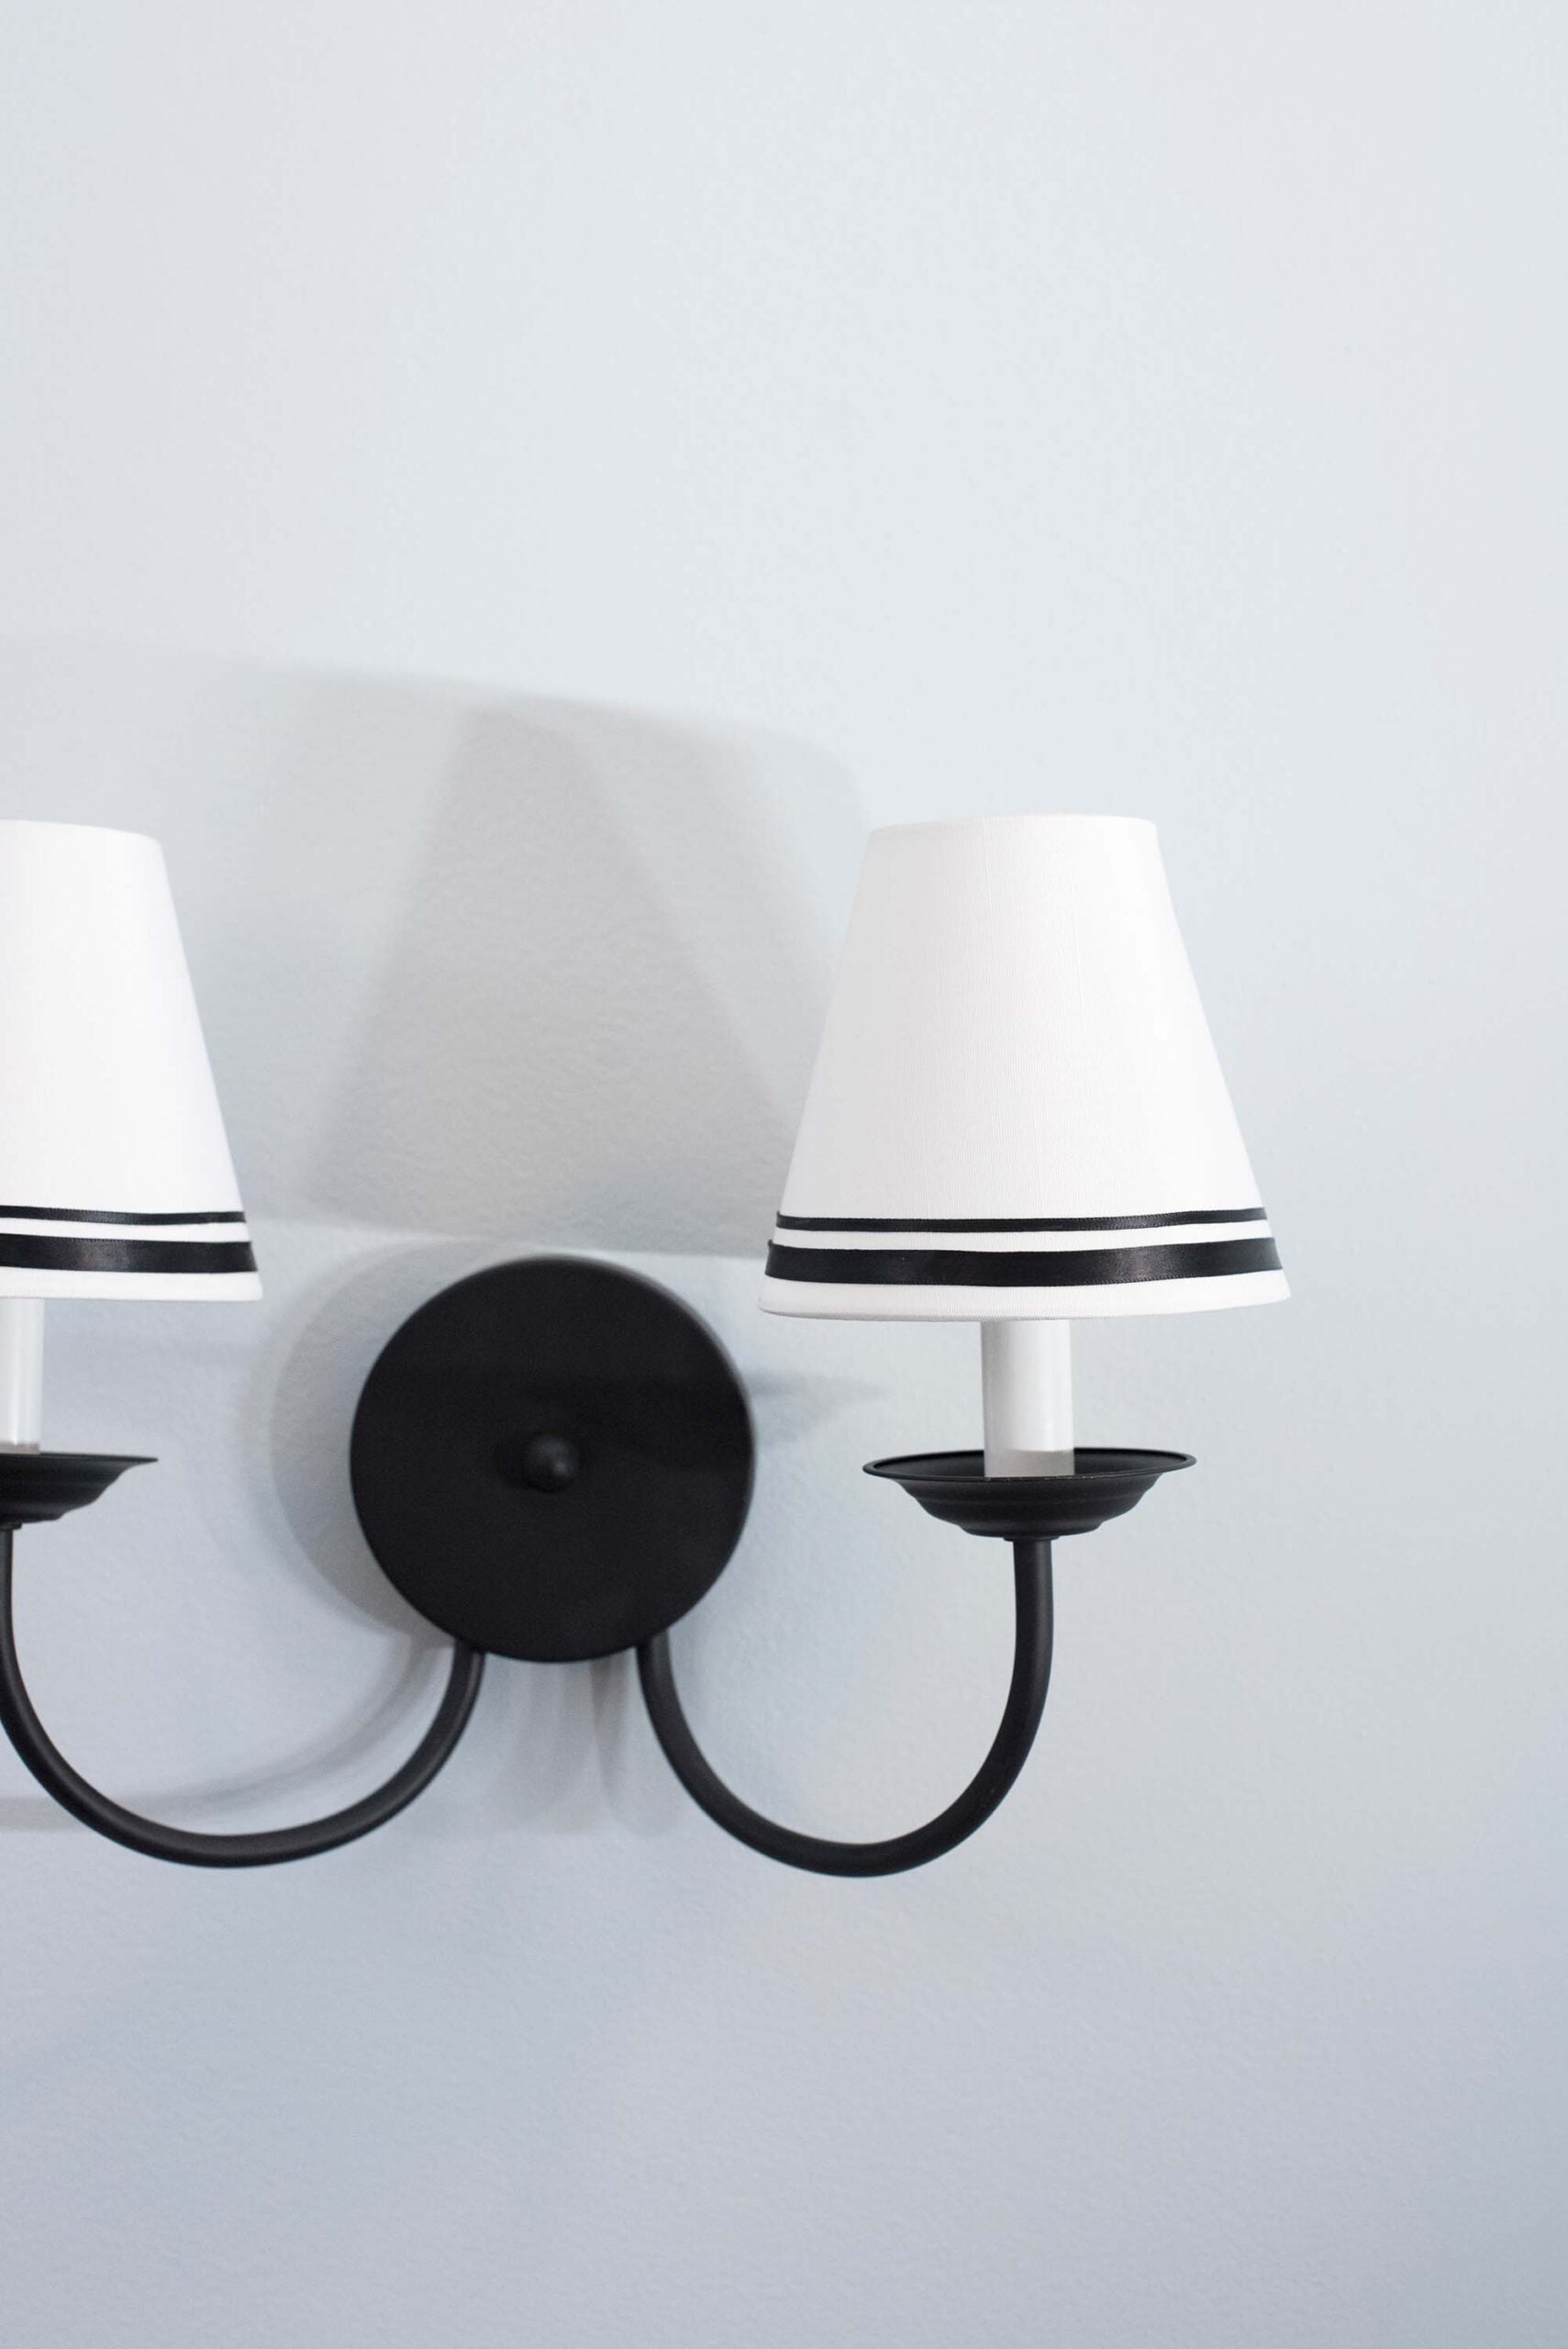
These are the two shades that came with the fixture; they’re actually very nice and would be beautiful left as is, but they’re boring. I just wanted to jazz them up a bit! My plan was to mimic the black contrast pencil tile in our guest bathroom and bring the graphic stripe upward to the sconce. One of my favorite decorating tricks is upgrading what you already own before replacing it.
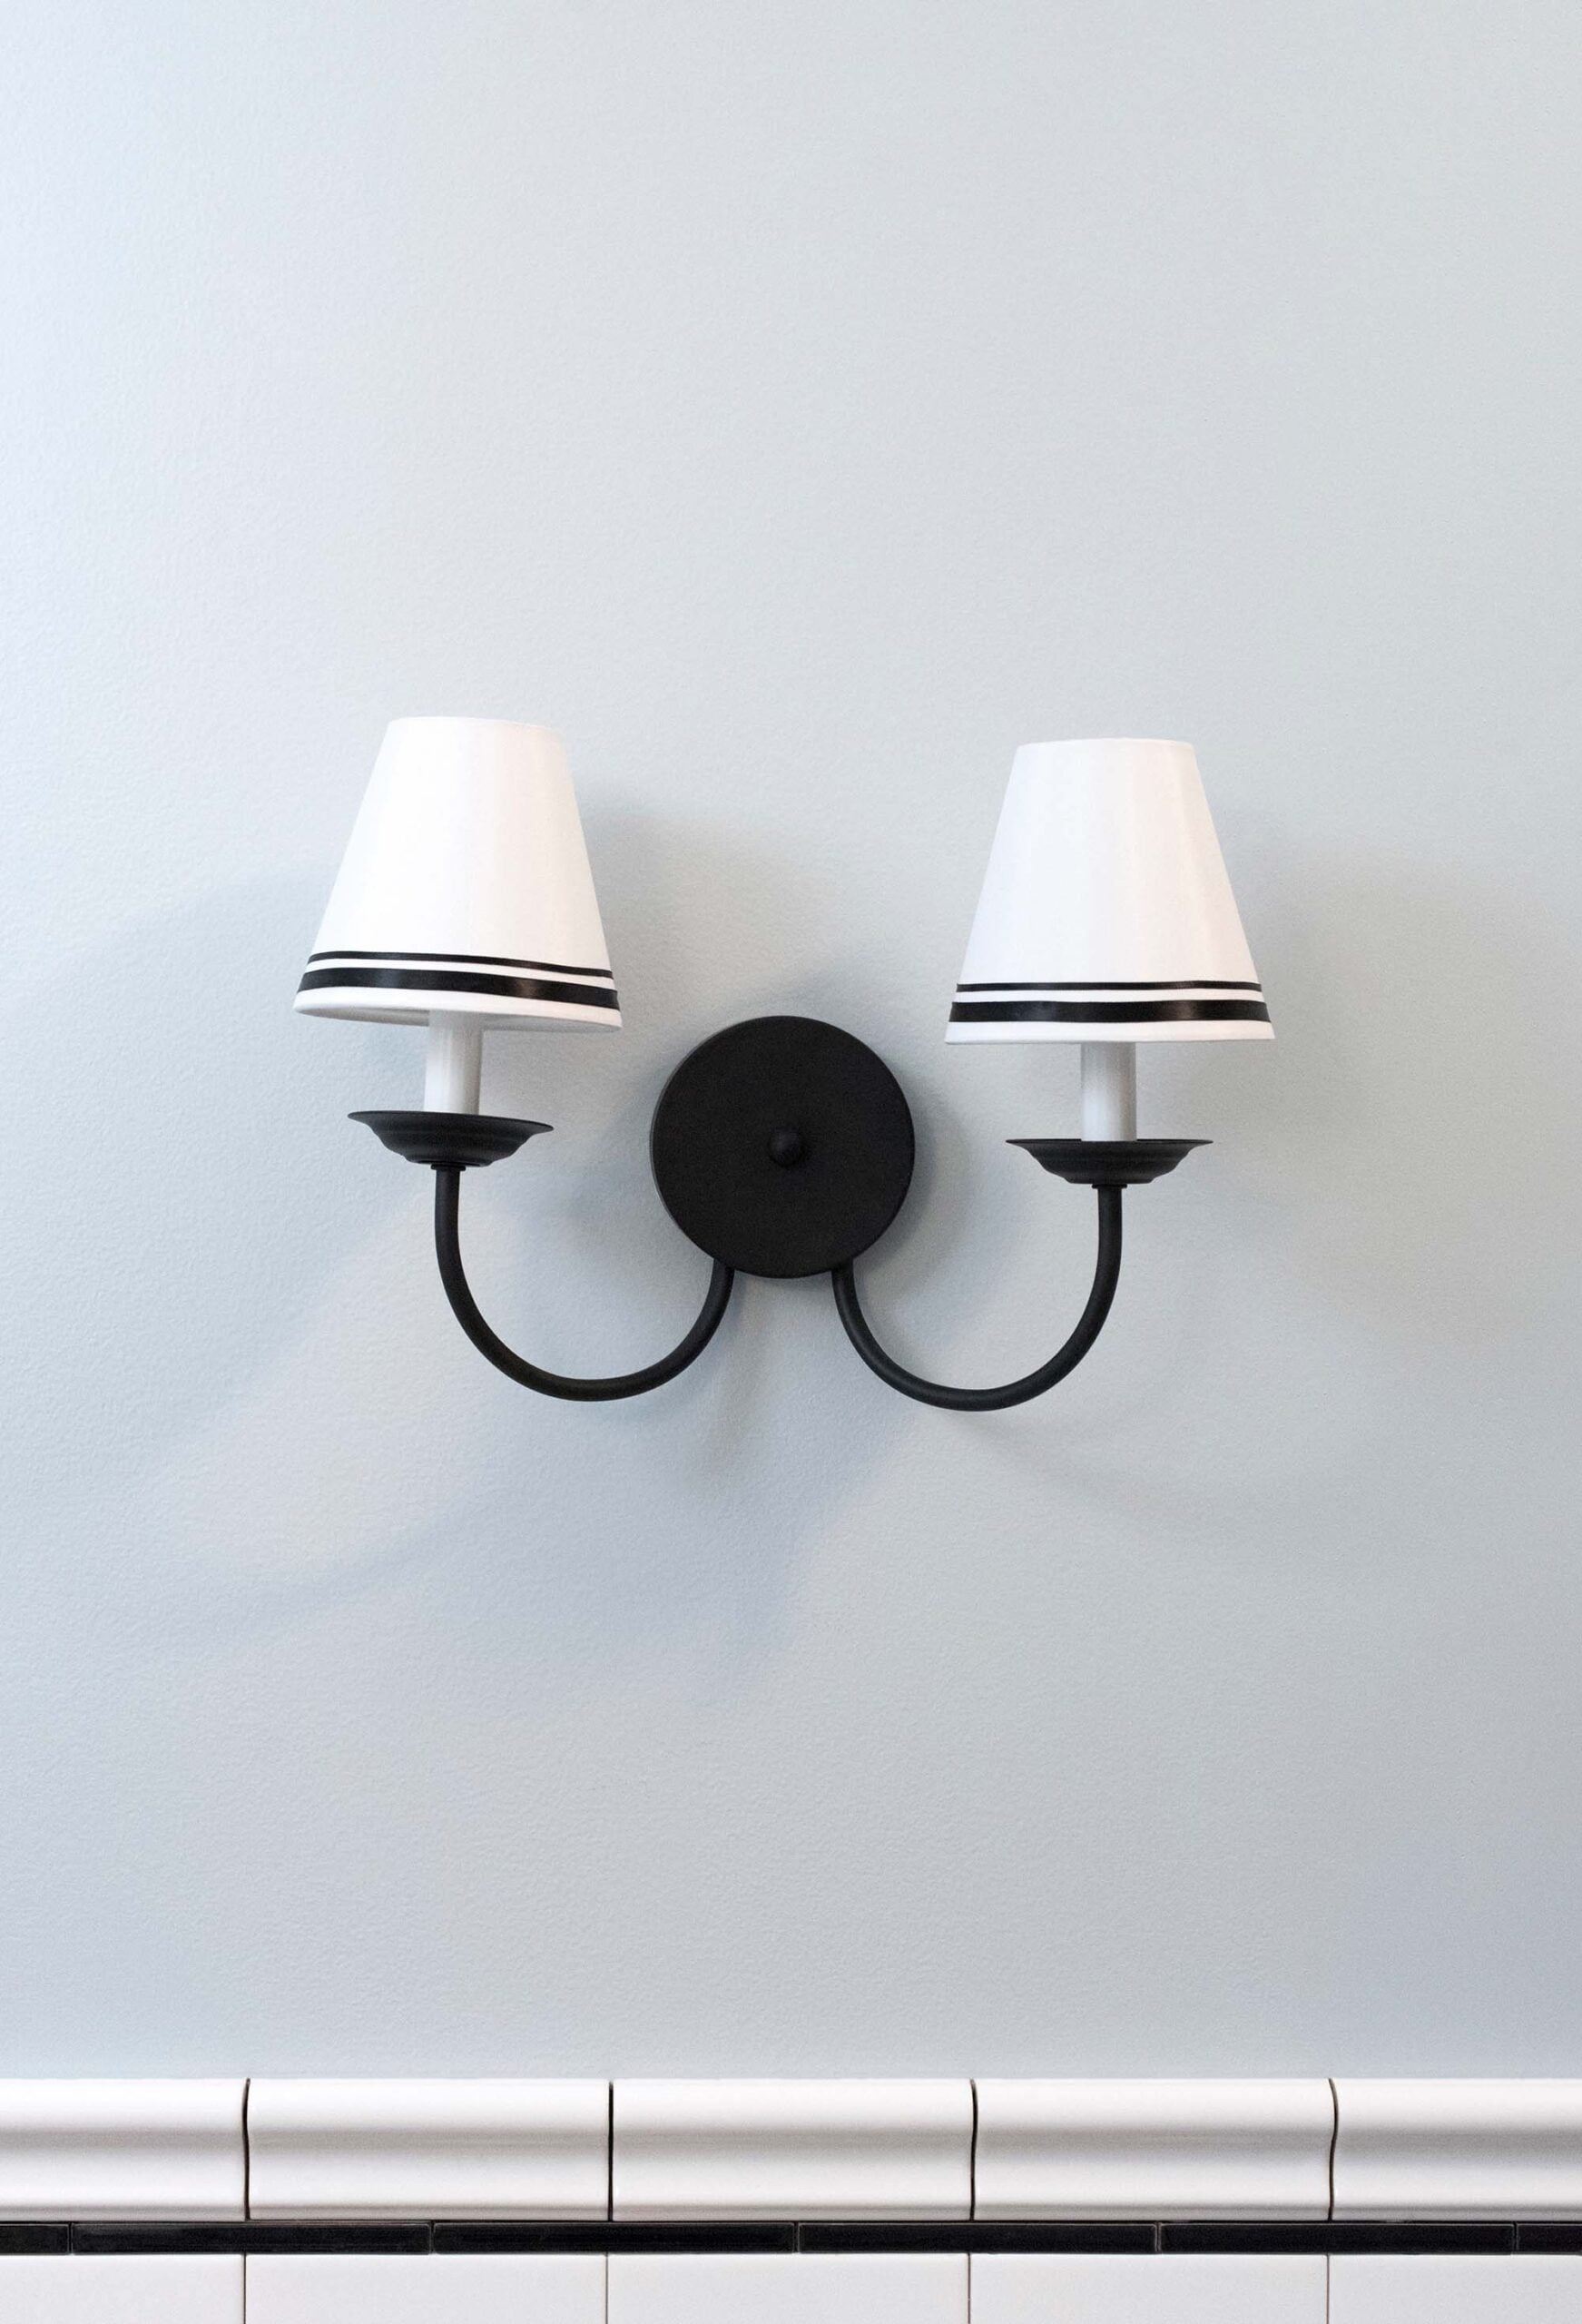
It’s cute, right? I’m digging the high-contrast black and white. It certainly has a vintage appeal. Here is what you’ll need for the project…
Supplies You’ll Need
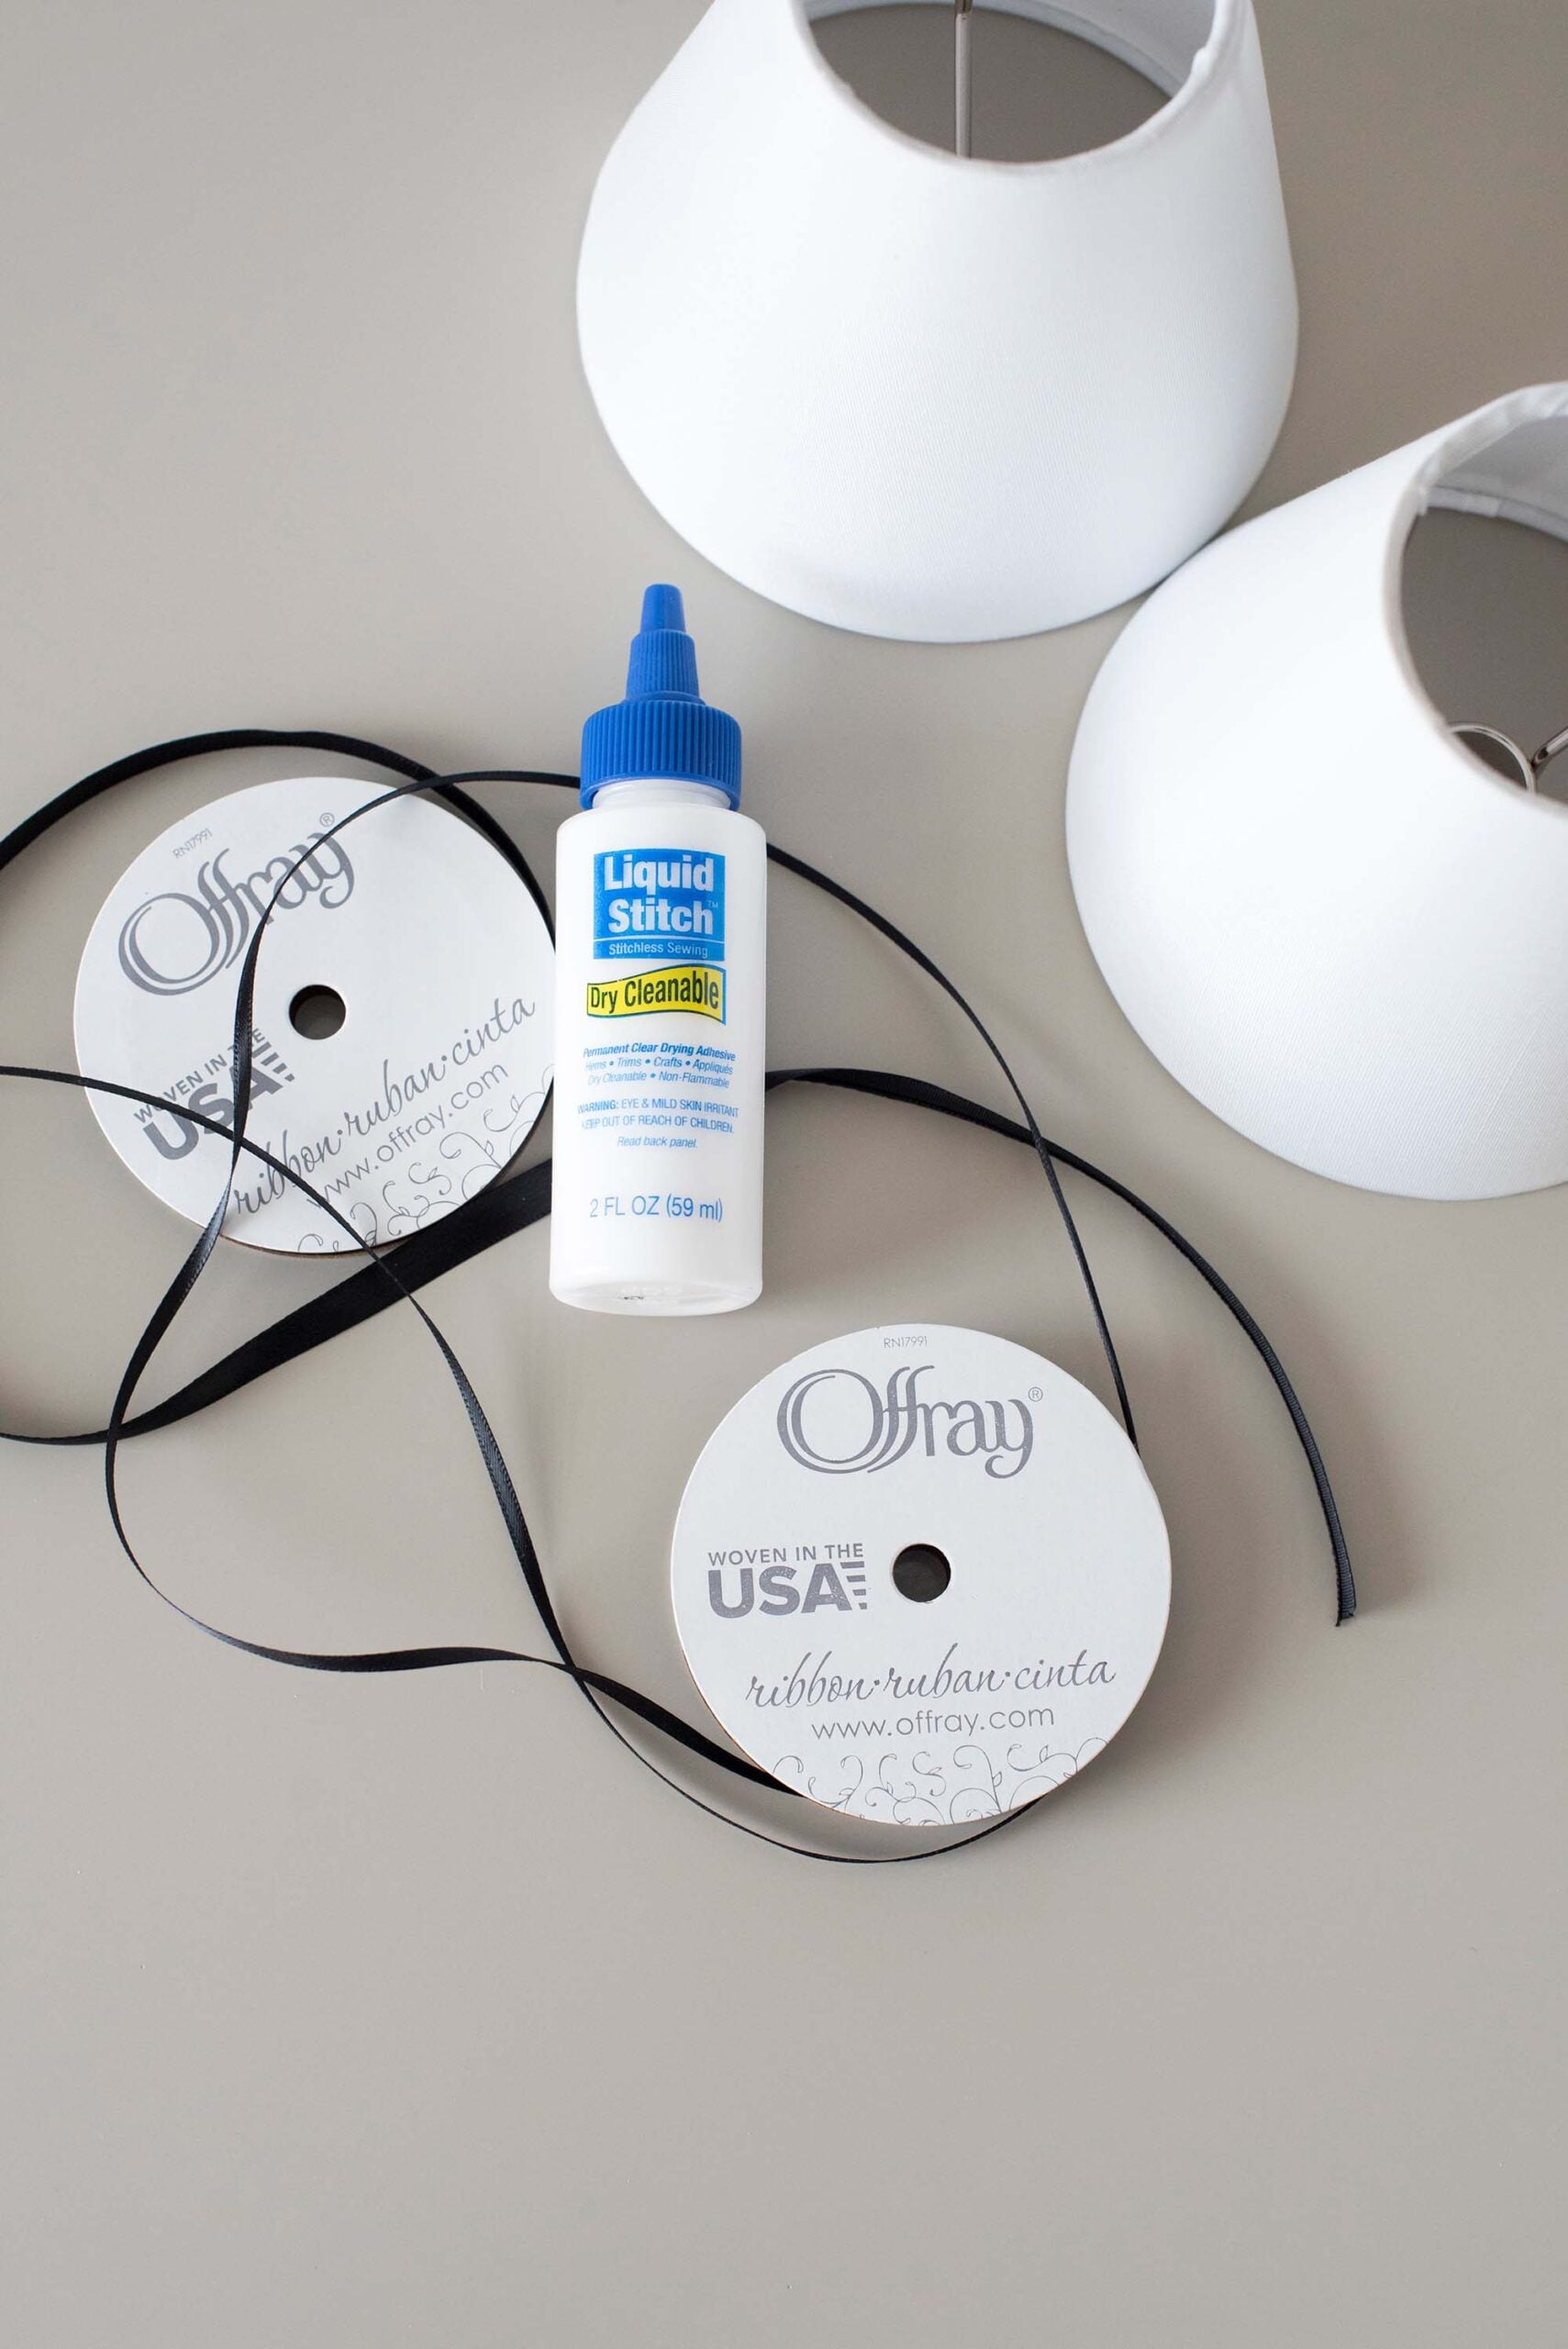
For this DIY sconce shade upgrade, I used the following. That’s it! I chose black grosgrain ribbon because I wanted a clean, tailored look that felt timeless rather than trendy.
- Livex lighting mendham 2-light black hardwired sconce
- Liquid stitch
- Ribbon (I used two size variations)
- Scissors
How to Upgrade a Sconce Shade
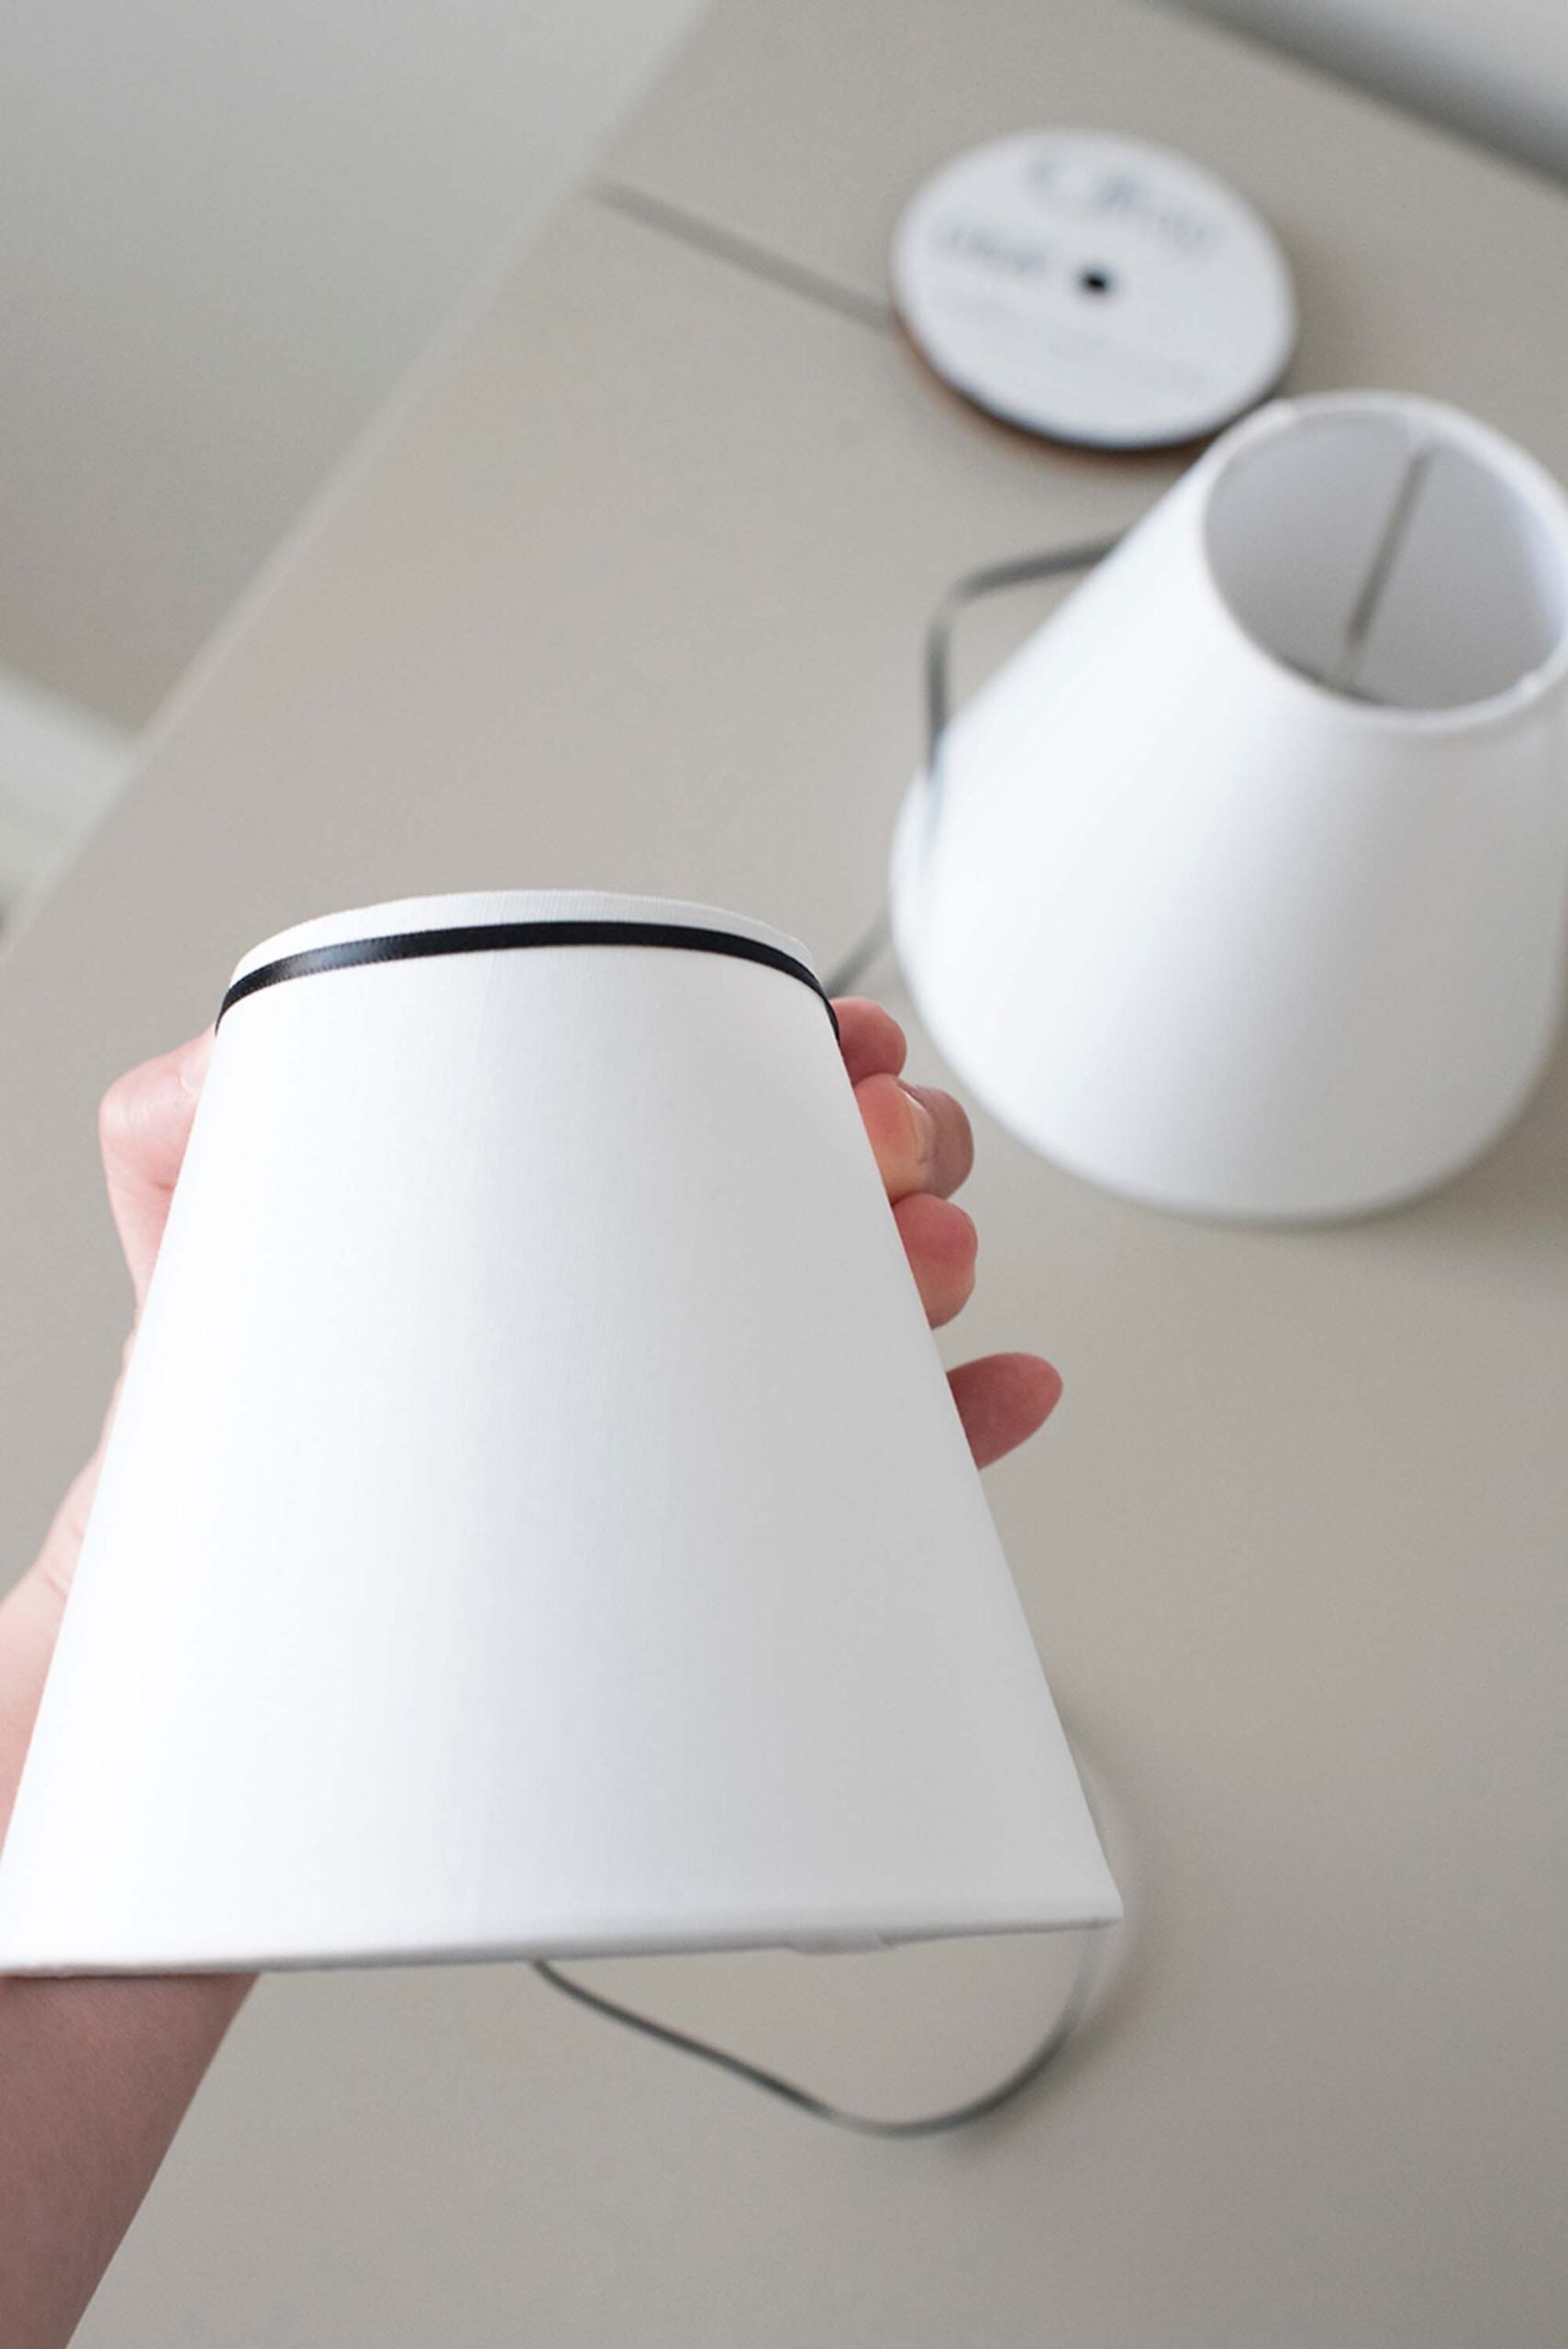
Step 1: Plan Your Layout.
Initially, I thought I wanted the ribbon to wrap around the top portion of the shade. Make 100% sure that’s where you want it to go because once the liquid stitch glue sets, there is no turning back…
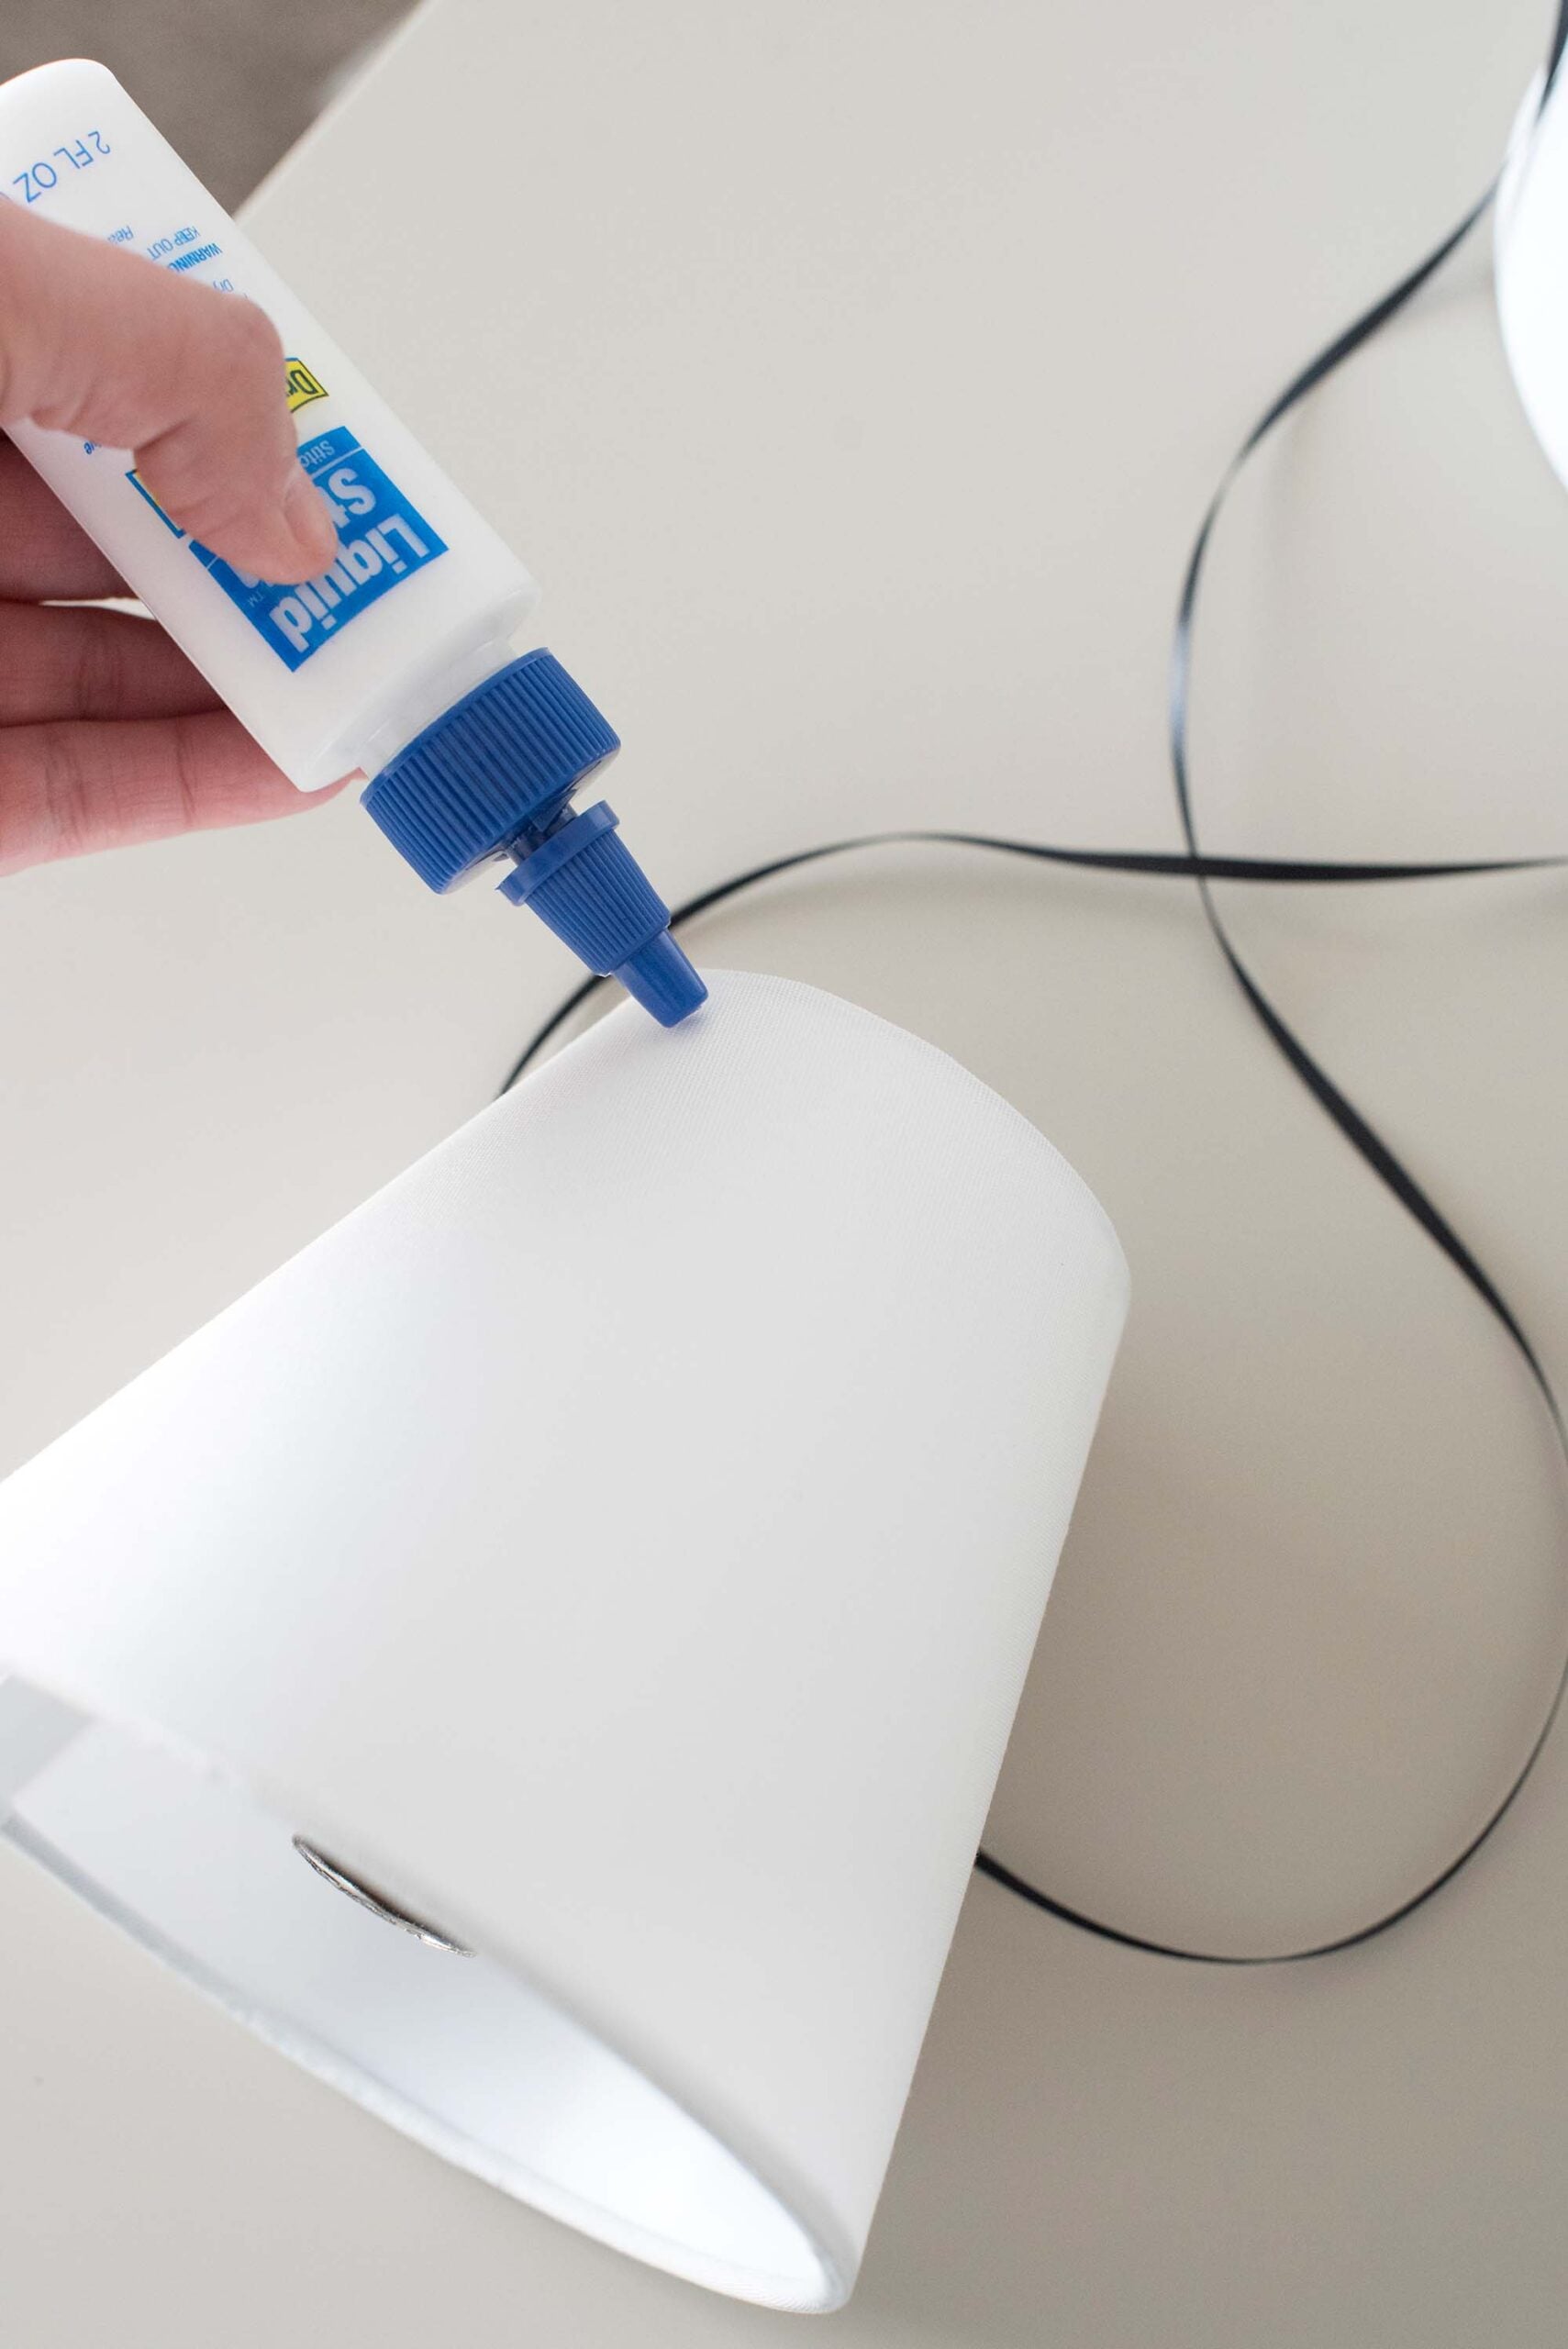
Step 2: Glue The Ribbon Down.
Luckily, I only squeezed out one drop of glue before deciding I wanted the ribbon to line the bottom portion of the shade instead. Ha! A quick wipe avoided the crisis. For one method, I applied the glue directly to the shade; for the second, I applied the glue to the ribbon. I think dotting the glue onto the ribbon worked best, but either method secured the ribbon really well!
Carefully press the ribbon into place, smoothing as you work around the perimeter. Mine isn’t perfectly straight, but it doesn’t really bother me. I’m sticking with “it adds charm, character, and a vintage aesthetic”.
Step 3: Connect The Ribbon At The Seam.
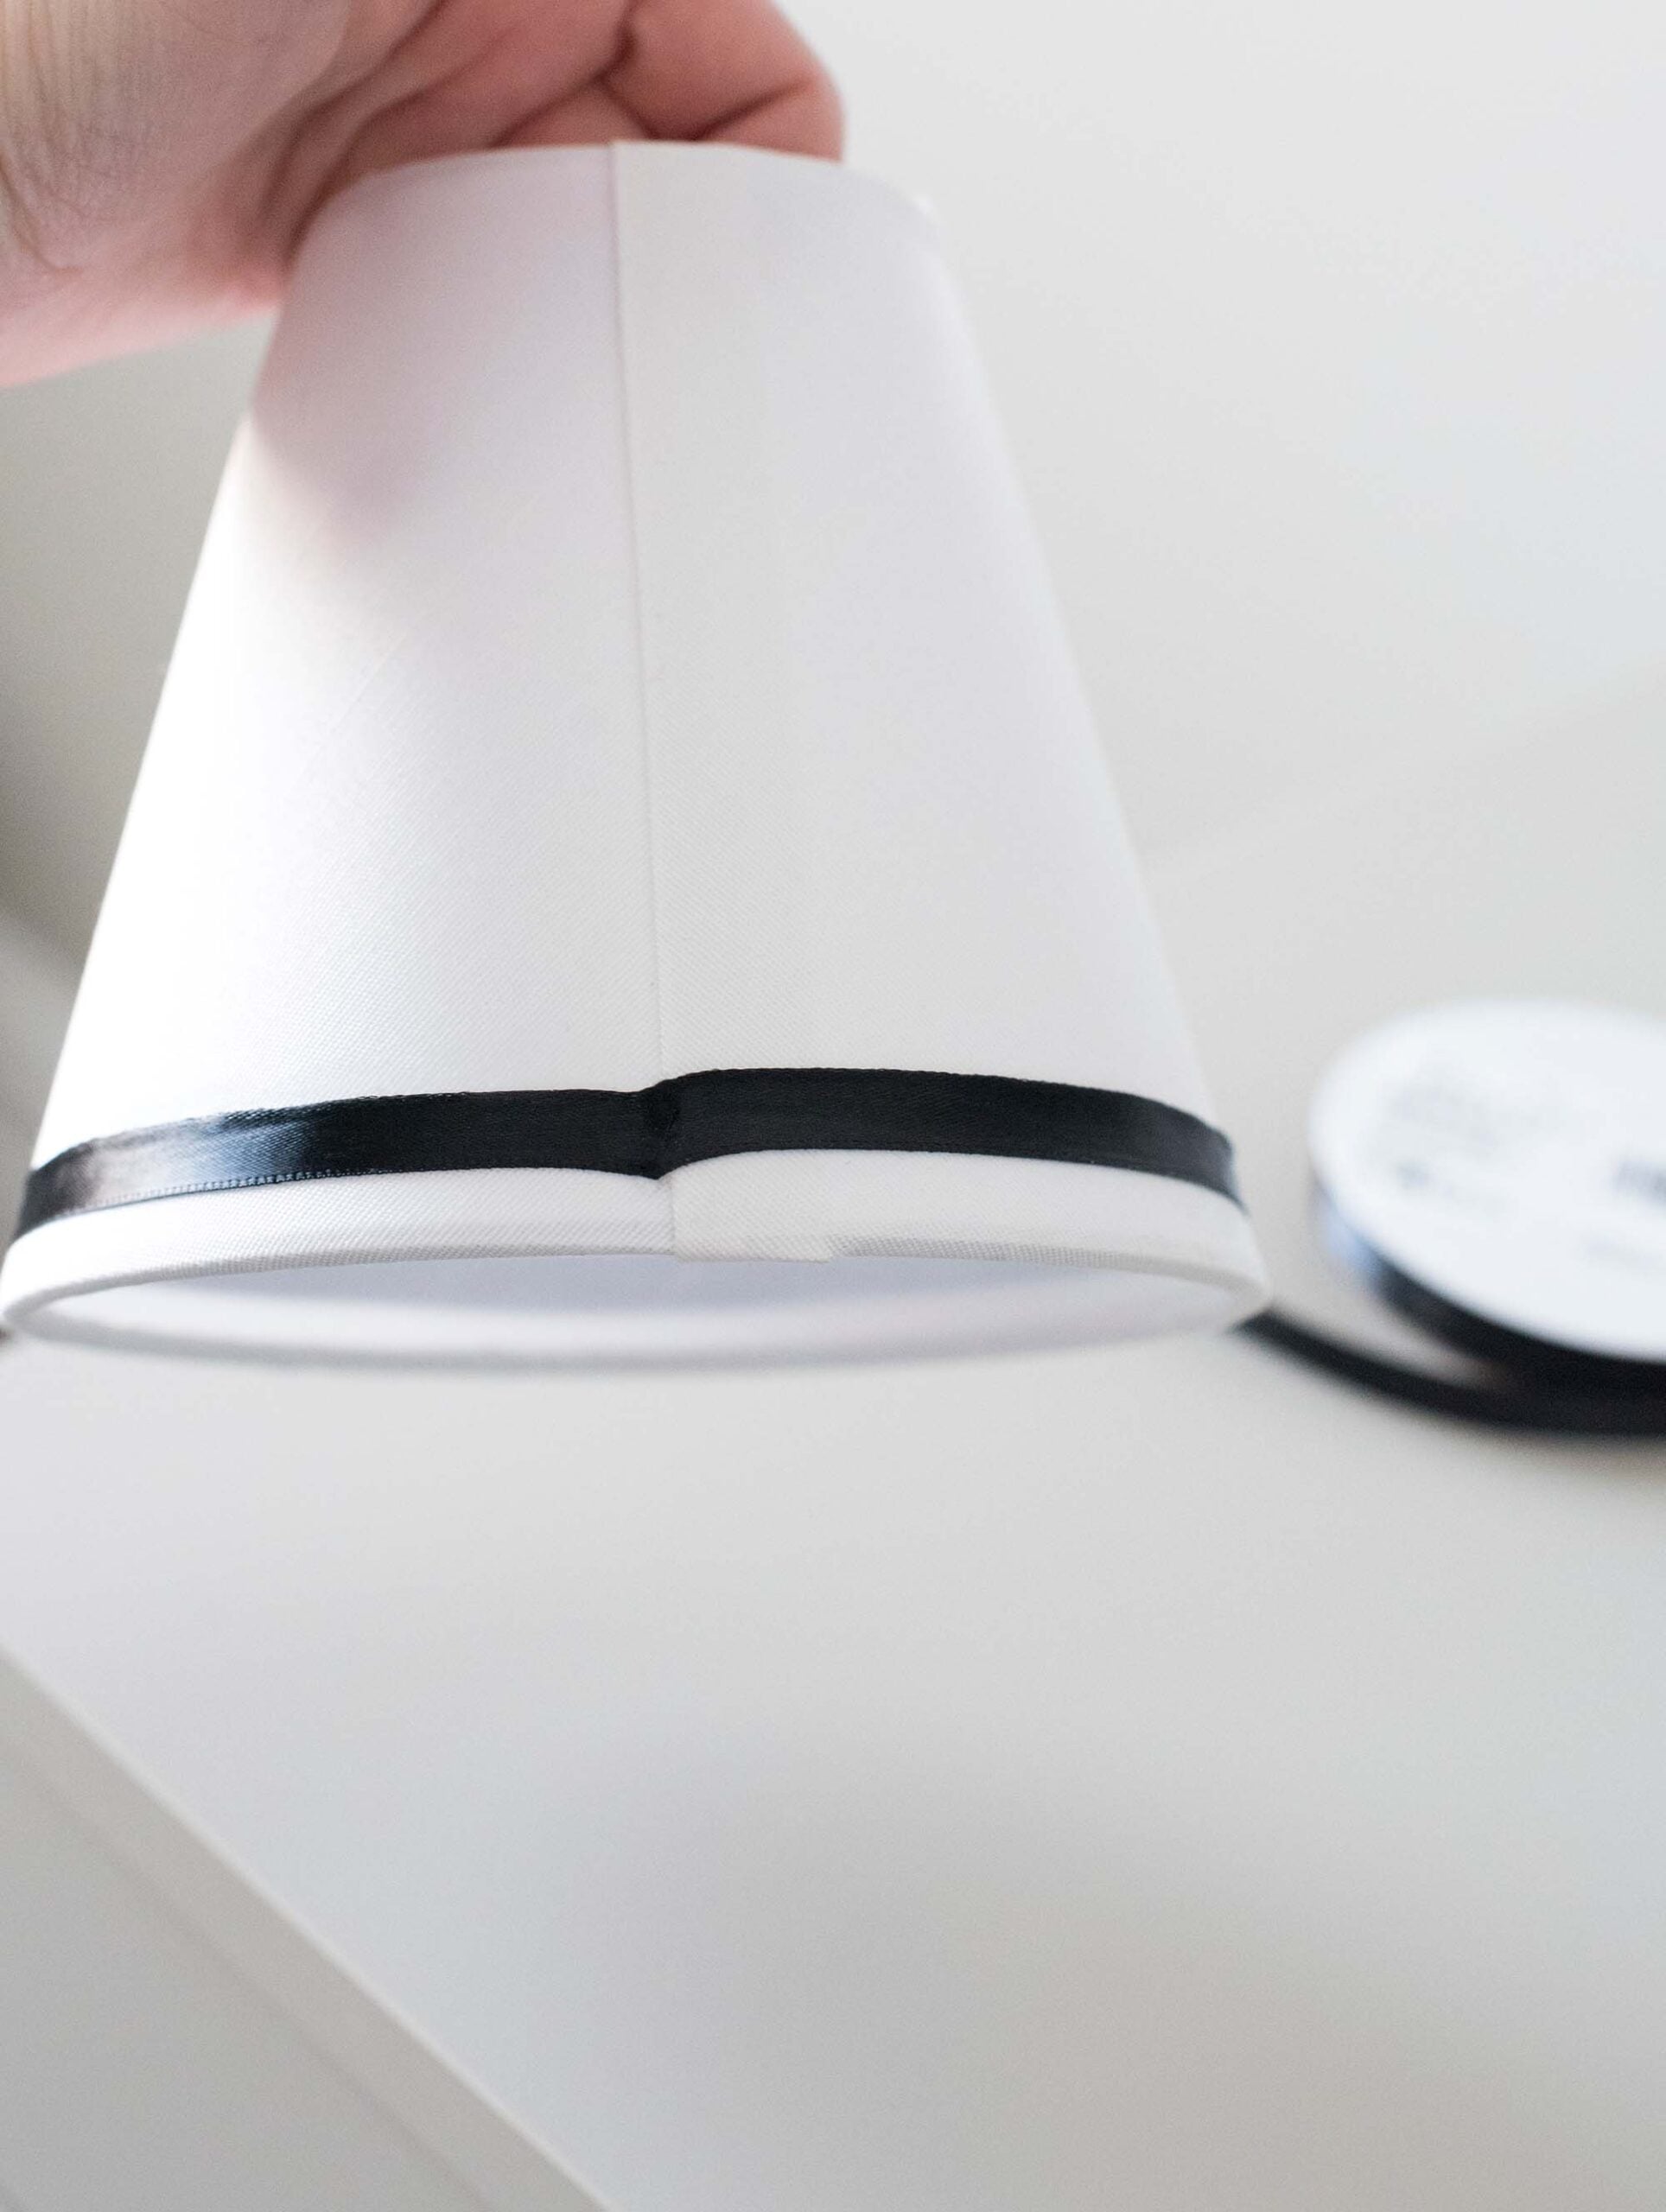
Once you reach the end of the ribbon, trim it, and press it down onto the back shade seam. It’s ok if it doesn’t align precisely… nobody will notice since it’s on the backside facing the wall.
Step 4: Repeat.
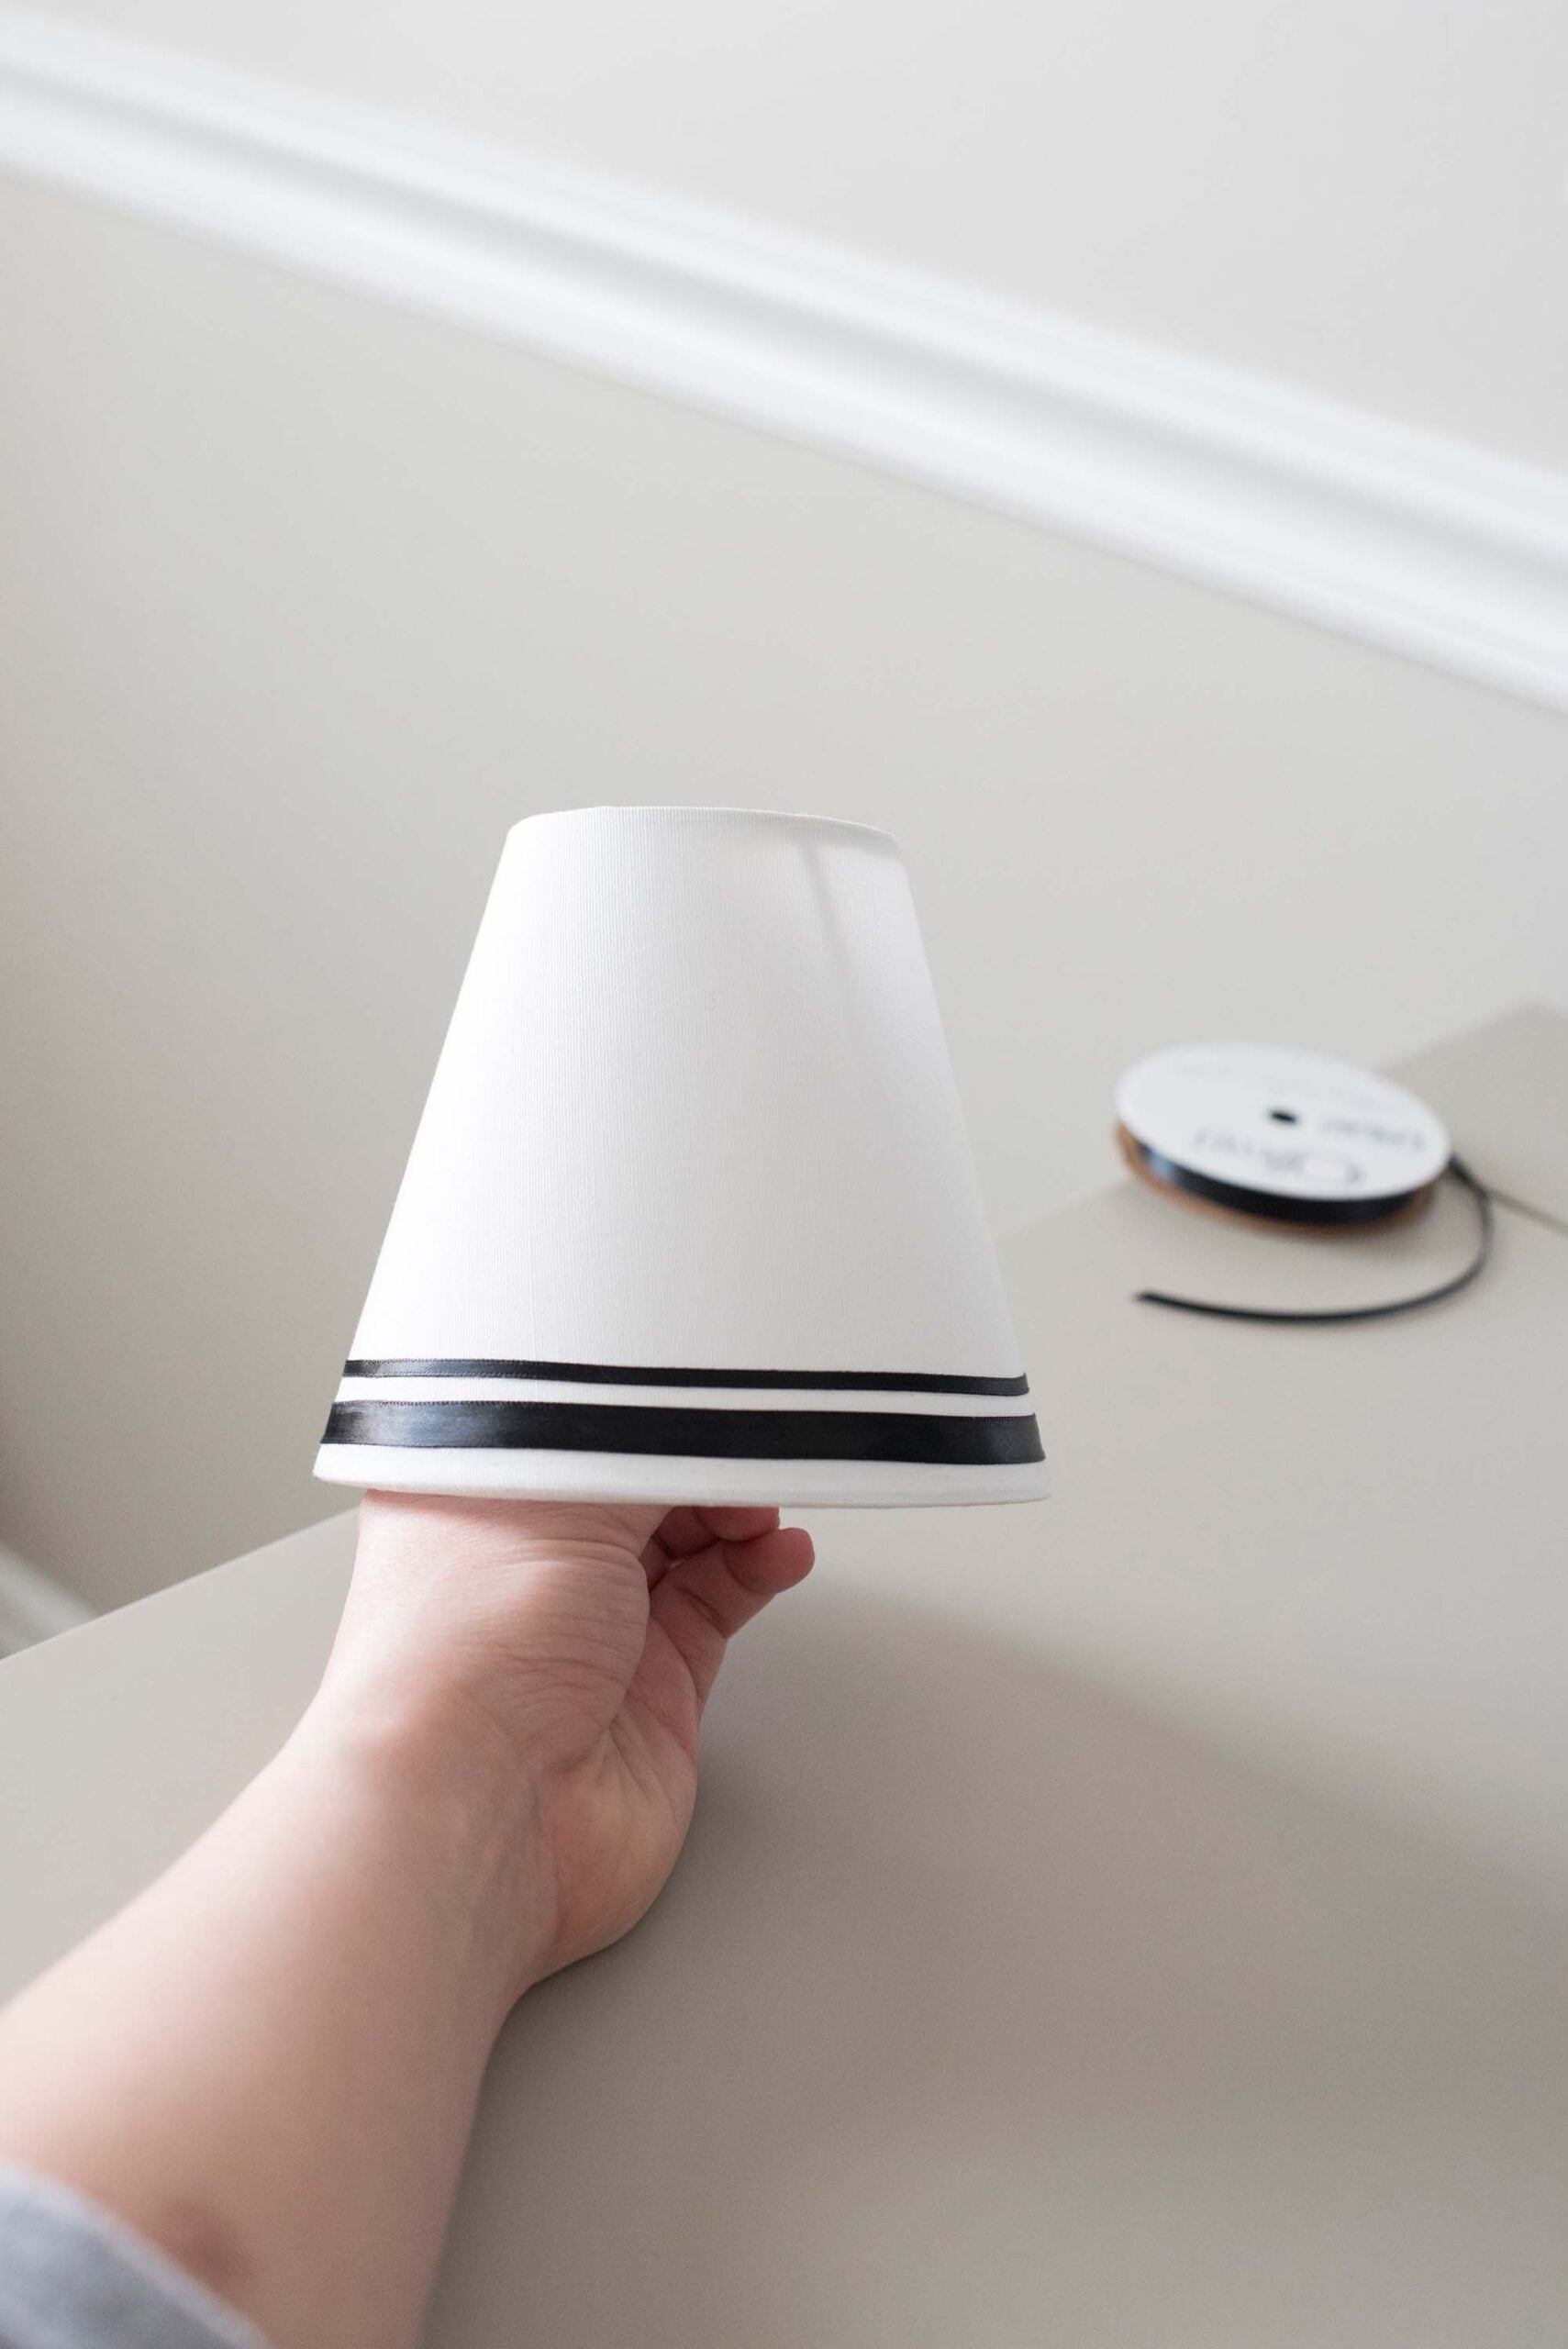
If you like the double line look, like mine, repeat the steps for the second ribbon. Allow the shades to dry for 24 hours before installing them on the sconce.
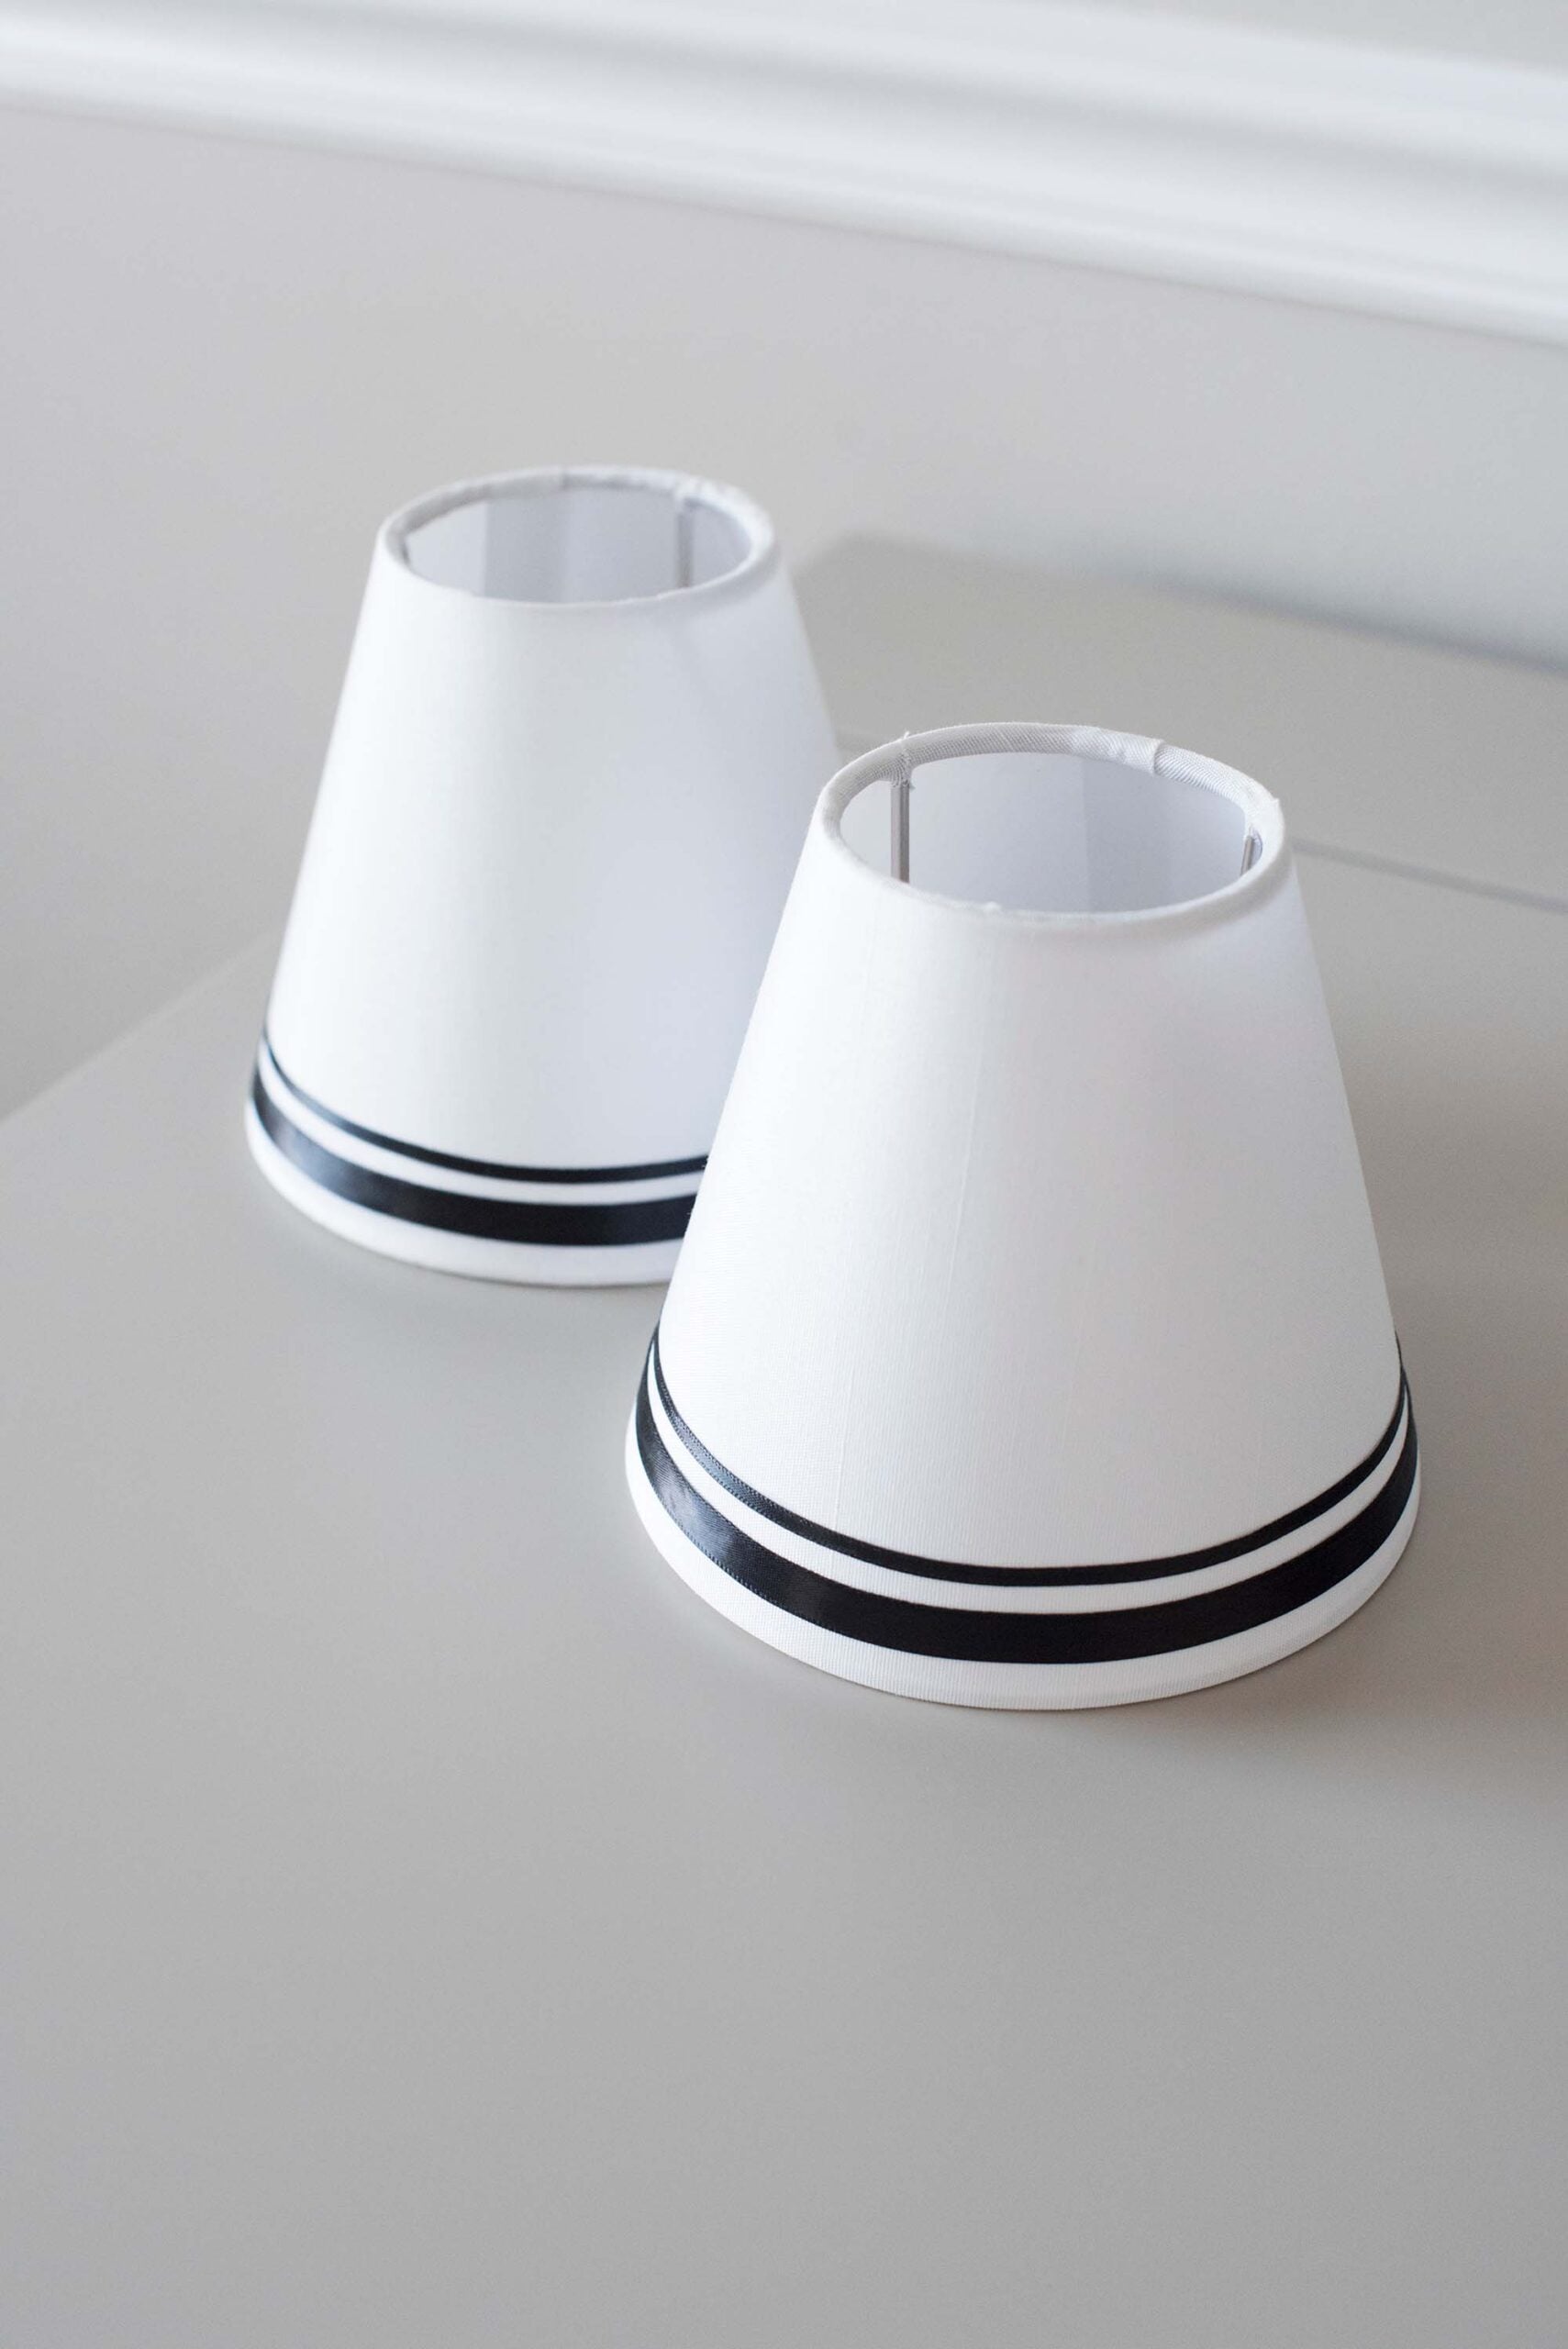
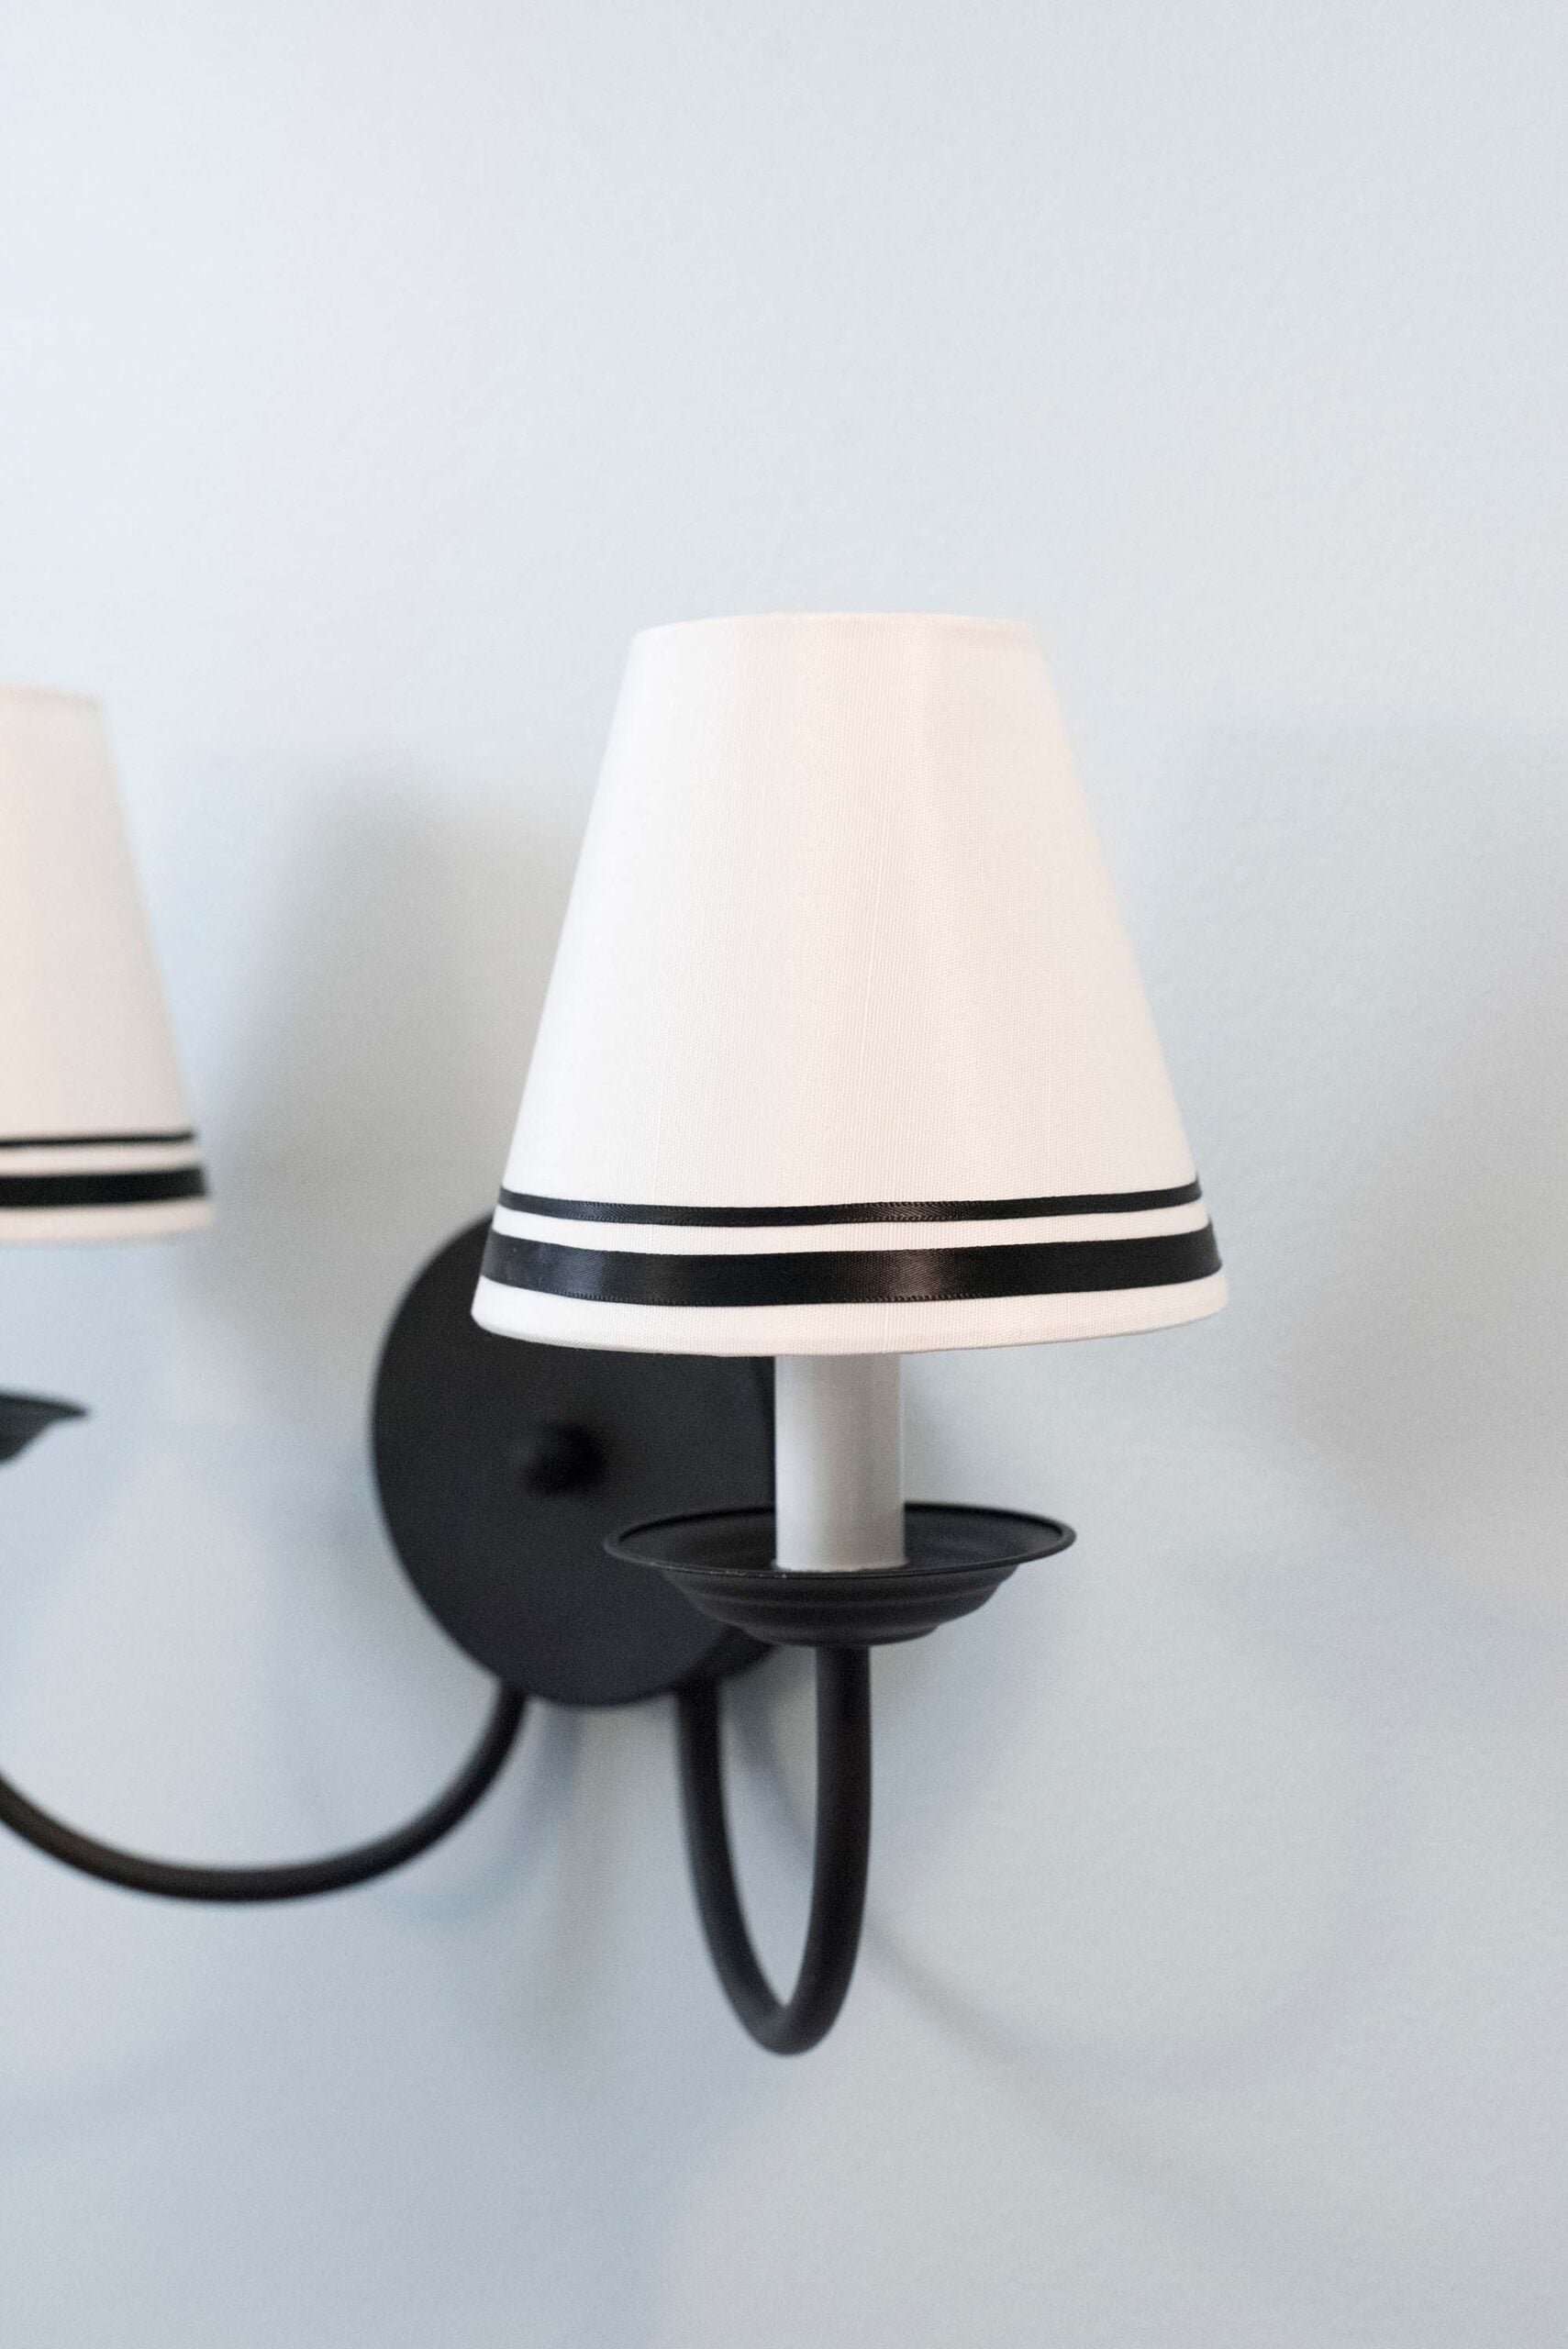
I really like the way they turned out and the graphic punch it adds to the sconce! It definitely has a designer feel, similar to this beauty or this one (I’m actually using these in the main cabin bath renovation). I also really like the shape of this sconce. It has a very traditional, delicate, and timeless look with those swooping arms.
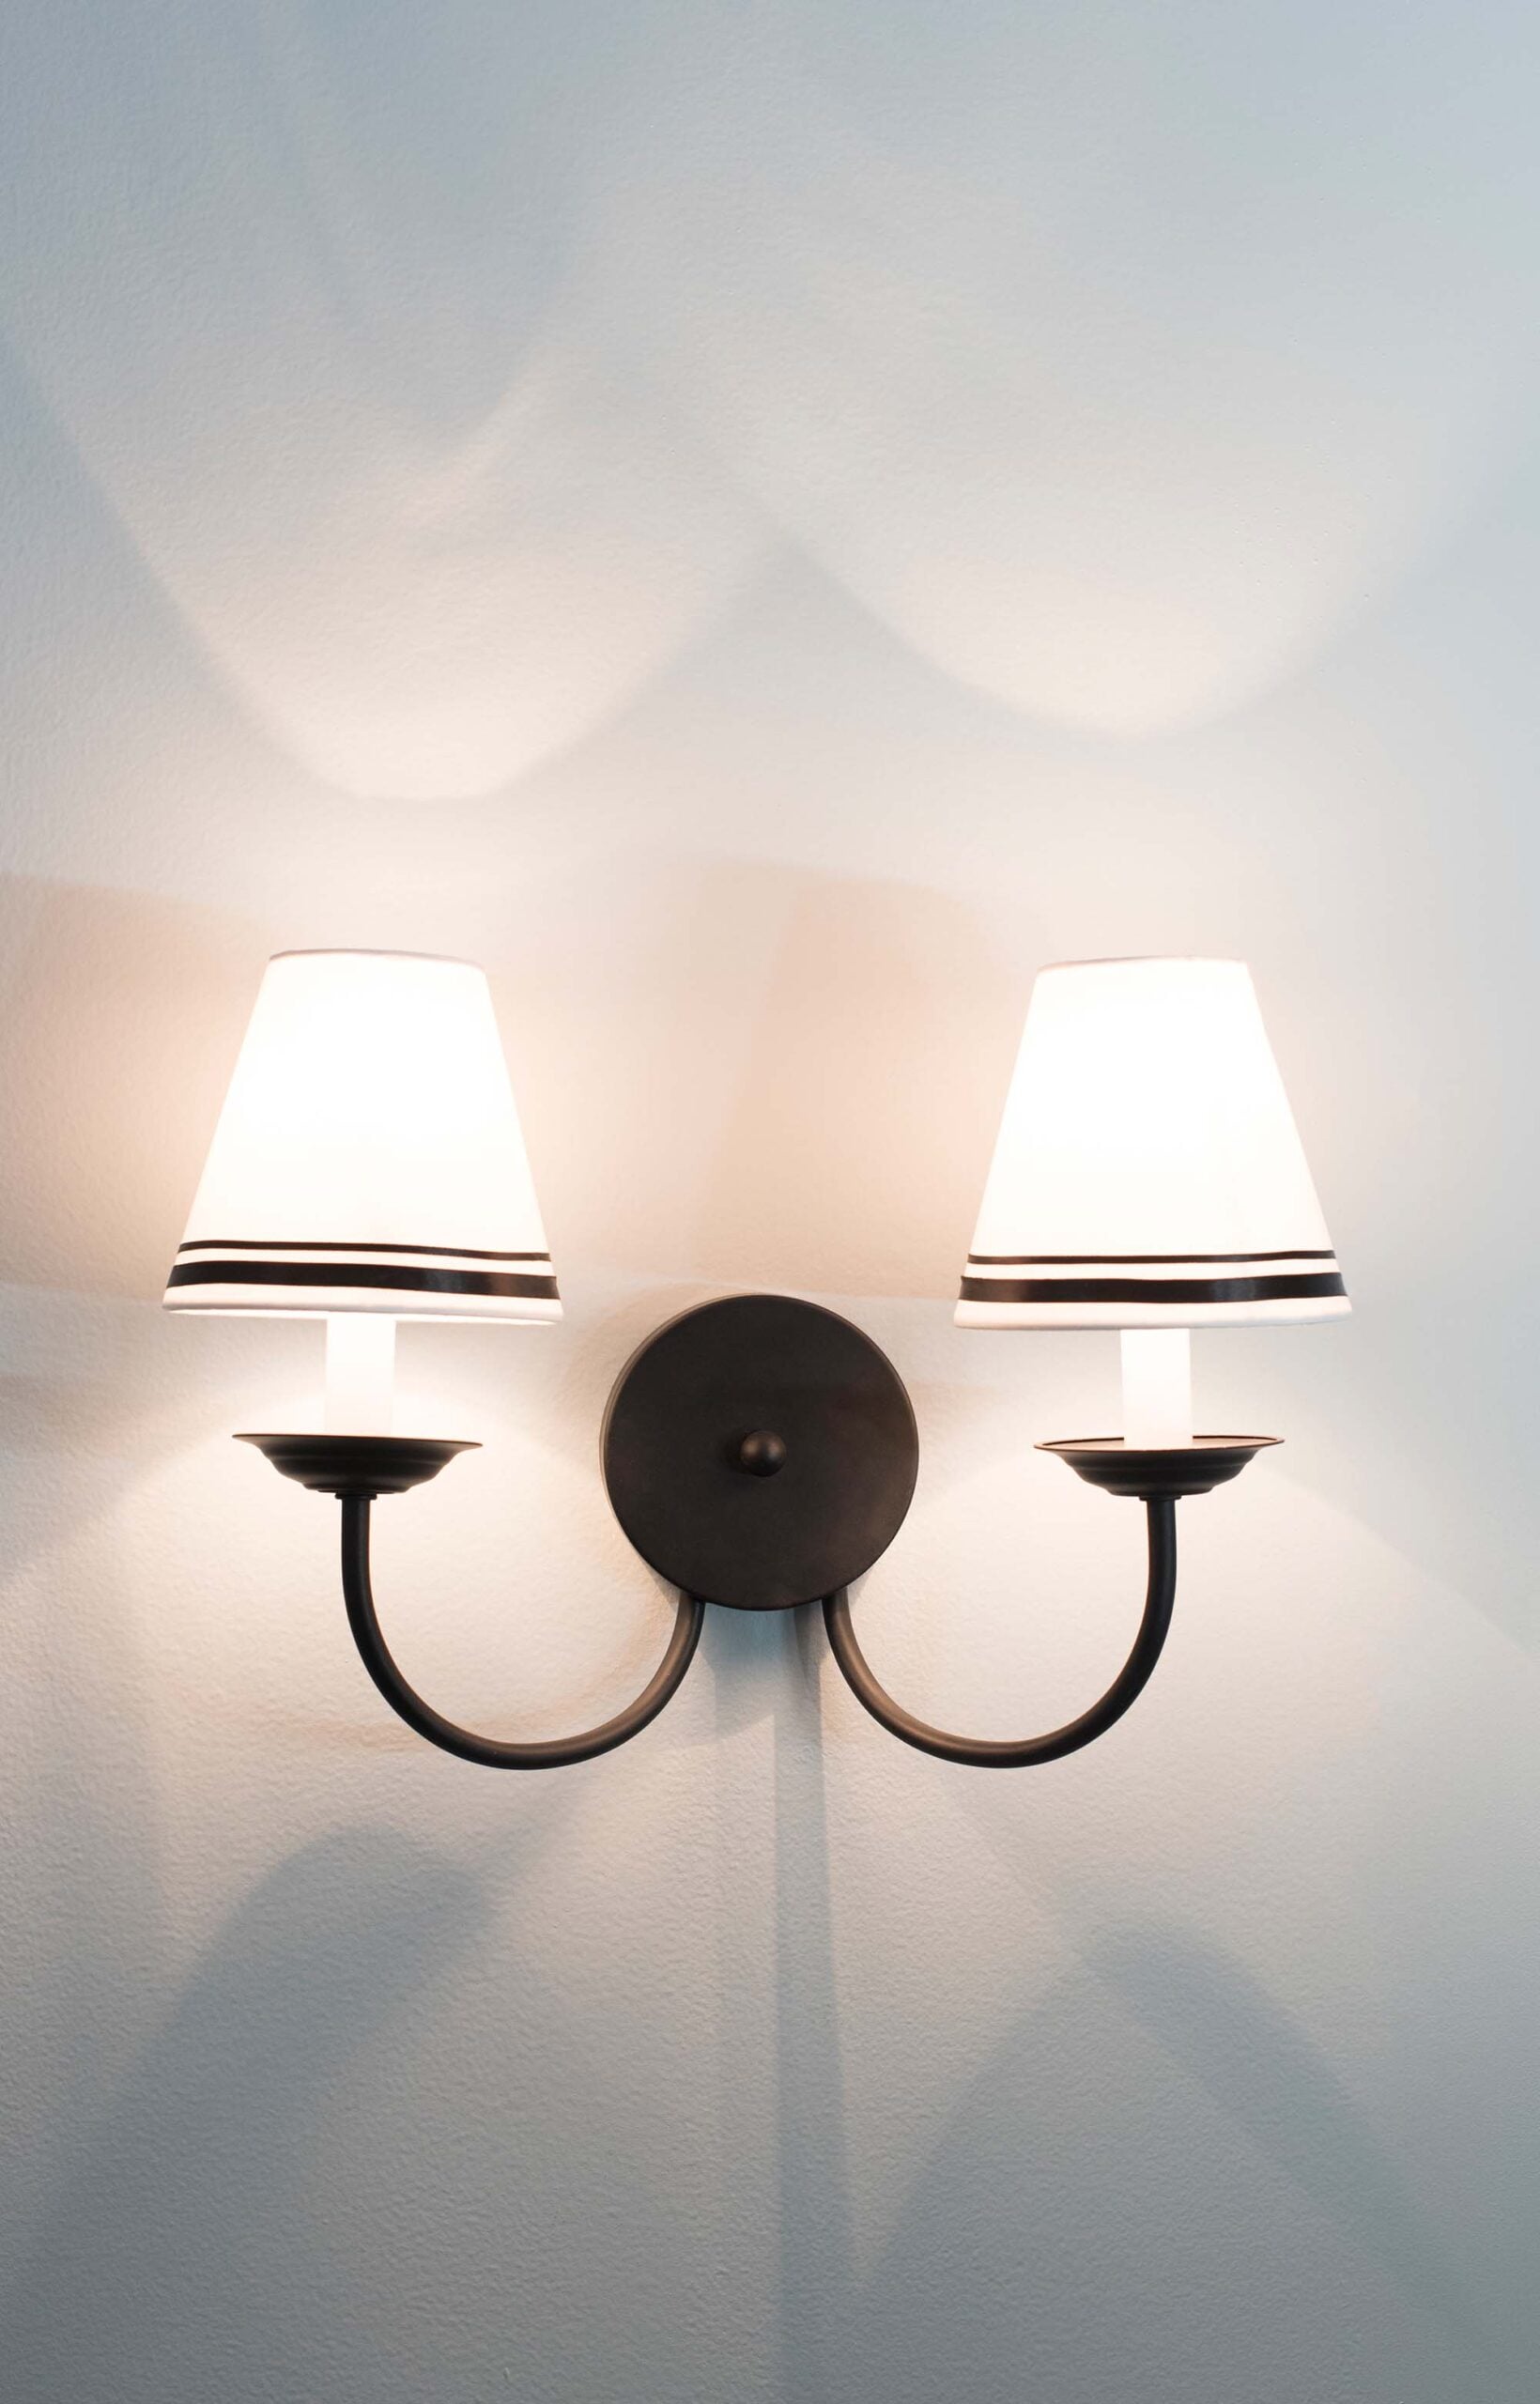
Want to see it lit up? This light lives above a burl bathroom vanity in our guest bath, so it’s on a different switch than the main lights. I feel like it gives off the perfect, warm glow that is ideal for a relaxing soak in the tub that sits adjacent to it.
Questions?
Grosgrain ribbon is one of my favorites because it holds its shape well and creates a crisp, tailored edge. Velvet, linen, and decorative trims can also work beautifully.
Yes. Mine has held up remarkably well. Using a quality fabric adhesive and allowing it to cure properly makes a big difference. All these years later, the glue has not yellowed and it still looks the same.
That depends on the adhesive and shade material. Always test a small area first if you think you may want to remove it in the future.
Most recently, I added a DIY pleated shade to the florian sconce in the nursery reveal. Here’s another post you might find helpful… how to choose a clip on sconce or chandelier shade– many of which can be customized!
Related Posts
Looking for more lighting inspiration? I’m going to link some favorites for you below. I hope they help inspire your next home project!
- Light Switch and Outlet Layout Guide for Your Home
- Flush Mount vs Semi Flush Lighting: When to Use Each
- How to Layer Lighting Like a Designer
- Designer Lighting Looks for Less: Visual Comfort Dupes
- Designer Lighting Picks for Less from Wayfair
- Where to Install Outdoor DIY Solar Landscape Lighting
- How to Light a Kitchen Like a Designer
- How to Properly Light a Bathroom for Function and Design
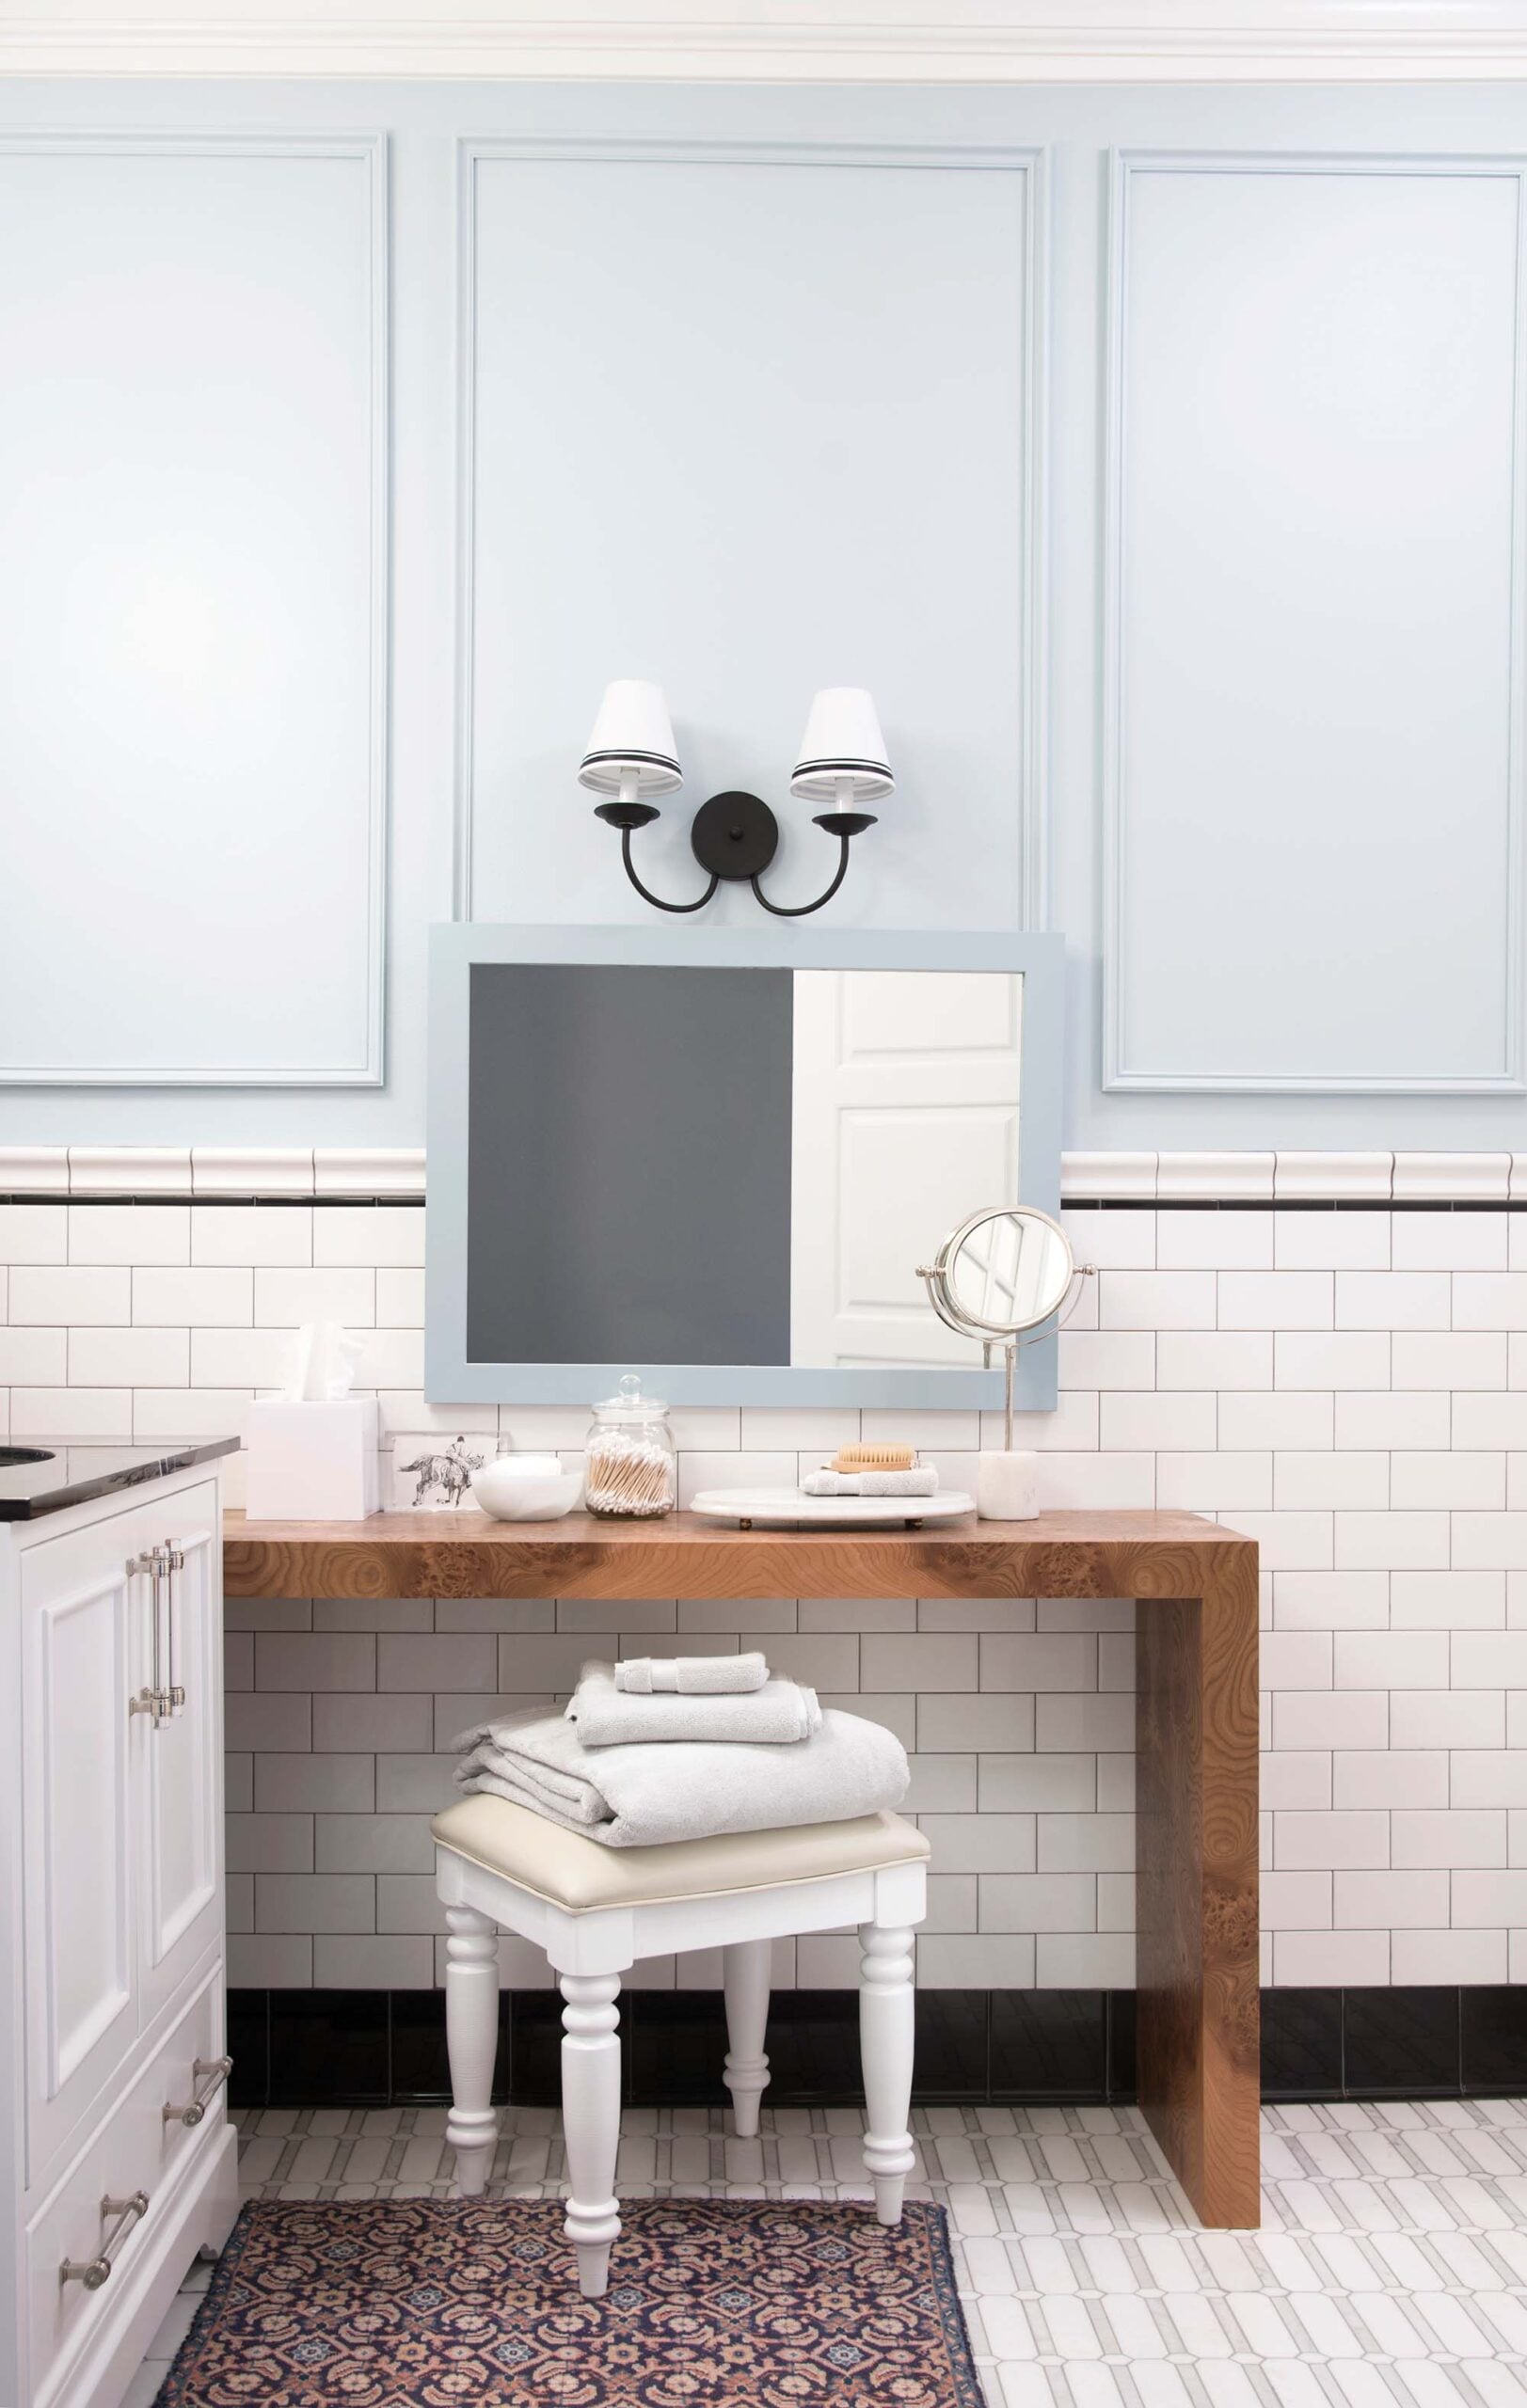
This easy sconce shade upgrade remains one of my favorite budget friendly decorating projects because it proves that small details can have a surprisingly big impact- and it’s so easy. What do you think of my little light update? If you’ve ever looked at a light fixture and felt like it was almost right, try upgrading the shade before replacing the entire fixture. This could also apply to any lamp shade: a table lamp, floor lamp, wall sconce, etc. I’ll link some similar budget friendly sconces below.

Looks smashing with the pencil tile! Lampshades are SO expensive, especially groovy ones. An easy upgrade like this makes a big difference. I’m toying with the idea for a DIY pleated-look shade where you wrap it in a strip of fabric. A potential tears and cursing situation, for sure. Happy Monday!
Thanks Peggi! They really are. I’m digging your idea to wrap the ribbon for a pleated look… my friend Gwen just did that in her daughter’s bathroom (that I know you’ll love). SO many beautiful colors in that space! Hope your week is off to a great start. xox
Oh my, this brings back memories of doing just that to a thrift store lamp I got when we were broke newlyweds. My style sense was, shall we say, much less developed 8 years ago and yours looks worlds better than mine did! Bonus tip, if you ever need to do this trick on a more slanted shade or with wider ribbon and find it won’t conform well, try bias tape from Joanns which can handle being stretched more on its bottom edge and less on the top edge.
Such a great tip Julie!! I think the ribbon I used was thin enough that it wrapped pretty well, but a larger one definitely wouldn’t. Great idea on the bias tape :) xo
like it so much