Ball Pillow DIY
 Yesterday I included a ball pillow in the Monthly Moodboard roundup and a tutorial to come later in the week. Well… it happened more quickly than I thought! This little project was fun and fast, so I figured it was worth sharing. If you’re also liking the fun ball pillow trend, this DIY is a must-save (or pin for later). I’d label this as a beginner sewing project. Click through for the post, inspiration on how to use a ball pillow in your home, and of course- the complete tutorial.

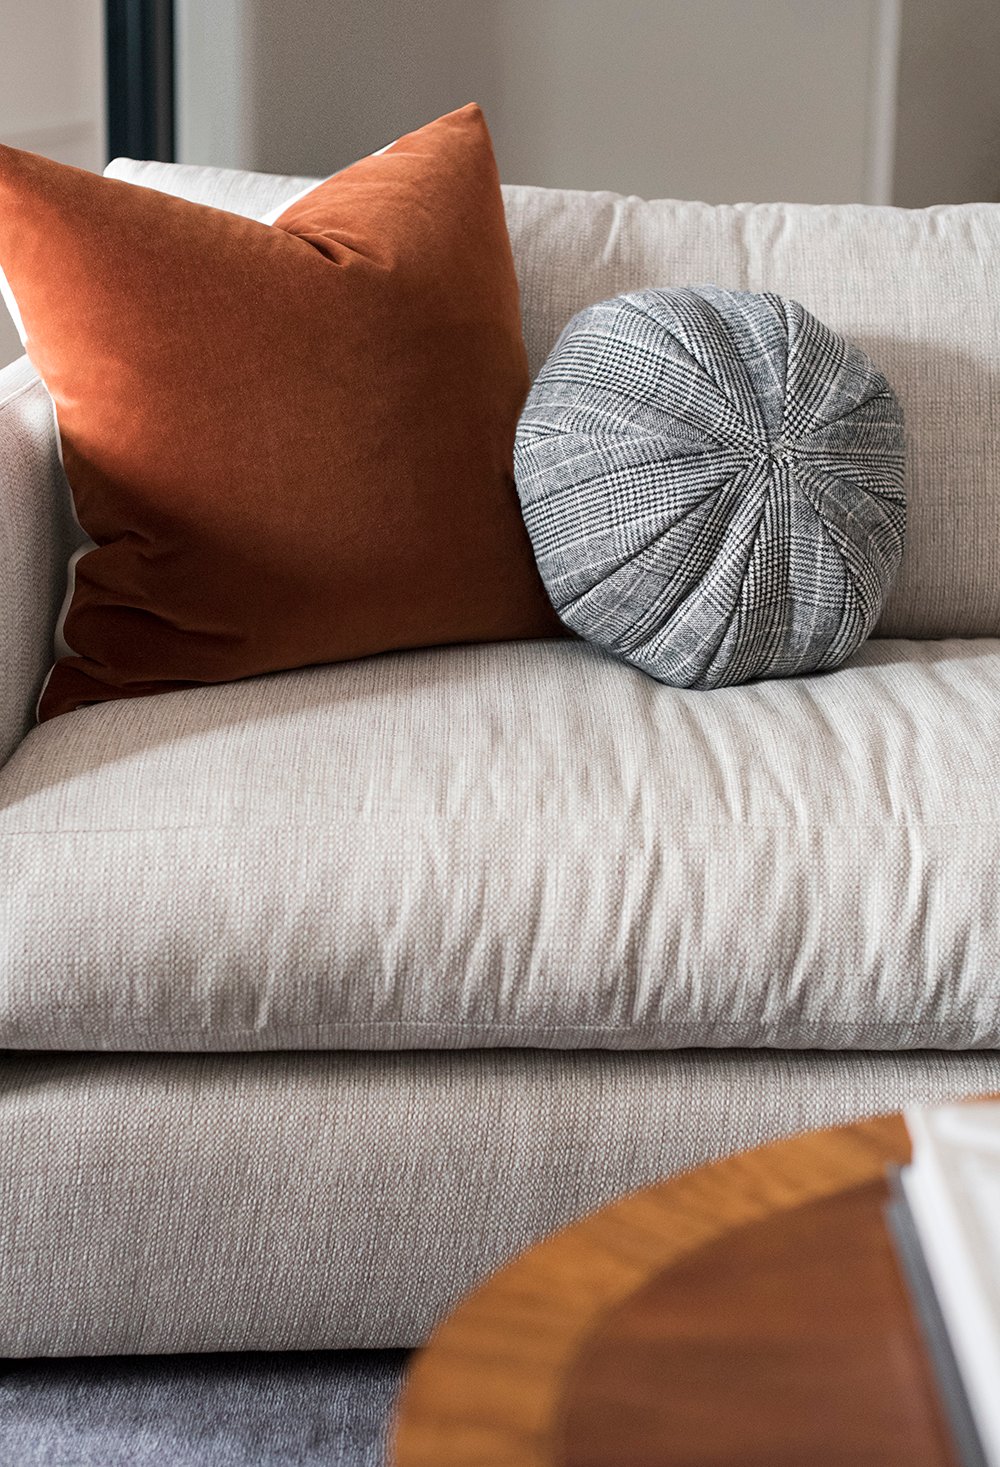
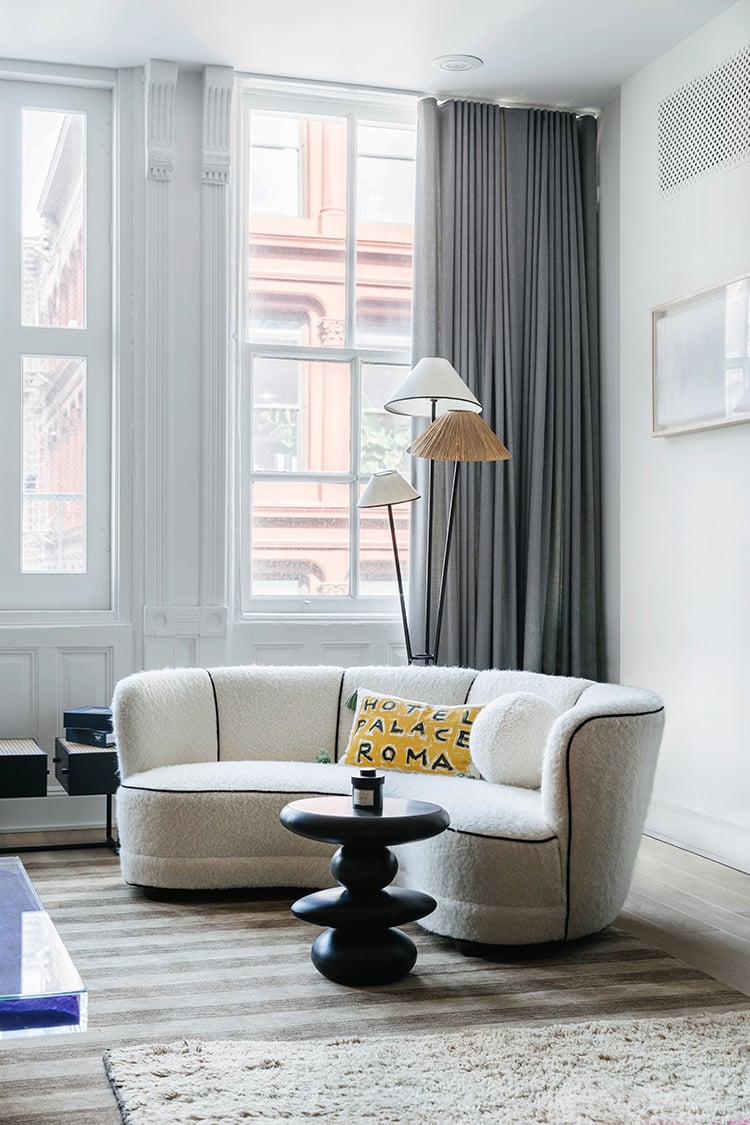
Let’s start with some inspiration. I first started noticing ball pillows at Alice Lane. I frequent their store (since it’s local for me), and I was immediately attracted to the fun and unexpected shape of the pillow resting in a chair. That was honestly the first time I had seen a ball pillow. During another visit, I loved seeing it styled on a settee in front of a bed. On another occasion, it was perfectly styled sitting on a sofa. There are so many beautiful ways to insert a ball pillow… which is exactly why I wanted one of my own!
Tali Roth is a master at decorating with ball pillows. In the above image, I love the way it breaks the grid and all of the hard lines on a modern sofa. Bonus points if it’s a textural ball pillow…. like shearling or bouclé. Are you convinced you need one? I thought so! That was my mindset too. I’m listing the supplies you’ll need to get started below…
SUPPLIES
- fabric (linking similar… I just used leftover from my Christmas stocking DIY, but a pattern is more difficult than a solid fabric)
- sewing machine (or a needle and thread to stitch by hand)
- scissors
- sharpie marker
- polyfill
- straight pins
- needle & thread
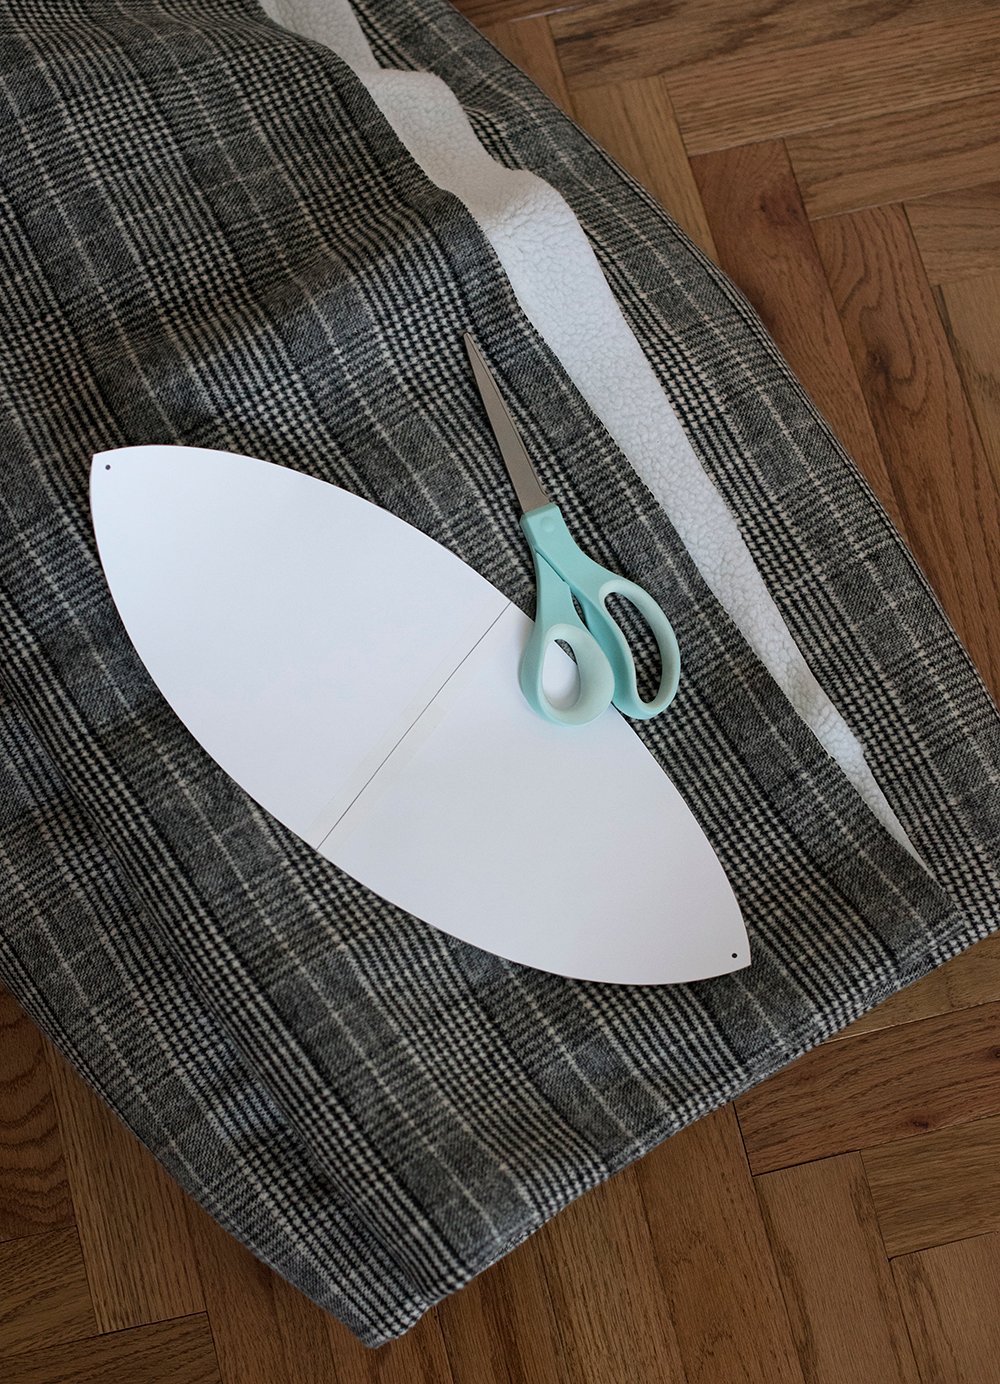
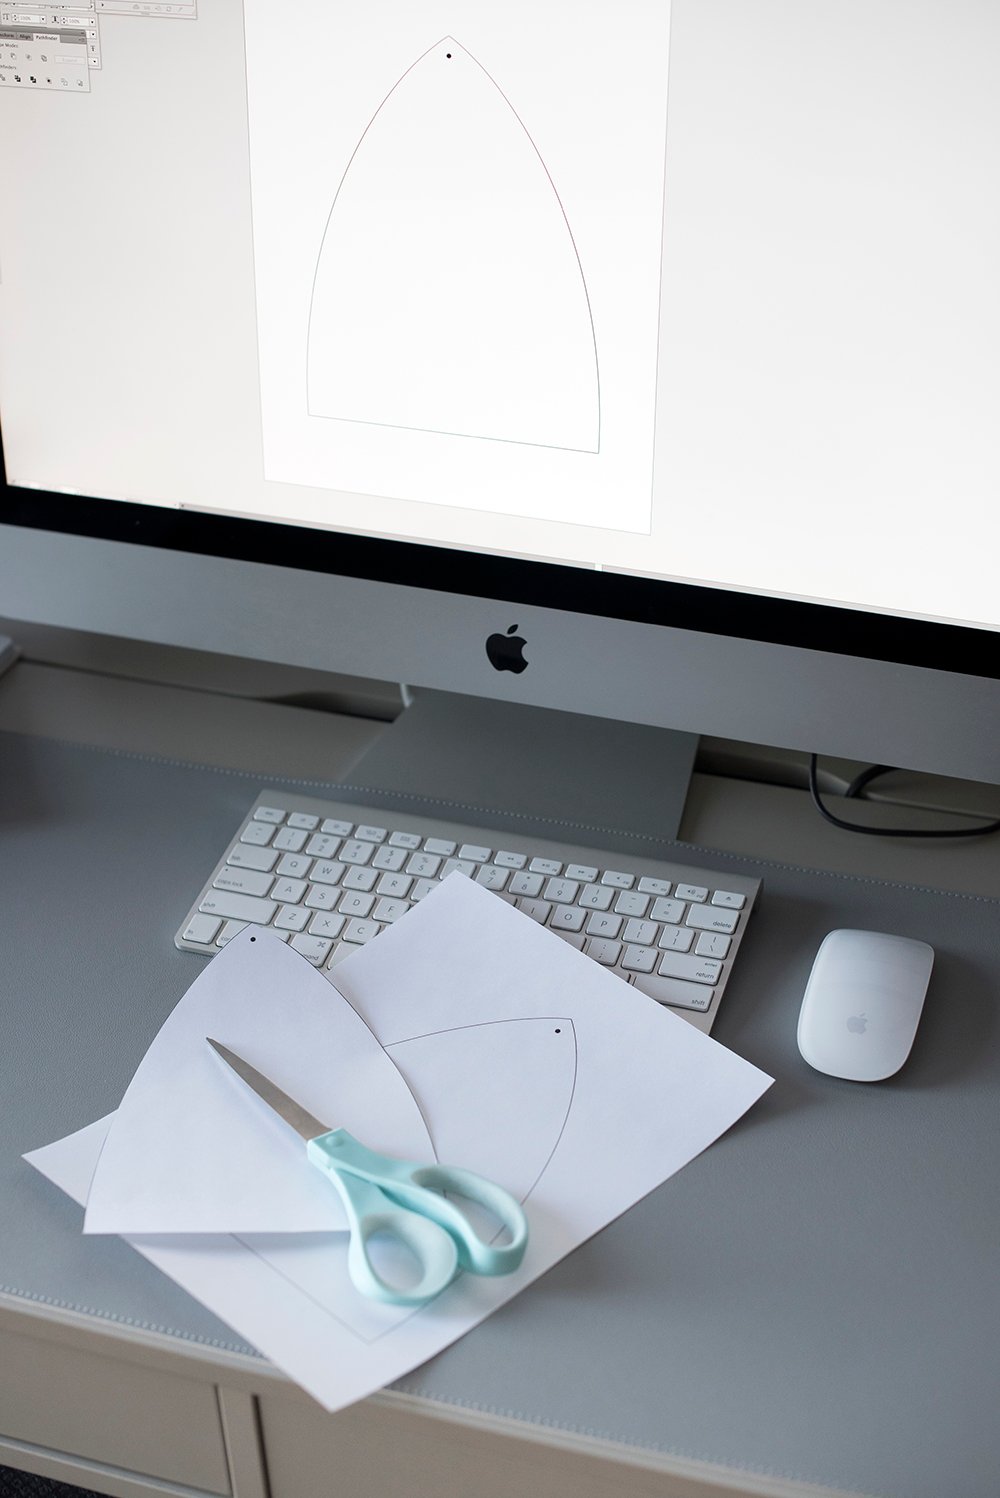 Step 1 // Prep your pattern. I do everything on the computer because that’s how I’m used to working, but you could easily use pattern paper for this. Create a “slice of a sphere” pattern, depending on the size of cushion you’d like.
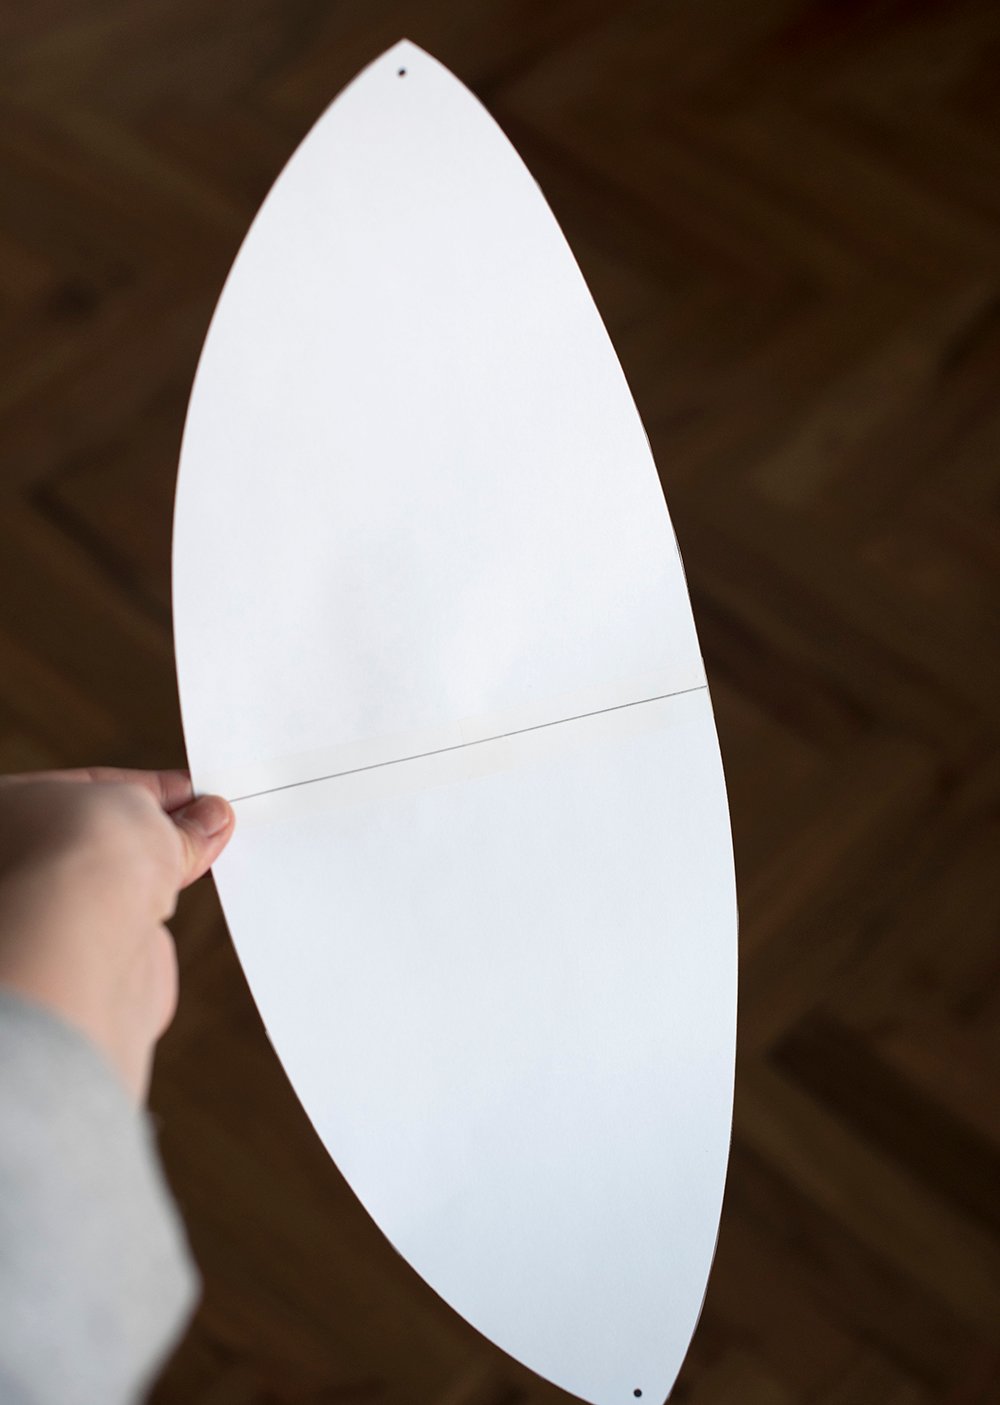 Step 2 // Assemble your pattern. Cut out your pattern and tape the two sides together so it looks like the above image. The dots on each end are where I will stop sewing (I allowed for 1/4″ seam around the perimeter).
 Step 3 // Choose your fabric. Again, I used fabric I had on hand… leftover from my Christmas stockings. I will say- using a pattern is more difficult than using a solid fabric, because it’s super difficult to get the pattern to align when sewing a sphere. If I could start over… I probably would’ve ran to the fabric store to buy a solid (perhaps velvet or bouclé).
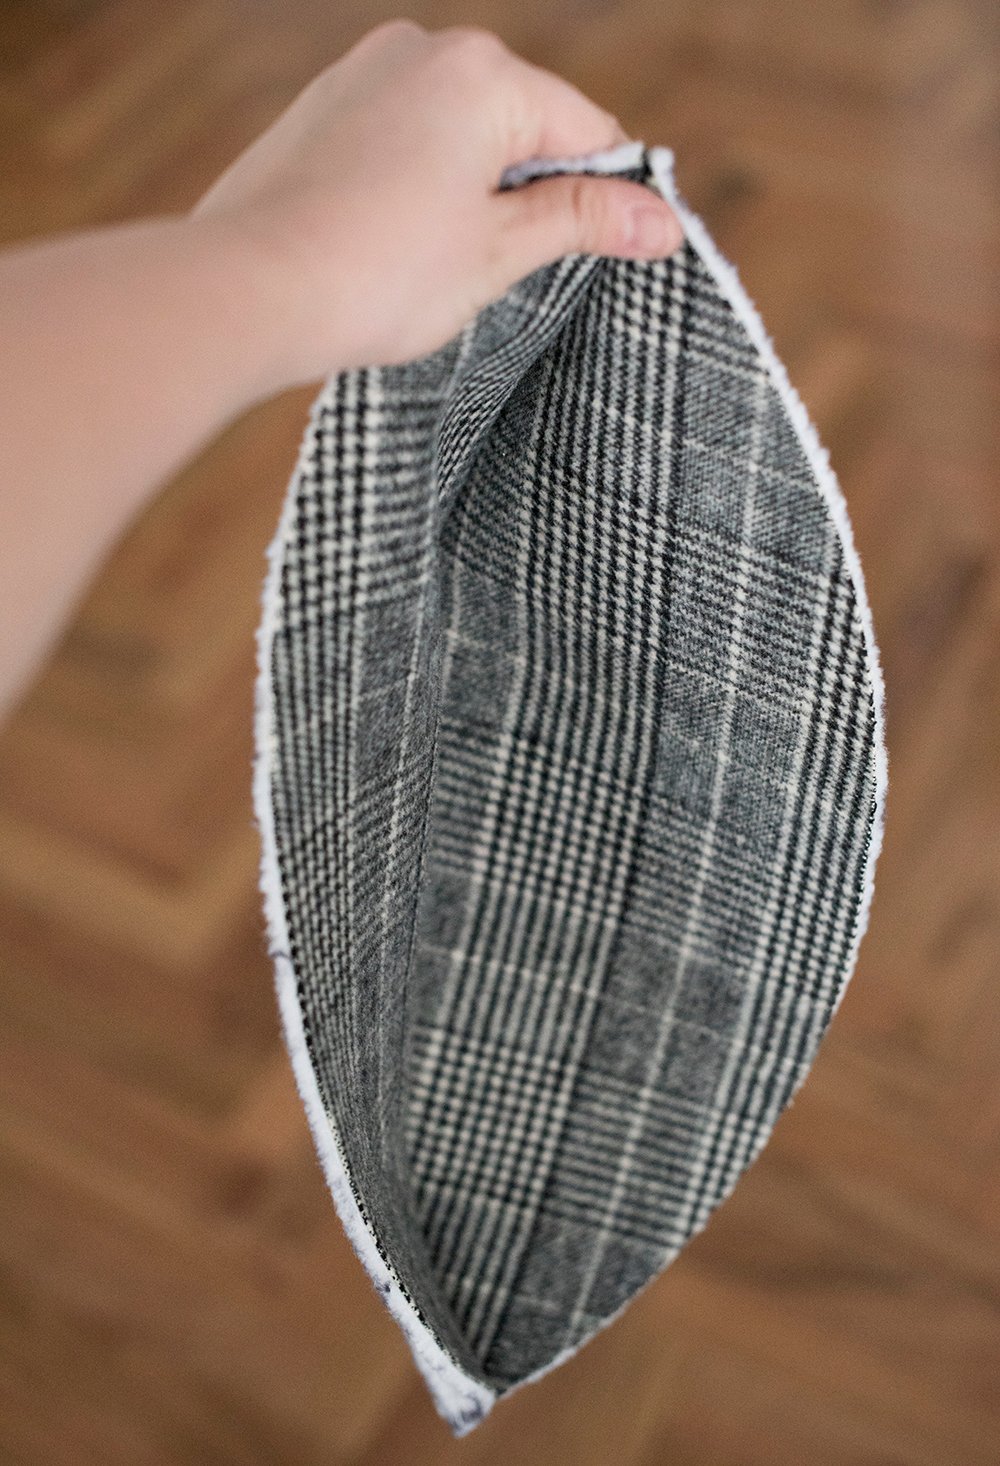
 Step 4 // Trace your pattern and cut. Trace eight shapes onto your fabric, then cut each shape out.
 Step 5 // Pin the patterns. Once all eight of your pieces have been cut out, pin two together with the pretty sides facing inward. You only need to pin one side! For example, I pinned one and two, three and four, five and six, seven and eight. In total, I have four pieces now. Make sense? Great! Let’s move on…
 Step 6 // Start sewing. Next, sew the pinned side of the pattern. You only need to sew one side of the pattern and it will create a shape like the picture below…
 Step 7 // Repeat and keep sewing. Once you have all the pairs joined together, you can begin sewing them together into a sphere shape. Below, you’ll see half of my finished sphere.
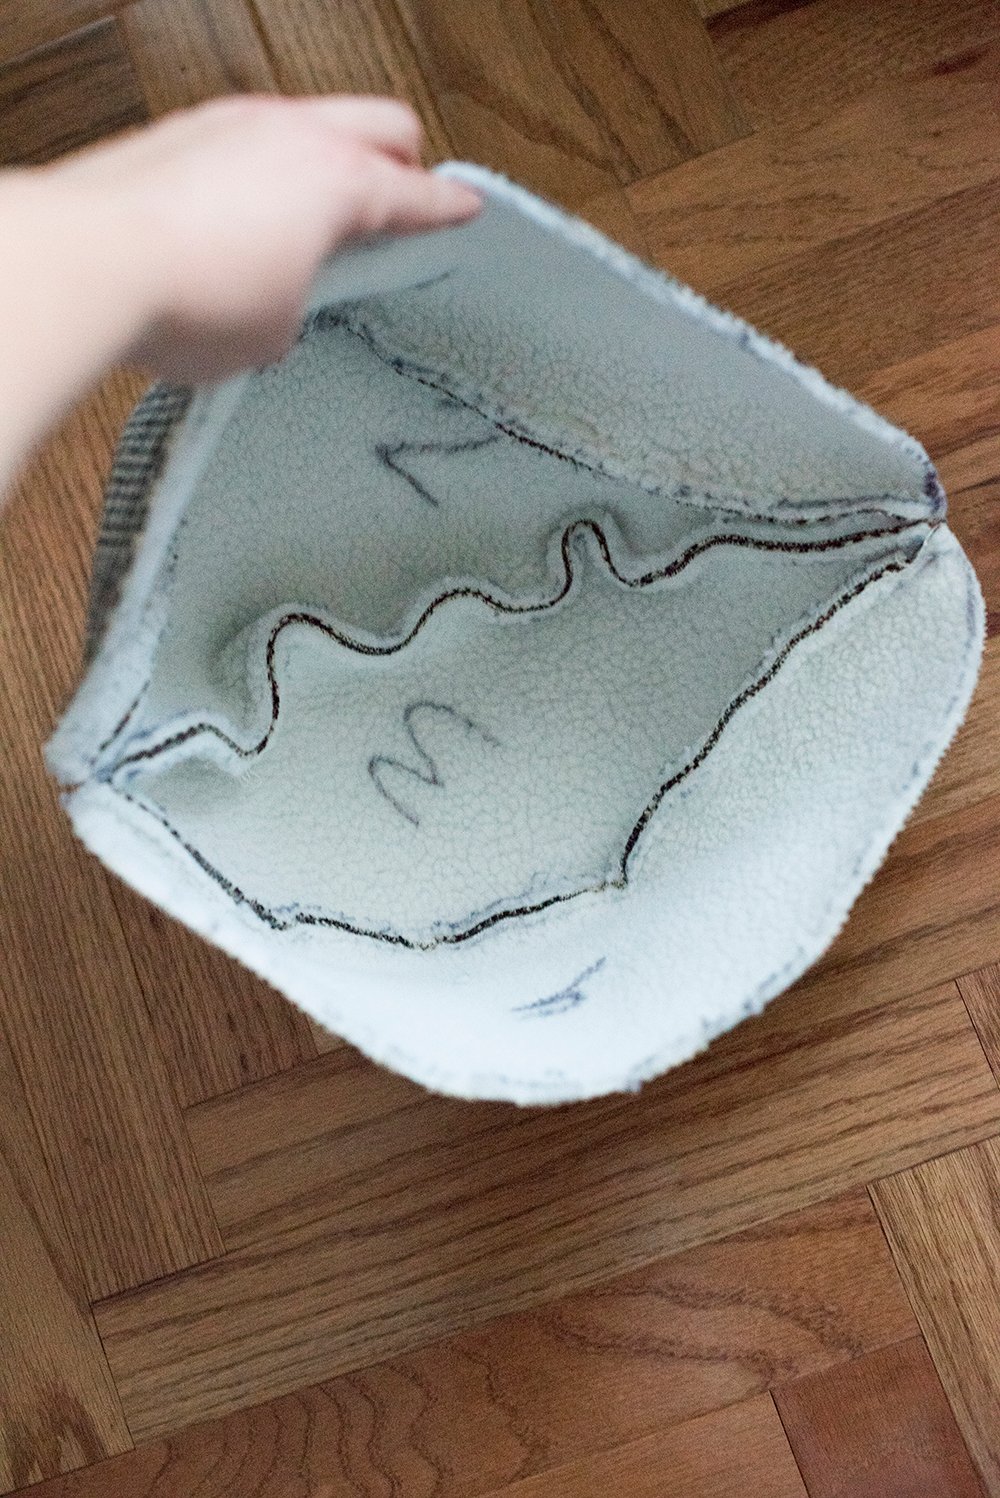 Step 8 // Sew the last seam. When attaching the very last panel to complete the sphere, leave around 6″, which creates a hole for stuffing the pillow.
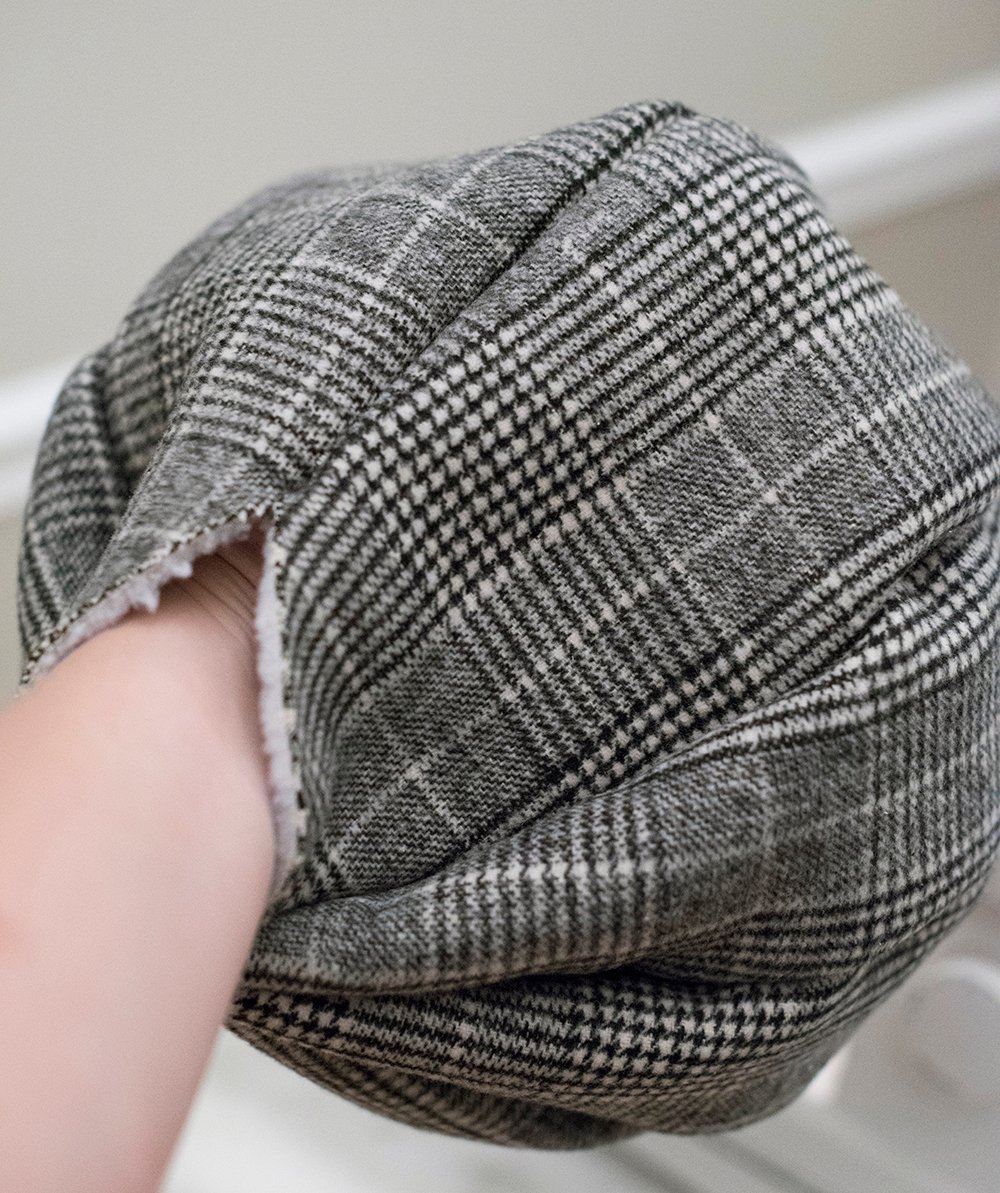
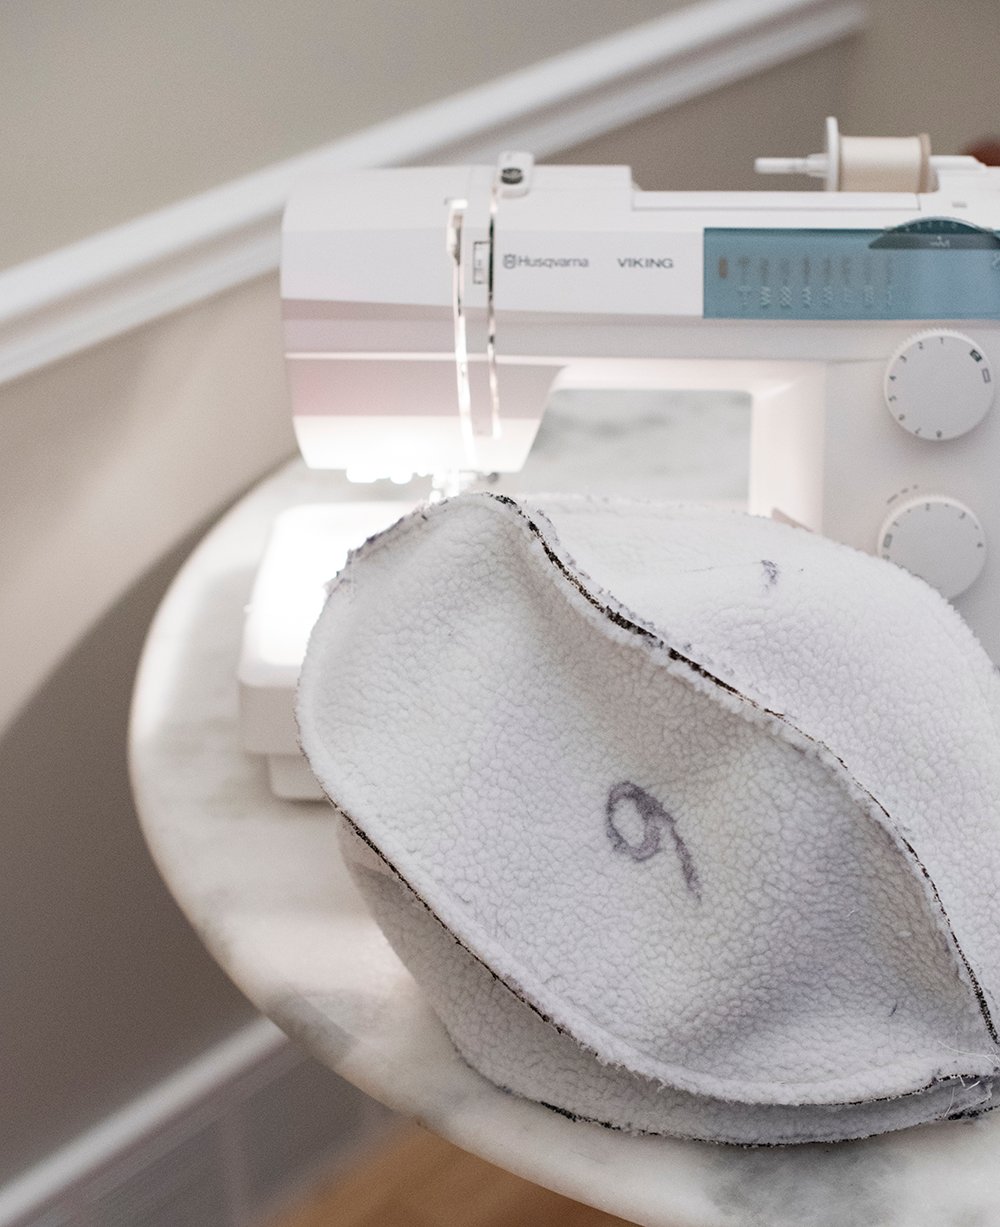 Turn your sphere inside out, and it should look like the image below. The top has the 6″ opening you left, which will be handy for stuffing the cushion.
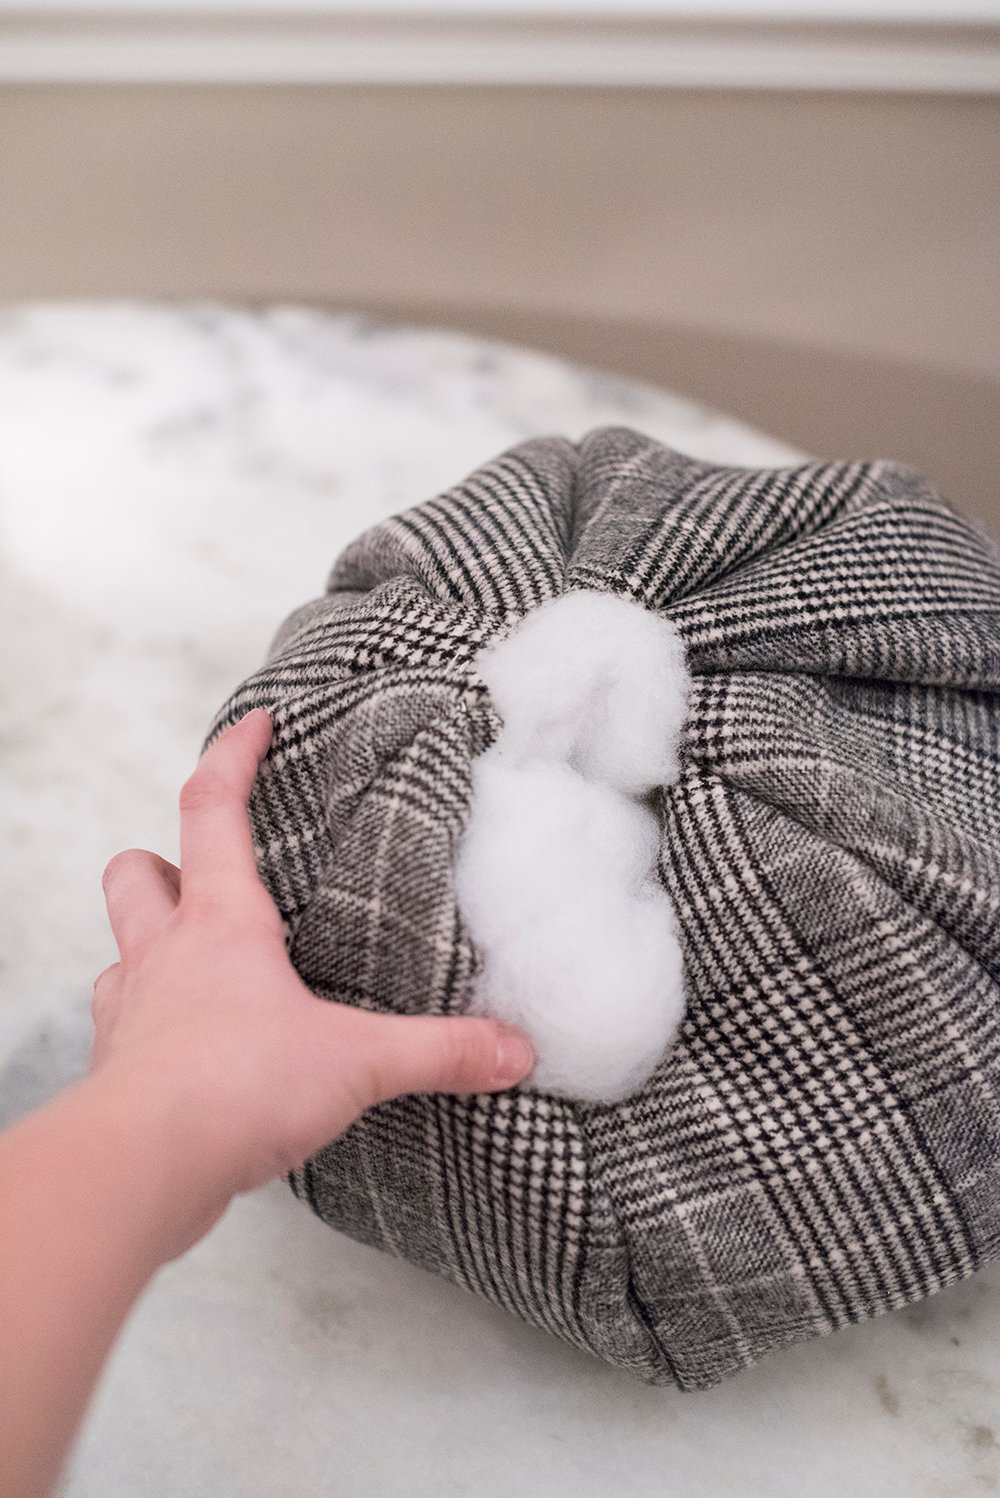
 Step 9 // Stuff the cushion. Using Polyfill or your preferred pillow filler, stuff the cushion until it reaches your desired firmness. Don’t let this small ball pillow deceive you, it actually takes quite a bit of stuffing. I used what I had on hand (an entire bag), but it probably could’ve used more.
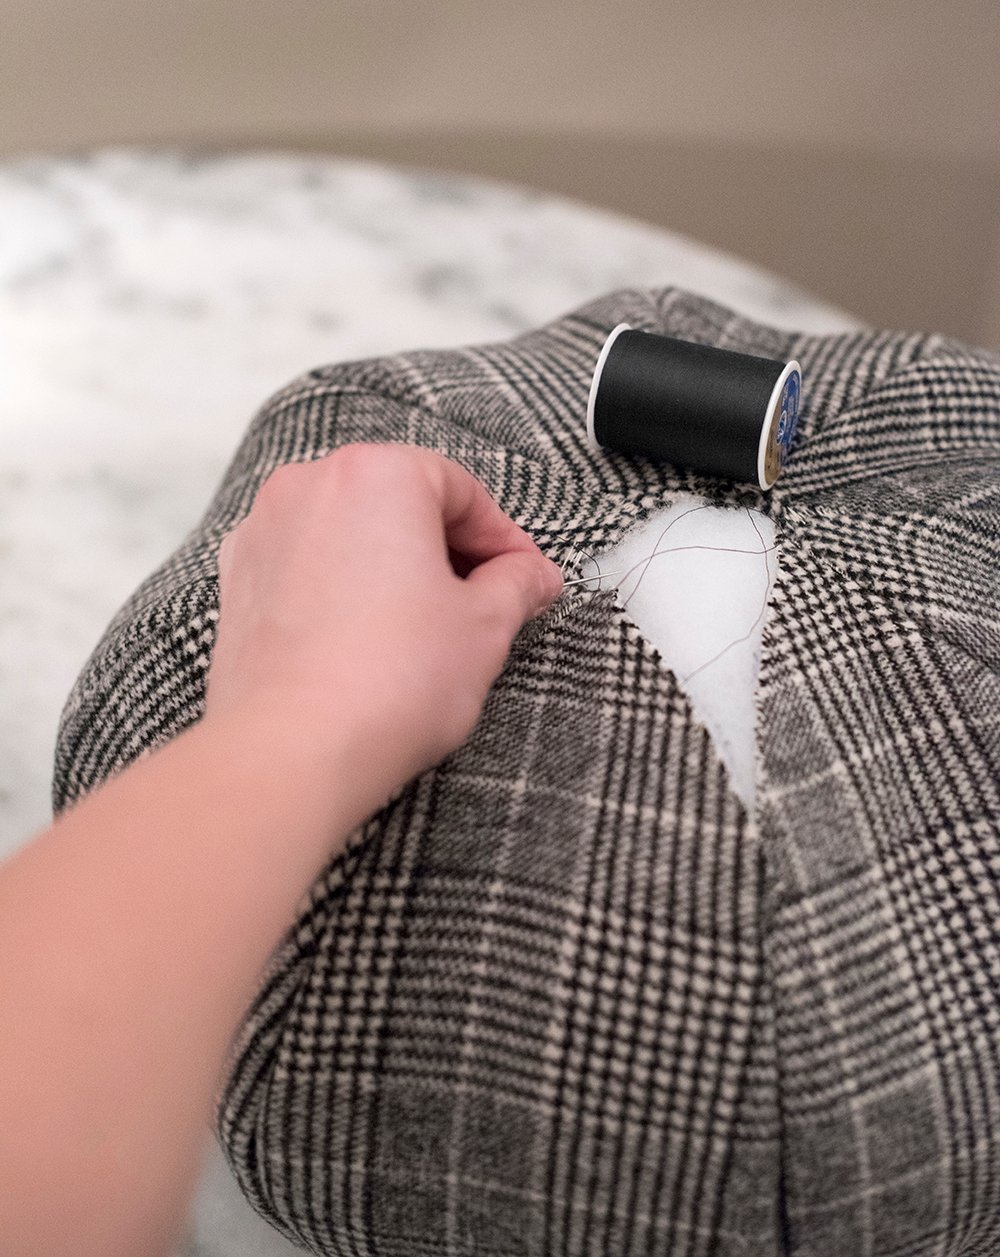
 Step 10 // Hand stitch and finish. After your pillow is stuffed to your liking, using a needle and thread, hand stitch the opening together to finish the cushion. I just gave it a quick whipstitch to complete the seam.
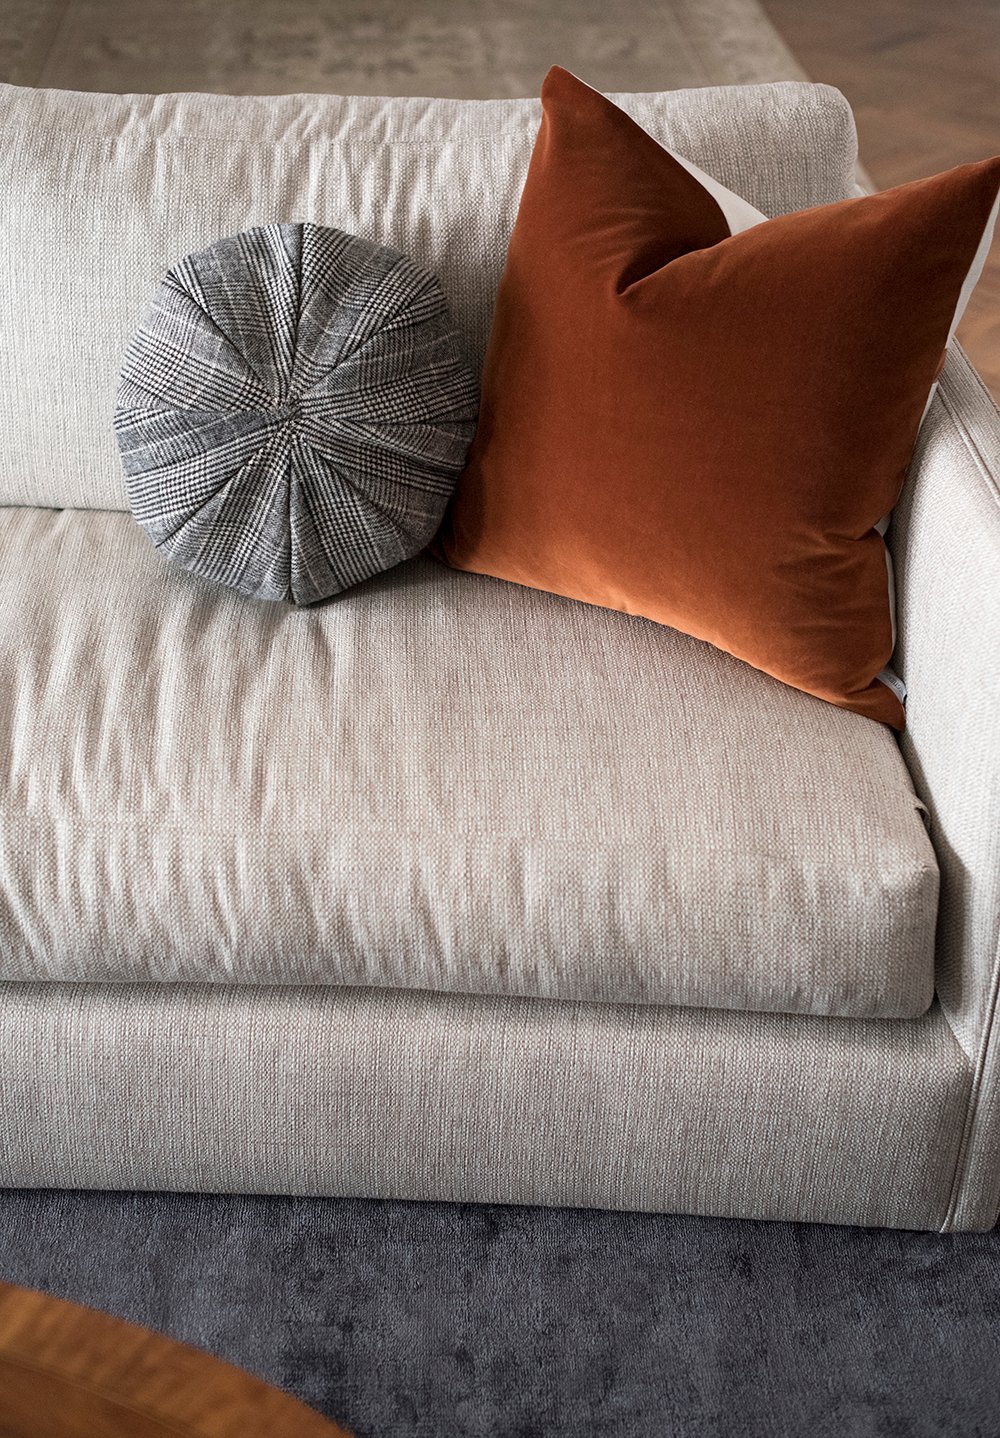
 That’s it! In ten easy steps, you can make your own ball pillow. Isn’t it fun? I tossed it onto the sofa in our newly finished formal living room. It’s not 100% perfect, but I’m happy with the eclectic looking end result. Maybe I’ll try again with a solid fabric and more stuffing!
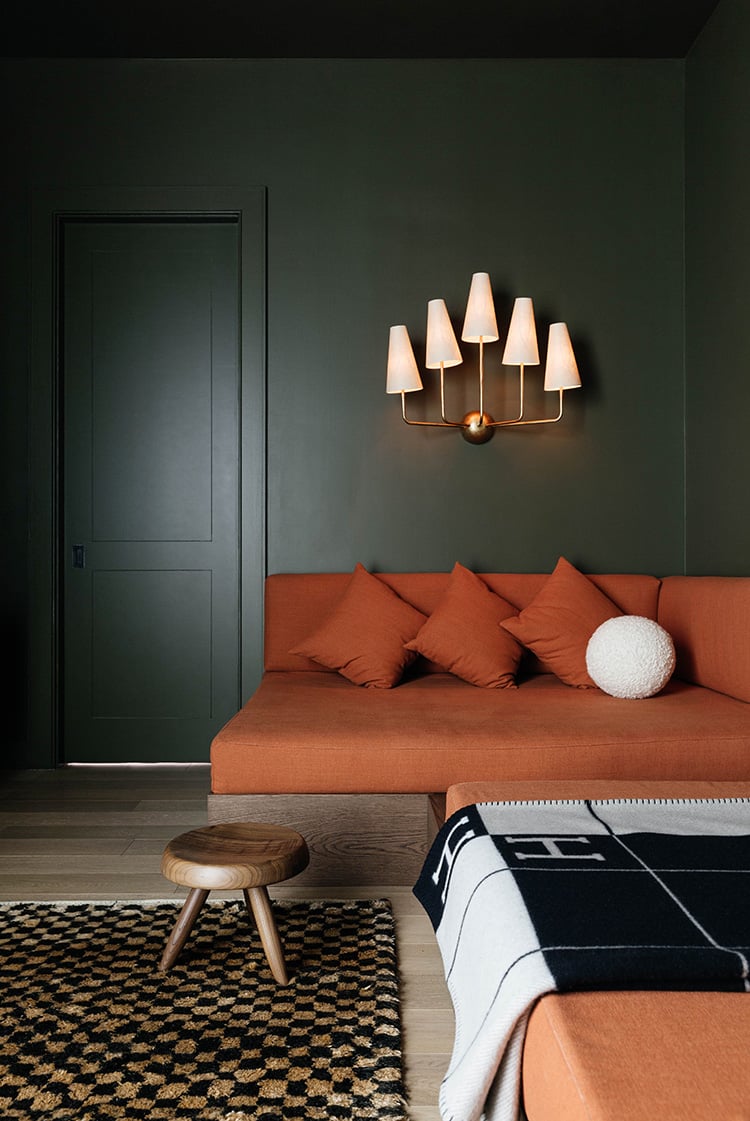
 I also thought I’d share a couple more examples of how to use ball pillows in chic interior settings…
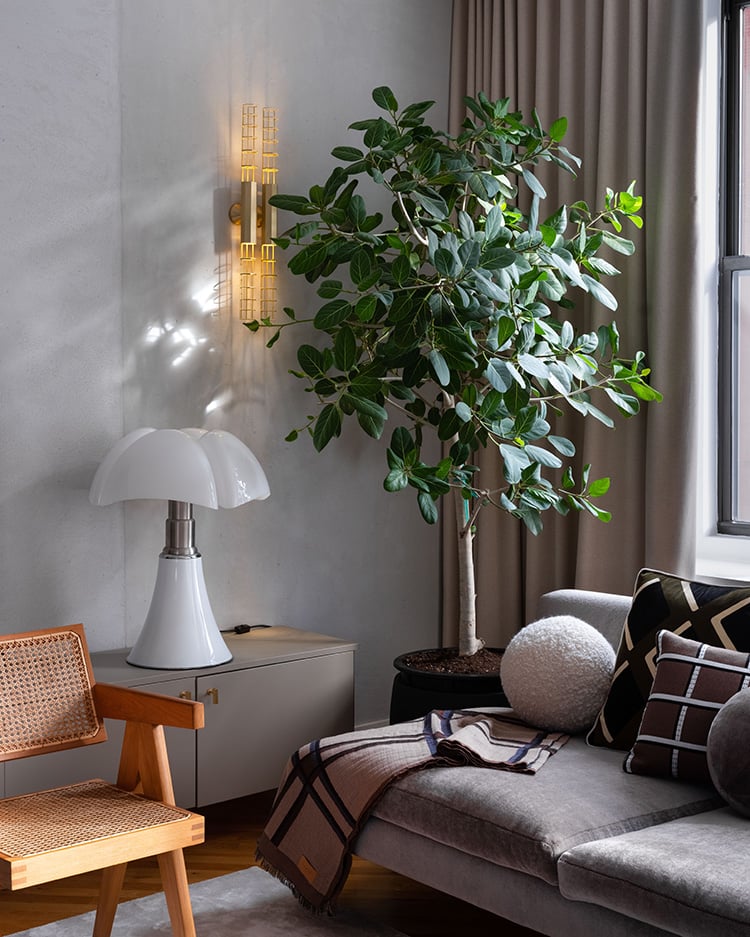
I’m just really into the graphic round shape it brings to a sofa, settee, chaise, bench, or bed. It’s an interesting object that really commands your attention. They’re honestly pretty comfortable too!
Are you into the ball pillow trend? Would you ever try making your own? If you’re not into sewing, I’ll drop some ready-to-buy options below!

Could you post a pdf of the slice of sphere pattern you made?
Thanks!
I wish I would’ve kept it, but I didn’t. I’m sorry Maggie! I did find a pattern on Pinterest though… check it out here: https://www.pinterest.com/pin/371335931745679896/
Love it, Sarah! I’m going to give it a try!
Yay!! I love hearing that :) Please let me know how it turns out, Laura!
Thank you! I’m definitely not into sewing but judging by the end result of your work – I absolutely have to learn how to do it properly and grab a lot of filler! And do it as soon as possible because now I can remove the vision of how good those pillows are going to look at our main room. Huh! Never thought I’d have to ask but what is the best filling in your opinion? I really struggle to choose the right one even though I’ve read quite a lot of manuals. So much to chose from! Feather, wool, silk, etc. Anyone can provide some help?
They’re definitely a fun pillow! I prefer down (feather) filling for most cushion inserts, but since this one isn’t removable and isn’t a conventional pillow- polyfill worked just fine! I think it’s mostly a personal preference. Hope this helps!
Whoah, after looking at the retail versions, Ms. Sarah, I think you may need to be prepared to start taking orders on your custom handmade pillow. Ha! Cheers, Ardith
Haha!! They are pretty fun to make :) Hope you’re having a wonderful week, Ardith!