A Bar Cart Furniture Makeover
 Happy Friday, friends! If you follow along on Instagram, you already know I tackled an easy DIY project this week. I painted a bar cart and wanted to share how it turned out! I also received a TON of questions about painting laminate via IG messages, so I figured I’d put up a quick and easy painting tutorial. I’m no stranger to furniture makeovers and am happy to share what has worked well for me. Click through to check it out!
*Although this post is not sponsored, I am a Sherwin-Williams brand ambassador and received complimentary paint for this project. All content, ideas, and words are my own.
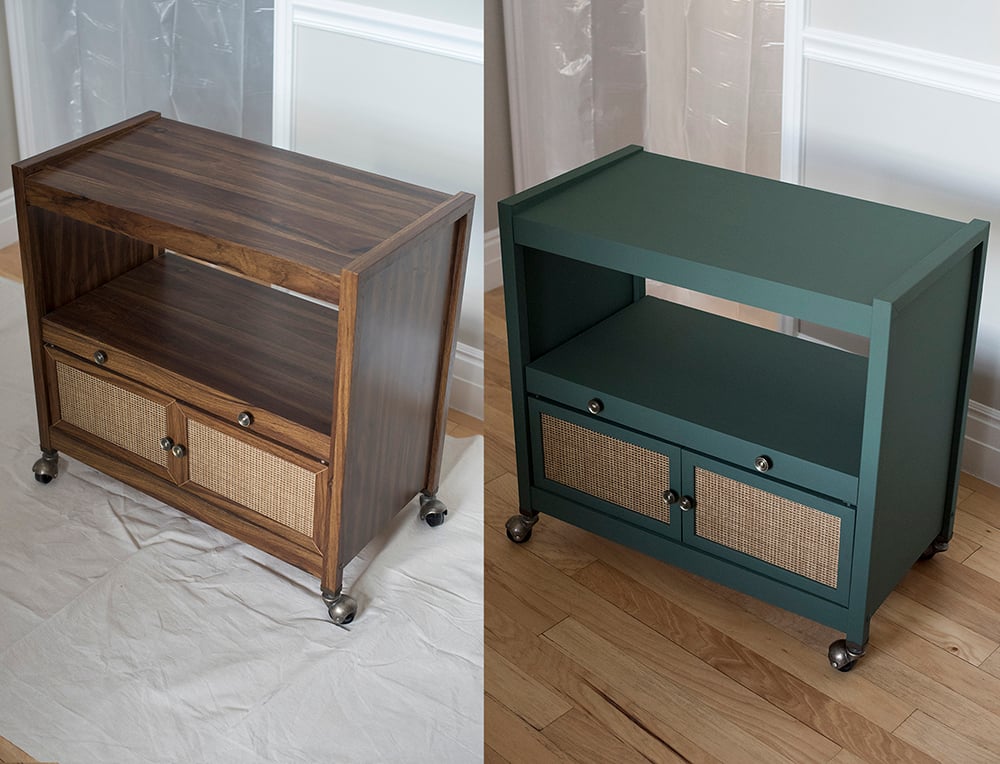
I picked up a super cheap ($10) bar cart from an elderly lady in our neighborhood. I’m pretty sure she was using it for her TV or microwave. I was interested in turning it into a bar cart of sorts.
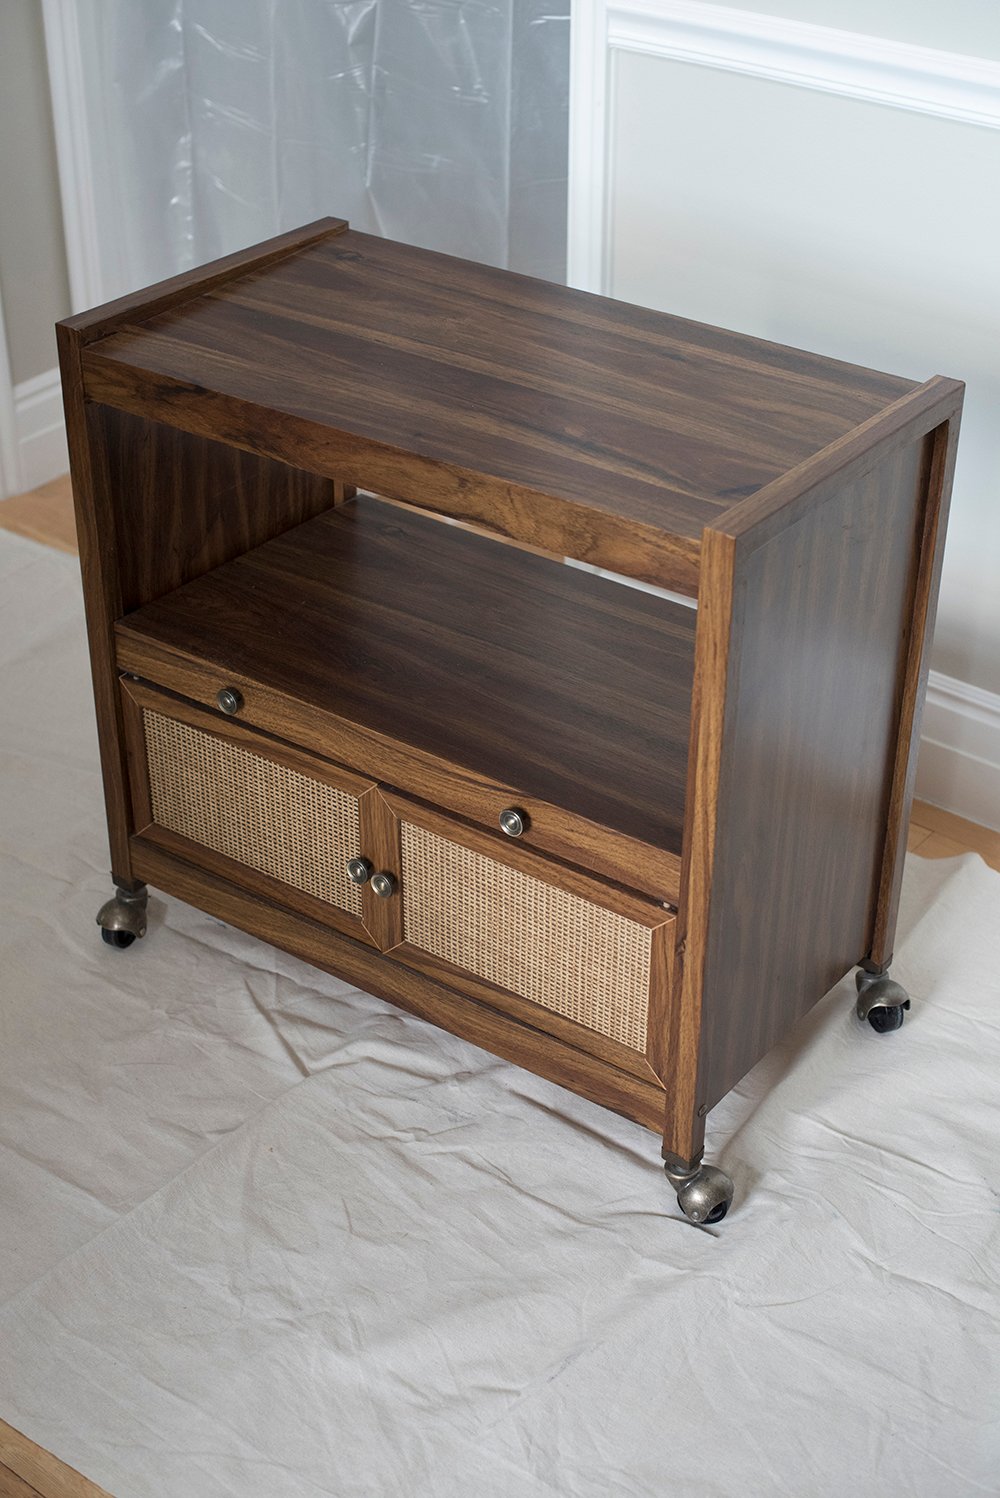 Kind of cheap and ugly looking, right? I liked that the cart had both open and closed storage, nice clean lines, woven door panels, and brass hardware & casters, but I wasn’t into the cheap laminate wood. Argh. The easiest and most cost effective way to fix that? Paint.
 Since so many of you have had questions about painting laminate, I’m going to share a quick step-by-step tutorial…
SUPPLIES + TOOLS
- sanding block
- drop cloth
- screw driver (for removing hardware)
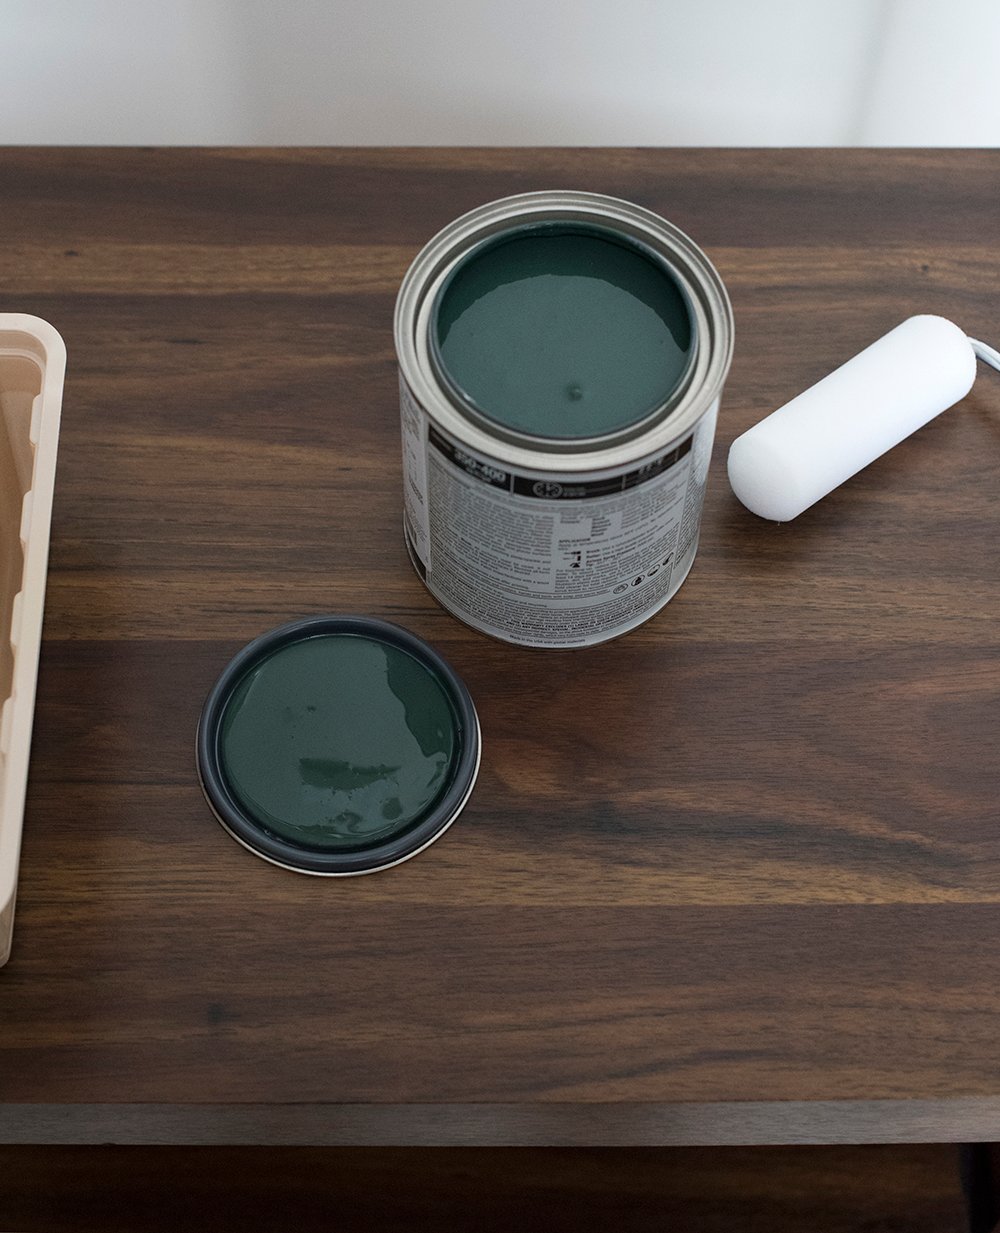
- Emerald Interior Paint (I used Dard Hunter Green SW 0041 in a flat finish)
- towels (for wiping)
- cabinet & door foam rollers
- small paint brush for edges
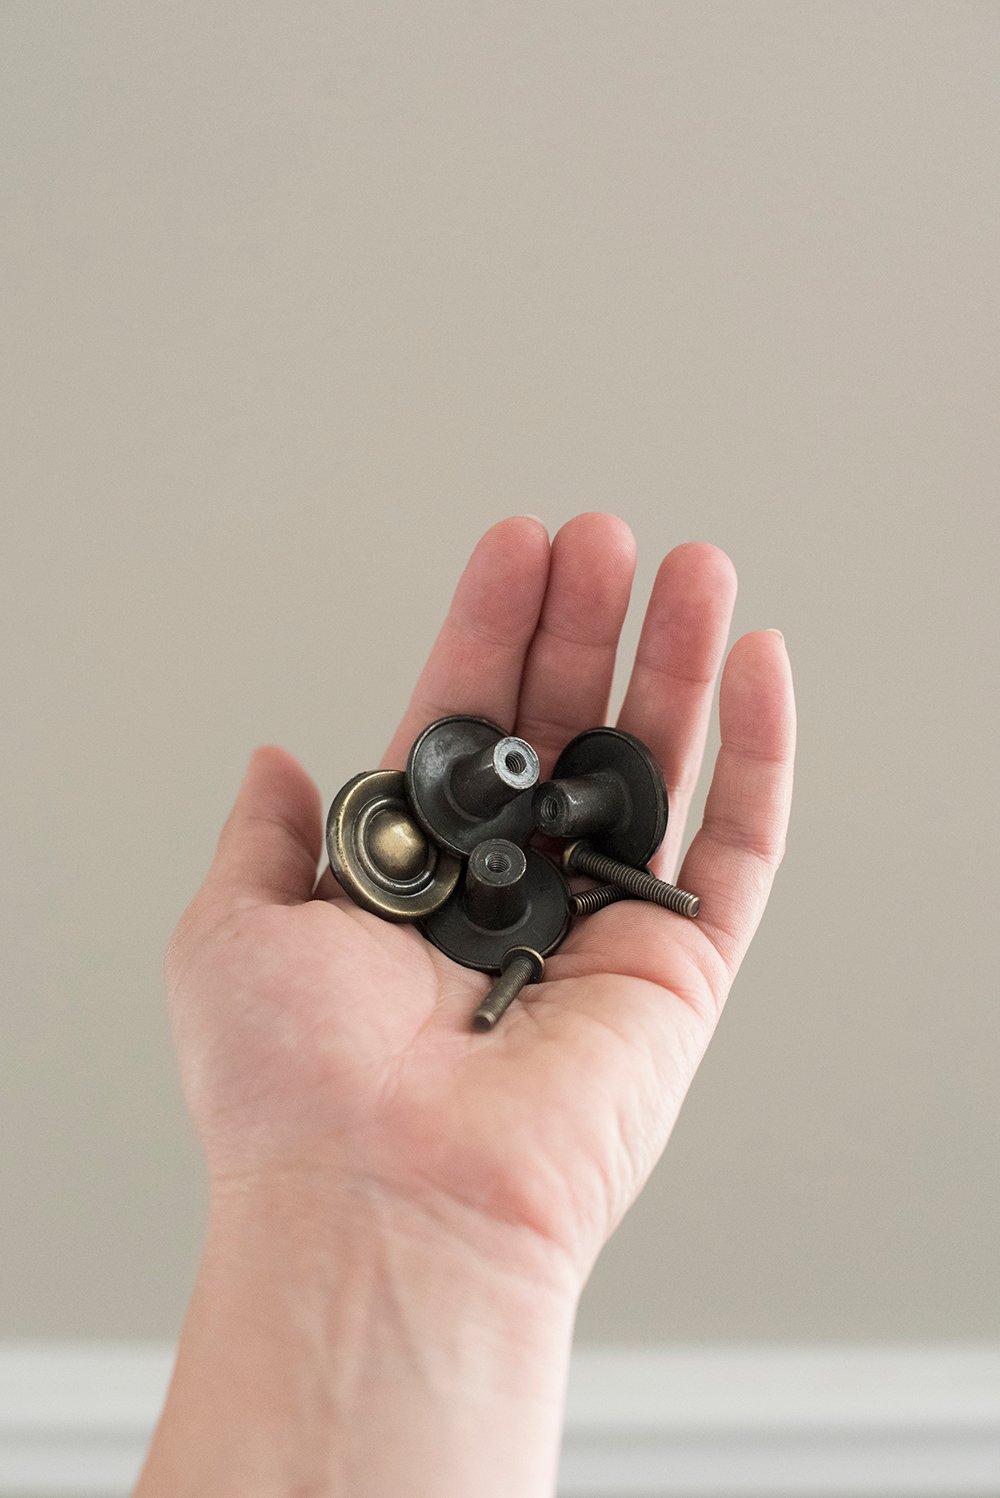 Step 1 // Remove the hardware. I always begin by removing the hardware with a small screwdriver.
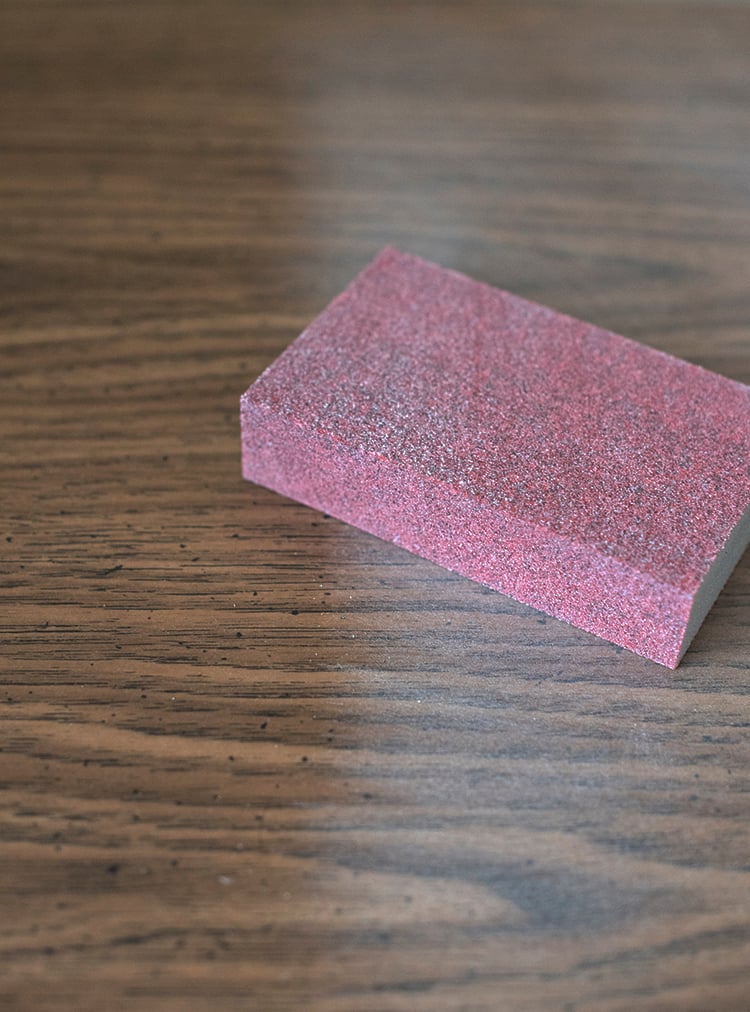 Step 2 // Sand furniture. Next, I roughly (and quickly) sanded the entire bar cart… just enough to rough up the surface, so that the paint can adhere better.
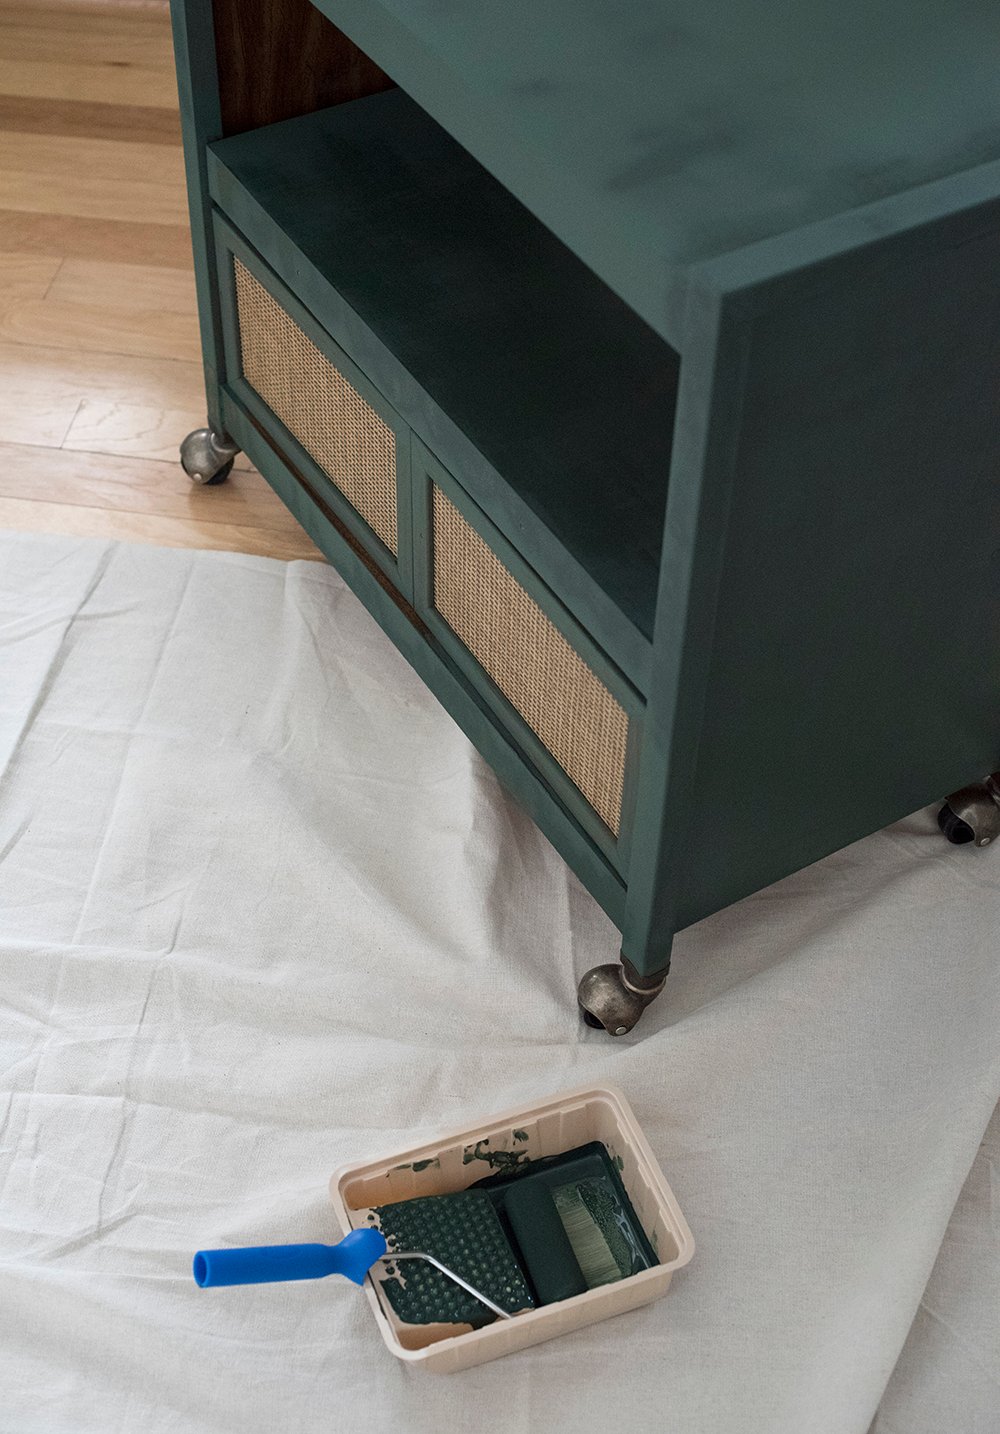 Step 3 // Prep and begin painting. Now it’s time to paint! I wiped the piece down really well, then used a foam cabinet and door roller to apply THIN light coats of paint. For the edges and difficult to reach areas, I used a small paintbrush. I allowed ample time for the paint to dry in between coats (45 minutes to an hour) so that it cures nicely. The key to painting laminate furniture that has durability and longevity is to use a quality, self-leveling paint and apply it in thin layers. I painted four to five coats before I called this bar cart finished. Remember our old laminate nightstands? We still have them, use them, and they aren’t scuffed or chipped at all… and that’s even after a big move. I used the same method on those- no primer needed!
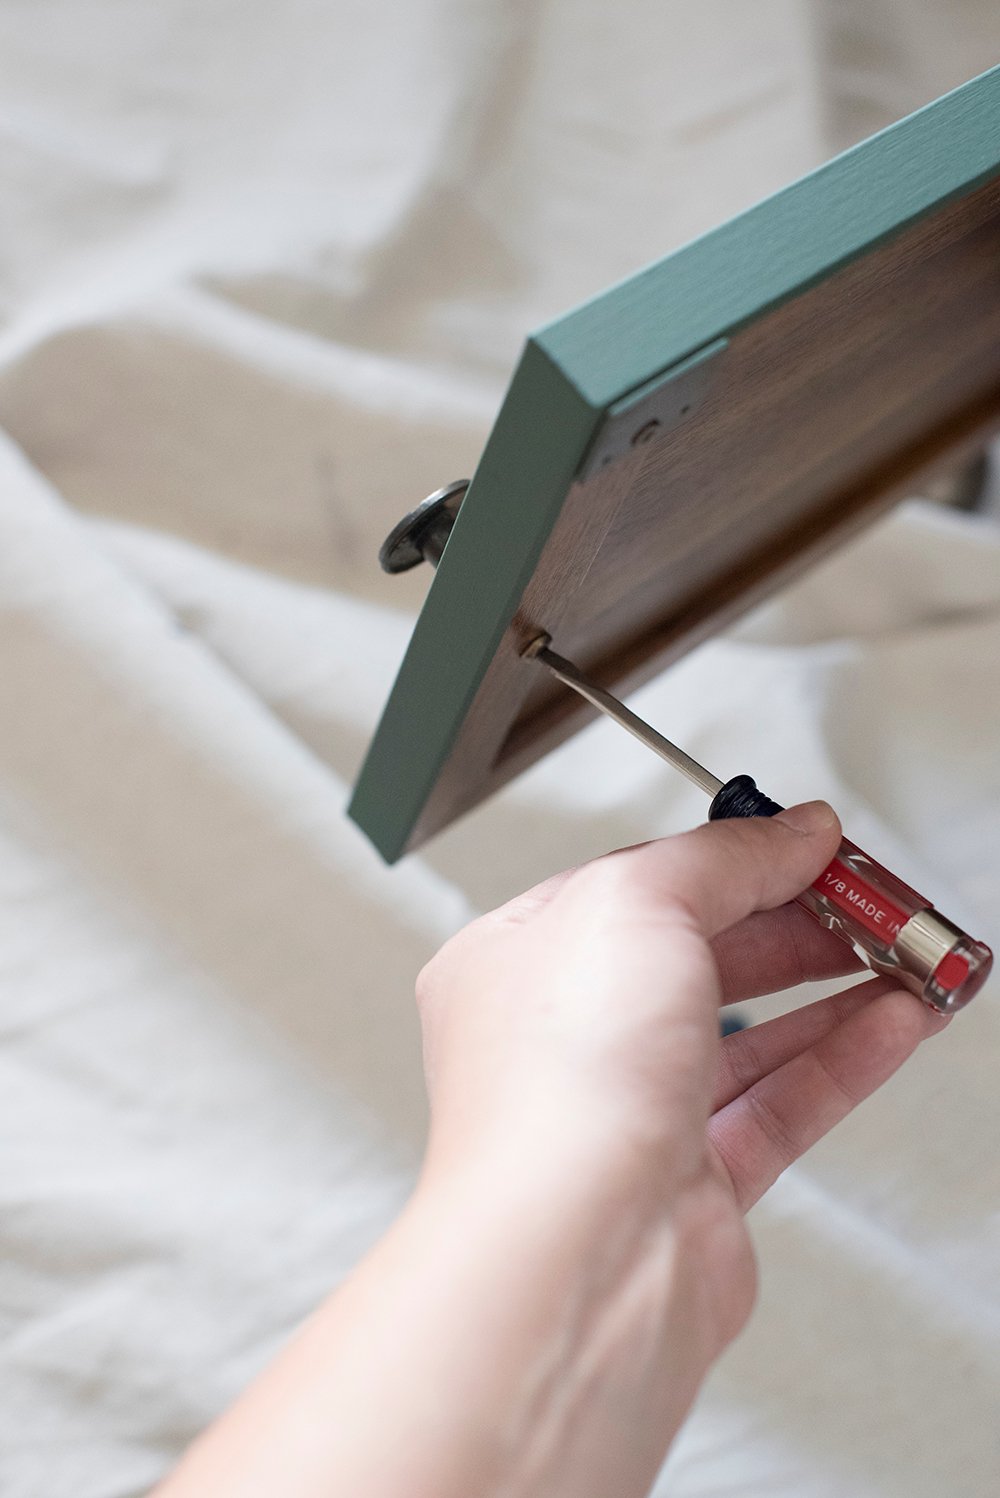 Step 4 // Reinstall the hardware. Next, screw the hardware back onto the piece once it’s completely dry and cured.
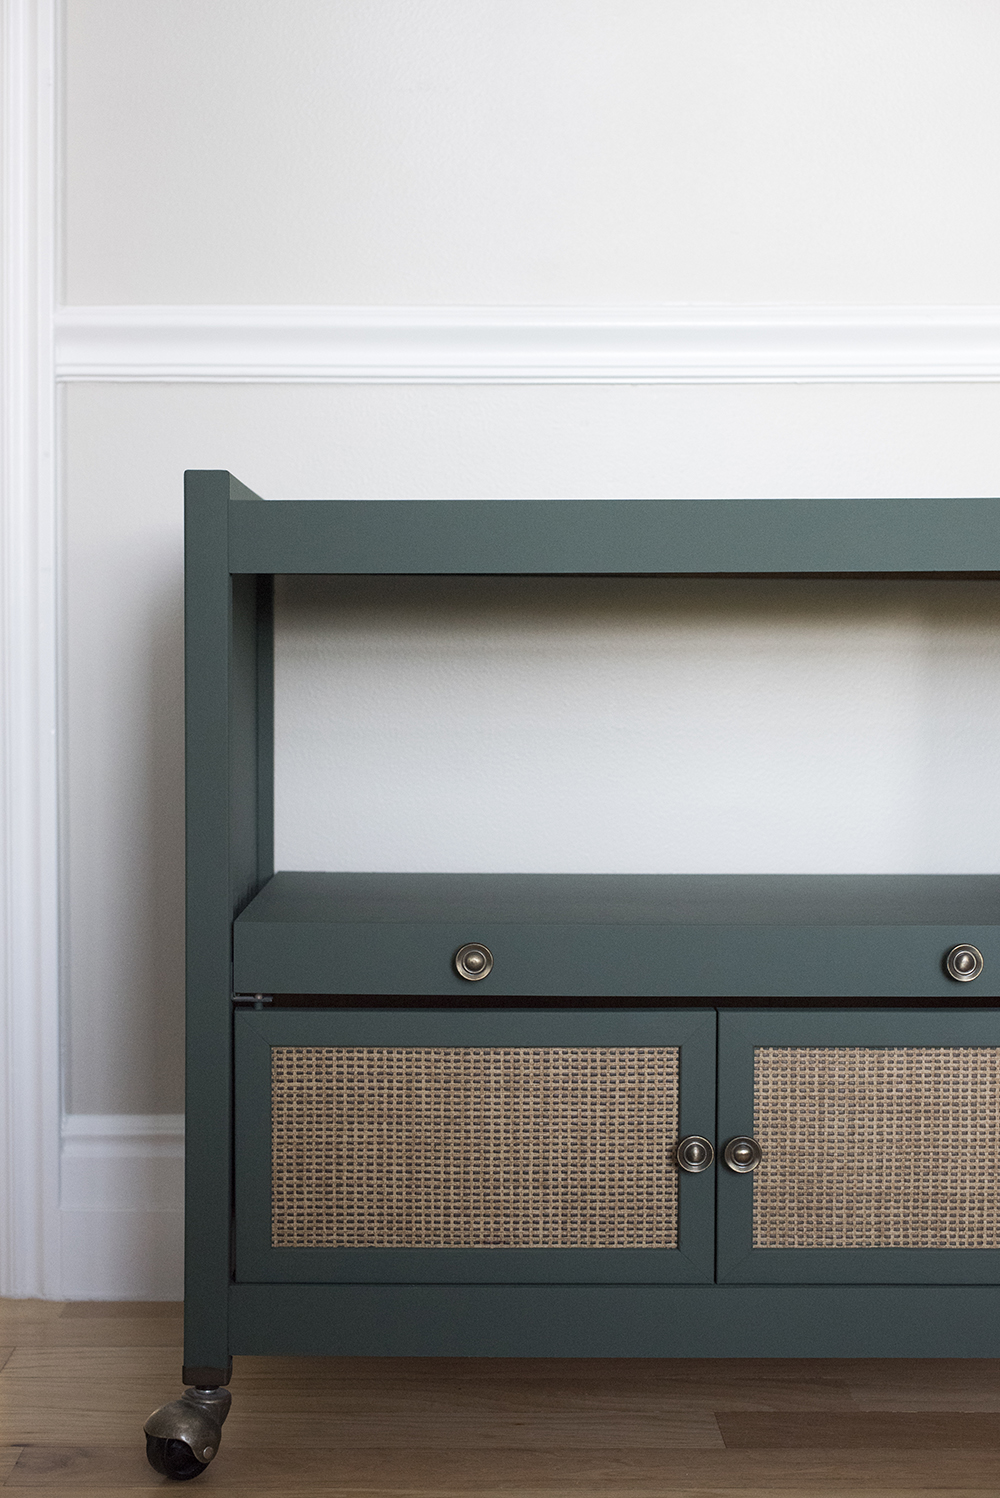
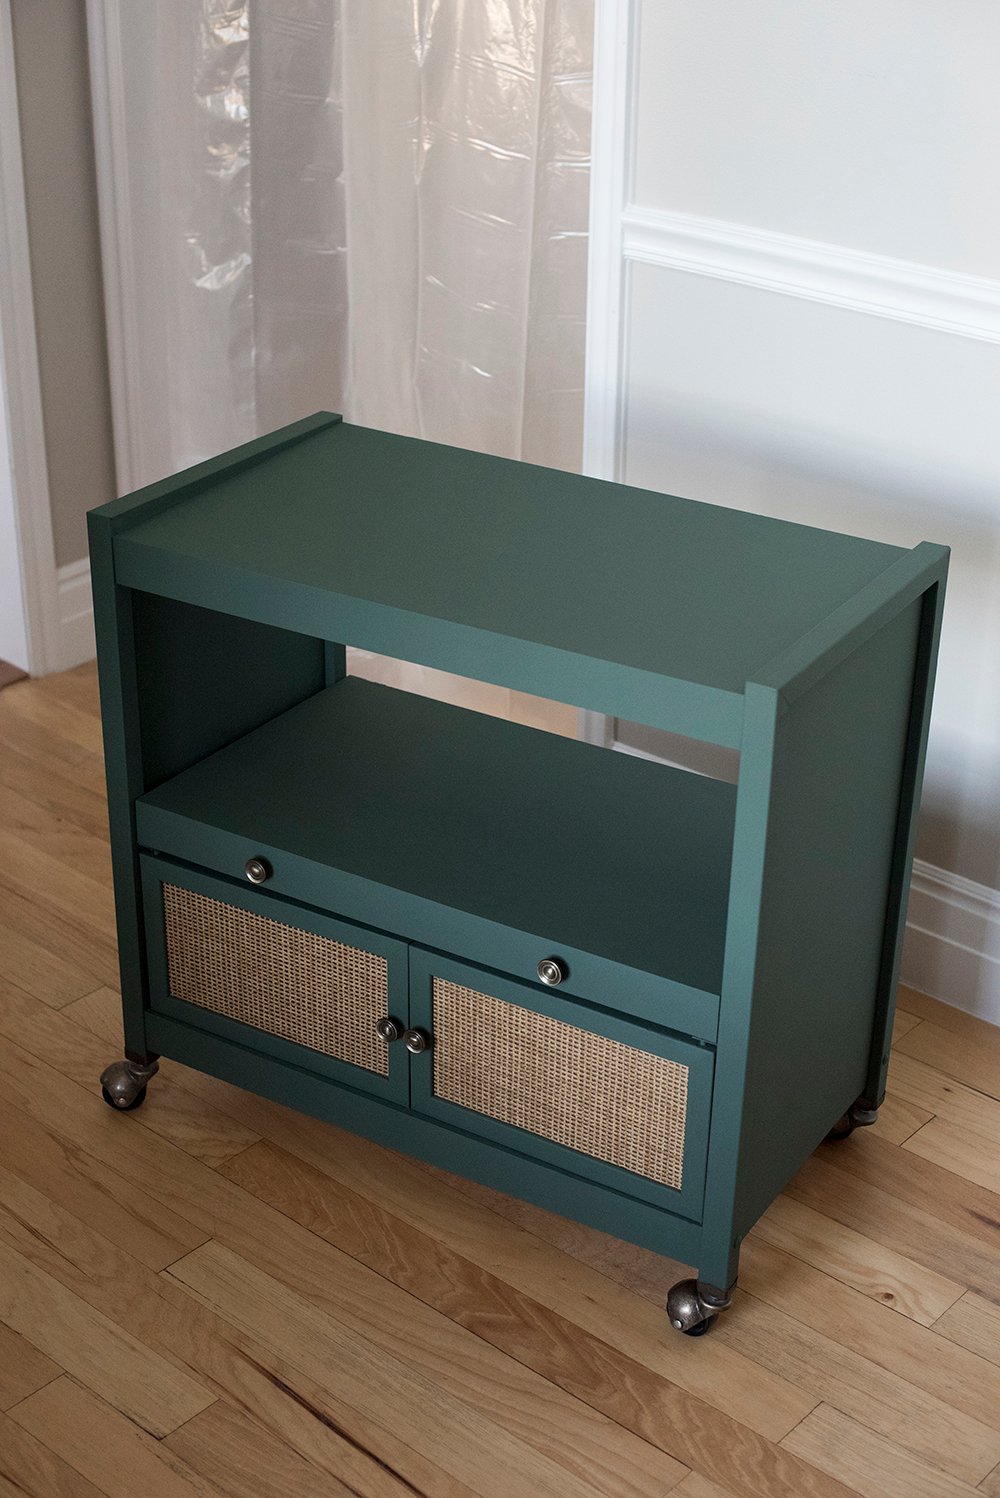
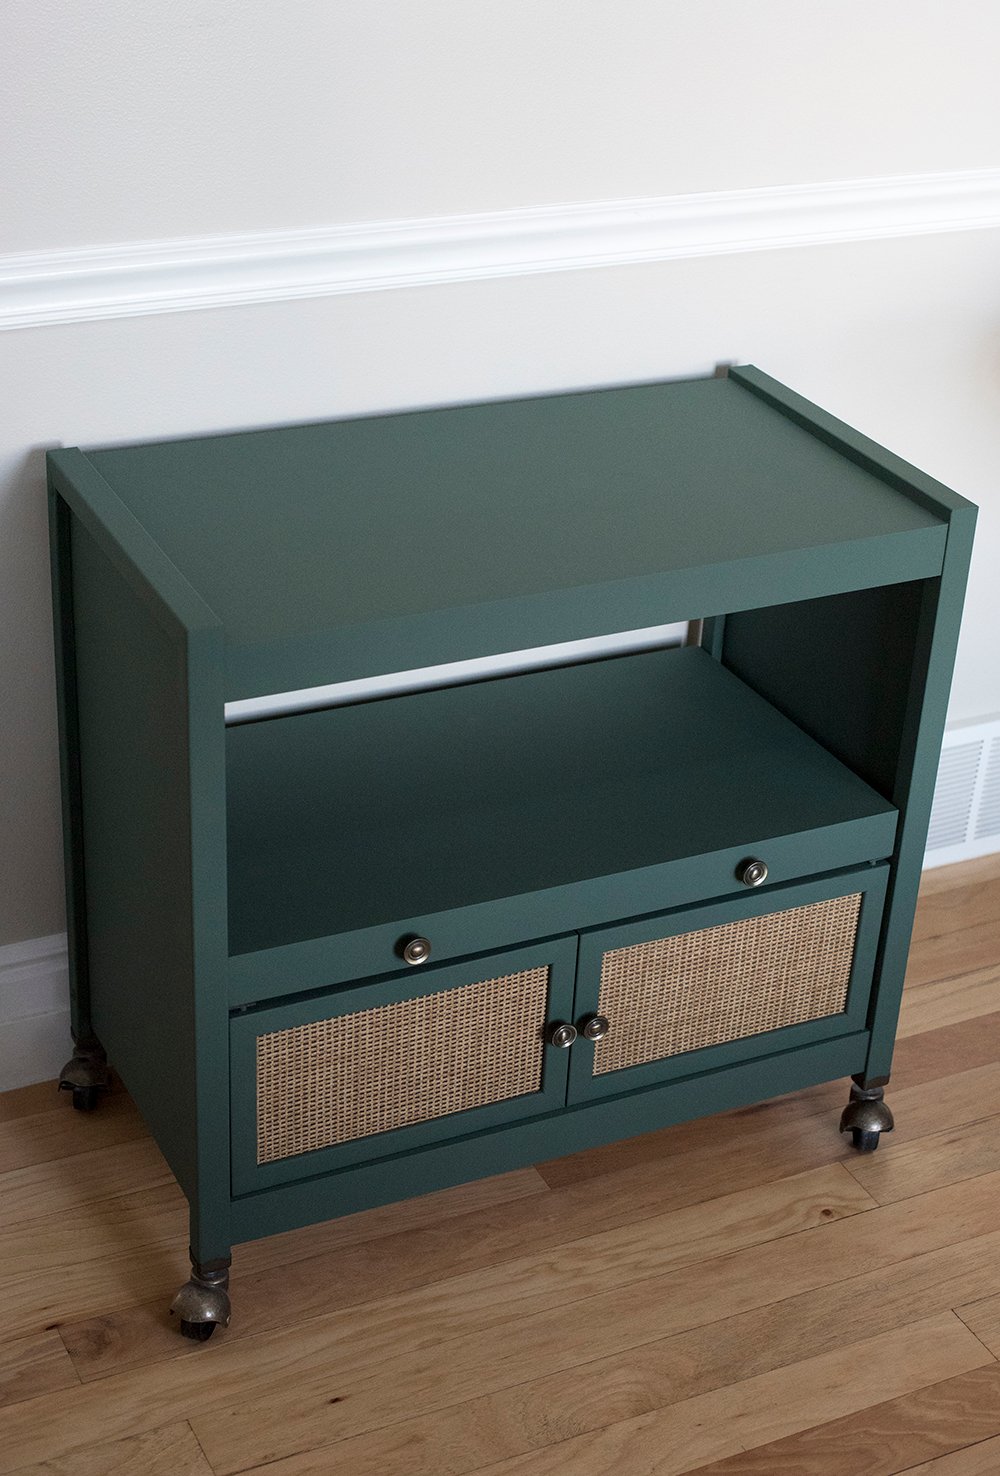 This is how it turned out… so much better! I bought the cart for $10 and with a fresh coat of paint, it looks new and modern:
 If you’re interested in more furniture makeovers, check out the following:
- Enamel Desk Makeover
- How to Upholster a Bench
- Murphy Dog Bed DIY
- How to Paint Patio Furniture Like a Pro
- Nightstand DIY
- Vintage Tallboy Dresser Makeover
- How to Upholster the Seat of a Chair
- Nightstand Restoration
- Breuer Chair Update
 Any interest in seeing how I style my newly painted bar cart? I can pop that into a blog post later this month, if you’d like! I have some pretty new barware to show off. You can also find a giant roundup of my favorite green paint colors in this post– which includes Dard Hunter Green SW 0041. Want to know another fun fact? I discovered this is actually the Sherwin-Williams Color of the Month! It’s pretty perfect that I held onto this thing until October to paint it. Haha! Kismet timing, I suppose.
PS… I hope you ignored the plastic hanging in the doorway pictured throughout this post. Remember, it’s One Room Challenge season and we’re living in a dusty mess! Just a healthy dose of reality for y’all. Renovating isn’t all it’s cracked up to be. Haha! Have a wonderful weekend!
First of all, beautiful! I adore that dark green. And, obviously I want to see the pretty new barware! But, if I were around irl, you would be getting a stern finger-wagging for taking on another project when you are so busy! I totally understand how nice it is to *complete* a fun task in the midst of a giant messy one, though! Here’s a laugh; I was noticing the kind of shimmery “curtain” in the background and wondering if you were trying out something silky for your office drapery.🤣 Construction plastic. 🤣 Have a lovely, wildly productive weekend!
It’s a great green! I know, I know… I deserve a finger wagging. I think I’m procrastinating the larger task at hand. haha! Actually, Emmett is doing his thing and I’m trying to stay out of the way with drywall until I can step in and paint. So funny you thought the plastic contractor paper was a curtain! lol! Happy Friday :) xo
Looks amazing! You are inspiring me to get up and start painting all that furniture I have lined up in my barn. I would definitely be interested in seeing the bar cart all dressed up, but finish your ORC first! You are a favorite designer Sarah!
Thank you Linda! A barn full of furniture?! That sounds like my dream come true. So appreciate your sweet compliment! Have a wonderful weekend :)
I’m impressed…again! Beautiful color green. Liked this tutorial because I have walked away from laminate furniture many times but now don’t feel so afraid to try to paint it. Yes, would love to see your bar accessories!
Thanks Danna! I’ve painted so many laminate pieces… it really holds up well despite the stigma :) Give it a try and let me know what you think! Bar cart styling post to come. Happy Friday!!
Hi! I clicked on the paint link and it looks like it’s meant for walls (interior acrylic latex). That’s okay to use on furniture too? I’ve painted a lot of walls, but I’m new to refinishing furniture. Does it not require a different kind of paint?
That’s correct :) I use the same stuff for furniture and walls! It’s the best!
The matte paint looks killer!
Thank you :) xo
I am also on the green love train! This looks 100 times better!
Would the same paint technique work on particle board with printed wood-look, paper-thin plastic? My sister’s kitchen cabinets are like that, & she really wants to paint them.