How to Upholster a Bench
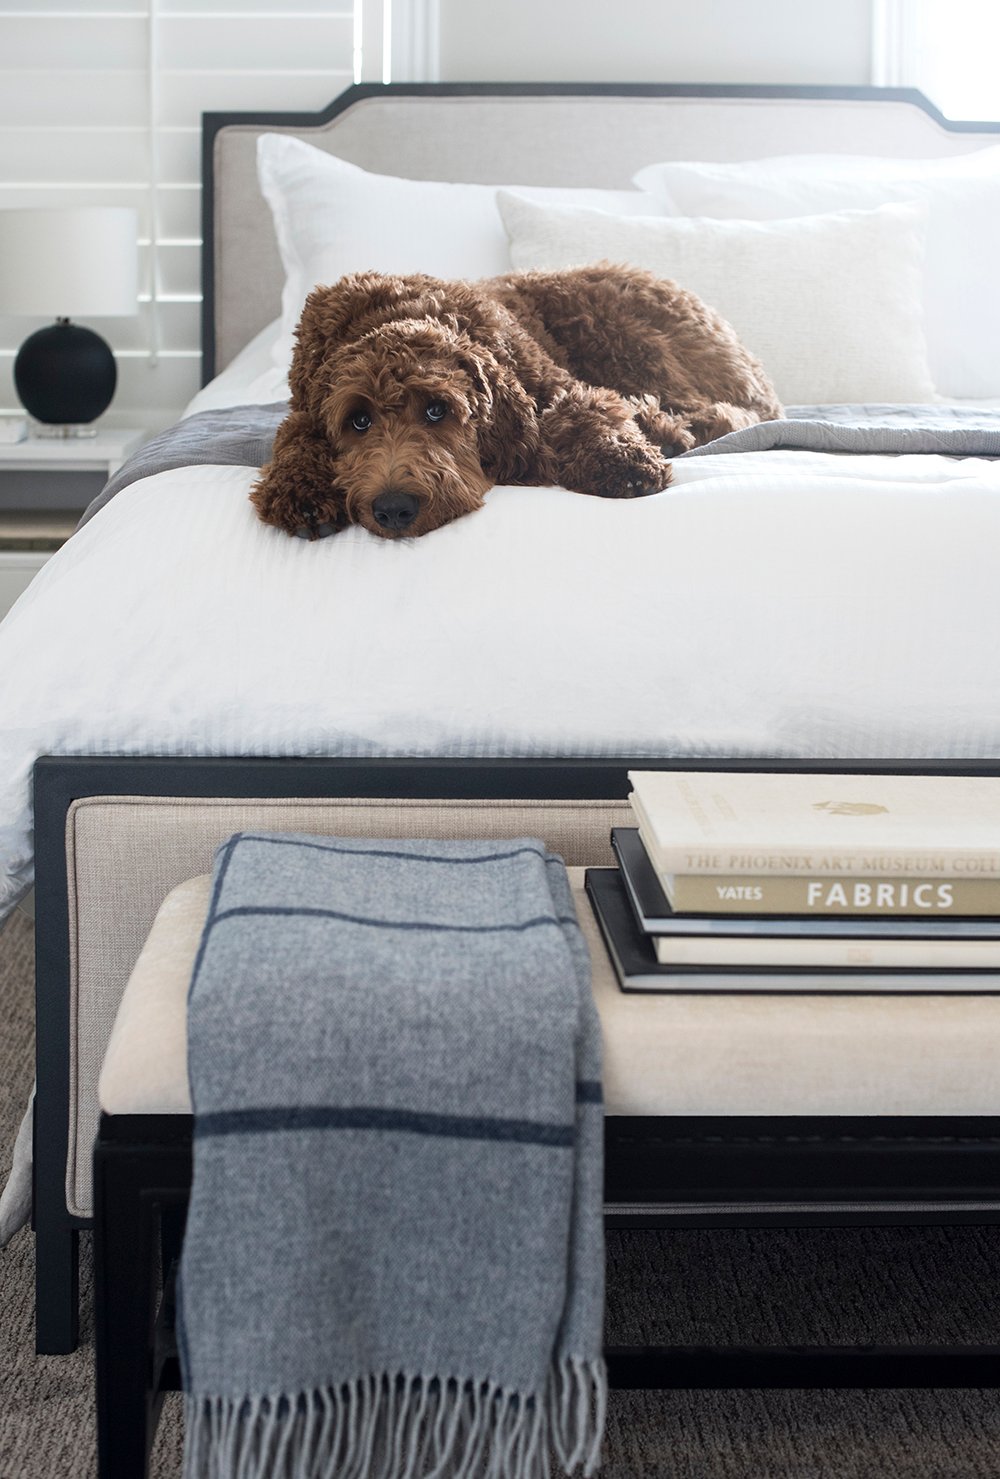 This project has been on my to-do list for awhile now. Back in July, I attended a warehouse sale at a local design store I love (Alice Lane Home), and I scored a bunch of great stuff on the cheap. One of the items I came home with was a bench frame. I’m not sure if the deconstructed top was an intentional design element or if it was just missing the top upholstered section, but I knew I wanted to upholster it. The frame has gorgeous lines and was begging for some pretty fabric. I figured while I was reupholstering this piece, I should go ahead and document the process. Hopefully it will be helpful if any of you have similar upholstery projects on your to-do list! Click through to see the before, process, and finished result. Remember the last upholstery project I shared? If you’re interested in learning how to upholster the seat of a chair- check out this post. Otherwise, continue on…
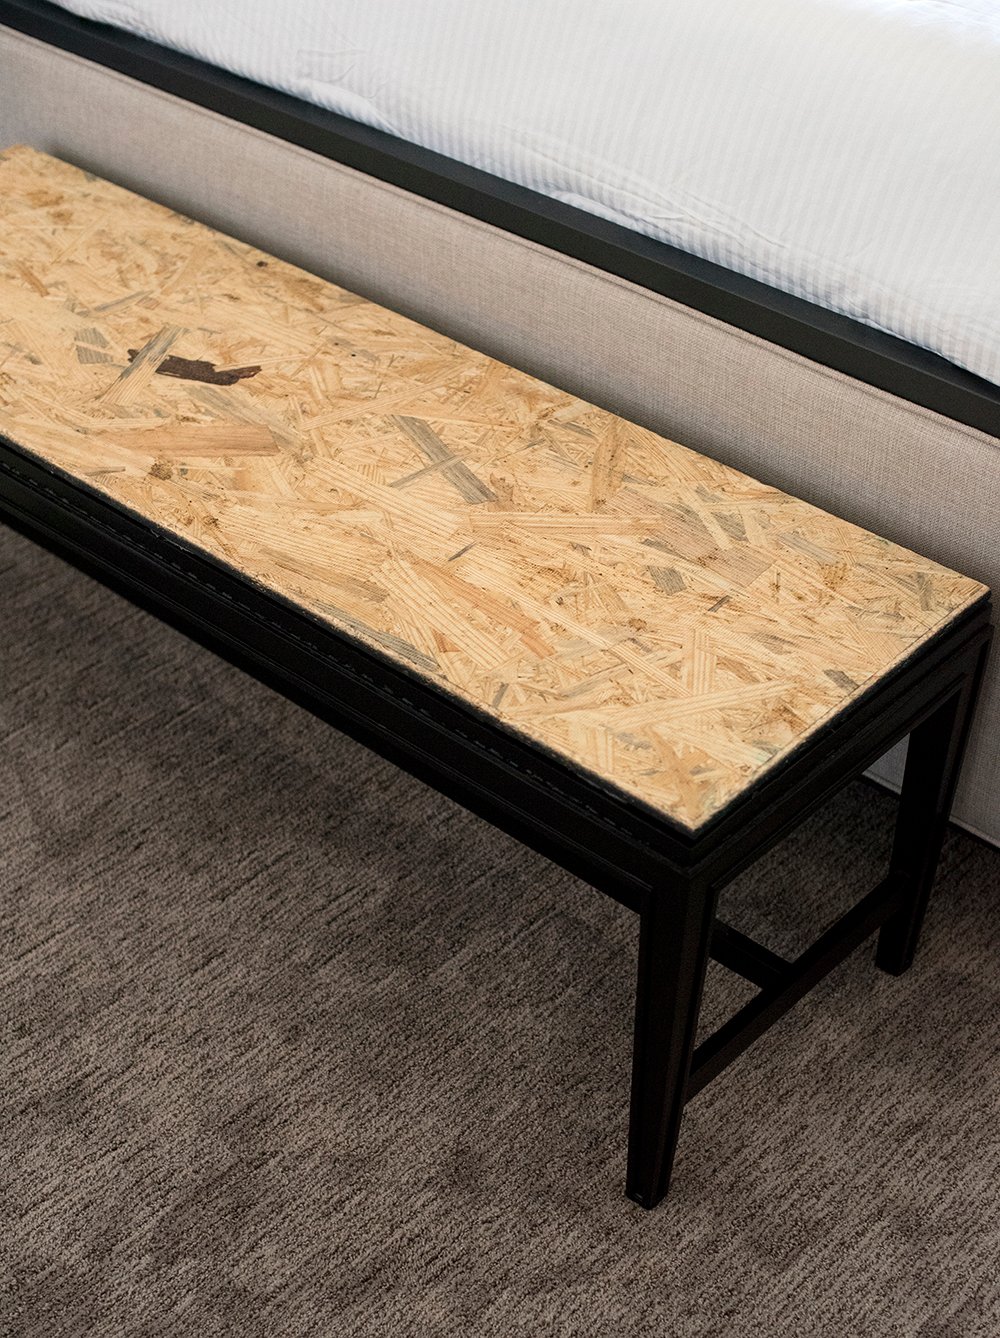
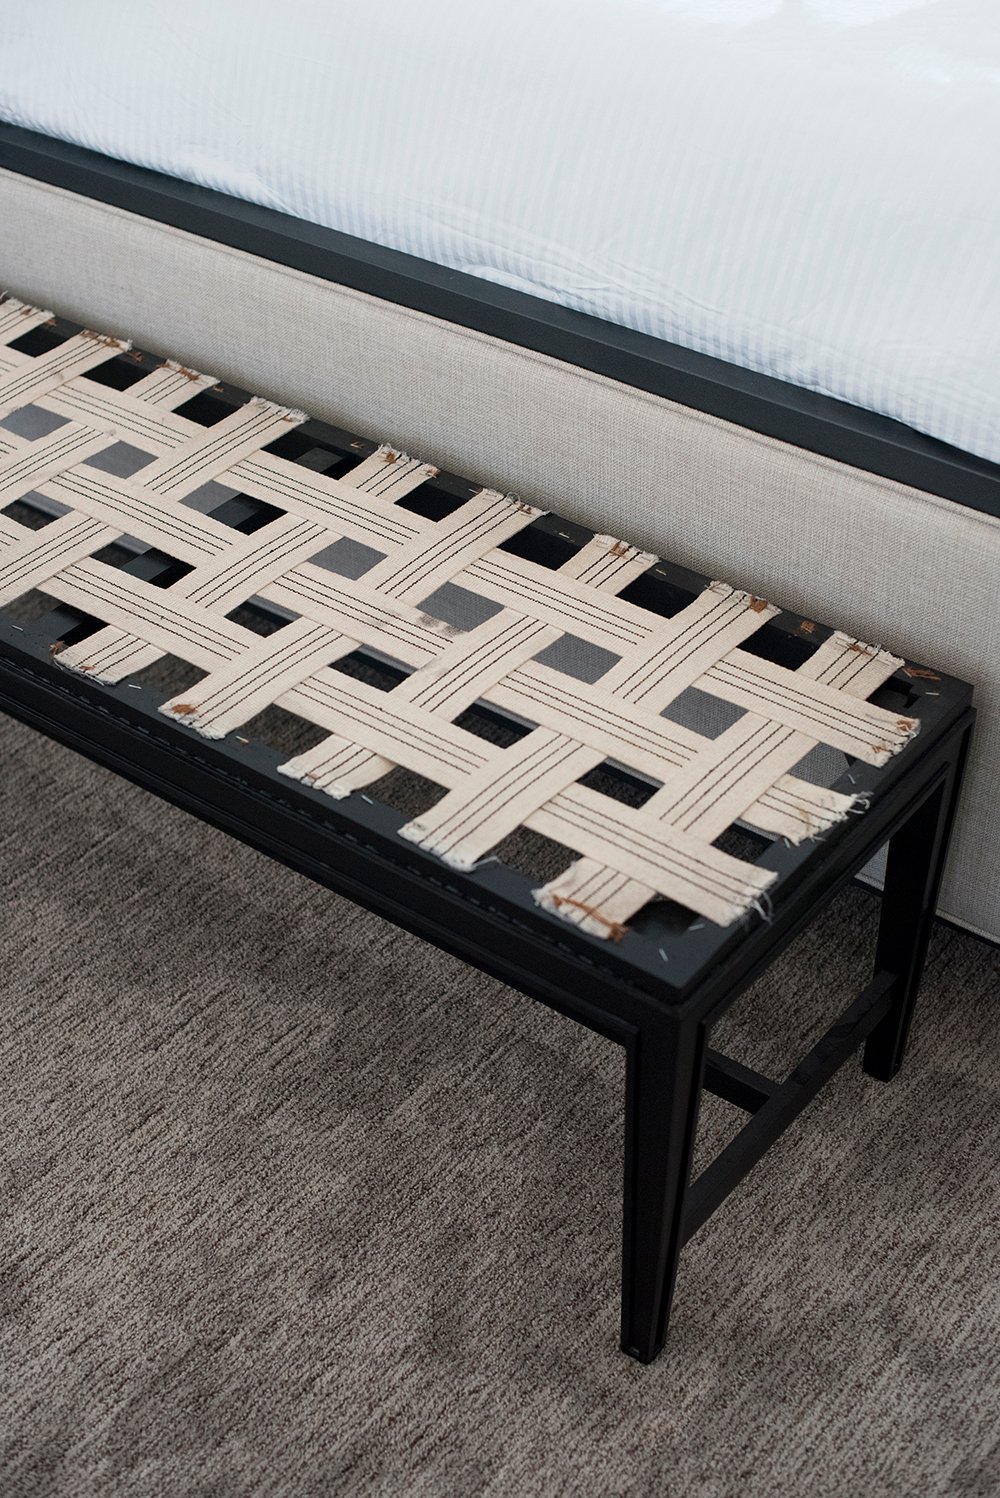 Above, you’ll see what the bench looked like upon bringing it home. A little weird. I wasn’t into the deconstructed look, and wasn’t even sure if it was intuitional. Here’s what you’ll need for this upholstery project…
SUPPLIES + TOOLS:
- bench frame
- plywood
- spray paint (optional)
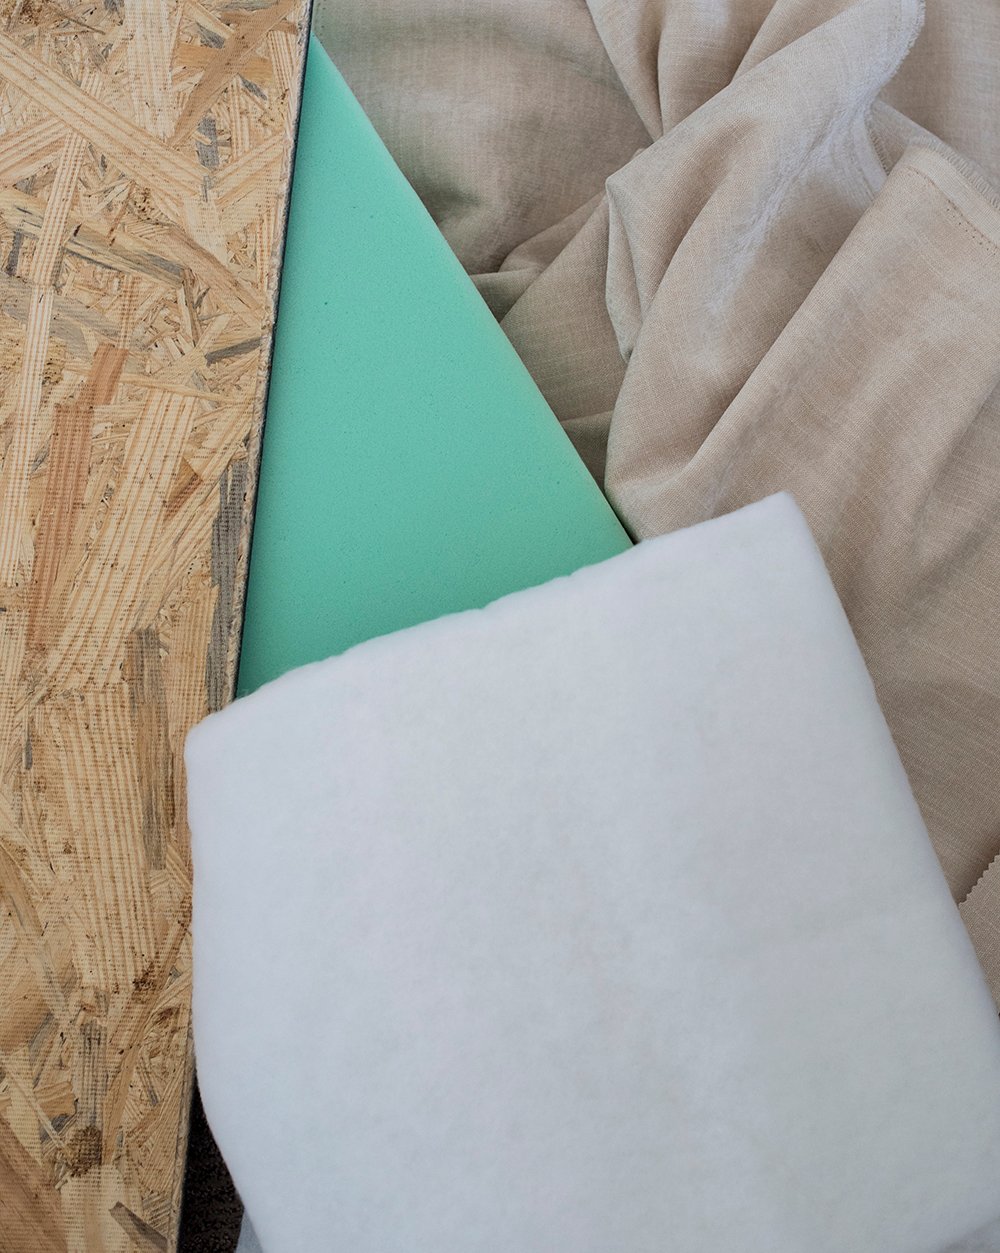
- 3″ upholstery foam, cut to size
- batting, cut to size
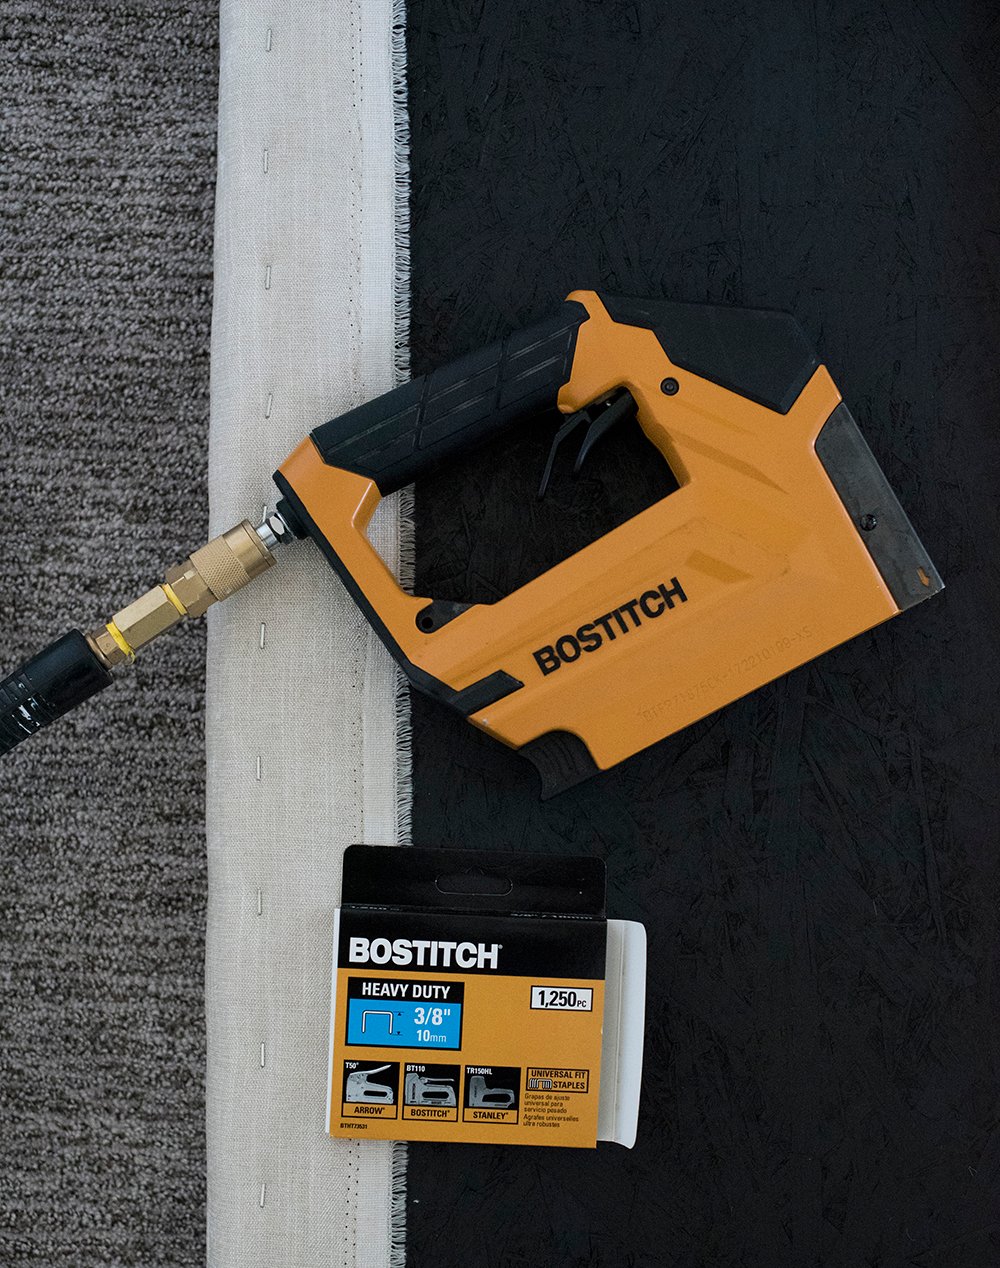
- staple gun & air compressor
- staples
- power drill (or screw driver)
- upholstery weight fabric (mine came from a local shop)
- scissors
If you’re curious about fabric selection, my friend Erin shared a post on how to choose the right fabric for reupholstering furniture! It’s very helpful with designer details.
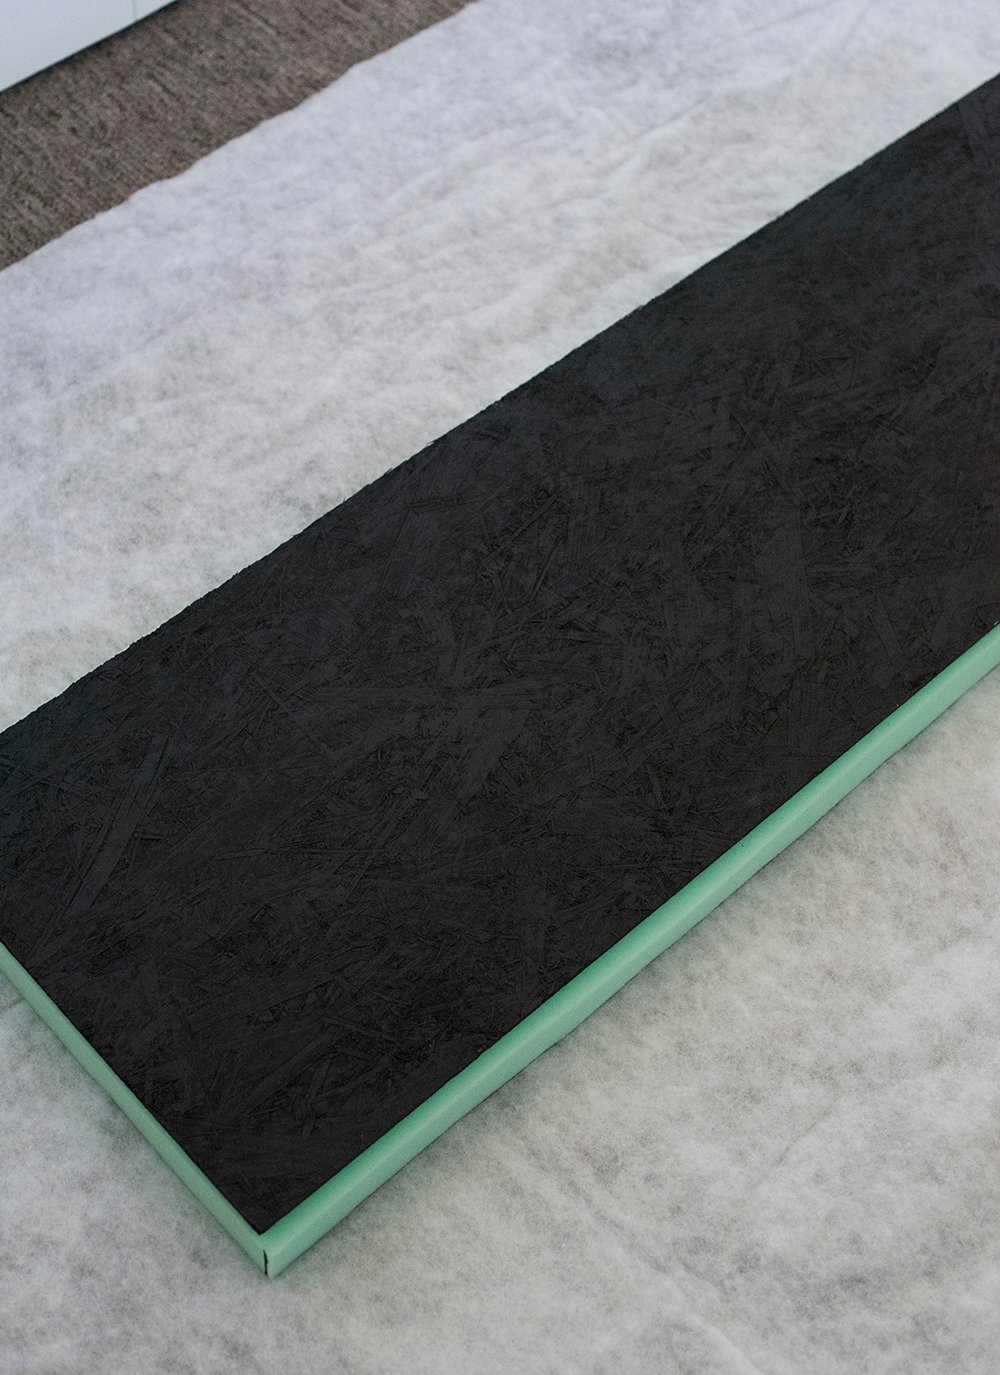
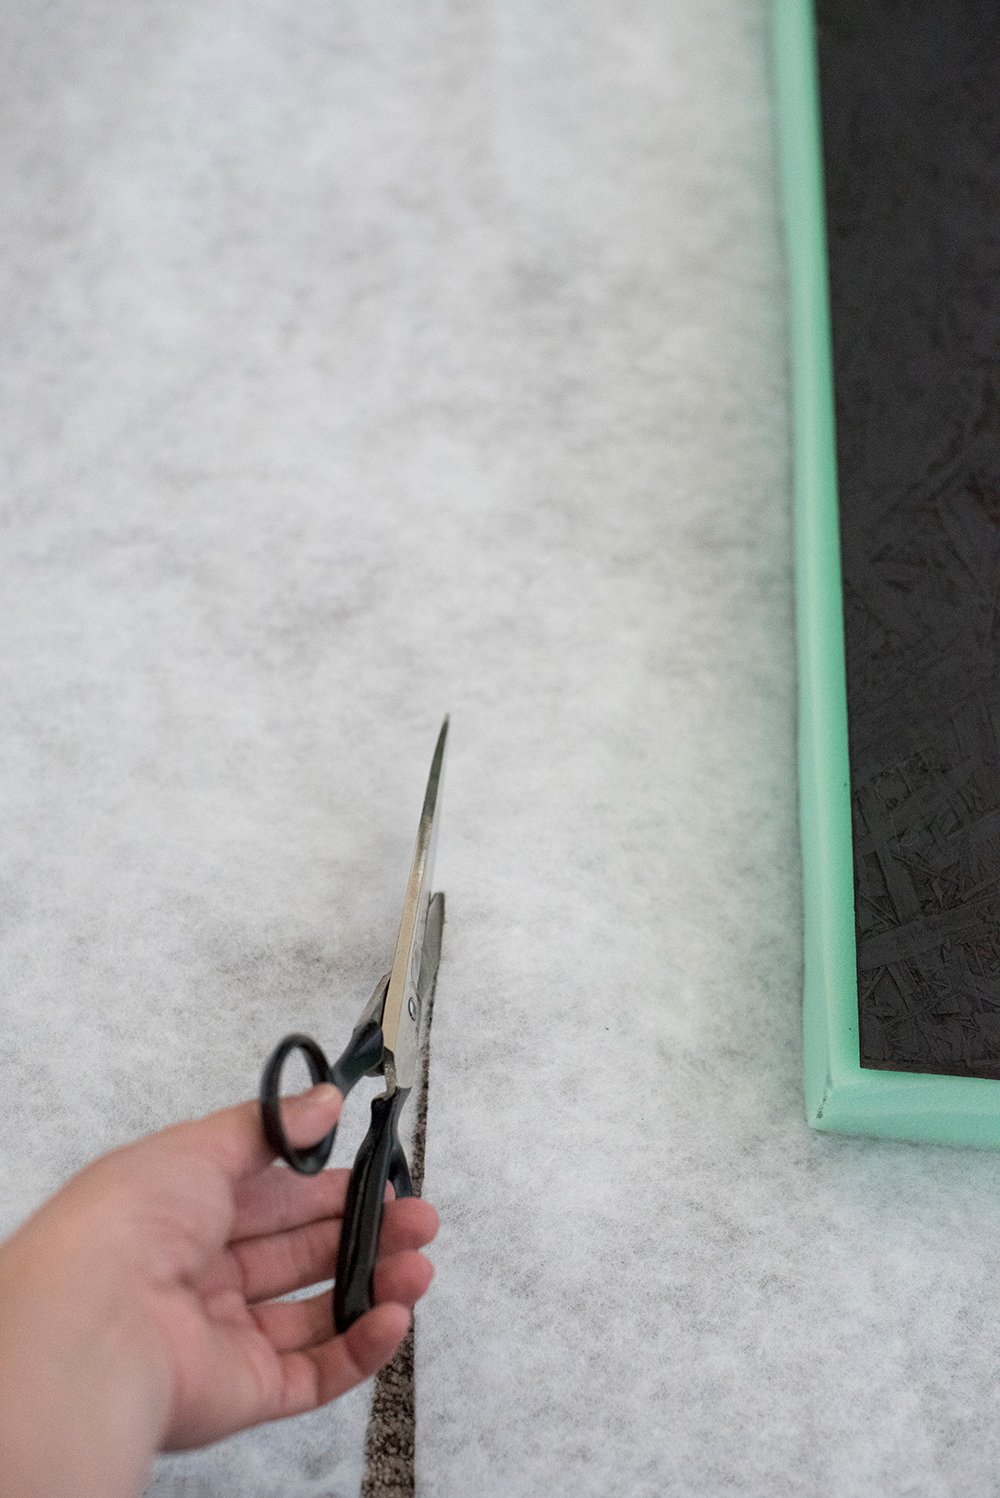
 Step 1 // Source and paint wood. Did you know your local hardware store, like Lowe’s, will cut wood to size for free? I had my local store cut this plywood to size, in an effort to save myself a step. I brought it home and sprayed one side black with spray paint. This is the bottom side of the bench and this step is totally optional. You won’t see the bottom unless you’re on the floor looking up.
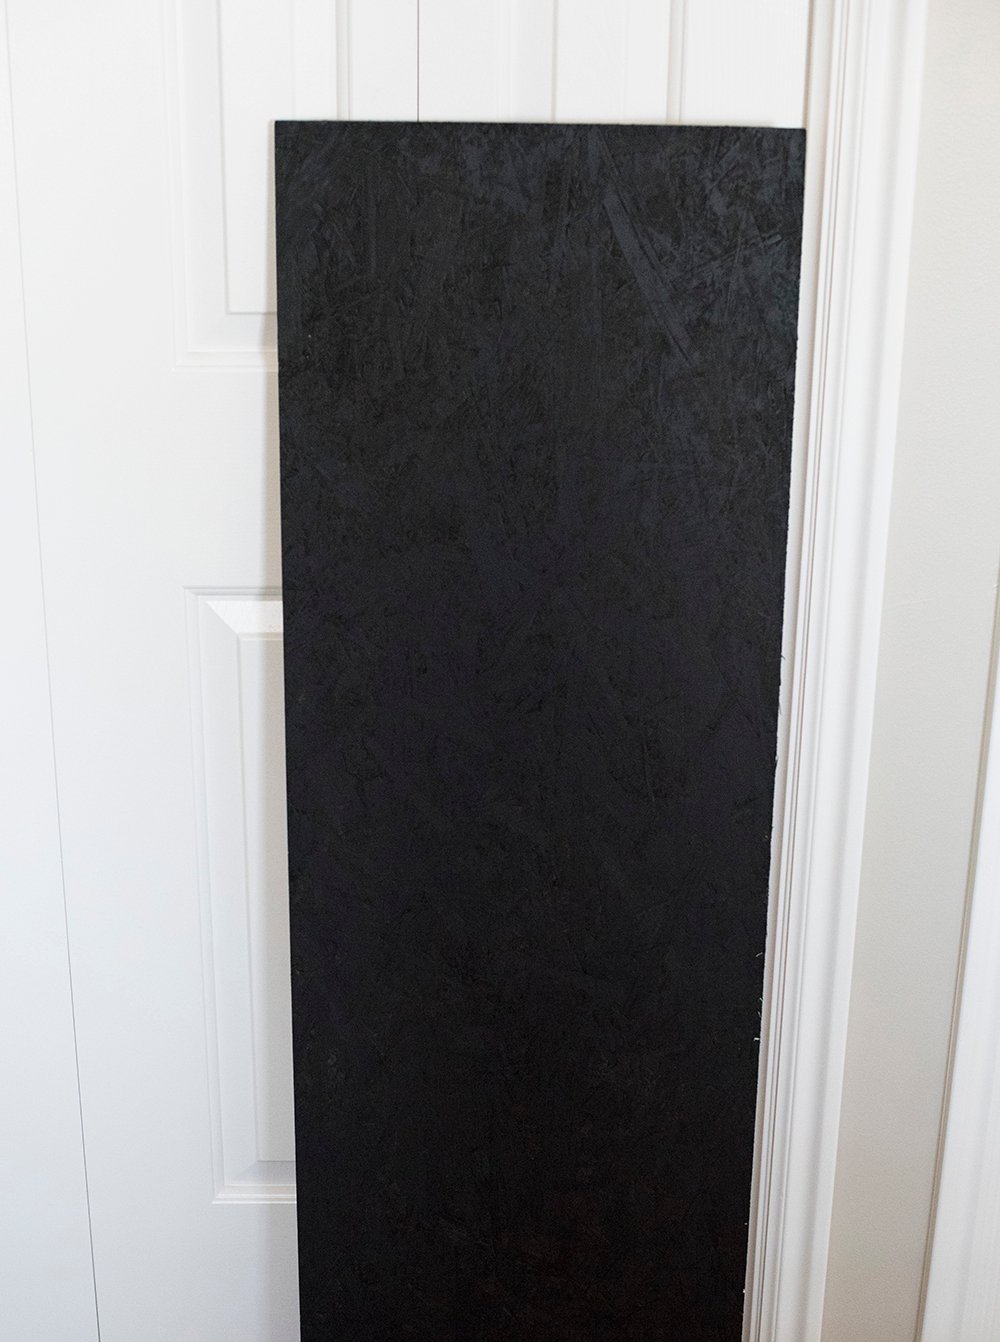 Once you have the plywood finished, place it paint side down on the bench to double check the size.
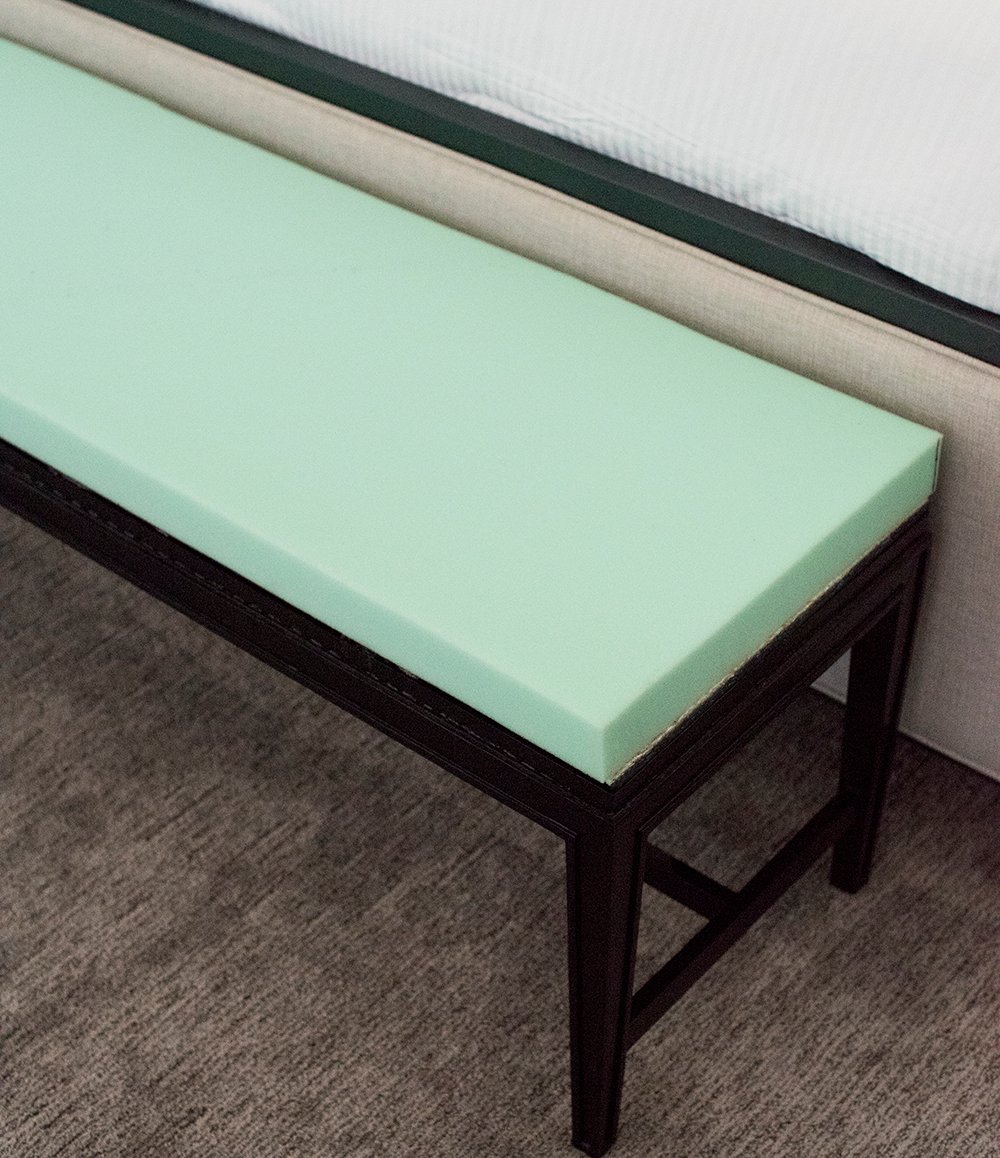
 Step 2 // Cut the foam to size. Next, cut the upholstery foam to size. I cut my foam about 1/4″ larger than the plywood around the perimeter, knowing that I’ll pull the fabric tight and smash it down a bit during the upholstering process.
 Step 3 // Wrap the foam in batting. Once you’ve confirmed the plywood and foam sizes, flip the pair over onto the batting, face down.
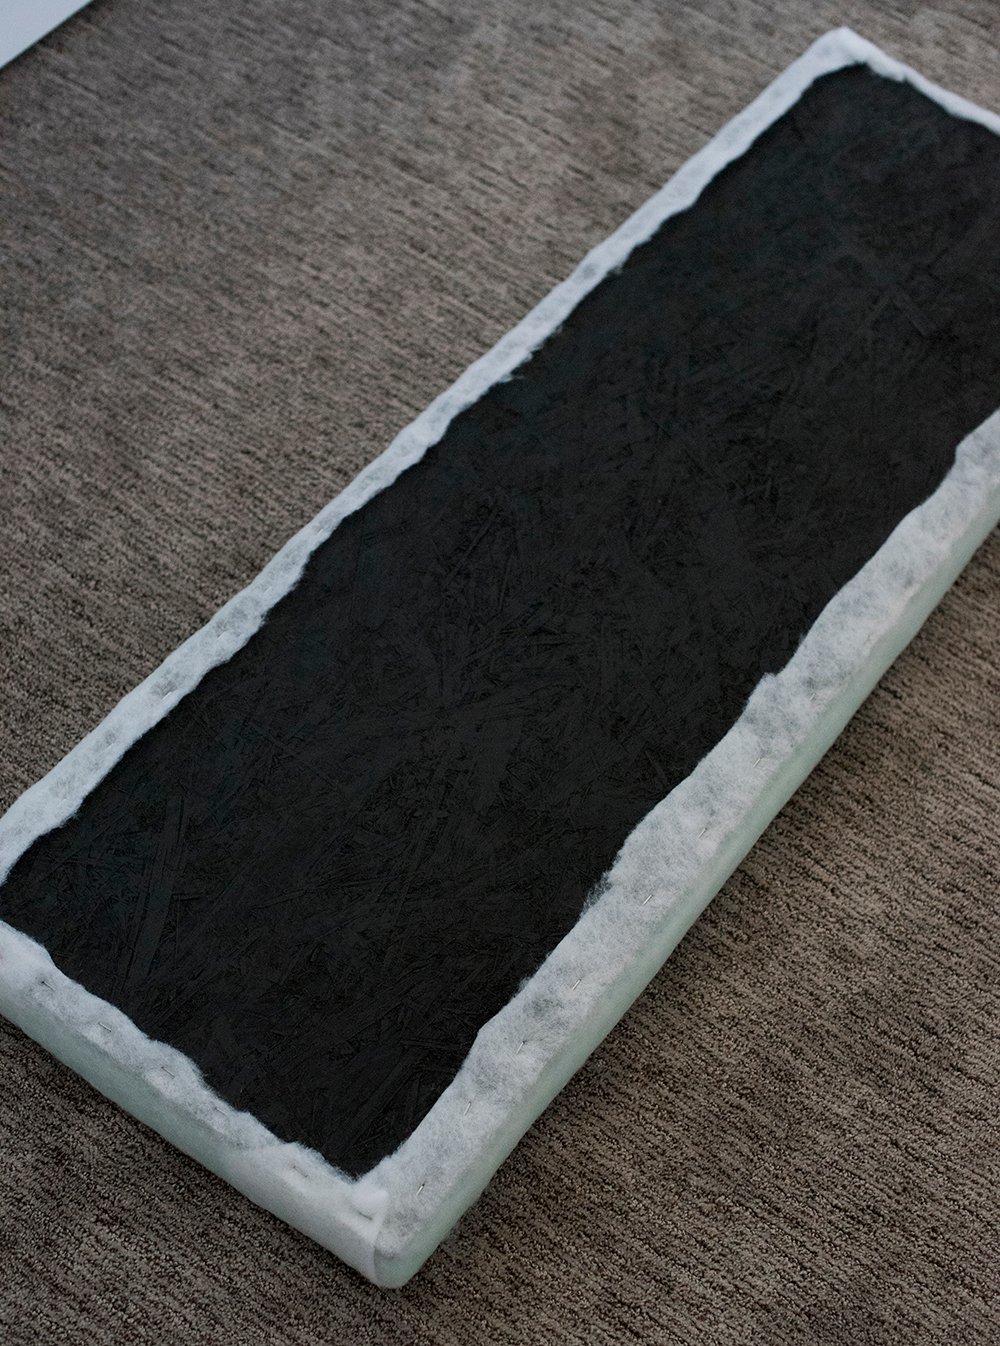
 Step 4 // Cut and staple the batting. Next, cut the batting to size around the perimeter of the bench seat, folding it up to make sure you have 1/2″+ excess.
 Using the air stapler, begin to staple the batting to the plywood, pulling it tight as you move around the seat.
 Step 5 // Repeat the previous step with the fabric. Just like Step 4, flip the bench seat over face down onto the fabric. Cut around the perimeter and begin securing it to the plywood with staples.
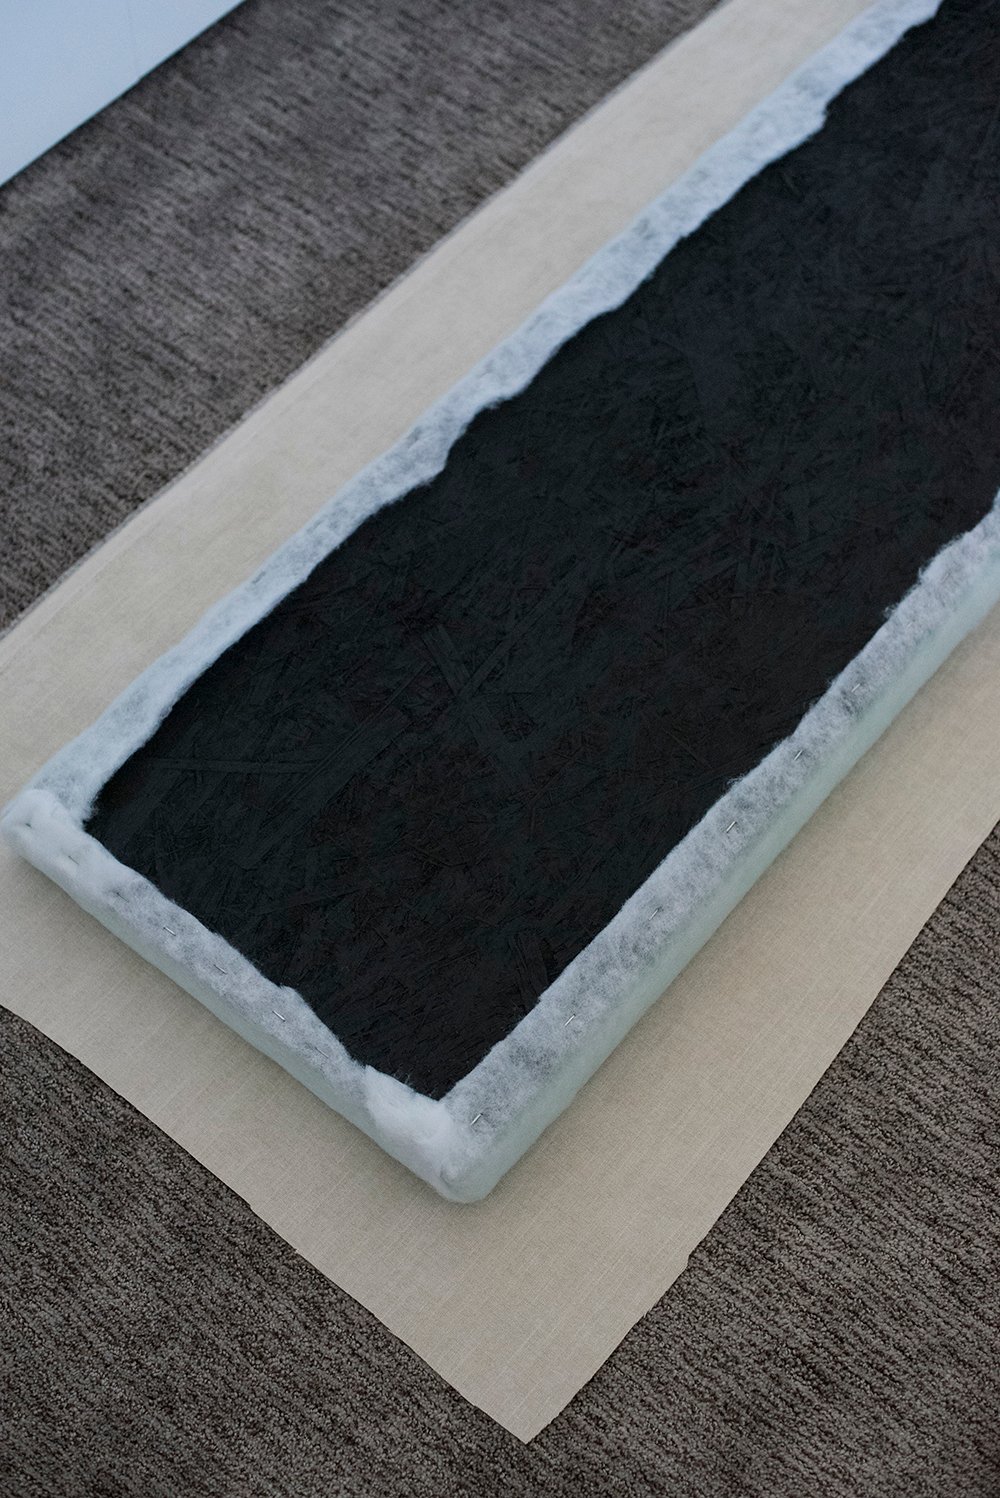 Continue all the way around the seat, securing the fabric with a staple every couple inches or so.
 Step 6 // Complete the corners and secure the seat to the frame. Lastly, tuck the corners in to create a box fold, then once that’s finished- you’re ready to secure the frame! Use a power drill or screw driver to secure the plywood to the underside of the bench.
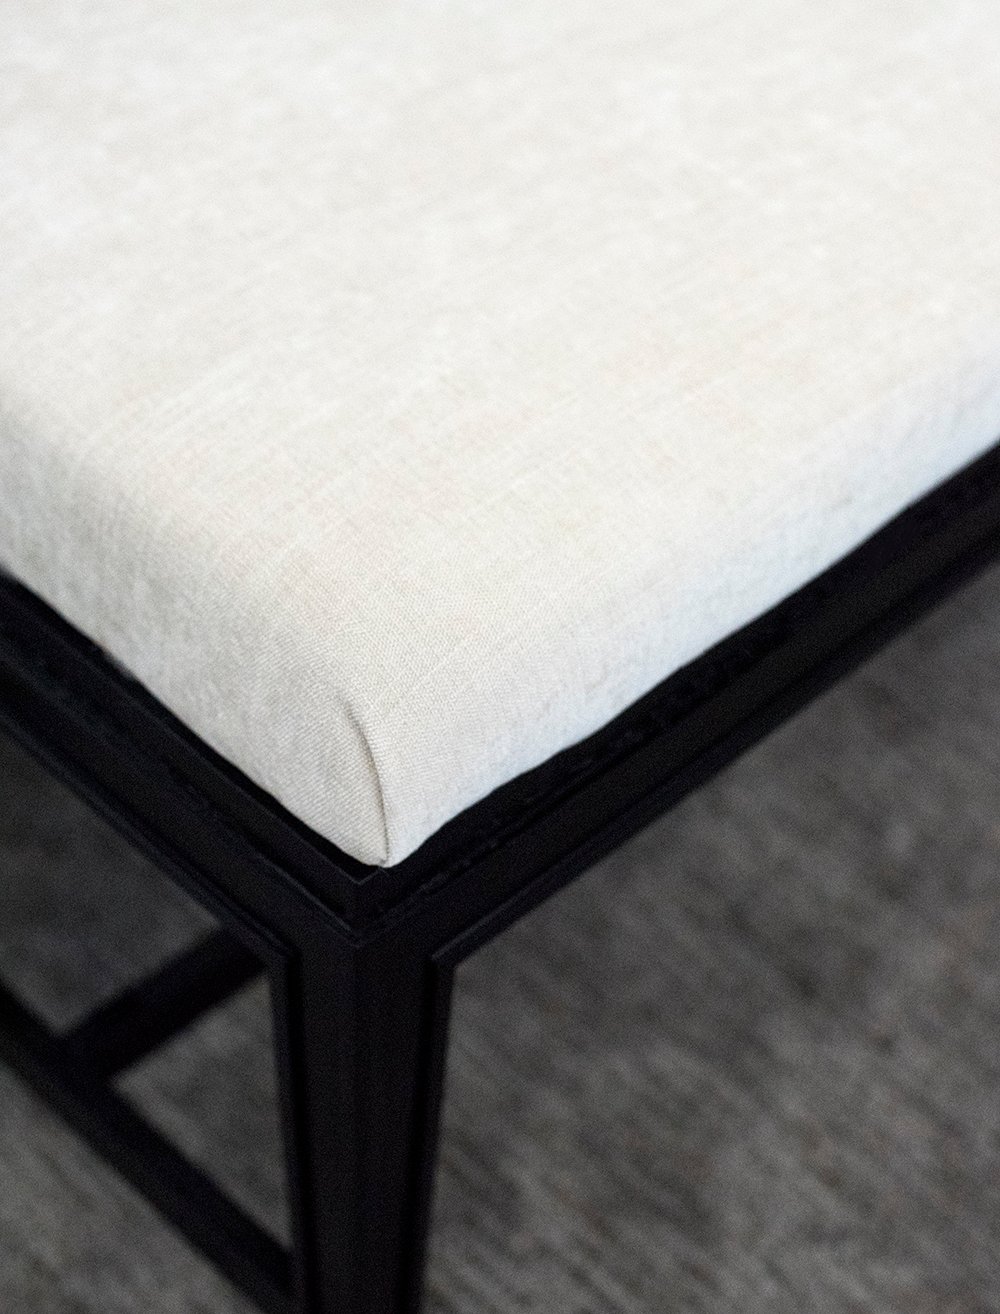 That’s it! This entire project took me less than 20 minutes. It was a quick and inexpensive project that made this bench look a thousand times better.
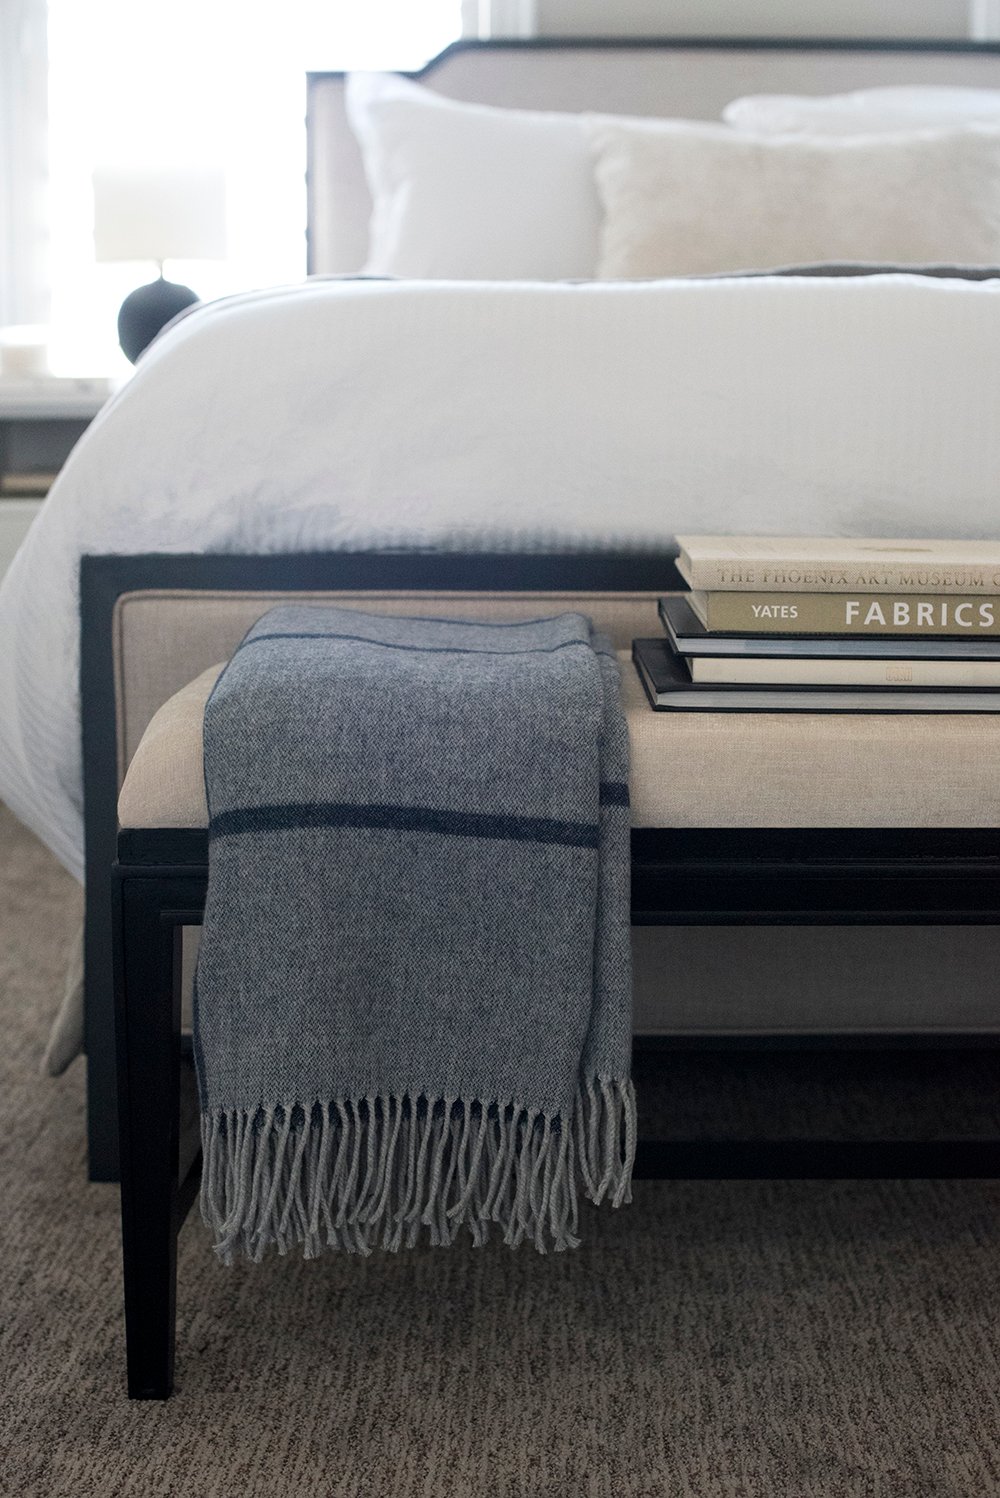 I’m not sure which bedroom I’ll style the bench in quite yet, but one thing is certain- it definitely belongs at the foot of a bed. Have you ever tackled an upholstery project before? Let me know if you have any questions in the comment section below. Have a great week!
I’m just here for the cute Crosby face!😉 But the bench looks a million times better; such pretty details on the frame, too! Speaking of upholstery projects, will we see the chairs you did in that fabric when you do your basement reveal? I know it’s going to be good!
Happy Monday!
Hahah, oh Crosby! Unfortunately, we haven’t tackled that side of the basement yet. We’re planning to use those chairs around a game table once we demo the basement kitchen and relocate it someday. For now, the chairs are tucked away in the prop closet. Womp womp! Have a great week!
Hi Sarah,
Could you explain how you cut the foam? What tool did you use to get such perfect straight lines? How did I miss the gorgeous bed frame and lamp, or is that coming soon?
Hi Melanie! Great question! You can use a hot electric knife, a blade or box cutter, OR- you can do what I did… I just had my local Joann Fabric cut the foam to size for me (that’s where I purchased it). The bed frame has since been discontinued- I’m sorry! The lamp can be found here: http://www.janabek.com/lamps/mini-matte-black-lamp My friend Jana makes it! She has a ton of gorgeous options. xox
Hi Sarah! Are you going to be sharing where this bedframe is from soon?
I wish I could, but unfortunately it has been discontinued! I bought it from Wayfair back in December when we first moved in. If you want to try to find it… it was called “alcott hill duggan upholstered panel bed”. Sorry I can’t be more helpful with a link!
ah darn that’s ok1
Hi Sarah! Would you mind sharing where the blue throw is from? It looks so cozy. Thanks!
It’s Nido Italia brand… this was a very lucky find from HomeGoods! Sorry! I wish I had a link for you- it’s a great 100% wool throw. Maybe try your local store?