Enamel Desk Makeover
 I picked up a cool vintage desk a couple months ago for $20, really liked the shape, and decided I could easily make it look better with a fresh coat of paint. It needed some serious TLC. Here we are two months later (I procrastinated per usual), and I’m finally sharing the makeover and tutorial. This time around, I painted the furniture with enamel. I typically use lacquer or gloss paint, but wanted to take a stab at enamel because of it’s durability. This desk will live in one of our guest bedrooms and I wanted it to hold up to the wear and tear with friends & family coming and going. Click through to see what it looked like and how it changed throughout the process…
SUPPLIES + TOOLS
- sanding block
- drop cloth
- screw driver (for removing hardware)
- scrap pieces of wood (for propping up feet / legs)
- krylon enamel
- towels (for wiping)
- shelf liner or wallpaper (for lining drawers)
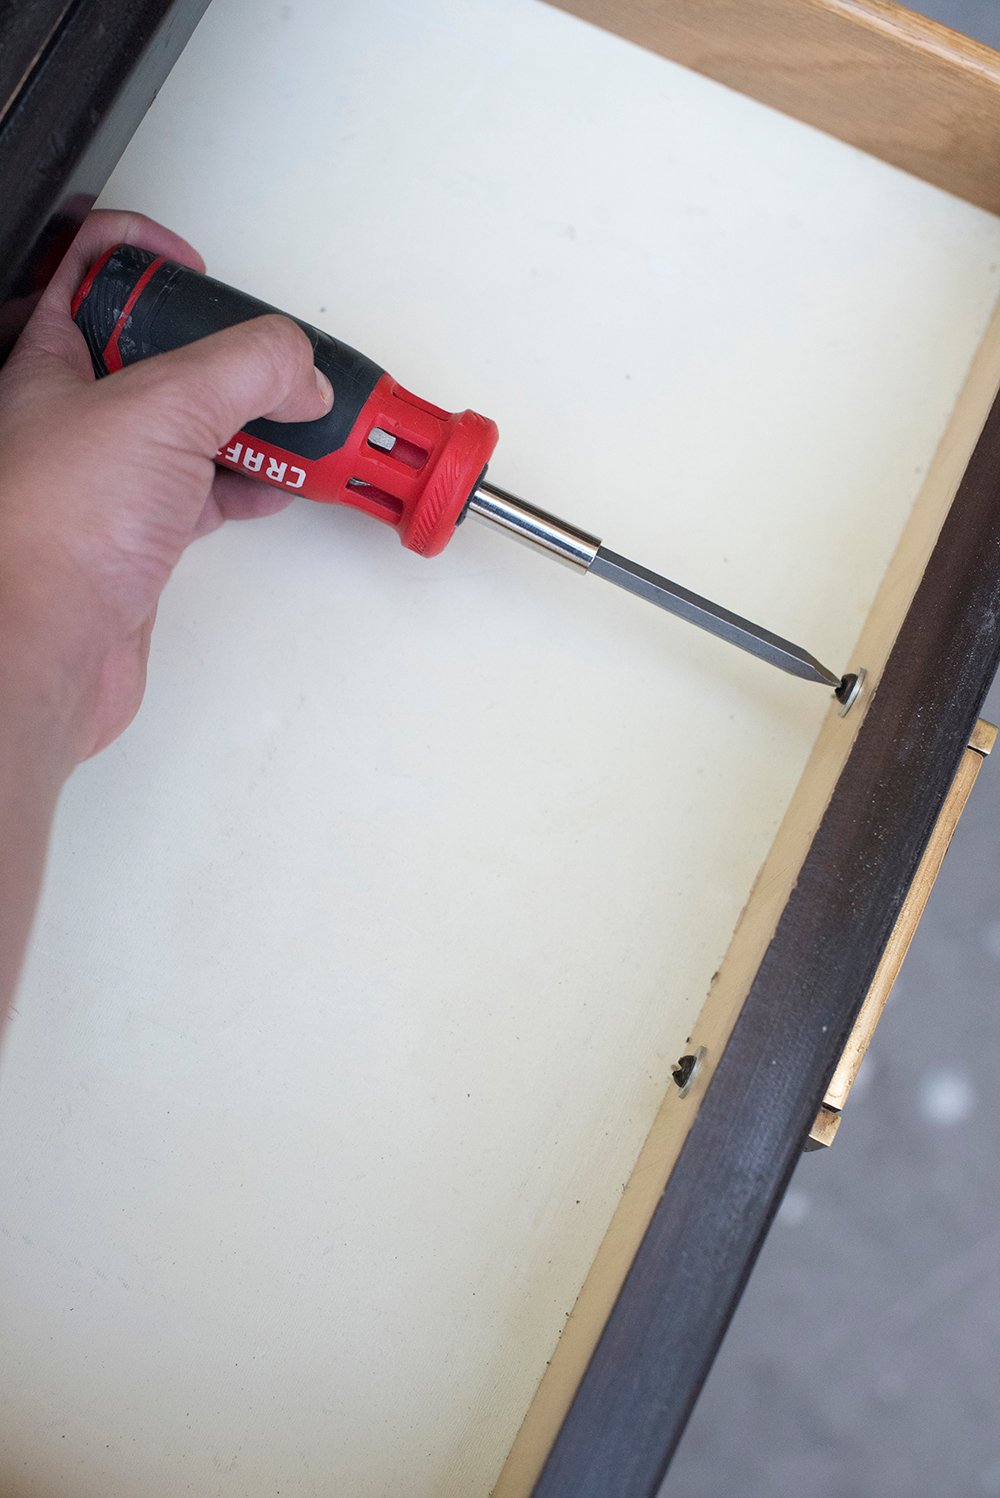 Step 1 // Remove hardware. I began by removing the hardware with a flathead screwdriver.
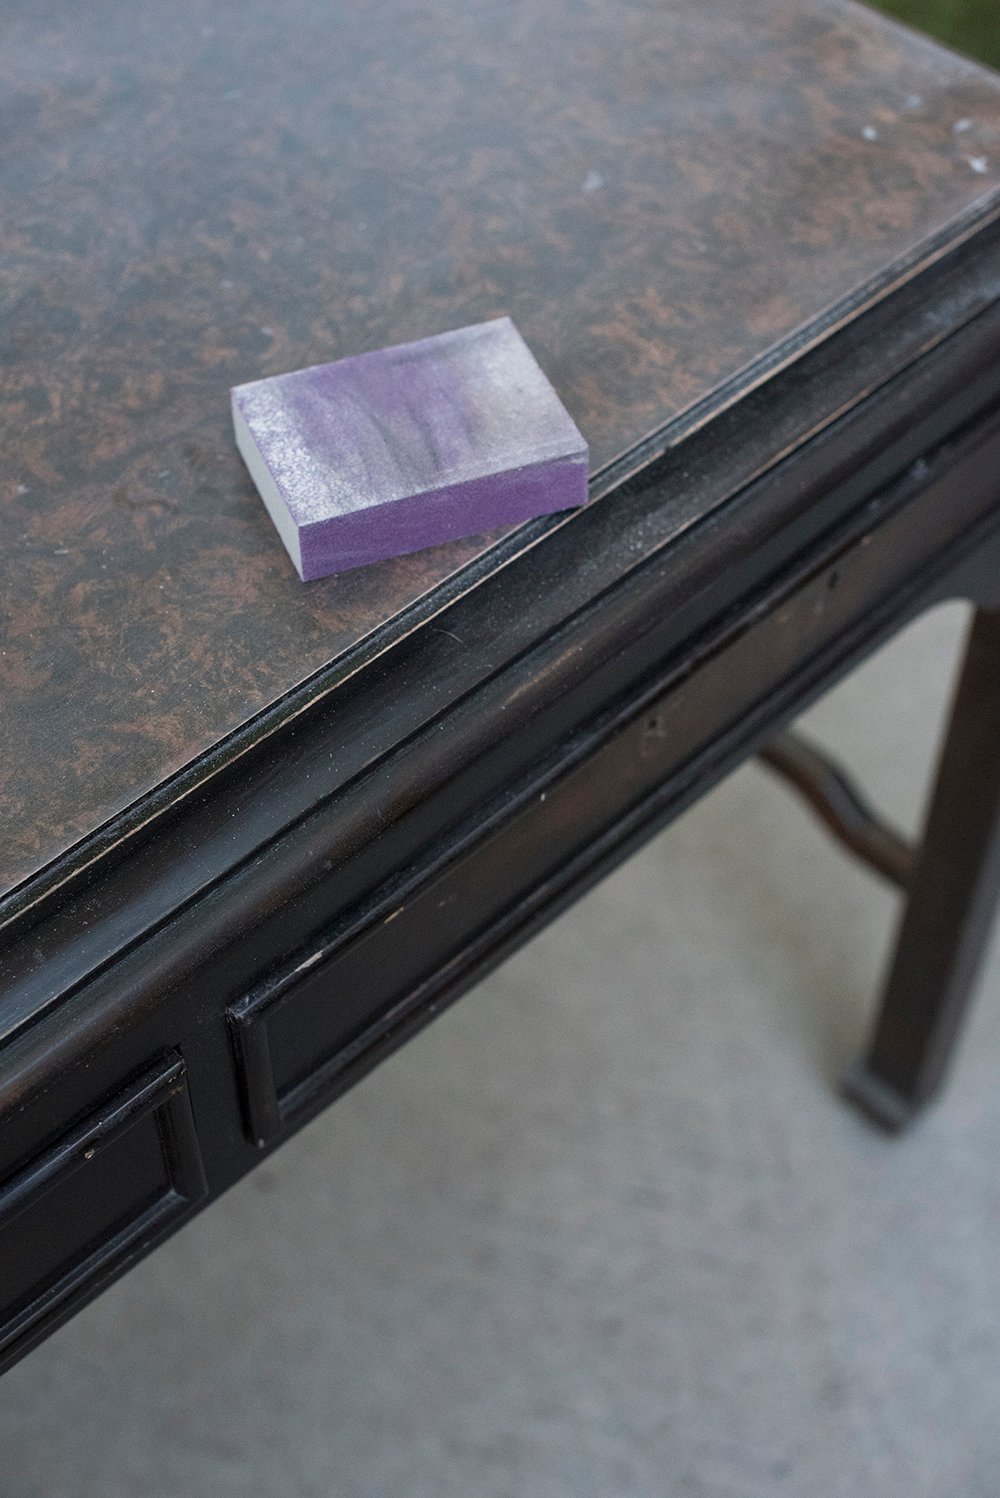 Step 2 // Sand furniture. Next, I roughly sanded the entire desk with a sanding block. This doesn’t have to be a super amazing sanding job… just enough to rough up the surface.
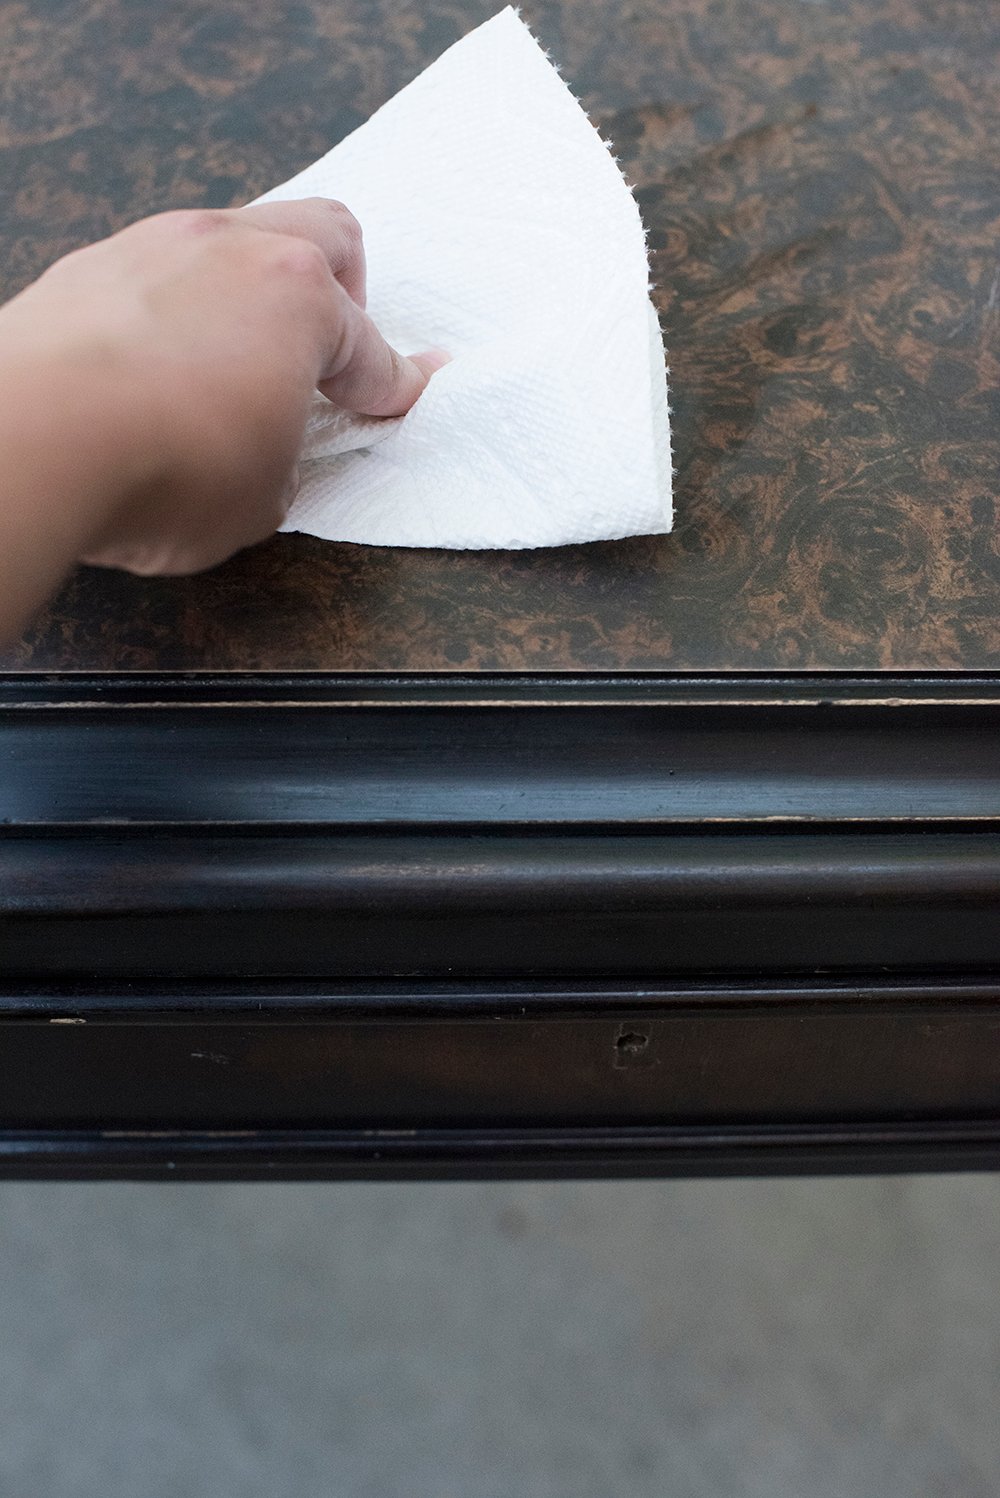 Step 3 // Wipe and clean. Then I cleaned the entire piece with water and paper towels, removing all dust and debris from sanding.
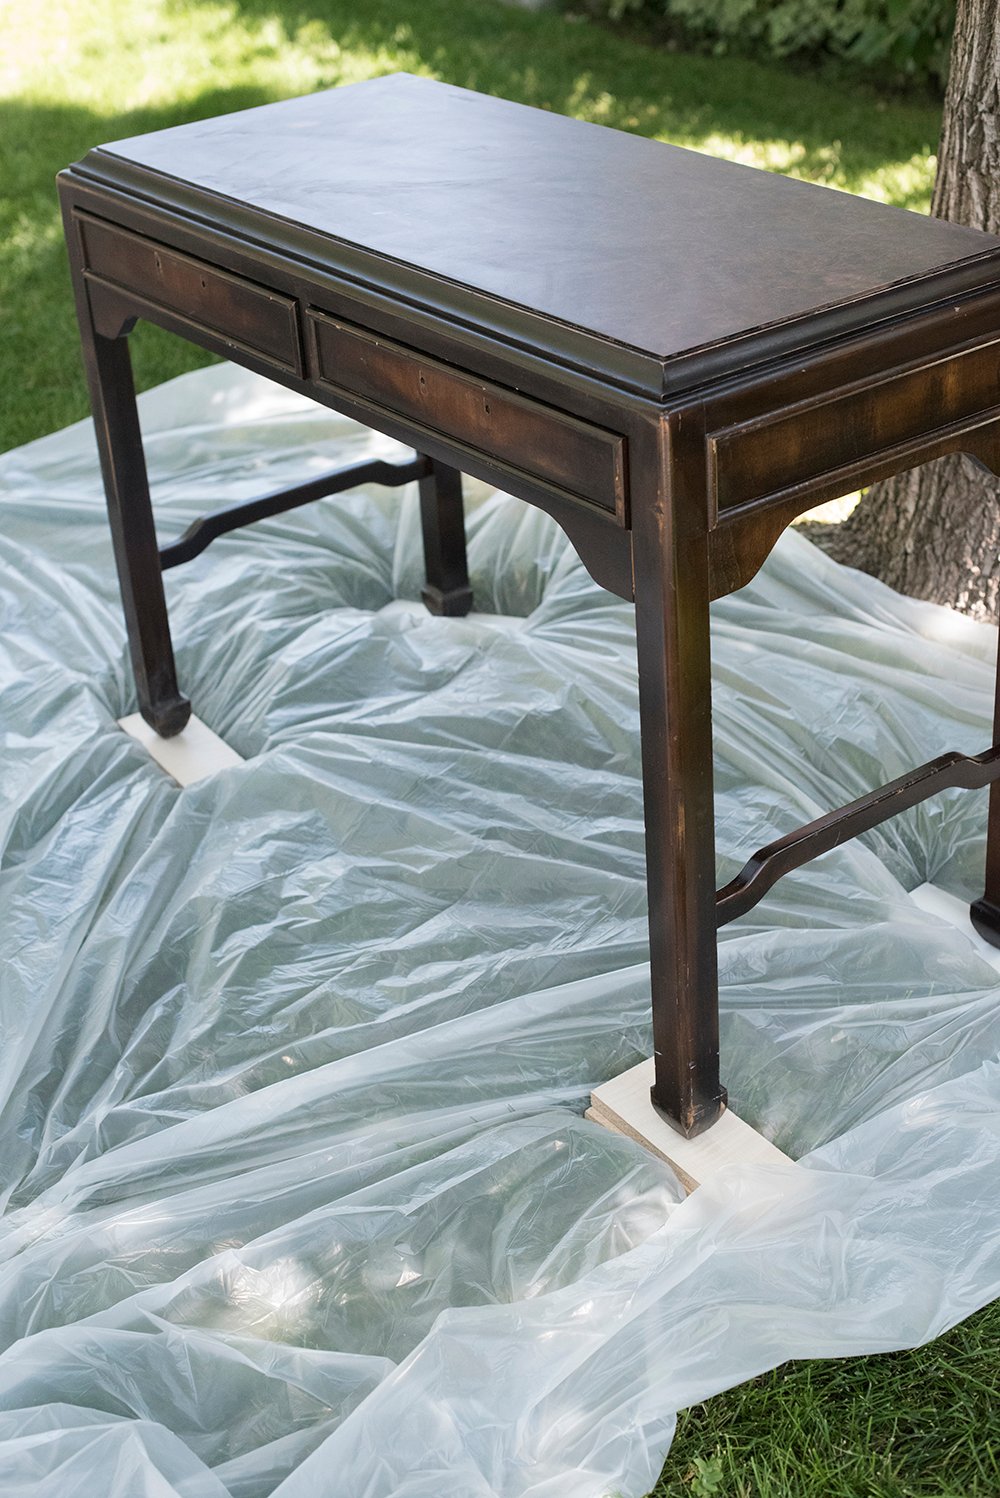 Step 4 // Prep for painting. Prepping the area is pretty important. I like to put down a drop cloth and prop furniture up onto scrap pieces of wood. It makes it so much easier to get the low areas and legs.
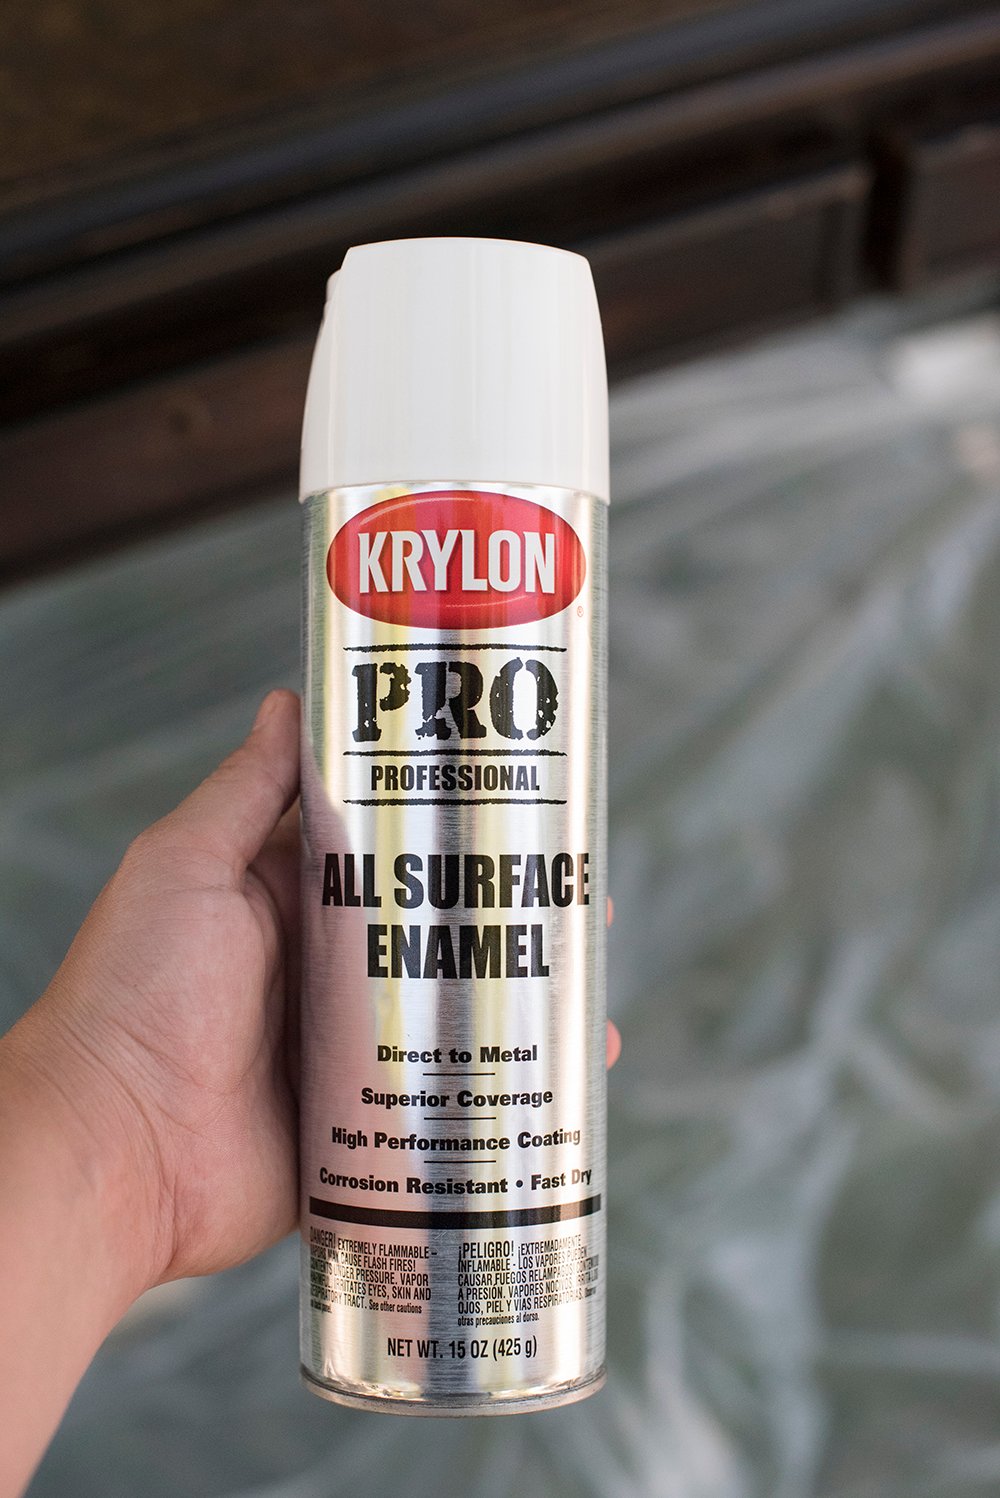 Step 5 // Apply paint. Now it’s time to paint! It doesn’t get easier than this spray enamel. I got mine from Sherwin-Williams and it was on sale for $5. Shake it well and apply in very THIN layers. I did about 5-6 coats. Keep it light and consistent.
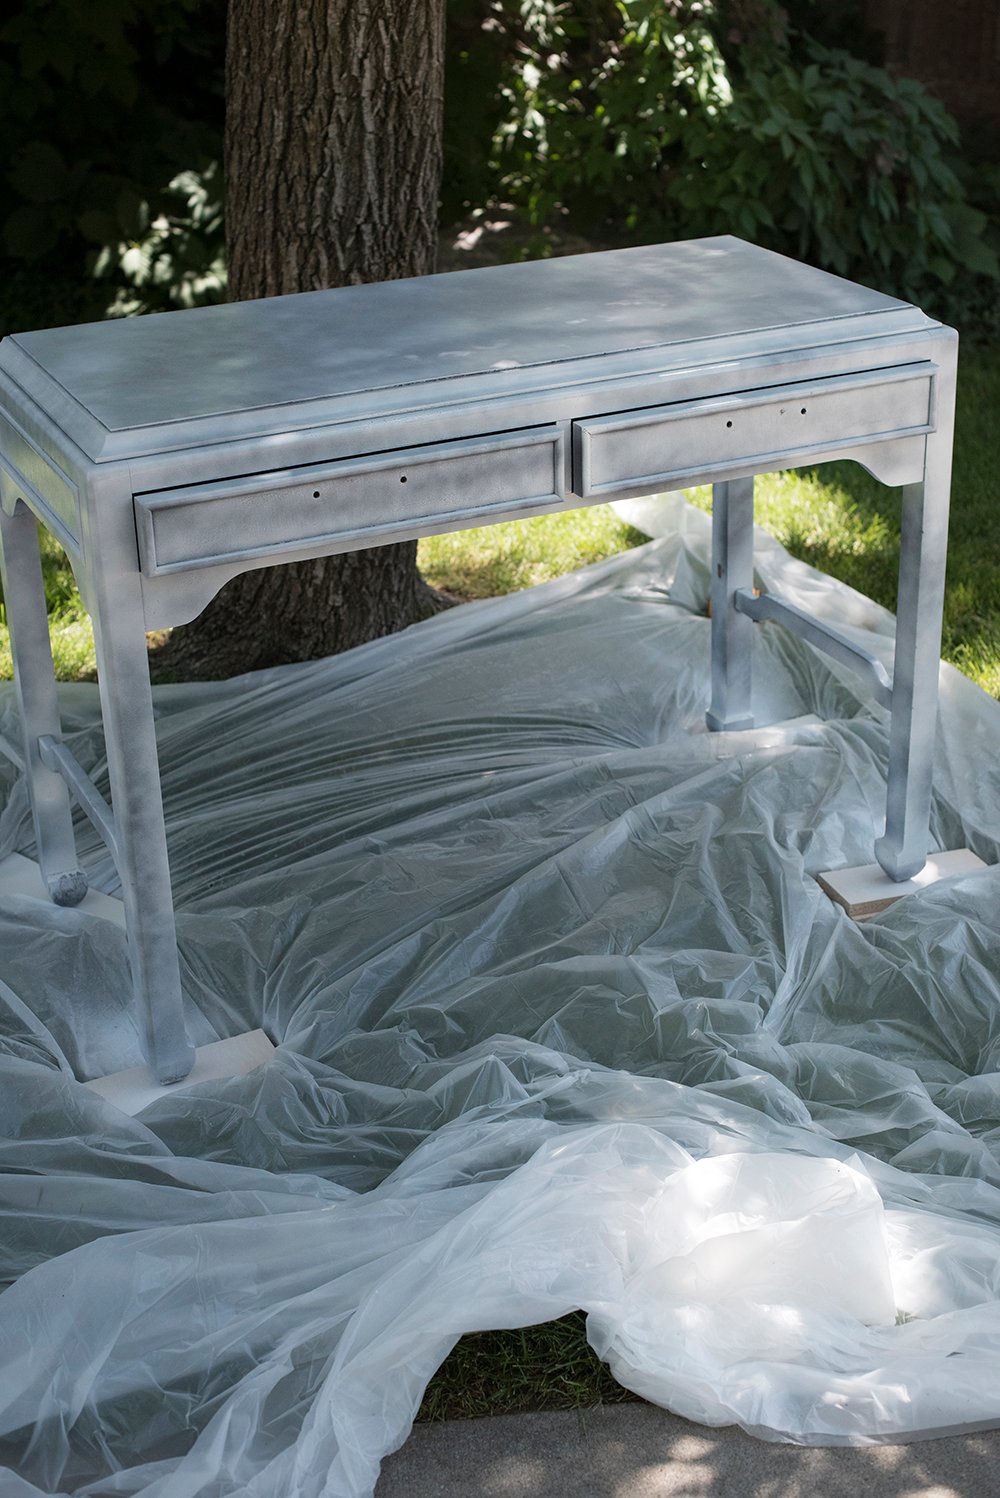 Step 6 // Repeat paint application. Repeat the painting process and continue layering, allowing the enamel to dry in between each coat. Don’t rush the process… thin layers works best.
 Step 7 // Wipe smooth and remove enamel dust. After the last coat of enamel dried, the piece was covered in a dust-like coating. I used a dry, clean towel to wipe the dust, until the piece looked shiny and clean.
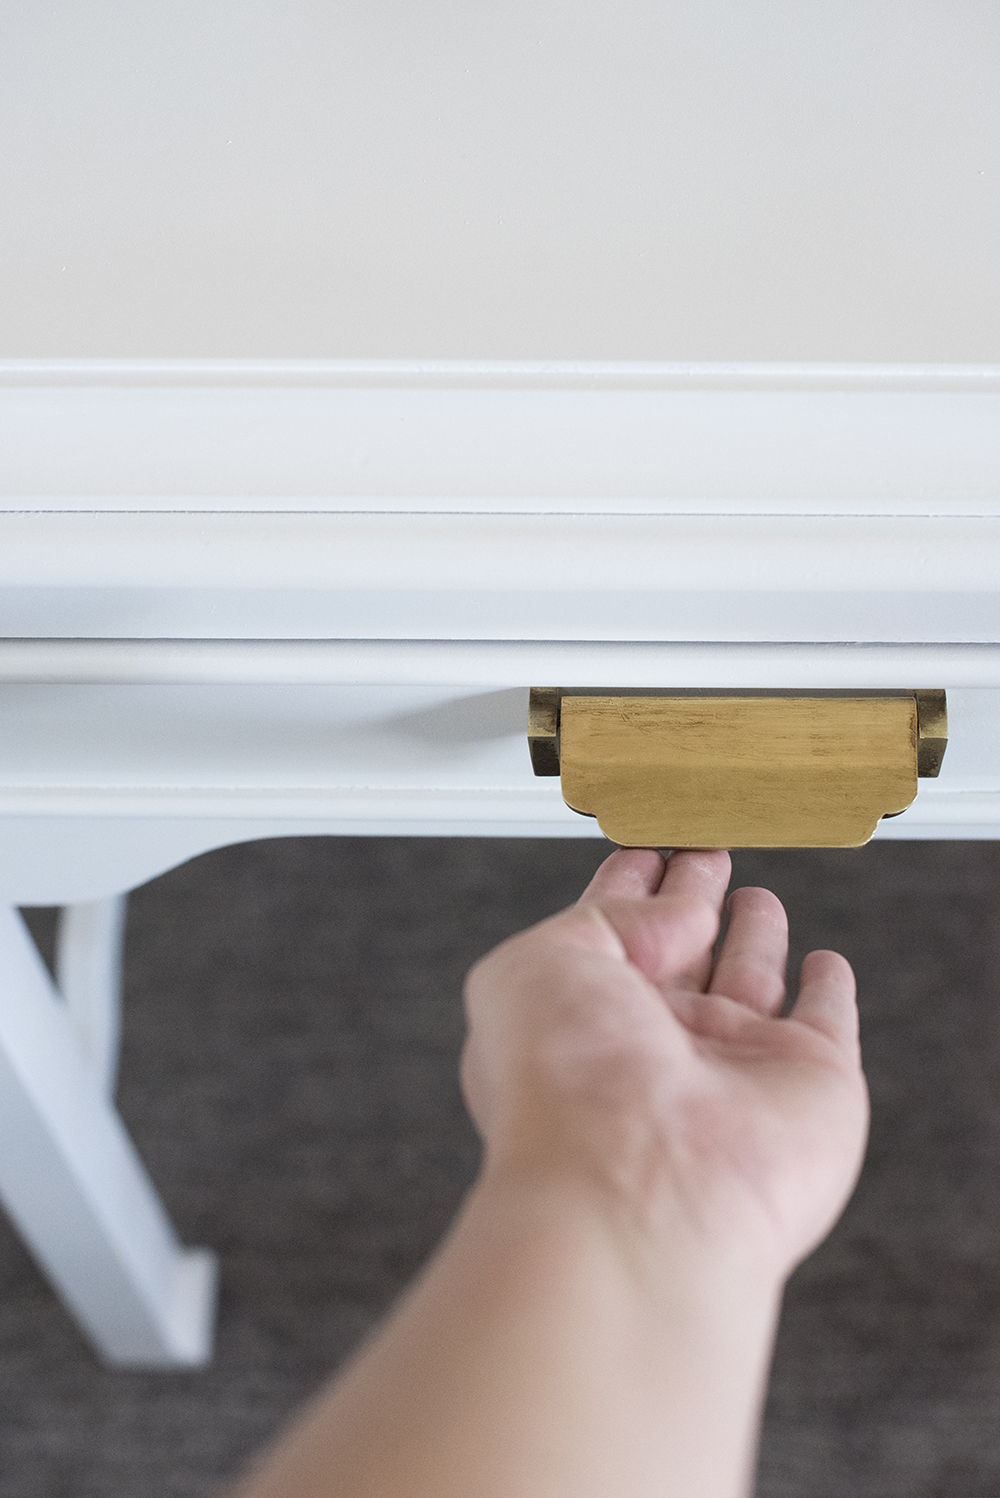 Step 8 // Install hardware. Next, I screwed the hardware back onto each drawer.
 Step 9 // Add drawer liners. Lastly, I added drawer liners because the drawers on my desk were in pretty rough shape. I scrubbed them, but they just wouldn’t come clean and they looked pretty yellowed and gross- especially against the bright white enamel.
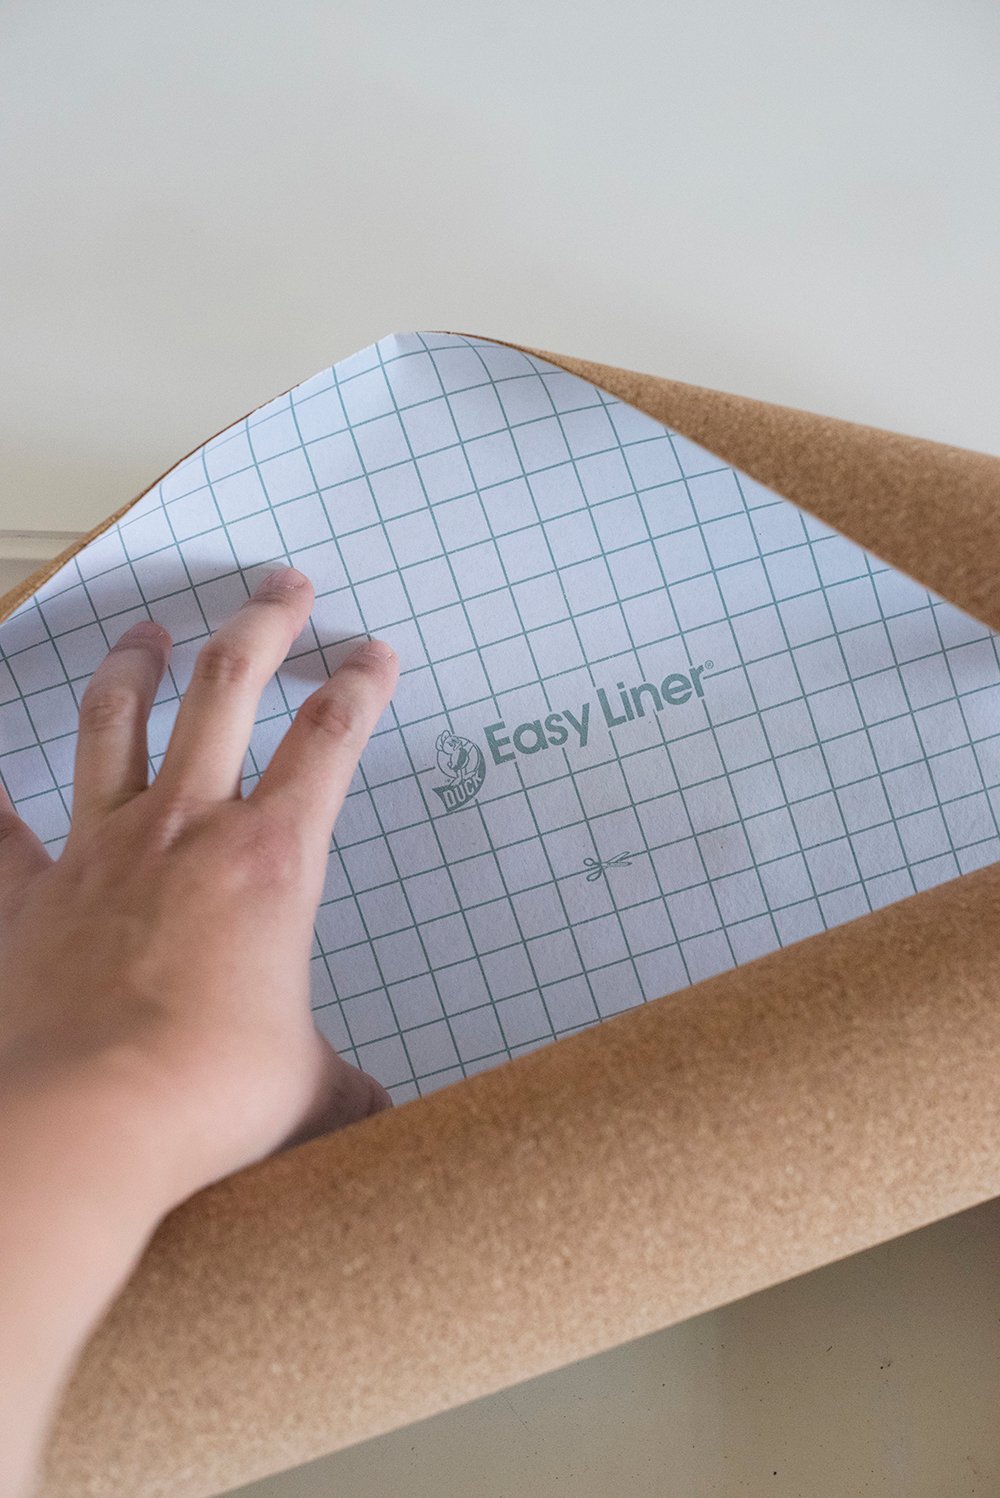
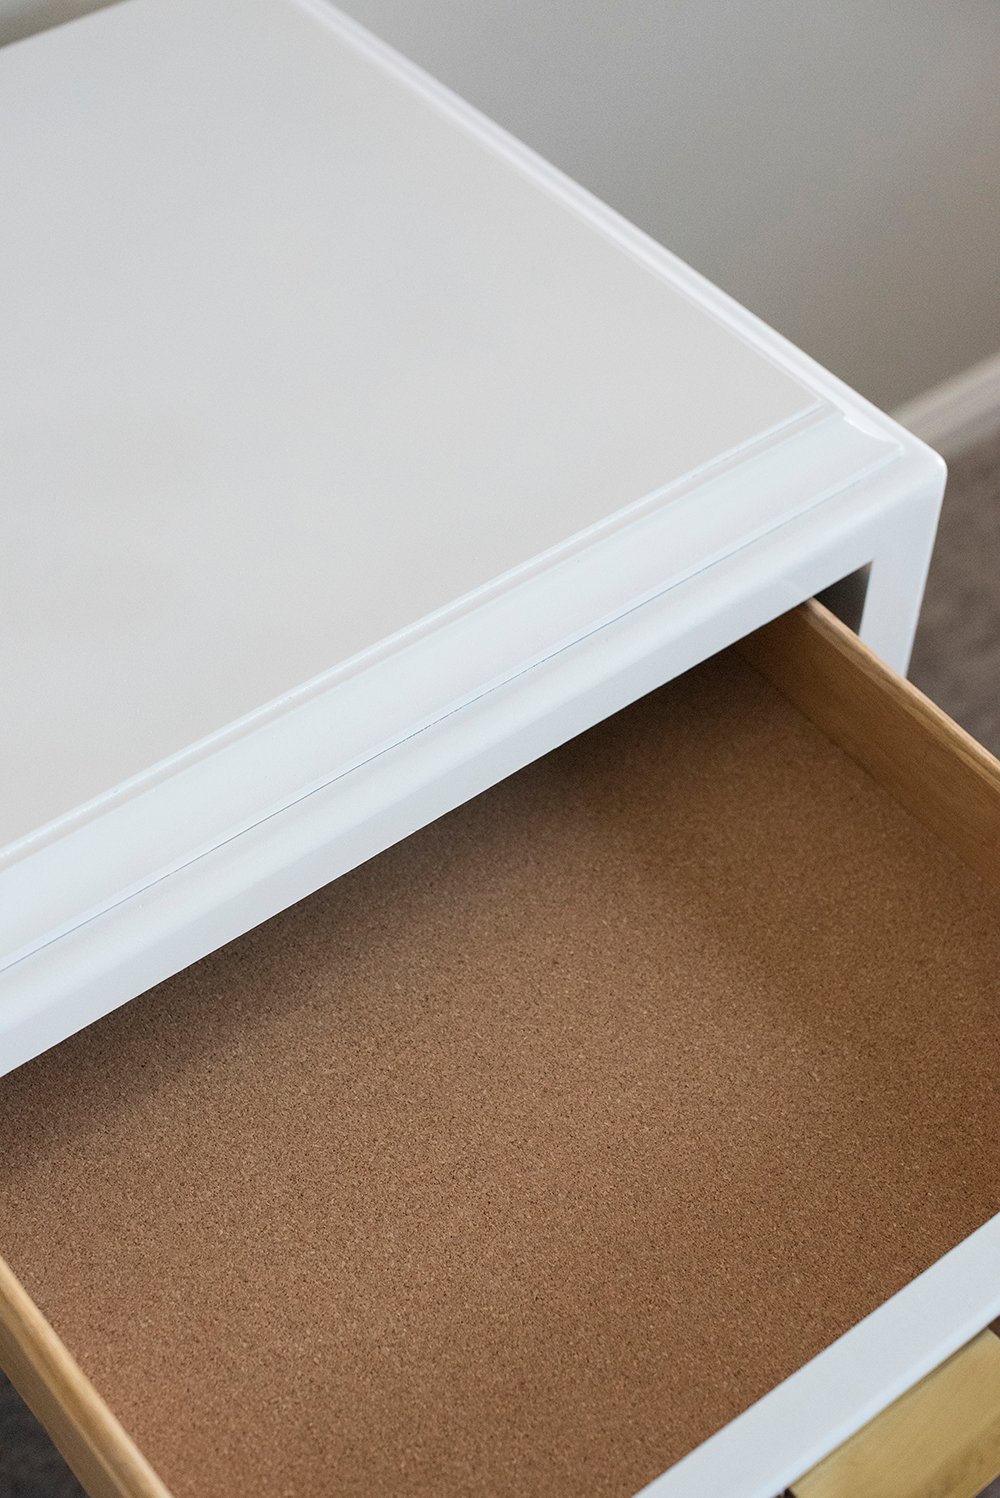
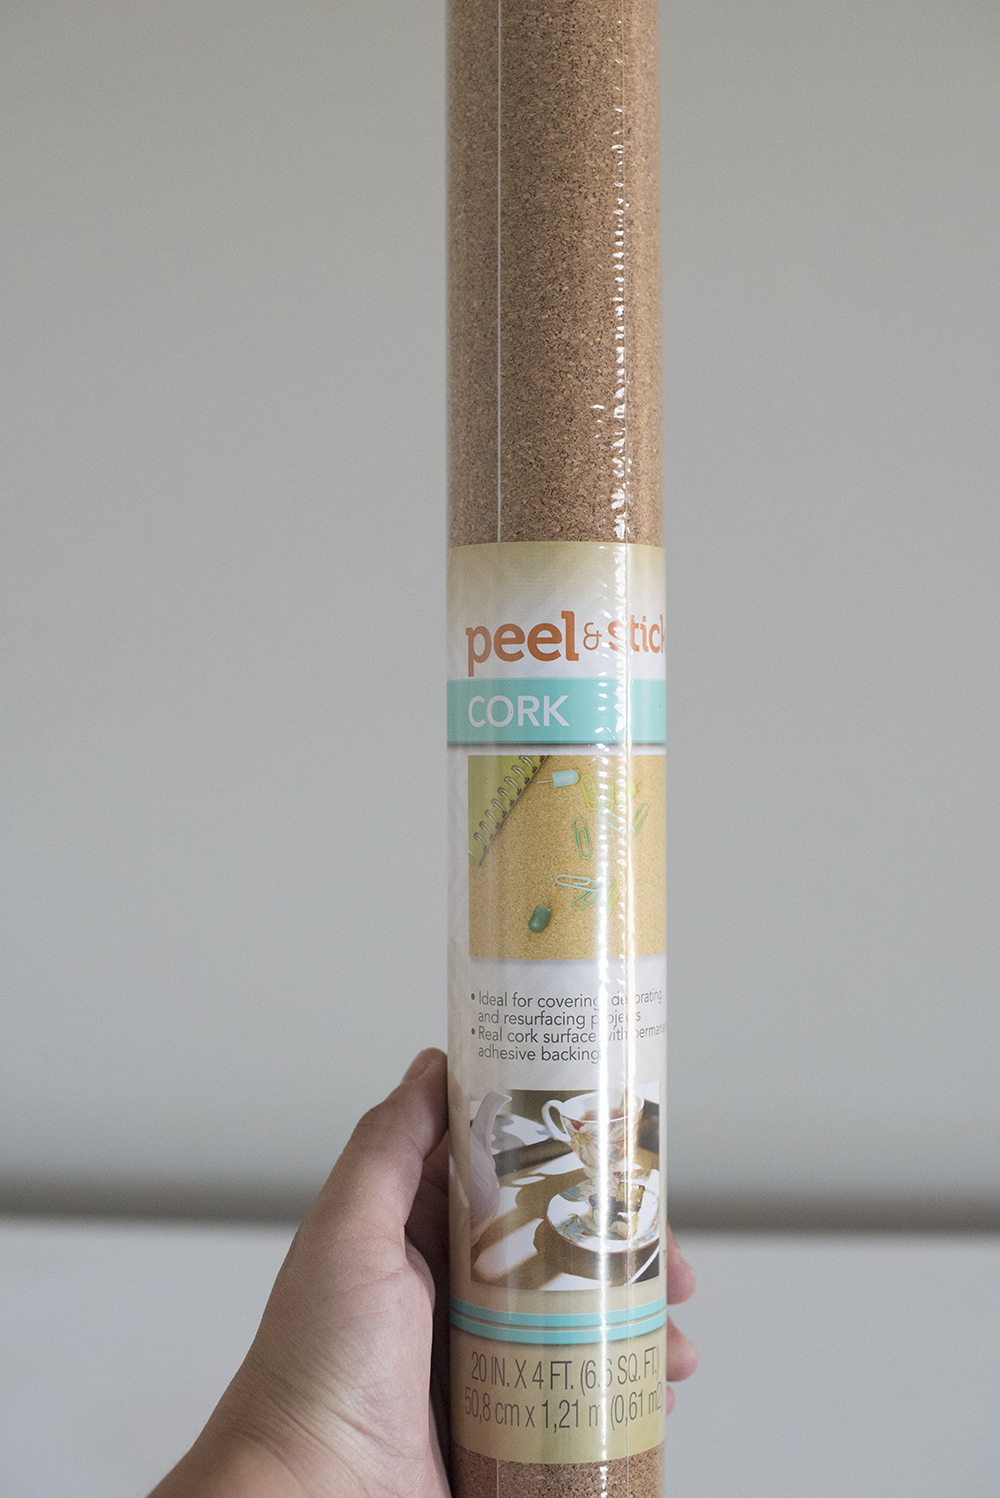 This was the drawer liner I used. It has an adhesive back and grid on the backing, so it only took a minute to install- it was incredibly easy! To give you an idea of what my drawers looked like before I applied the liner, check out the image below…
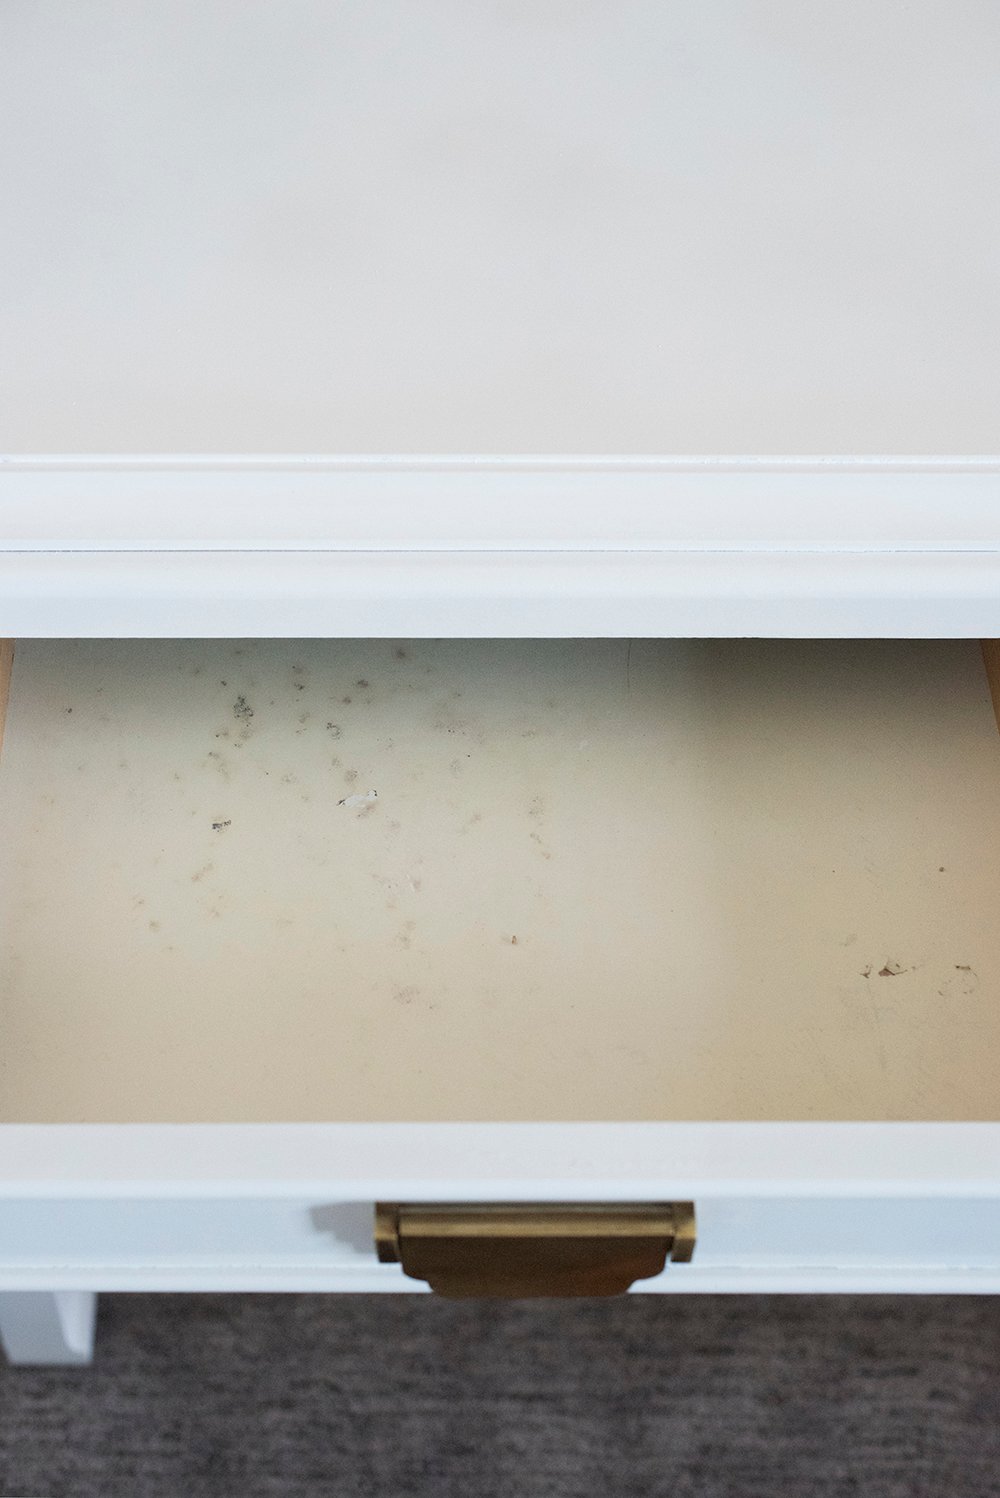 Pretty icky, right? The cork covered everything up and added a nice textural clean look.
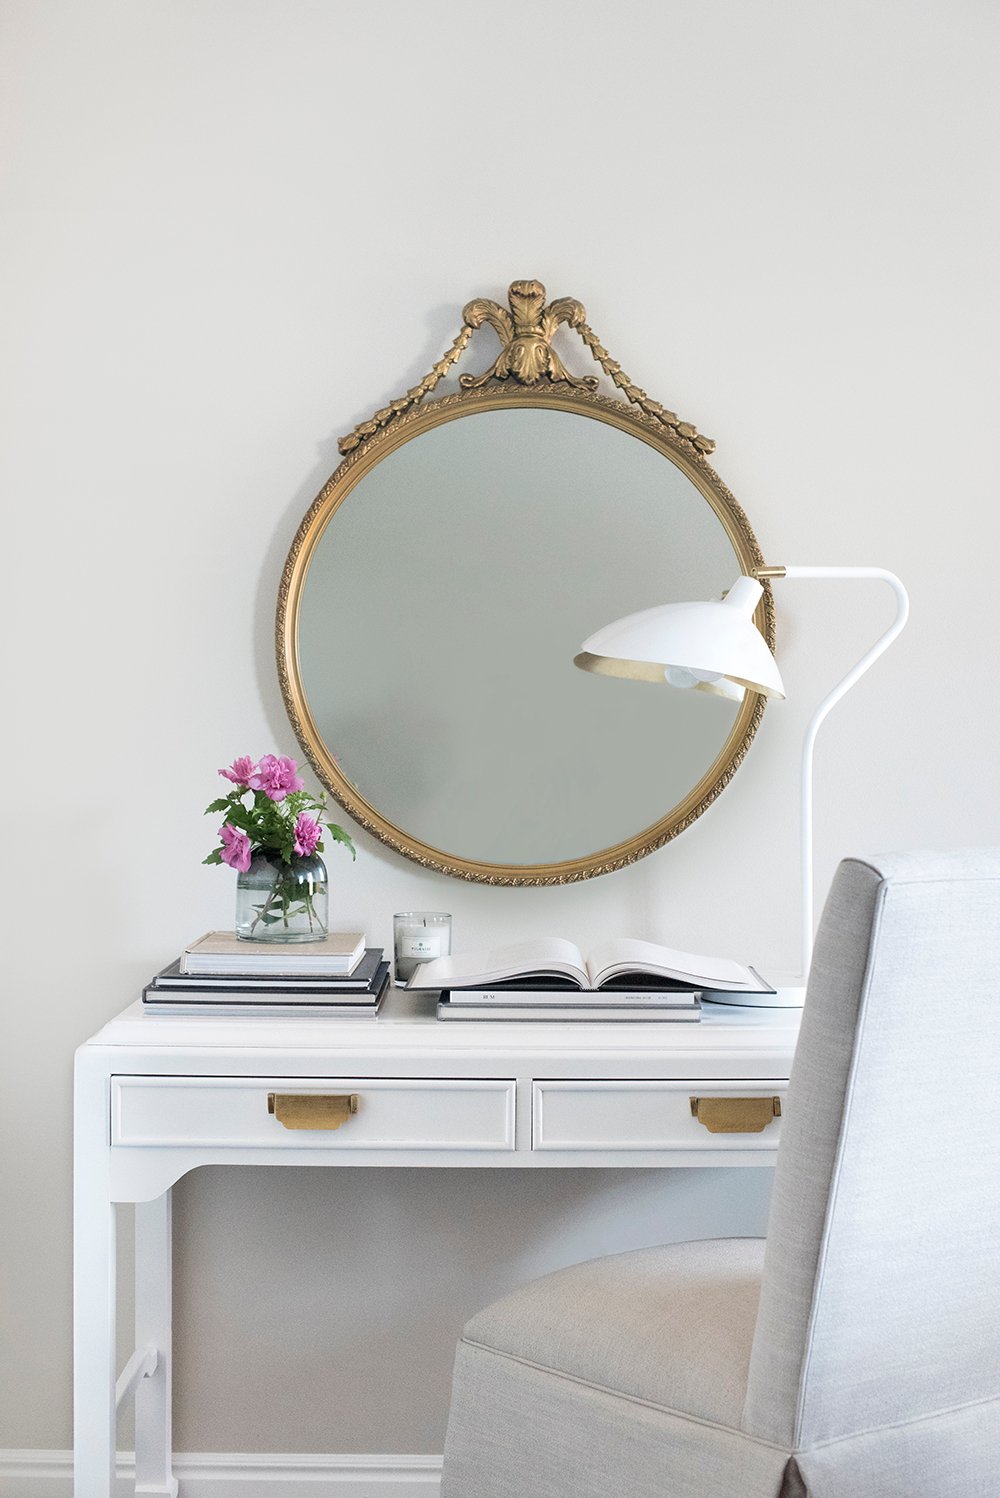
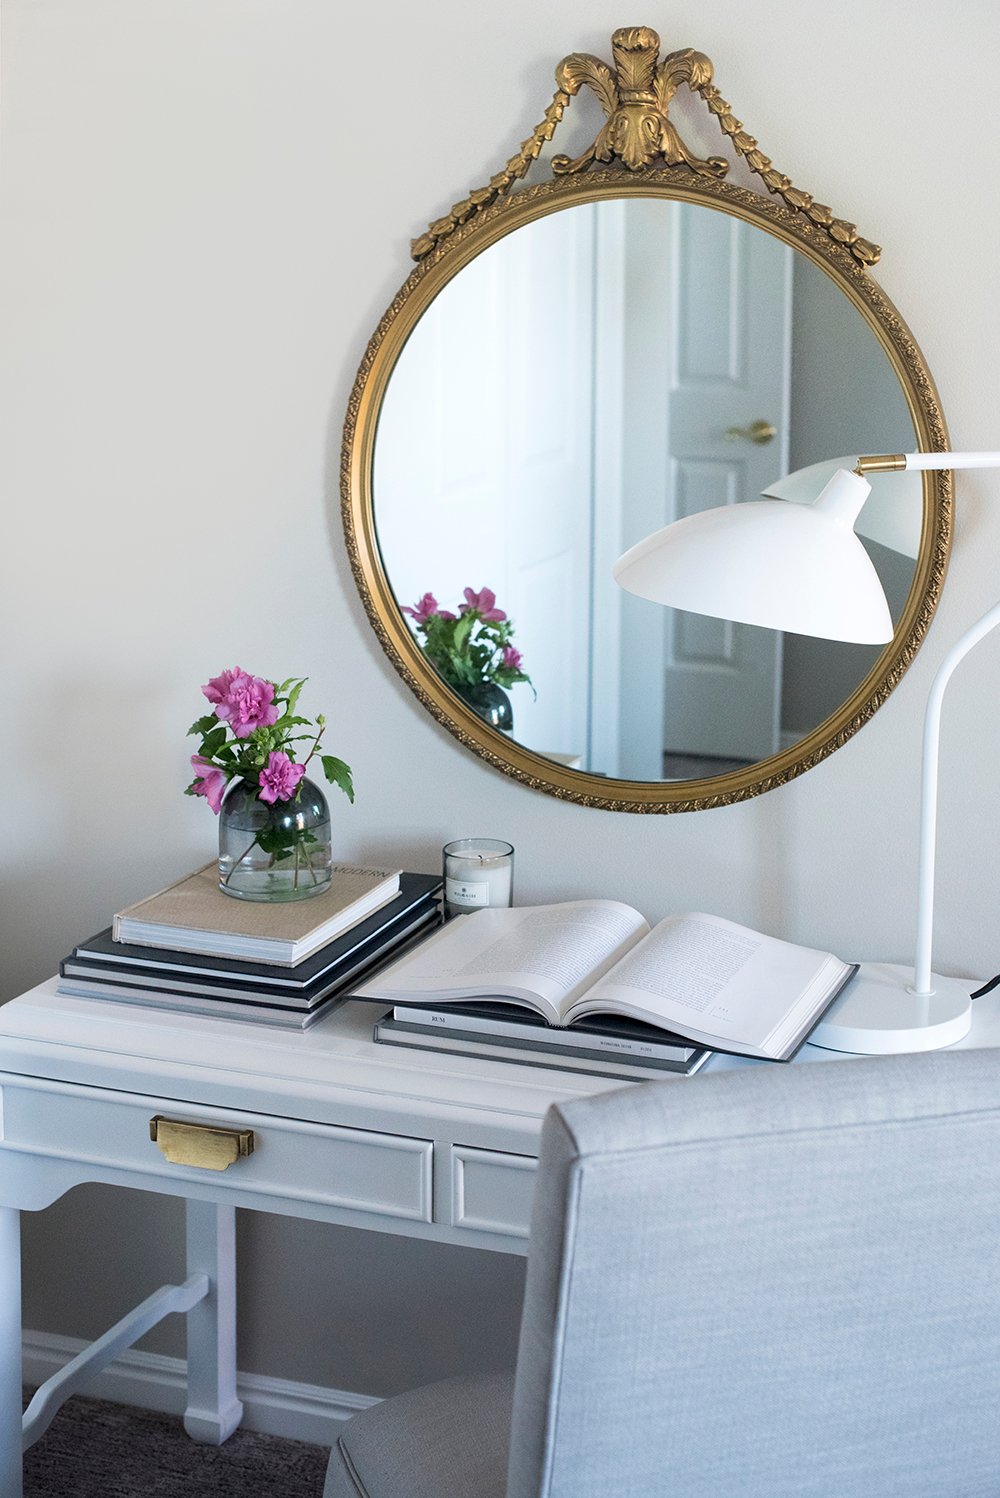
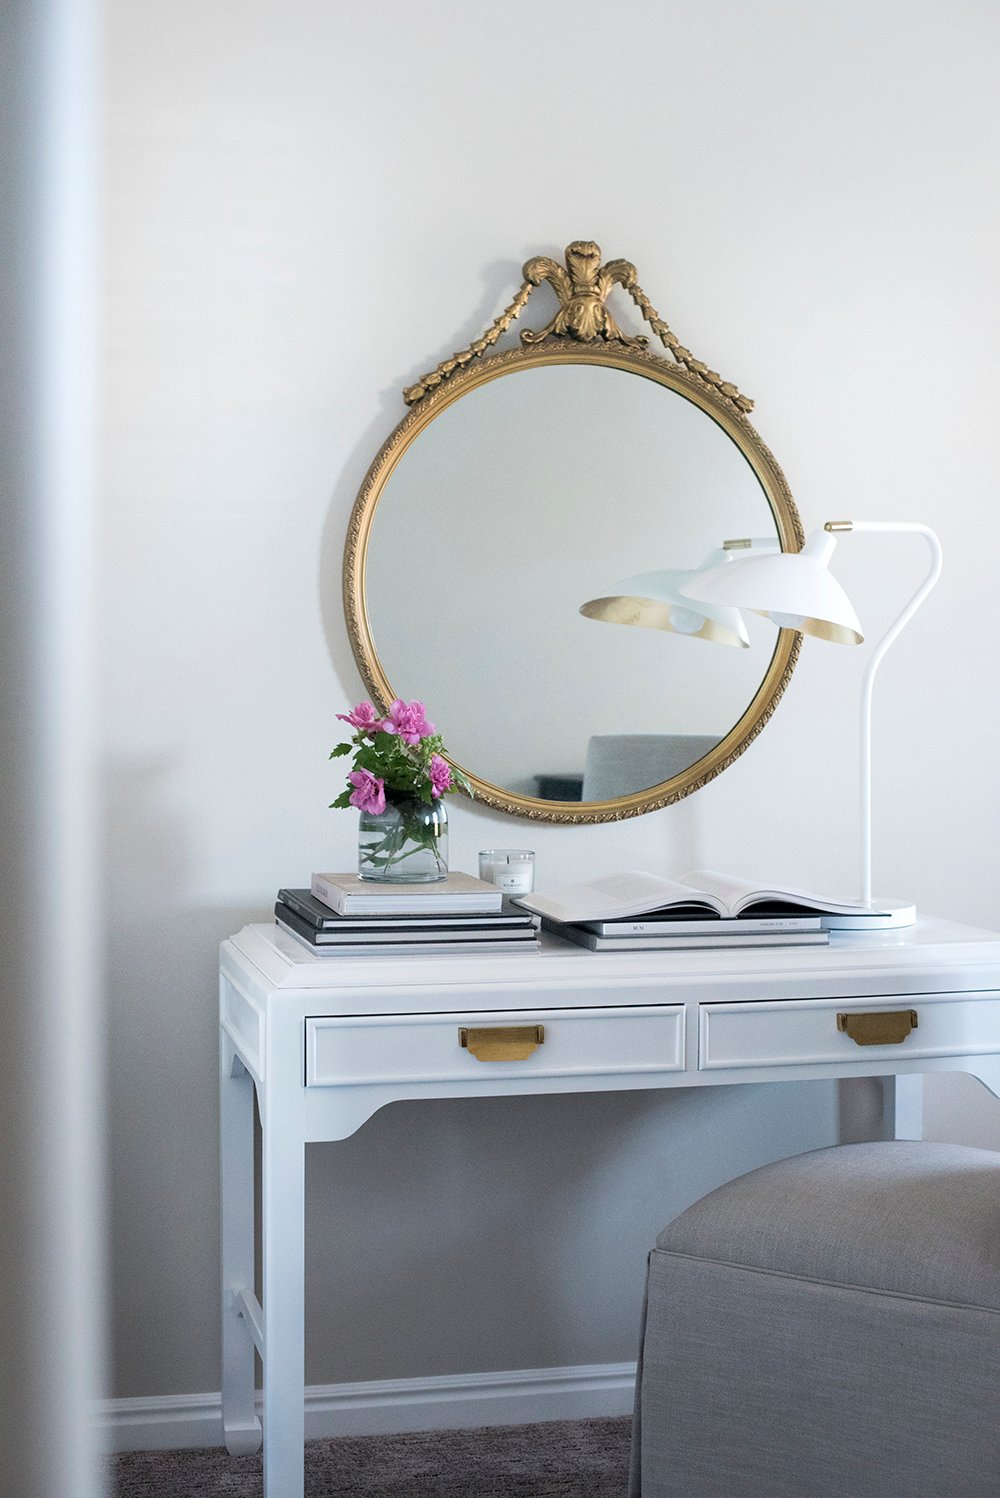
 That’s it! The entire project took me a couple hours (including drying time), and it was well worth the effort. It looks like a completely different desk. I’m seriously digging the shape. It has an Asian-inspired feel to it.
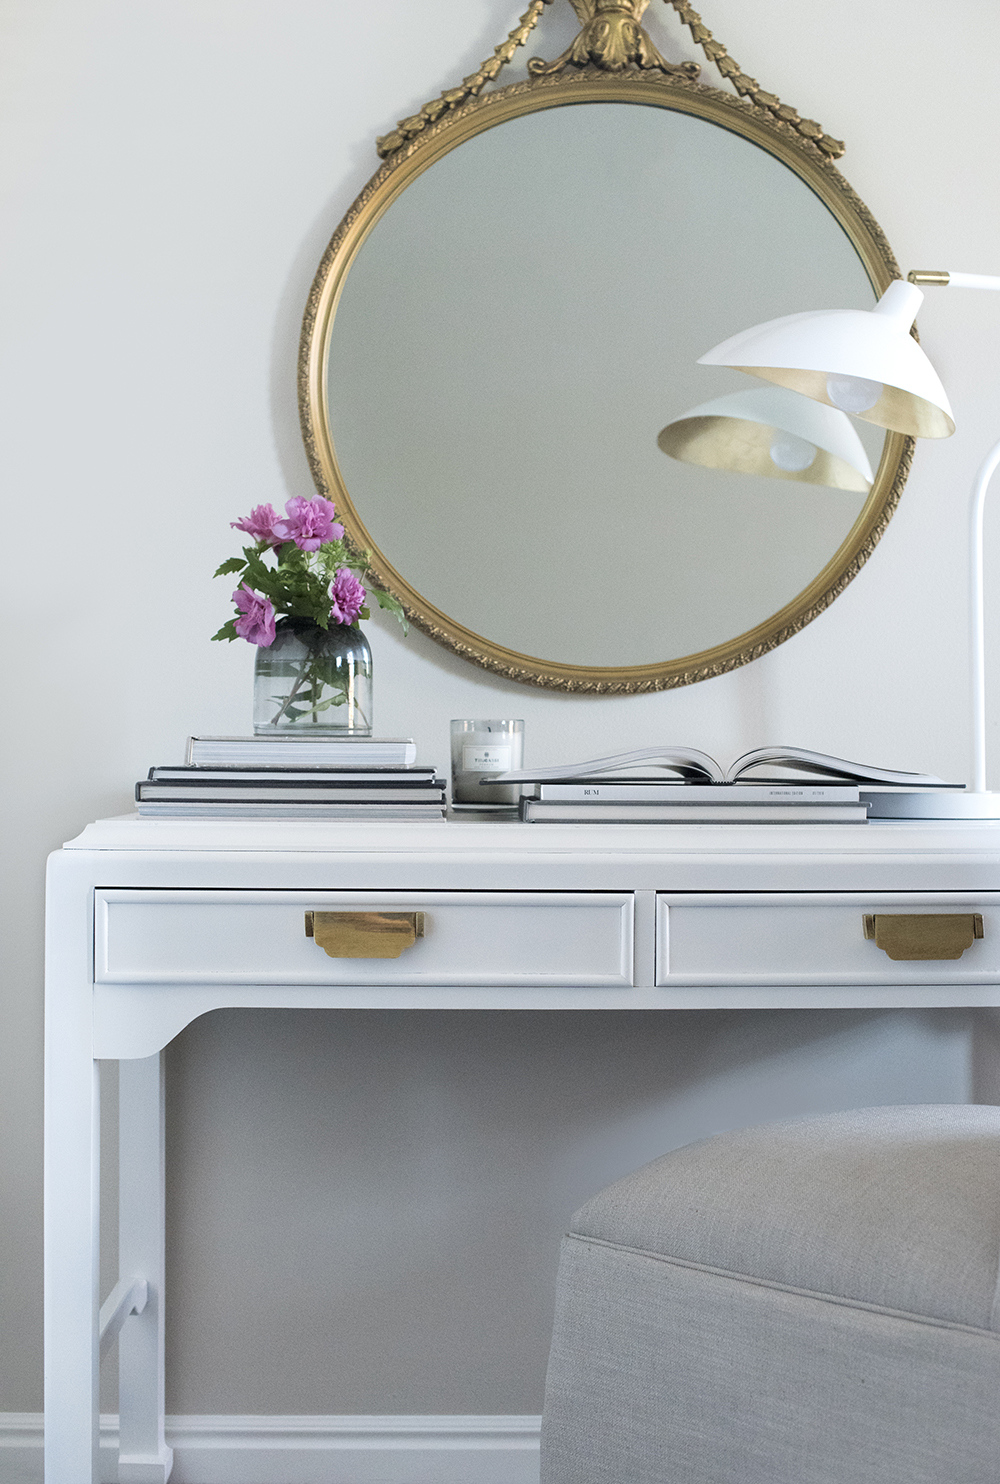 I actually debated setting this up in our master bedroom, but we don’t have a lot of excess space thanks to door placement. I guess I’ll have to sneak into the guest room and use this cute little spot from time-to-time.
 What do you think? Do you like the new look? Have you ever used enamel- or do you prefer paint or lacquer? I’ll definitely use enamel again in the future! Would you be interested in more furniture makeovers? I have a garage full of vintage pieces that are begging for some love. Ha! Maybe it would be good motivation. Emmett is urging me to do something with them or get rid of things.
get the look…

Make both Emmett and me happy and show us more furniture makeovers! What is the difference between enamel and gloss or lacquer, both in application, appearance, ease and durability? I’ve got a Lane end table with “greek” details I’m wanting to paint but I don’t know what color or which type of paint to use. Suggestions?
Love your creativity!
Haha!! Can do, Teri :) Great question! Enamel uses spirits and lacquer paint uses lacquer thinner. Enamel allows polymers in the paint to set and bond together so when the paint hardens, it will not soften again (super durable). When lacquer dries, it has the same glossy look, but can soften over time. They’re equally as easy to apply.
I love this little desk. I wish I was so fortunate to find great pieces like that (at that price!) at flea markets. I used Ben Moore’s Advance Waterborne Interior Alkyd paint-had to look at the can- on an Ikea Tarva dresser for my daughter’s room and it has held up really well. I’m not sure it will hold up quite like an enamel or lacquer will but after probably a year so far, so good. I love the shiny, durable finish it has. I painted it with a brush and it leveled out really well. Clean-up was super easy too b/c it’s water based or whatever. It’s magic paint :) I’d love to see more furniture makeovers or DIYs in general if you have the time. And I love vintage furniture!
Thanks Brittany! Self leveling paint is key if you’re rolling or brushing- I’ve done that in the past too :) More furniture makeovers to come!
Lovely! What a great find – and transformation!
Thank you Sally!
Oh, the magic of paint! I’m generally leery of spray paint. I did spray my vintage Homecrest banana chair; I did not realize that dust after it dried was normal. As far as furniture makeovers go, bring ’em on! Or at least do a video tour of your garage, so I can see what goodies you’re hoarding.🤣 Happy Friday!!!
Paint really is magic! The aerosol / spray paint dust is real. I’ll have to do a video tour or stories of the garage soon. Our friend is moving out this week- so it should look somewhat normal again soon :)
I love furniture makeovers and would love to see more! It’s a great reminder that I can easily knock out this type of project in a few hours or a weekend. Great tip on the enamel paint too–I’ve always seen it but was intimidated by it. Thanks for the inspiration!
You got it, Emily! These types of projects really are fast & easy :) Have a great weekend!
Amazing job with the aerosol can. I just can’t get the hang of delivering thin overlapping strokes myself, but I recently heard of a nozzel you can buy that spreads the paint out wider, like a fan, that I may need to try if I ever attempt to use spray cans again. I vote yes for more furniture revivals. Question on the desk: was the top laminate? Also, did you lightly sand in between layers, or was the dust you mentioned from the paint itself.
Thanks Melanie! I haven’t heard of the nozzle, but it sounds cool! You’ll have to let me know how it goes. The desk top was laminate or veneer… it was hard to tell. I didn’t lightly sand in between paint layers. The dust is from the paint itself. Hope this helps! xo
I love this transformation! This area with the mix of traditional with a hint of modern from the lamp is perfect.
Please show us more furniture makeovers!
Thank you so much, Mindy! More furniture makeovers to come :)
Love the tutorials and definitely want to see more! What type of sanding block did you use? Was there a specific grit? Also; in general is there a decision process you go through when choosing what type of paint you’ll use on a piece? I have a few projects myself and paint choice is the only thing standing in the way of tackling them. Love your posts!!
Thank you Lauren! We have a bag of leftover sanding blocks from various projects that we reuse- and I honestly just grabbed one on top (not sure of the grit). Probably 100, if I had to guess. For the design process- I think about color, the history of the piece, the room it’s going in… all sorts of things factor into the paint choice. Hope this helps!
How many cans did you use for this piece? Trying to get a realistic sense of a budget for something like this! Also, any paint brand recommendations for a non-aerosol enamel paint?
Great question Mallory! 2 full cans, they were marked down to $5 each at my local Sherwin-Williams. I use Sherwin-Williams paints (Emerald Interior & Exterior).
YES to furniture makeovers!
I love coming here everyday and seeing what amazing things you are doing-
Thank you, thank you Patsy! You’re so sweet for showing up everyday to see what’s going on :) Can’t tell you how much that means. xox
I was wondering what hardware you used & where you got it? Can you recommend online sites for brass hardware?
Great question! The hardware came with the desk… another reason I love that piece! I wish I had a specific link for you. Check out this online store for hardware… one of my favorites!
Here’s a link to the spray nozzle I was speaking of
https://www.amazon.com/Can-Gun1-2012-Premium-Aerosol-Spray/dp/B002EQEE82/ref=sr_1_7?crid=X5QUVESMCSTH&keywords=spray+paint+can+nozzle&qid=1566012885&s=gateway&sprefix=Spray+paint+can+nozzel%2Caps%2C799&sr=8-7
Rustoleum also has a version of it for a couple more dollars.
SO helpful! Thank you Melanie :) I just bought it (purely for testing reasons)… can’t wait to see if it works. I’ll be sure to report back!! xo
Seriously gorgeous! I love furniture makeovers.
Thank you so much, Stephanie!
This desk is beautiful! I love the makeovers and I look forward to more in the future!:)
Thanks so much Natasha! Definitely more furniture makeovers to come :) xo
Looks so great!! I didn’t even know about spray can enamel!!! Love it!!
Thank you so much, Sally!