Textile Graphic Art DIY (+ A Video!)
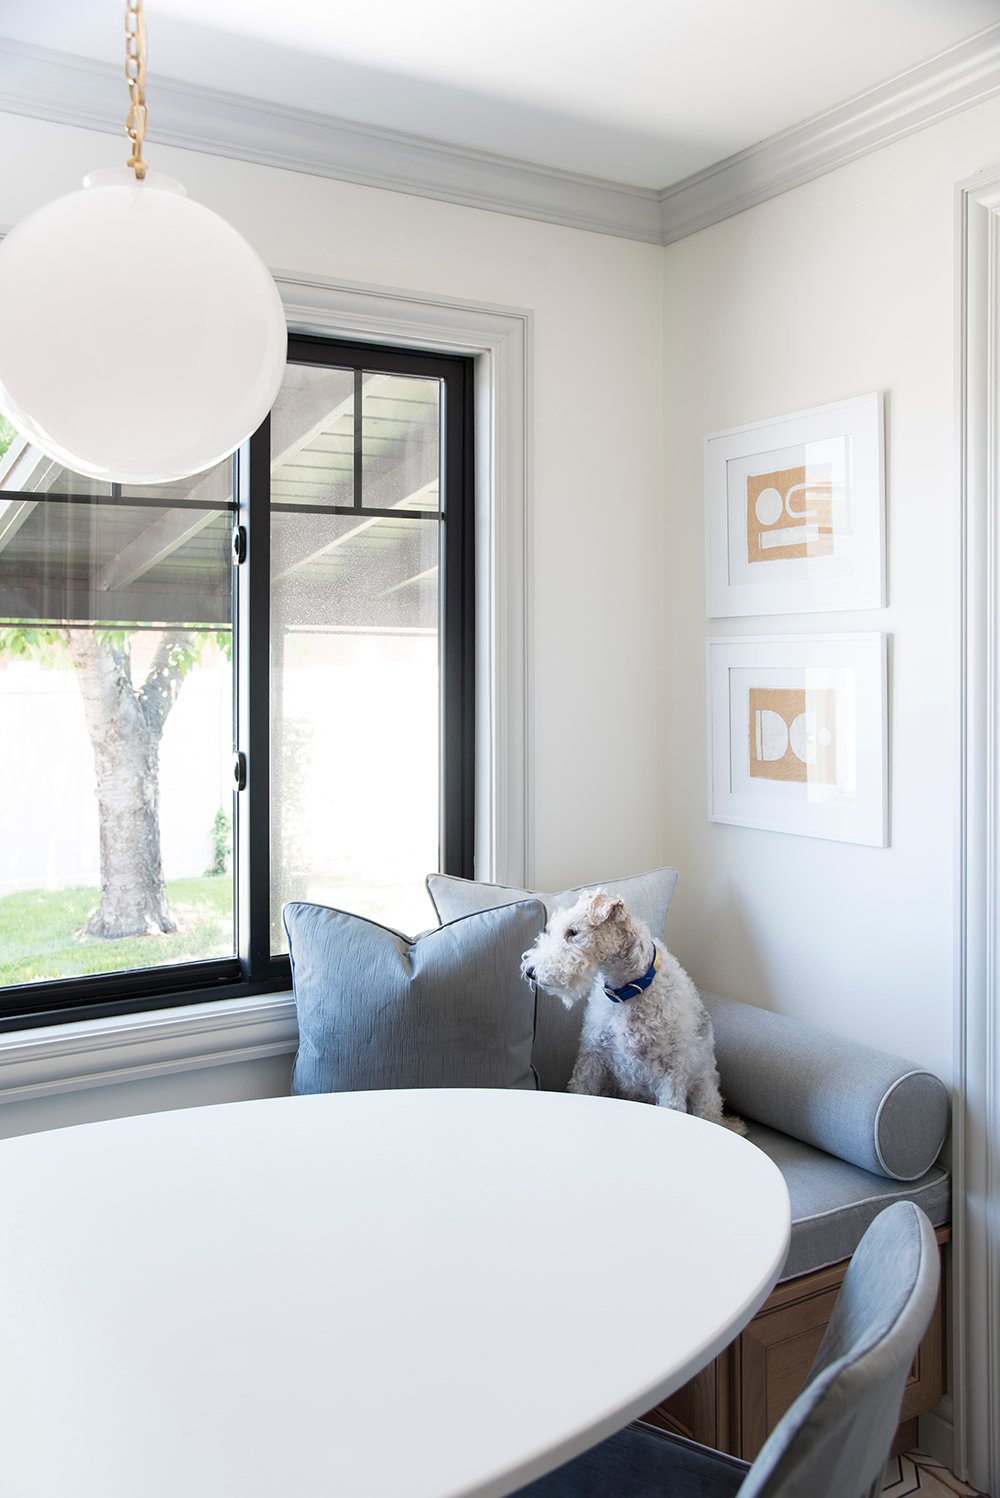
 After sharing a sneak peek of the artwork I just installed in my kitchen on Instagram, I received a LOT of requests for the DIY. Luckily, it’s one of the easiest, inexpensive DIY art projects I’ve ever tackled (probably even faster than this one). I think you guys are going to love it! Click through to see how I created my graphic, coffee dyed, textile art…

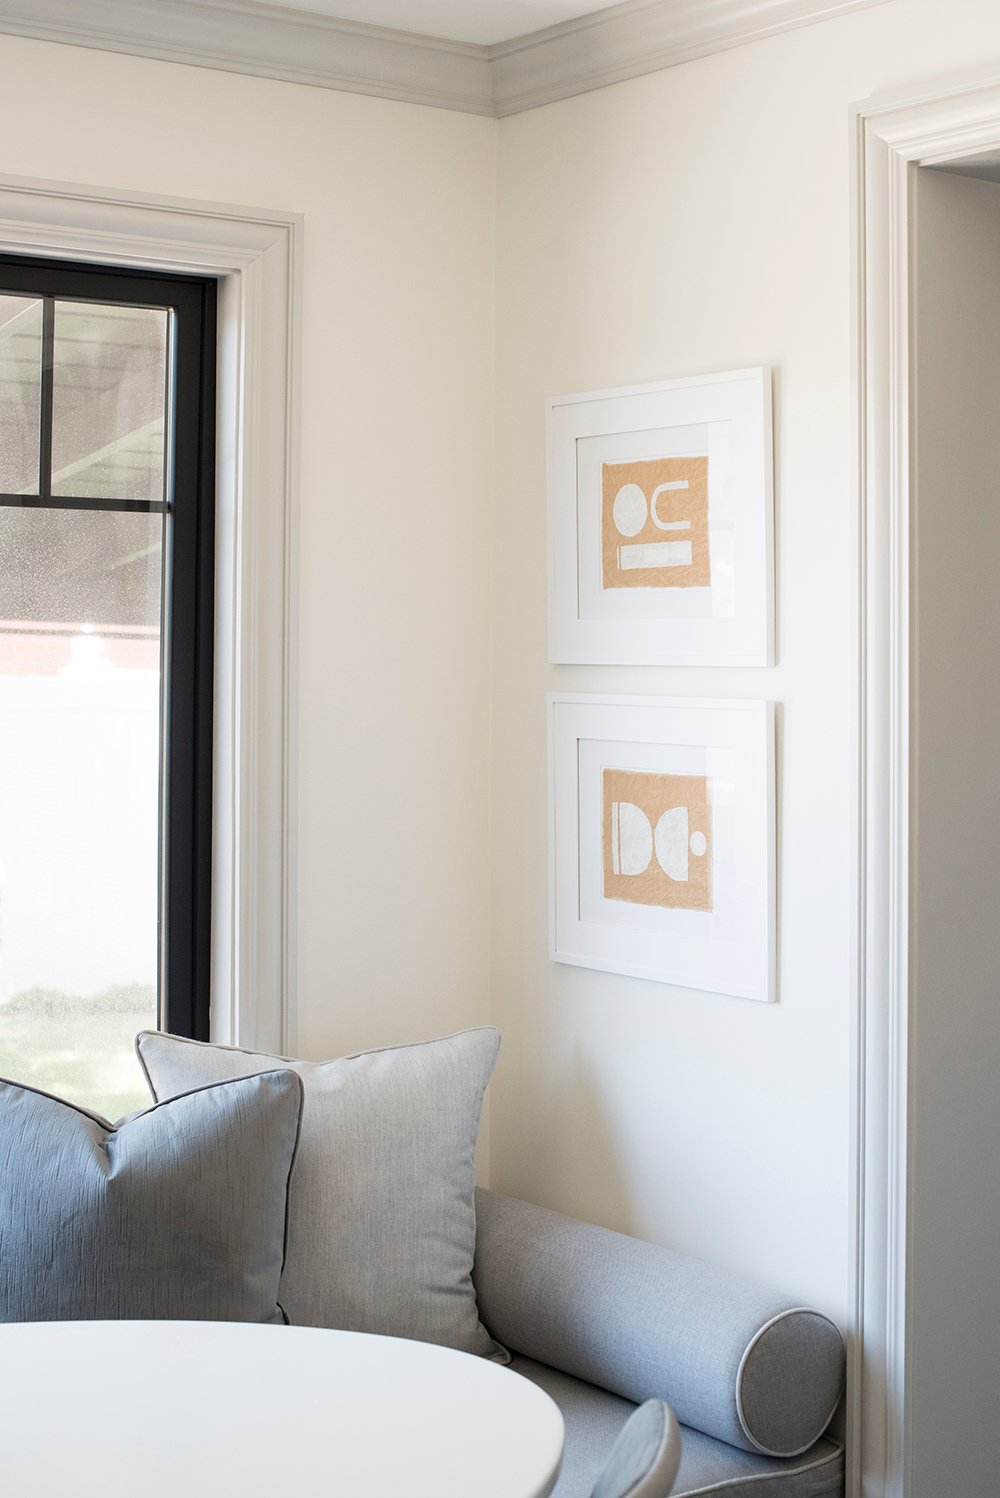
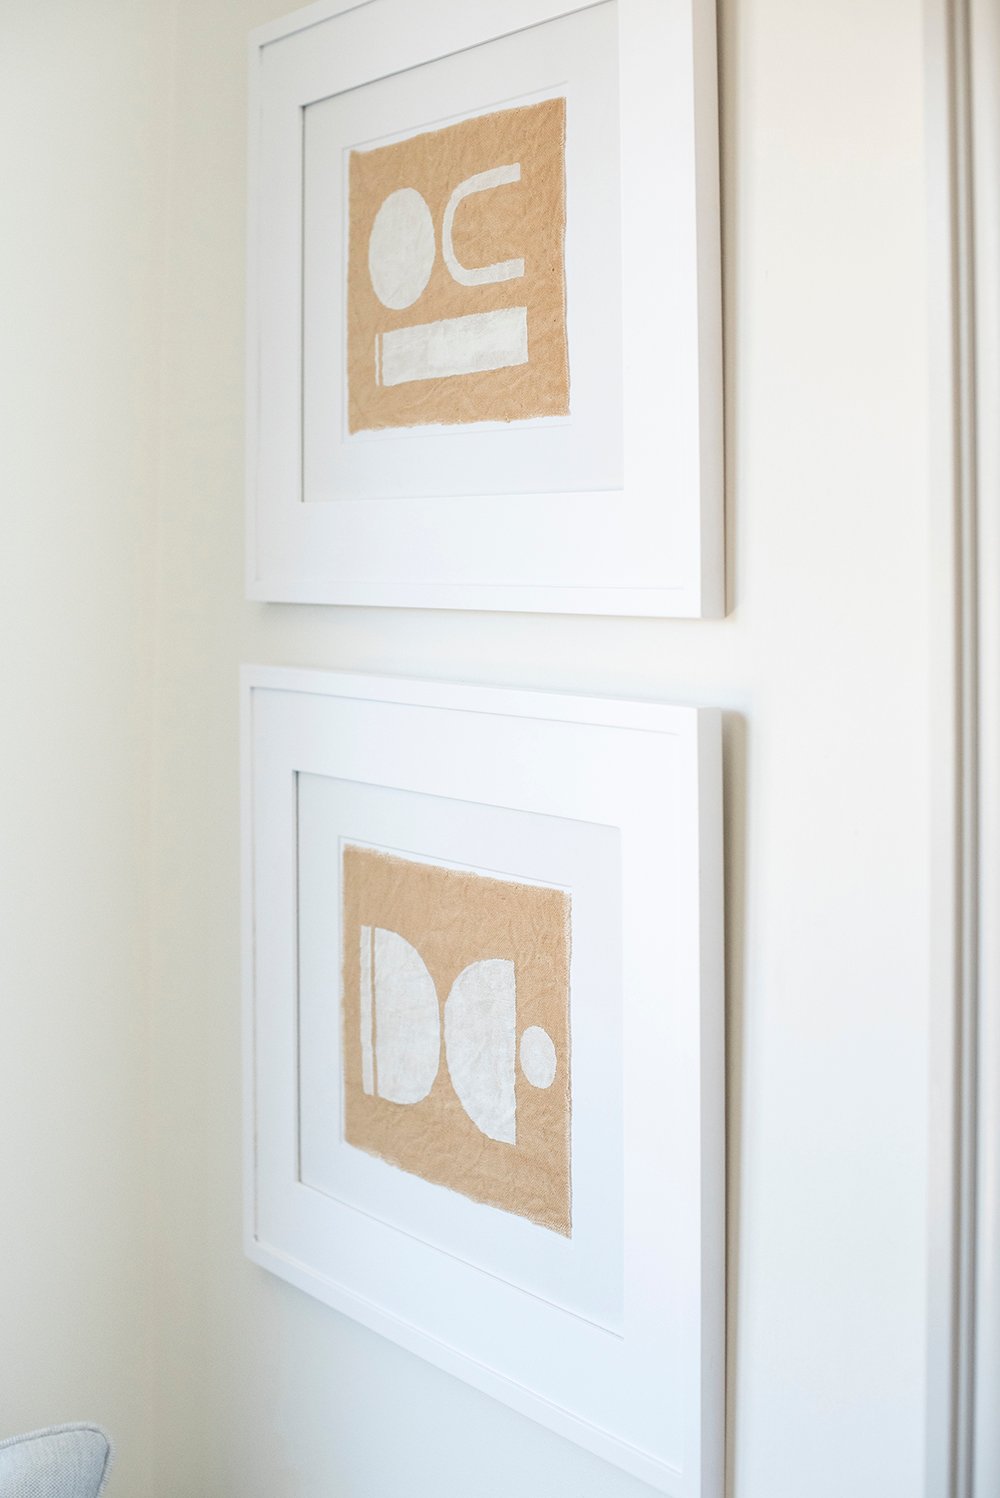
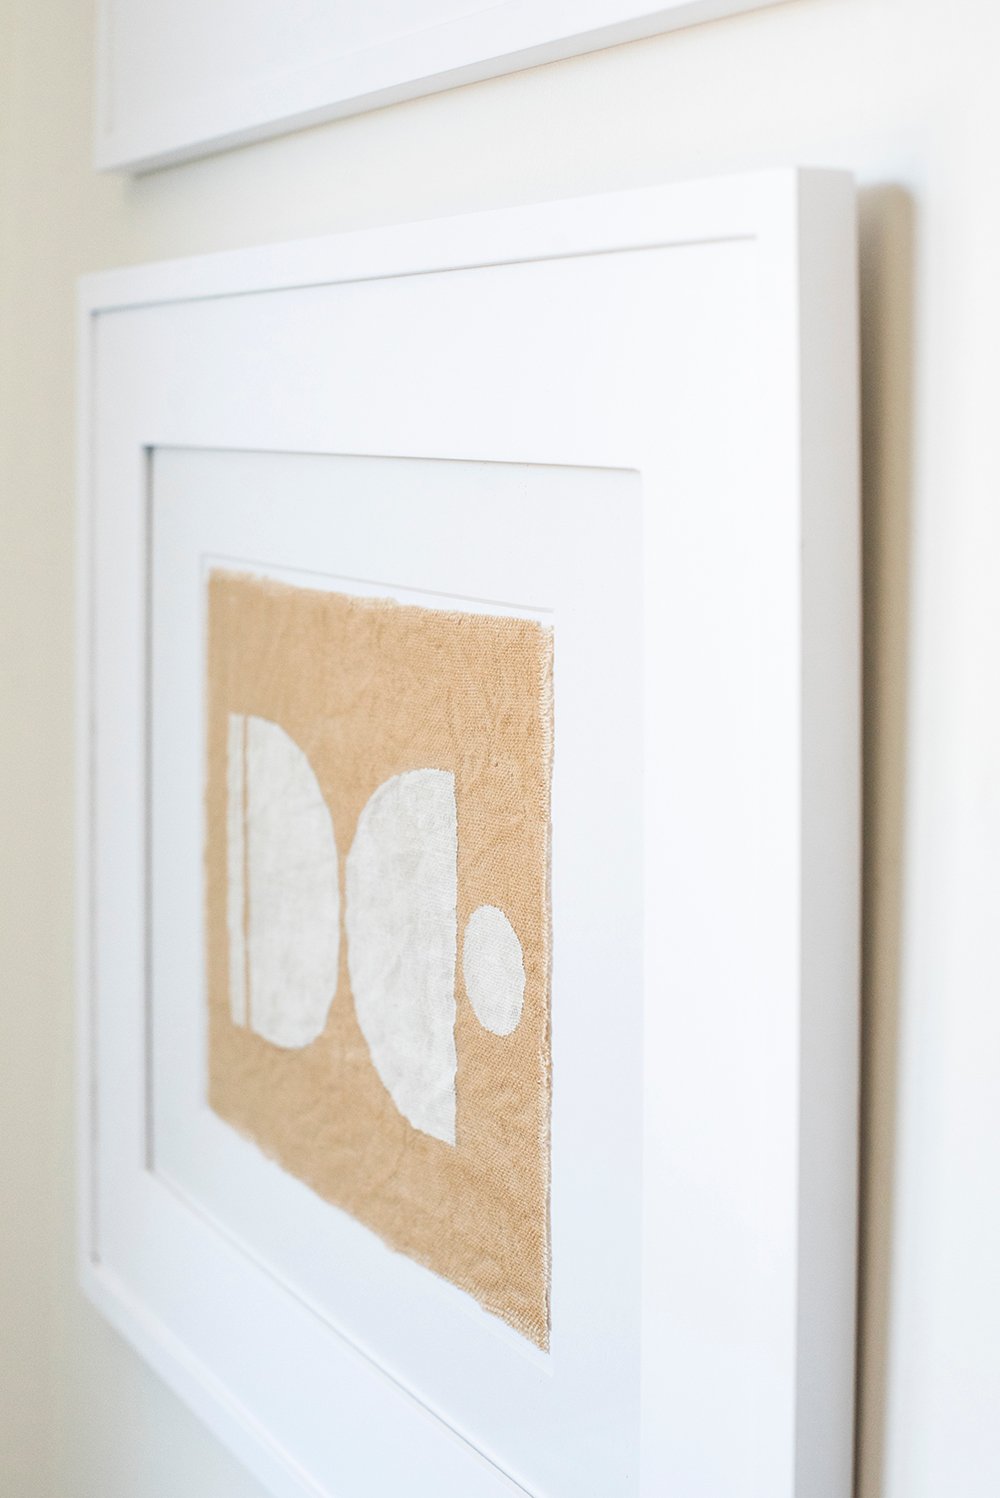
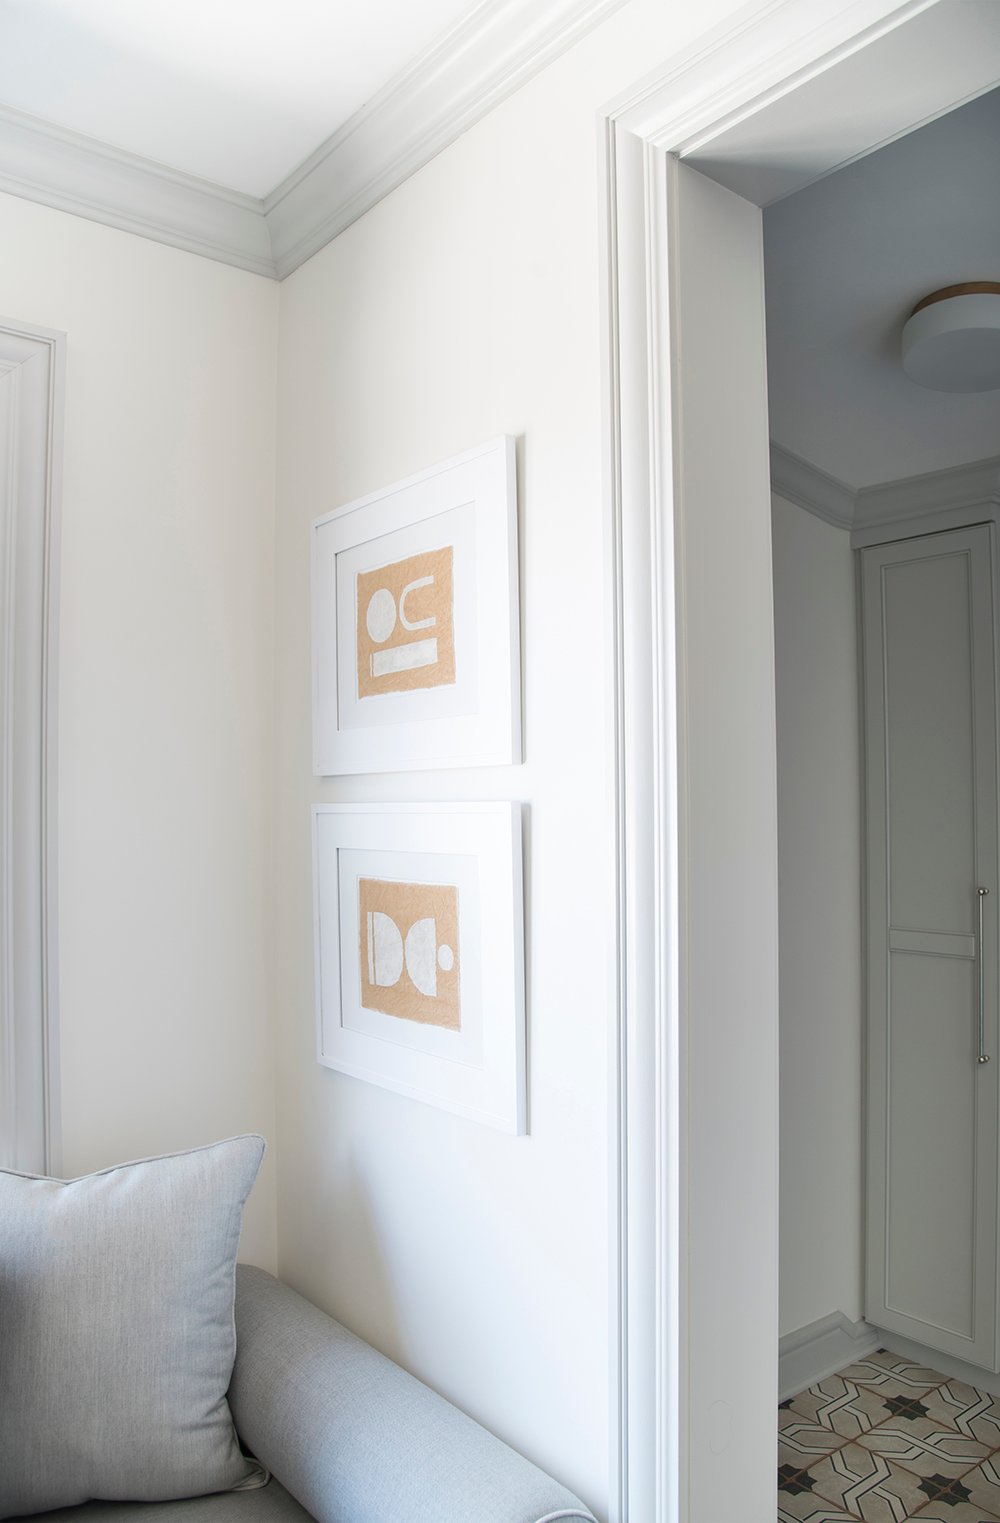
I’m a big fan of framed textiles because it adds a textured look to your wall. It has a very tactile and preserved feel- like something you’d see in an art museum… a preserved artifact of sorts. Here’s what you’ll need to get started:
S U P P L I E S
- linen fabric (or any other natural material- like cotton)
- coffee
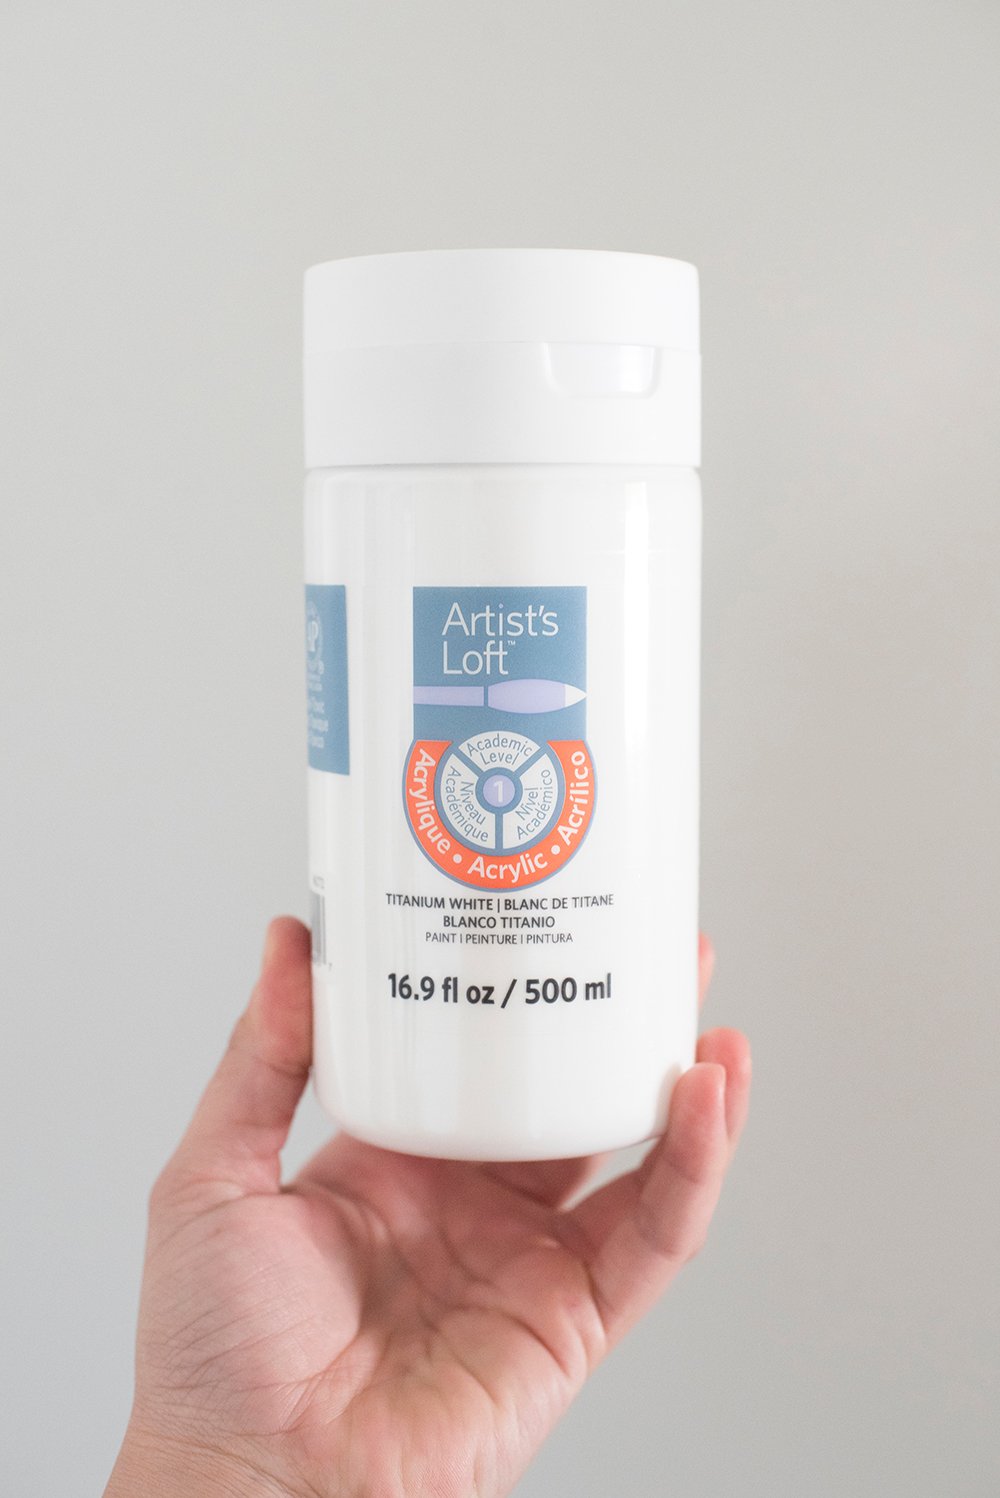
- white acrylic paint
- paint brush
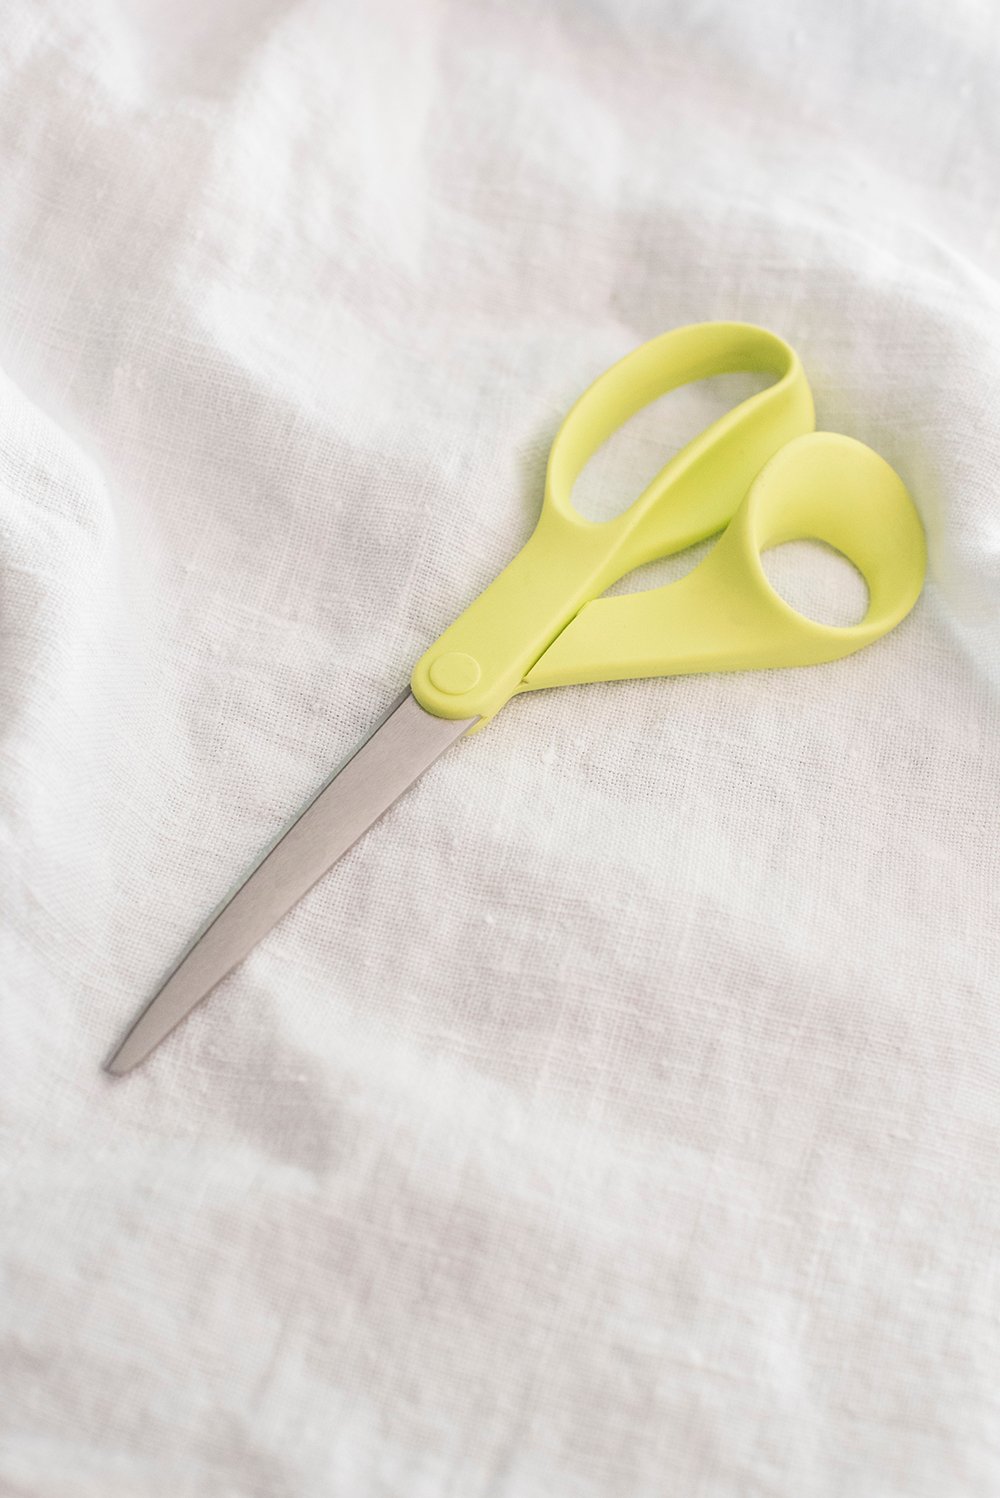
- scissors
- frames (I used an 11″ x 14″ frame with an 8″ x 10″ mat insert)
 Step 1 // Cut your fabric to size. I had a remnant of white linen laying around, which prompted me to make this DIY in the first place. I used 8″ mattes in my frames, so I cut two fabric rectangles roughly that size. You could easily make this DIY any size you’d like! If you have empty frames that aren’t being used, give them a quick measure and get going. It doesn’t get easier!
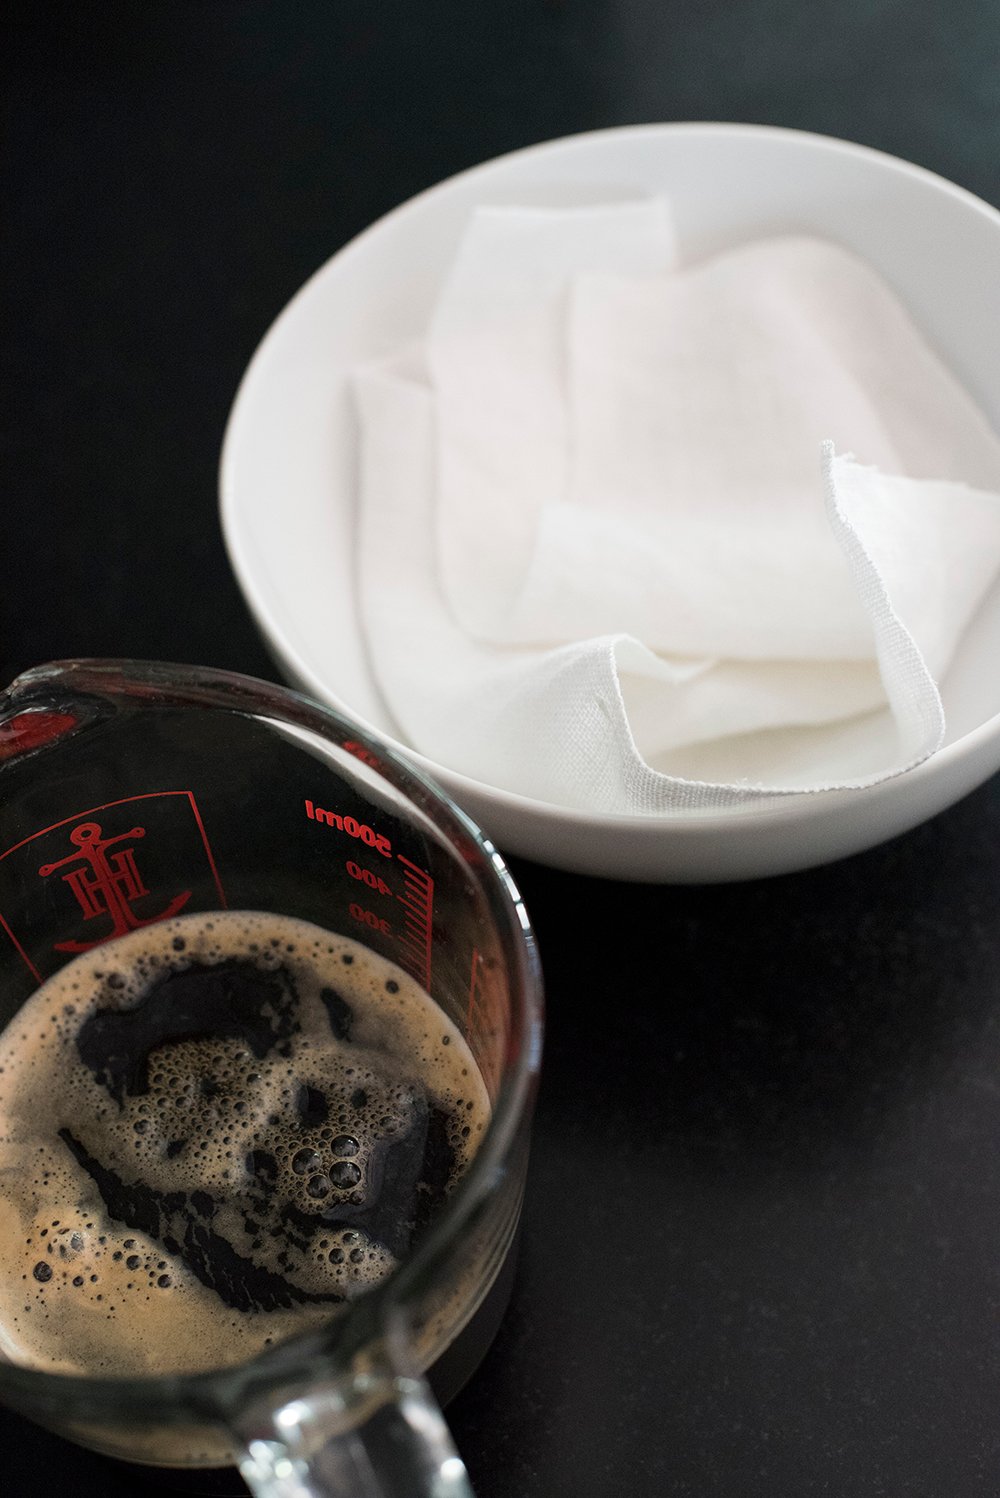
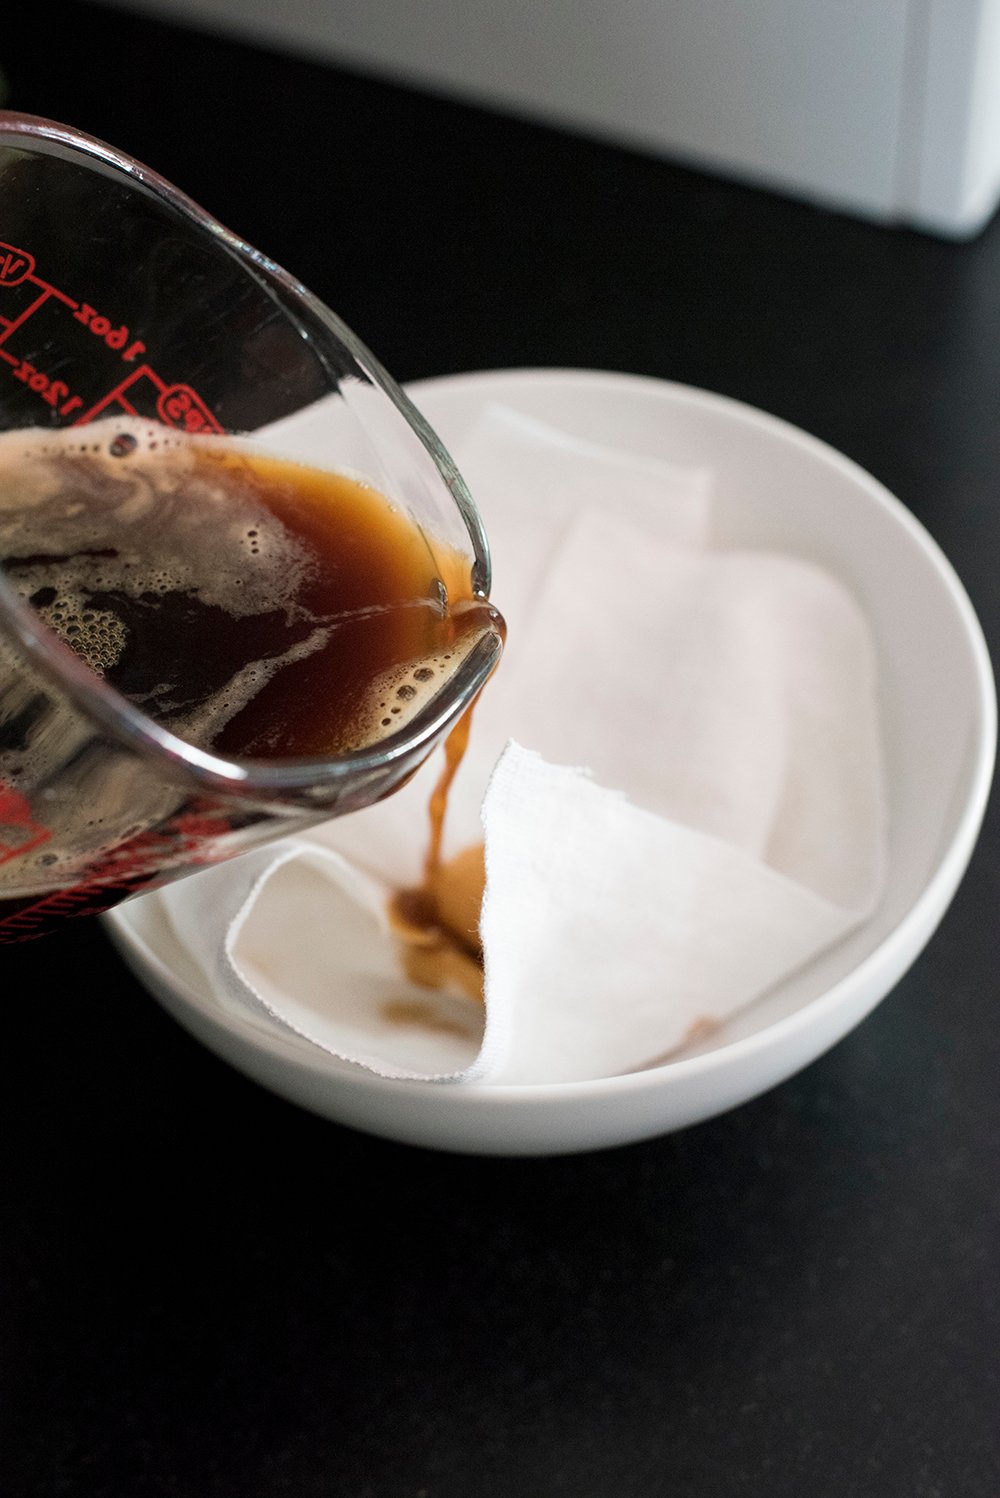
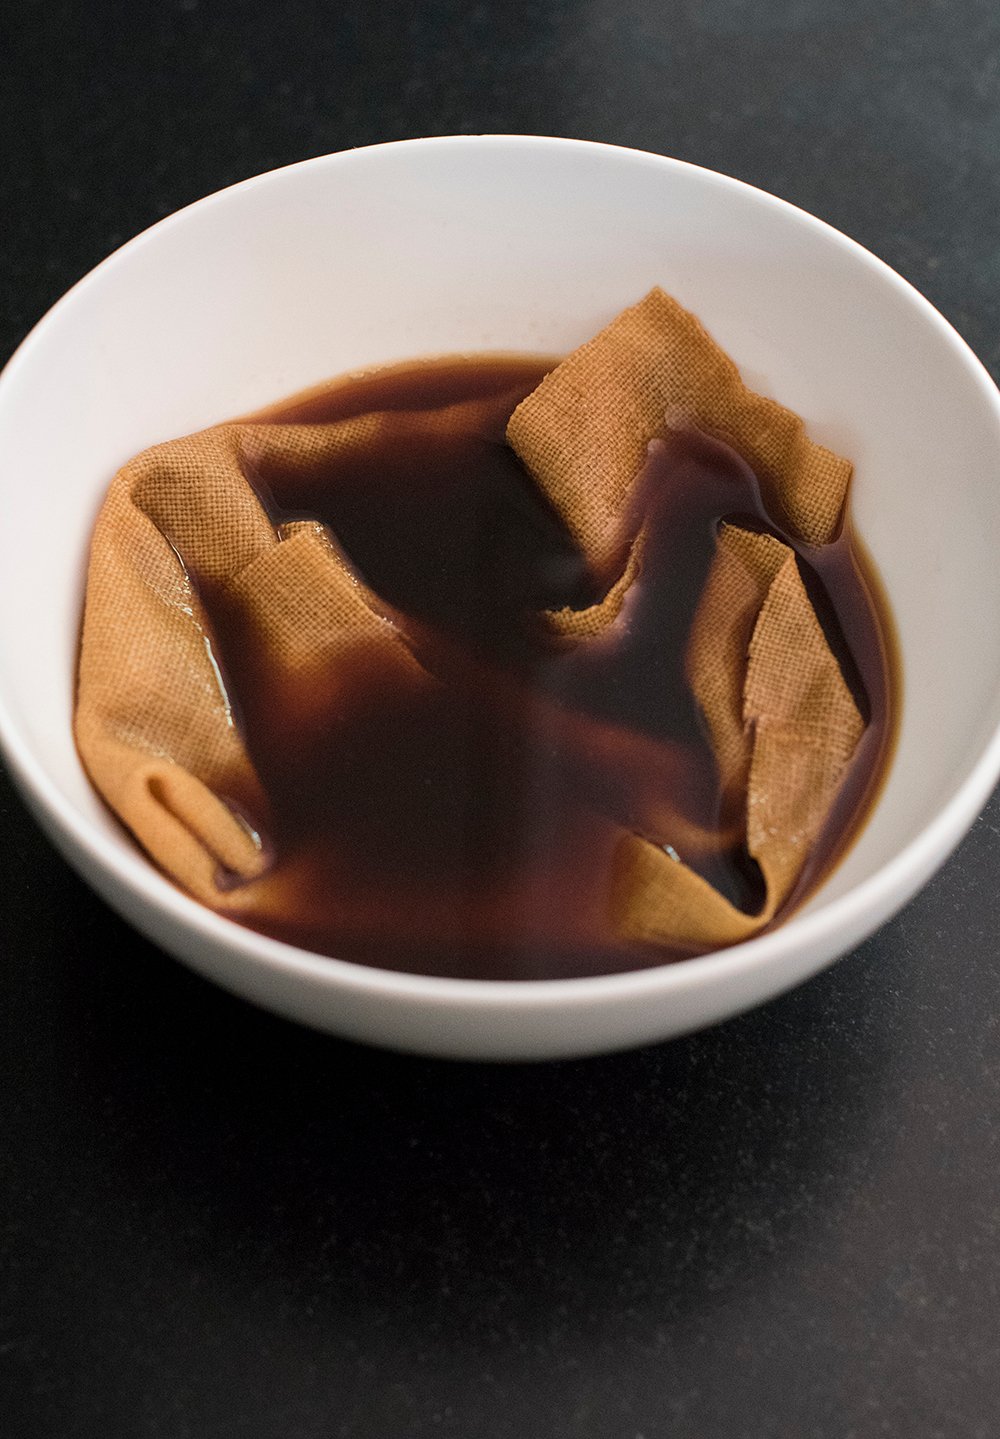
 Step 2 // Brew and pour coffee over the fabric. I brewed a large cup of coffee with our espresso maker (4 shots total). You can add water to dilute the coffee, or you can leave it nice and dark. This will influence how dark your fabric will turn out. I placed my trimmed linen into a bowl and gently poured the coffee over the fabric, making sure it was totally saturated. One more tip… if you’re not a fan of the organic way the dye takes to the fabric, you can also soak your fabric in water prior to pouring on the coffee- this will allow it to saturate the fabric more evenly. Personally, I like the texture the coffee adds to the dry fabric. A test piece might be a good idea if you’re particular about that? I just winged it.
 Step 3 // Let it sit. Allow the fabric to soak in the coffee for at least 10 minutes… you might want to agitate it a time or two so you end up with even coverage. Your fabric will only hold so much of the pigment, so soaking it longer might make it slightly darker, but not much. It’s more of a coffee to water ratio that influences the color. If you want it super dark, you can also double dip the fabric- allowing it to dry completely in between dunks.
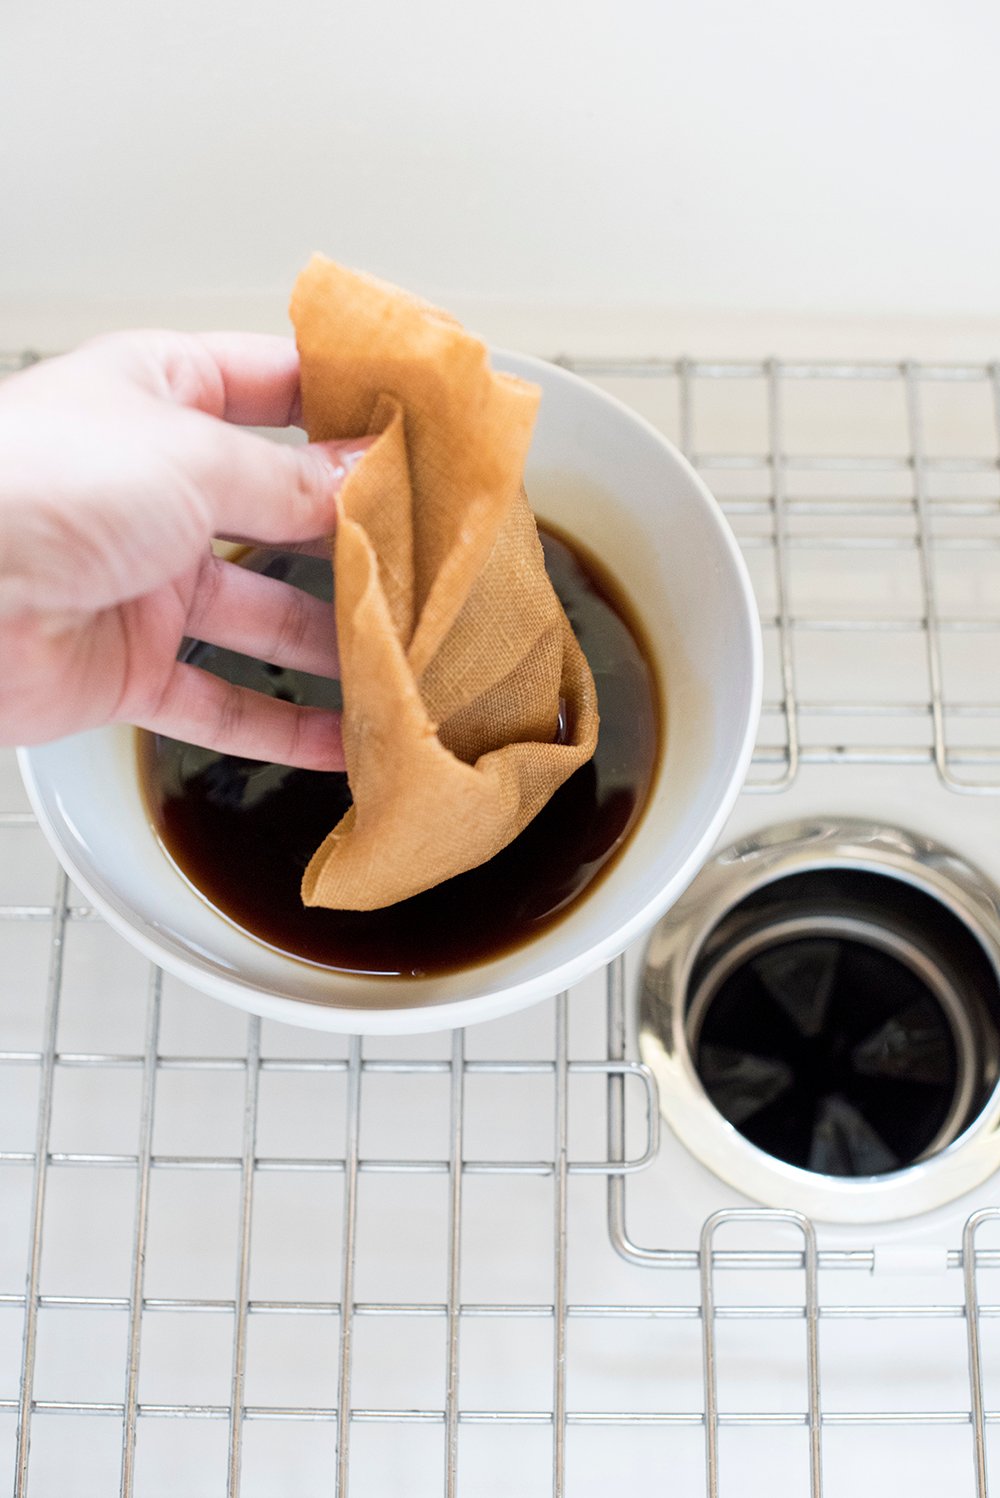
 Step 4 // Wring it out. Once the fabric is finished soaking, wring it out the best you can. Less liquid in the fabric makes the drying process go faster.
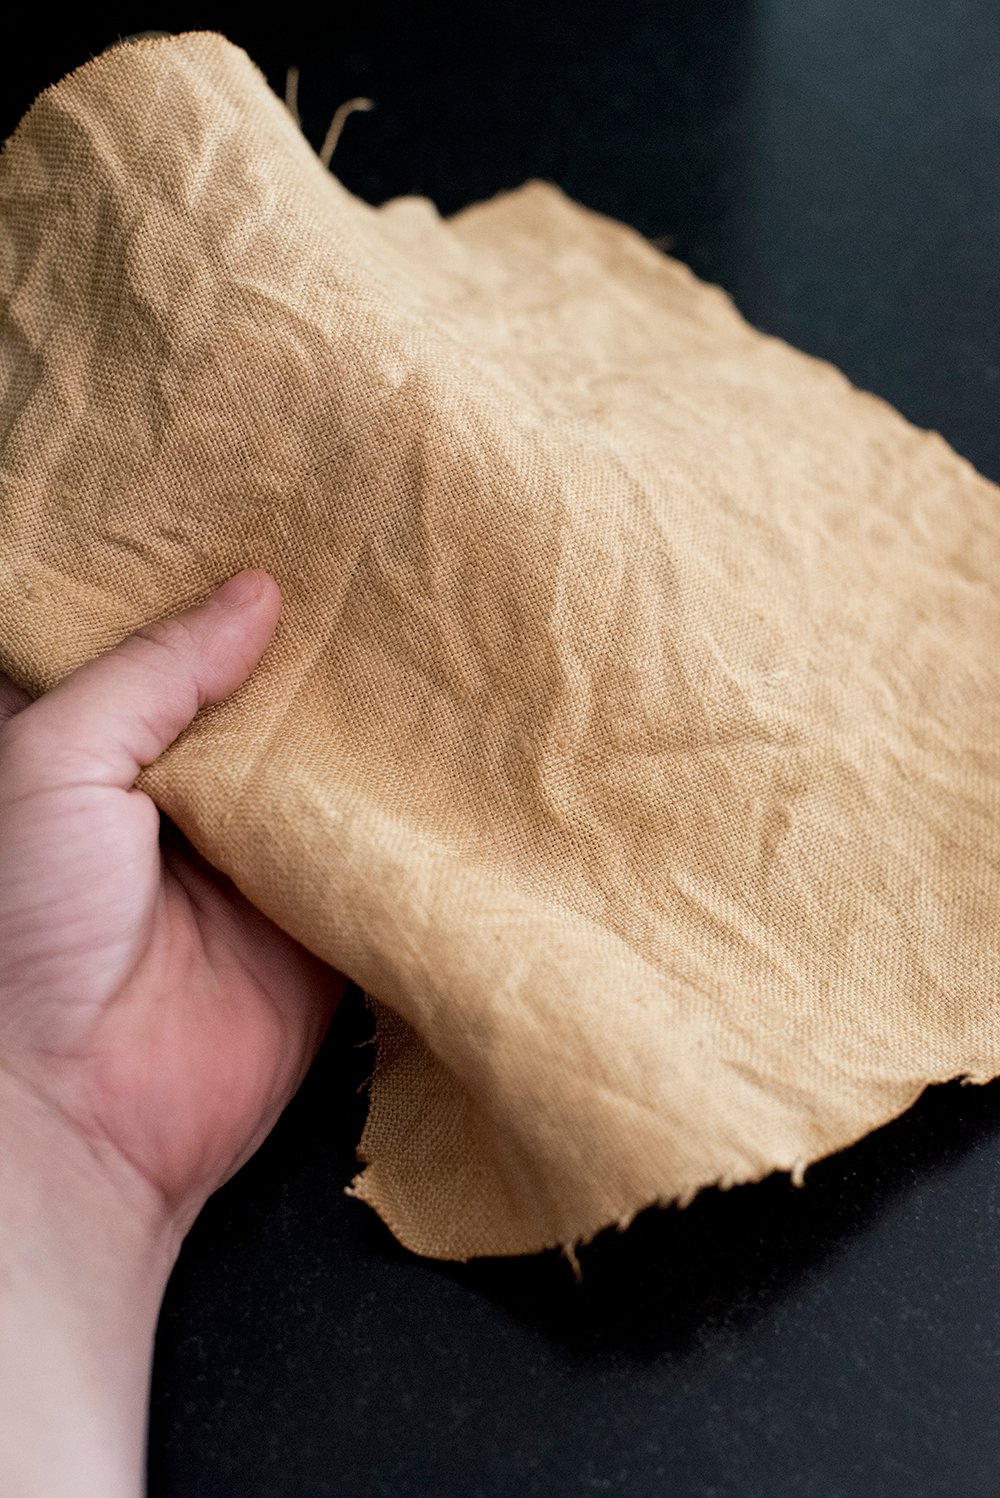
 Step 5 // Allow it to dry. I left my fabric laying flat in the sun on our driveway for about an hour. I’m not exactly sure how long it actually took to dry, because when I went to check at the 60 minute mark, it was already totally dry. You could easily speed up the process by using a hair dryer or tossing the fabric into the dryer by itself.
If the wrinkled look bothers you, now would be the time to iron. I like the wrinkled look linen naturally takes on and it’s less work… so I left mine alone. The frame will also press out some of the crinkling.
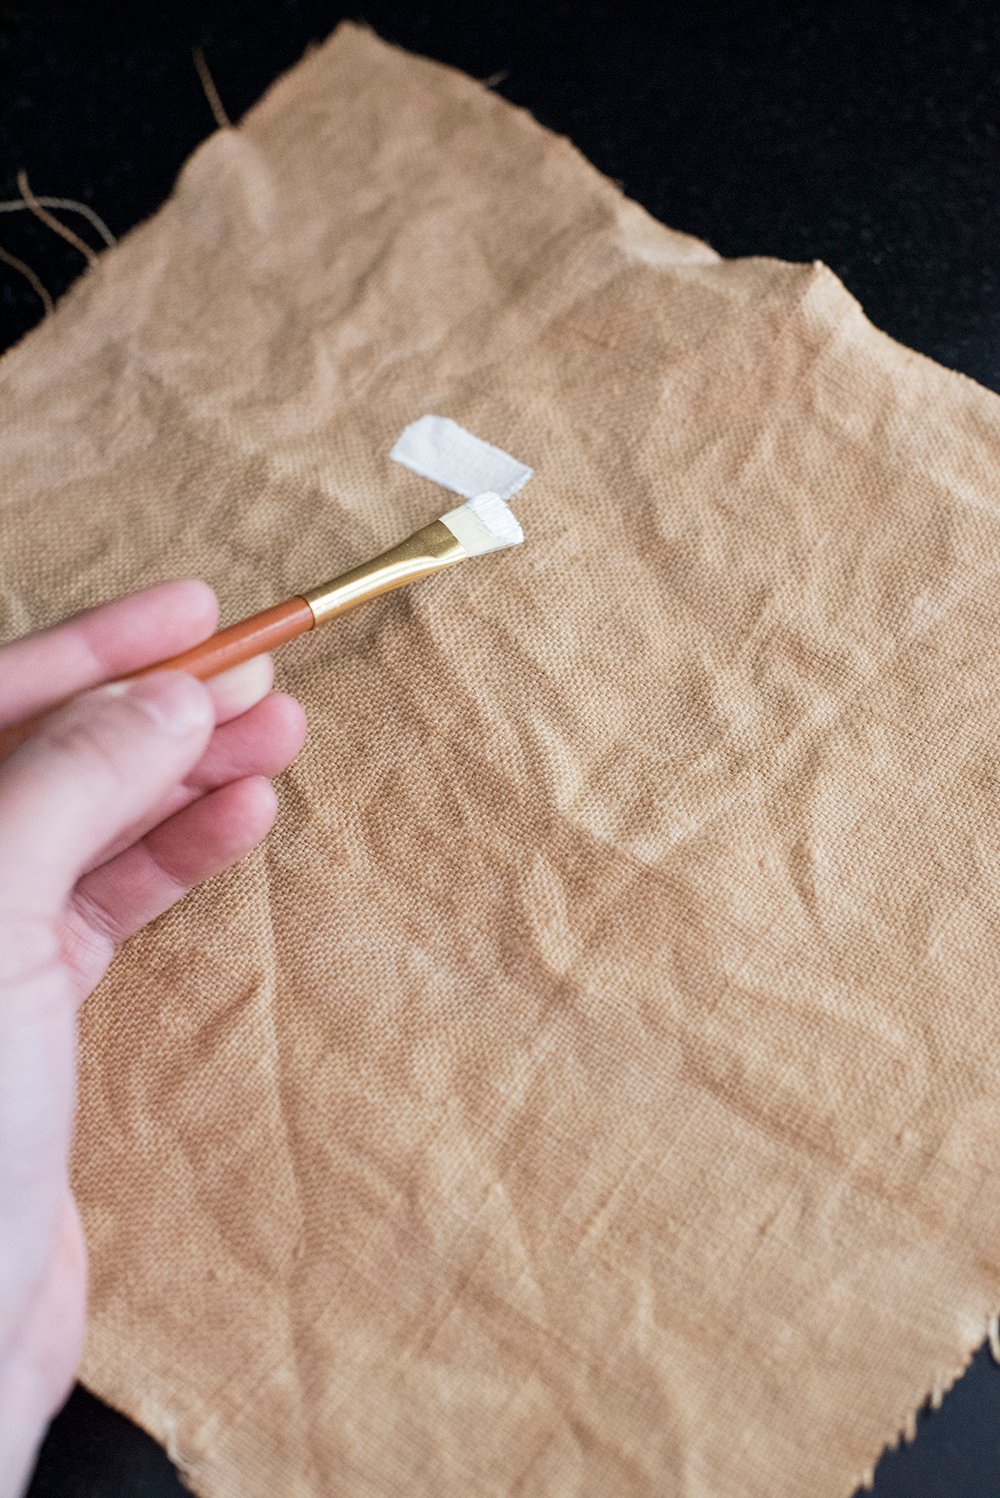
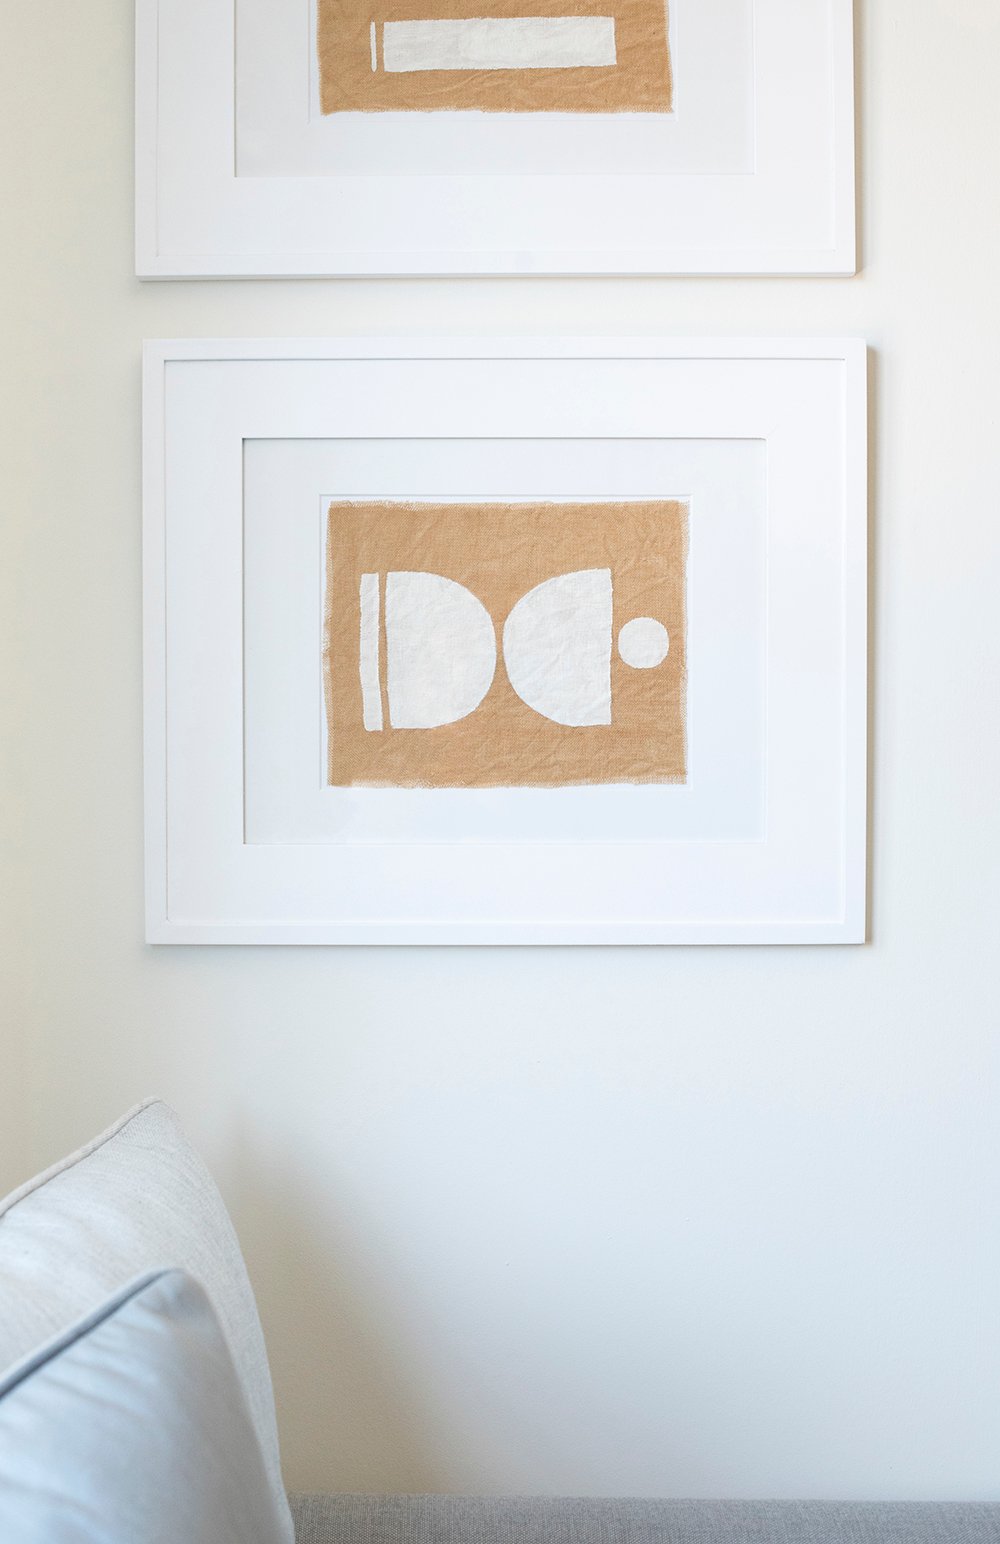
 Step 6 // Paint the fabric. After the fabric is dry, it’s time to get creative! Using the white acrylic paint and a paintbrush, begin painting your design. I was inspired by block printing and basic geometric shapes, but you can paint whatever you like. I placed a piece of cardboard under my fabric while painting because the paint does soak through the fabric just a bit. If you’re doing this at the dining table or a desk, it’s better to be safe than sorry. I’d lay down a paper towel, excess piece of fabric, or cardboard to protect your work surface.
 Step 7 // Frame your textiles. Once the paint is dry (that took another 30 minutes – 1 hour), I frayed the edges by pulling the end strings and framed both textiles. You don’t have to fray the edges, but I liked the exposed, raw edge, so that was an aesthetic decision I made.
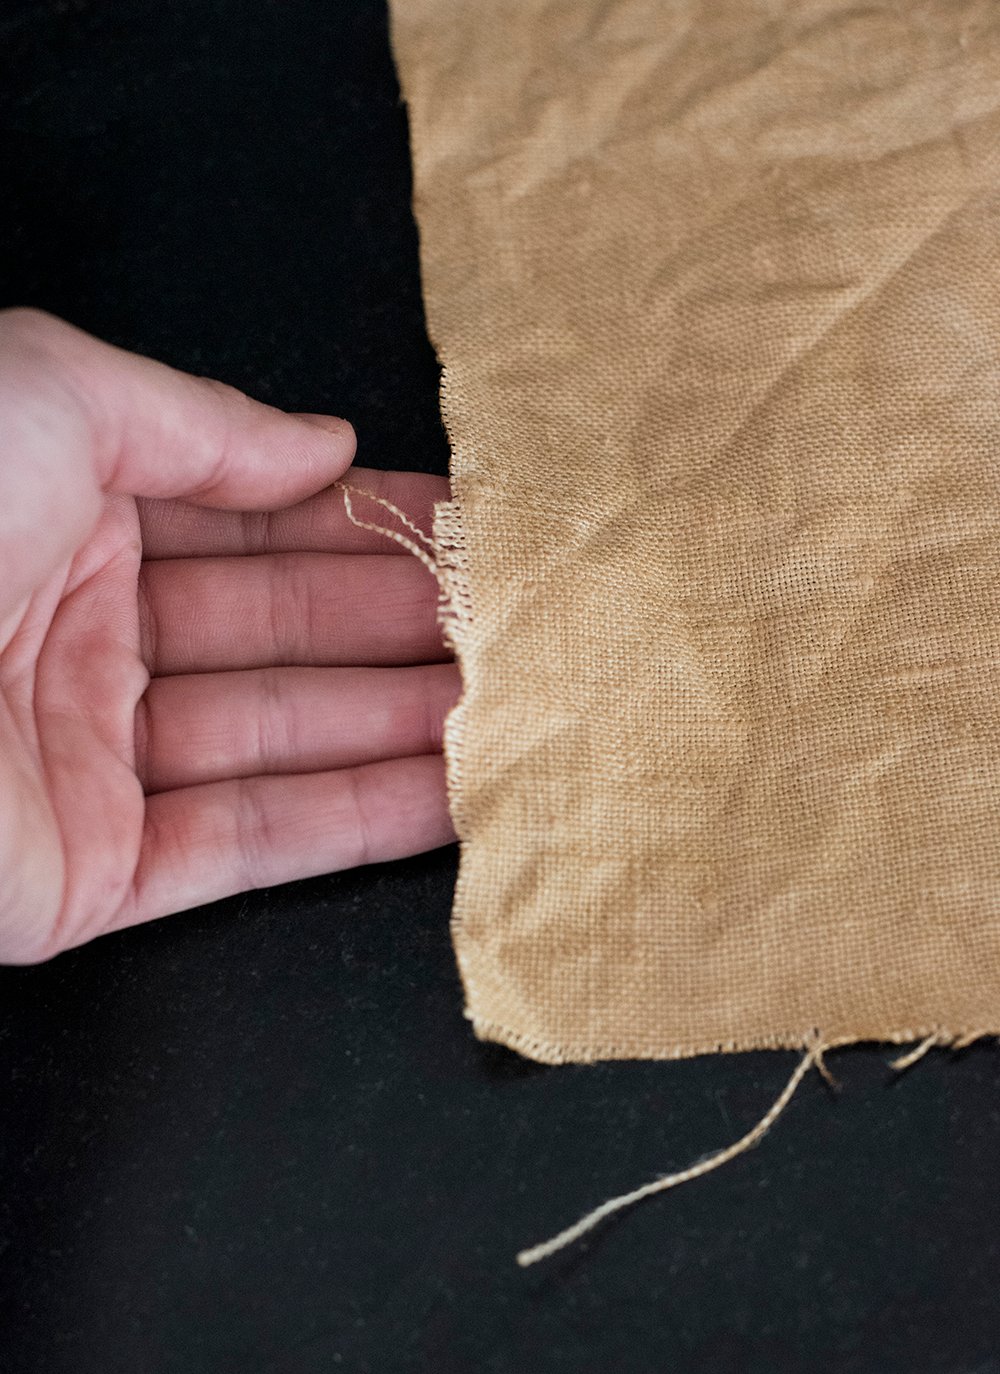
 If you don’t plan to show the edges, just make sure you’ve cut your fabric larger than the mat you’ll be using. In the image below, you can see how I frayed the edges, so there is a quarter inch reveal all the way around the textile.
 That’s really all there is to it. You can definitely get creative with this DIY! You could dye the fabric lighter or darker, use interesting shapes, or even different colors of paint to achieve your desired look. The possibilities are pretty endless and the more creative you get, the better I imagine these will turn out.
Here’s a quick little video tutorial, but the process is very simple!
I really struggled with the artwork for this space. Nothing seemed to fit or look appropriate. I think these were the perfect, simple solution. Not only was it a fun project I enjoyed creating, but I love the warmth of the dyed fabric. It really ties in our wood colored cabinetry nicely and splashes some texture on that wall.
 I’m VERY excited to reveal my kitchen and dining area next week, so check back soon for more of this space! As always, I’d love to hear your feedback on this project in the comments below. I’m also happy to answer any questions! Are you going to give it a try? I think this would be a fun project for kids as well, if you want to get your littles involved. Even if it’s not on your immediate to-do list, pin it for later! My friend Ashley also shared a fun DIY on framing a vintage rug as wall art… textiles make beautiful decor and art.
Great job! I think it looks fairly doable except the freehand painting. I just know mine will look like it was done by my 5 year old, lol! Maybe if I could find a stencil or perhaps even a stamp. Thanks for the tutorial.
Thanks, Traci! You could definitely use a stencil… or lightly sketch your design with pencil first. I think the organic lines will make it look more like an artifact- just keep it geometric and it will be great. Easy peasy! xox
Better yet- let your 5 year old do one too!! I love the lines and art that kids create… you’ll probably end up liking that one best and it will be sentimental as well :)
I didn’t even think to lightly sketch it first, lol. Thanks! And great idea! I love the idea to have my son complete one as well.
Haha!! I bet his will be so adorable. Most of the time I like art made my kids better than adults :)
Beautiful, and perfectly suited to the space. I am THE MOST excited for the kitchen reveal next week!!!
Thanks so much, Ashley! I can’t wait to show you the kitchen!! :)
Sarah, how did you mount the linen in the frame?
Great question, Lindsay! I should’ve explained that… basically, I didn’t do anything. My frames were so tight, that the glass and backing is holding the textile into place. It didn’t require adhesive, archival tape, or anything like that. I literally just centered it and smashed it all together before locking the back.
Where did you get the frames?
I ran to my local Michael’s Craft store and picked them up there… they were cheap- I think $20 or something like that.
Sarah! is this so cool! Your DIY’s are always amazing :) quick question though – i saw your reply above where you said you picked up the frames at Michael’s, but did you get the matte inserts there as well?
Thank you so much, Annie! Yes- the mat insert also came from Michael’s. They have a section in the back at my local store where you can pair a mat / frame. Hope this helps! xo