Oversized Bath Bombs
 If there’s one thing I love treating myself to, it’s a nice long soak in the bath. Even better if I have some luxury bath products to throw in the mix (and maybe a glass of wine). I’m a big fan of bath bombs, but my pet peeve is the colored ones that make the tub look gunky after you’re finished. I decided to make my own bath bombs to solve the problem, and to give away as easy gifts or stocking stuffers this season! Click through to get the tutorial…
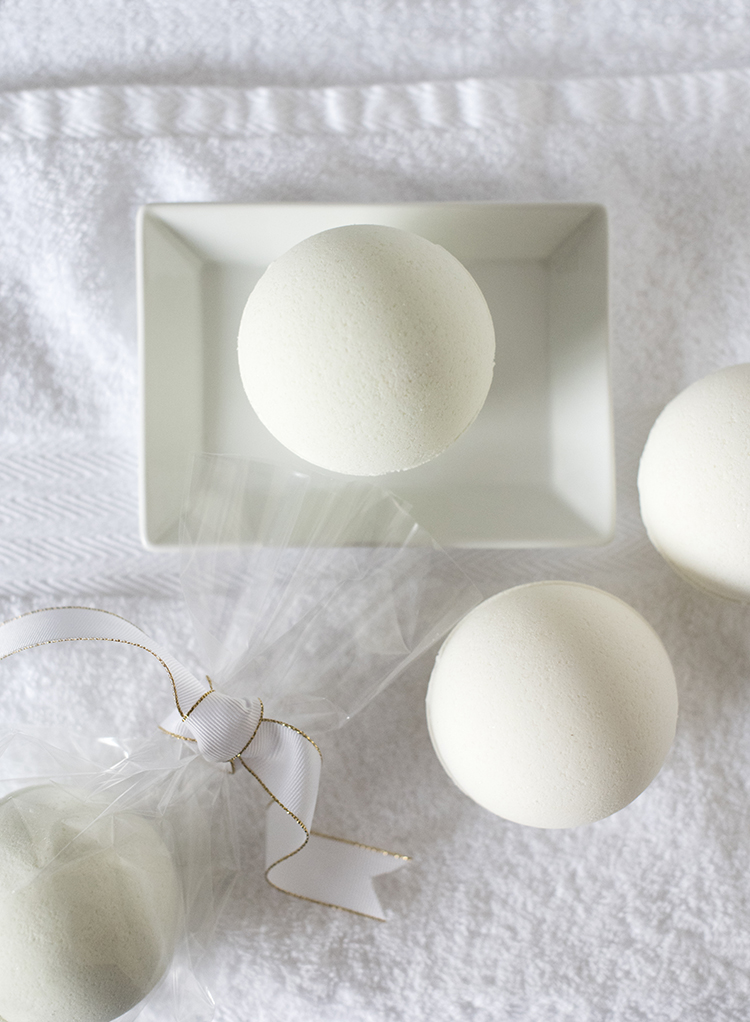
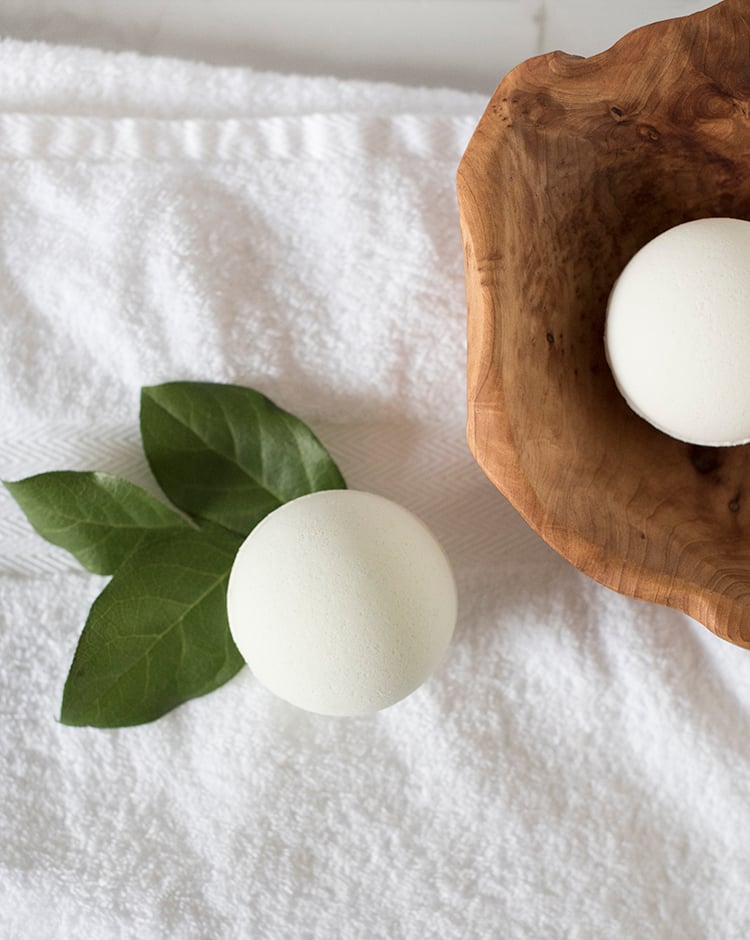
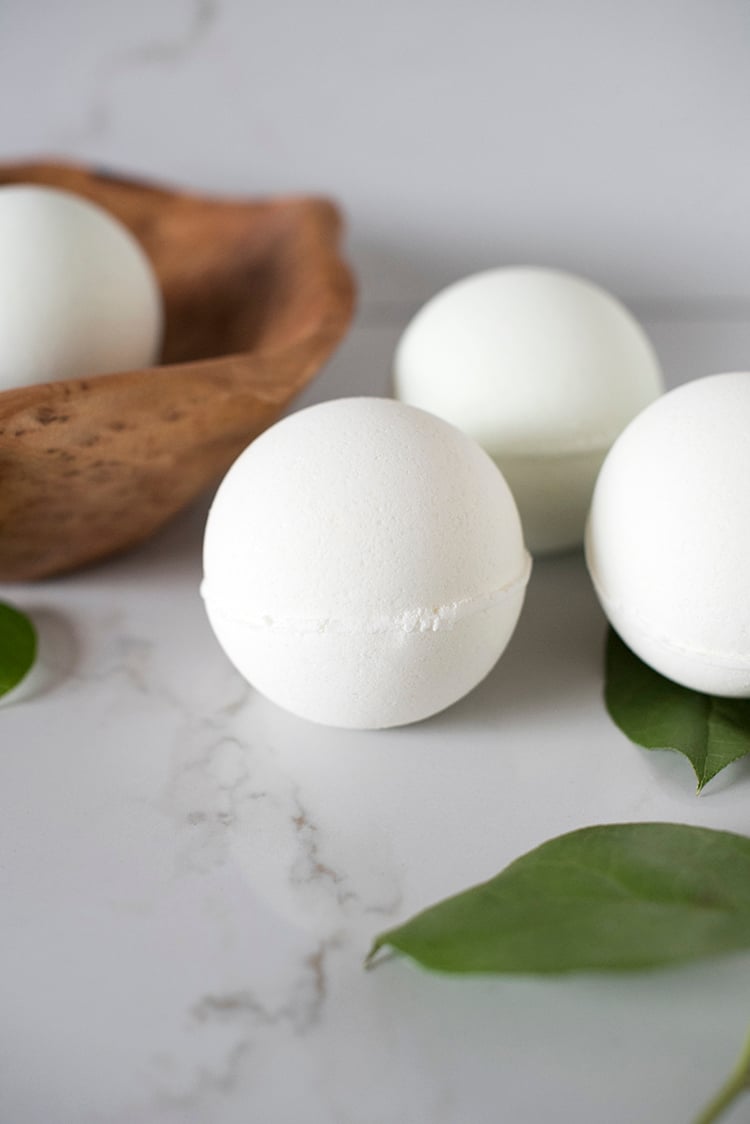 This recipe makes 4 oversized bath bombs- they’re the size of a three inch sphere.
What you’ll need for this project:
– 16 oz. baking soda
– 8 oz. corn starch
– 8 oz. citric acid
– 8 oz. epsom salt
– 6 teaspoons water
– 4 teaspoons essential oil (I used lavender)
– 6 teaspoons coconut oil OR olive oil (I used melted coconut oil)
– 4-6 drops food coloring (optional)
– large mixing bowl
– measuring cups
– spoons and whisk, for mixing
– sphere mold (I used a Christmas ornament)
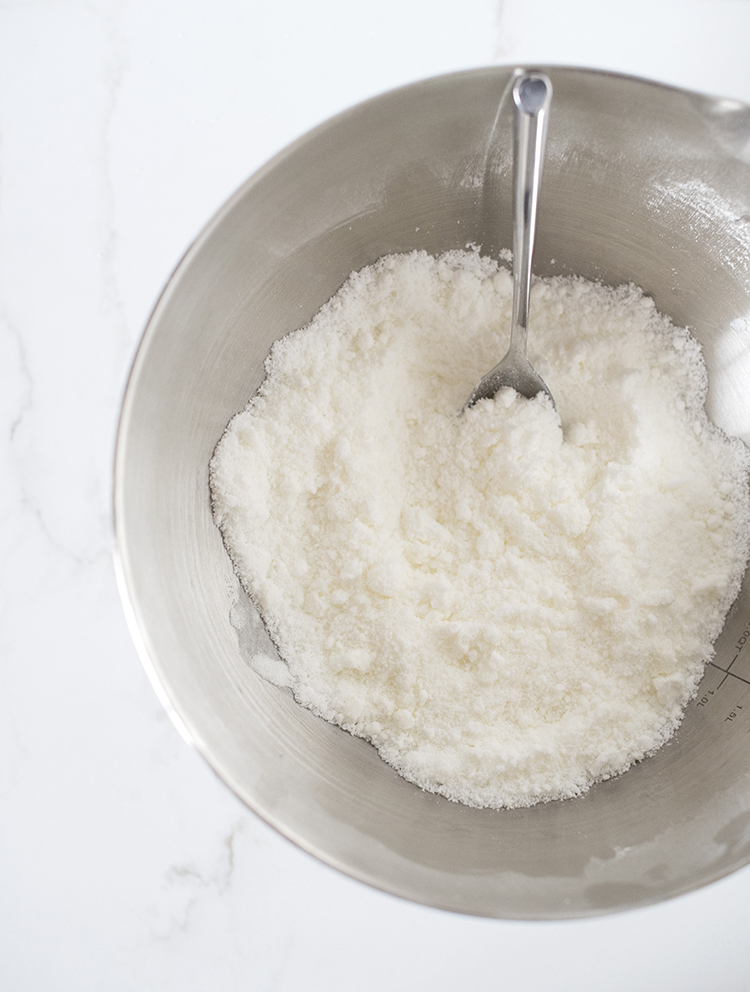
 Step 1 // Mix the dry ingredients. Begin by mixing the dry ingredients- the baking soda, corn starch, citric acid, and epsom salt. Using a whisk, stir the mixture until all of the clumps have been removed and the ingredients look nice and powdery.
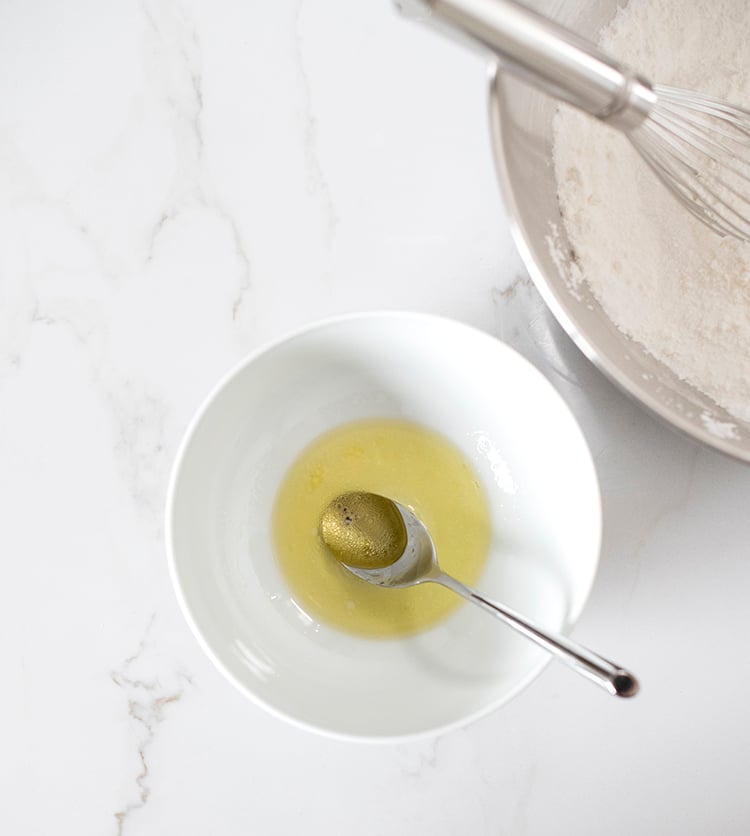 Step 2 // Combine the liquid ingredients. Add the water, essential oil, coconut OR olive oil, and optional food coloring into a separate bowl. Stir the liquid ingredients until they’re well combined.
 Step 3 // SLOWLY add the liquid mixture to the dry ingredients. When I say slowly- I’m being super serious. Use a spoon to sprinkle drops of the liquid into the powdery mixture a LITTLE at a time. If you pour it too quickly- these won’t turn out! The sprinkled droplets will fizz a little, continue stirring the mixture and adding the liquid over the period of 10-15 minutes. Taking your time will pay off!
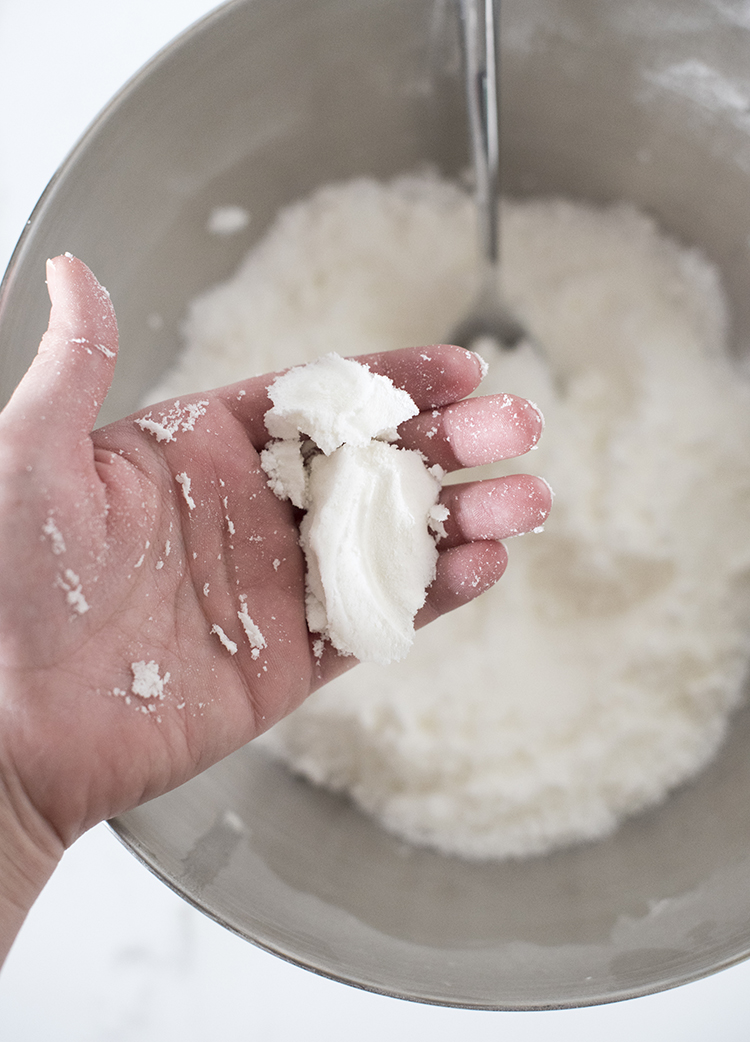 Step 4 // Check the consistency. Once all of the liquid has been added, your consistency should look like this. You should be able to squeeze the mixture in your hand – it will feel cool and hold the form. If it doesn’t hold the form, add a tiny bit more water. I didn’t have to add any water with this recipe, so as long as you measure carefully, it should be ok!
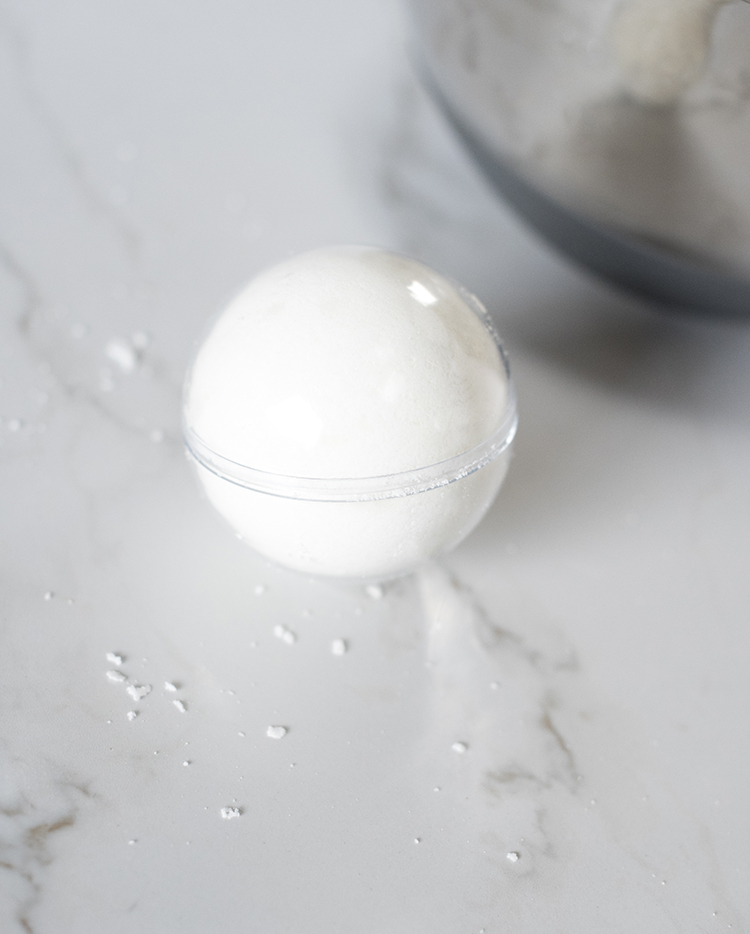
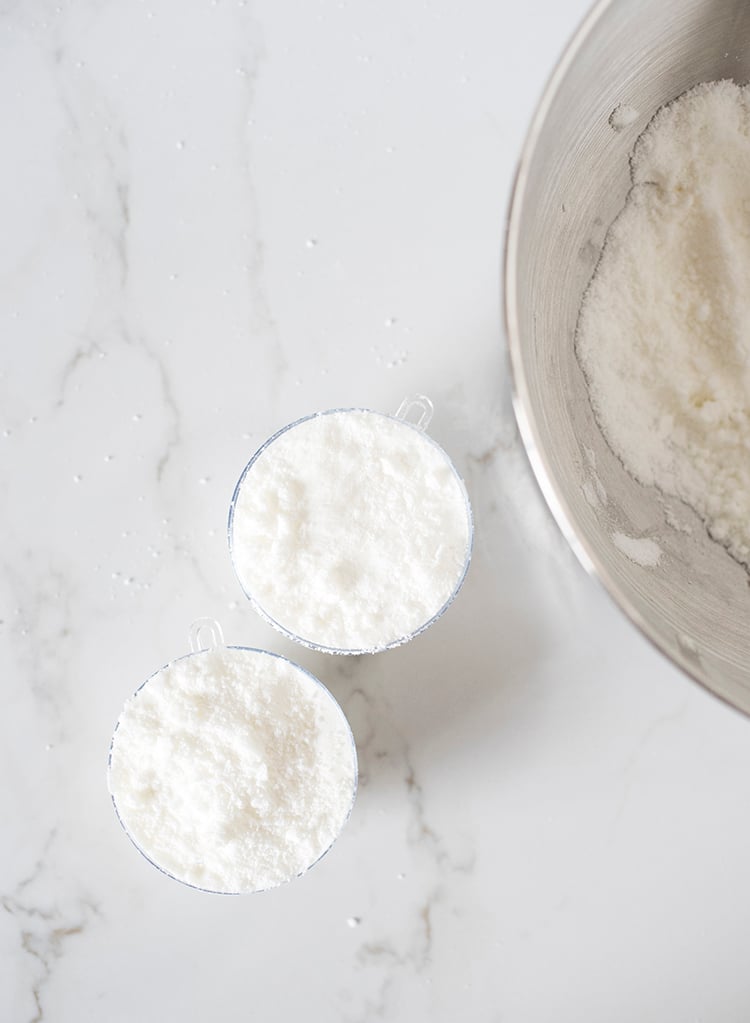 Step 5 // Pack the mold. Scoop the mix into your mold, pressing it firmly into each half of the sphere. Once each half is packed, press the two hemispheres together tightly.
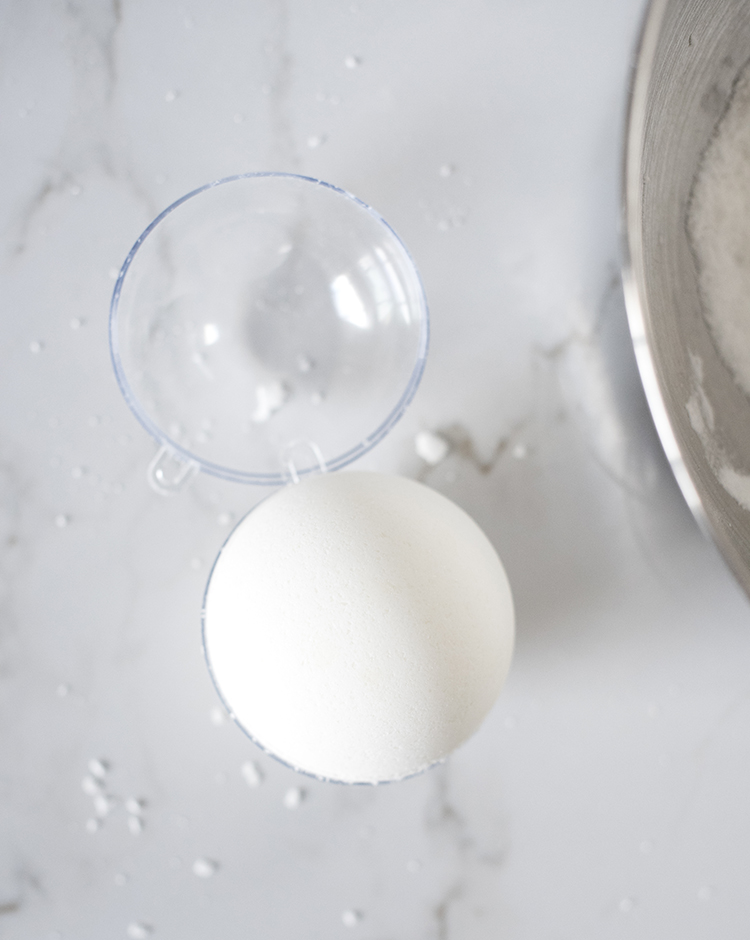
 Step 6 // Remove the mold. Once you’ve smashed the two sides together, gently pull the top half away from the sphere. Leave the bottom half of the mold on for 10-15 minutes. Once the time passes, slowly remove the bottom half of the mold. Sit the bath bomb on a tray and allow it to rest for 8 – 12 hours! This part of the process allows the bath bomb to dry out and harden.
 Once the bath bombs are completely dry and sturdy, they’re ready to use! I couldn’t believe how easy and inexpensive these were to make. You could easily add things like petals, tea leaves, and other solids if desired. As you know, I’m sort of weird about leaving a mess in the bathtub post bath… so I haven’t tried any of these.
 They’re lightweight and easy to ship, so a handful of these bath bombs are making their way to my family and friends across the country as we speak. I might’ve even kept a couple for myself because everyone knows with the holiday season comes a lot of stress. These would be great for a little relaxation break!
This is perfect! I was actually planning on buying bath bombs as last minute gifts this year. LOVE this idea even more.
Yay! They’re really easy and it’s pretty fun. Let me know how they turn out! xo
I just found this on Pinterest! Great idea! I would have never thought to use a Christmas ornament for the mold. Do you remember about what size it was? Maybe 5 cm? Glad I found your blog! Can’t wait to look around more!
Thanks so much,
Lindsey
Thank you, Lindsey! It was a 3 inch ornament :)
Thanks so much Sarah! That’s very helpful!
No problem at all :) Happy to hear that!!
After trying tons of these recipes this is the BOMB literally!
I’m so glad it worked well for you, Lee!