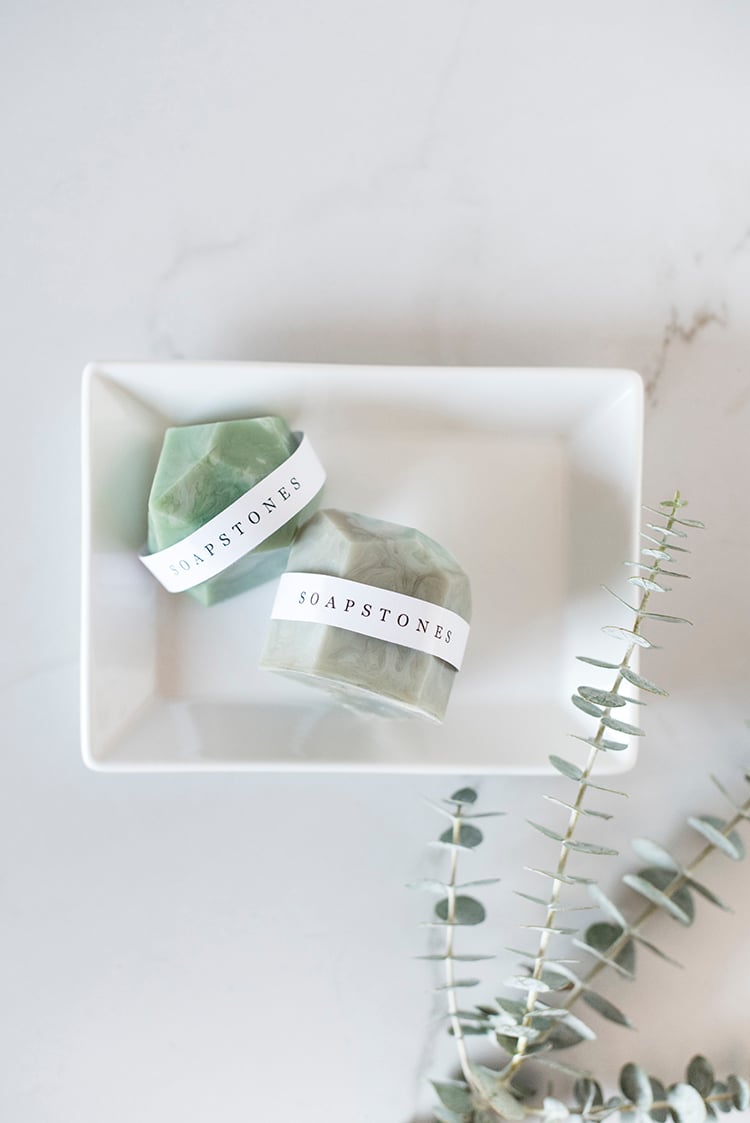
DIY Soap Stones
 If you’re anything like me, you might be scrambling for last minute gifts. Being on a tight budget thanks to our move and renovation, I decided to whip up some homemade gifts for loved ones this year! The next four posts I’ll be sharing easy, budget DIY projects. I’ll show you how to make soap stones (that smell amazing!), pour beautiful soy candles (complete with easy printable labels), make bath bombs, and compile a delicious jar recipe.
I first came across soap stones in an apothecary boutique a few years ago- I immediately scooped up a few to bring home and display in my bathroom! They’re SO gorgeous, they’re almost too pretty to use. They look amazing styled in a dish on a countertop, impress houseguests (seriously everyone comments on them), not to mention they make great, easy gifts. I couldn’t believe how fun and inexpensive they are to make, otherwise I probably wouldn’t have ever purchased any. Click through to get the tutorial!
 There are versions of this DIY all over the internet, but this is the easiest way I’ve found to make these… let’s jump right in!
What you’ll need for this project:
– clear glycerin soap
– opaque glycerin soap
– pure essential oil (optional, I used rose extract)
– food coloring
– small plastic cups
– disposable condiment cups
– toothpicks
– glass measuring cup
– paring knife
– cutting board
–scissors
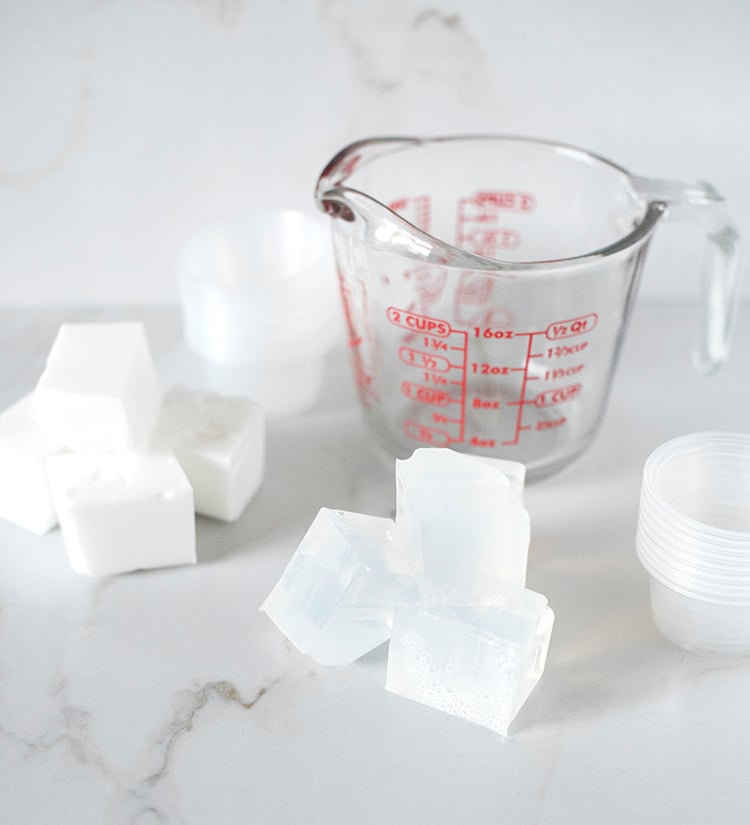 Step 1 // Cube the clear and opaque soaps. Most soap bases come in a flat plastic container. Begin by chopping the clear and the opaque soap blocks into 1″ cubes- making sure to keep them separate! Once they’re cubed… divide the clear soap cubes in half, as well as the opaque soap cubes. You should have four piles: two clear and two opaque.
Step 2 // Melt the soap & add food coloring. In a glass measuring cup, melt the first pile of soap (clear or opaque- you’ll be repeating this with whichever one you don’t begin with). Microwave the soap in increments of 45 seconds until it’s completely smooth. Pour the soap into the condiment cups and add food coloring! Get creative with this part- use whatever colors you’re attracted to, mixing each cup with a toothpick. I’m partial to green… so I used lots of green tones, pastel orange, lavender, and flesh tones.
 Step 4 // Chill & repeat! Place the condiment cups into the fridge and repeat step 3 with either the opaque or clear. Once this step is complete, you should have two piles remaining: one clear and one opaque.
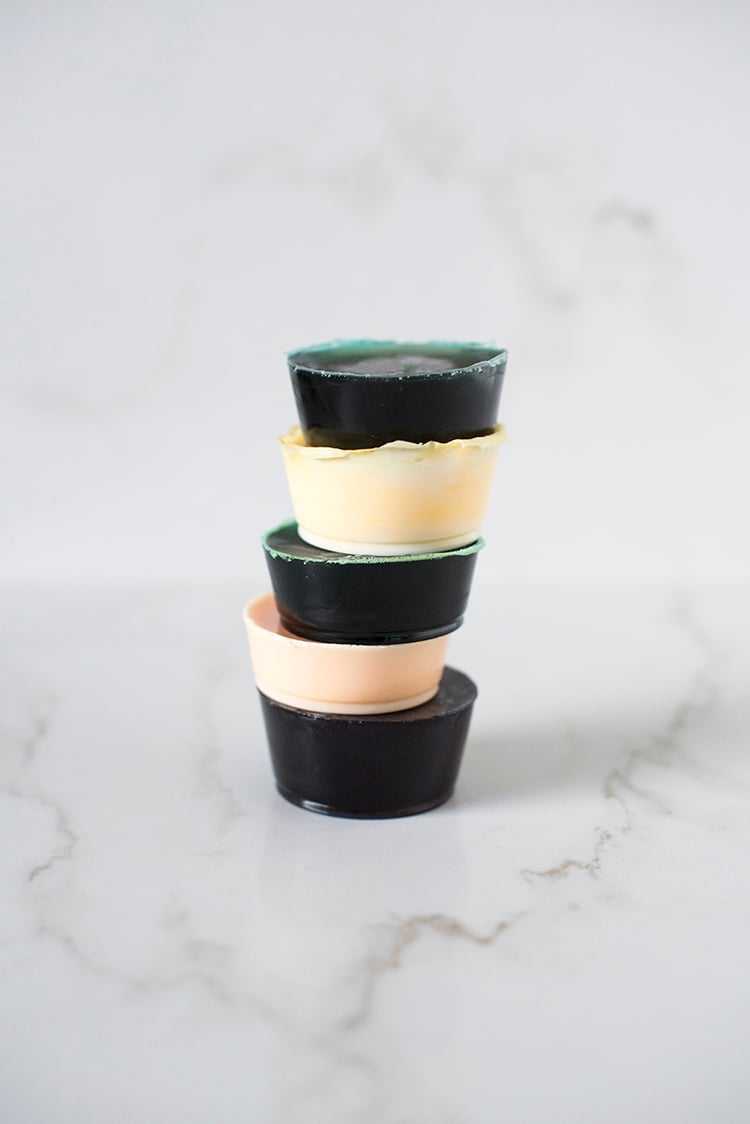 Step 5 // Remove the colored soap from the molds. Remove the condiment cups from the fridge and press on the bottom of the cup with your thumbs to release the soap.
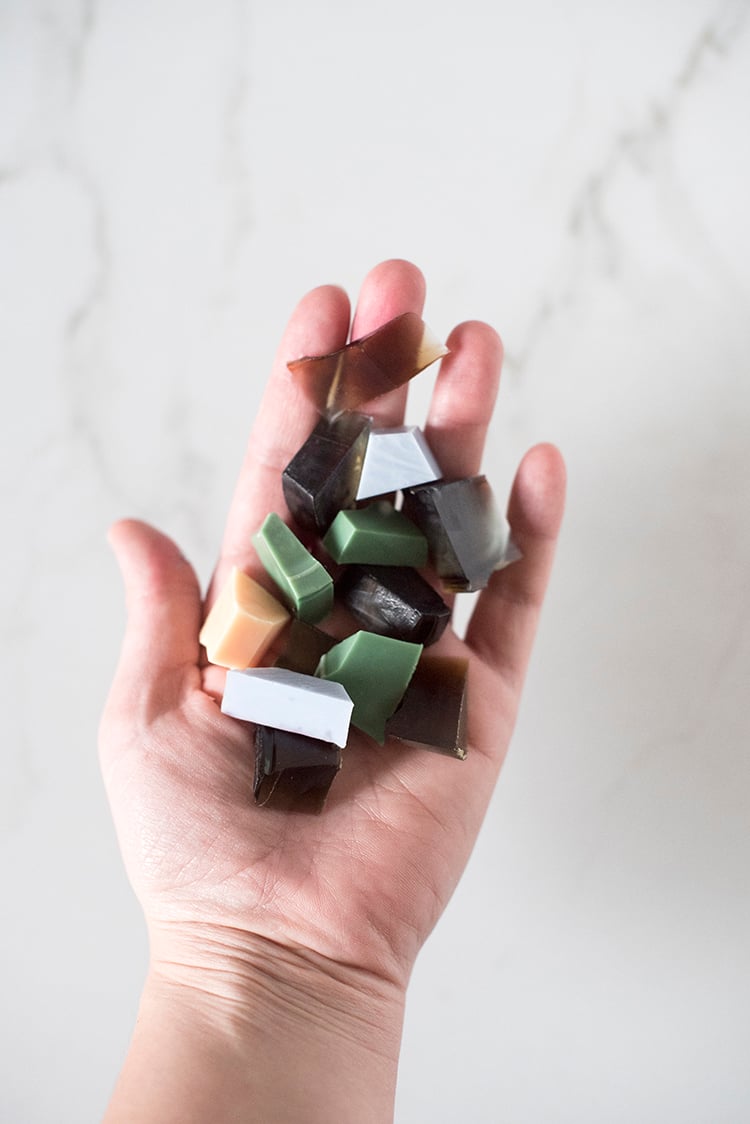
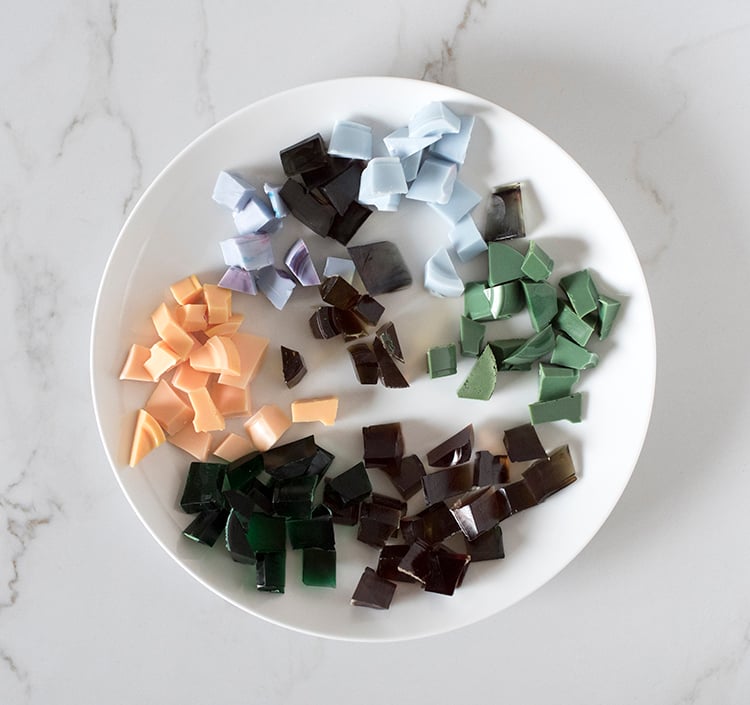 Step 6 // Chop the soaps into shards. Using a paring knife, cut the soap into 1/2″ shards. You can keep the colors separate or combine them- totally up to you! I kept everything separate because I’m a little OCD.
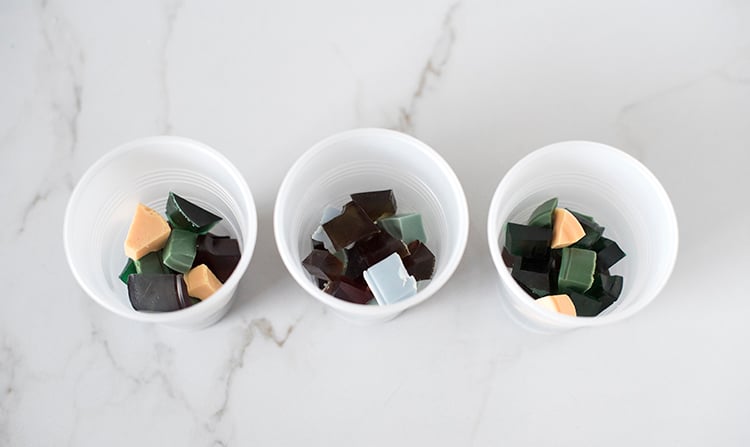
 Step 7 // Fill the small plastic cups with shards. Take a handful of shards and fill the small plastic cups 3/4 full. In my experience, the more random the colors- the better. Don’t be too organized about dropping them into the cups!
 Step 8 // Melt and pour uncolored soap into the cup. Now for the easy part… melt the remaining two soap piles (one a time), and pour them into the cups. I started with the clear soap, dividing the remaining liquid between all of my cups. I followed this same process with the opaque soap, topping off each cup.
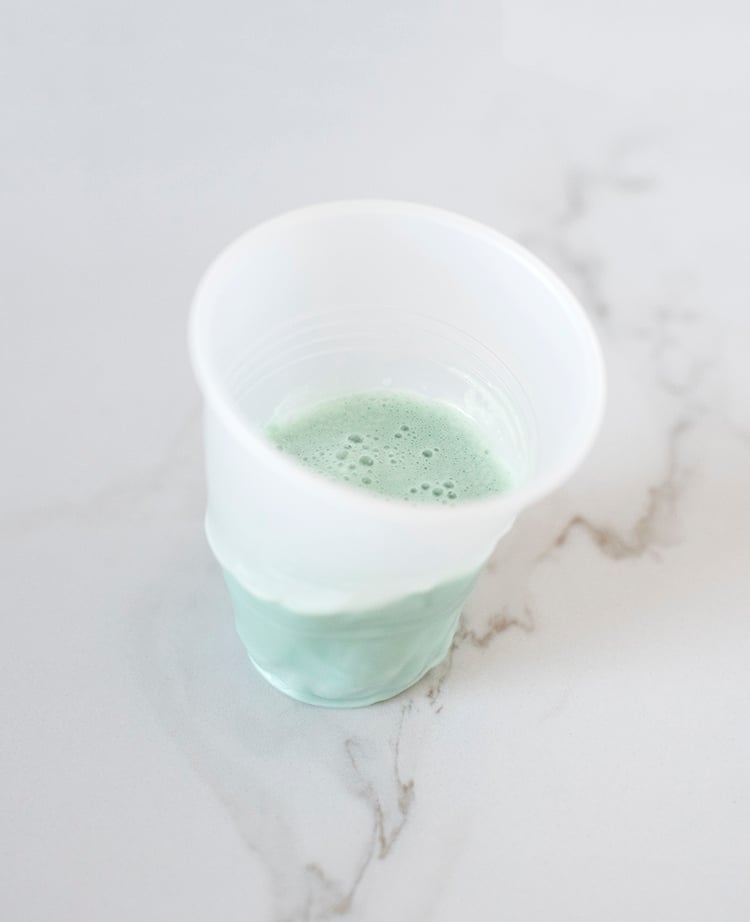 Step 9 // Microwave each cup and chill. I wasn’t super satisfied with the way my shards were melting after pouring the remaining hot soap on top of them, so I popped each cup into the microwave for 15 – 30 seconds. Keep a close eye on it! The cup will warp and look wonky, but they’ll turn out totally fine. The liquid will melt down even further. Once you pull the cup from the microwave, pop it into the fridge to chill.
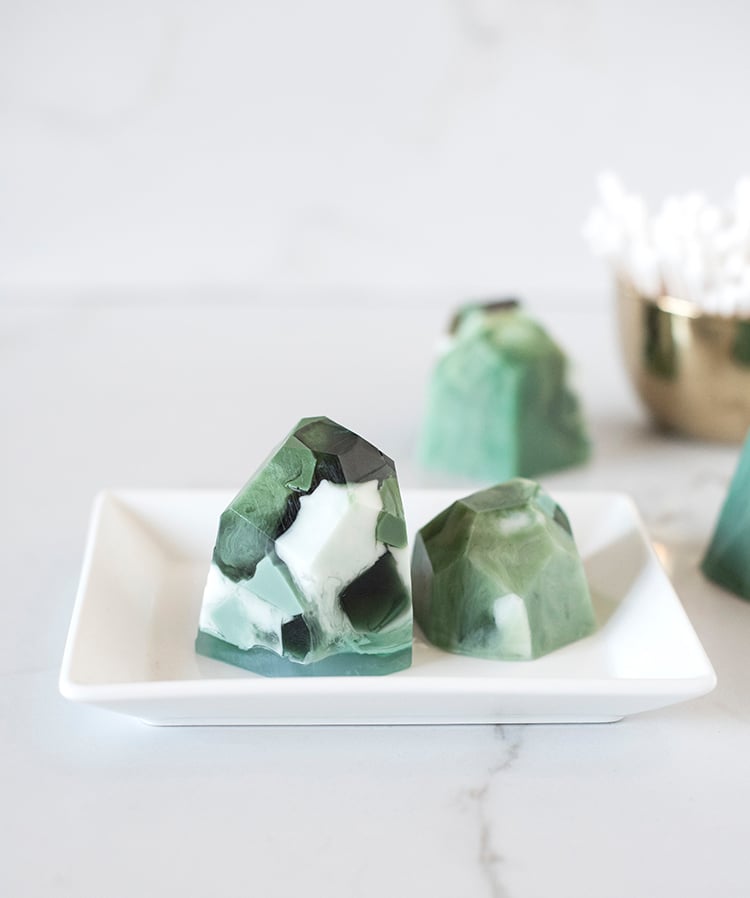
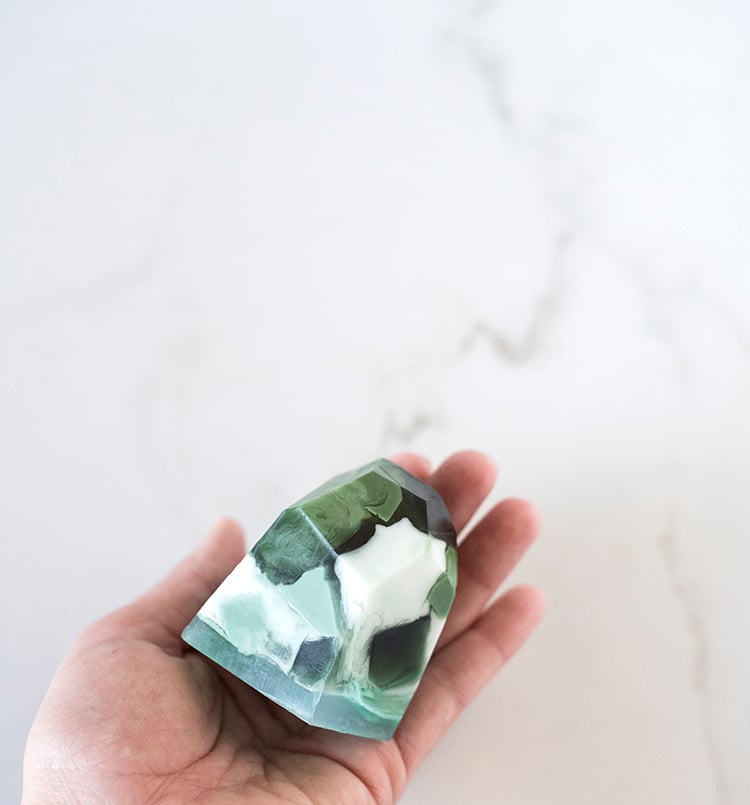 Step 10 // Remove from mold and shape into a gemstone. Once the soap is chilled and completely solidified, cut the edge of the plastic cup with scissors and pop out the soap. Using a paring knife, shape the soap into a gemstone… it should cut really easily! You’ll be surprised as you slice back the layers, the pretty colors and shapes reveal themselves.
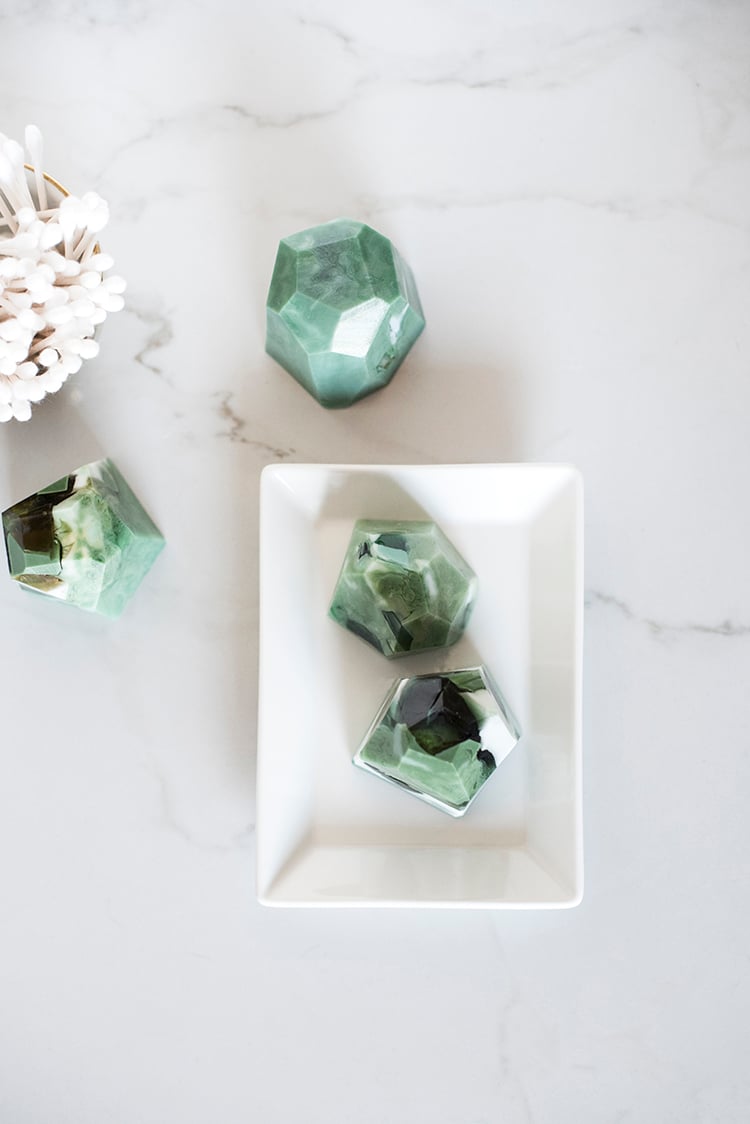 You could spend $25 on a couple soap stones at a boutique, or you could make a bunch for the same price. The process is actually super fun, and I love the way these turned out! Check back tomorrow for another DIY gift idea.
Those are beautiful! What a great idea :) I can think of a couple people I know who would love something like this!
These are amazing! How many gemstones did this make? Thank you.
Thanks, Haley! It made a lot… I’m guessing around 15-20 soapstones. xo
Sooo, did you ever link the printable Soapstone? I could really use it because making it myself sounds hard.
Would you please suggest a source for the soap. I have googled and there is huge variation in price. Clear seem to be abundant but I didn’t see opaque white. Thanks
I got mine from Hobby Lobby! They had both the opaque and clear in stock at my local store.
I’m excited to make these with my 7 yr old granddaughter! I have 1 question: when do you add the fragrance and do you just ass a drop or more – don’t want it overwhelming! Thanks!
Aw yay!! Hopefully I’m not too late responding to this comment, but add the fragrance or essential oil when you add the coloring (while it’s melted)… it’s totally a personal preference, but I used anywhere from 10-12 drops.
Hiya, these are beautiful! I’m just wondering how the food colouring behaves when you use the soap? I’m just wondering whether the food colouring stains your skin or does it combine well with the soap? Thanks!
Great question, Jessie! The food coloring doesn’t stain- it blends really well with the soap.
Hey Sarah, these are amazing!! To make 15-20 like you did (saw in the previous comments) roughly how much of the glycerin soap did you have?! What were the measurements? Don’t want to order too little x
Hi Katie! I wish I remember the exact amount that I bought, but I can’t… I’m sorry! This post is from years ago. I wish I could be more helpful!
No worries Sarah, thank you! I’ll take a good guess 😊