How to Dye Fabric – The Do’s & Don’ts
 As I mentioned earlier this week, we spent the weekend working on a basement project which involved drapery panels from IKEA. It’s easy to use inexpensive curtains that fit the budget if you’re going for a minimalistic or neutral look, but when it comes to color- let’s be honest… IKEA doesn’t have a great range of colors to choose from. After bringing home three different options and not really loving any of them, I thought- “I should just dye them”. Yes, it sounds a little intimidating to mix a custom color and manipulate fabric or textiles to produce your envisioned outcome, but it’s really not as difficult as you might expect. Click through for an easy tutorial, and a few “do’s and don’ts”. I’ve had plenty of both over the years and it’s about time I shared! You can also catch a sneak peek of my finished drapery in the basement.
If you’ve been following along for awhile now, you already know I have a background in textiles and used to do this sort of thing allllll the time during my time in art school. I was constantly in the dye lab experimenting. It was something I really enjoyed. It’s weird to think I used to work with fabric on a weekly basis and this is the first time I’ve dyed something in years. I will say- I was a little rusty, which led to this post. Consider this your guide for what to do and what NOT to do if you also want to change the color of your curtains or fabric.
 Here are some quick rules or facts to know before you get started (these may or may not be obvious, but just in case)…
- You can dye fabric darker, bolder, or more saturated, but it can NOT go lighter than the current color.
- Dying fabric a solid, uniform color is more difficult than an organic or accidental pattern (like shibori).
- If your fabric turns out splotchy- don’t panic… you can “overdye” it.
- The larger the item or fabric is, the more difficult it will be to dye.
- Always test your dye lot and color before adding the fabric.
- There is a specific dye you should use for each material or fabric.
SUPPLIES + TOOLS
- tote, bucket, or bin (in my experience, storage totes work best)
- rit dye (natural or synthetic, depending on your fabric)
- hot water
- salt or vinegar (I use rock salt)
- rubber gloves
- stainless spoon or mixing utensil
- glass measuring cup
- laundry detergent
- fabric (in my case, curtain panels)
- sharpie marker
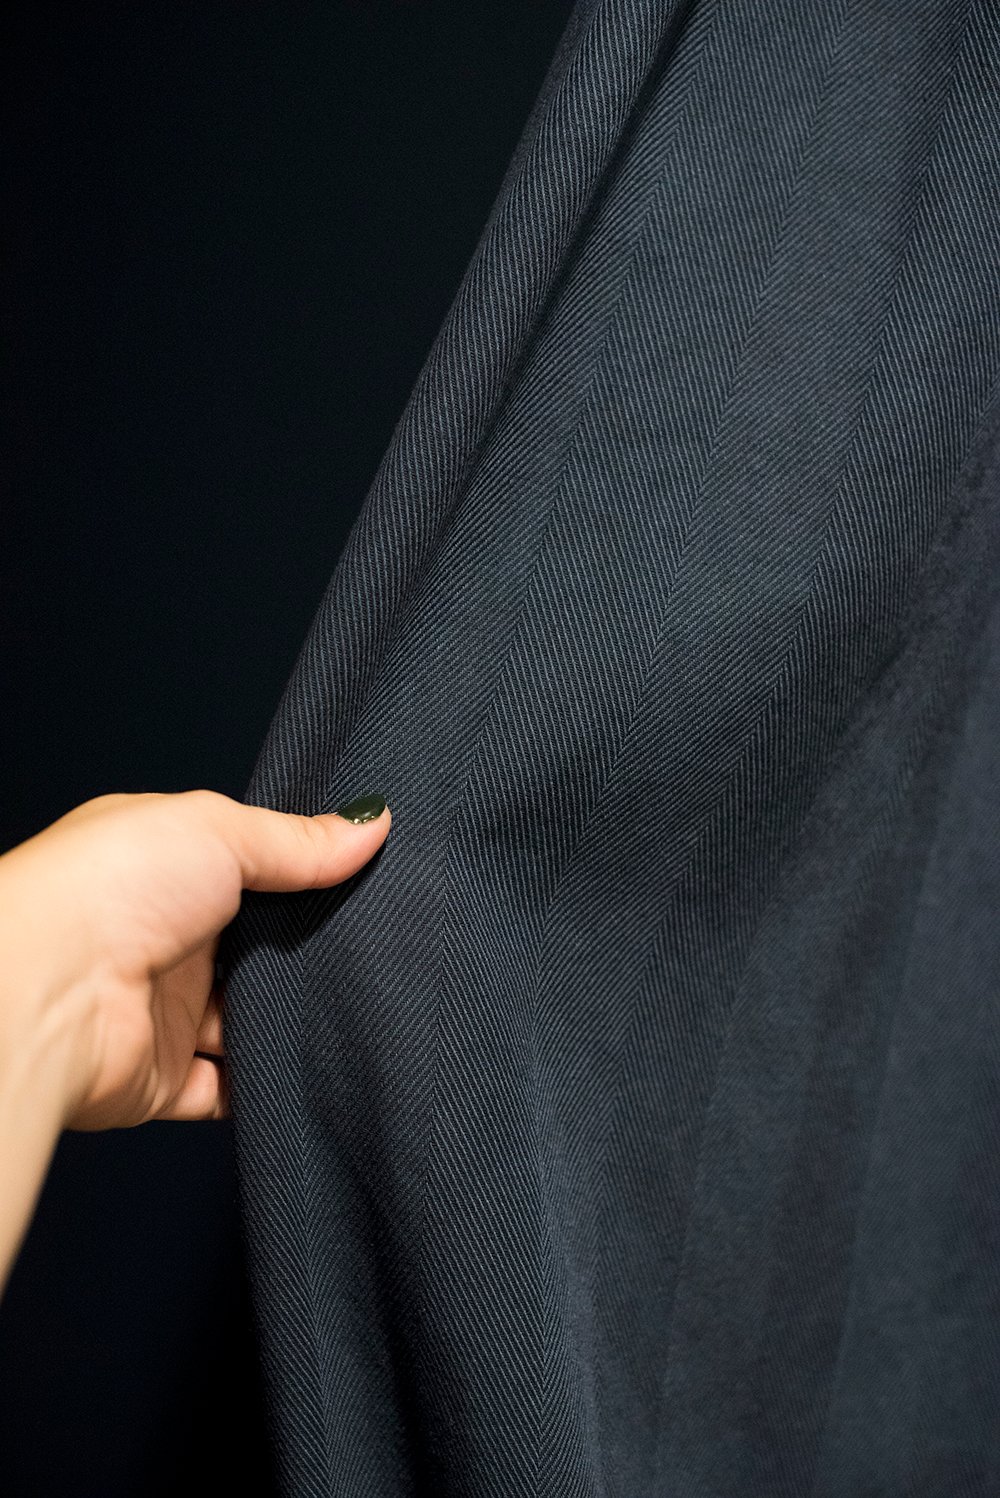
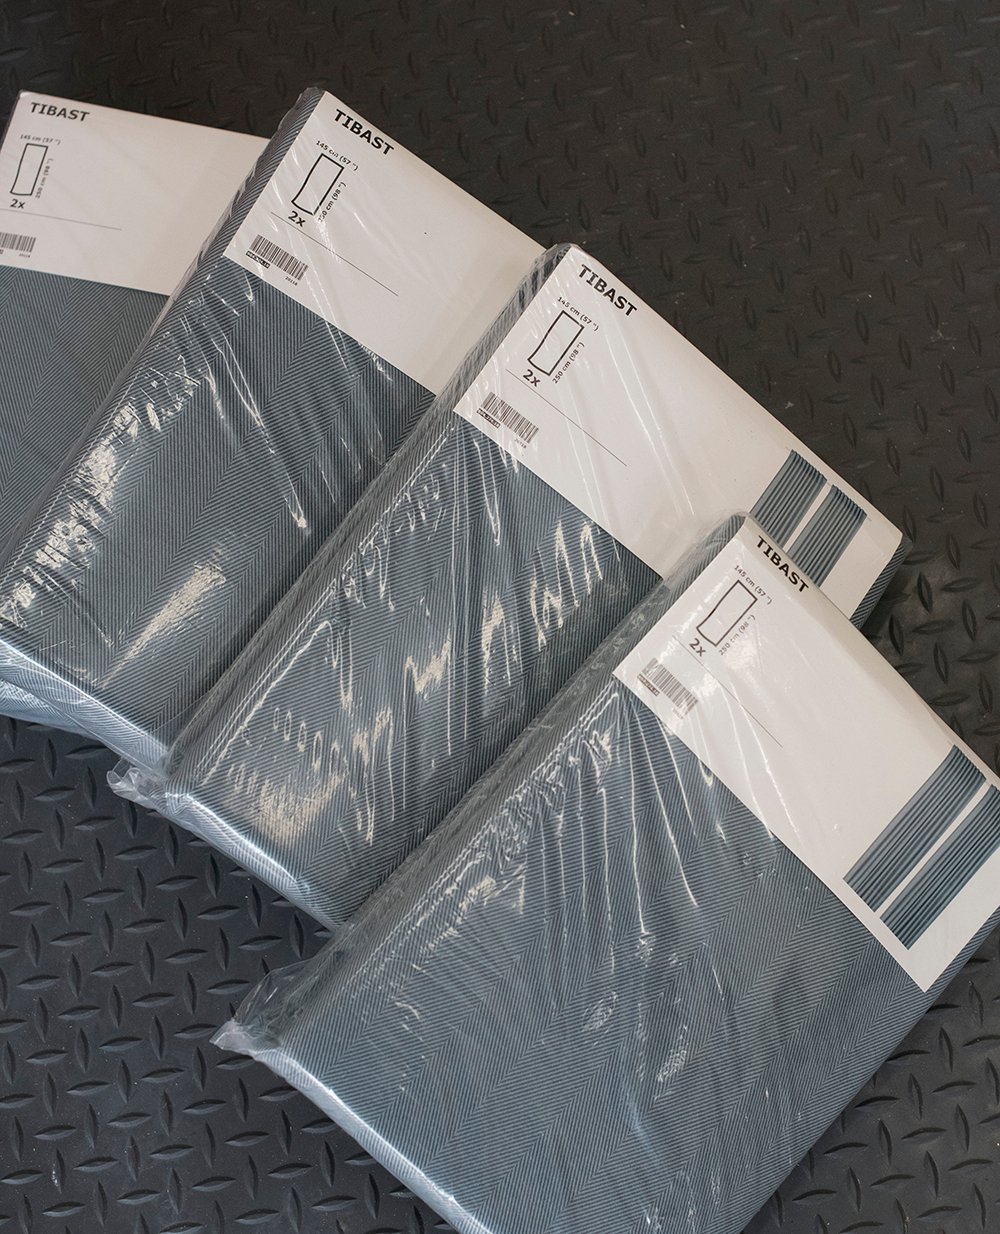 I purchased these Tibast cotton curtain panels from IKEA (pictured above) and wasn’t into the color for my space. I really needed a deep navy curtain. Obviously, that’s the reason for this post- because I decided to dye them. Here’s how I did it…
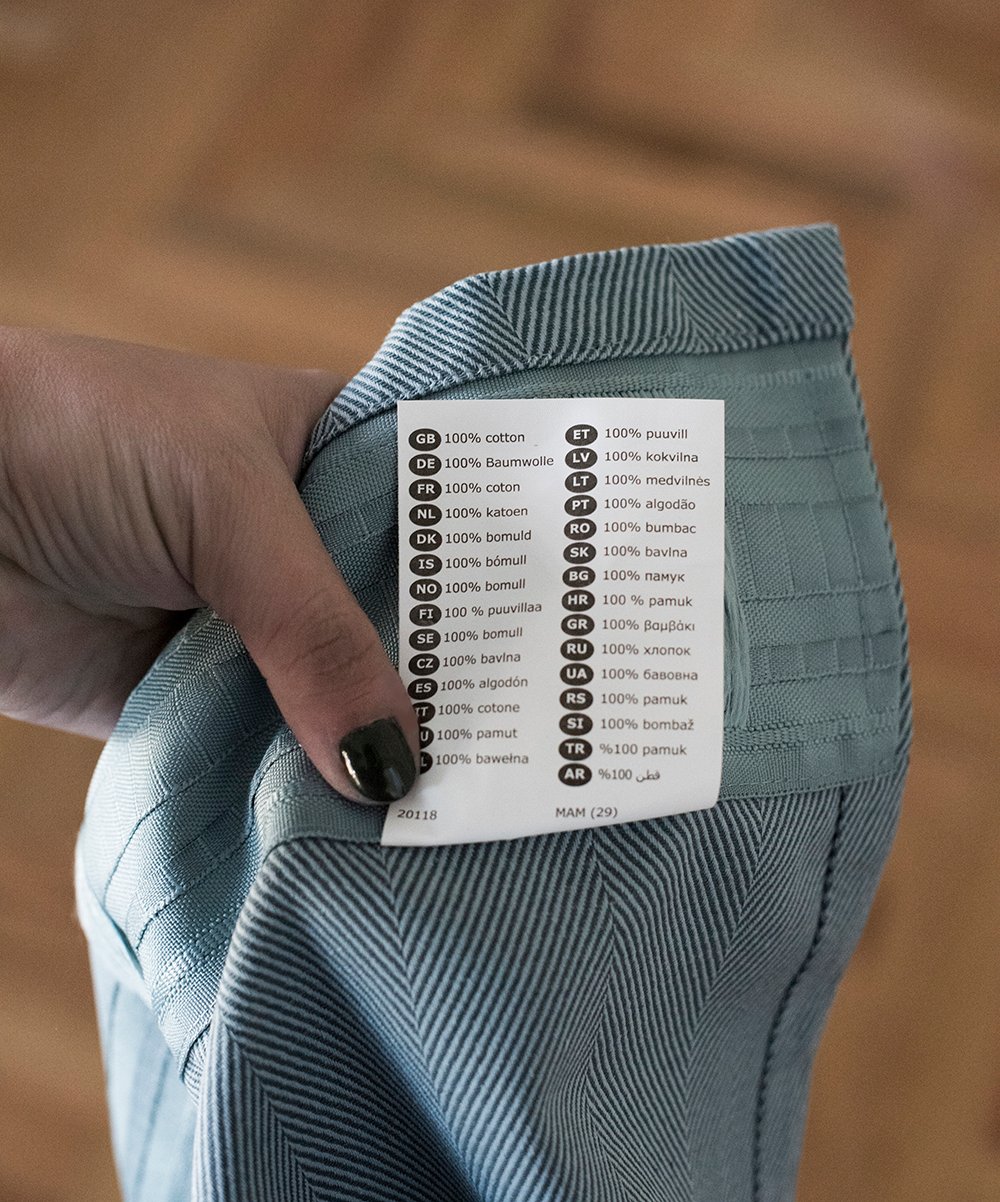
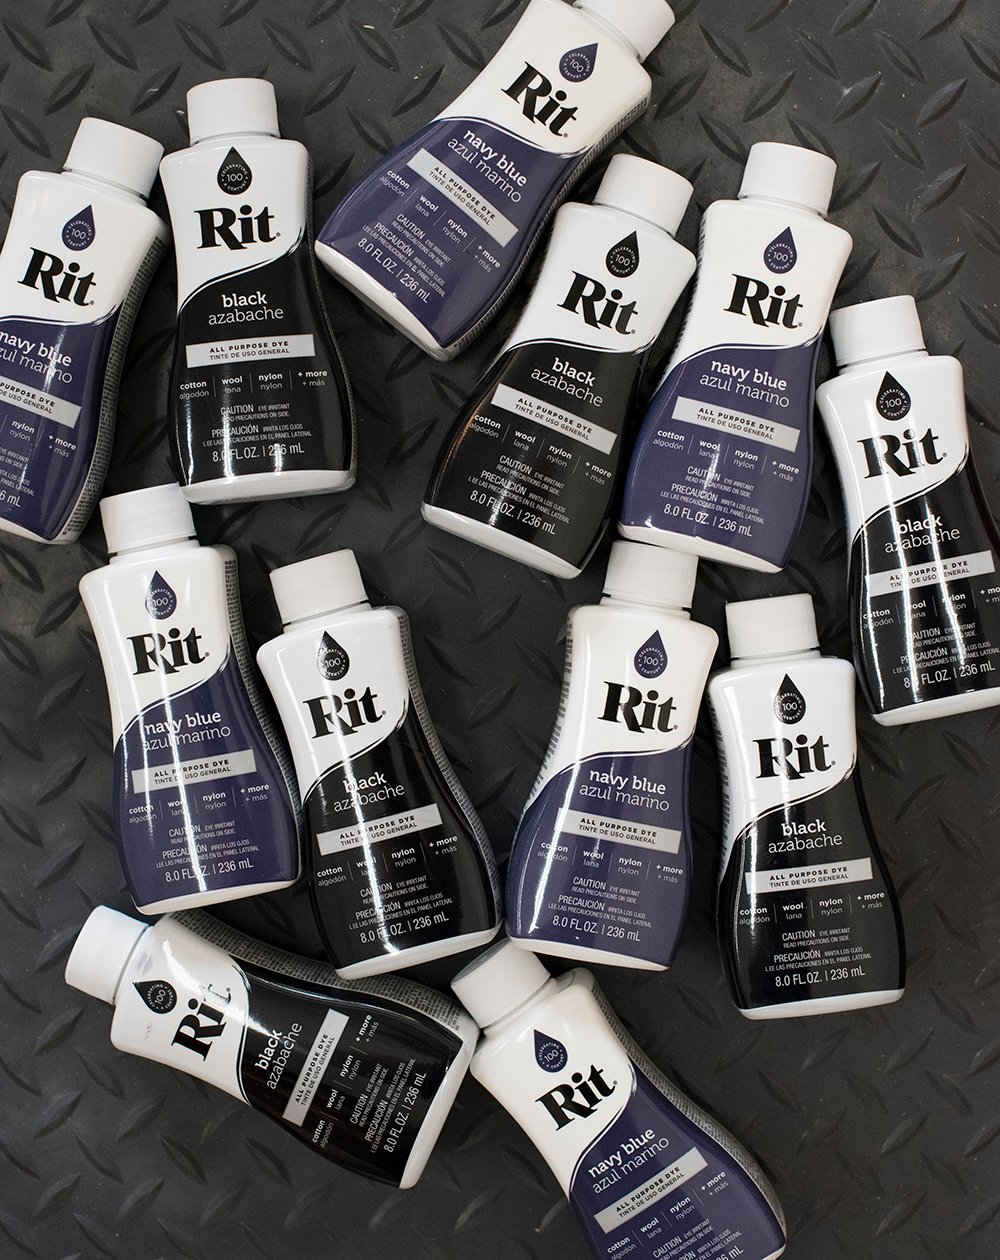
Step 1 // Choose your dye. Given my curtains were 100% cotton, I used this Rit dye- which is made for natural materials. They also make a dye for synthetic materials. Check your fabric and determine what dye is best for your project.
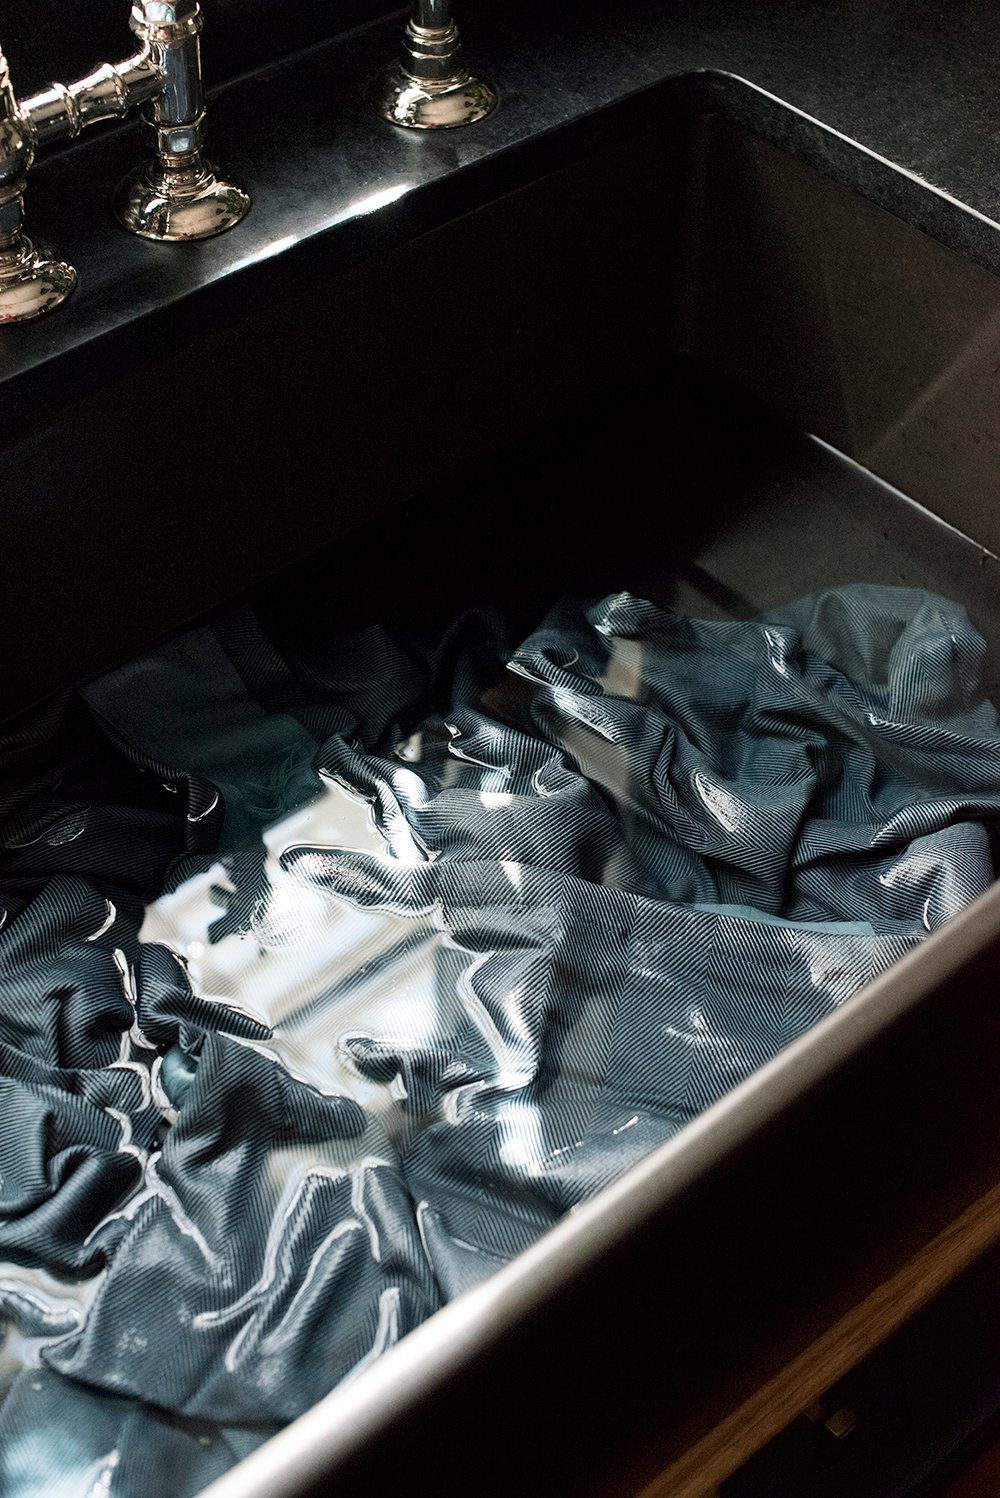
 Step 2 // Soak or prewash your fabric. I gave my fabric a good soak in warm water in my kitchen sink. Saturating the fabric with water will help it dye evenly.
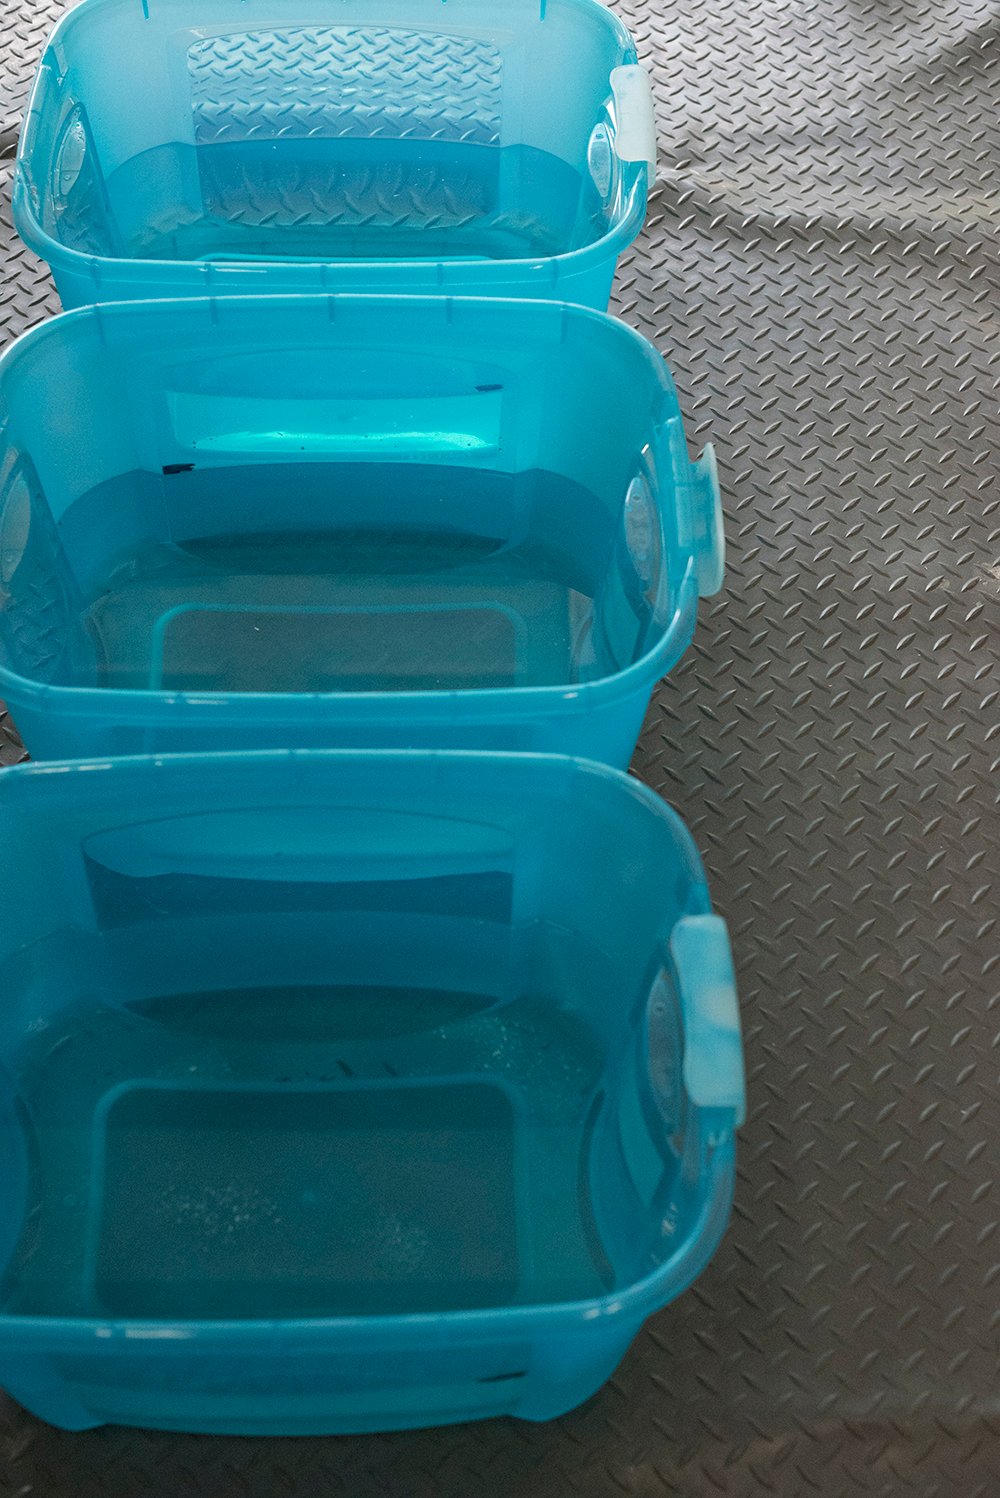
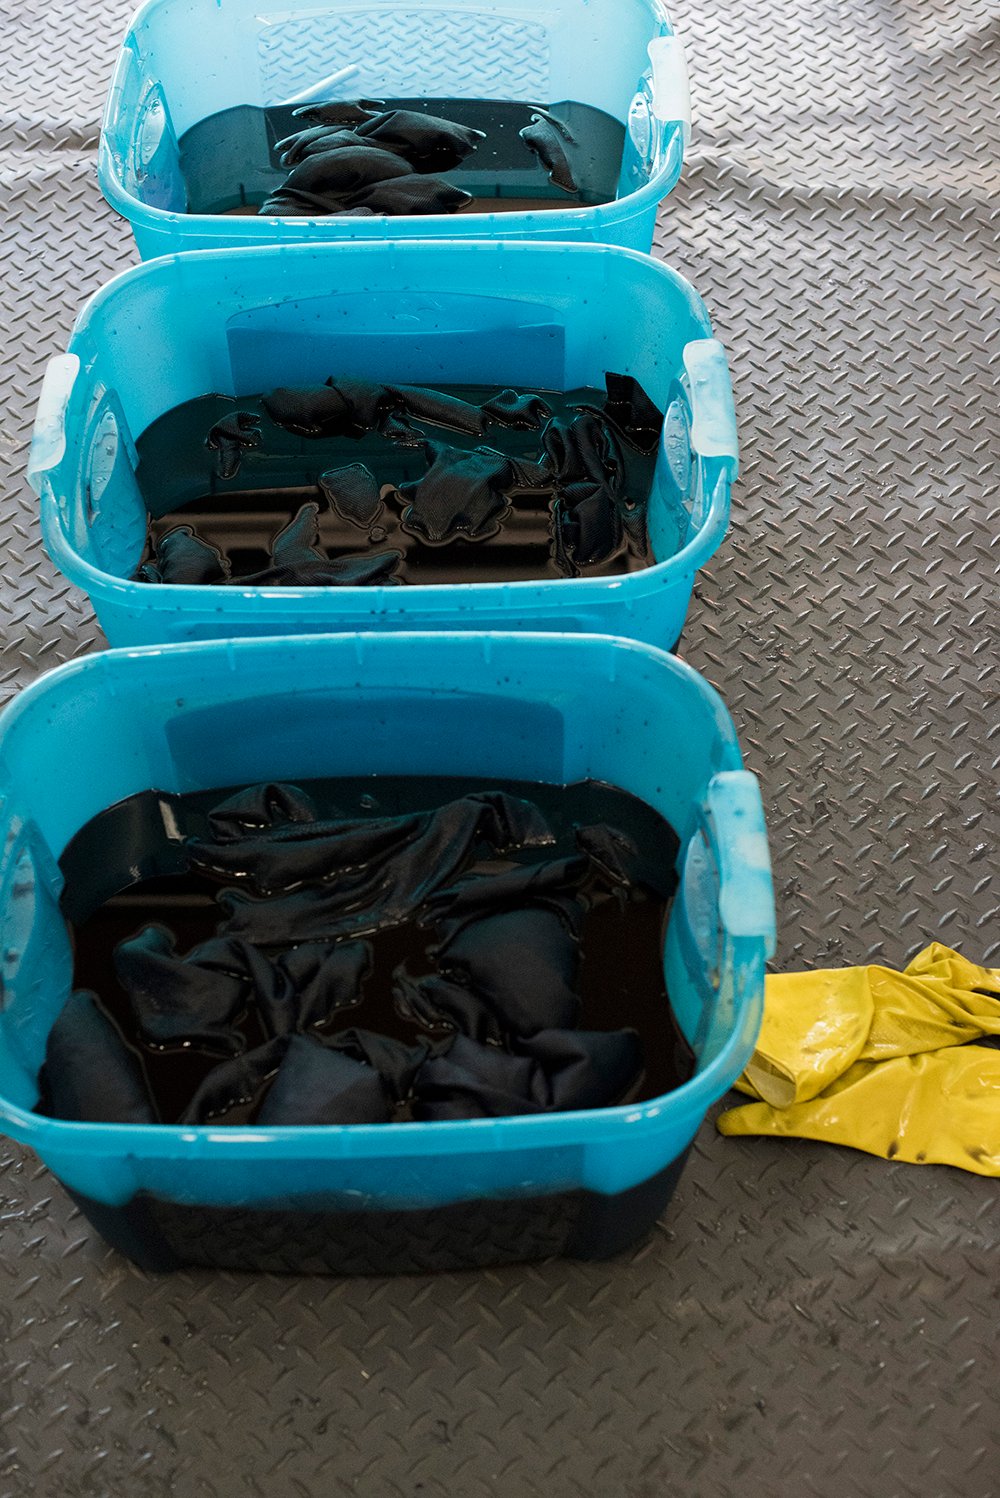
 Step 3 // Find a dye container. While the fabric is soaking in water, prep your dye bath. Begin by finding a container large enough to fit your fabric. The larger the container- the easier this project will be! I started with a 5 gallon bucket and quickly realized that wasn’t the best option. The plastic totes gave me more room to agitate and maneuver the fabric.
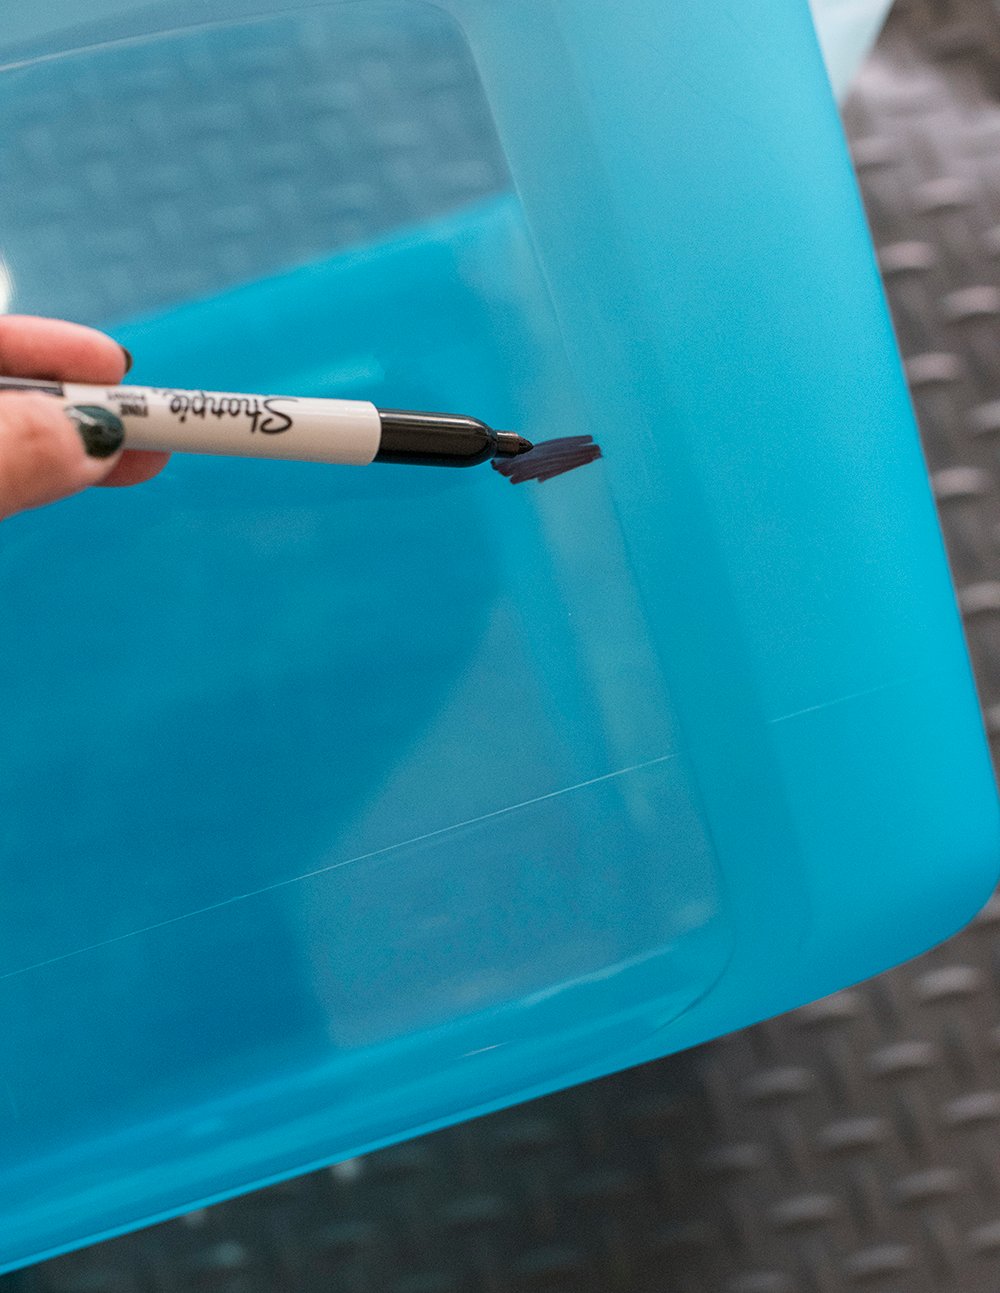
 Step 4 // Mark your container. I made a fill line mark on my containers with a sharpie so I could consistently dye my fabric. Having a “fill line” helped me fill the containers without measuring the water every single time.
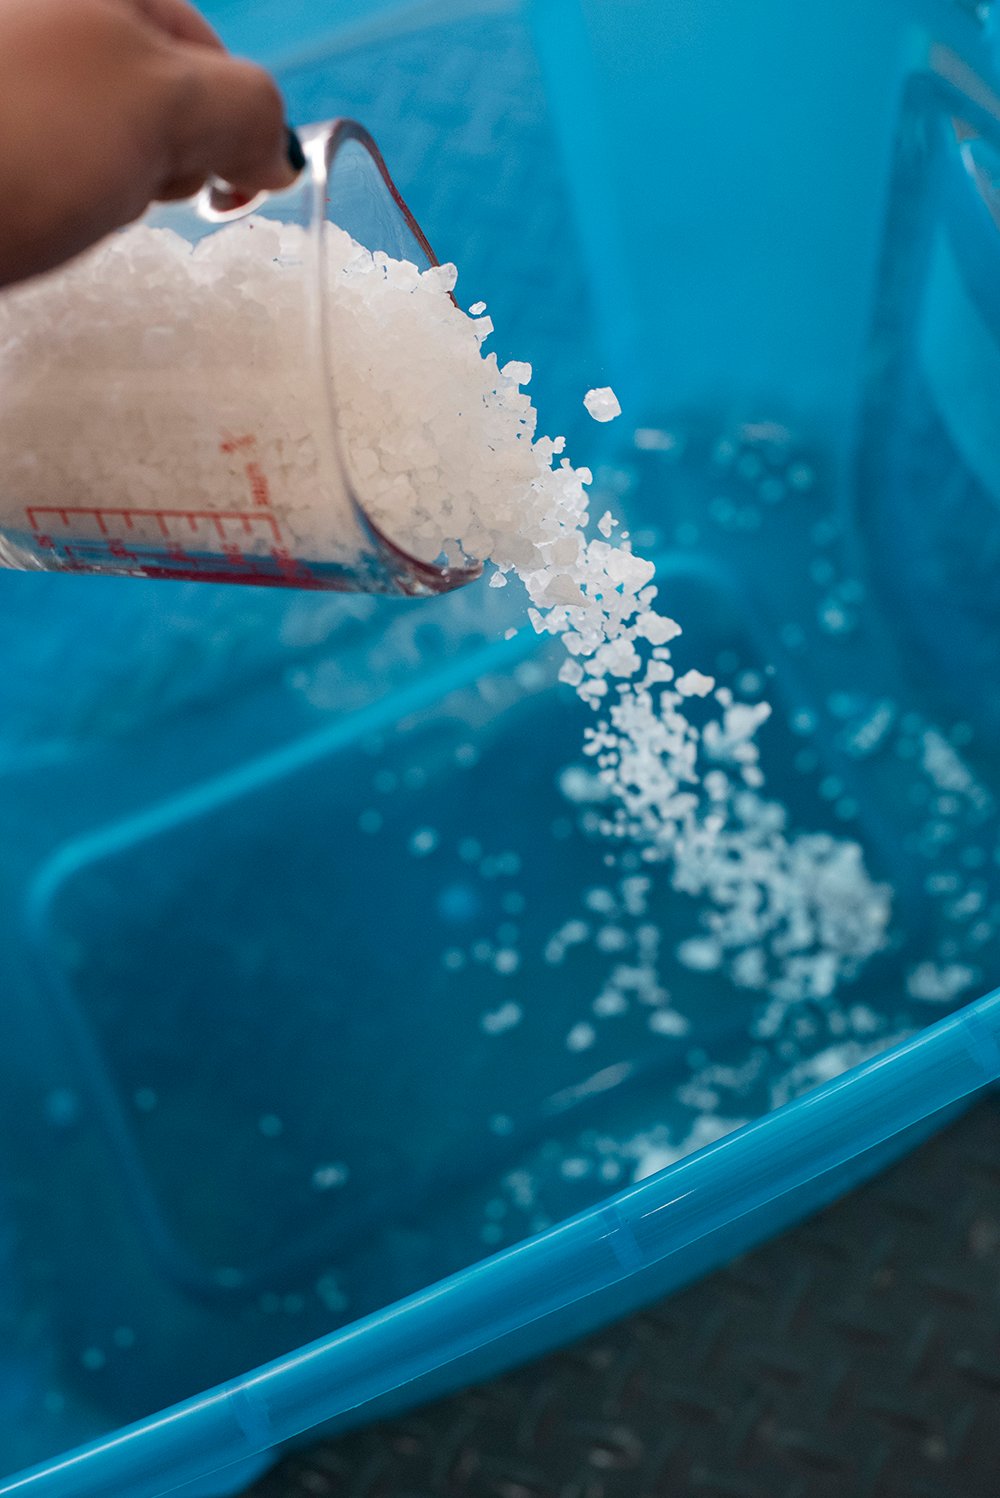
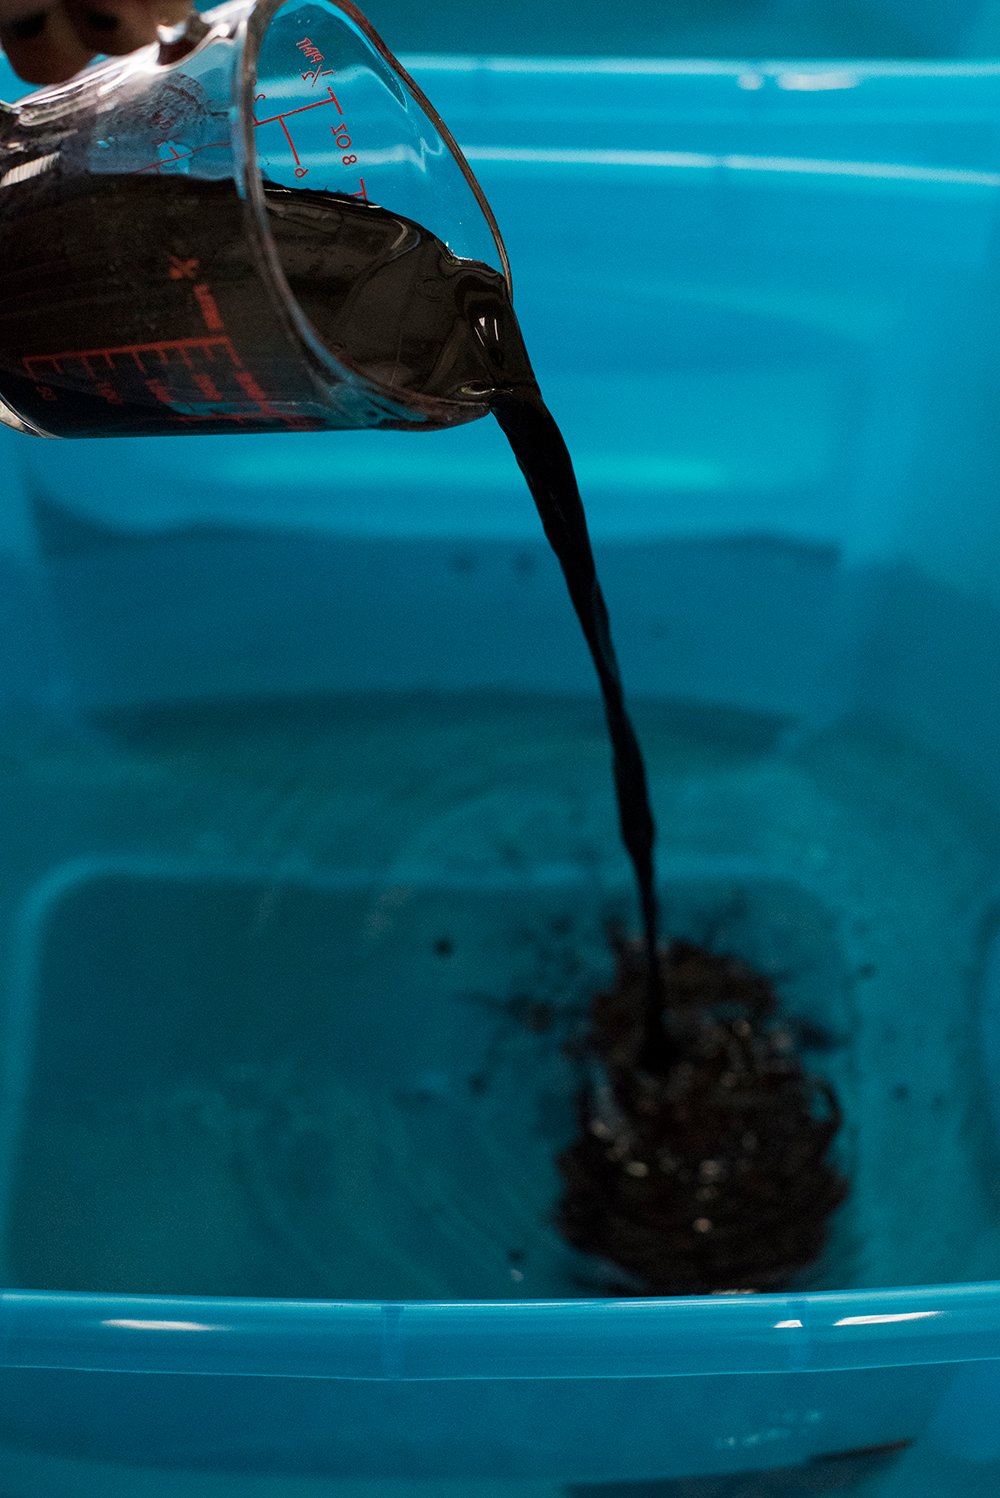
 Step 5 // Add the ingredients. I added hot tap water to my fill line, 1 cup of rock salt, 4 ounces of navy dye, and 2 ounces of black dye. I stirred the dye bath until everything was dissolved and evenly combined.
 Step 6 // Test the color and drop in the fabric. Next, carefully dunk a white paper towel or scrap piece of cloth into the dye bath to check your color. If everything looks good, submerge your fabric. I dyed 1 curtain panel at a time.
 Step 7 // Agitate. If you want your fabric to dye evenly, set a timer and agitate it every 5-10 minutes. I journaled each cycle so I could keep track… agitate, wait 7 minutes, agitate, wait 7 more, agitate, etc. Basically, you want to make sure the fabric is being moved around and isn’t creased or folded on itself… any resistance will come out of the dye bath lighter or splotchy. By agitating, you can ensure dye is getting to every single spot and completely covering the fabric. I left my fabric submerged in the dye bath for 30 minutes, but you can leave it up to 60 minutes, depending on how dark or saturated you want the color.
 Step 8 // Rinse. Carefully remove the fabric from the dye bath and rinse it with cold water until the water runs clear. I just used the garden hose for this, to keep the mess outside.
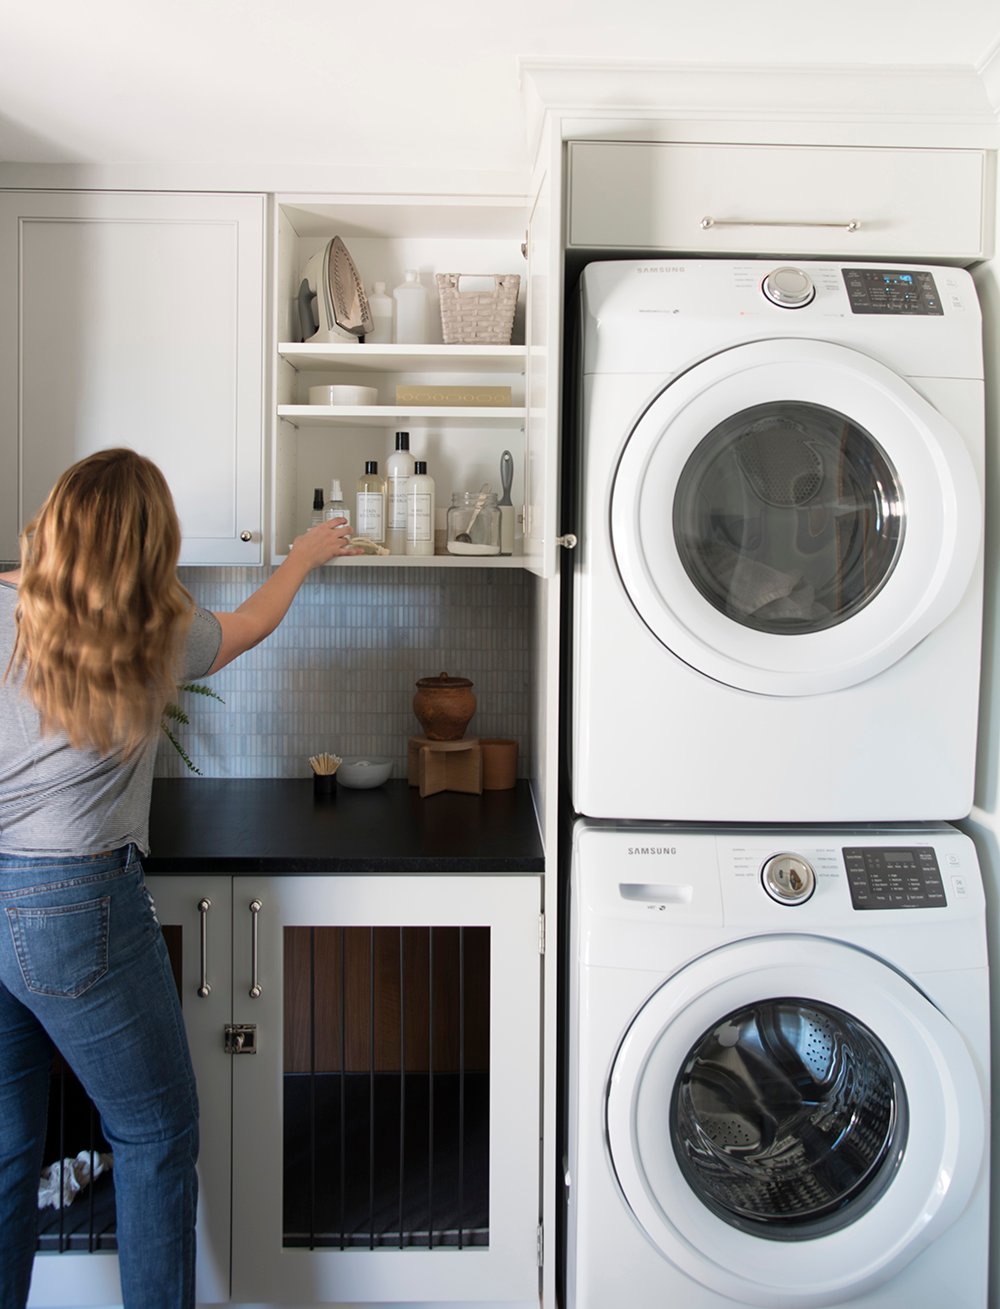 Step 9 // Wash. Next, add the fabric to the washing machine with a mild or gentle detergent. I washed on warm because I was trying to get my curtain panels to shrink.
That’s it! I tumbled my fabric dry and everything looked pretty good and even. Again… it took some trial and error to learn the process and figure out how to dye evenly, so I figured sharing some “do’s and don’s” might be helpful. This is how they turned out…

DO:
- Use a spacious container.
- Confirm the dye is compatible with your fabric / material.
- Set an agitation timer.
- Wear old clothes and rubber gloves (it gets pretty messy).
- Journal your formula, dye time, and additional notes.
- Test your color before adding fabric to the dye bath.
- Use a measuring cup.
DON’T:
- Forget to wet the fabric before dying
- Forget to set your agitation timer.
- Eyeball measurements.
- Skip the salt or vinegar.
- Overcrowd the dye bath.
- Be afraid to mix different dye colors.
 I think that’s it! Let me know if you have any questions. I dyed a BUNCH of curtains for our basement project that I’ll be sharing soon. I dyed 16 panels- whew! It was a lot of work, but the end result was well worth it and I saved a ton of money doing this myself. I also ended up with the *perfect* color. It definitely looks like high-end custom drapery and I’m hoping nobody will notice I spent less than $200.
On my monitor, that color does look perfect! I always liked the magical surprise of dye projects as a kid. Of course, tie dye was an annual summer camp staple, but I especially loved the batik process. I’m intrigued to hear about some of your dye lab experiments!
Happy Friday!!
Me too! I used to do 4-H projects with dye every year as a kid. It was super fun! Hope you had a great weekend :) I’ve been MIA since we had house guests.
Sarah,
I read your article on dying drapes. I really want to dye my bedroom curtains. They are duponi silk fabric (custom made 12 years ago). While they are beautiful I want to update my master bedroom. I would love to dye them a dark, charcoal gray color. I wish I could send you a picture of current color. Do you have any experience dying this type of fabric? Any advice you can give me would be much appreciated!
Thanks, Natalie
Acid dyes are best for silk textiles! Silk typically takes dye really well. Depending on the fabric, weight, and how the drapery is sewn, you may need to do some experimenting, in case it resists dye where it’s pleated.
Lovely, even result! Did you consider using the packs of dye that you can use in the washing machine, I’ve always had great results with those and it is virtually effortless?
Thank you Sally! I’ve honestly never tried the packets or dying in the washing machine… if you give it a go- please let me know how it turns out! :)
I use washing machine dyes all the time, from curtains to old clothes, especially things like faded black t-shirts, and have had perfect results every single time. The secret is to weigh your fabric and stick to the recommended weight.
Yes!! Great point, Carol… I definitely second weighing the fabric. Thanks for adding that important note.
Gorgeous! I can’t wait to see these in situ!
Yes!! Can’t wait to share. The project reveal is happening a couple weeks- stay tuned :)
Looks like they came out perfect. Did you have any dye transfer in your dryer? Ive had it happen with new jeans or does the salt vinegar help set it?
Thanks Liz! No dye transfer in the dryer, but I washed them by themselves and cleaned out the dryer afterwards. I was either brave or stupid and washed white towels afterwards and nothing happened. The lint catcher did have a bunch of blue though. Ha!
My grandmother used to dye stuff when I was little and up until now have not heard or seen anyone else do this. Thank you for the process. Taking a dying class would be fascinating! Can’t wait to see them…16 panels…wow!
My grandma is actually the one who taught me how to dye :) I love the entire process and I think it’s because of her!
I’ve totally tried and failed at dying IKEA curtains before. PINing this post for next time! Thanks for sharing your expertise with us!
It was more difficult than I expected. Haha! It took a time or two to get it right. haha!!
Sarah! These are fantastic!! Is it possible to dye a comforter? I have one that I would love to
Dye, but am I certain if it will work. Any thoughts or tips?
Thanks Mary! You could definitely dye a comforter. It’s important to read what type of material it is first- so you can purchase the correct dye. I’d also recommend getting the largest tote / vessel possible because it makes dying bulky items SO much easier. Hope this helps :)
Hi Sarah. Beautiful color choice for your curtains! I have chair slip covers I’d like to dye. However, I don’t want to risk shrinkage. Any tips for cold water dying? Thank you.
You mentioned you rinsed the curtains with the garden hose. Did the dye stain your patio or decking?
I did this project in the grass… you definitely wouldn’t want to try this on a patio because the dye would most certainly stain your decking or patio.
I have a pair of pants that I want to dye. They are 75% cotton, 23% polyester and 2% spandex. What would be the best dye to use if I want them to turn out black?
Your best bet is to follow the instructions on the bottom and test some sample pieces, Lexie!
Hi Sarah. I just love what you did and that’s a perfect colour for me. I want to dye my patio cushions as well but don’t want them to shrink. I see you put hot tap water in the buckets. If I do that but wash in cold will that work? Any thoughts? Also how much rock salt did you use? Is that better than vinegar. If I use vinegar, how much?
Thank you.
Thank you Nancy! I’ve had better luck with salt… I typically use one cup per dye lot. Vinegar also works though (probably 3/4 cup). There should be instructions on your dye package as well. You can definitely wash them in cold after the fact… it might take a couple washes to make sure the dye doesn’t transfer to anything else. Hope this helps! xo
That’s great thanks. I read on the back of the Rit bottle to add 1tsp of liquid dish detergent to the water. I see you didn’t. Do you know the purpose of this? How much hot tap water did you use in each of the totes? (The ratio)
I’ll be trying it in the next few weeks. I’ll let you know how it turned out.
Thanks again
Hi Sarah,
I want to dye my patio cushions. They are currently red. What is realistic for changing them? I’d like to get a dark green black but maybe blue black. Would they end up purple? I don’t know what to do with the red. They are synthetic material. Have you ever worked with red before? Thanks for any advice!
Liz
Hi Liz, it might take a couple different dye sessions (overdue) to achieve a dark blue / black, but it can definitely be done. I’d recommend testing an area or similar red fabric before committing to your actual cushions. Hope this helps!
Hi, I’m planning on dying the fabric on my sofa from IKEA and it’s my first time dying anything so I’m a bit nervous and would love any tips you can give! The color of the fabric currently is “navy blue” but it looks black so I figured dying it all black would be a safe bet. It’s 100% polyester and very sun bleached so I purchased 4 of the black synthetic bottles and 3 of the regular black dye bottles. (I bought the regular ones before I knew about the synthetic) I was preparing to dye the fabric in the washer, but I’m curious to know what you’d suggest. Thank you!
Hi Kendal, I don’t know if you actually managed to dye your ikea sofa… I just tried mine this weekend with the graphite rit-dye for synthetic fabrics, yes I know Rit doesn’t recommend their synthetics to be used in anything other than stovetop but who has a pot big enough to put a sectional sofa cover in, lets be honest! The colour turned out a little pinkish for my liking but better than the beige that it was. My question is how did yours turn out? Mine appears like I have grease spots in random places in the sofa cover now that it is finished and dried. I didn’t use vinegar or rock salt like others have mentioned and I wonder if I rewash adding everything if that will fix the issue.
Your media room is absolutely stunning! Does the original color of the fabric impact the final color? For example, if I followed the same die mixture as you outlined but started with white panels rather than blue/gray, would my final color end up looking lighter than yours? Thanks!
Thanks, Marie! The original color of the fabric will impact your final color- as well as the material choice. However, you could over dye the fabric as many times as you’d like to achieve a nice, dark color. It just might take a couple dips :) I’d use the same formula and if you’d like it darker after round one… go again! Hope this is helpful.
Love this tutorial! I plan to dye curtains tomorrow! I see you did one panel at a time, does this mean you dumped each container each time for each panel? Thanks!
So happy to hear that, Ciara! Sorry I’m late to reply- how did it work out?!
I have never been afraid of dying fabric- I really want to tackle a sectional I have that’s cream poly and go gray. The cushion covers are easy to do in the washer. I’m terrified about the frame! Is this a summer project so I can wet the fabric and spray the dye on? Or is this just a dumb idea? My couch is perfect size, comfort etc. I really want it another color!!
I think you could make it happen, Whitney! It definitely feels like an outdoor, summer project to me. The frame could get messy and I’m not sure how you’ll be able to rinse it (so the dye doesn’t transfer to your clothing when sitting on it). Then it will need plenty of time to dry in the sun! I think getting your cushions to match the frame might be a challenge since you’ll be using different processes, but I definitely think it’s possible. I say- give it a go or experiment on a smaller chair or less expensive piece of furniture first.
Hi Sarah. I dyed my sofa covers red (was orange) and it came out beautifully. However, they faded over the course of a couple of years or so. I tried re-dying them red again but when they came out they were exactly the same faded look. Any idea why that was? And any suggestions as to what I can do to get the full saturation again, please?
Hi Christine! Did you use salt or vinegar? That’s key in getting the dye to absorb. Maybe try a different brand? It could also be your material. A lot of synthetic materials don’t take dye well- especially after you’ve dyed it once already. I’m stumped! I’m sorry.
Hi Sarah. Thanks for your reply. The covers are a very thick cotton. I used salt. Washed them first and never use conditioner on them. Yep, I’m stumped too.
That’s so bizarre! I wonder if trying soda ash or vinegar would work better than the salt? It might be worth a try!
Thank for this article! It’s so helpful! Could you explain the “overdye” process for splotchy dye job? I just dyed a cotton dress for a special occasion using the stovetop method and it turned out faded and splotchy in certain parts. I was so bummed. I really want to fix it and am trying not to panic, but I am not sure what to do next. Any suggestions? Thank you for your help!
I’m so happy to hear that, Meghan! The splotchy dye job could be because the piece needed to be agitated more? If it’s folded, bound, or smashed together in a pot that is too small, you’ll get areas of resist which results in lighter color patches. I’d give it another go and try a larger pot or make sure you’re really agitating it and working the fabric all over. I hope that helps!
Hello,
Love your blog. I was wondering if anyone has tried dying RV Curtins? I was thinking that because they have sheer and Blk out blinds I could Spray them against a cardboard backdrop?
Any ideas. They are more like levolors. Up and down / Sheer /Blk out and boy are they ugly!!!
Thank you, Kathie! I haven’t tried dying RV curtains- but that sounds like a great idea. I’m guessing you’re not able to unscrew them and take them down? My only concern about that method would be rinsing. I wonder if a paintable dye would be a better option? Something like this: https://rstyle.me/+qDh3tIH265WYf2tFStxW5g
Hi Sarah! I love this tutorial. We’re trying to dye our charcoal ikea curtains navy like yours for my sons stary room. Could you tell me how much water you used? You didn’t indicate that measurement. Thank you!
Thanks, Jacqui! Sadly, I tackled this project a few years ago, so I don’t remember the water amount off the top of my head, but I just followed the instructed on the dye package :) hope that helps!
Hi Sarah,
Youre the first one I can find that dyed large pieces of fabric and made a clear how-to! I am planning on dying cotton bedsheets, pillow cases, and fitted sheets, and Id like them to be very even. However, almost everything online says that its super hard and to just use a washing machine (I can’t, dont have one) or just abandon the project because the stirring will be impossible by hand. Did you ever dye your sheets etc, or similar projects? Any tips? I thought about using procion mx as I read online that ritdye fades quickly.
Love to hear that, Myrthe! You can definitely do it in a large bin. My best advice would be to continually agitate, stir, and rotate the fabric so it dyes evenly. Any crease or fold causes dye resistance, which won’t allow the dye to fully penetrate the fabric. Just keep rotating and unfolding it. You should be ok! I’ve dyed lots of large pieces of fabric this way with an even result. The larger the bin or vat, the easier it will be. Hope that helps!
This is an older post so I don’t know if you’ll reply but I would greatly appreciate it. I decided to dye my slipcovers. I followed the rit dye directions. I decided to do this in my top load washer which is unfortunately an HE. I didn’t realize how little water was in my machine. Because of this there lots of splotches. I have more to do because it’s a sectional. My question is should I try doing sections in a large plastic tote? Then drop in in my machine to rinse? I’m concerned about getting any of it in my tub and hosing it outdoors isn’t an option since it so big. Any advice or tips? Thank you!
Hi Anne! Happy to share some advice here :) I would definitely recommend overdying your slipcovers in large plastic totes one at a time. It will take a lot longer, but you’ll get better even coverage. It’s almost important to agitate them often while they sit, so creases and folds don’t resist the dye. Then drop them in your machine to rinse! It may take a couple times of overdye in the plastic tote to ensure they’re perfect. Hope that helps!
I’m wondering if I can dye a chenille hand towel. It’s gray ( medium gray) but doesn’t match any bathroom in my house. I’d like to dye it navy. It doesn’t have the fabric content on the packaging. Any thoughts would be appreciated. Thanks in advance!
Most definitely! Just look at what it’s made of… most chenilles are cotton, silk, rayon, or wool. Then buy a dye appropriate for the material (synthetic vs natural).
Edit- I just re-read that it doesn’t have fabric contents listed, sorry! I’d move forward with the dye for naturals, if it were me (cotton or wool).
FANTASTIC!! Well done! You’ve inspired me to jump into action for our 45th school-re-union-ladies-workshop on aprons!
susanmarais21@gmail.com
Thank you so much, Susan! I love to hear that. Good luck with your aprons :)
I’m going to change my burgundy curtains to black, but was kind of curious if bleaching them first would help or destroy them?
I would go ahead and dye them straight to black… no need to bleach since you’re going darker!
I have heavy lined burgundy curtains I want to dye black ,do I use Intense black dyes to get result
Hi Donna! I would use a simple black dye- there is usually only one shade of black.
Hello, I realize this was posted 5 years ago but I am hoping you are still active and have some knowledge on the fabric choices. I have something I use for curtains that are not wonderful colors and a wild pattern. They are heavy duty old shower curtains, I think, cloth front with a rubbery backing (why I think they are shower curtains). I am thinking about dying a deep burgandy. It will be ok for the pattern to show through a little, if it’s muted, but don’t know if dying this type of material will work at all. Since you have experience experimenting with dyes, what do you think?
Thank you!
Pam
Hi Pam! The rubbery backing would be the only issue, as it probably won’t accept the dye. Without knowing the front material, I’d opt for a synthetic dye. You may have to overdye a couple times to get the best coverage. I hope that helps!
How did you determine how much dye to use? I’m trying to dye an ivory dance costume (synthetic fabric) dark green. I’m thinking I’ll need to add black to the green. Will the paper towel test be enough or should I get some ivory scrap fabric to test?
For specific dye amounts, you’ll need to follow the instructions on the dye packaging- as each varies slightly. If you’re going dark green- you can definitely add black. I’d test a scrap of ivory fabric if you have it.
Thank you very much this saved me money to dye my old curtains.God bless you.
I’m so glad to hear this post was helpful!
Thank you
How much water did you add to your tubs?
Hi Sally, it’s been some years since I completed this project- so I don’t have an exact measurement. I usually just eyeball it anyway. I’m sorry!
Can I dye cream based curtains with a pink and green flower. I need to turn the cream to tan and don’t mind how the flowers turn out as long as they are nice?
Hi Catherine! You can… I’d just test a corner first.
I have a navy crepe long dress that I would like to dye black.
Do you think this method will work?
Definitely, Alice!