Extra Long Shower Curtain DIY
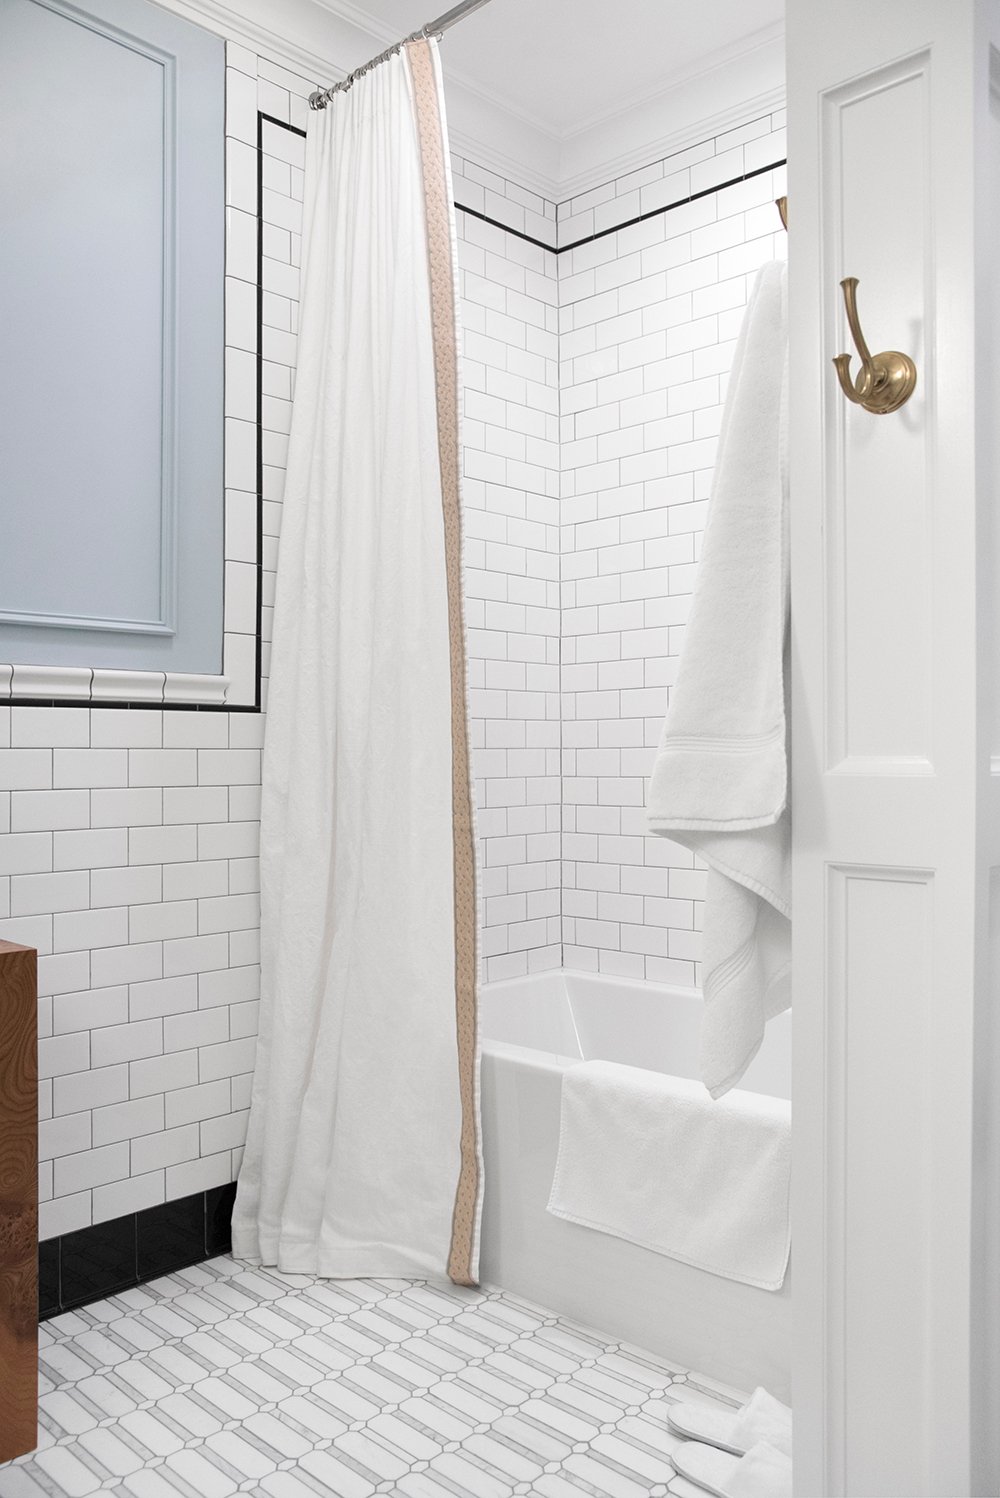 If you follow along on Instagram, you know I promised to share a shower curtain tutorial after the guest bath reveal… you probably also know my original plan was a ceiling mounted curtain, like we installed in our previous bathroom. Long story short, Emmett and I weren’t on the same page and he went ahead and installed crown moulding in the shower area- which is totally fine, it works well, and it’s stunning, BUT that meant a ceiling mounted track wouldn’t be a good fit. After many messages from you all, I decided to go ahead and post my extra long shower curtain DIY because even though it isn’t mounted to the ceiling this time around, it really applies to any tall bathroom ceiling situation. In the end, I think the higher mounted rod was a happy accident- there is just enough breathing room between the rod and the ceiling, plus it still looks dramatic and tailored. Click through to see how I did it…
I’ll begin by giving a little disclaimer… a lot of these photos were taken with my iPhone, so please excuse the quality. In the hustle and bustle of finishing the bathroom in a time crunch, I didn’t have a lot of time (or motivation) to shoot “nice” images. Haha! Nonetheless, hopefully this post is really helpful! Here we go…

SUPPLIES + TOOLS
- IKEA Ritva Curtain Panels, 118″ long (1 pack = a pair)
- IKEA Riktig Pleating Hooks (1 pack)
- IKEA Riktig Curtain Hooks with Clips (*SORTED- you only need the S hooks from the package, not the clips)
- Shower Curtain Rod (I used this one)
- Curtain Rings (I used these and removed the clips)
- 2 Large Buckets
- Sewing Pins
- Iron
- Clorox Bleach
- Sewing Machine (I have this model and love it!)
- Thread
- Drapery Trim or Border (optional)
- Extra Long Shower Curtain Liner
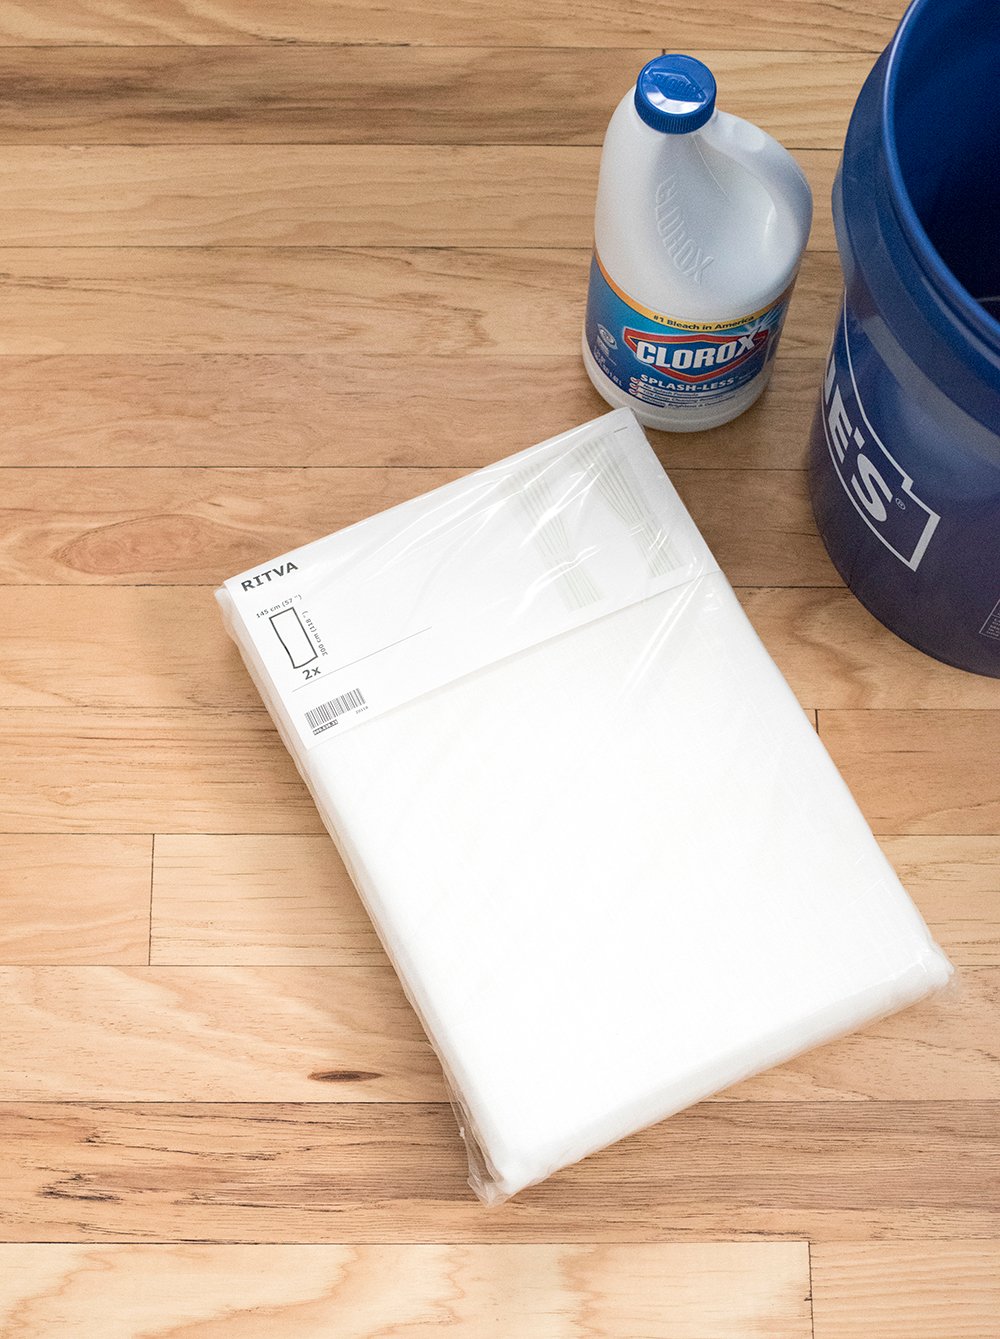 Step 1 // Bleach the Ritva panels. I was on the fence about using the IKEA panels again because the extra long (118″) versions were all off white, with a yellowed undertone. A friend suggested bleach and I immediately thought DUH. Rather than bleaching them in my washing machine, I wanted to do a controlled lift so I could pull them out of the water when they reached my desired brightness.
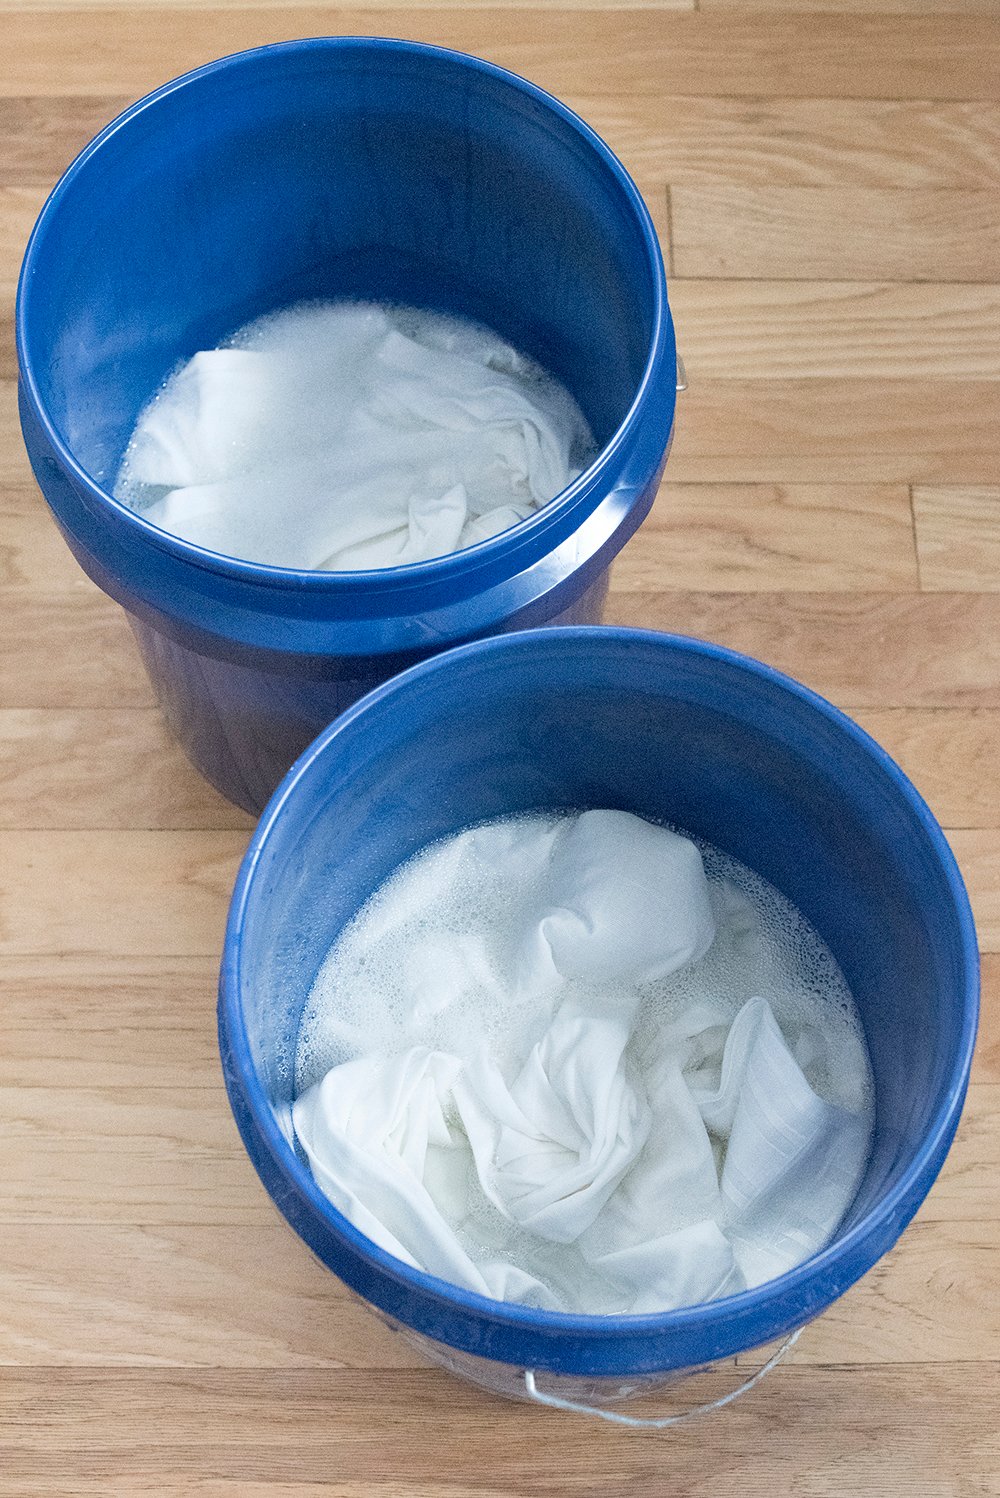 I filled two 5-gallon buckets to the halfway point with water. I poured about 1-2 cups of bleach in each bucket (I just eyeballed it) and gave it stir. Prior to dunking the fabric into the bleach water, I wet the fabric in my sink, making sure it was thoroughly soaked. That allows the cotton fabric to absorb the bleach evenly. I let it sit for about 2 hours, agitating it every 30 minutes, then removed it once it reached the brightness level I liked, gave it a quick rinse, and tossed it into my washing machine.
WARNING- this fabric will shrink. It is 100% cotton. In my case, I actually tried to shrink it because it was plenty long, but just a heads up- in case you’re cutting it close. It will need to be laundered appropriately. Once it’s washed and dried, you’re ready to pleat your panels…
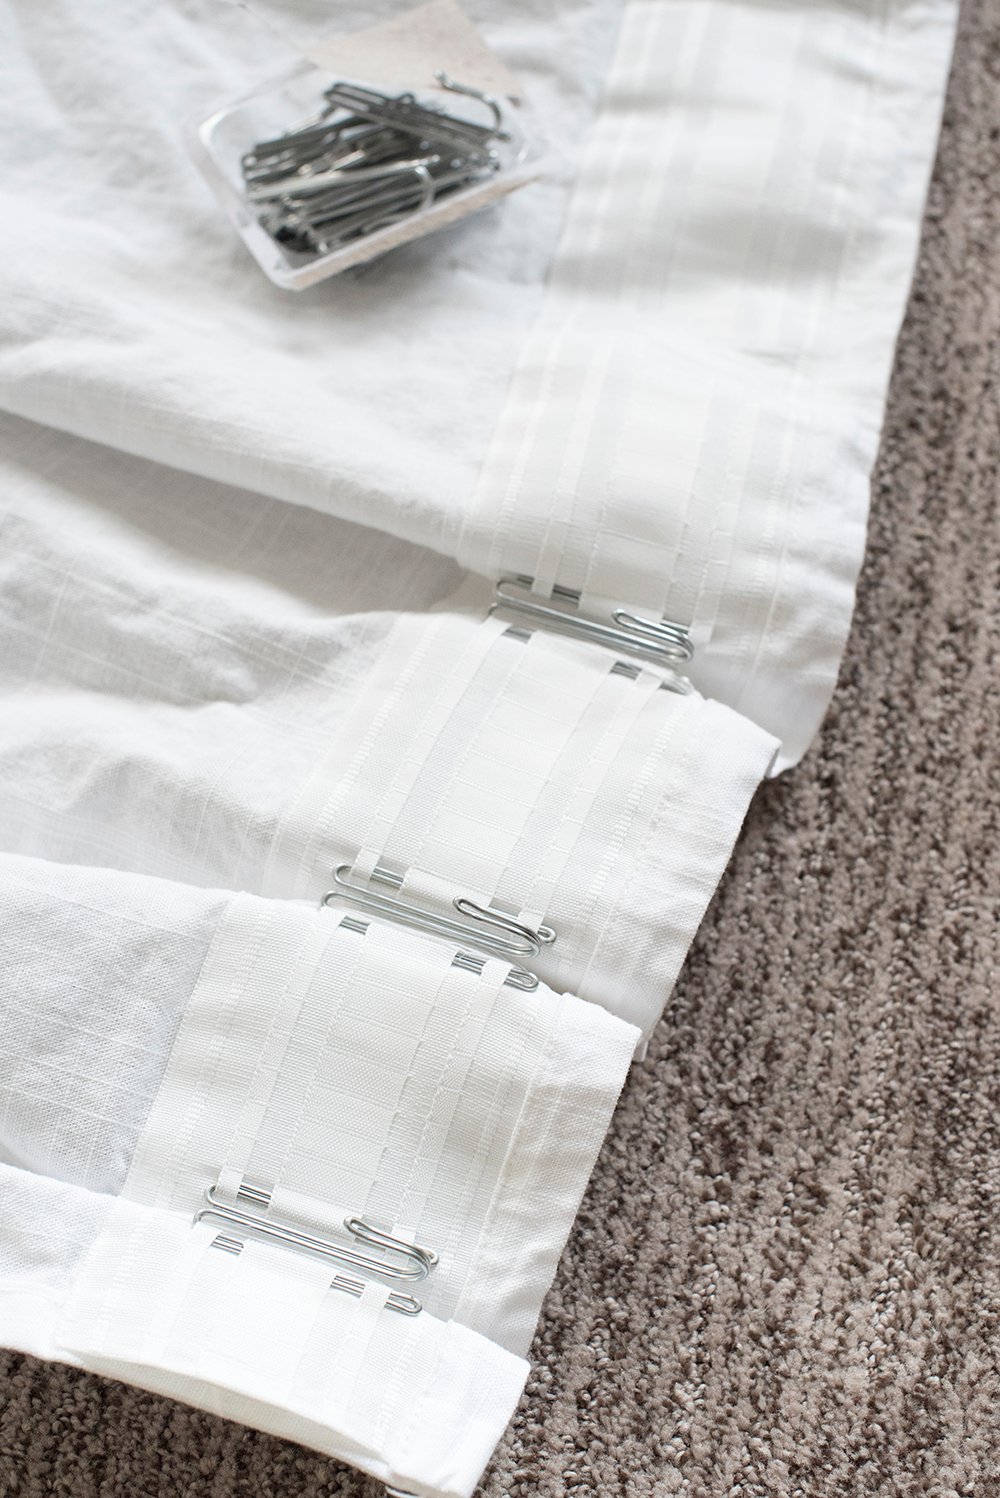
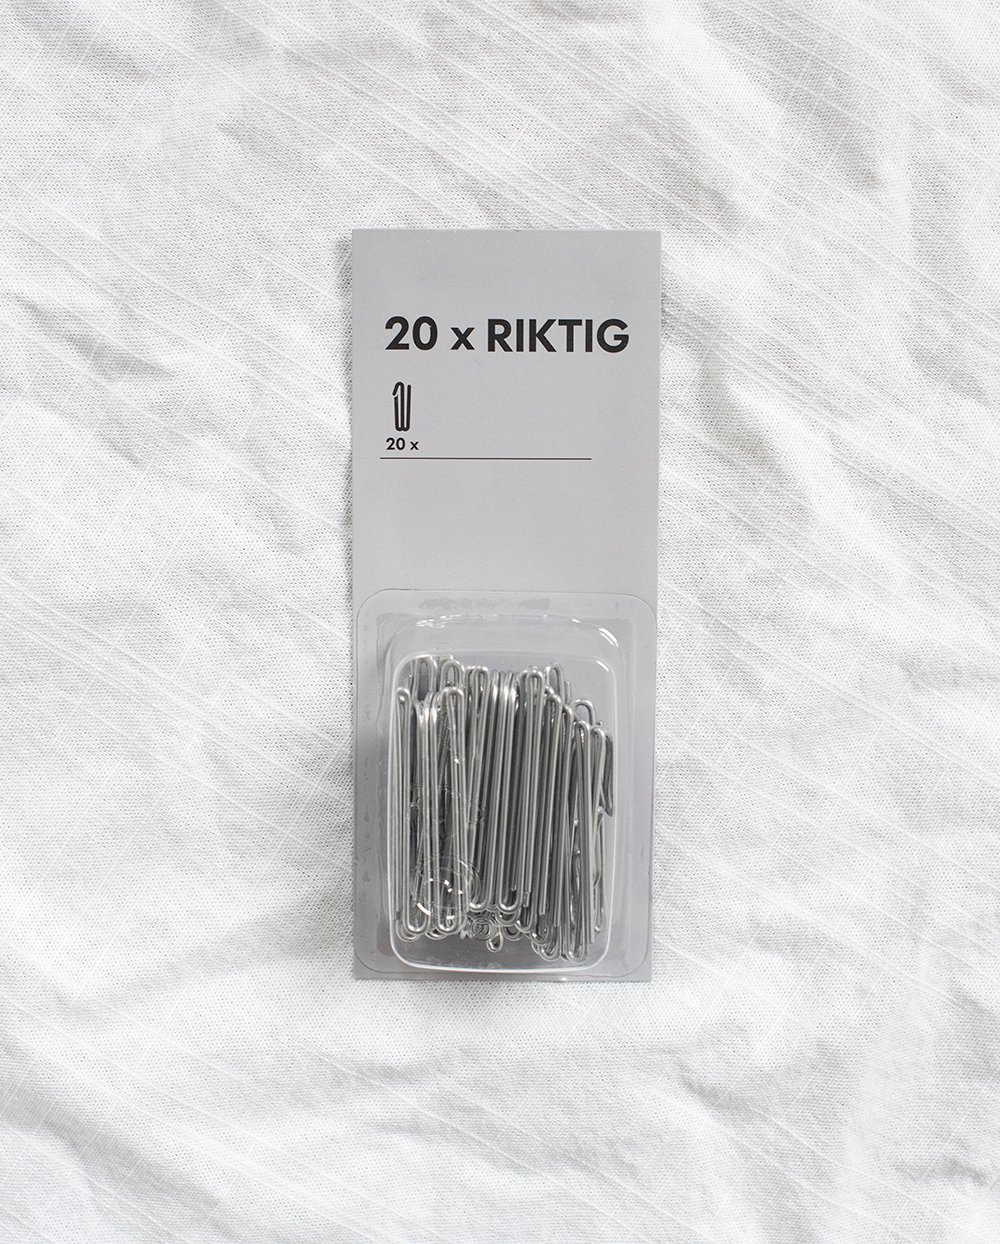 Step 2 // Pleat the panels. Using the Riktig pleating hooks, pleat your curtain panels however you’d like. There are lots of different ways you can use these. I counted 8 spaces between mine and did a double pleat- shown below. You can count more or less depending on what size pleat you prefer.
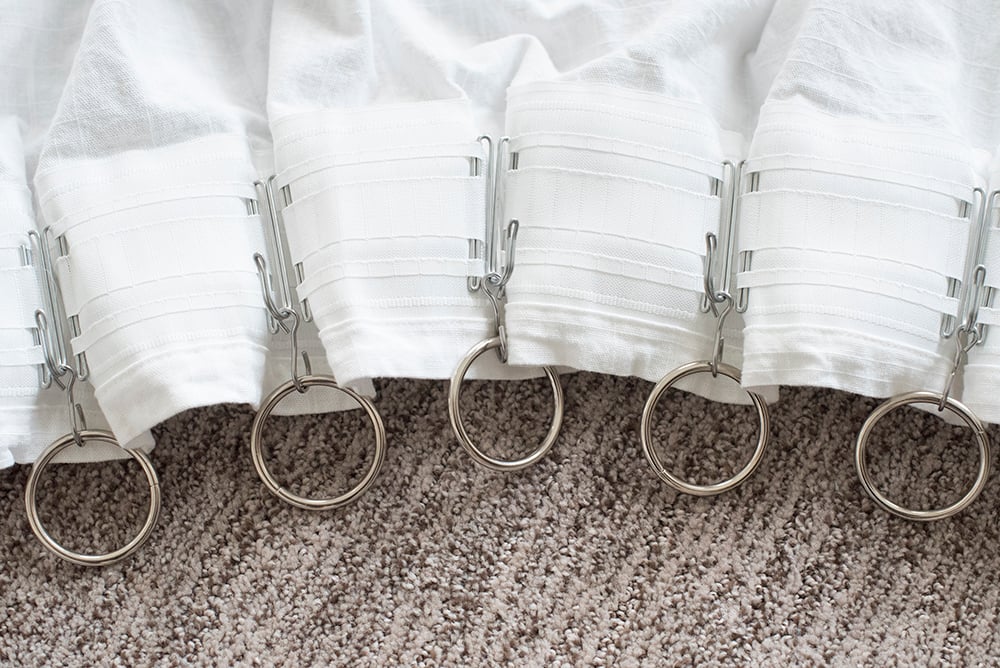
 Step 3 // Add the S hooks and rings. Once your panels have been pleated, use the S hooks to connect the pleating hooks to the rings. Basically at this point, I’m prepping the panel for a test fit.
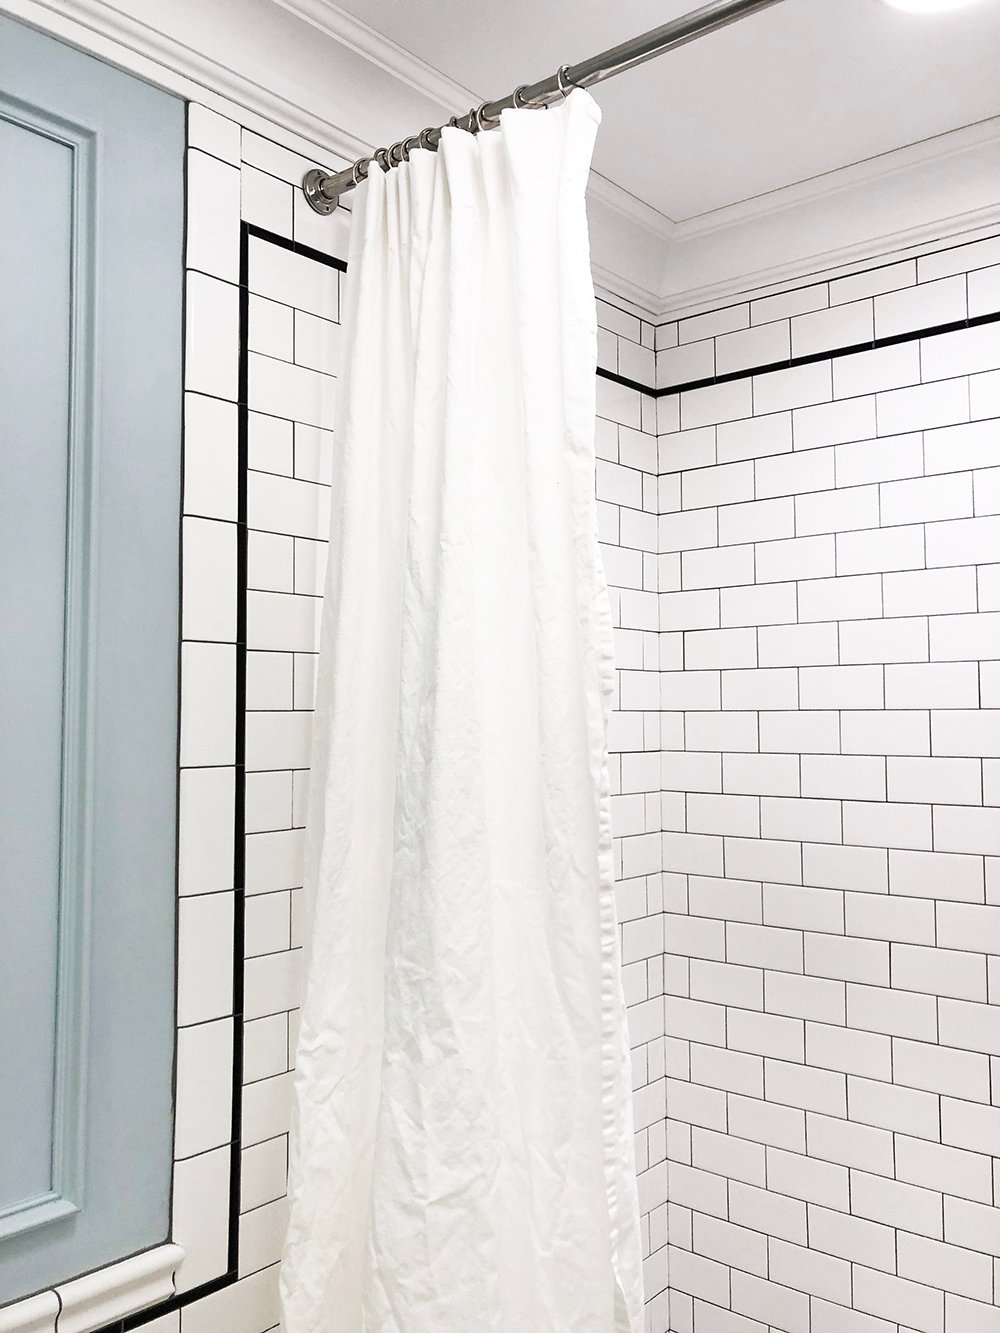
 Step 4 // Test fit the curtain. Ignore my bathroom- we were still in the construction phase at this point, but it’s important to test fit the curtain before sewing or hemming. Look how much puddling I had… that’s not ideal.
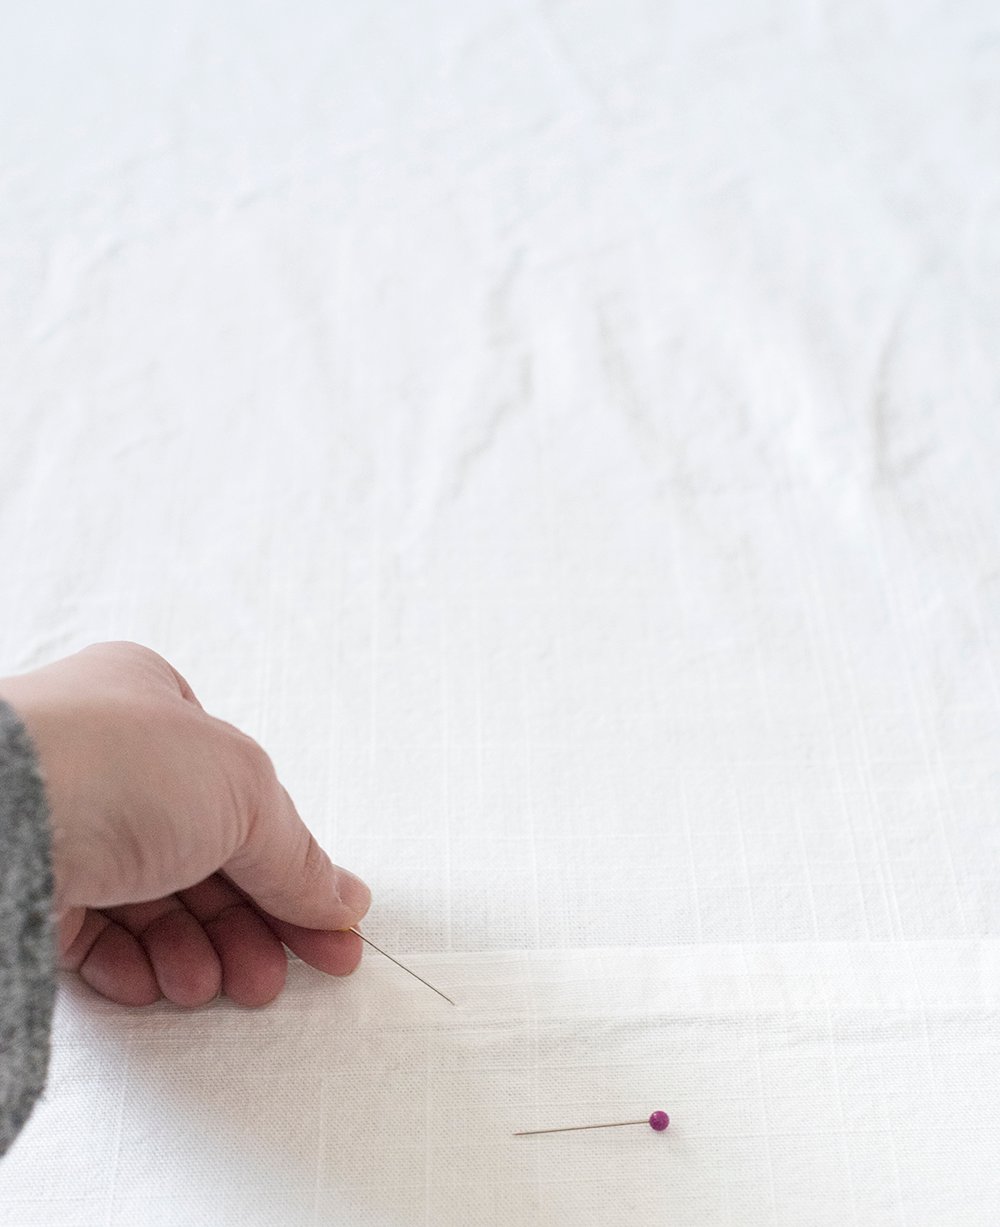
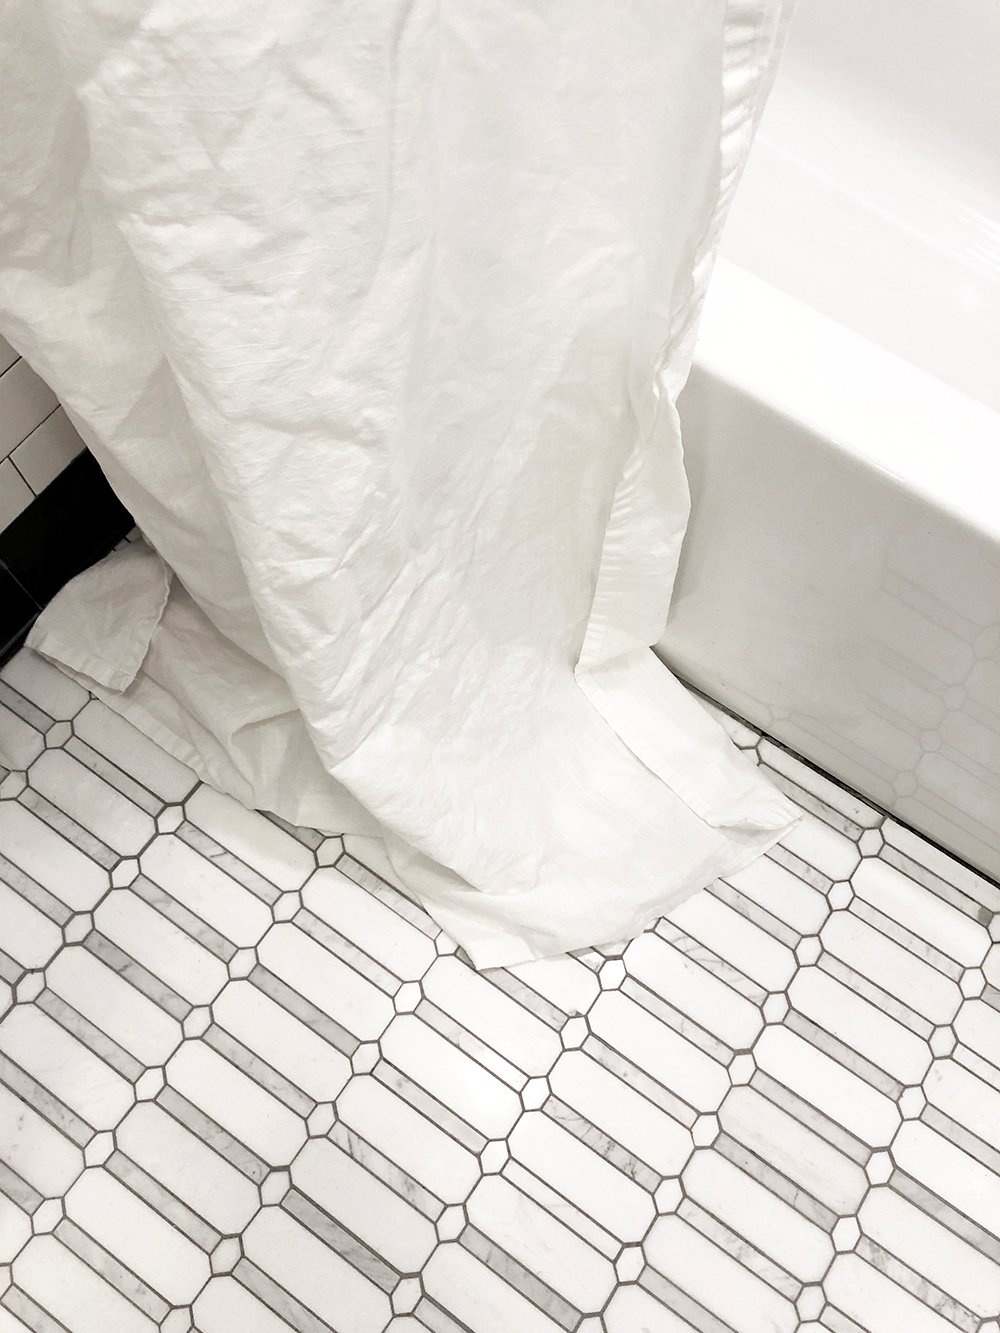 I’m typically not a fan of puddled curtains- especially in a bathroom. I prefer my drapery and shower curtains to barely touch the floor or float no more than 1/4″ above or below it. While the panel is hanging, pin the bottom where you would like the hem to fall.
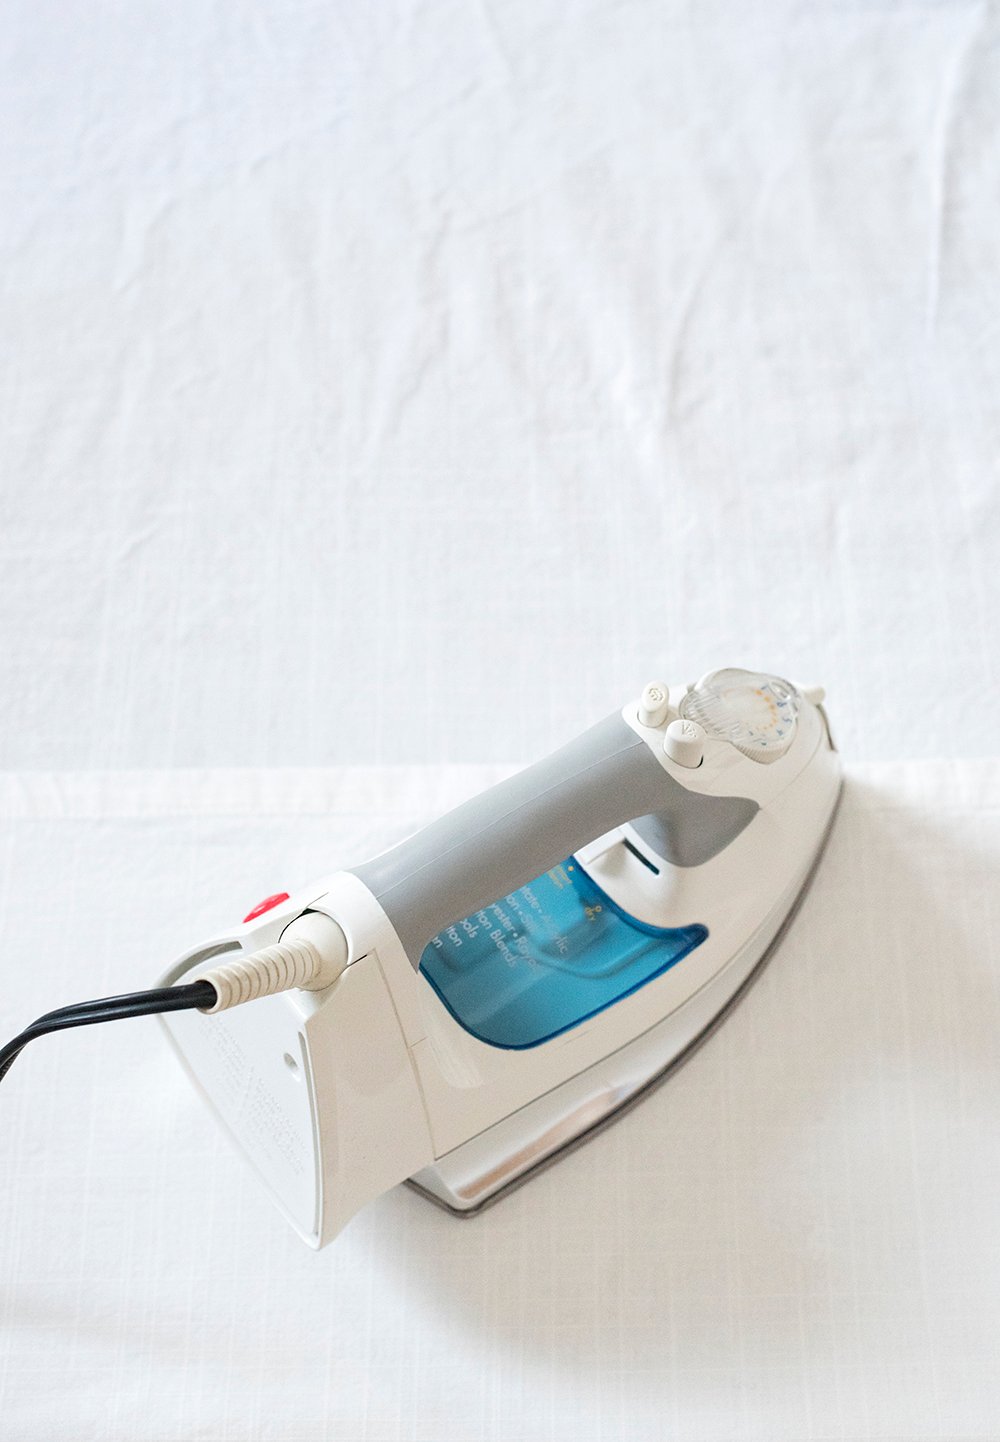 Step 5 // Remove the curtain and iron. Once you know just how much you’ll need to hem the curtain, remove it from the rod, and take out the pleating hooks. I like to press the bottom of the panel with an iron because it makes sewing a lot easier by holding the fabric into place. It’s almost like creating a template. If it unfolds, you’ll have a line. I also DON’T CUT excess fabric prior to hemming. Rather, I fold the fabric, pressing it with each fold until the length is correct. The extra weight of the fabric will help the curtain hang better.
 Step 6 // Re-pin the curtain. After ironing the panel, pin the folds into place so they can’t shift while sewing. You can better see my rolled folds below…
 Step 7 // Sew the hem. Now it’s finally time to sew! I like to make a big rectangle around the fold… down one long line, turn the foot, sew the small side, then travel all the way back up the top side, finishing with the other small side. If you don’t have a sewing machine, you can also do this by hand… it just takes a little longer.
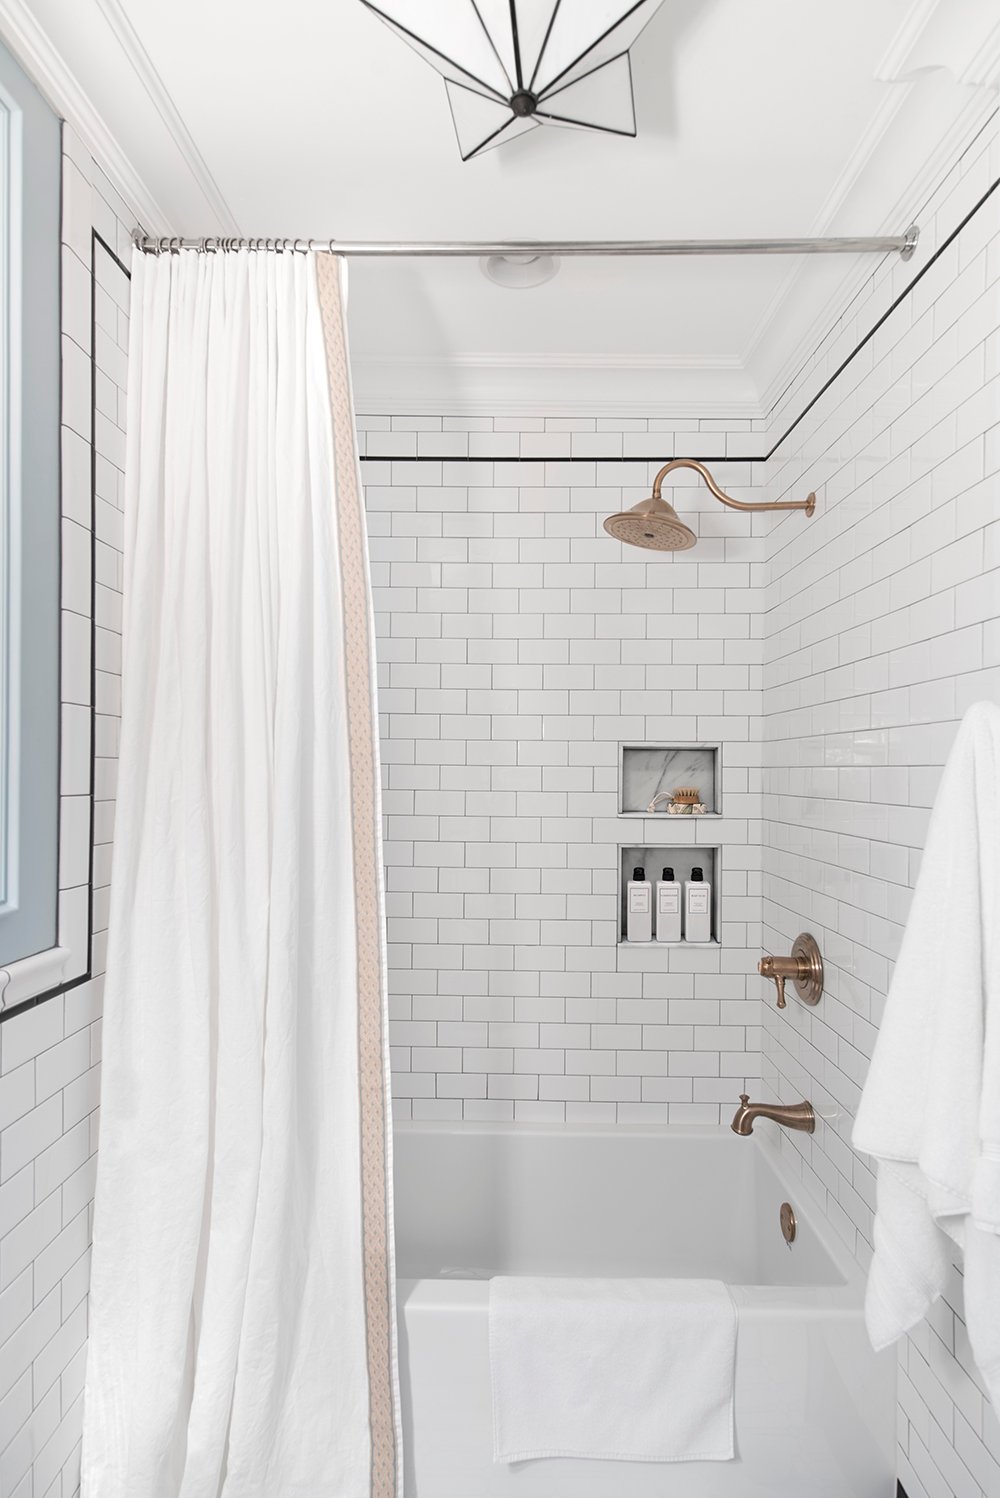
 Step 8 // Try it out. Before moving onto the second panel, test it out. There is nothing worse than having to adjust TWO panels instead of one. Luckily, mine worked great, so I moved onto the second curtain and replicated those steps. I also decided to add a trim piece to the lead edge… just for fun. I love the nice graphic stripe of pattern and color it added. I found the trim at a local shop awhile back, but linked some similar options in the supply section.
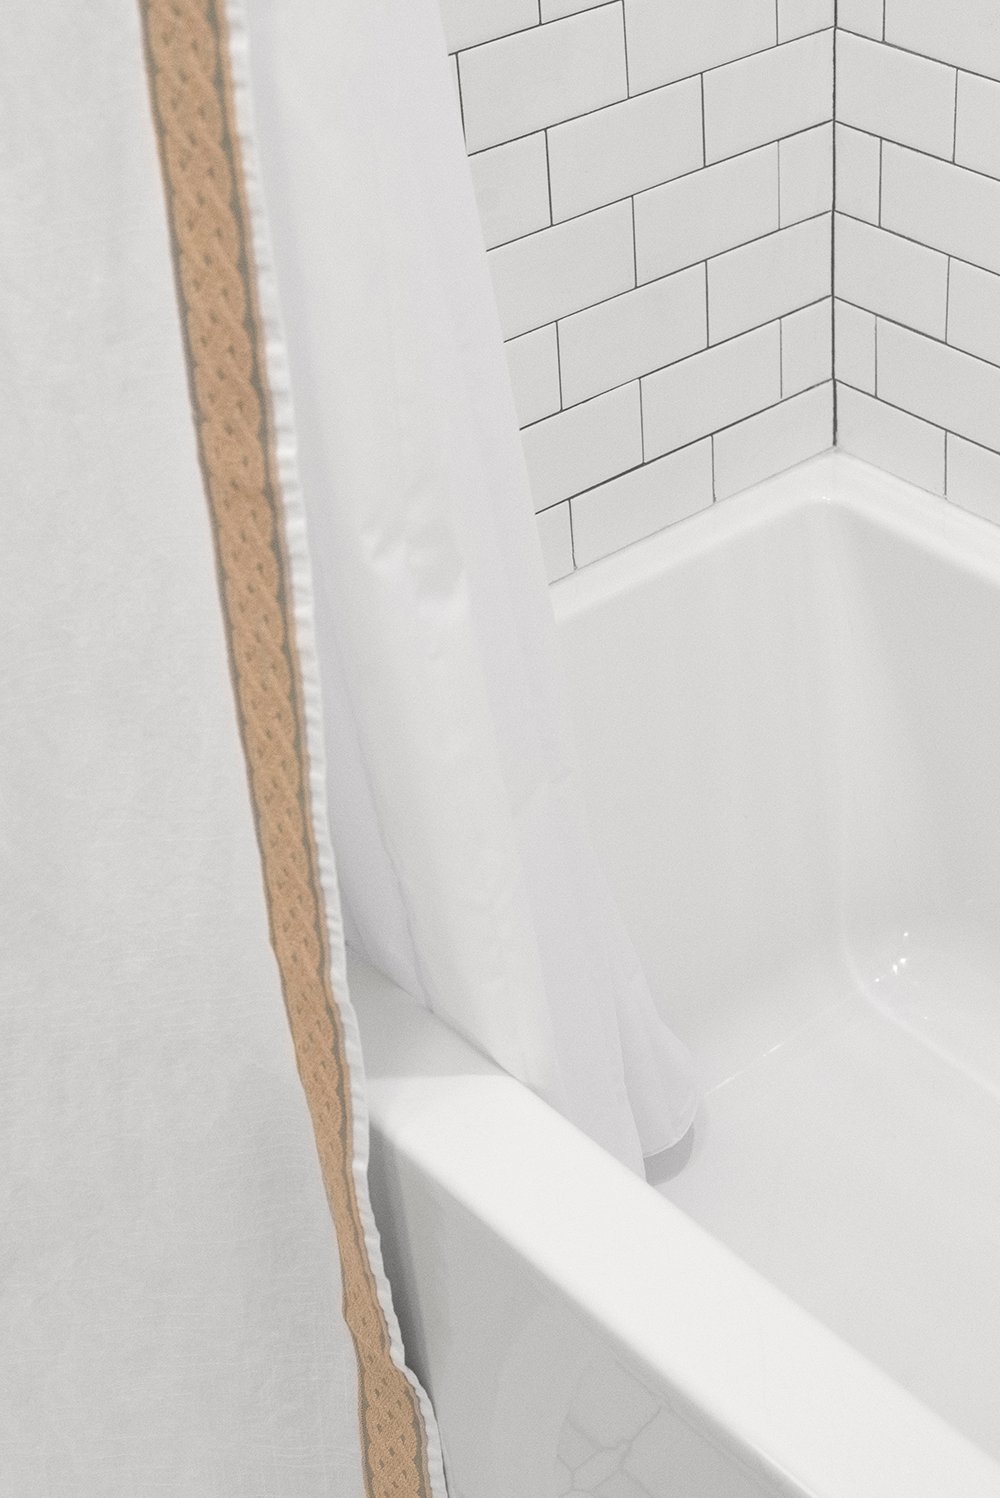
 Step 9 // Add the liner. The last step is to add the liner to the shower rod. Obviously it is a shower curtain and you want to keep the water from escaping the bathtub. I love this extra long liner from Amazon. I used it in our previous bath too! This time around it fit perfectly and I didn’t even have to hem it. Here is what the bottom edge of the liner looks like… it floats an inch or so above the bottom of the tub.
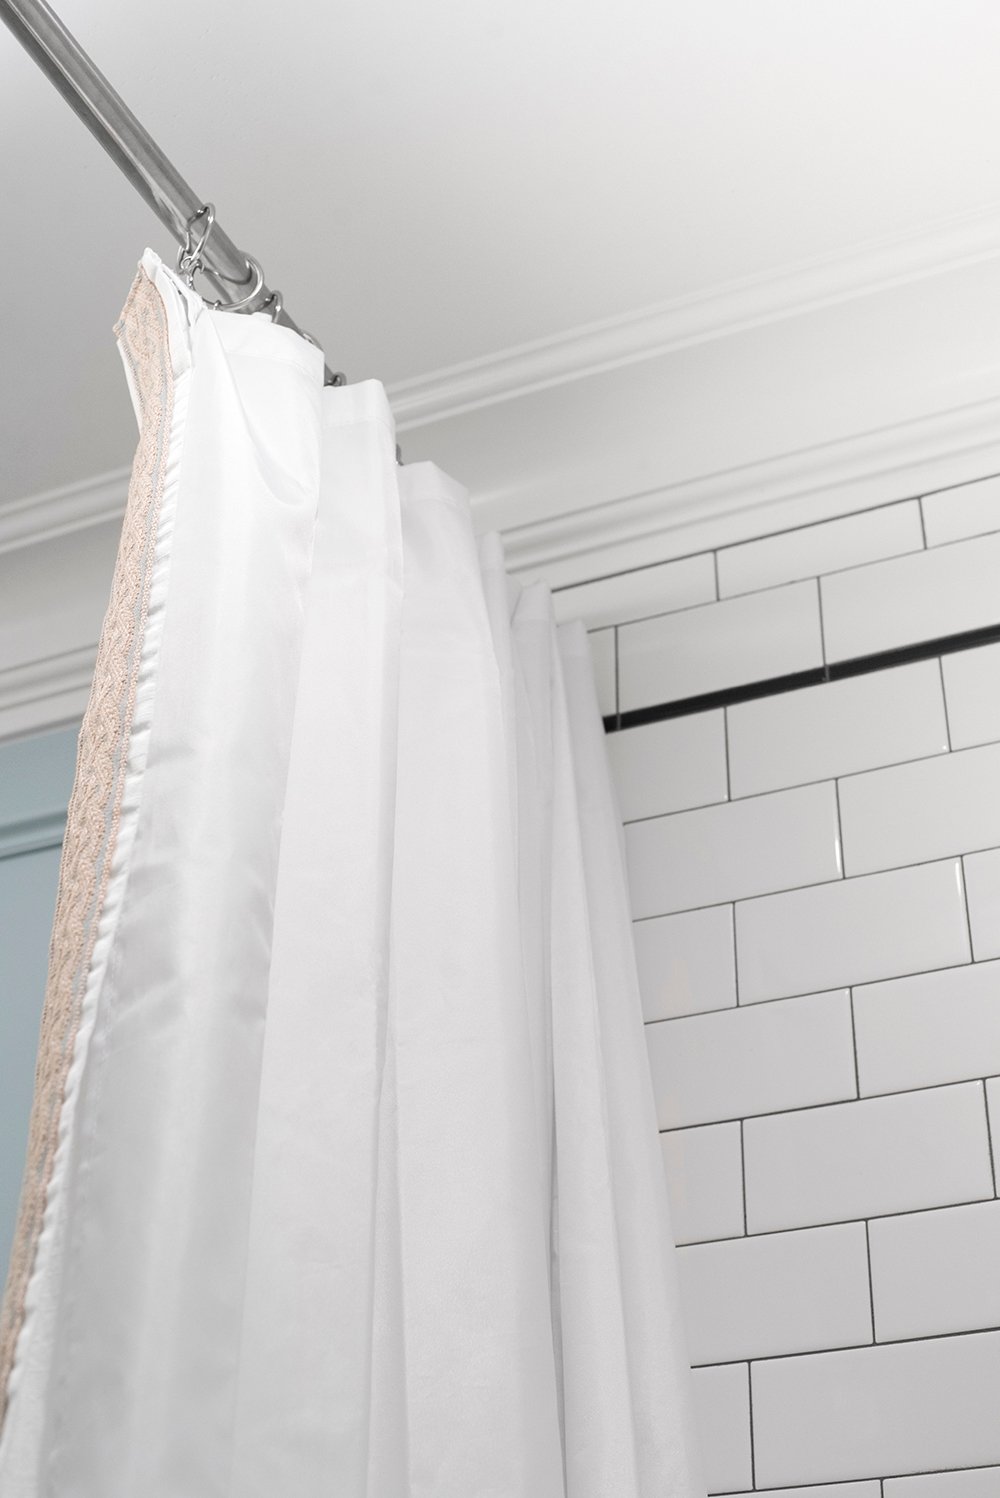
 I installed the top portion of the liner to the back side of the S hook on the rod. I just threaded the hook directly into the liner die cuts and it’s perfectly hidden behind the front cotton curtain. Here is the view of the top side from the inside of the shower.
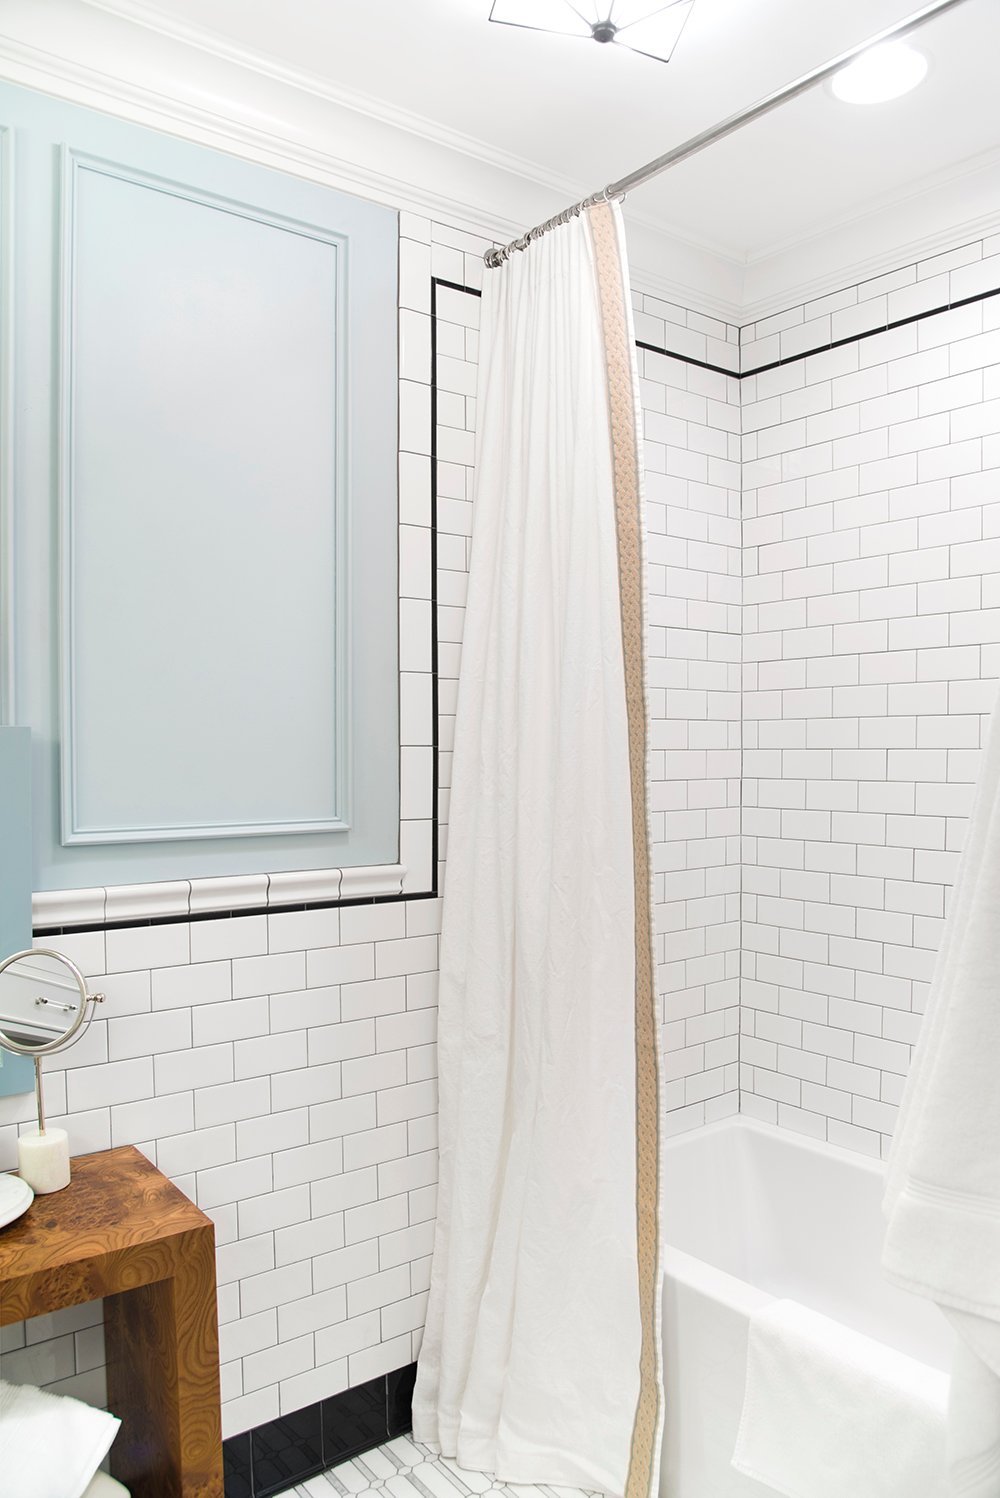
 That’s it! Easy peasy and it feels so much more custom and tailored… much better than a readymade shower curtain alternative. One of my pet peeves is a shower curtain that floats too high above the floor. I wish companies would start making them longer- like drapery.
 Questions? Let me know if you have any in the comments below! I *almost* shortened my curtain a tad more, but after having this same shower curtain in our previous home, I know each time I wash it, I can shrink it if it needs it… so I’m thinking it wasn’t worth the extra effort. On the contrary- don’t freak out if you wash it and it comes out a little too short. Wet the curtain, pull on it a bit, and hang it on the rod wet… it will definitely stretch! You can also turn on the shower, get the room steamy, and then stretch it. Trust me- I’ve been there and done that after Emmett tried to “help” with laundry last year. Haha! Bless his heart. Speaking of help, hopefully this post helped to answer all the shower curtain comments and messages I’ve been getting!
A seamstress too! What can’t you do? I do have a question about how/where the crown would have stopped to make room for the ceiling mounted curtain situation. I looked back at your old (also awesome) bath, and you didn’t have crown! Tile to the ceiling and then trim in front? Pure curiosity. Happy daylight savings time Monday!😴
Haha! Thanks Peggi :) Exactly… I would’ve used a valance board that the crown would have mitered into. The tile behind the board would’ve met the ceiling, or I would’ve added a smaller piece of cove moulding in the shower area. Daylight savings time is the worst- I hope you’re staying awake! I’m about to make myself another coffee. Hang in there! xo
Thank you so much! We want to install the valance like you did in the previous house—
Would you mind to share what IKea road we need for that and how to install /size the wood piece?
That’s awesome Natasha! You can see better photos of the valence installation in this post, but unfortunately I don’t have a complete tutorial on that: https://roomfortuesday.com/the-bathroom-one-room-challenge-week-5/ … for the IKEA product, you’ll need the Vidga ceiling mount track. Hope this helps! xox
Thank you!
Can we see what it looks like when the curtain is closed? Did you sew the two Ritva panels together?
I want to see this too. I’ve read the post several times and unless I’m missing it, I can’t find info on how many liners, hooks, rings, etc were used. I want to do this exact curtain for my bath! I love it.
Hi Diane, it depends on how you’d like to pleat them. I saved an IG story highlight of my process.
I should’ve shot a photo of it closed… it slides all the way closed, edge-to-edge. I didn’t connect the panels (since there hooks and liner keep them connected), but you definitely could sew them together if you’d like.
So i’m moving right along on stealing your shower curtain idea. But here’s my quandary – I have 20 rings/hooks on the curtain but the liner only has 12 slots for hooks. Did you use 2 liners or just put it on the first 12 hooks of the leading edge (that the person is going to pull). Sorry to be such a ditz…. it took me forever to figure out how to use those hooks to make the double pleats. 🤣
Yay!! So excited to hear you like the shower curtain. There are no ditzy questions- and that’s a totally valid one! You can set up the liner however works best… I just skipped some here and there so that it spanned across the entire rod when open, but you could do it however best covers your shower. There is really no wrong answer. Hope this helps! xo
I agree with you, companies need to make longer shower curtains. Did you sew the curtains together?
100% they do! I didn’t sew the curtains together, but I should have. The next time I wash them, I’ll probably do that :)
Thanks for this post! Picked up materials yesterday and about to bleach the curtains.
Yay!! I hope it turned out wonderful, Desiree :)
I love these but oh goodness gracious I LOVE your light fixture!!! Can you tell me where it’s from?
Thank you Katy! All of the light fixtures in this bathroom are linked here: https://roomfortuesday.com/guest-bathroom-reveal/
A moment of silence please…….omg you can bleach the Ritva curtans ????? Im on it ! Thanks so much.
Haha!! Yes! Happy curtain bleaching Julie :) xo
The shower curtains look great and you did a fantastic job! May I ask how high your ceilings are? My ceilings are 96″ inches, so whatever I do they would have to be hemmed. And I don’t sew, so if I go this route, I will have to have someone make them for me. But I just can’t find a quality extra long curtain that is what I am looking for! Thank you!
Thank you Karen! The ceiling in that bathroom is 9 feet. An alternative to sewing is hemming tape (you fold the fabric and iron it, which fuses a permanent hem with zero sewing required). Ikea also sells that product. Hope this helps!
This is such a great look! We recently moved into a new home and I’ve been trying to figure out what to do with our guest bathroom and the combo of this and your previous bath totally inspired me! We’ve already installed a statement ceiling mounted rod to show off the tall ceiling and great floor to ceiling tile, but we have a nice big window in the middle of the shower that I don’t want to hide. I’m planning to have curtain panels open in the middle, but not sure what do to about curtain liners. Would you think I could make it work with two 72″ wide liners paired with the 57″ wide curtains or would that be tricky? I haven’t been able to find any more narrow liners in 96″ length which I definitely need. Any advice? Thank you!
Thanks Kai! I love hearing that :) I bet you could make the liners work, as long as they’re hidden behind… or cut them down and stitch a new hem (or fusing tape, if you don’t sew- just requires an iron). I’d try them without altering first and see how it looks!
What curtain did you use behind the curtains you hung?
Won’t the pleat hooks rust in a bathroom? Are they stainless? And if so, where do you find them? Thanks.
We haven’t had any issues with them- as long as you have adequate ventilation, they should be ok. You can find them on Amazon, Ikea, fabric shops, etc. I hope that helps!