A Quick Camper Makeover Update
 How was your weekend? We went boating with friends and did some major work on the camper… it was equal parts relaxing & productive (my favorite type of weekend). The camper is already looking MUCH different these days. If you missed the before images and my design plan- check out that post here. I figured since we’re moving right along, it would be fun to see a blog post update. We’ve got the flooring installed and everything is primed! We’re hoping to start painting this week, as we have some camping trips coming up and we’d love to knock this project out. Click through for the latest!
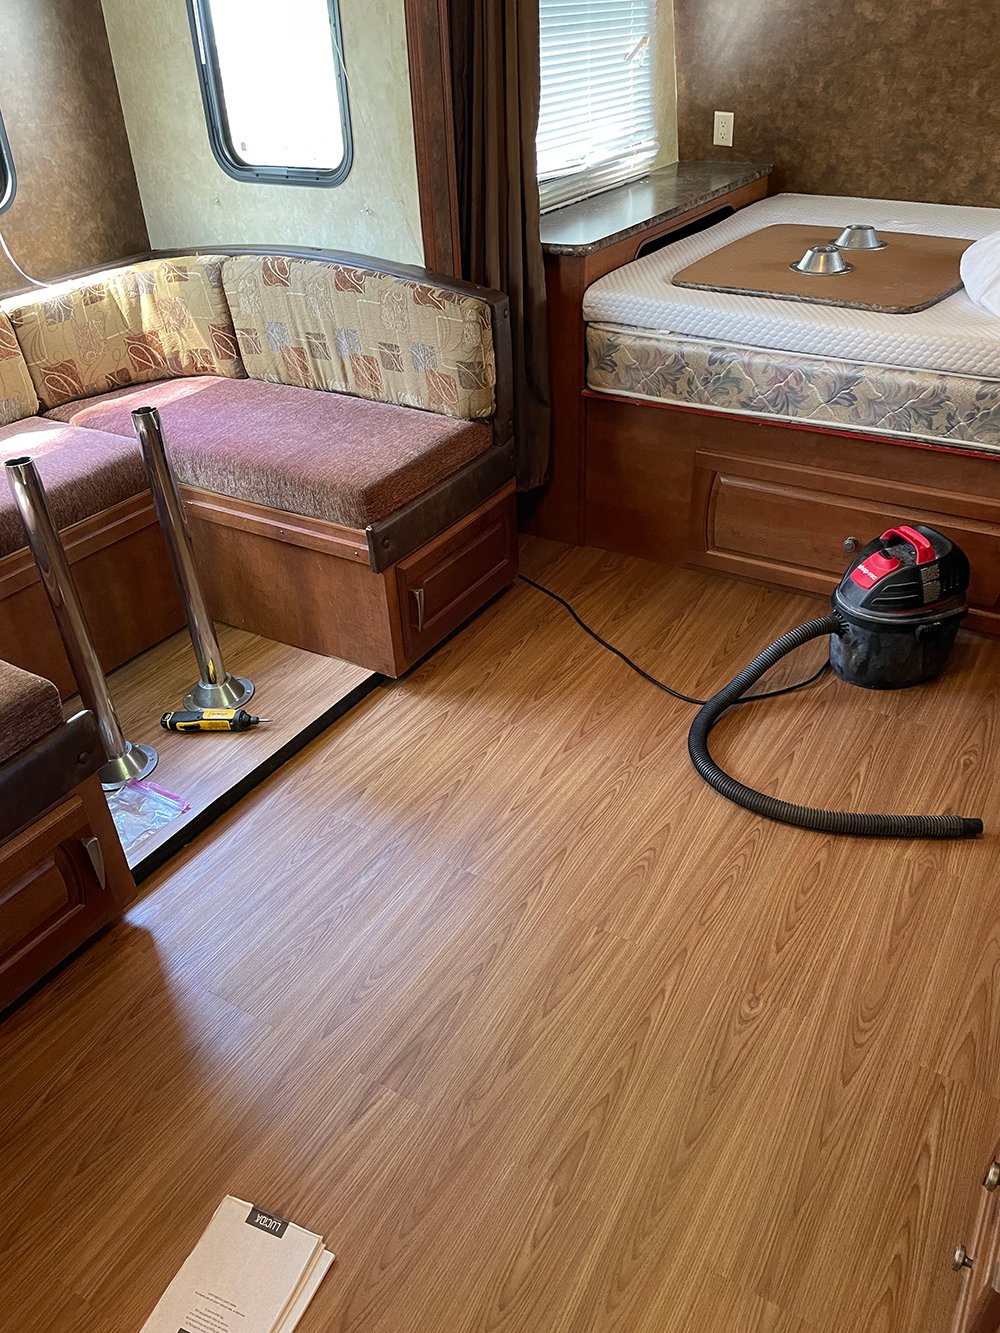 First, I wanted to show you the new LVP flooring! I knocked this out in a day. It took me a full day, but the end result was well worth the effort. It looks so much better than the previous linoleum.
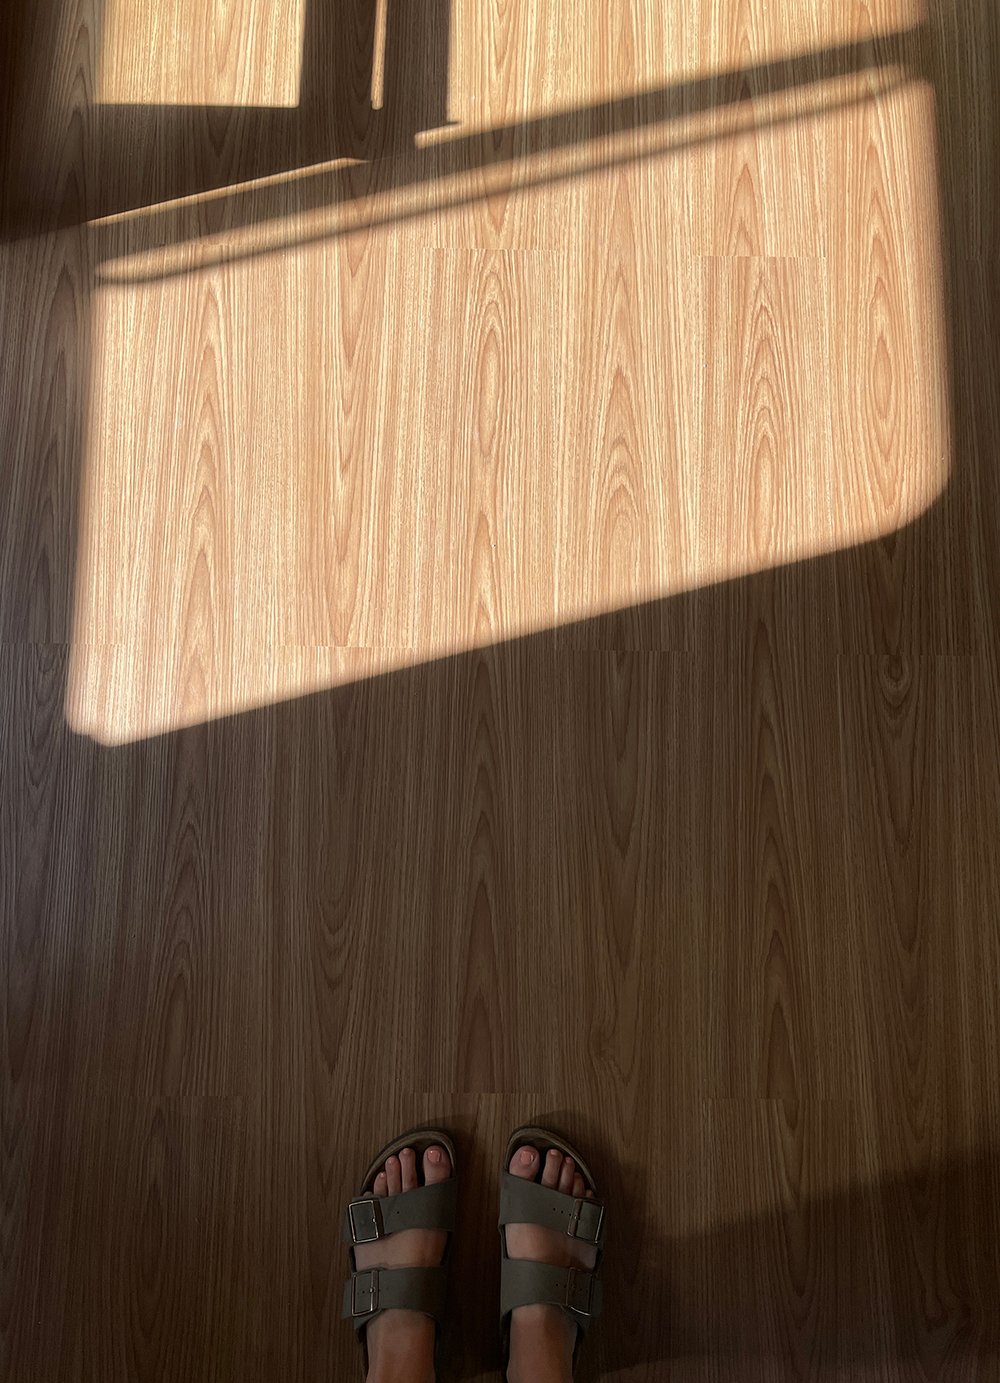
 I ended up installing the flooring directly on top of the previous flooring. It was a very easy process and by keeping the old linoleum underneath, we have an even better protective barrier- especially for waterproofing. I gave it a good clean and stuck the LVP right on top, pressing each panel down during installation. I went with the Almond color, for those who asked yesterday! It really has a nice textural looking grain with the right amount of warmth.
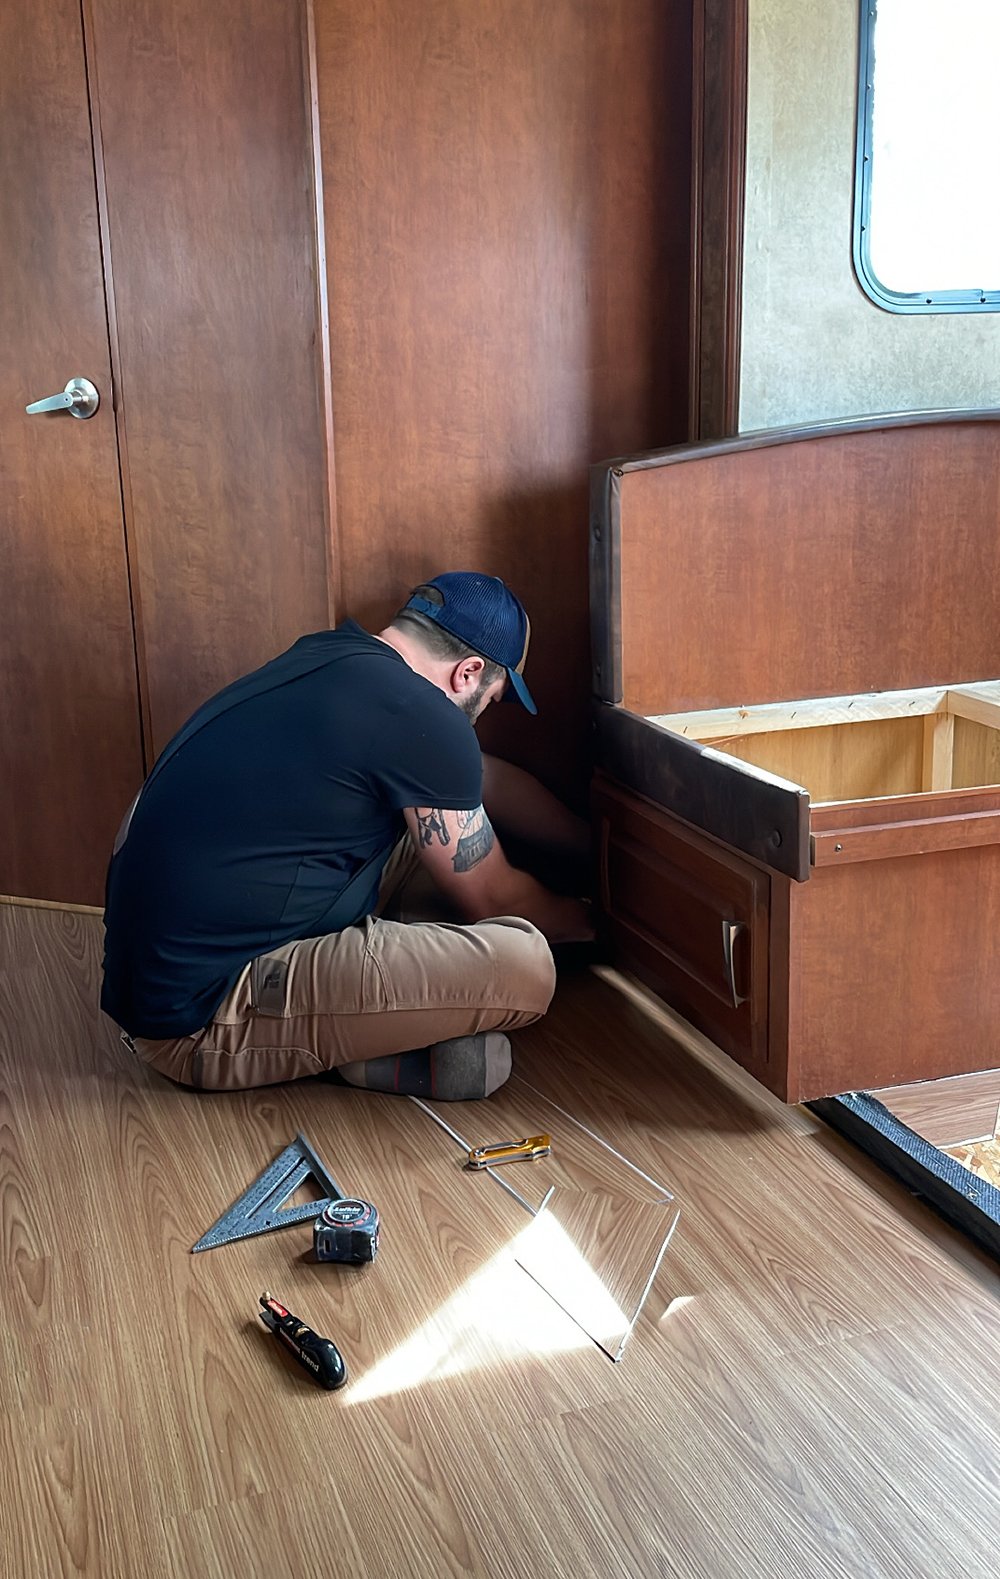
 I did recruit my math wiz (aka, Emmett) to help me with some geometry and get perfect angles in some weird spots. Overall, the flooring turned out really nice! We’re both happy with it.
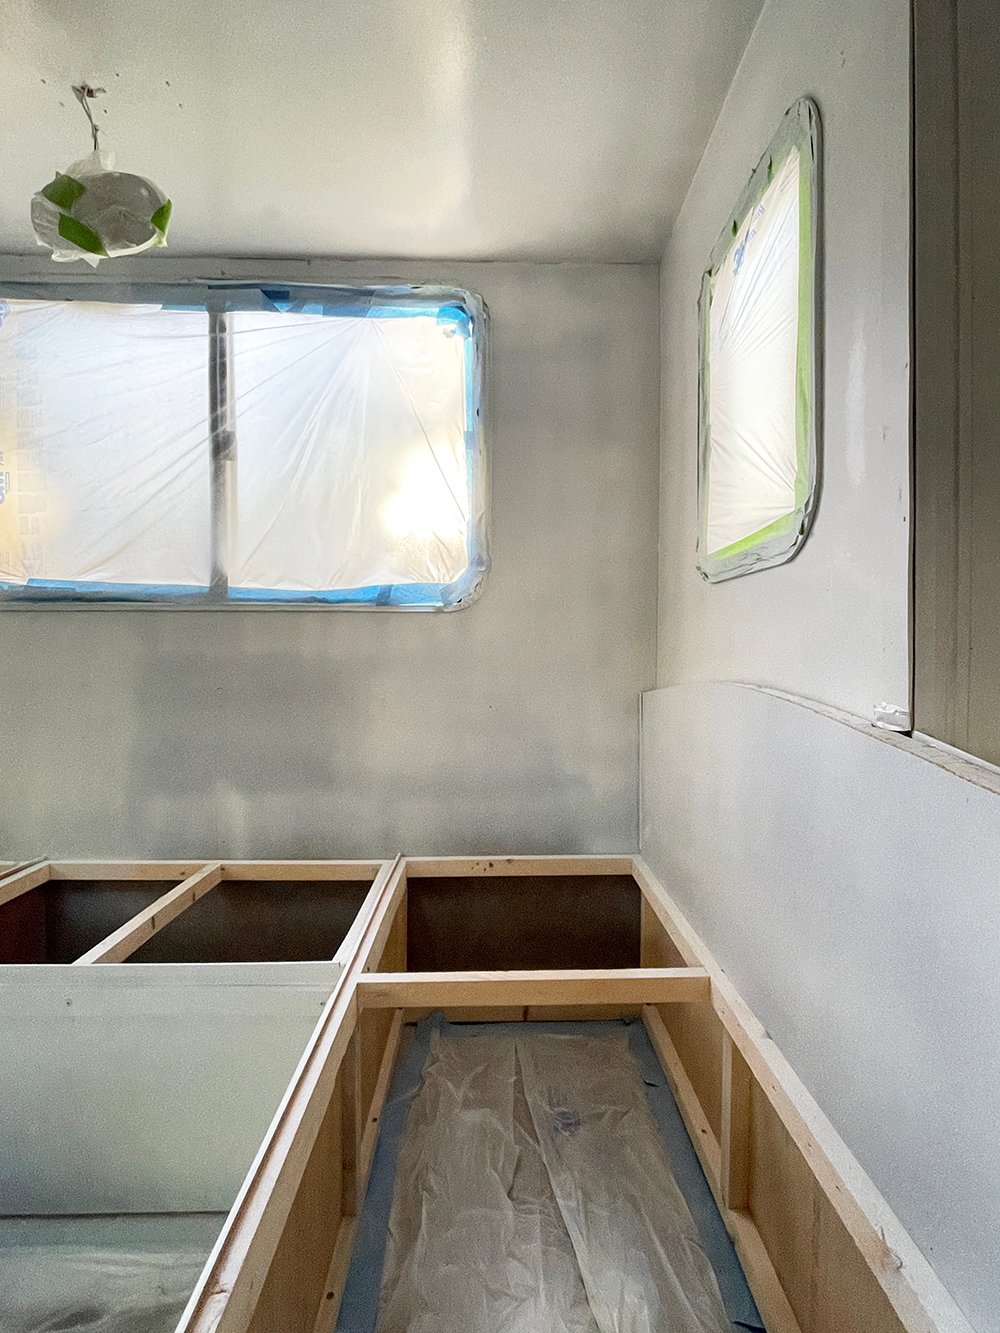
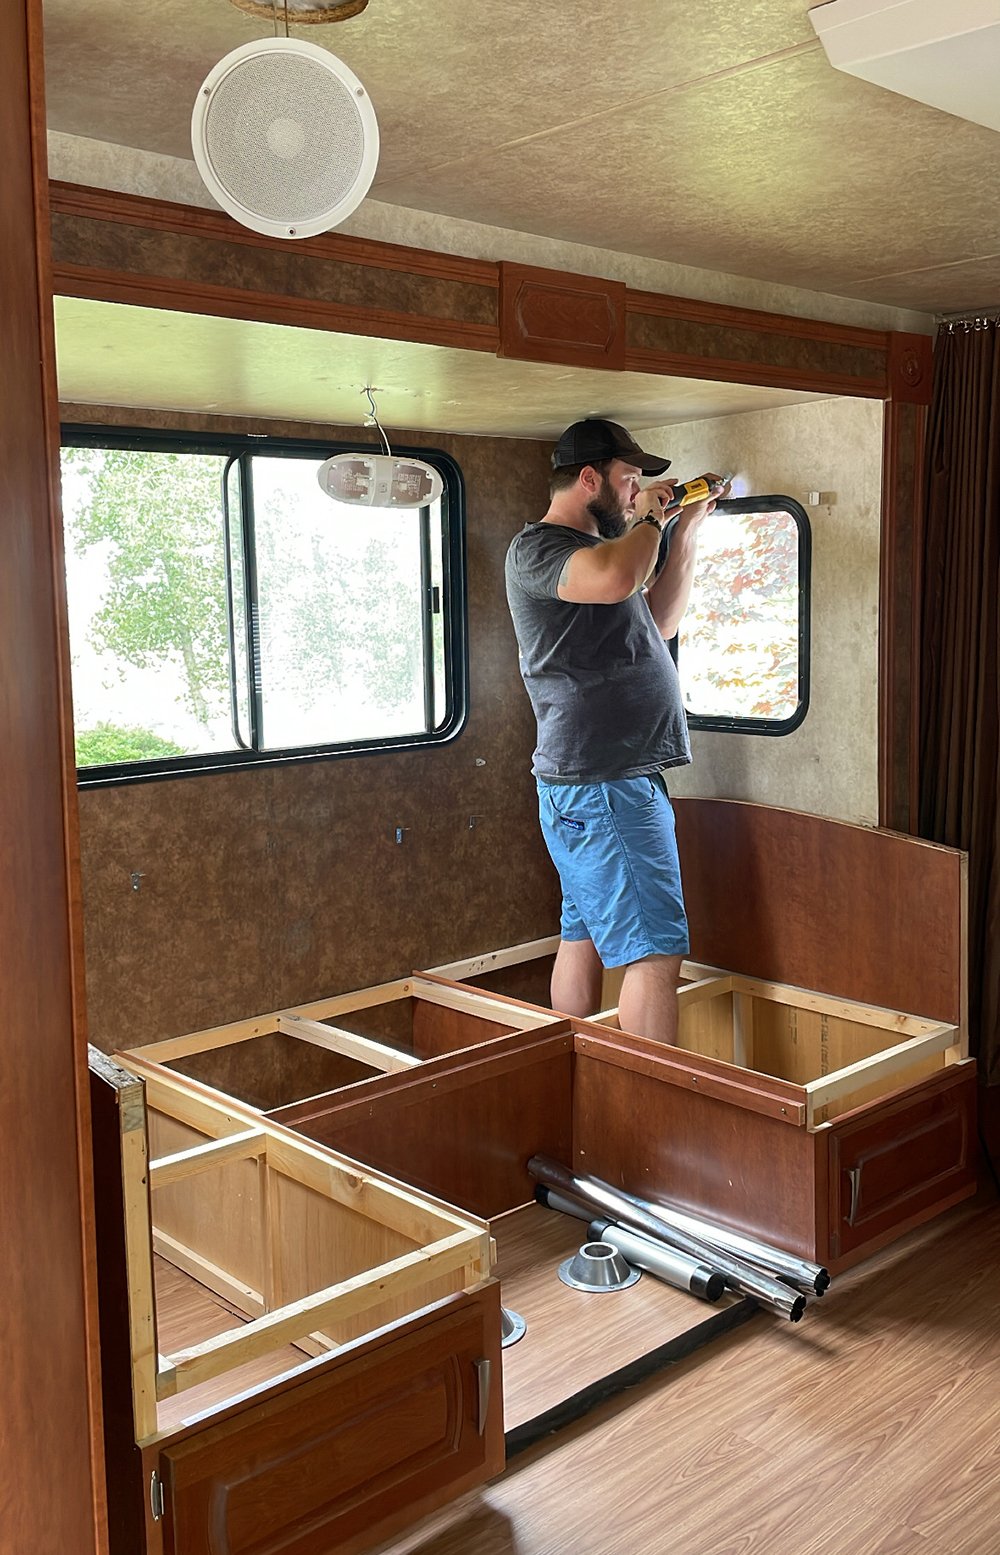 Next, we started demo. Removing the existing window treatments made a huge difference and added so much light to the camper. Our plan was to remove everything and mask off anything that did not require primer or paint…
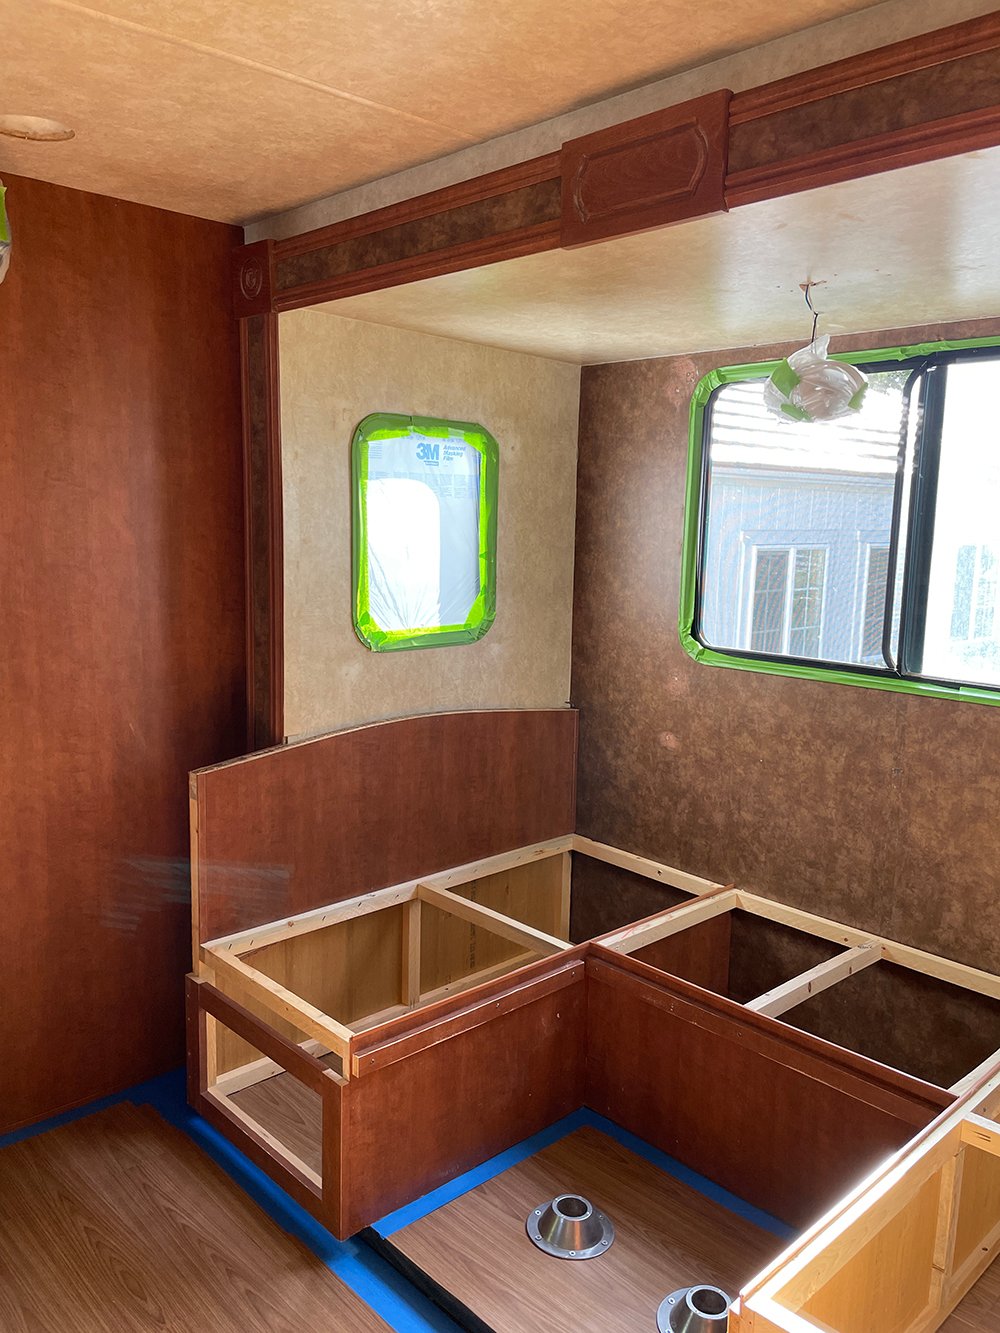 Masking always takes SO long. We spent around five or six hours taping everything off. It’s worth the time once we bring out the paint sprayer though… the amount of hours it would have taken me to brush & roll would have been significantly more.
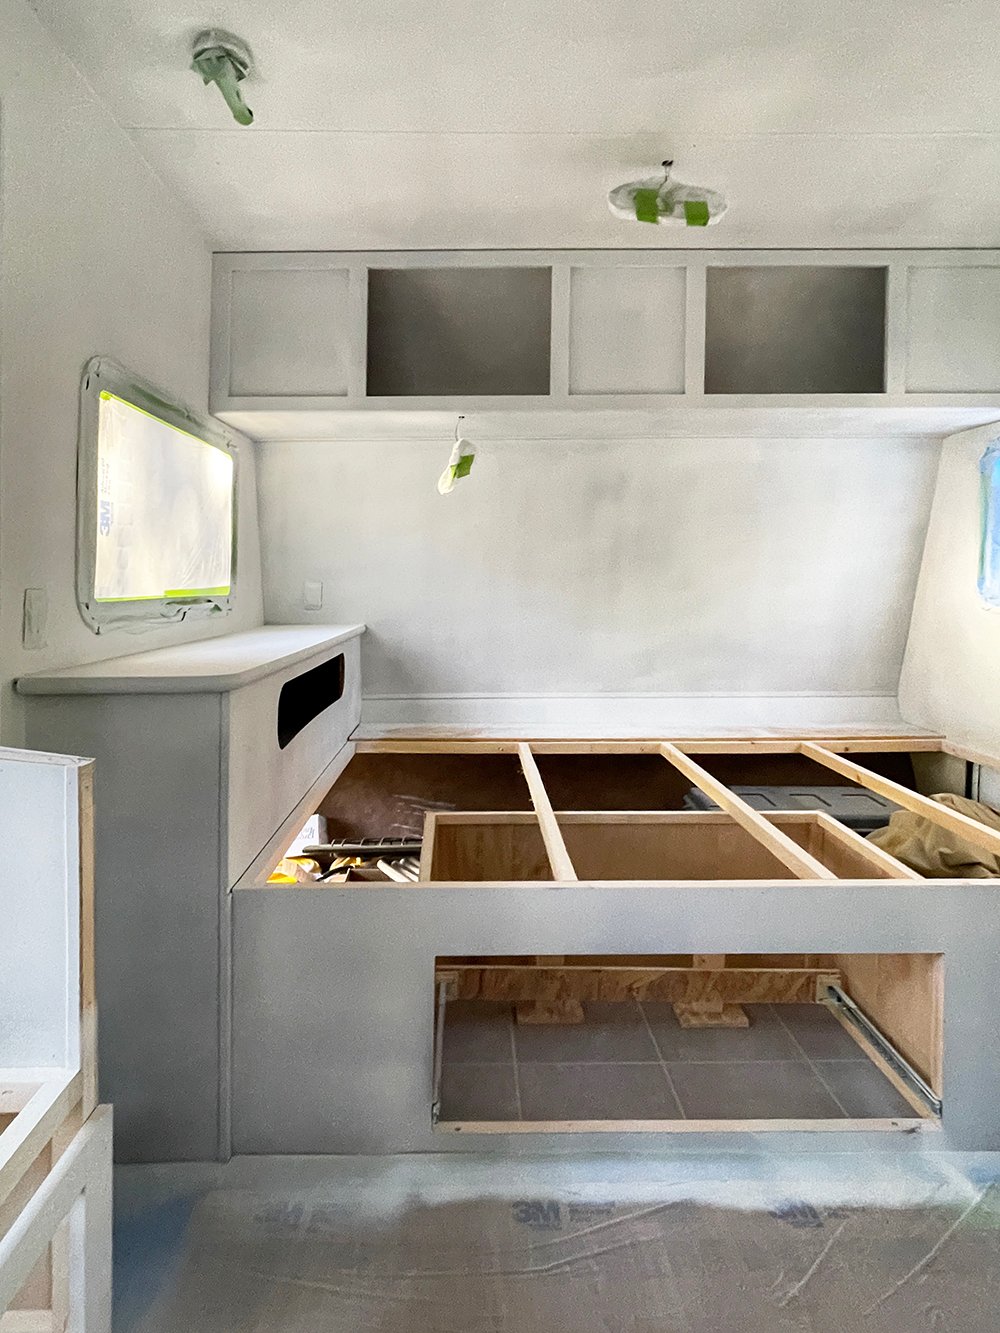
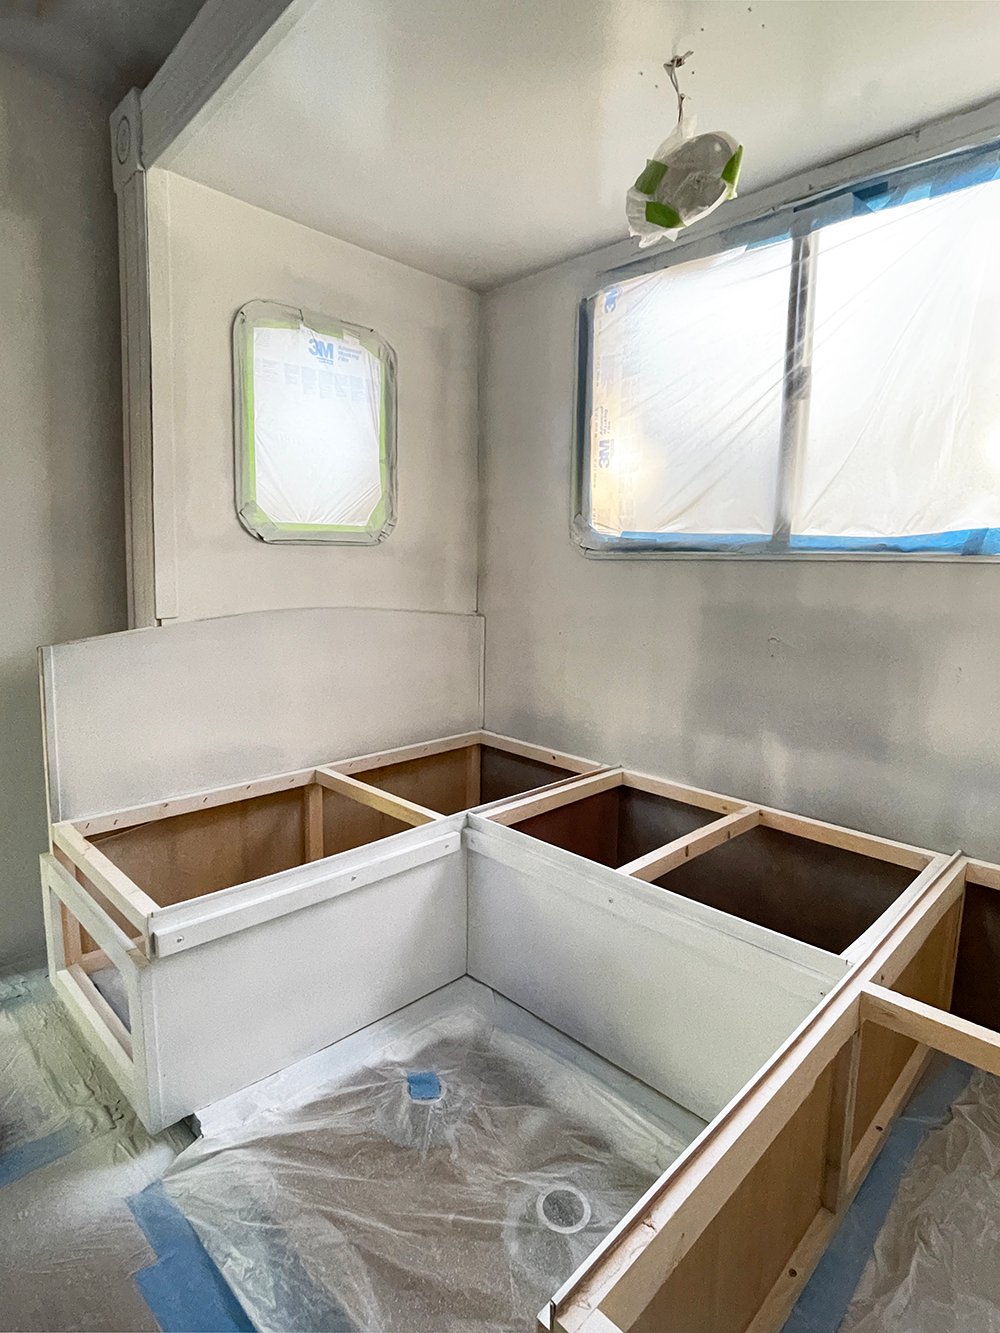
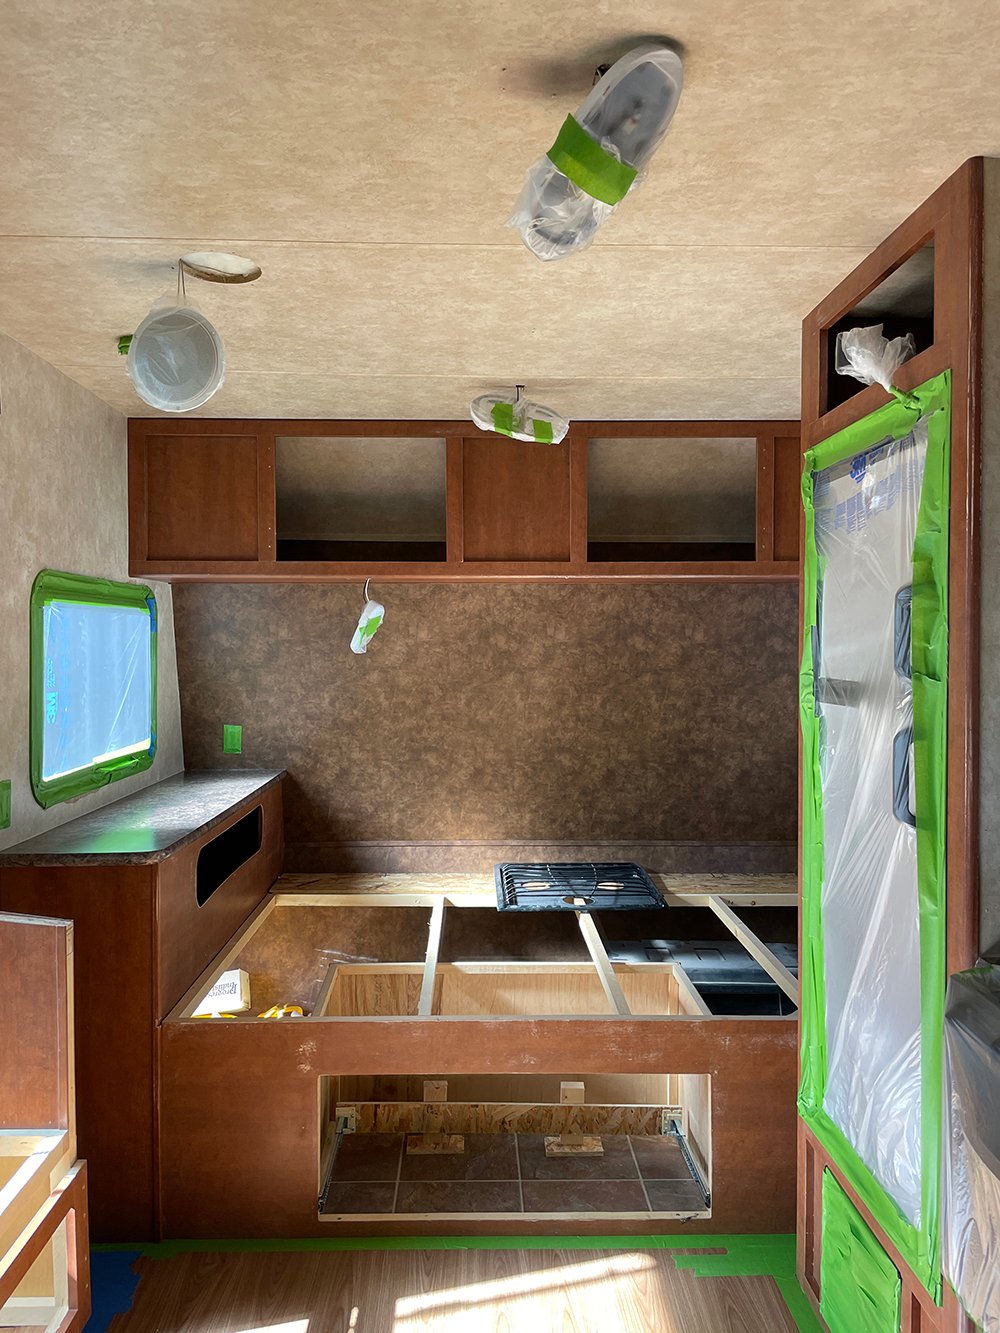 I’ve never been more ready to see all that cherry go! Our plan was to get everything primed over the weekend and hopefully paint a few nights this week. Ready to see how it looks post primer? We finished as it was getting dark last night, so I kind of lost the light for photographs. Such a crazy difference, right? It’s so much brighter.
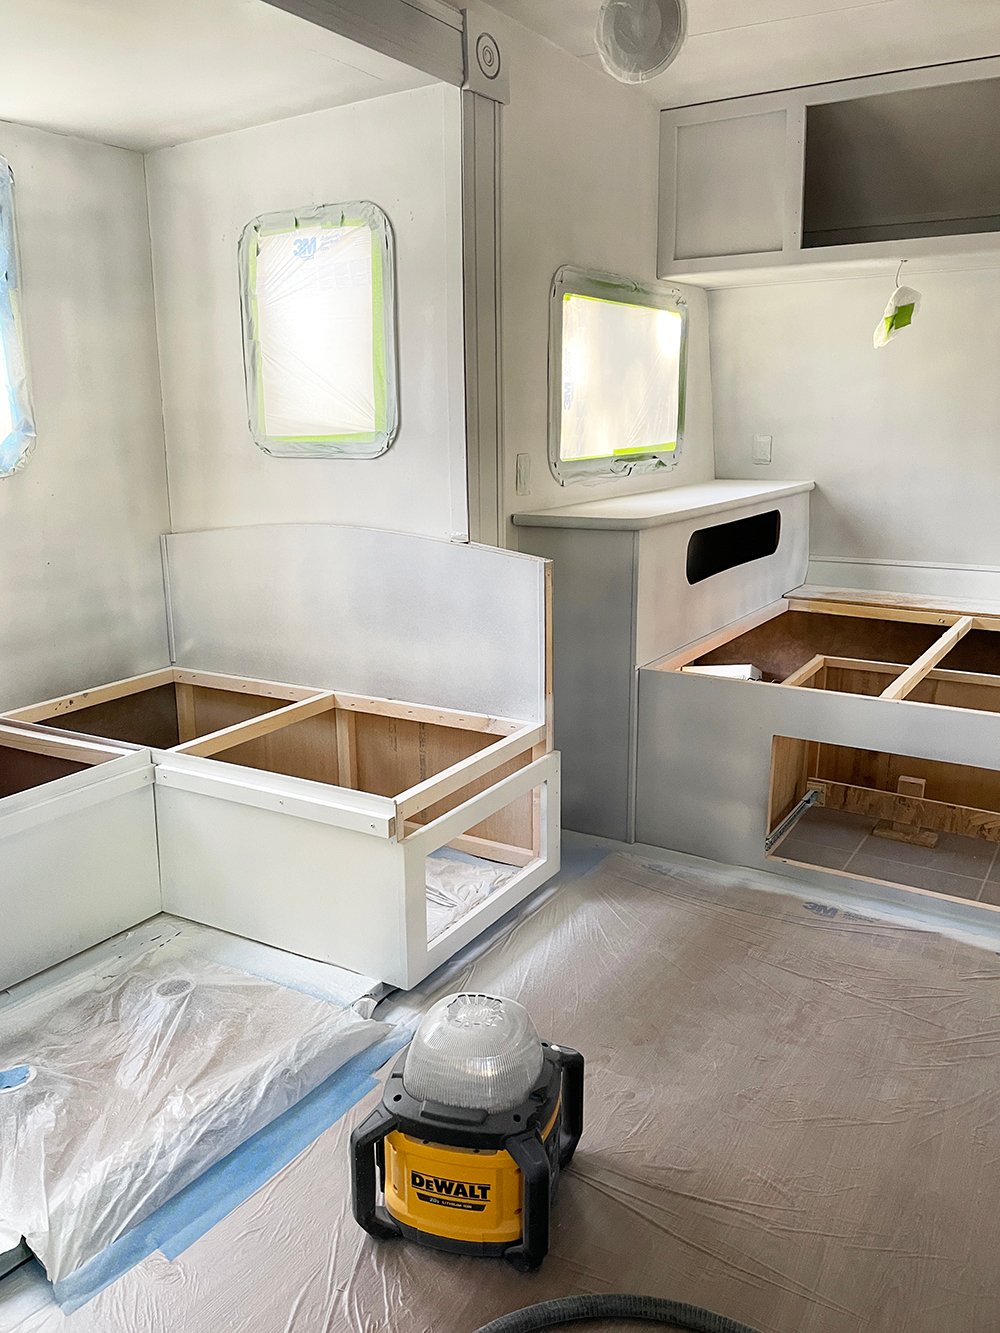 I picked up my paint on Sunday and once the primer has totally cured, we’ll dive in and paint the walls, ceiling, cabinetry, and vanity. Curious about the colors I landed on? Let me show you…
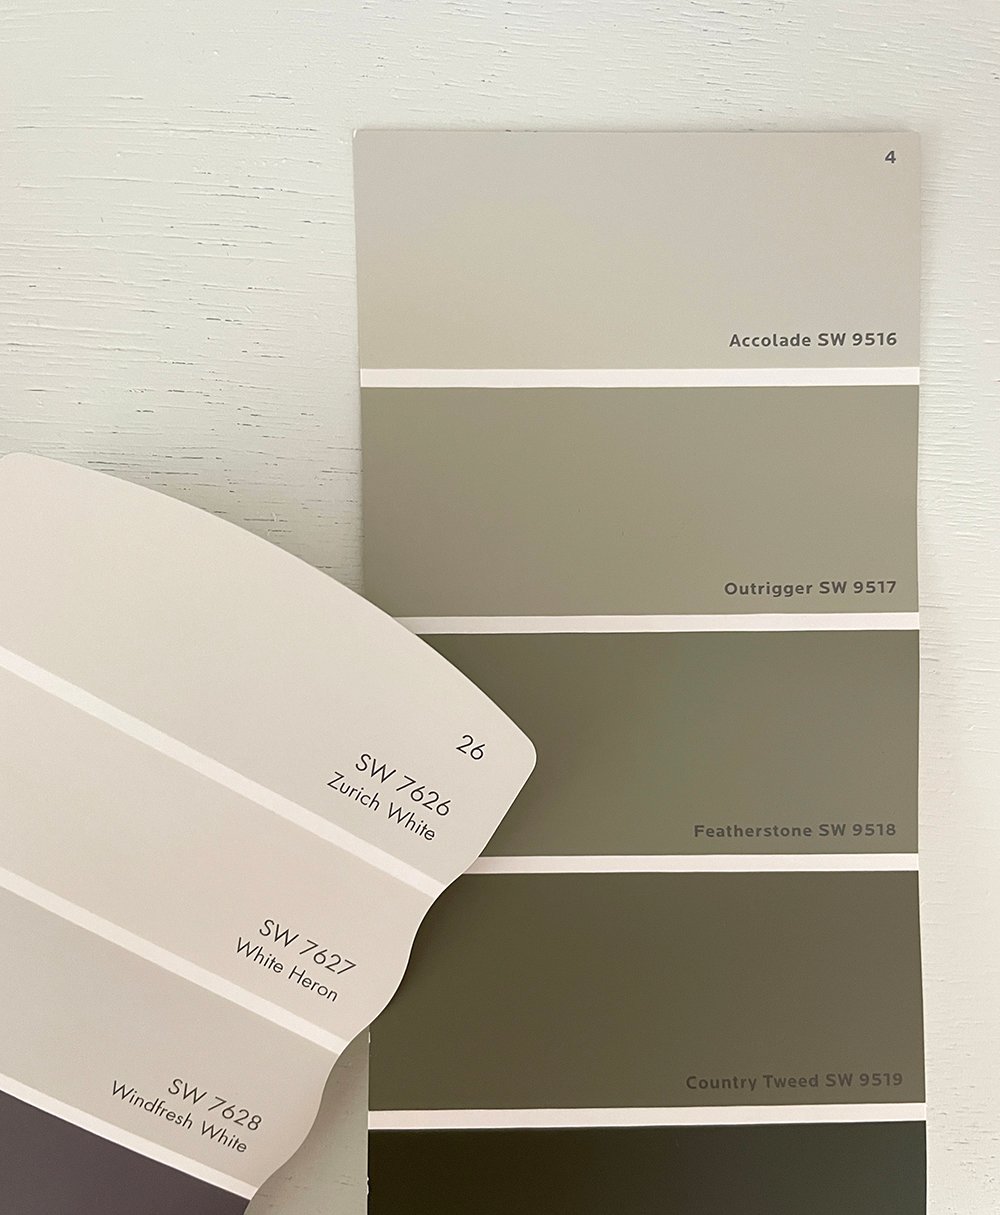 We’ll be painting the kitchenette area and bathroom vanity Featherstone by Sherwin-Williams. It’s a beautiful medium green hue. As for the rest of the cabinetry, walls, and ceiling… we’ll be using one of my creamy go-to paint colors- Zurich White, also by Sherwin-Williams.
 I also want to mention the primer we used, Extreme Bond Primer. This was our first time using this particular primer and it’s pretty amazing! We needed something that would bind really well because we have a pretty crazy mix of materials in the camper- from wood to vinyl and even PVC or plastic materials. Since we invested our time & energy to paint, we would be disappointed if it started chipping. This was definitely the best primer for the project to prevent that. I’ll let you know how it holds up, but it seems promising so far. It’s probably also worth noting- we did roughly sand everything and wipe it down really well before we starting masking and painting. Again- our goal was to get the best paint adhesion possible for durability.
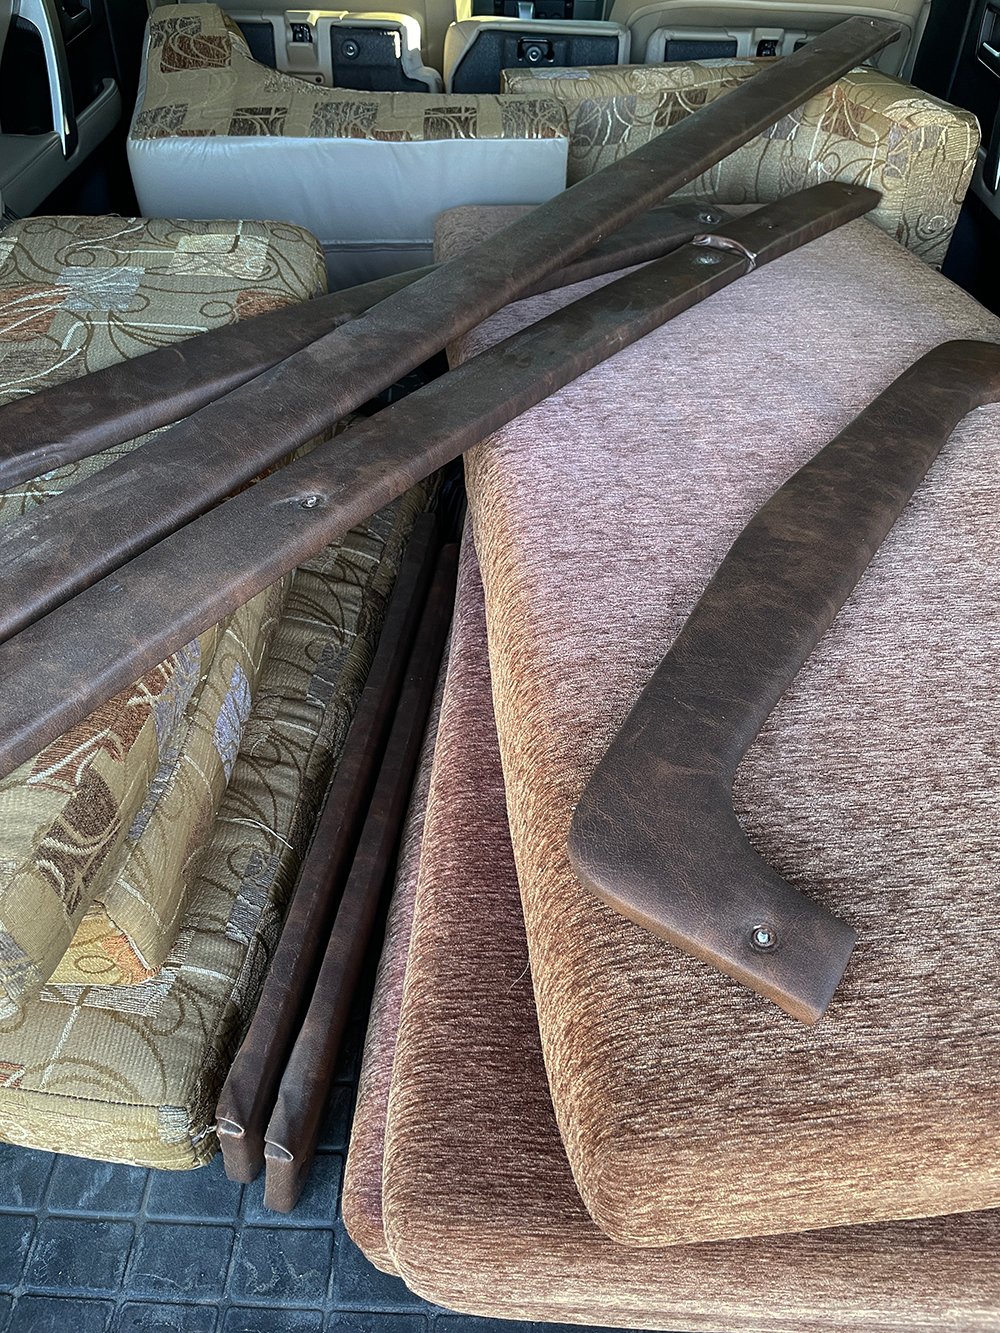
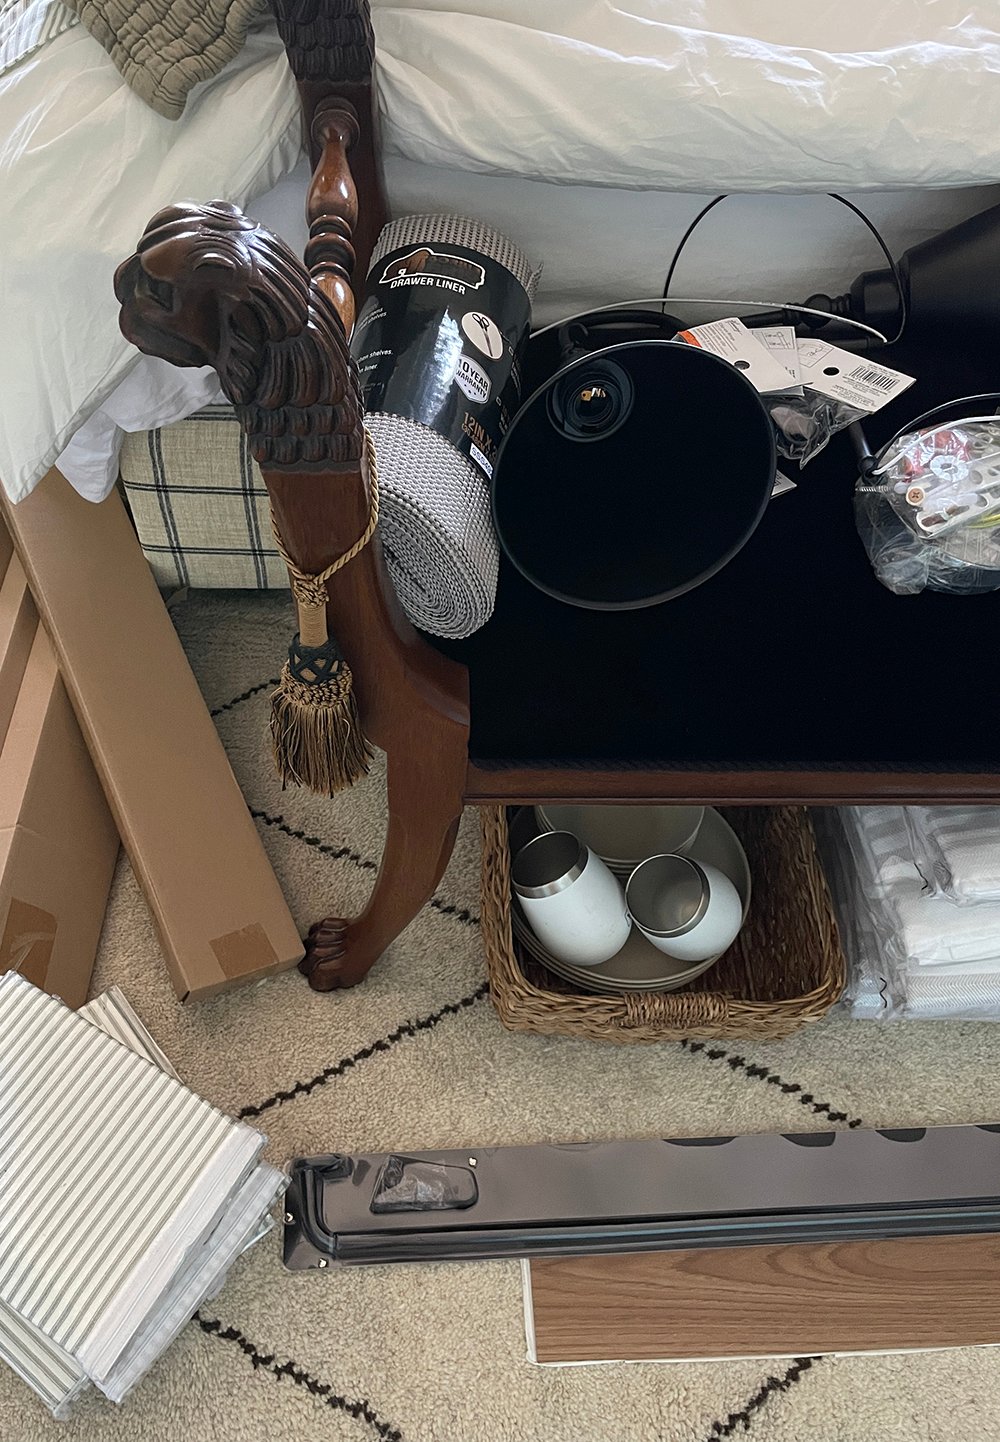
 I’ve got all of the upholstered pieces loaded up in my car (pictured below), and I’ll be dropping those off at the workroom tomorrow. I’m just going to choose a vinyl or performance fabric from their scrap pile to save on cost. They have plenty of bolts to choose from, I just have to make sure they have enough yardage. My inclination is to go with vinyl for cleanability. Our dogs slept on the dinette which converts to a bed the last time we camped, so it definitely needs to hold up to Cash & Crosby. Also living in Utah, we camp at a lot of sandy spots- which could easily be vacuumed from vinyl. Any fabric or vinyl choice will be a significant improvement to the existing upholstery…
 We pretty much have all of our materials here and ready to go. We shouldn’t be held up waiting on anything. The only item that could cause a bit of a delay is our solid surface countertops. We want to have Emmett’s workplace fabricate a new (marble looking) table, kitchen countertop, and bathroom vanity top. We have the remnants- we just need them fabricated. However, they are very busy right now with long lead-times, so we may wait and install those months down the road. We can easily use the existing countertops for awhile. Everything else is piling up in one of our guest rooms. It basically looks like an explosion of camper things upstairs…
 Again, if you missed the design plan or want links for anything… that’s all included in this post! I feel like we’re making pretty good progress and we already have some fun trips planned with friends & family. I’m looking forward to making our little camper a place we love and can make lots of memories in. Now that we have a functioning truck that can pull it again, we’ll be on the road in no time… after lots & lots of painting! Here’s to a good week ahead. If I’m MIA or miss a blog post this week- it probably means I’m painting. I also have a handful of doctor appointments this week, but I’ll do my best to stick to our schedule. Peggi has an awesome post planned on Wednesday for you! I’m just itching to knock this thing out. For some reason, this tiny little camper has me very excited!
Good morning! Wowza. The power of paint (even primer!) never disappoints. So much brighter! The floor looks great, too. I empathized with your carpet-pulling stories yesterday 🤮, but getting it all out of the storage area was the smart move! Another genius decision is taking all of the upholstery to your workroom! That’s a much bigger job than I imagined. I see the advantage of vinyl (impervious to wet bathing suits and muddy dogs), but do you worry about their claws doing damage? I love that you’ll be able to choose remnants! Thrifty and fewer choices always helps my decision-making process. Ha. You guys are going to be finished with this project in no time! I can just imagine all the fun adventures you’re going to have…camping, hiking, cookie-baking.🤣 Here’s to an awesome week! I’ll see everyone on Wednesday!💜
The power of paint, indeed! It looks SO bright in the camper now. It’s crazy how all of those existing brown and burgundy hues were making it feel so heavy. The carpet was a bear to get out! I ended up having to remove the entire dinette because the carpet was one giant piece underneath it. It also wrapped around the bottom of our slide out, so that was a struggle. It looks much better though. I’m glad I took the time to get it out of there. I’ve honestly never had issues with pets and vinyl (for myself or clients). I feel like it gets that reputation, but it’s such a thick material (like leather), it’s nearly impossible to ruin. I crawled around the work room attic this morning and was able to find a pretty brown (leather looking vinyl) that we’re going to use. Lucky for me, there was just enough yardage! I love saving money with remnants- it never gets old and I’ll never stop checking those types of places first. Things are moving surprisingly fast… I’m excited to knock it out. We baked cookies during our maiden voyage camping trip and it was so fun! We shared with friends around the campfire and it was cool to be able to pop something in the oven. Here’s to an awesome week, indeed! xo
I was so excited when I saw your stories yesterday! The flooring is gorgeous, and made such a drastic difference. Even with primer it’s so much brighter and already a more modern space. What sandpaper grit did you use for sanding in here? I love the kitchenette cabinet color! Such a great choice; I’m excited to see what remnants you can find at the workroom. Are you concerned about the dogs nails tearing the vinyl? The wipe-ability would be unrivaled by any other material; perhaps their own comfy blanket to spread out would protect the cushions and make it more cozy for sleeping. I’m digging the plan Sarah! I can’t wait to see the rest of what you have in mind. Cheers to the start of the work week! Good luck with your appointments this week; I’ll be thinking of you friend. xo
Thanks, Lauren! It made such a big difference- we’re really happy with how it’s coming along. I’m going to try to get home earlier from work to start painting tonight… I still need to prime the cabinet door fronts. I knew you’d be into the kitchen color! I can’t wait to start spraying that- I’m dying to see it. I have never had any issues with dogs and vinyl (it’s usually very thick). It’s one of the most durable upholstery fabrics out there, and it can easily be cleaned with soap & water. I’m sure we’ll toss down a blanket for them anyway (at night) because let’s be real- those two are spoiled. Haha! Thanks for thinking of me… I’m still a medical mystery, but feel my doctors are getting closer to figuring me out :) Hope you have an amazing week ahead! xo
Wow! The camper already looks a zillion times brighter and I’m digging all of your plans. Love the kitchen color you chose too! Can’t wait to see how it looks when completed and you’ve made such wonderful progress in such a short time. Yay!
We had a busy weekend with friends and their 9 month old baby. He was such a gem and loved the pool and spa. It was so fun but exhausting as those busy baby days are way behind me and I forgot how crazy life can be. When I got up to let Lorrie out in the yard just before 7 am on Sunday morning they were already in the pool 🤣 super fun visit though.
Your camper renovation looks fabulous and so excited to see the reveal 🤩🥳 Have a fantastic day and week and sending hugs and good vibes for your doctors appointments ❤️ Xoxo
Thank you, Colleen! It’s amazing how transformative paint can be. So fun to host your friends over the weekend :) I loved hearing about that. Our best friends have a 16 month old and they spent the night with us over Memorial Day and it was the same situation- up VERY early. Haha! I’m glad you all had a wonderful time together. Thanks for the hugs and good vibes. So far my appointments are going well this week. I’m just getting home from another blood draw (I do hate those though). Hope you’re having a good week! xox
Enjoy watching you turn this into a comfy new travel trailer! Envious! Clapping for the green color! I’ll keep watching the insta stories on your progress. Did the ‘Rvfixeruppe’ on insta help with your remodel ideas & questions?
Have a great day!
Thank you, Danna! The green color is so pretty in person! Ok- @rvfixerupper has SO many good ideas- I’ve really enjoyed following along. It has definitely sparked some ideas for ours. Hope you’re having a great day, Danna!
So fun to see the transformation. I love the lights you picked & have been wanting to change out the lights in our RV, but haven’t been able to find anything I really like that is 12v. It looks like the ones you selected are 120v. I’m not sure if my husband is messing with me, but he told me unless they are 12v, we won’t be able to use them without the generator. If I want to use the lights on the batteries they have to be 12v. Any information you found and want to share would be greatly appreciated.
Thanks, Jonelle! We’re actually leaving the existing lights… since our camper is small and they’re pretty low profile, I don’t mind them. We didn’t want to have to rewire anything and we’re sticking to a tight budget. The sconces in my design plan are actually going to be on a remote (not hard wired), so those will have LED batteries and they’ll be installed in the bedroom area. If you are replacing the 12v overhead lights, you would indeed need to replace them with another 12v option. Hope that helps to clarify!