A Peek Into My Camera Bag
 I get a handful of emails about my camera equipment, lenses and how to achieve a certain style image. I thought it might be beneficial for you creative folks, to take a peek into my camera bag? I’ve been shooting with a Nikon since my first photography class in college… I know it’s the underdog in the blogging community, but I really really love it. Plus, once you start purchasing nice equipment and new lenses- it’s really hard to make the switch once you have so much invested. I love my setup and will continue adding to my collection. Here’s what I use to capture every image you see on the blog…
 First let me preface this post by saying these images were taken with my iPhone because obviously I was shooting my camera equipment. Ha! So please don’t judge these photos thinking they’re expertly shot my by so-called “nice” equipment that I’m about to share with you.
 Camera Body // Nikon D750 – I’ve used many Nikon SLRs throughout the years. For my first serious photography class in college, I shot with a Nikon D3300, a few years later I upgraded to a Nikon D90, and now I’m currently shooting with a Nikon D750. I love it for a variety of reasons, but the biggest difference in my current camera and previous models- it’s full frame. Meaning, what you see through the view finder, is the exact image you’ll get. It’s wider and doesn’t automatically crop anything. While the body of the camera is super important and a big investment, for me the lenses are what really influences the best photo.
Depending on your subject matter (food, interior spaces, portraiture, etc.), you’ll want to purchase a lens that caters to what you shoot. Since I primarily use my camera for shooting blog content and Room for Tuesday is a lifestyle blog, I use a variety of lenses. A little background on purchasing lenses- you might want to buy a lens that autofocuses, you might also care about versatility… some are fixed length, also called a prime lens (meaning they can’t zoom in and out), while others (variable lenses) are capable of zooming. These are my go-to lenses…
Lens 1 // AF-S Nikkor 50mm 1:1.4G – This lens is perfect for shooting close up. It’s a macro lens and captures great detail with a nice, shallow depth of field (soft, blurry background). I use this baby for shooting food, cocktails, and interior or DIY details. It allows a lot of of light to enter, making it easy to shoot in low light situations without a tripod. Because it’s so small, I often travel with this lens!
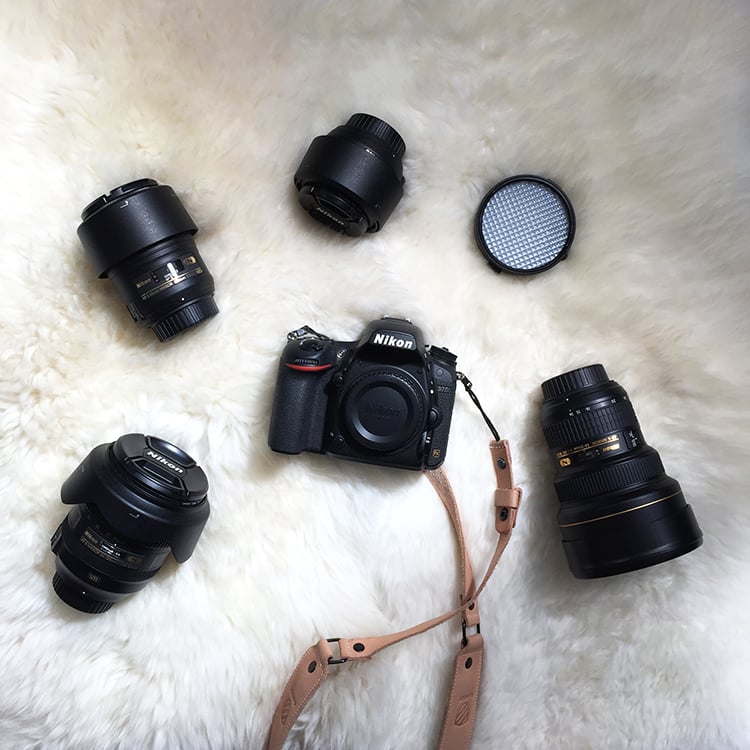 Lens 2 // AF-S Nikkor 60mm 1:2.8G – This one is super versatile! You can still get detailed, soft images for macro shooting, but it’s also great for medium shots, like portraiture or interior vignettes. This one is an easy go-to. When in doubt, this one will usually do a great job for many different scenarios.
Lens 3 // AF-S Nikkor 24-120mm 1:4G – This upgraded telephoto lens is fantastic for both interior and outdoor shooting. It’s great for landscapes and portraiture. Since it is a variable lens, you can zoom in and out as needed. It’s pretty wide for the size, so you can fit quite a bit into the frame.
Lens 4 // AF-S Nikkor 14-24mm 1:2.8G – This lens is the craziest, as in- the technology is amazing! It’s been called the ultimate wide-angle zoom. I use this guy in tight spaces; it’s especially handy when I’m shooting bathrooms, hallways, or any other tiny interior space. It is able of capturing the entire room without distortion. Some wide angle lenses fisheye so badly and it looks totally unrealistic… not this one. The price tag certainly reflects that, but the images it produces is well worth it.
Expo Disc // If you’re wondering what the round, patterned circular object is, it’s called an Expo Disc. It’s a professional white balance filter. This thing comes in super handy! It neutralizes your images, so the color is consistent even if you’re shooting in different locations or settings. For example, I might want all of my images in a single blog post to look cohesive, with the same toned color palette. This tool allows me to do just that. Sometimes photos can look too cool or too warm, the expo disc helps to create an even colored photo. If you’re curious how this little device works, check out these videos. A guy at my local camera shop convinced me I needed this a few years back, and I certainly don’t regret the purchase.
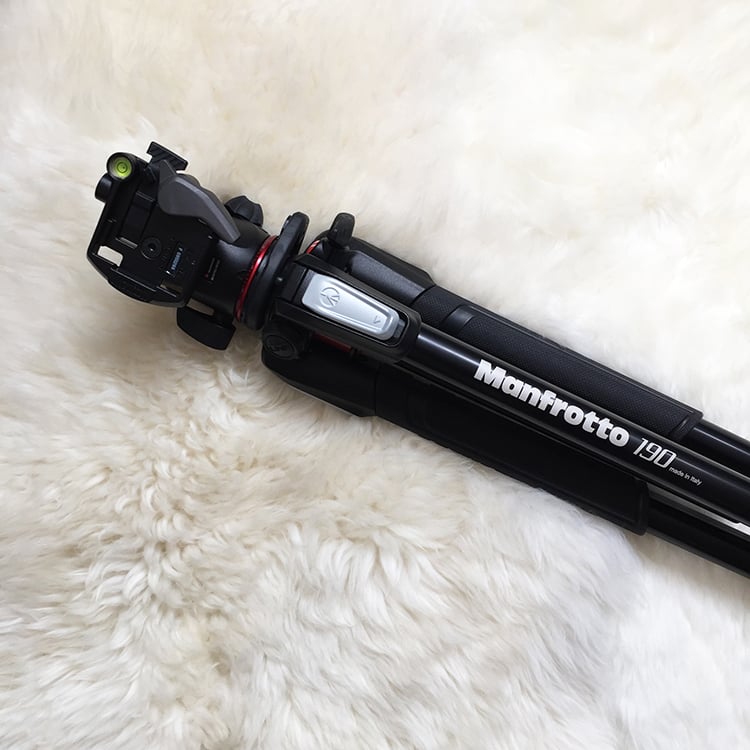 Tripod // I use a Manfrotto 190 tripod. It’s a really well-made Italian tripod that is incredibly easy to manipulate. It’s more intuitive than other tripods I’ve used, it’s heavy enough to support my large camera, and bends into about a million different shapes. It’s easy to set up indoors, outdoors, and even inches away from a surface during food shoots.
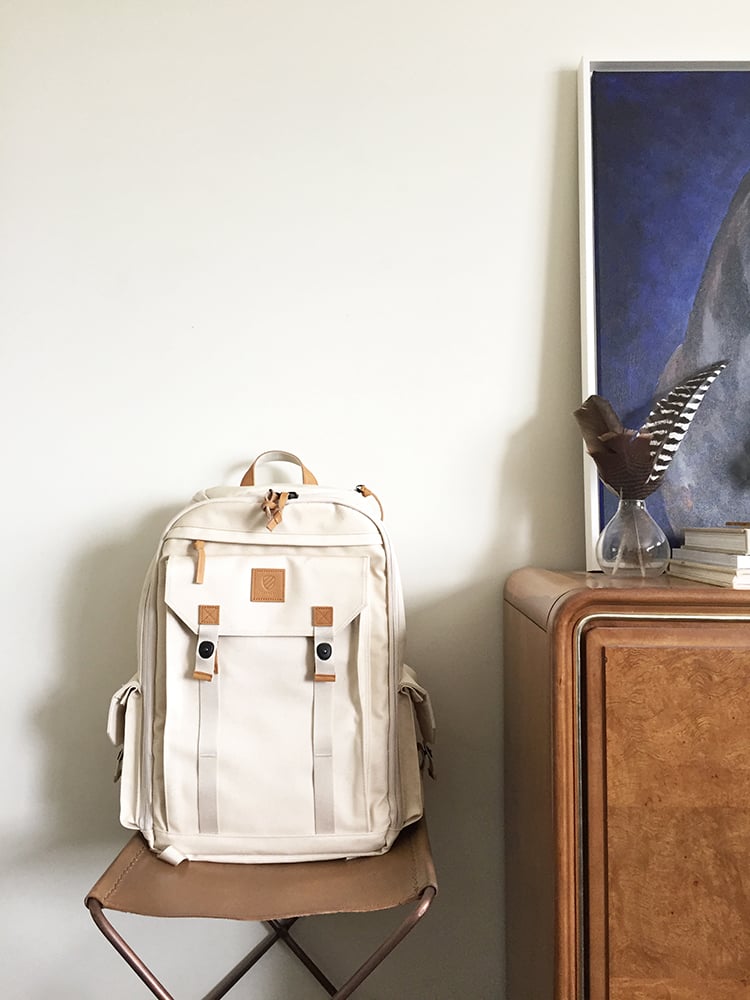
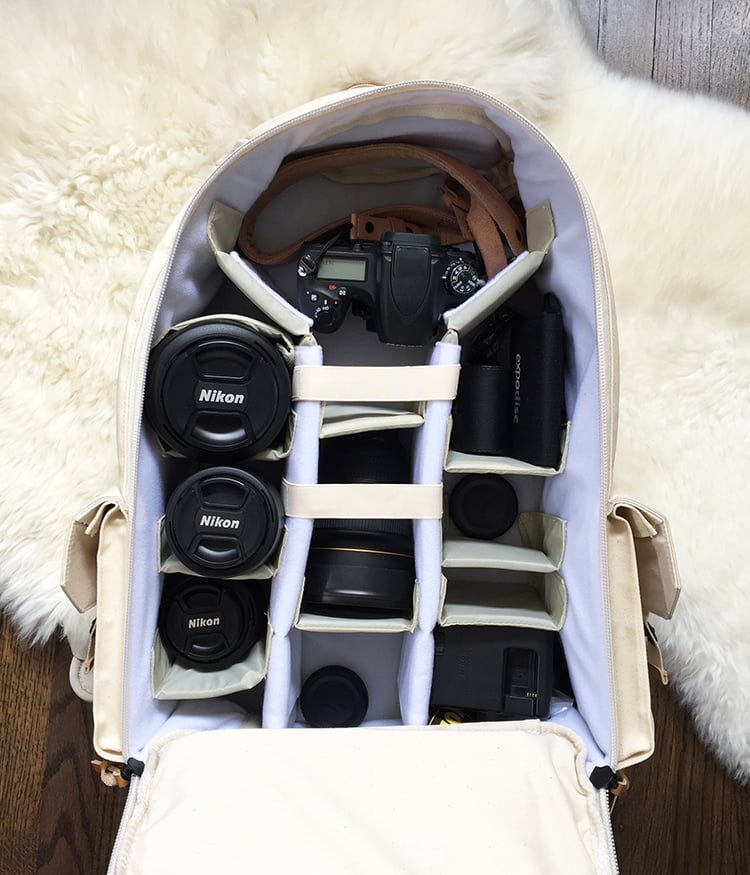
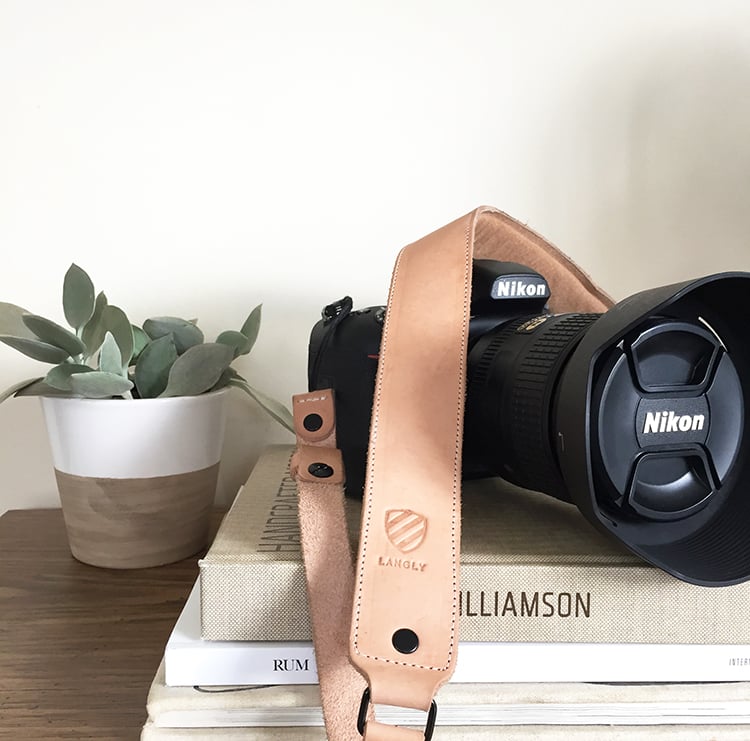
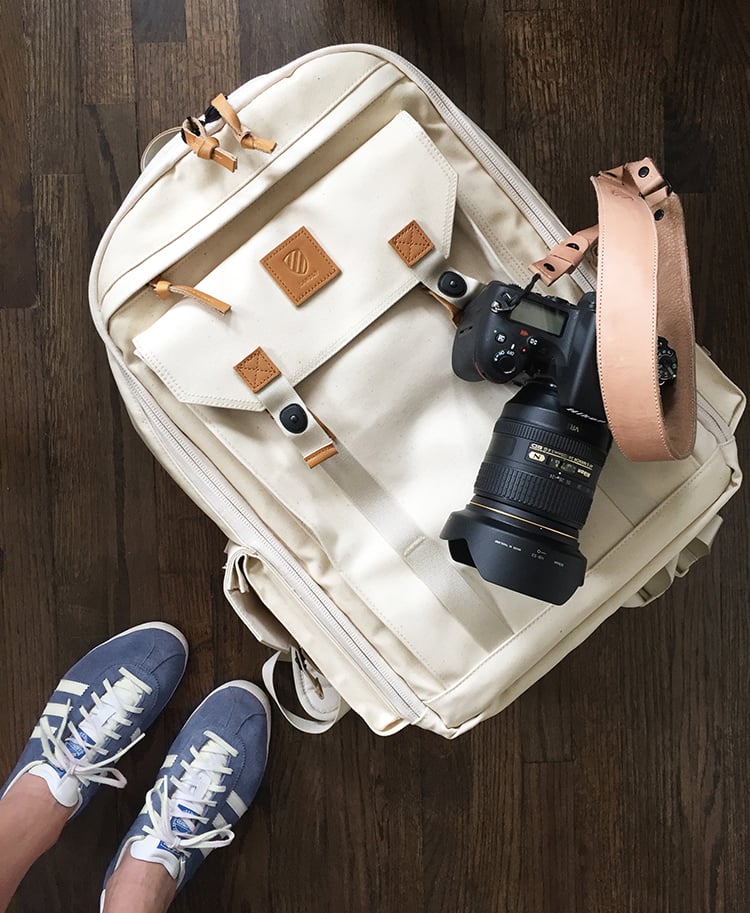 Camera Bag & Strap // Now for the fun stuff!! Camera accessories are just as important as the equipment itself. Once you’ve invested so much money in gear, you definitely want to keep it safe. The problem I have is finding accessories that look stylish, are functional, and provide adequate protection for my camera and lenses. Emmett surprised me with a Langly leather camera strap and I fell in love with their products. Both my bag and camera strap are made by Langly. It fits my gear perfectly, is easy to travel with, and looks pretty stylish.
Lots of people also ask if (or how much) Photoshop I use. With a background in visual arts and graphic design, you better believe I use and am proficient in Photoshop and all things Adobe Creative Cloud. I typically use this software for color correction, balancing and adjusting each RAW image. I’m actually better in post production than shooting- which is totally opposite of how people are encouraged to compose an image. It’s because I’m more familiar with the software than the million camera functions. The other common question I’m asked- do I shoot on auto? No way. In my opinion, the beauty of owning an SLR is complete control, and that means shooting manual every single time. Although I’m no pro, I took a handful of photography classes during college art school and I do know my way around my camera pretty well. I’d encourage everyone to take at least one class (even if it’s just online), to familiarize yourself with your camera. You can produce amazing images if you know how to manipulate your equipment. It’s a game changer!
Alright, so that’s my basic setup… if this was boring and not your cup of tea- don’t worry! Regular content is scheduled for the rest of the week. If this was helpful and you would like to know more about my editing process, easy how-to guides, composing an image, editing, or anything else camera / photography related… let me know! I’d love to answer any additional questions you guys have. Leave them in the comments below!
Hi Sarah! This post is very helpful and I really enjoyed reading it! I was wondering if there are any Basic Photography or Photoshop online classes that you are aware of and would recommend? I am a newbie, but trying to up my game a bit with my DSLR and move on from iPhone photos:)
Thanks!
Allie
Hello! So glad you thought this post was helpful! I haven’t ever taken an online class, but I know you can find some free videos floating around the Nikon site, like this one. It really is fun to learn and experiment with photography. Good luck!! xo
I’ve got the D800 and the same lens as your Lens 1… a lens I love! I’ve been wanting to switch it up with lenses, so this gives me some good ideas! Your photos are always so gorgeous, by the way!
I love that lens, too! It’s so easy and versatile. Thanks so much for the sweet compliment :) xo
This post!!!! THANK YOU for writing it years ago! I’ve been working on developing a interior design photography company and there is not a ton of information on the details everyone likes to use. I’m specifically looking for my next lense (canon) and you provided so much that I wanted!!! I’m comfortable with manual and my camera and my kit lenses and the 50 but did not know what to get next. If you have any suggestions I’d love to have a mentor or contact to be in communication with! Just came crossed your blog tonight and I’m looking forward to exploring!
And btw that bag😍😍😍
So happy to hear that Sarah! I definitely use my wide angle lenses often since we live in a smaller home- it makes shooting challenging. The camera back is my favorite ever- definitely a worthy investment! xo
where is your camera bag from?!?
It’s from Langly :)
Hi Sarah! I just came across your blog and am so inspired by your interior photography. I work for a home staging company, so we do a lot of interior photos to capture our work but it is often in the afternoon and lighting is not great. We are wanting to level up and buy a camera that will allow us to get more professional photos of our staging. I noticed this blog post was put up quite a while ago so I wasn’t sure if the equipment is still accurate to what you currently use/would recommend. Would you be open to sharing what camera you use now?
I so appreciate your time and any knowledge you have to share! Thank you :)