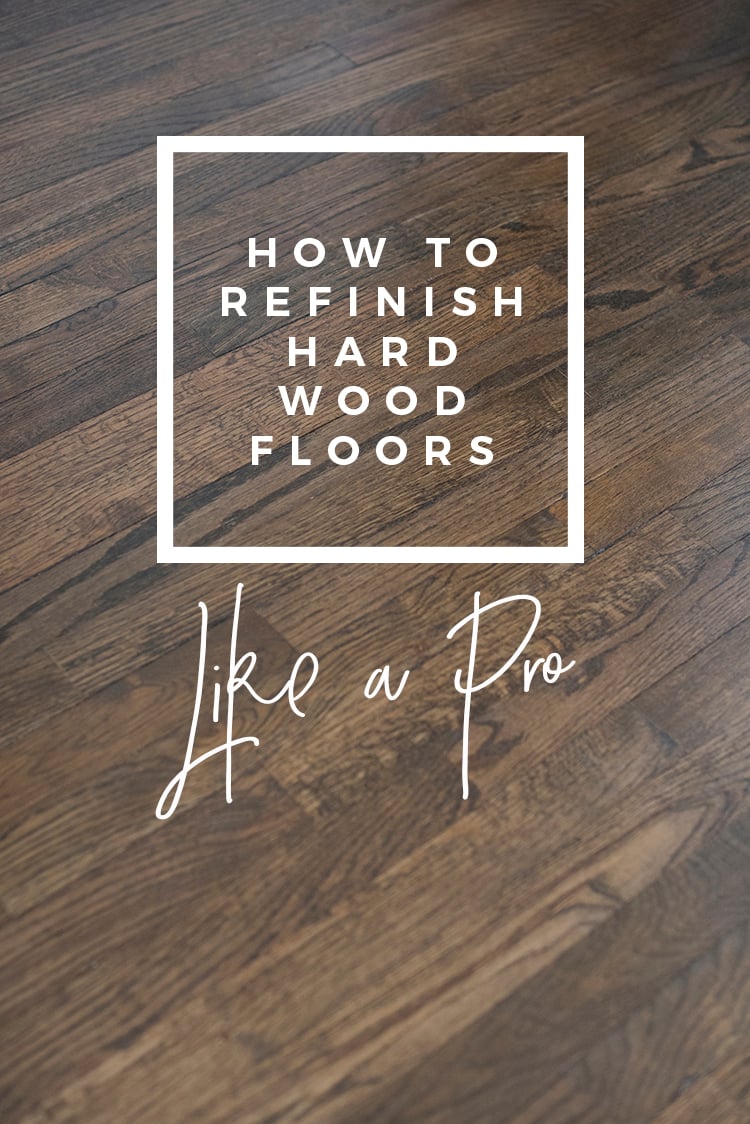
How To Refinish Hardwood Floors Like A Pro
 The very first project we tackled upon arriving at our new house? Refinishing the floors! Before moving across the country, we actually got a quote to have them finished prior to our arrival… but that would’ve been too easy. I really wish that would’ve been the case, but I had to face the fact that our renovation budget isn’t huge, and the floor money would definitely mean sacrificing something else. We decided to do them ourselves and to my surprise… it was actually pretty simple! If you have the time and are willing to put in a little elbow grease, you can save a ton of money- a significant amount. Our house is 1,200 square feet and it’s pretty much all hardwood… the quote we received was around $4,000 and we spent $600 doing the project ourselves, so we ended up saving $3,400. Pretty insane, right?! Here’s everything you need to know about how to refinish hardwood floors like a pro.
 What You’ll Need:
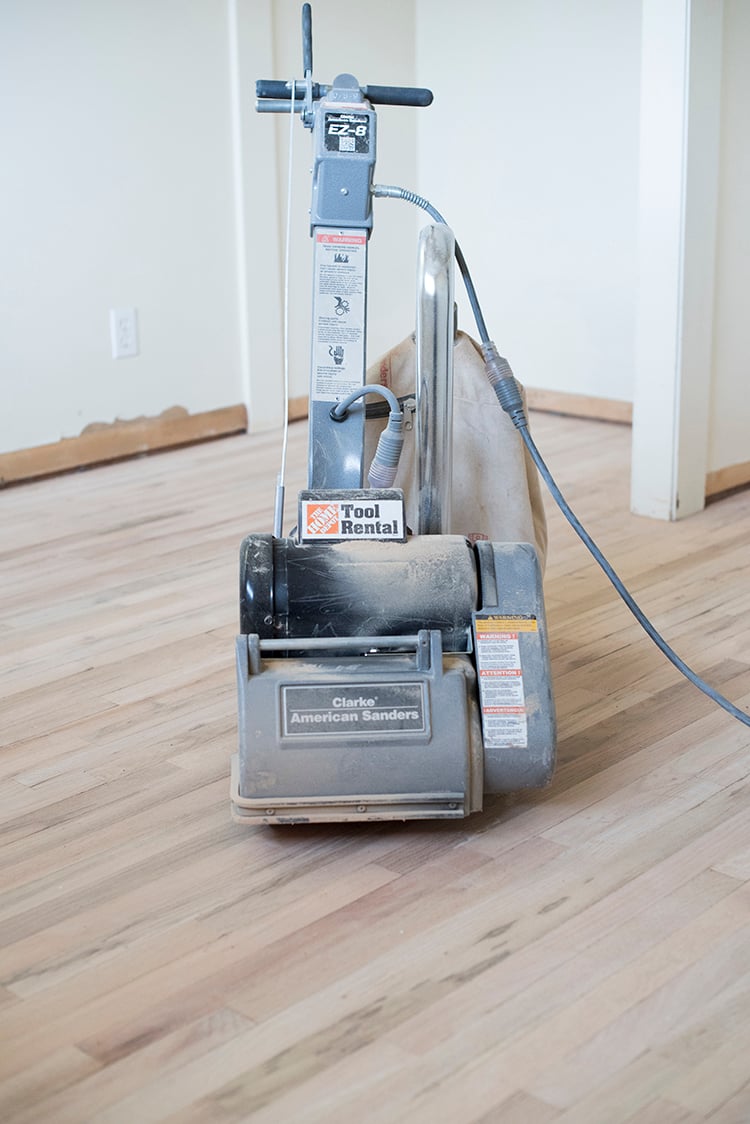
Belt Sander (rental from Home Depot)
60, 80, and 120 Grit Sandpaper (the tool rental department will show you what you need!)
Edger Sander (rental from Home Depot)
Shop Vac
Minwax Oil Based Stain (we used Dark Walnut)
Minwax Water Based Oil Modified Polyurethane (we used Clear Satin Finish)
Shop Rags
Stain Application Pads
6″ Smooth Finish Foam Roller
Screen Buffer (rental from Home Depot)
220 Grit Screens (the tool rental department will show you what you need!)
Needle Nose Pliers
Pry Bar
 Ready to get started?! I’d recommend setting aside 3 – 4 days to complete this project. It took a little longer than we anticipated, but the results and savings were well worth it.
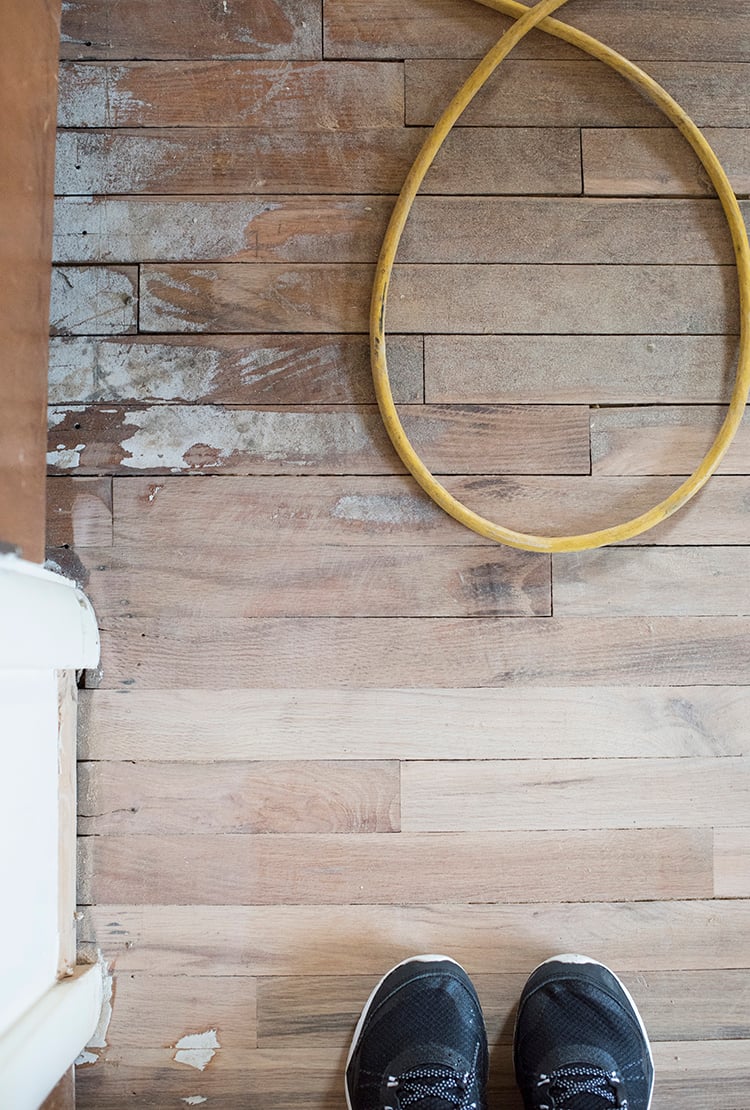
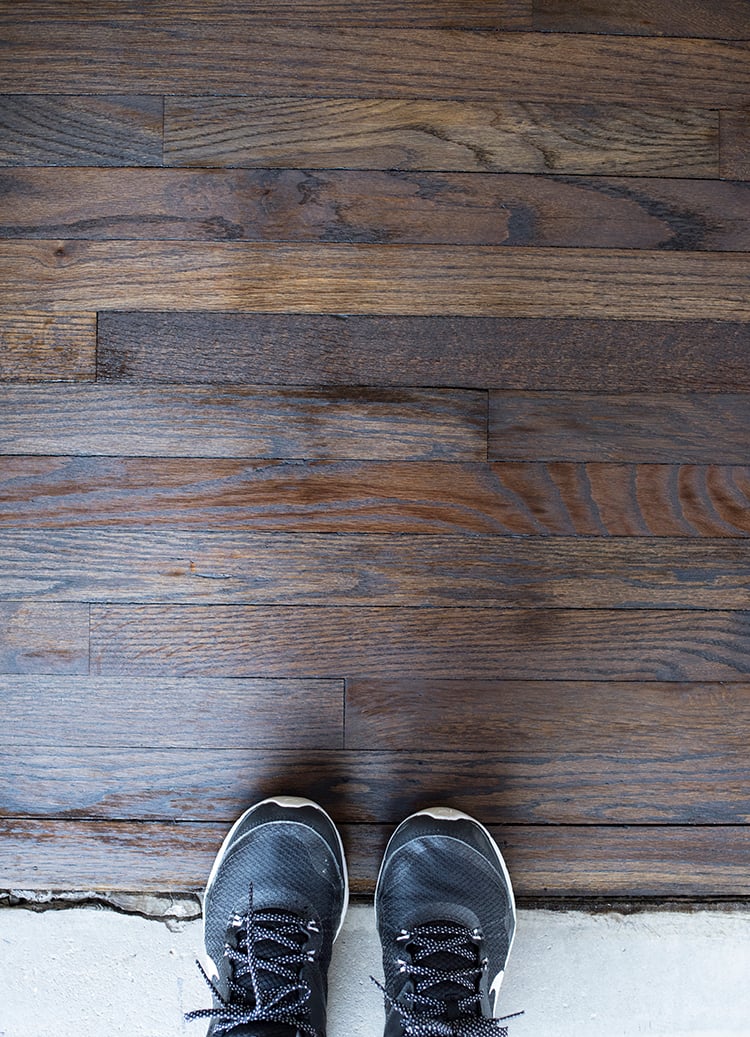
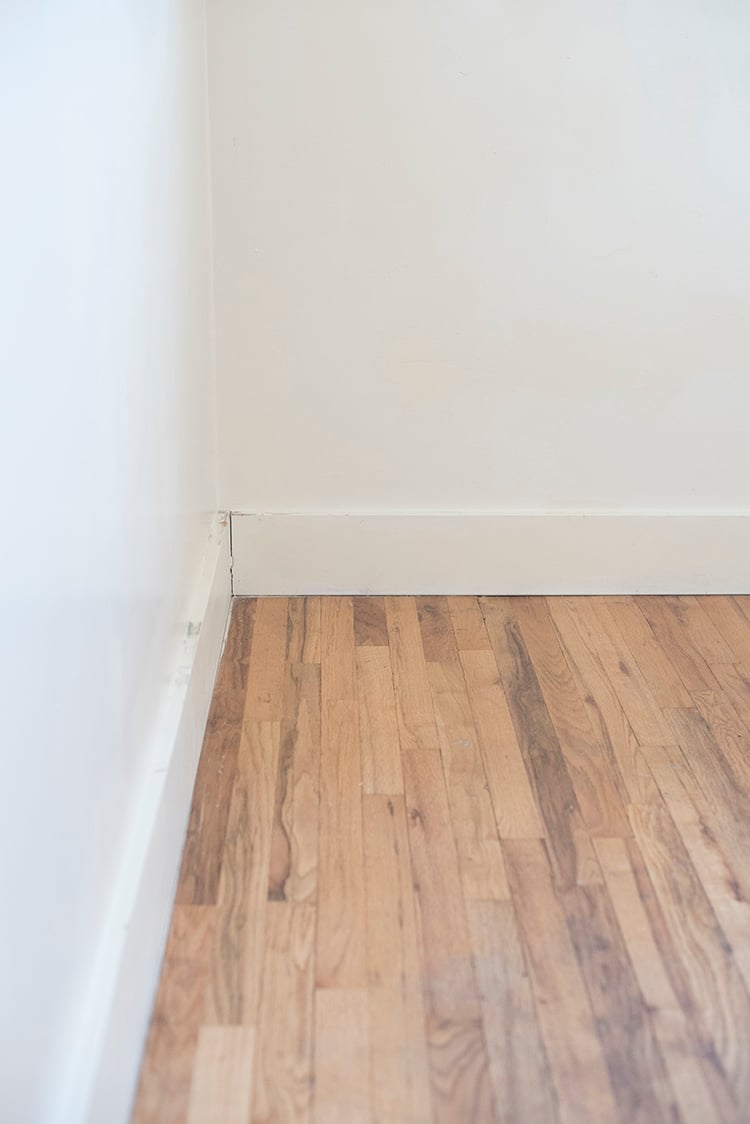 Step 1 // Prep your floors for sanding! Remove all carpet tacks, nails, or other objects from the floor. I would also recommend removing all baseboards- this step isn’t necessary, but it makes the project much easier. We’ll be adding new moulding throughout the home, so it totally made sense to trash the existing baseboards prior to the floor project.
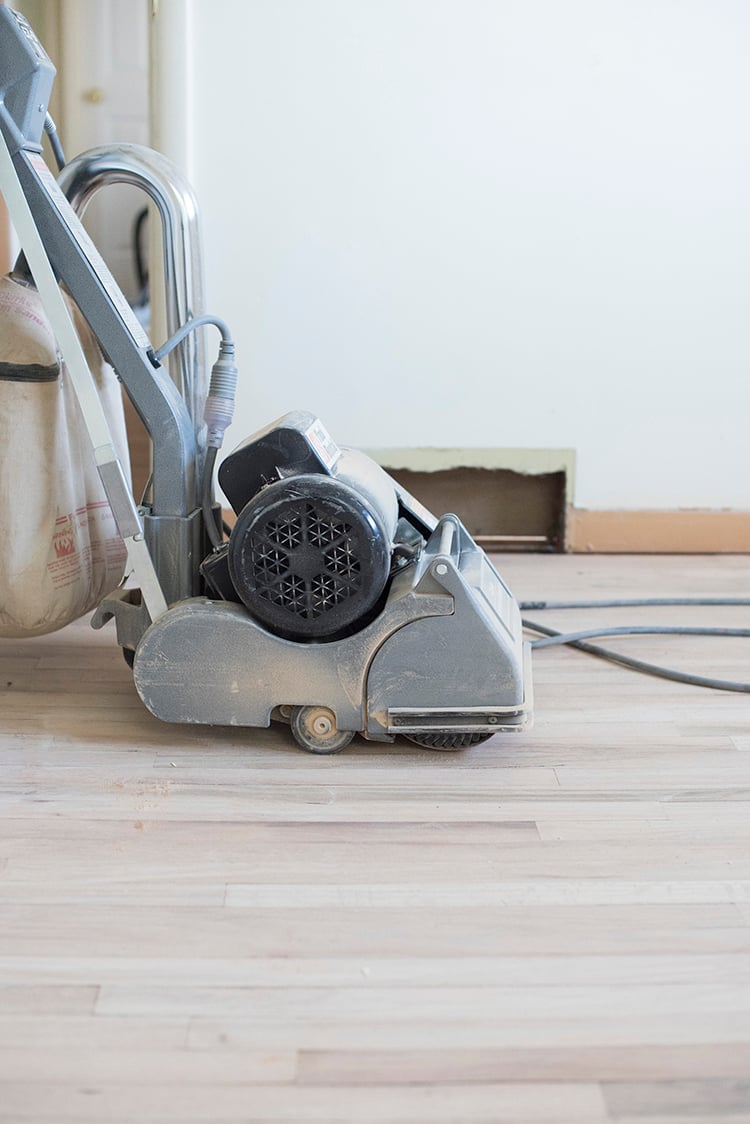
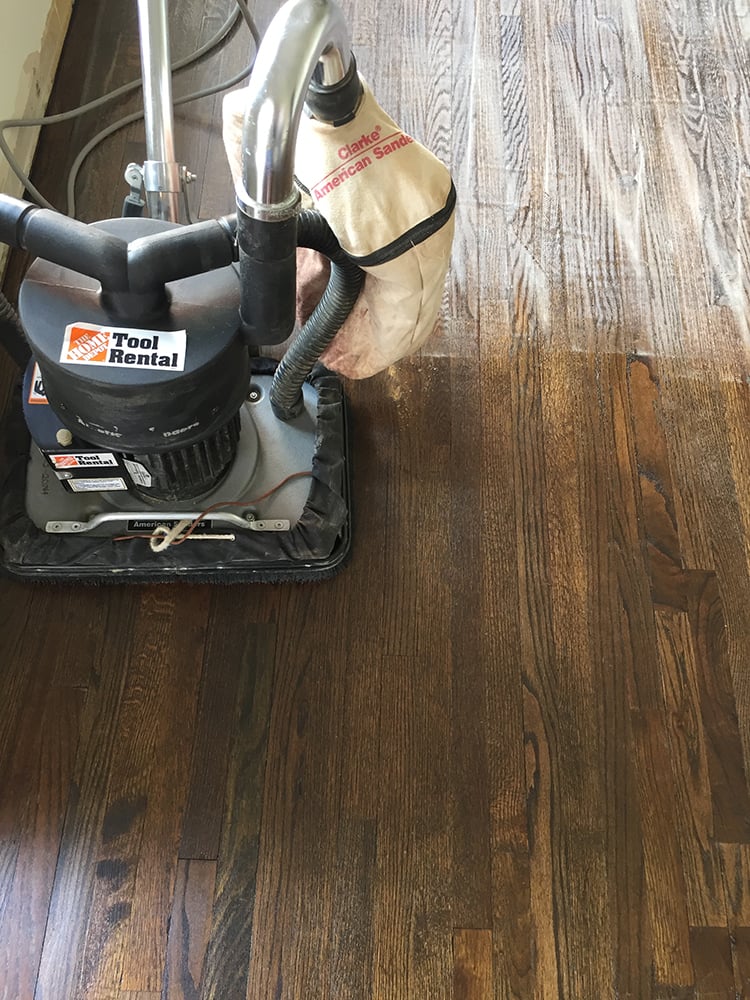
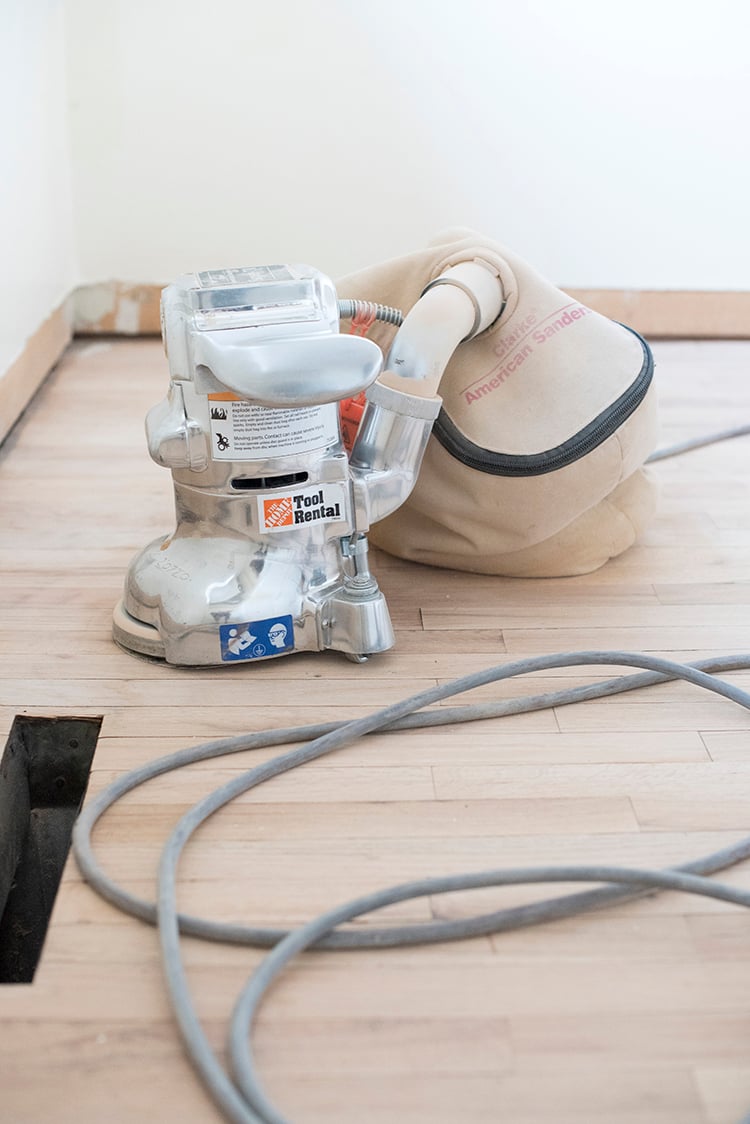 Step 2 // Using the belt sander with 60 grit sand paper, begin sanding the floor. Remember to sand with the grain. Next, it’s time to bring out the edge sander. Also using a 60 grit sandpaper, go along the perimeter, edges, and sand the corners of each room adequately. Repeat the process with the belt sander and edge sanders using 80 grit sandpaper, followed by 120 grit sandpaper.
 Step 3 // Use the shop vac to clear dust and debris from the floor, then wipe it down.
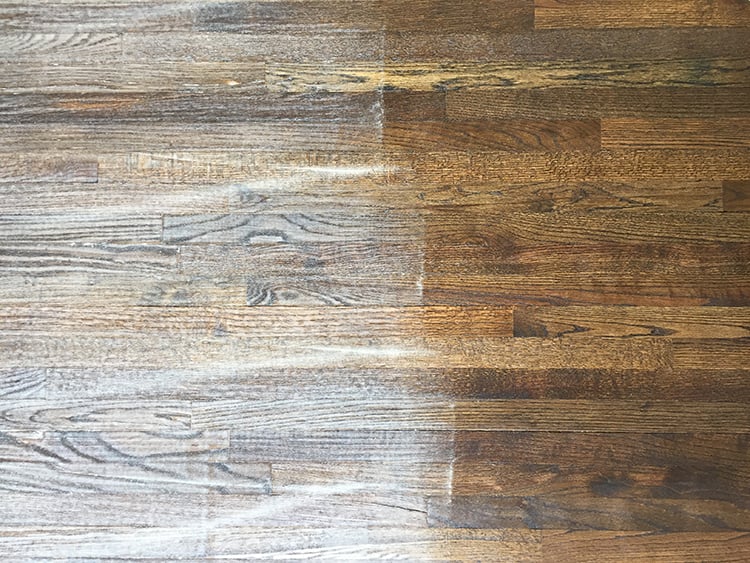
Step 4 // This step is very important in the staining process… it’s called water popping. It’s the process of wetting the wood to raise the grain, opening the porous surface, allowing the wood to absorb more stain. It will make for a nice, even, saturated color. To do this, soak the scrap rags in water, wring them out, and wipe the floor evenly.
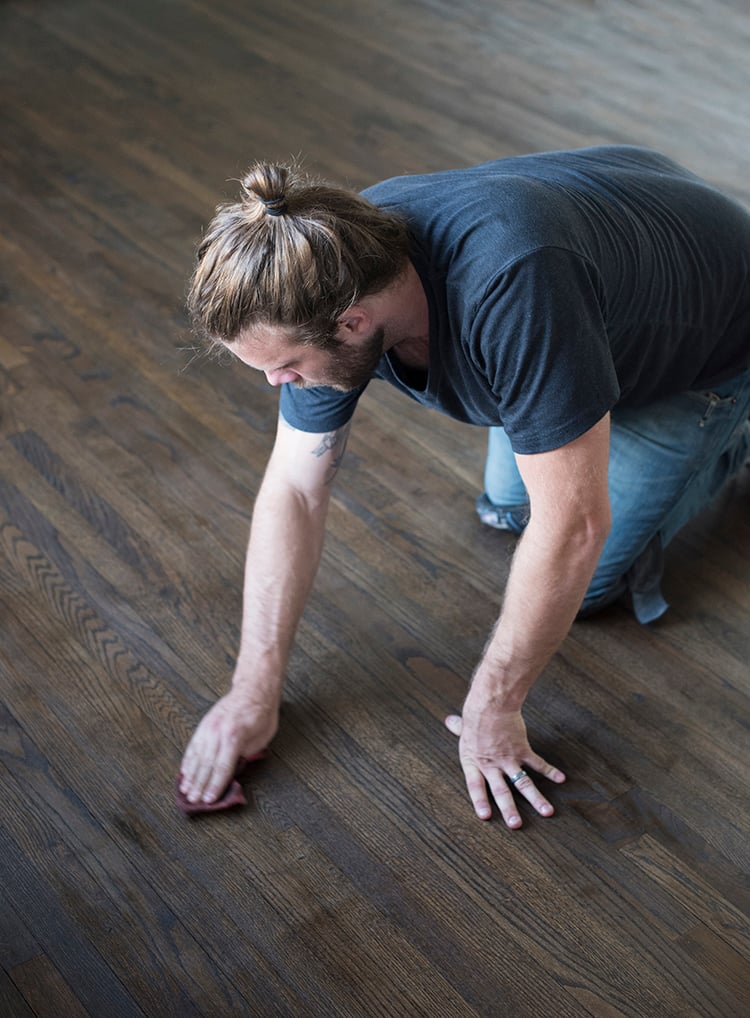 Step 5 // It’s time to start staining! Using the Minwax oil based stain, dip an applicator pad into the stain and apply it to the floor with the grain. We started in the corner of each room and worked our way toward the door. After a section is complete, it’s super important to wipe and absorb all excess stain with a clean application pad! I wiped the floor five planks at a time. Don’t be fooled by the roller applicator at the home improvement store. We tried using it for one room and it did not go well. You can control the staining process much easier when done by hand! It’s neater, more even, and takes less time to dry.
 Step 6 // Allow the single coat of stain to dry at least 24 – 48 hours (this could be more based on humidity or temperature in your location). You can tell from the above image, the floors are still wet.
Step 7 // Apply for the first coat of Poly with a smooth, foam roller. This should be a thin coat! Let it cure for at least 2 hours.
 Step 8 // Buff the floors with the 220 grit screen. After buffing, clean and wipe the floor very well. Now it’s time to apply the second coat of poly! Repeat this process until you have applied 3 or 4 coats of poly. We applied three coats throughout, except for high traffic areas- they received four coats. That’s it! After the application of polyurethane, your floors are complete.
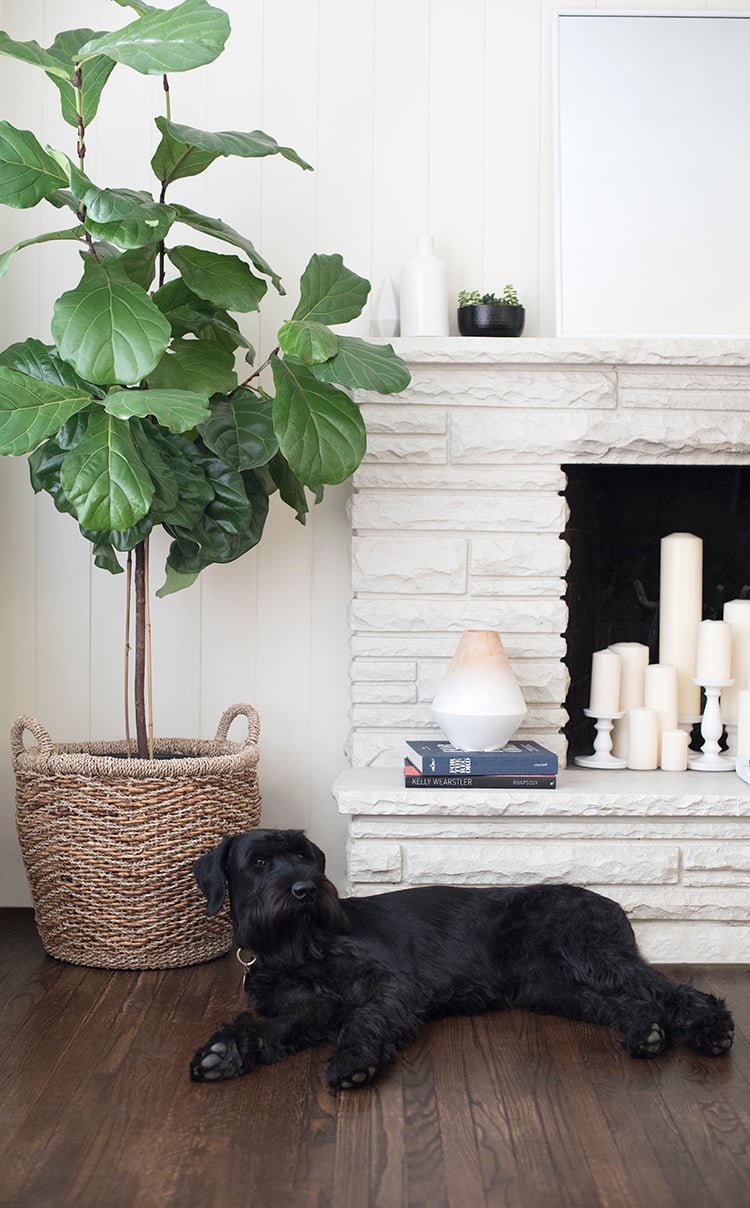
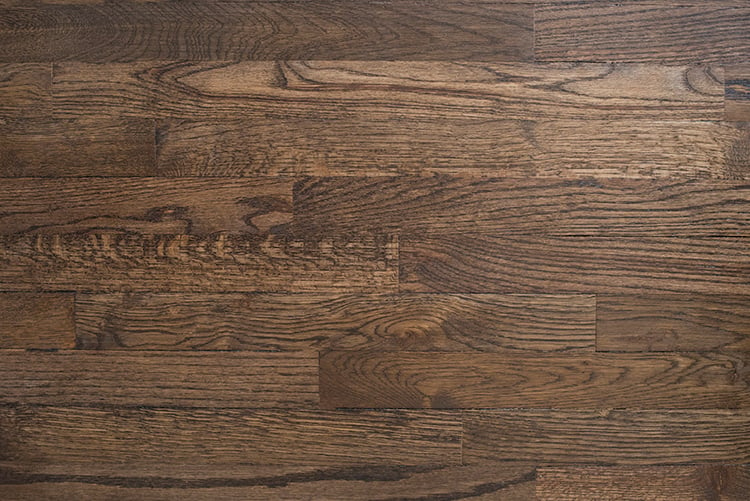 The above image shows my totally finished floors! They might look familiar to you because it’s the exact same color we used in our previous home. A little bit of stain goes a long way and one gallon actually completed both houses! That’s right- we had stain leftover, so to save money we just used the same color.
To make the most of your floors and all the work you put into them, I’d recommend only light use (walking with socks) after 24 hours. In 48 hours, you can move your furniture back onto the floor, but AVOID adding rugs or textiles for at least 7 – 10 days.
 Obviously the finished vignettes of my living room are not even close to being done. Next up for the space you’re seeing: paint & restore the fireplace, add a custom built-in, millwork, and moulding! Although the images with Finn may seem like I have my s*** together here… you’re not seeing the other half of the room. It’s a tornado of boxes, bubble wrap, and who knows what else. Either way, Finn has been sliding around on the hardwoods just like he did at our old house and they’re sure to be scratched up soon. They say it adds character? Ha! I’m really happy with how the floors turned out, and am even happier about the room it saved in our budget. You guys can totally do this project! Shoot me questions if you have any.
PS. Find the before images here!