Oversized Concrete Candle DIY
 A few months ago, prior to styling and shooting the kitchen, I was out shopping for accessories & cookware when I stumbled across a giant cement citronella candle. I was on a mission and committed to finding everything on my list for the kitchen, but couldn’t get that candle out of my head. I considered going back for it the following day, but also didn’t want to spend $150 on a large outdoor candle after having just spent a hefty chunk of change on a brand new kitchen. Weeks later, I was still thinking about that silly candle and described it to Emmett during dinner. He has been asking me to dream up a concrete DIY for ages now, so he jumped at the opportunity to recreate the oversized candle I had previously described. Together, we brainstormed the project and here we are… click through for the tutorial and save yourself a bunch of money!
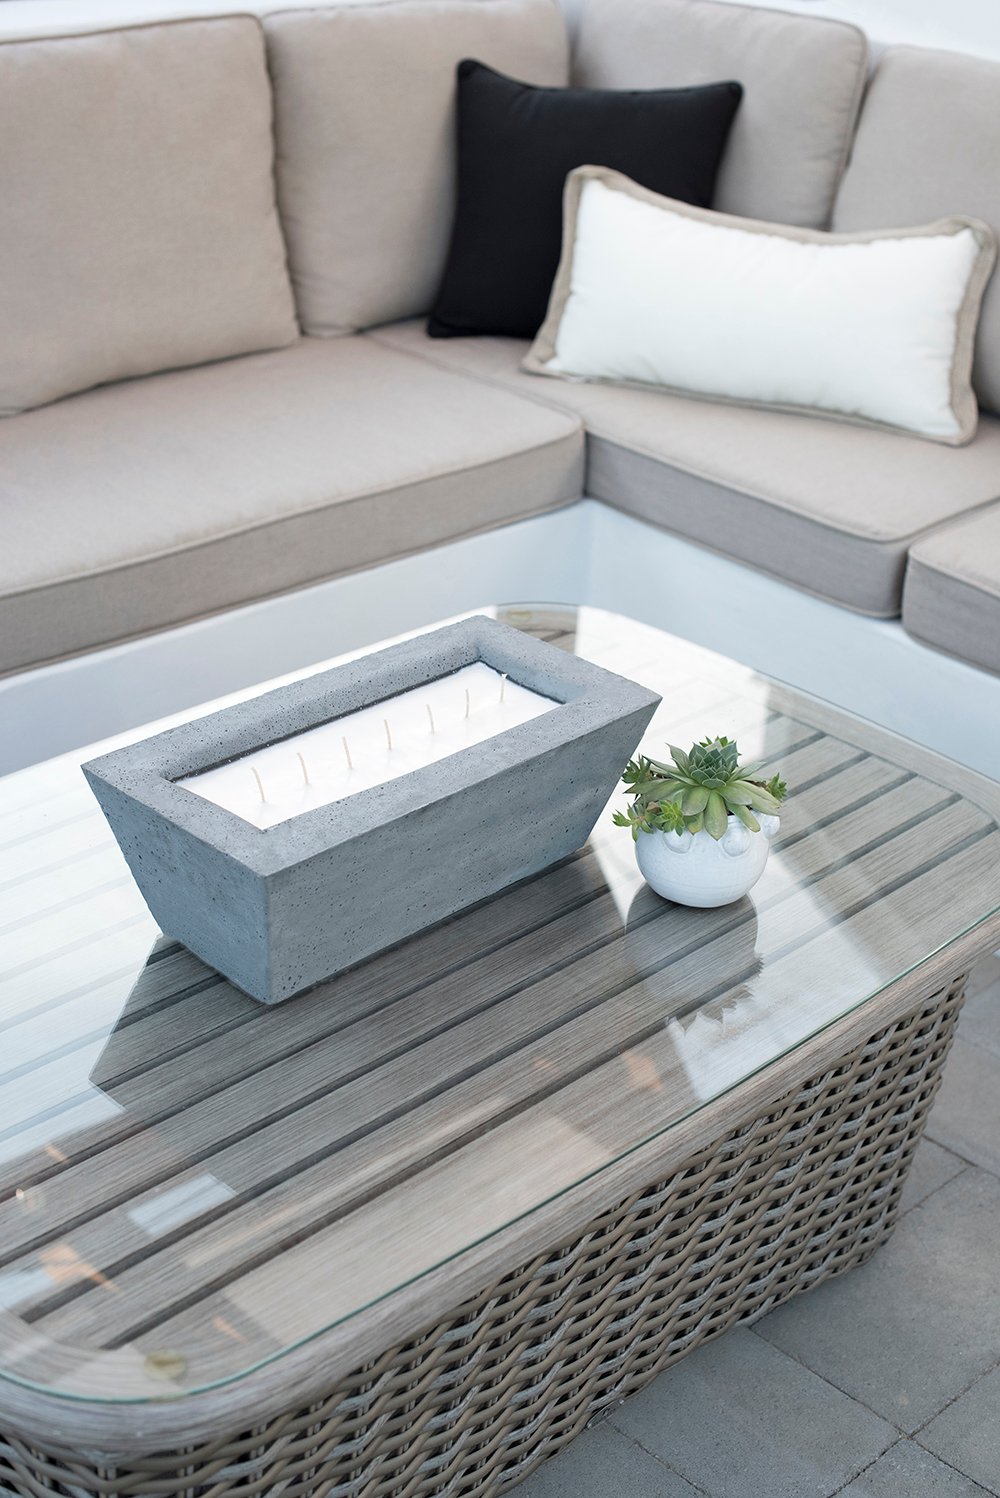
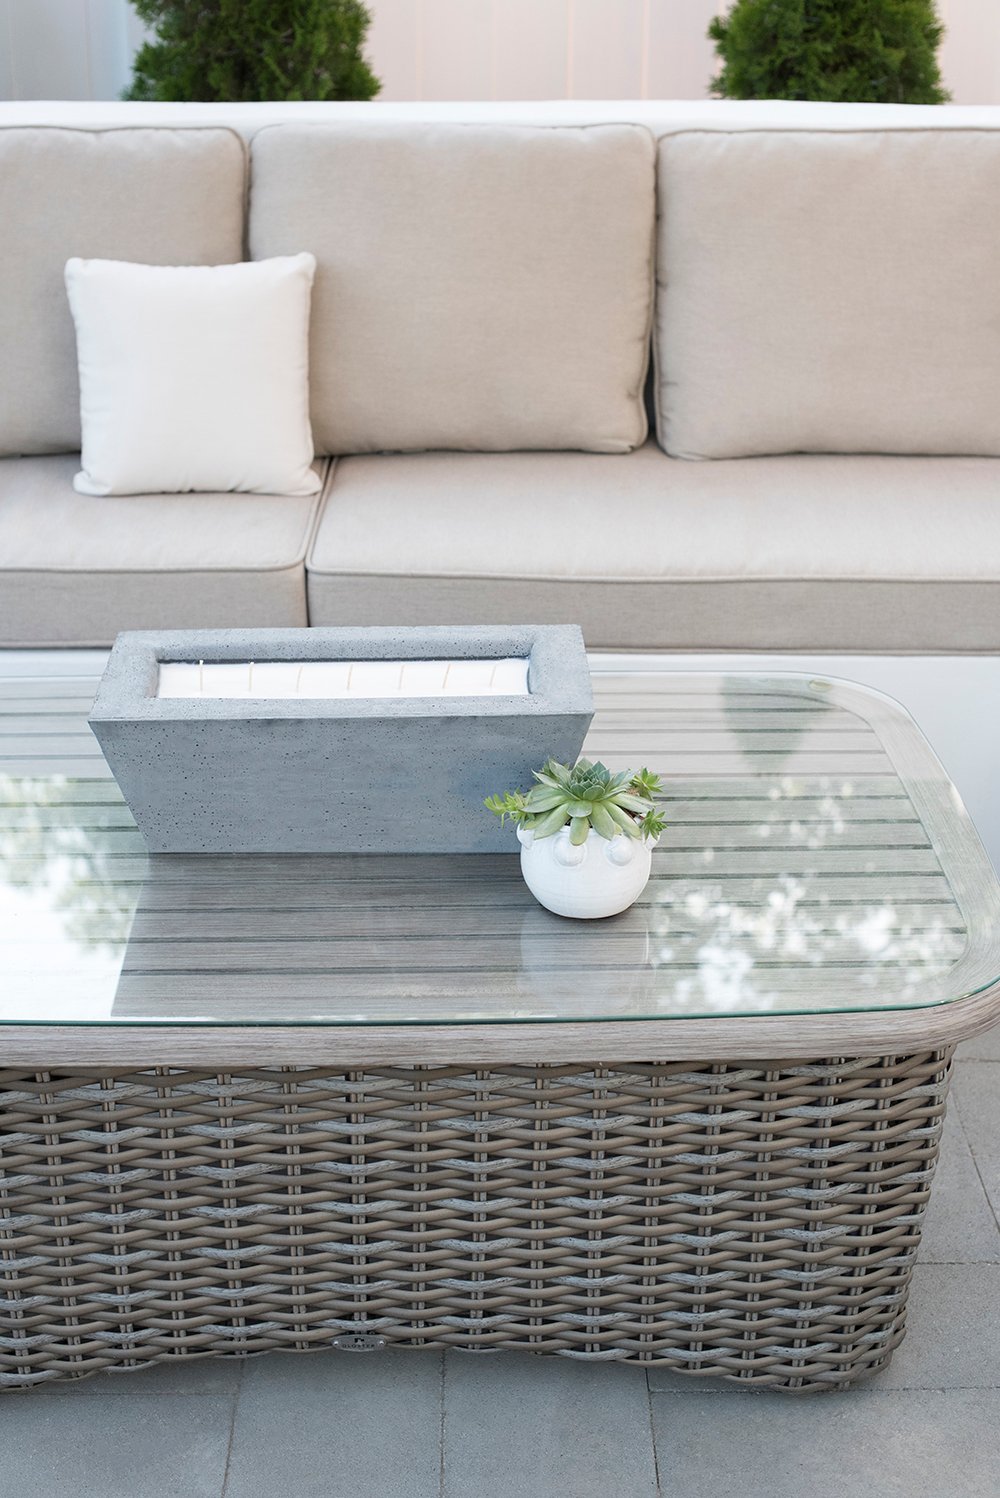
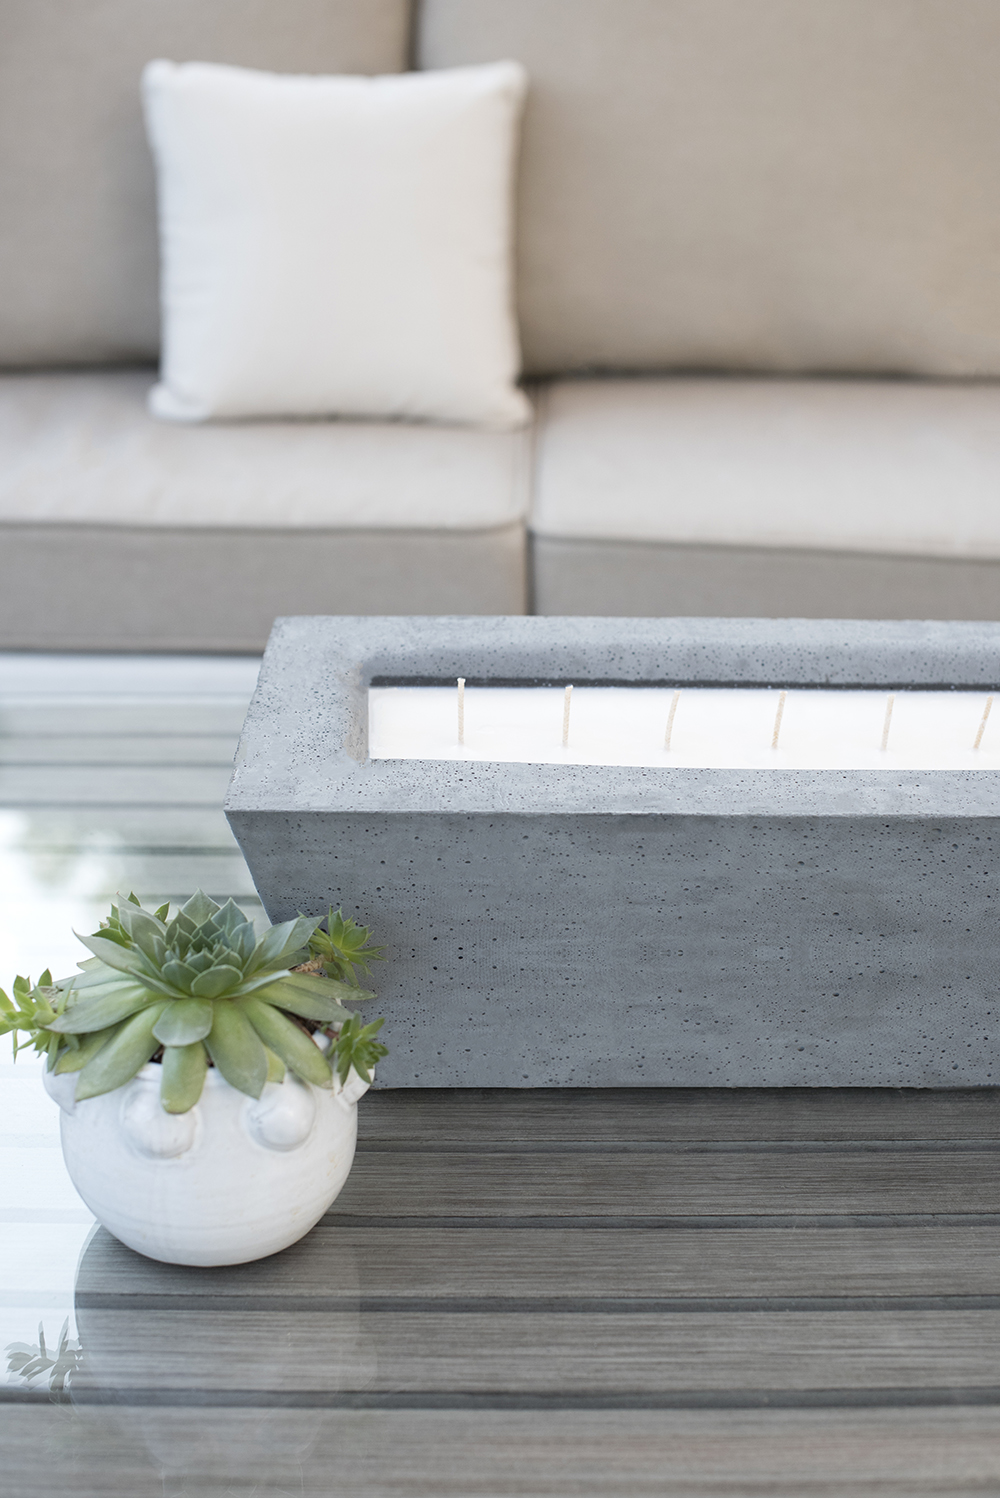 I actually photographed this DIY prior to yesterday’s backyard shoot and the candle is now living on the outdoor dining table under the veranda. It’s super versatile and can pretty much exist anywhere outside to ward off mosquitos! I’m loving it styled as a centerpiece, but it looked great on the coffee table as well. Maybe I’ll rotate it between our two outdoor living spaces?
 Feel free to get creative with this DIY project, because there are certainly multiple ways to tackle it. If you’re not into this specific shape, it would be really easy to switch it up. The same goes for the scent… if you’re not a fan of citronella, try something else and style it inside your home. If you don’t feel like building a mold from scrap wood like we did, you can also use existing containers you have on hand to make the project easier. Buckets and plastic containers like tupperware work really well! This is just how we did it.
S U P P L I E S + T O O L S
- scrap wood
- nails
- duct tape
- mortar mix
- mud pan
- cooking oil
- soy wax flakes
- citronella
- candle wicks
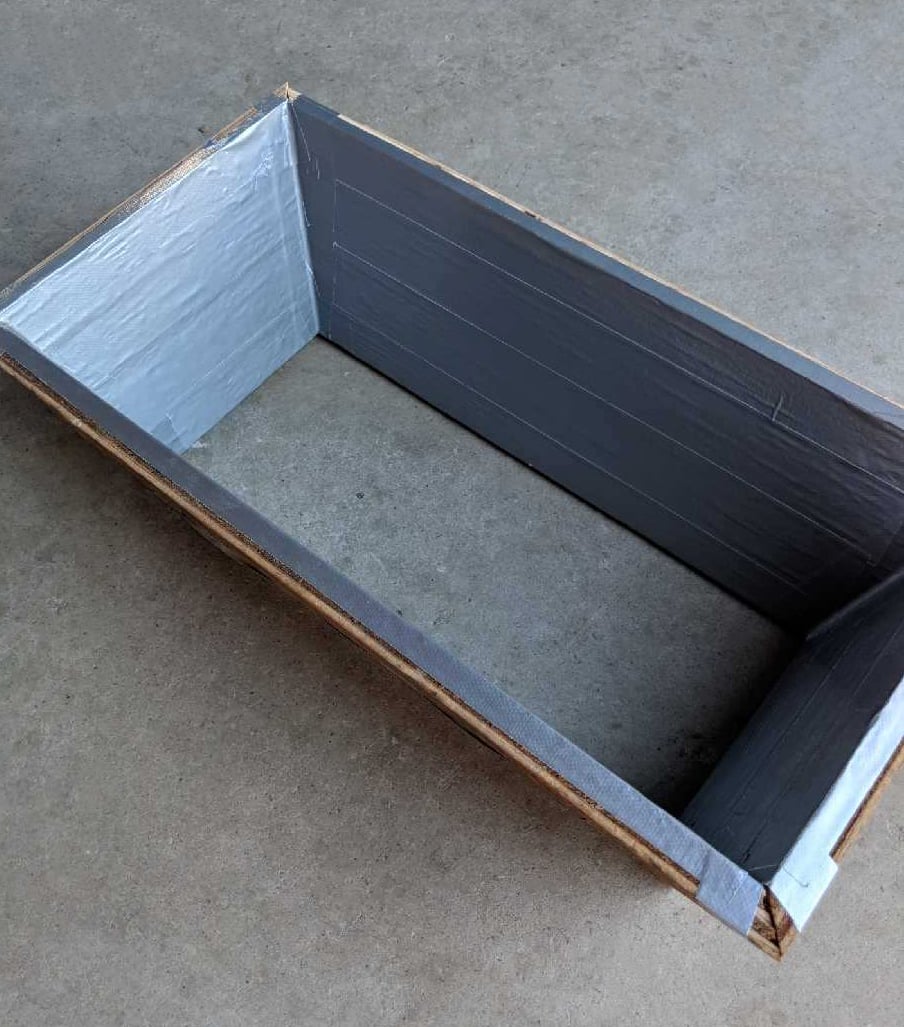
Step 1 // Build or find a form. I wanted a very specific shape, so Emmett built this angled form for me out of four pieces of scrap wood. If you’re not into the idea of building your own form, I’d suggest a quick trip to the hardware store. You can find all sorts of plastic or metal containers to use instead. In fact- you’ll see later in the post that we used a drywall mud pan for the center vessel.
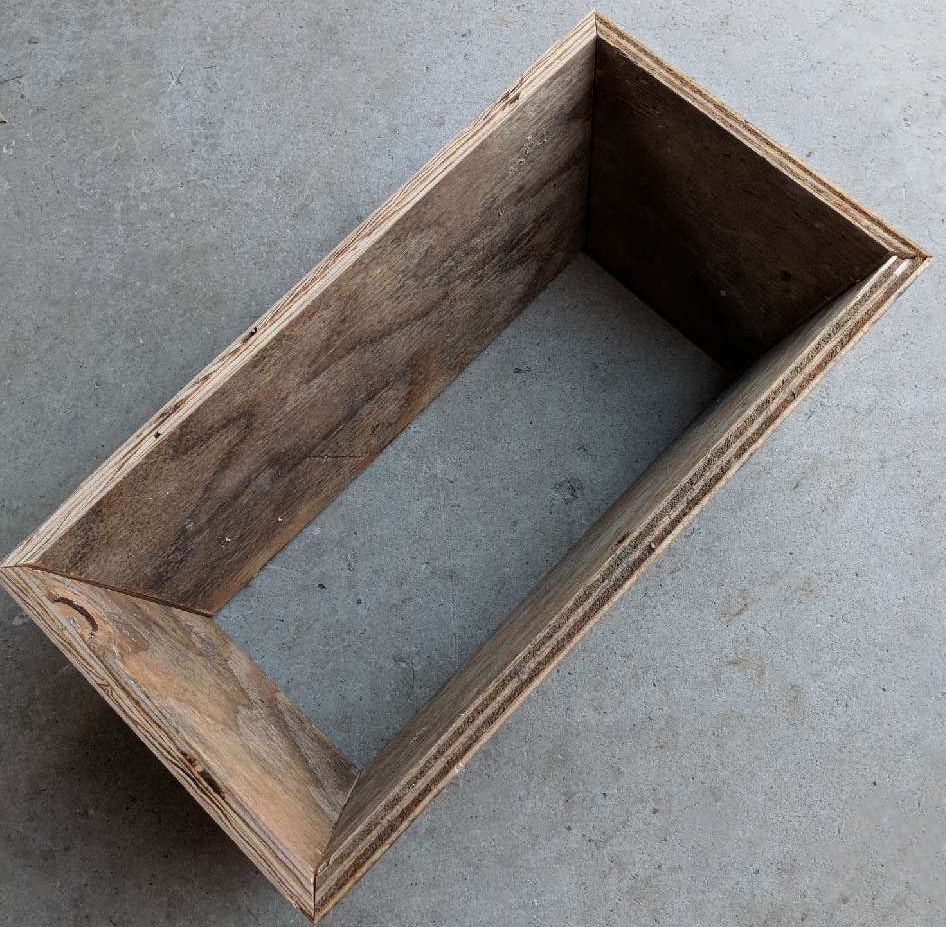 Step 2 // Add a tape liner. To ensure the candle comes out of the mold once it has solidified, duct tape the interior to seal off the wood.
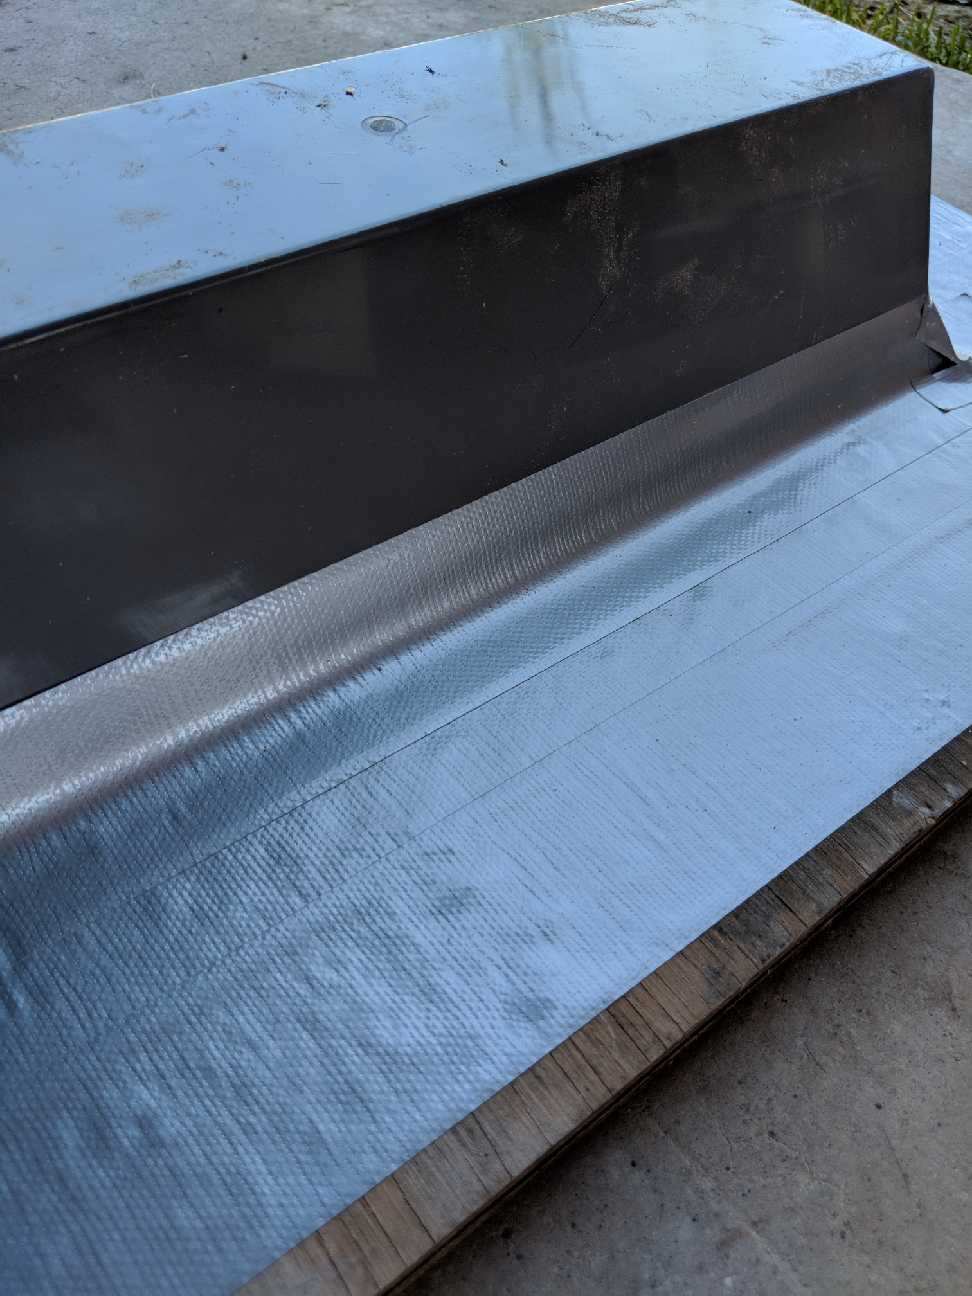
 Step 3 // Tape in the interior form. Once the exterior portion of the mold is finished, tape in your second object. This will be the part of the candle that the wax is poured into. As I previously mentioned, I found a drywall mud pan in our tool closet that worked perfectly. That saved us a lot of time from constructing another wood mold from scratch.
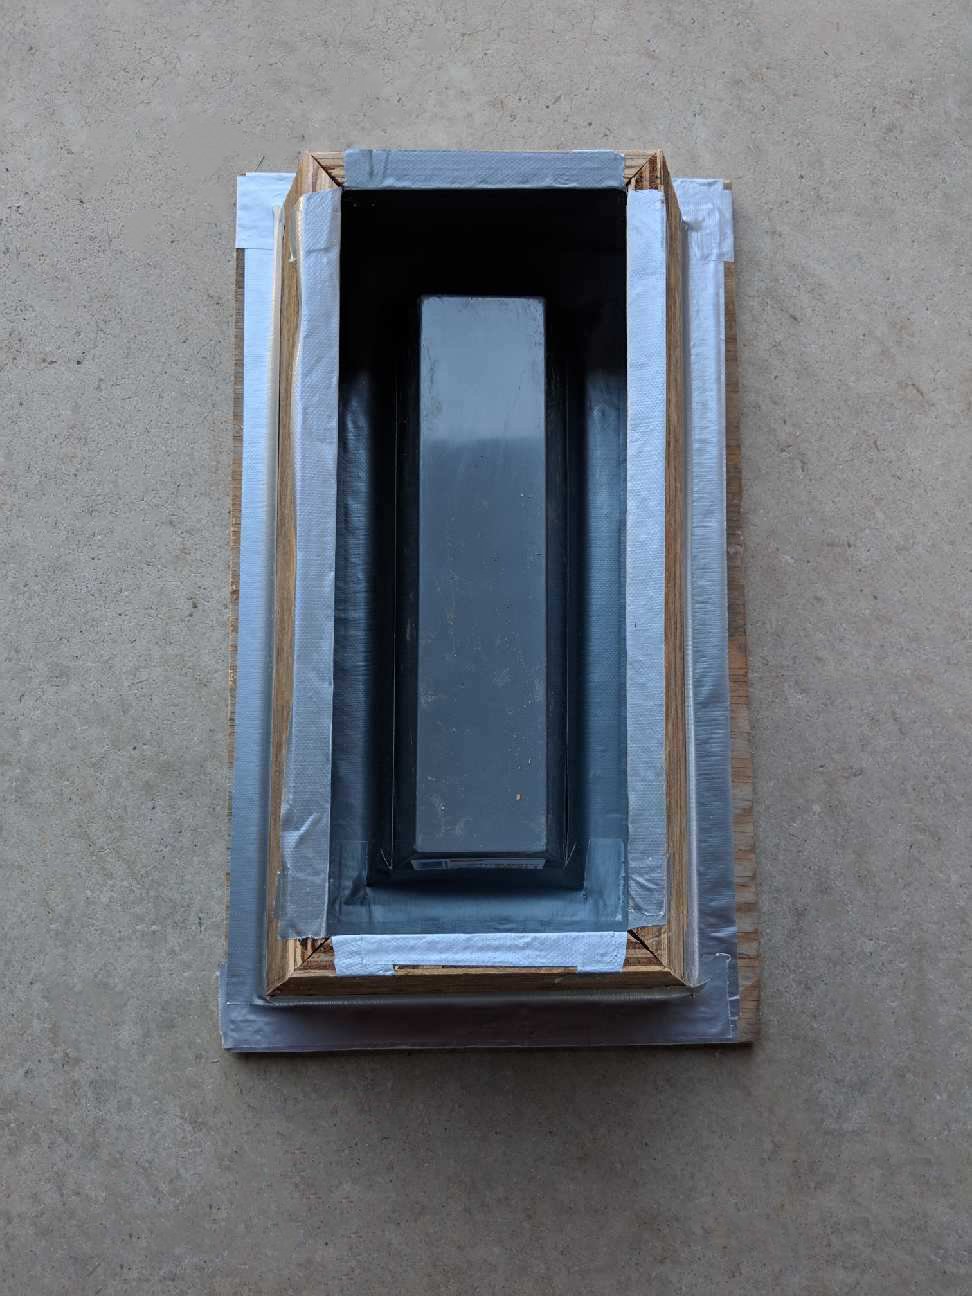
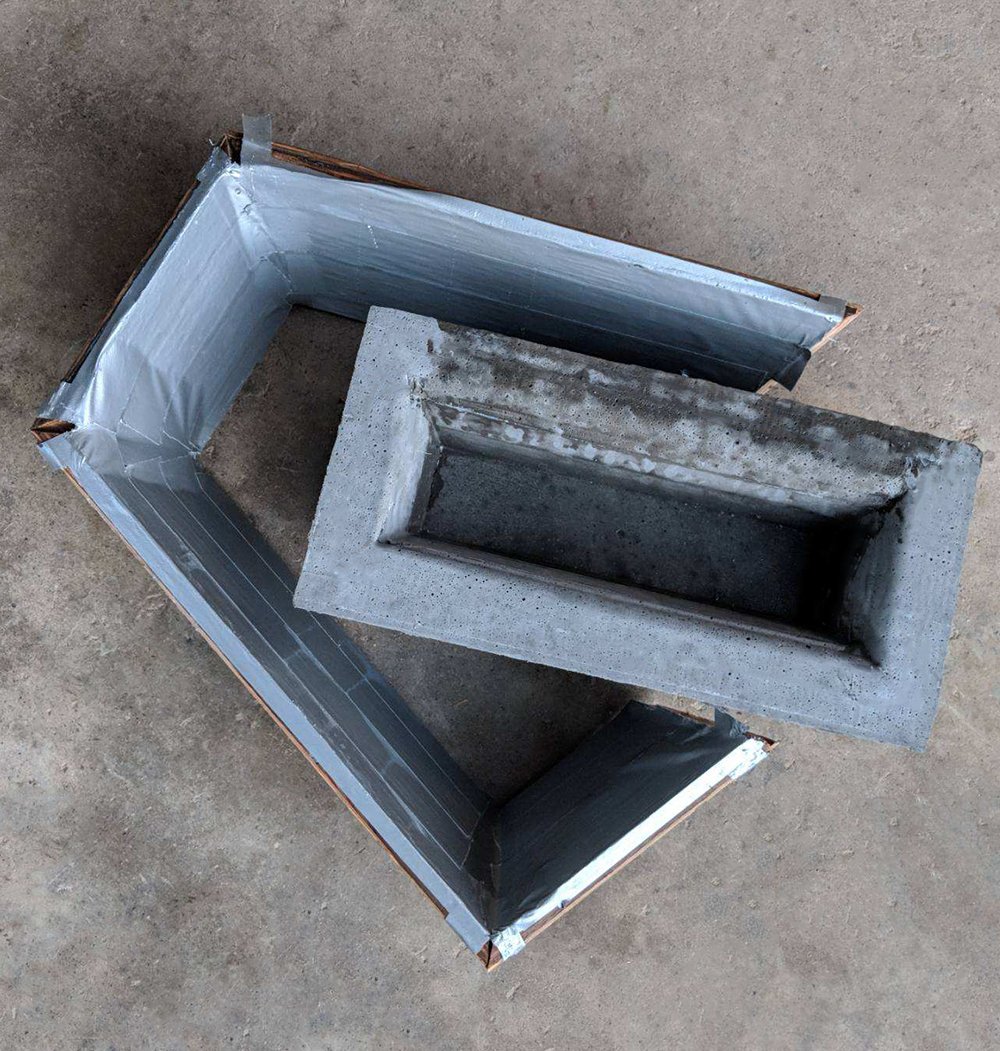
 The form looked like this when we were totally finished taping it. You’ll notice it’s upside down. That’s because you’ll pour concrete all the way to the very top, which will create a level bottom when flipped.
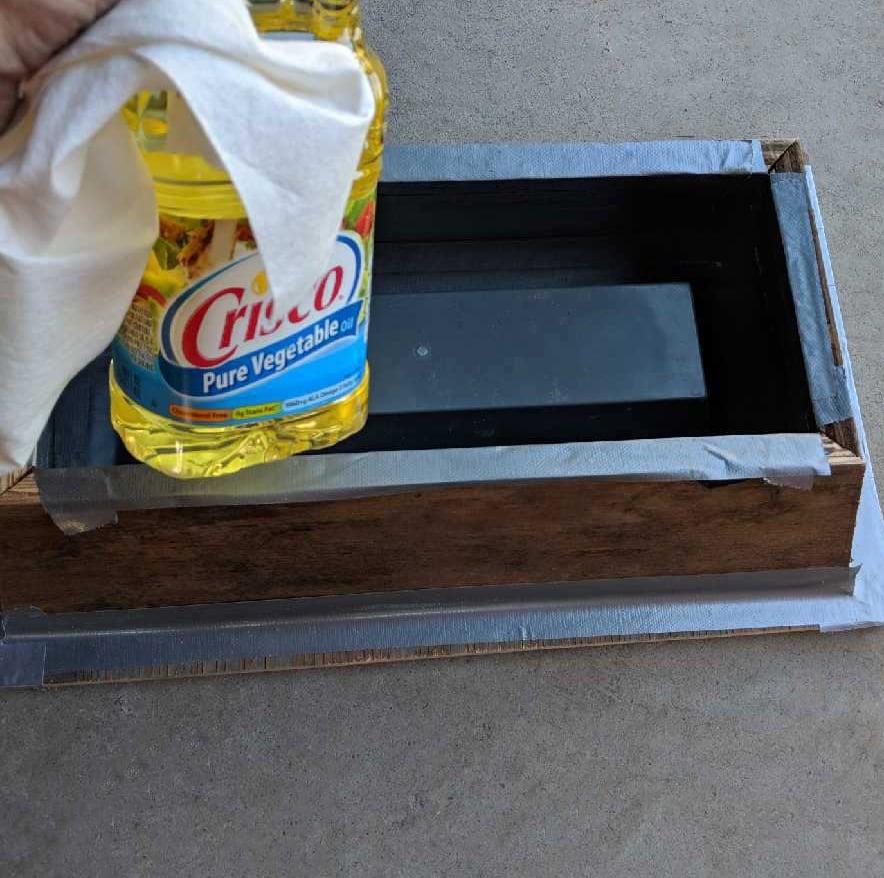
 Step 4 // Grease the form. Apply a generous amount of cooking oil to every surface the concrete will touch. This will allow the concrete to release from the mold… just like a cake pops out of the pan once it’s finished baking.
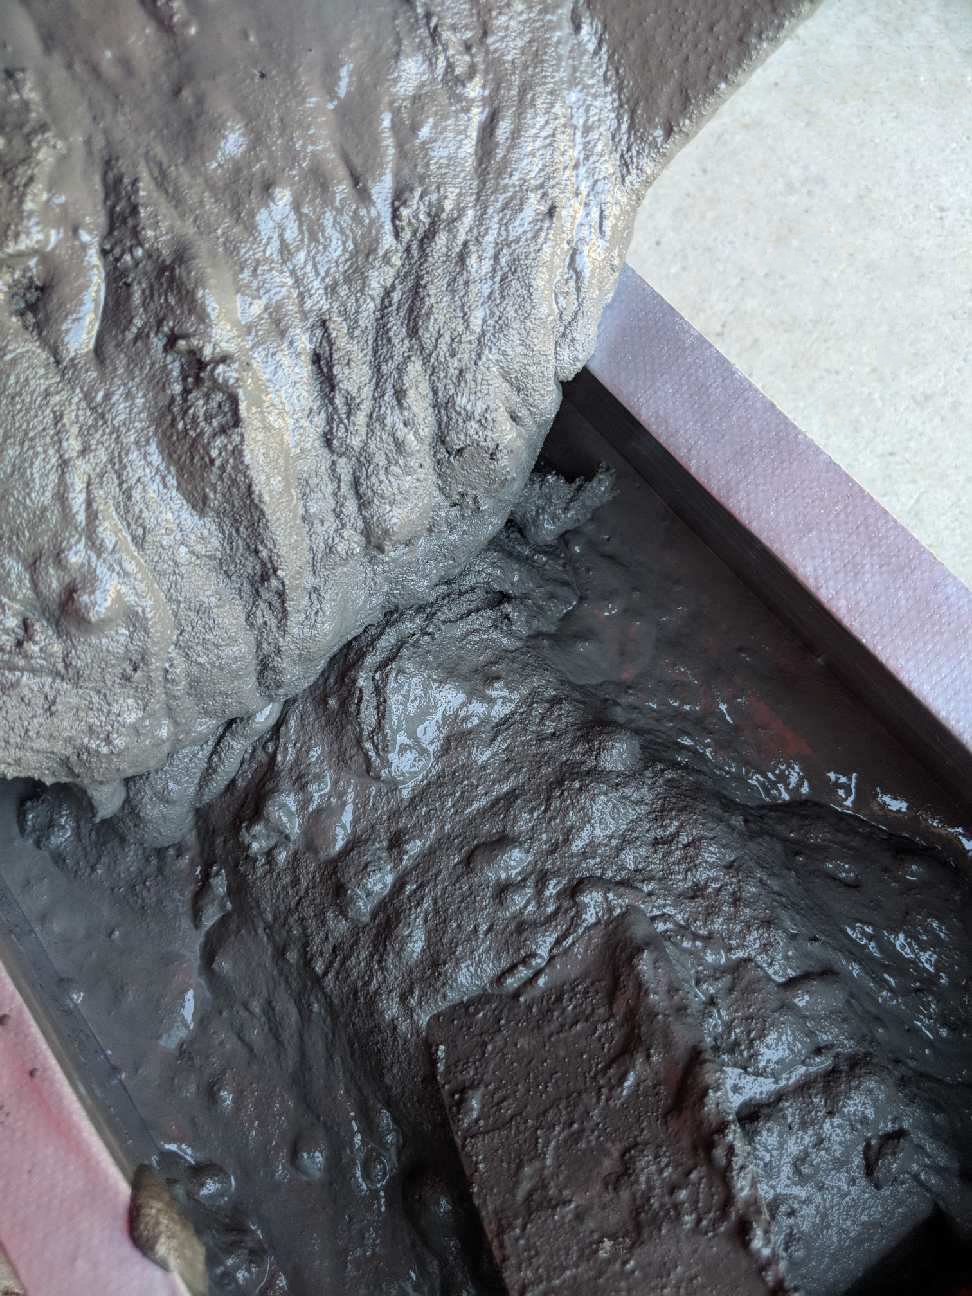
 Step 5 // Mix and pour in the mortar. Mix your concrete (or mortar, as it’s technically called) per the instructions on the package, then pour it into the form you’ve greased and prepped. Make sure it gets into every crack, crevice, and corner. Once it’s totally full, flatten and level the top.
 Step 6 // Allow it to cure. Resist the urge to touch it for at least 24 hours. Once it’s totally solidified, you can remove it from the mold. Ours still looked a little oily once it was removed… don’t worry! That will soak right in and dry up- just give it time. We sat it in the sun and that did the trick.
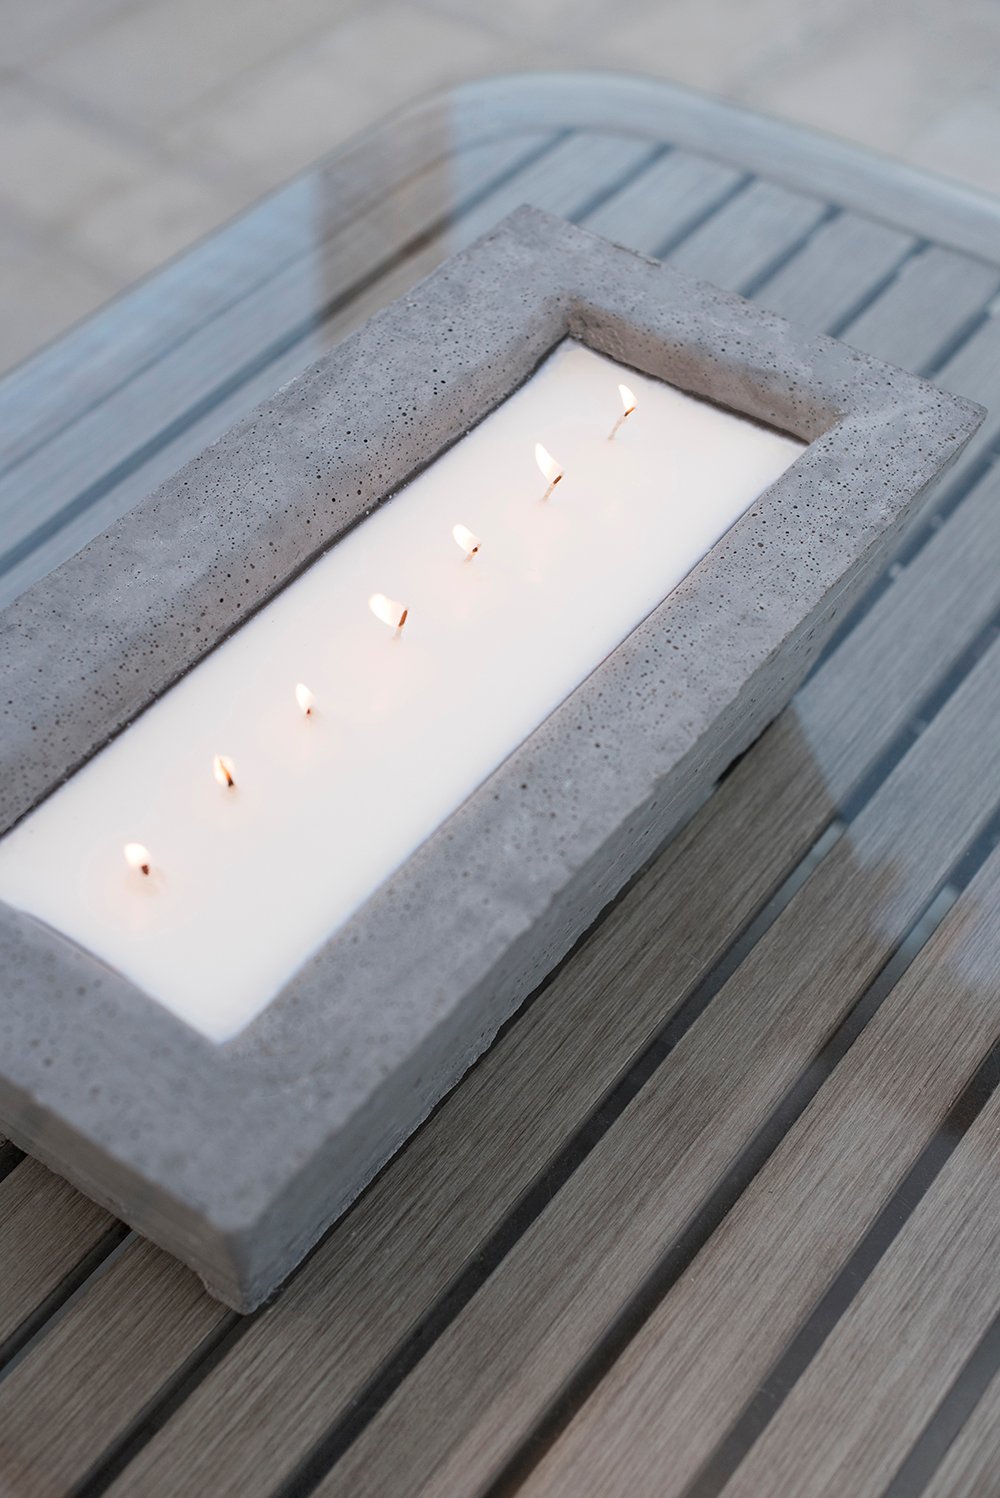
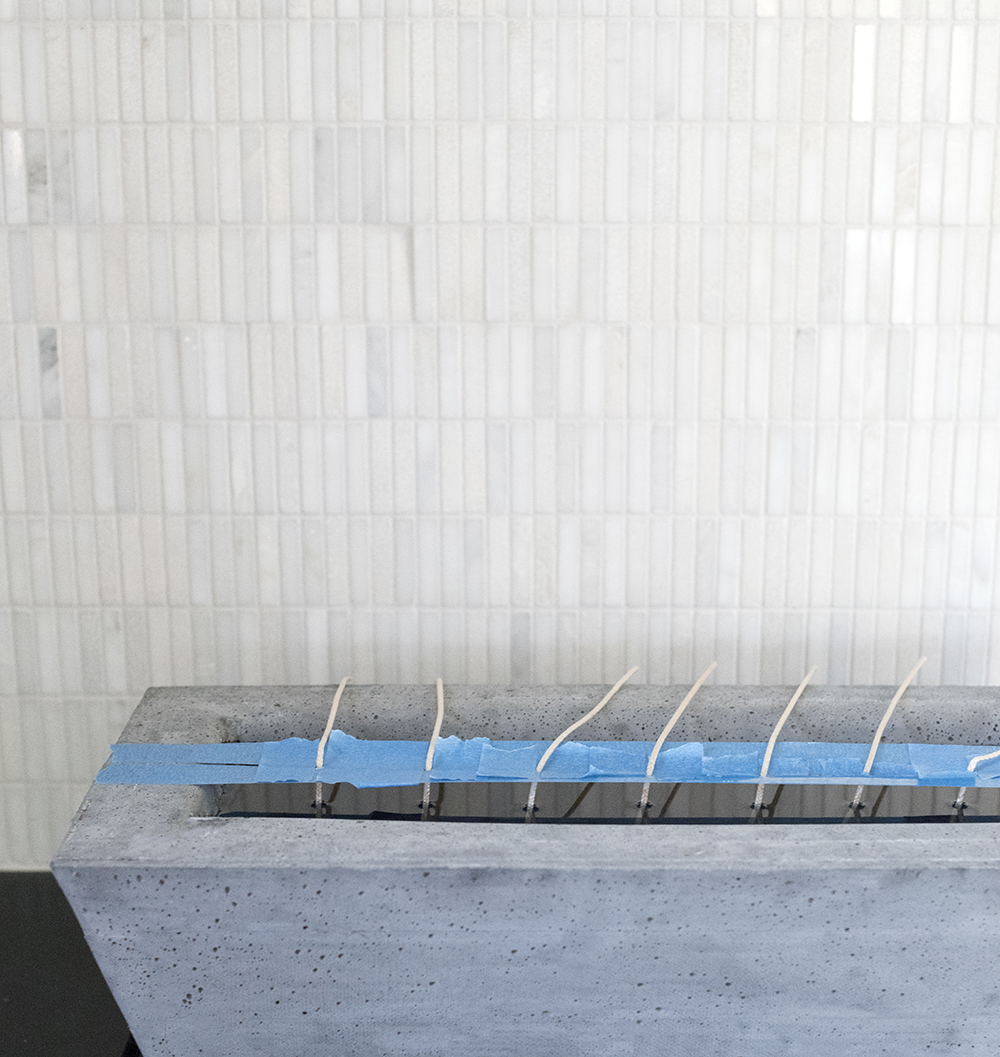
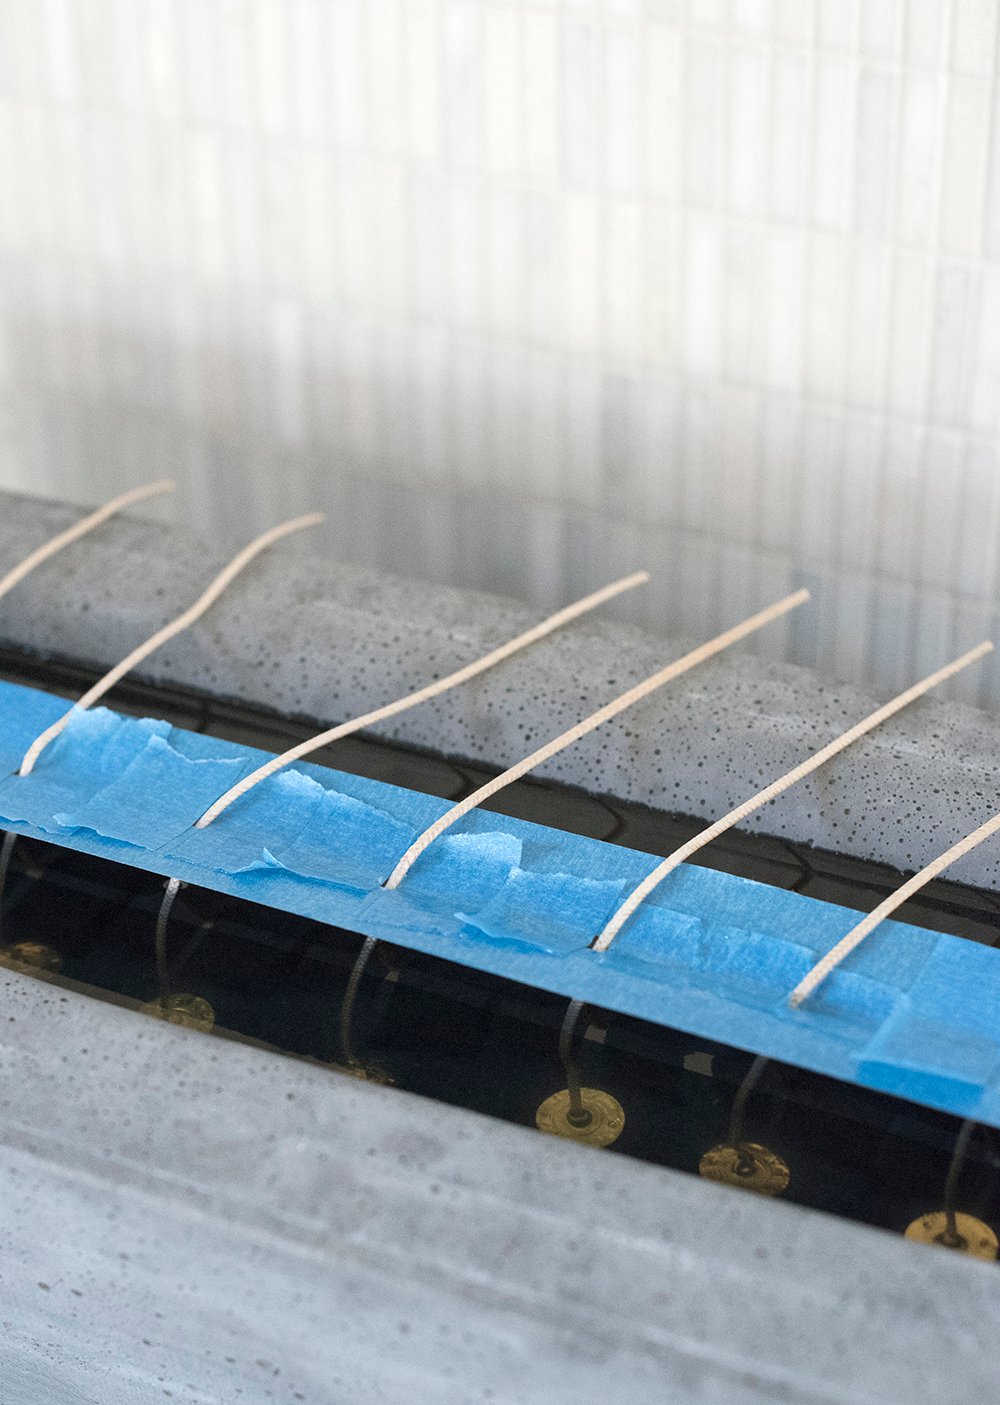
 Step 7 // Secure the wicks. Once your concrete form is finished, you can secure the wicks. I decided to make mine a multi-wick candle because of the large size. Using painters tape, I positioned the wicks into place.
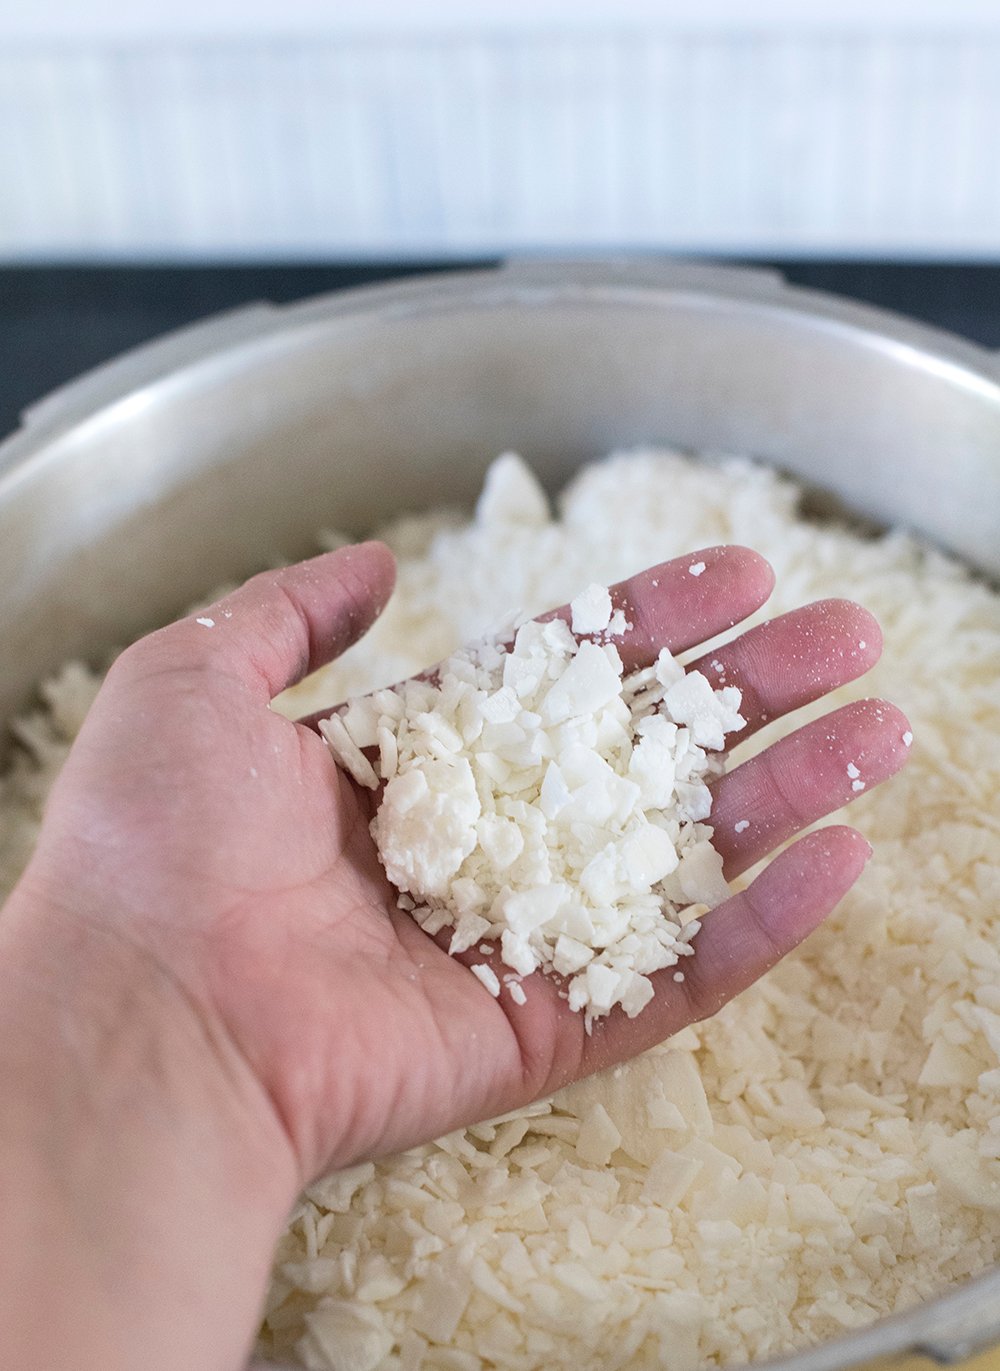
 Step 8 // Melt the wax and pour it in. Melt the wax flakes in an old space pan, add your essential oil or candle scent, then pour it into the mold.
 Feel free to check out this post for an in-depth tutorial on melting the wax, adding the oil, and candle making in general! I do this allllll the time.
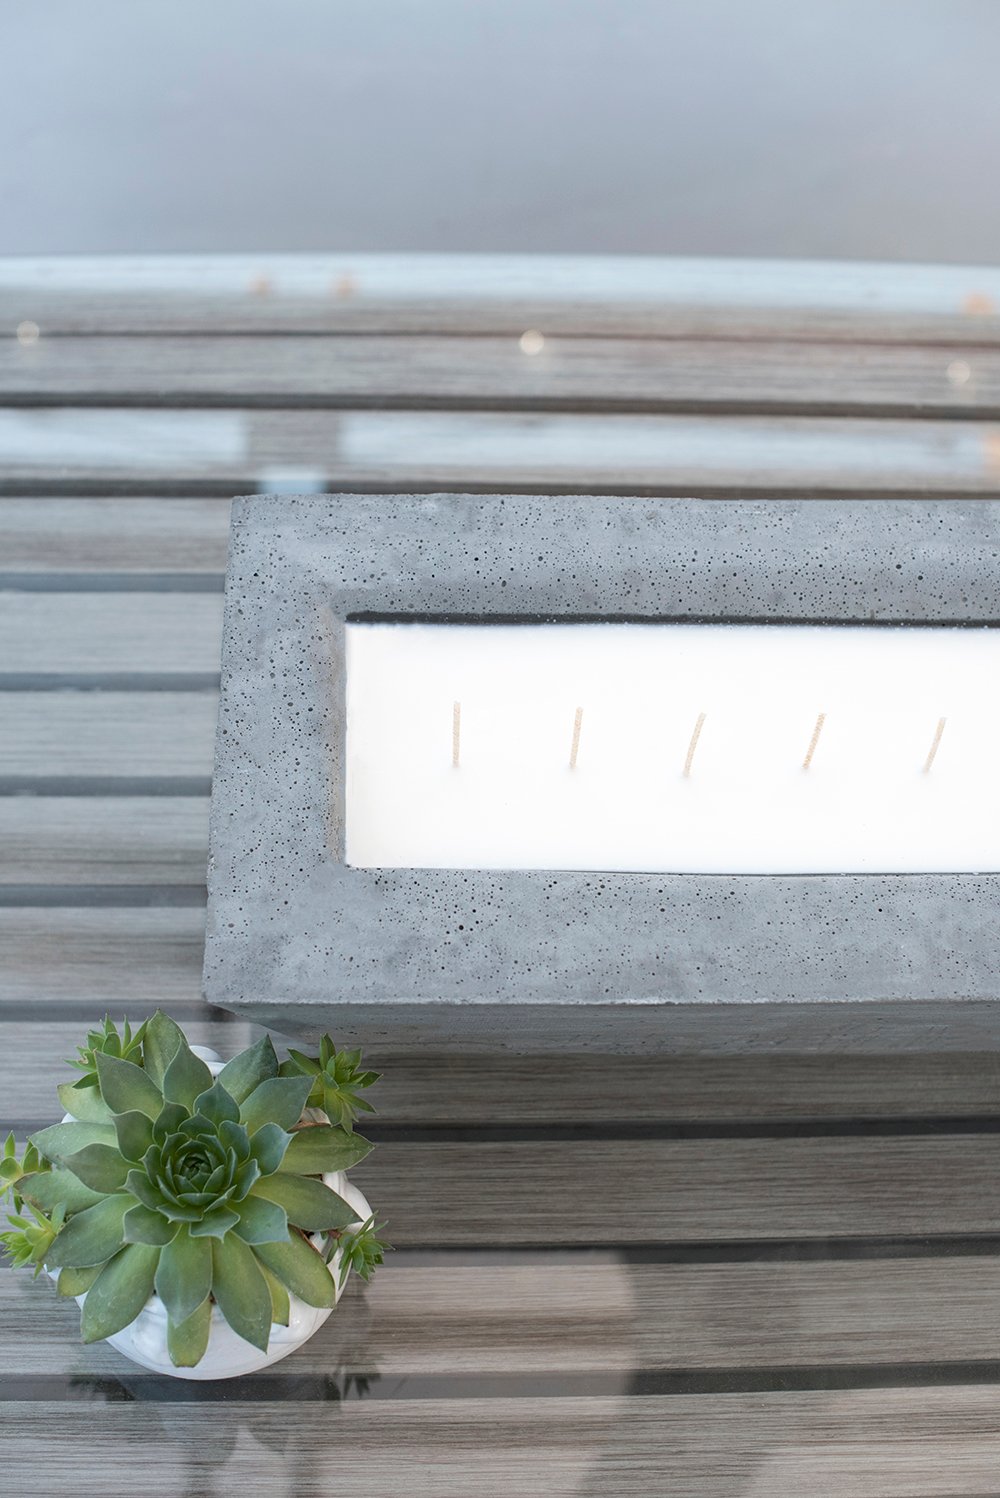
Step 9 // Allow it to cool. Once you’ve filled the vessel with wax, allow it to cool completely. It will turn from clear to white. It’s best to just leave it be for at least four hours.
 Once the wax is finished setting, remove the tape and trim the wicks. That’s it! You now have an oversized concrete citronella candle, ready for summer and fall outdoor entertaining.
 Now that I realize how easy it is to make these (rather than paying $150+), I think I’m going to take a stab at a round shape next. I’m in love with this option! In my opinion- the more wicks, the better. You could also easily paint the concrete for a different color. Obviously white or black are my go-to colors for something like this.
 Candle making is honestly one of my favorite things to do. It’s super relaxing and I know I’ll put them to good use. I just really enjoy the process and the smaller ones make great gifts. Are you guys also into it? Let me know if you’ve poured your own soy candles before in the comments below! As always, leave any questions there too.
SaveSave
That looks awesome! I love how intrepid about DIY you two are.
Thanks so much, Peggi! xo
What a great DIY! You saw something you liked, and made it yourself. Win-win. I can TOTALLY relate to “Weeks later, I was still thinking about that silly XXX”…..that’s how I operate too. I think way too much about items for my house before pulling the trigger. As my husband chants to me, going on two years now that we’ve been in our current home, “house-house-house-house-house” (and he says it softly and quickly)…..what can I say, I gotta obsess about something!
Thank you, Karen! Yes!! I do the same thing. Might as well obsess over something you’re passionate about. Ha! That’s my philosophy ;) xo
Oh my word, how perfect is that
Thank you, Marty!