How to Use Gel Stain (A Frame Tutorial)
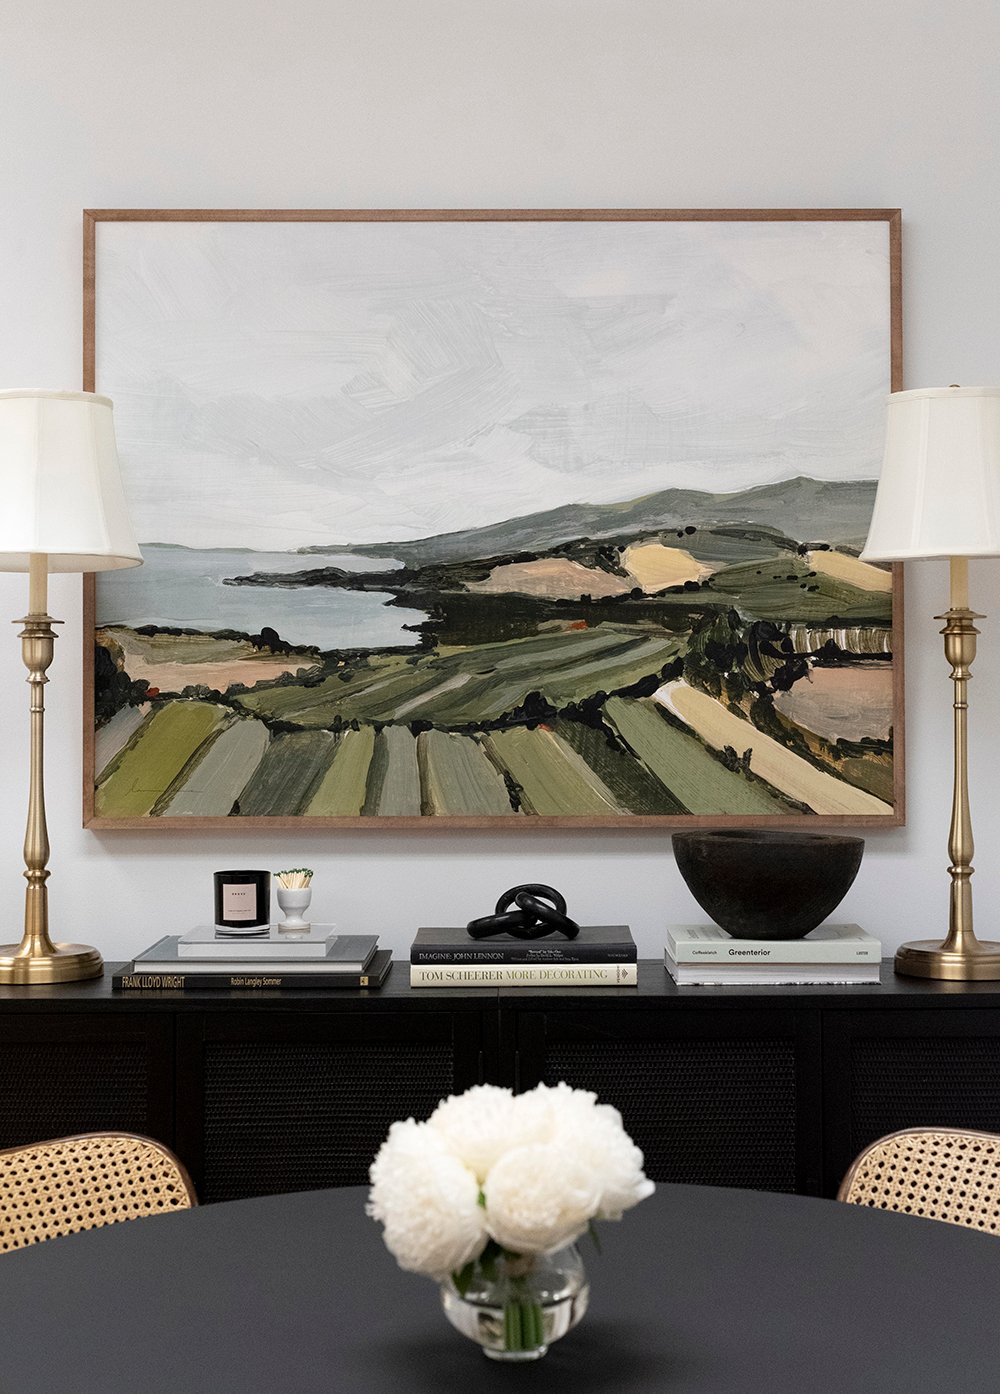 I shared our office dining space a couple weeks ago (pictured above), and one item that made the biggest impact was large scale art from my best friend, Laurie Anne. I ended up ordering a natural, unfinished, maple frame from her website that perfectly fit the art. It also allowed me the opportunity to choose whatever finish color I wanted. I immediately landed on stain, in an effort to color match my vintage bentwood cane chairs, as well as to add some much needed warmth to our commercial office space. I shared some behind-the-scenes on Instagram as we were tackling this project, and so many of you asked for a tutorial on using gel stain! It might be my favorite way to use stain- especially for projects like this. If you’re curious how it works, click through for the tutorial and for tips on applying stain, in general.
*This post is sponsored by Purdy & Minwax. All content, ideas, and words are my own. Thank you for supporting the brands that allow us to create unique content while featuring products we actually use & enjoy!
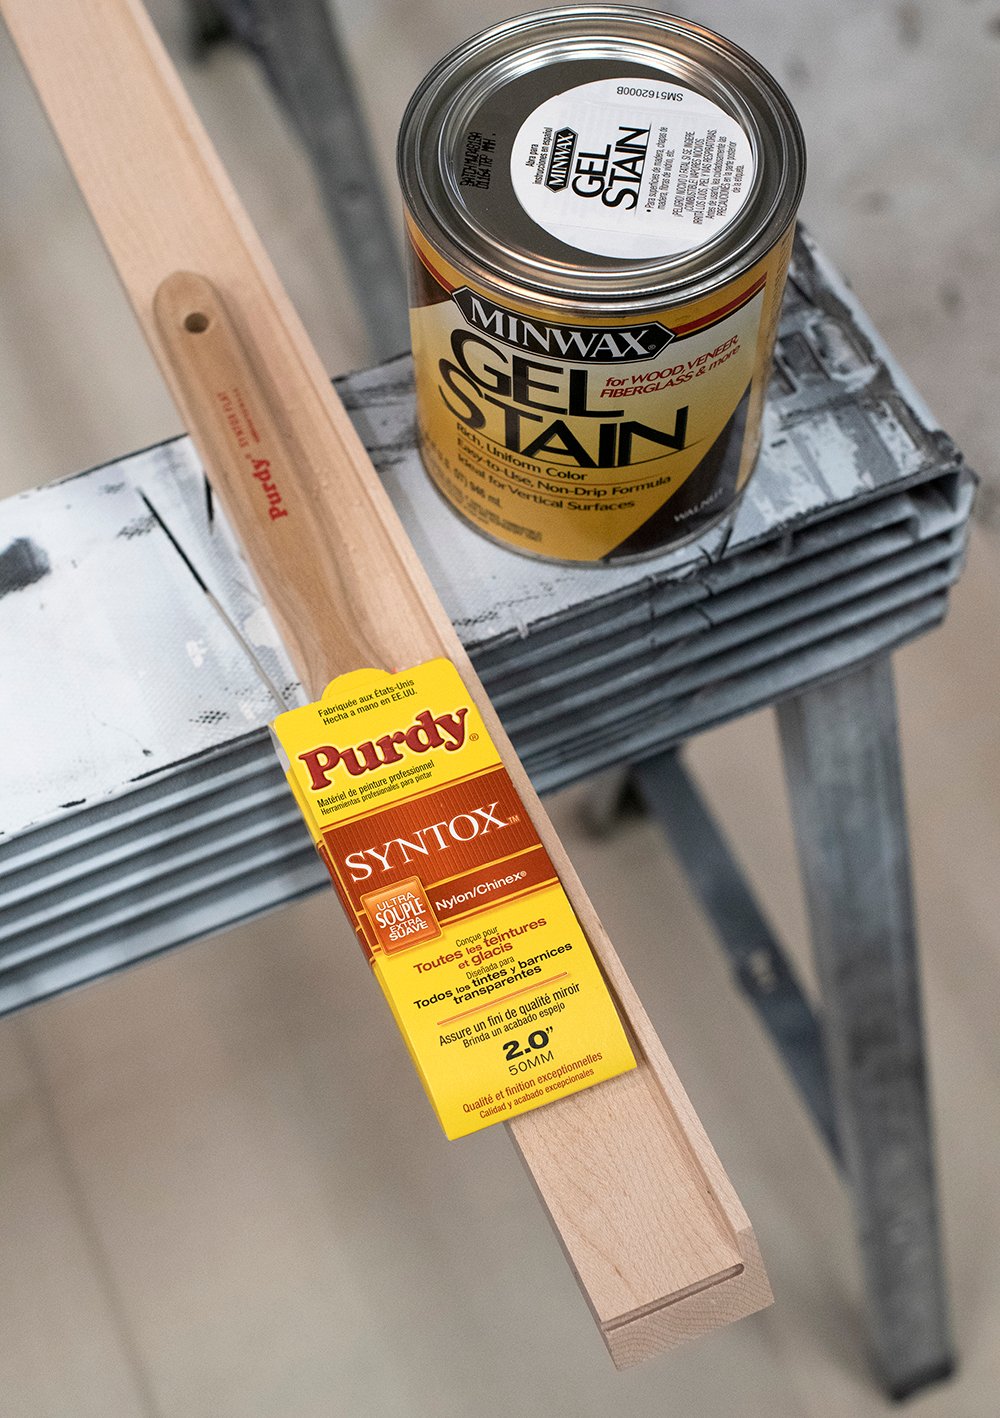
 Gel stain is especially handy for intricate projects, pieces with lots of details, or furniture makeovers. It’s really easy to apply, less messy, and I feel like you’re able to easily achieve a nice consistent, deep color. Like any project, application has a lot to do with the end result! Using the right tools to apply the stain is half the battle. Here is what you’ll need for this easy project:
SUPPLIES + TOOLS:
- Purdy Syntox Paintbrush
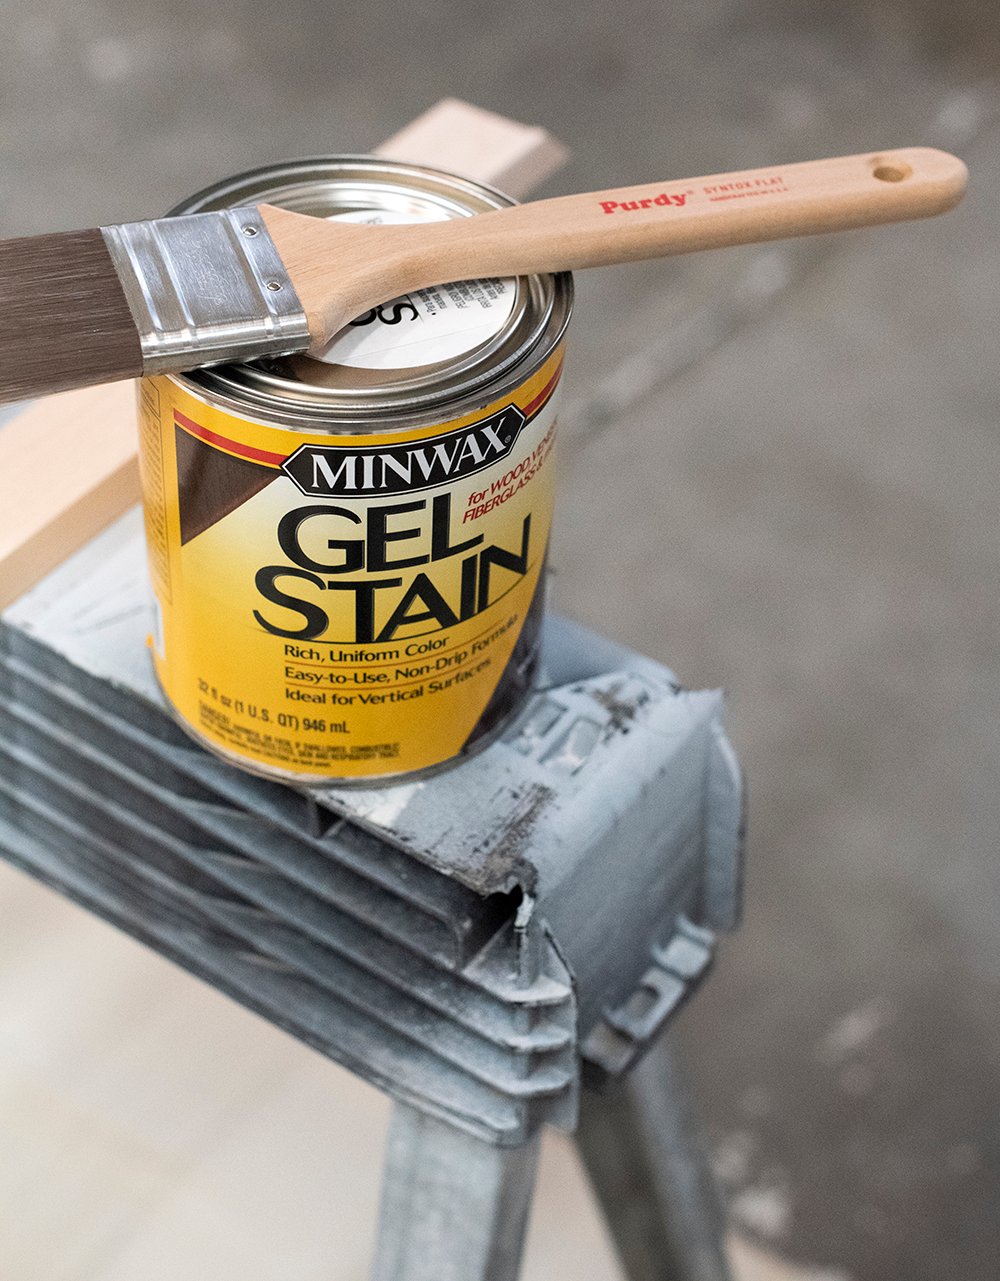
- Minwax Gel Stain (I used Walnut)
- Rags or Stain pads (for wiping)
- A Frame (and this is the artwork I used, in size 36″ x 48″)
- Rubber Gloves
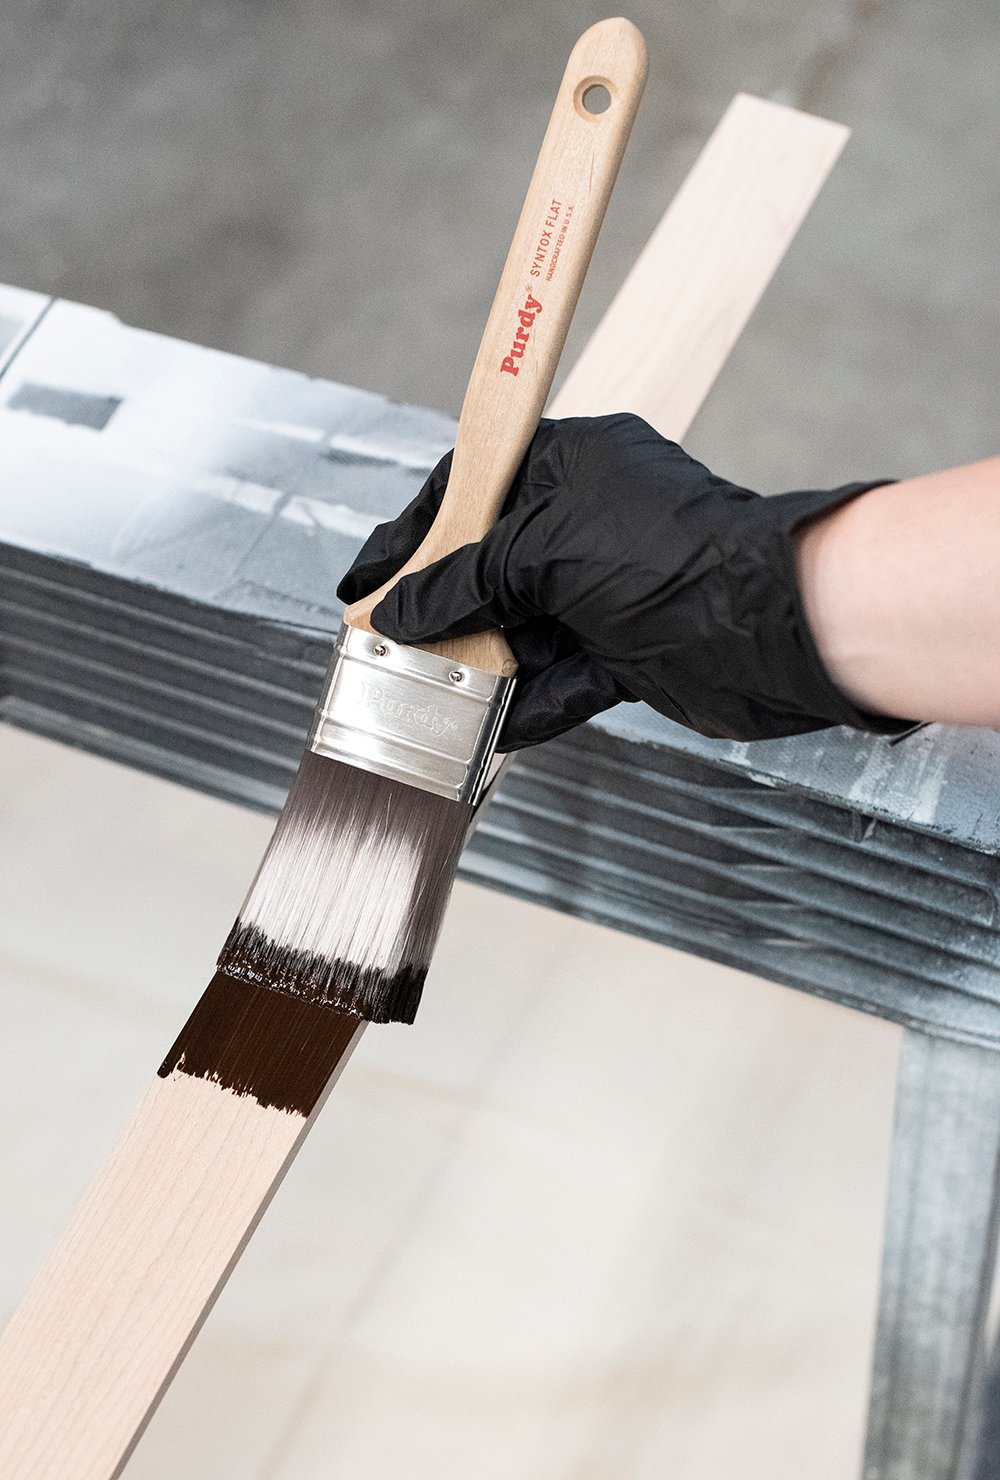
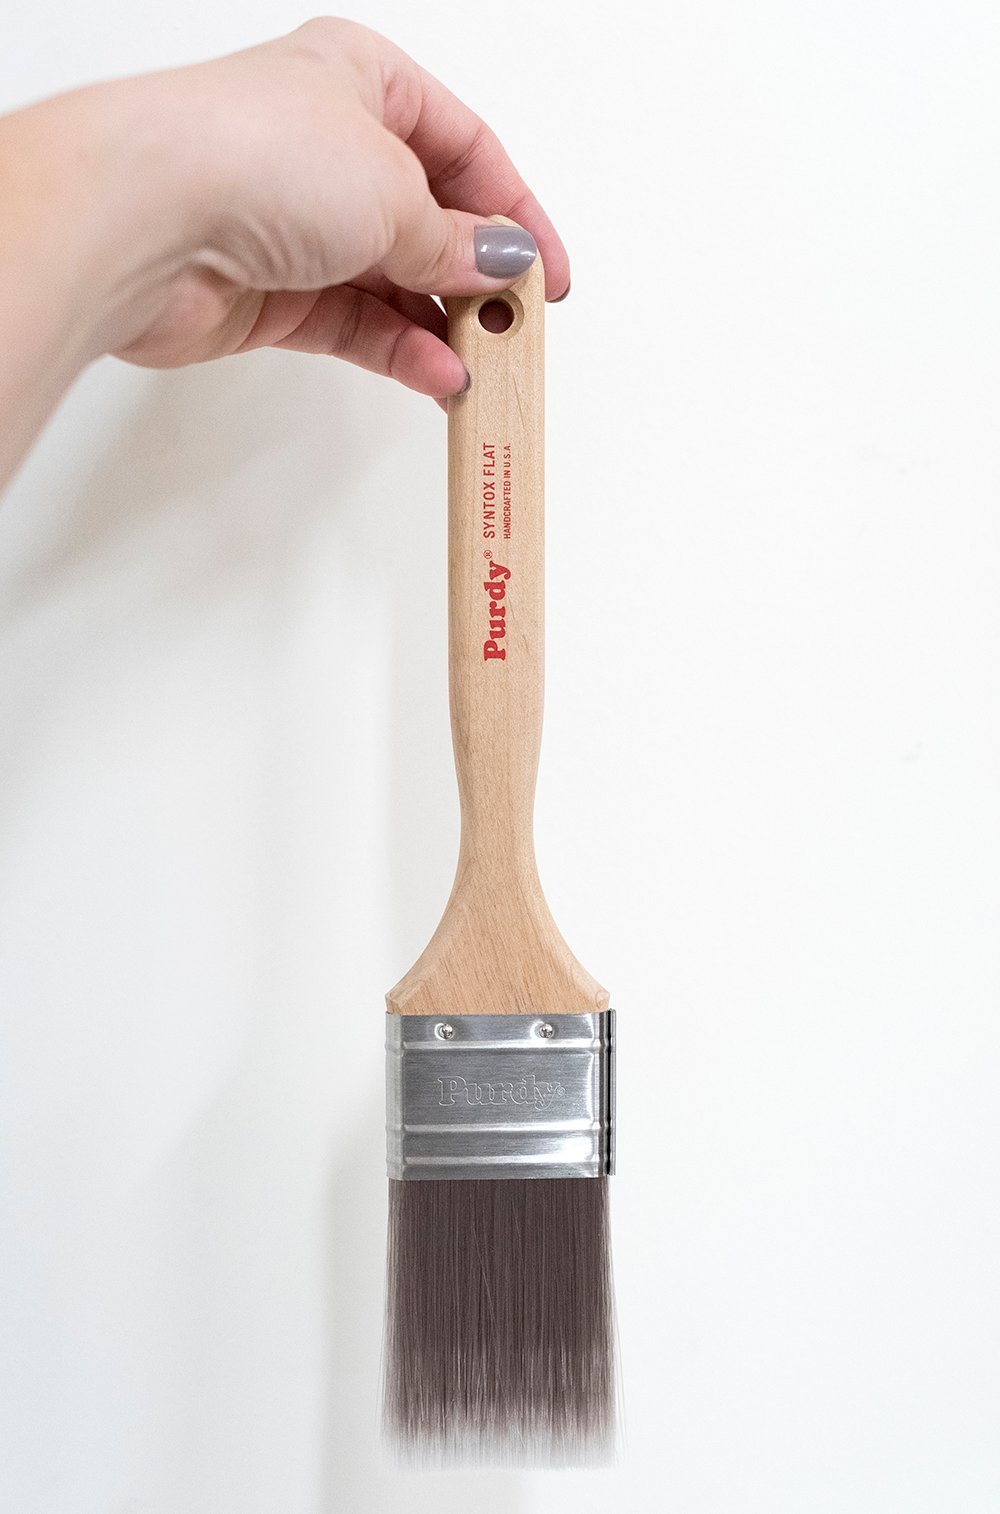 Step 1 // Choose a brush appropriate for stain. When applying gel stain, you’ll need a quality paintbrush. My favorite brush for stain is the Purdy Syntox. It’s designed for all stains, varnishes, and clear coats. It has round and tapered filaments from DuPont® and the softest brush bristles. It is soft, but also super durable! This brush will last years when properly taken care of, and is great for both water and solvent-based finishes. It provides an ultra smooth, even finish.
 Step 2 // Choose your gel stain color. I’m partial to Minwax brand, and this time around I opted for the rich Walnut color because it best matched my chairs.
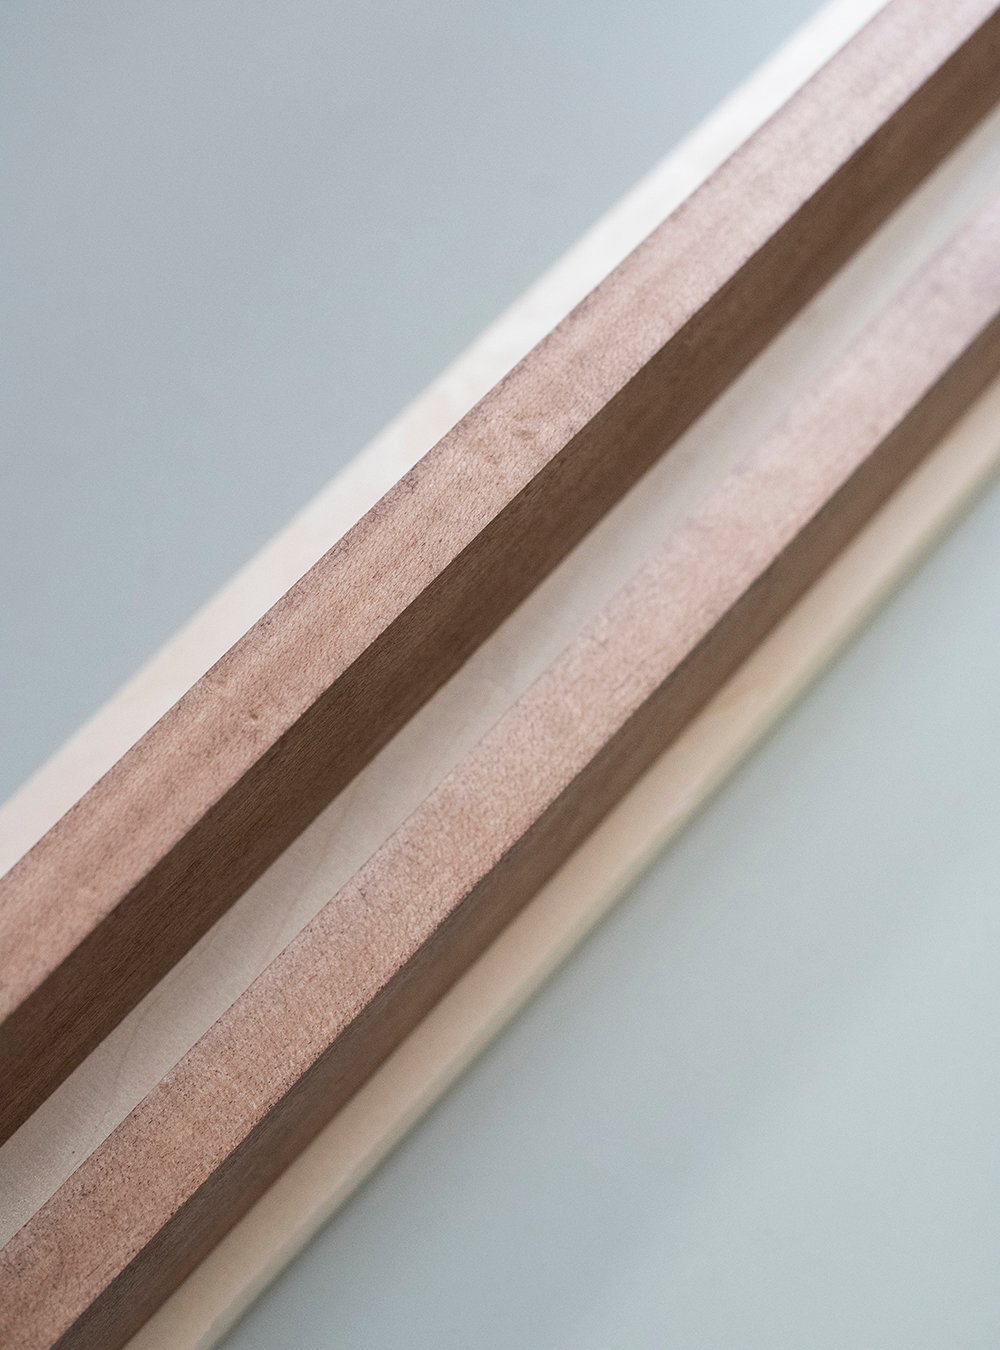
 Step 3 // Prep & apply the stain. Since my frame was natural and unfinished, I didn’t need to sand it or do any type of prep work beforehand. I love when that happens! Stir the gel stain REALLY well (it takes quite awhile). It should look smooth, creamy, and lump free. Using your brush, apply the stain with the woodgrain in a thick, even coat.
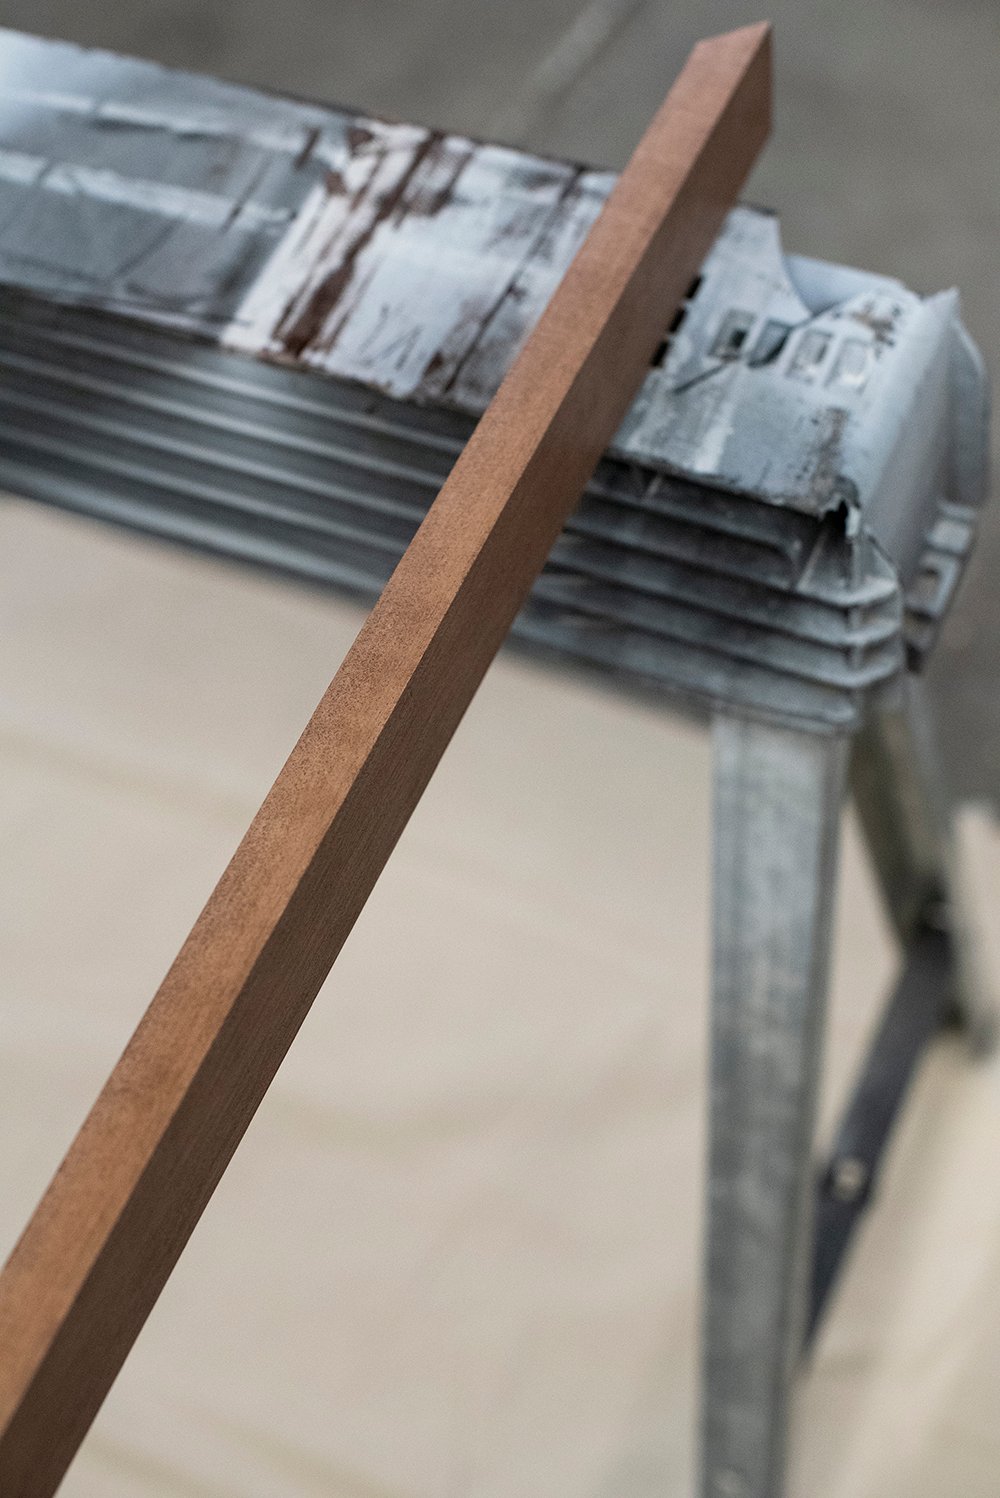
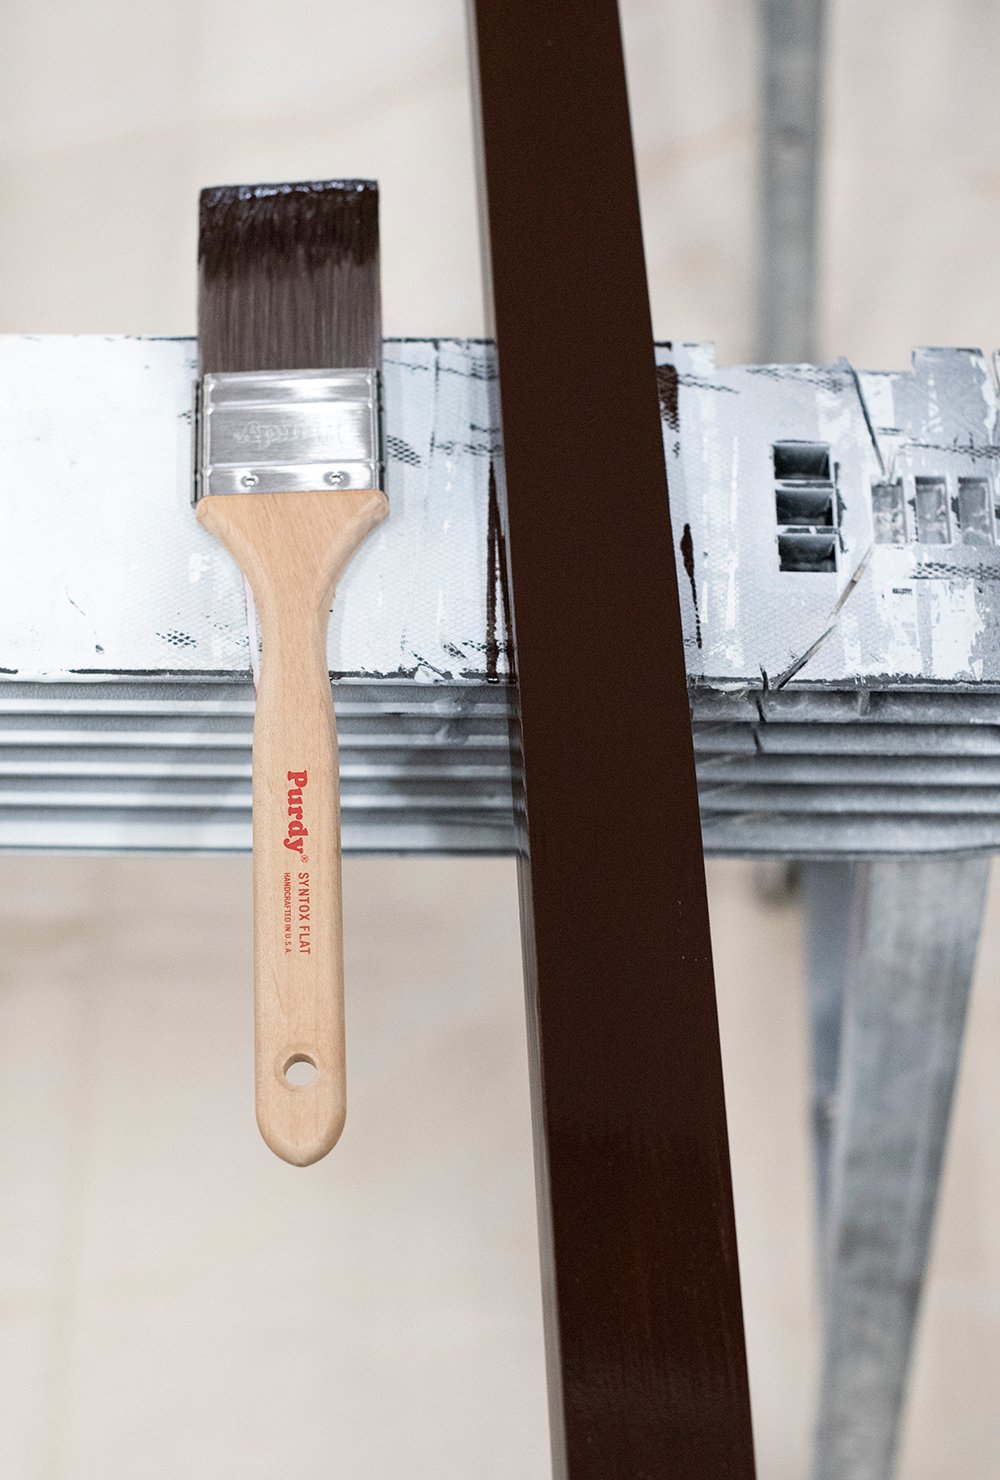 Step 4 // Wait. Once the stain has been applied, set a timer for 3 minutes. It should look something like the above image… super dark. Don’t panic- you’ll be wiping this off once your timer goes off.
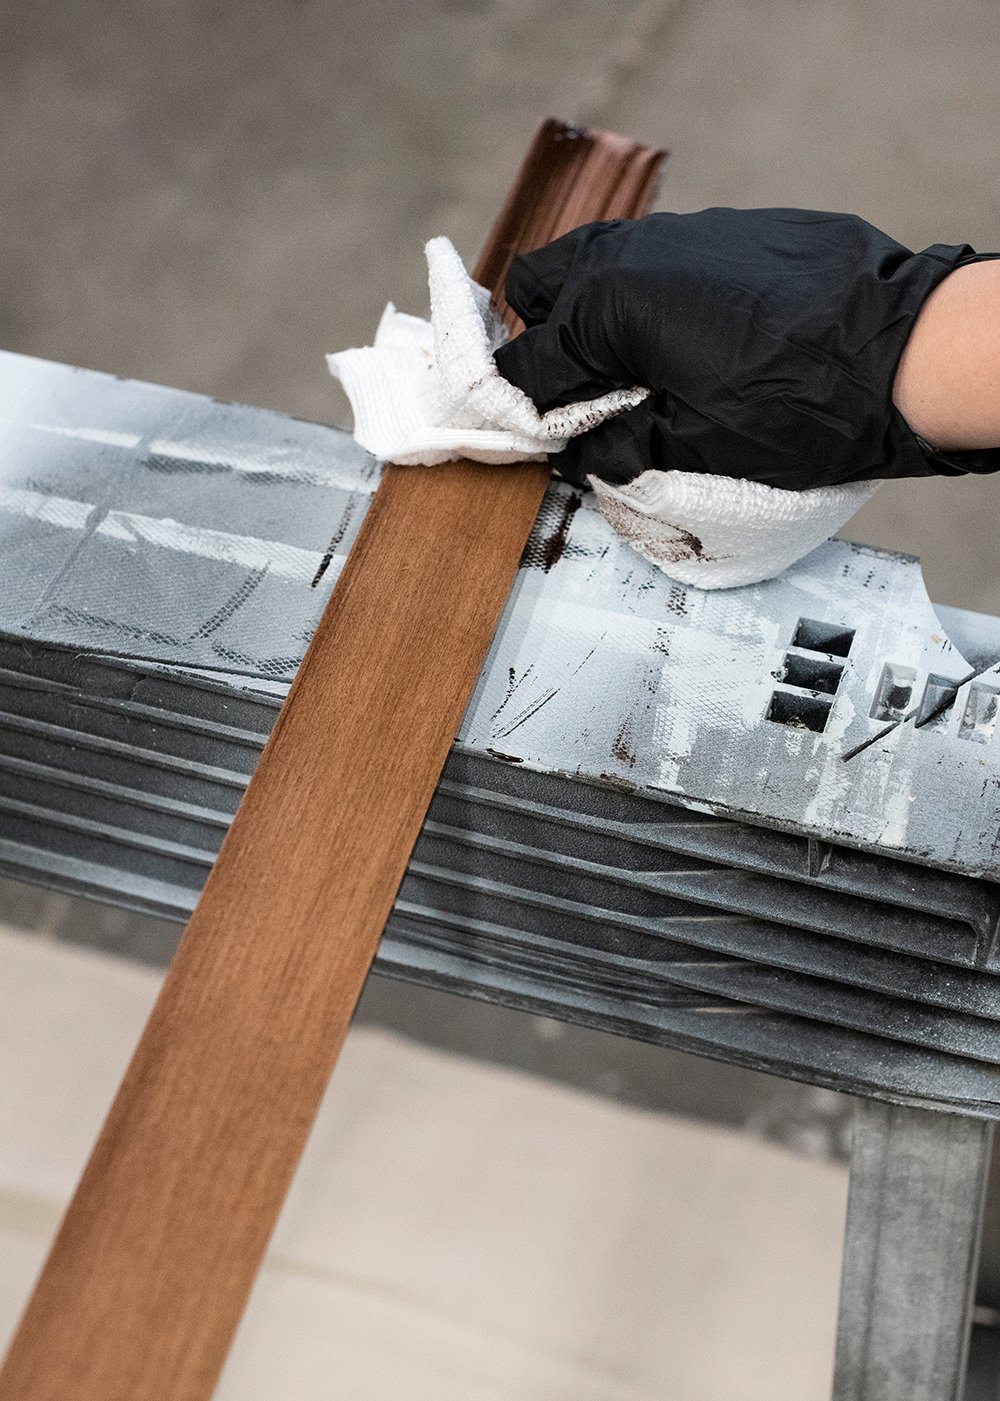
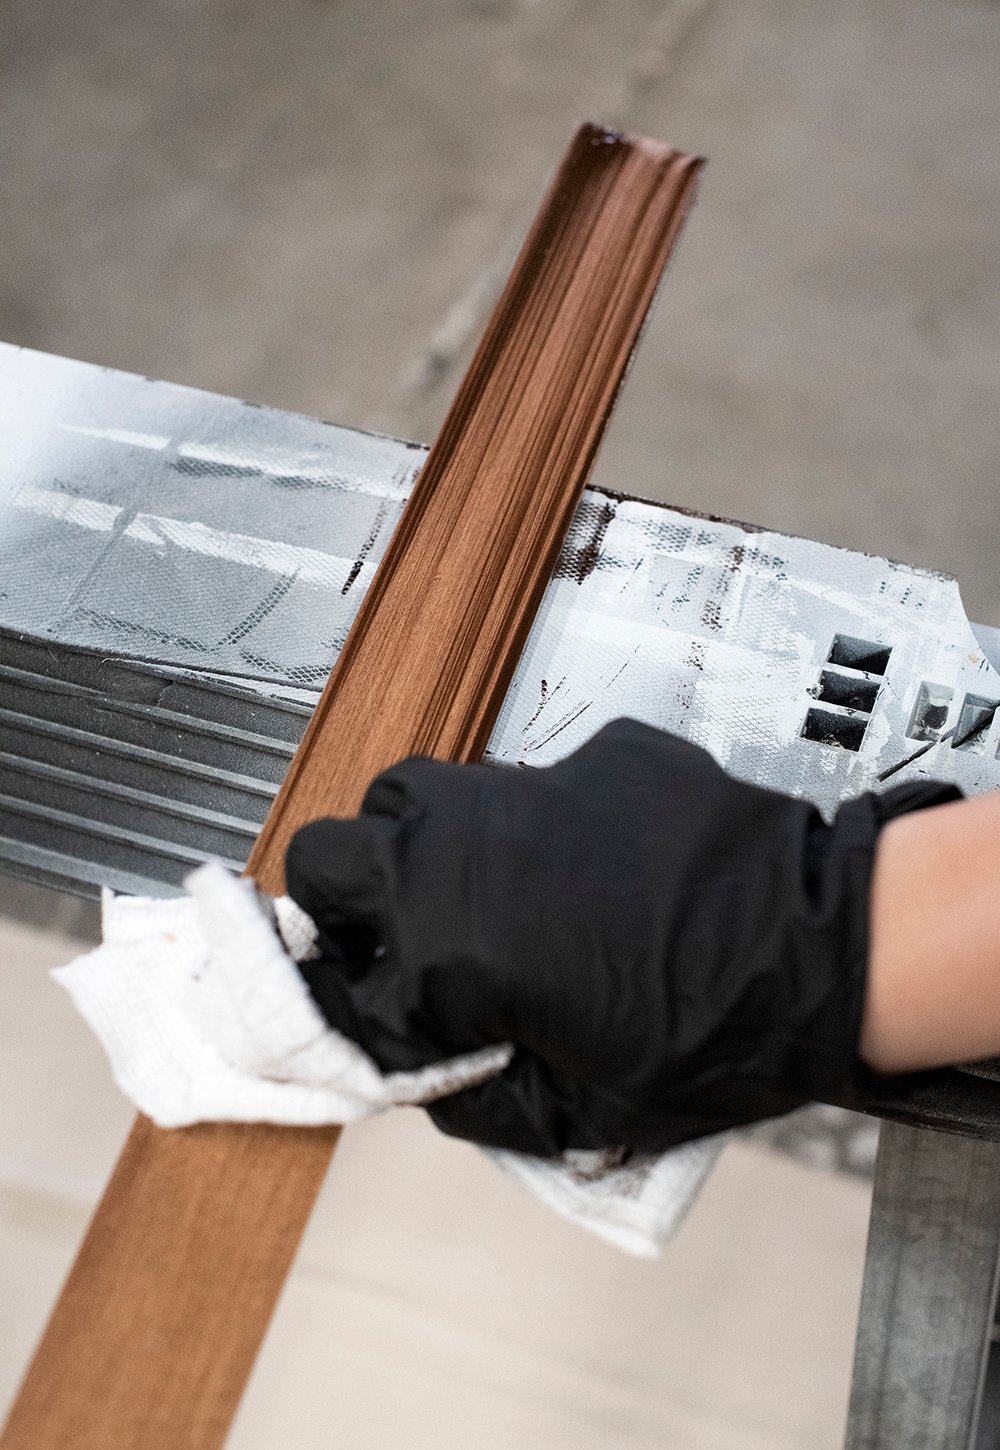 Step 5 // Wipe the excess. Using a rag or stain pad, wipe the excess stain, moving in the direction of the grain. Your wood should look rich, even, and consistent- something like this…
 Allow the wood to dry or cure for 8-10 hours. You should know right away how the color will look. Typically it takes 1-2 coats. I decided to apply a second coat for a darker look. This is what coat number one looked like…
 Step 6 // Repeat with additional coats. Once your wood is totally dry, you can apply an additional coat for a darker look, repeating the same steps. This is what the disassembled frame looked like after coat number two… a little darker.
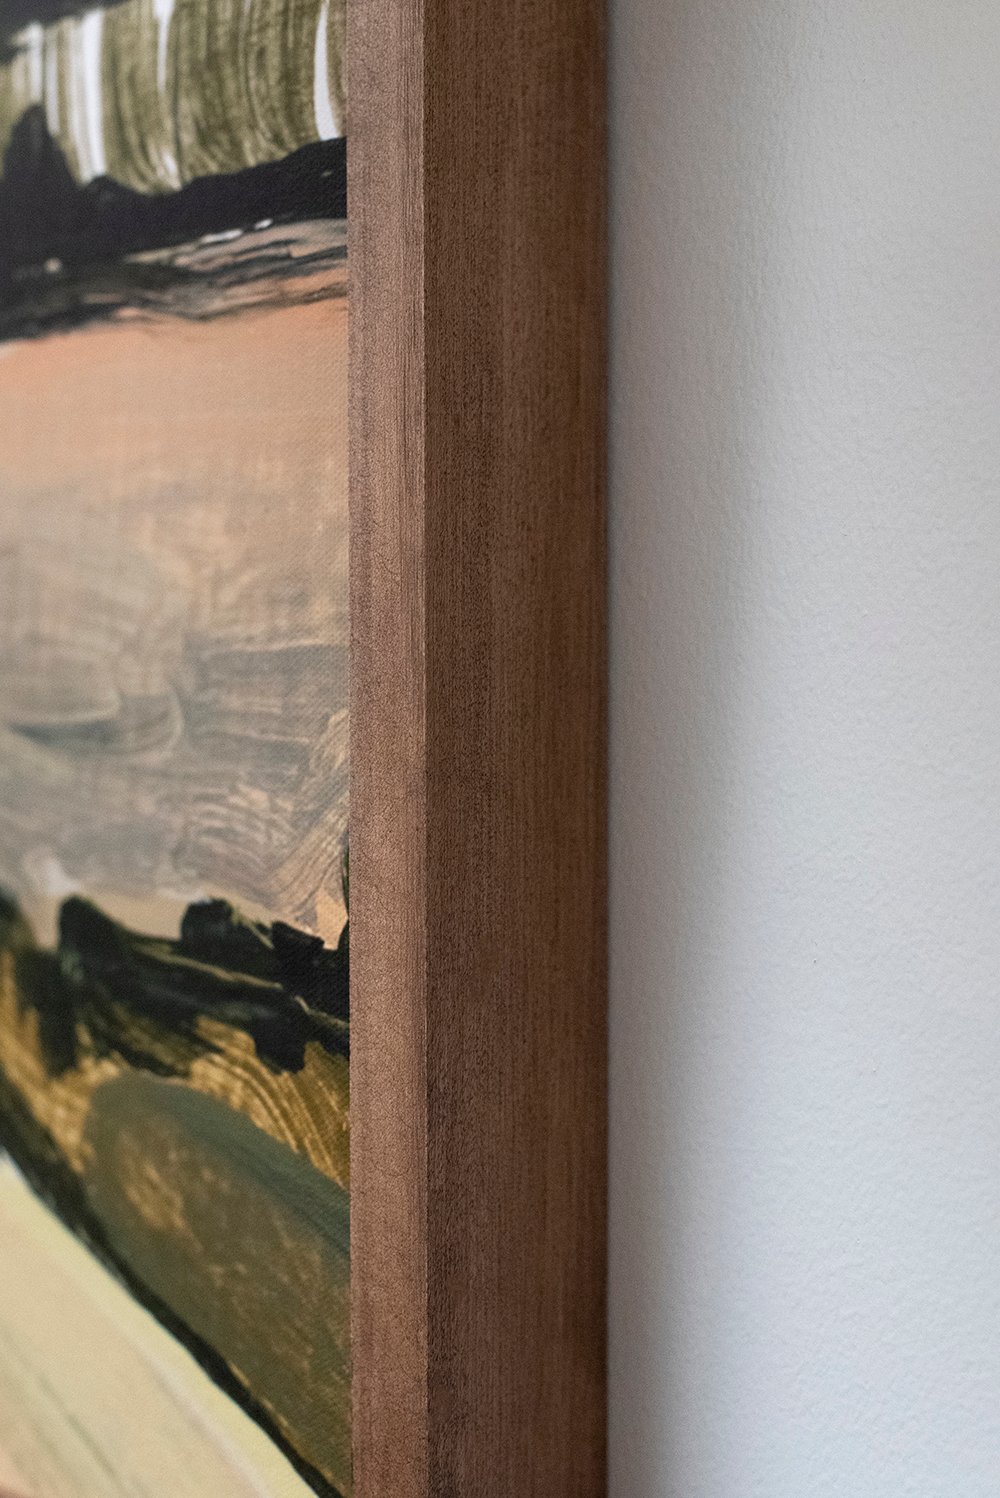
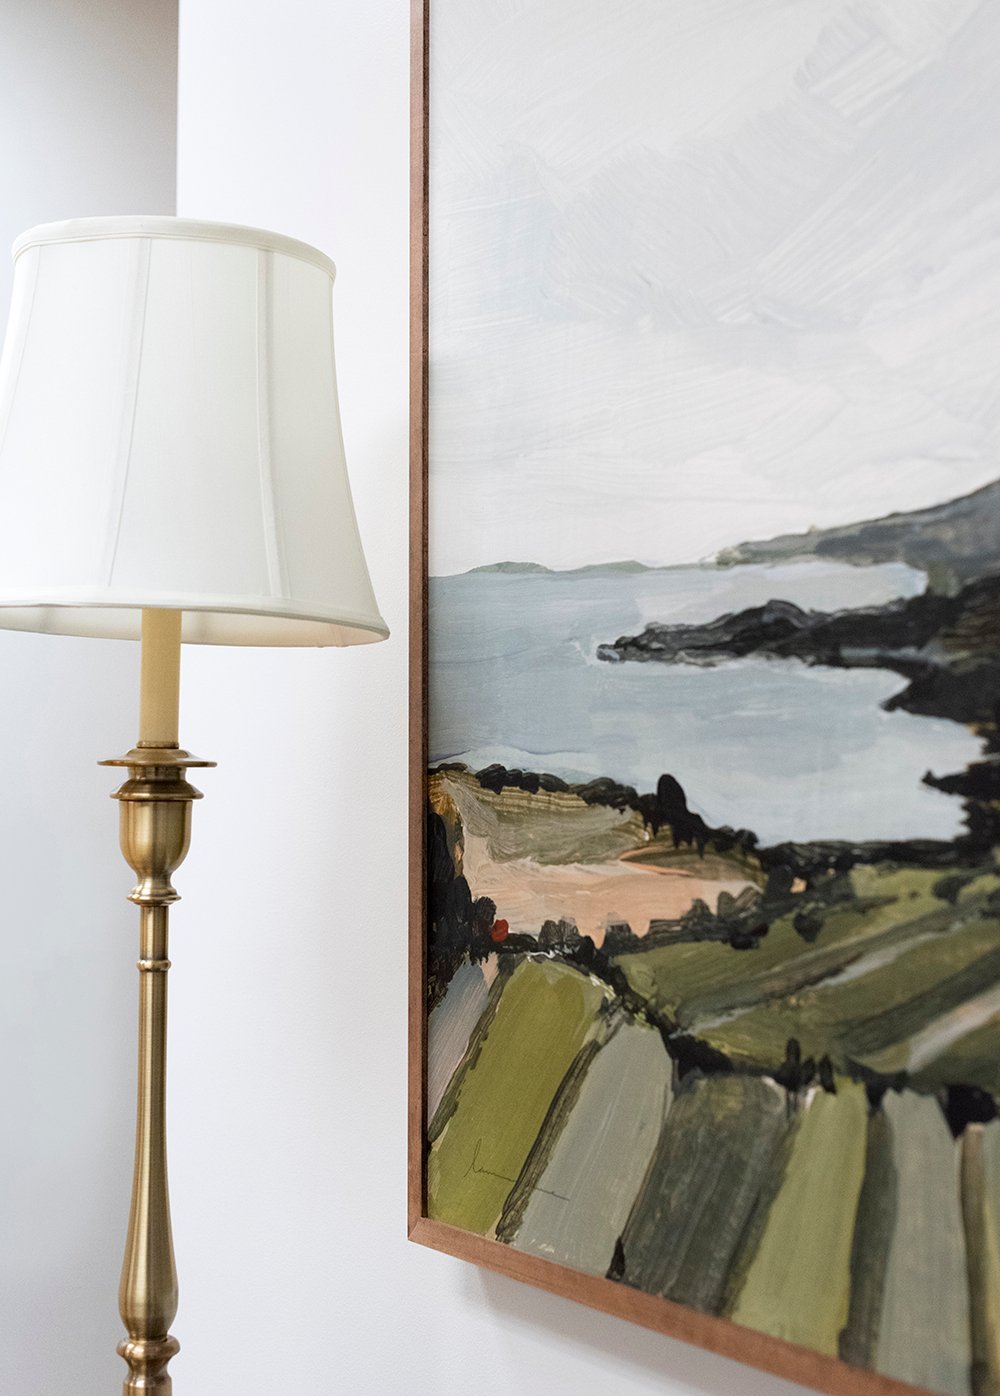
 Once I reached my desired color, I allowed it to dry before assembling the frame. Gel stain is really easy and forgiving! The color turned out very nice and worked well with the art I selected. Here’s a closeup…
 Step 7 // Cleanup. I cleaned my brush with mineral spirits (since I was using stain), and then I put the brush back into the keeper (the coated packaging), so it retains the shape and gets adequate airflow. I keep my brushes for years, because they’re good quality brushes that are made to last, when taken care of. Check out this post on painting tips, if you missed it! I shared 10 really good paint pointers, from application to cleaning up and keeping your tools in good shape.
 Let me know if you have any stain, gel stain, or paint brush questions! I hope this little tutorial helps with your next stain project. I think gel stain sounds intimidating because it’s newer, but in actuality- it’s probably easier for most novice DIYers. I’m definitely a fan! Have you ever used gel stain? If so, do you prefer it to regular stain? I’d love to hear in the comment section below! Do you have any stain projects on your to-do list this spring or summer? I have a few more I’ll be sharing this year!

You certainly make everything look and sound easy! I’m not going to lie, I had a millisecond of alarm watching your stain story on IG. It looked so dark and thick! I confess to a fear of stain. How will it react with the wood tone? Will it absorb unevenly? Look streaky? Paint is definitely my comfort zone; hider of all (most) sins. That being said, I do love the look of beautiful wood furniture, and your frame looks fab! So, commence with the dumb questions. Are there different sheens in stain? Do you always need to clean up with mineral spirits? Does it need a protective coat, or is that built in? Do you sand between coats like with paint? I have zero stain knowledge. Help.
Also, happy April!🌸🌻🌷
Well, thank you! Most projects aren’t that difficult, they just take the right tools and patience. Ha! The stain is definitely scary out of the can… it’s super viscous and very dark. I always try to do a patch test before fully committing. I agree with you that paint is easier. Most stain requires cleanup with mineral spirits, but it depends on the base. The protective coat also depends on the type of stain you buy, but usually you have to add a protective coat- especially if you’re looking for a finish or textural difference (like gloss or varnish). You don’t have to sand in between coats though, so that’s nice! Did that answer everything? I’m not expert in stain, but it has been fun tackling some projects lately! We’re about to stain our vintage dining table leaf sometime this week or next. I hope you had an amazing and sunny weekend outside!! xo
Hi Sarah, Lovely job with the gel stain. Was the stain you used solvent based? Sometimes both formulas are offered, but I couldn’t tell from the image. I do have an amazing gel stain experience to report. While preparing my in-laws condo for sale I used gel stain to restore the kitchen and bathroom cabinets. Several sessions of cleaning and degreasing were needed before applying the gel stain but they honestly looked like brand new afterwards. Gel stain is especially impressive for instances like this where a lot of original finish has worn off and some still remains. The gel stain colored the wood uniformly, acting like a paint in that respect but leaving the grain showing. No one could believe they were the original cabinets.
Thank you, Melanie! I believe this one is solvent based, but I’d have to double check the can. I’m sorry! I love hearing that you had an amazing experience with gel stain, and what a wonderful daughter-in-law you are. That is so nice of you, and I’m sure it made a huge difference. Awesome work :)
Gel stain is awesome. I always have a hard time being patient waiting for it to dry. I have several canvases that we want to frame for the new house. I swear you are reading my brainwave for projects I need to accomplish over the next few months.
We decided that framing and staining will give the art we love a different feel in the new house and everything is being rearranged. Our forever furniture and family heirlooms (both new and old) are being recombined and not grouped together in ways we have done in past homes. Our boys are even in on the adventure and encouraged to call dibs on anything they want in their rooms and hangout space that may typically have been used elsewhere. I randomly get text from the one in collage asking about different items he now wants to include in his space. It’s amazing to see them love the things we love and find our family history cool.
It really is such a cool product! I love that we’re on the same page with our projects lately :) I love your idea of updating your artwork in that way and letting your family choose what they’d like to display in their personal space… that is so fun and exciting! Home and decor really is so special and sentimental. It’s fun to hear that your boys also appreciate these things!
Your frame is beautiful! I have used traditional stain years ago, but never gel stain. I am a bit intimidated by it, but love the results most people get from it. I second every one of Peggi’s questions, plus I’ll add a few of my own. Minwax makes a wood conditioner for prep: is this supposed to be used always, or only in certain cases?
What is the best way to get down to bare wood for pieces that aren’t sealed, but have been stained previously? (oak dressers) What is the best way to get down to bare wood for larger scale projects that have been sealed? Like my kitchen…that’s the one I have the toughest time with. The finish on my kitchen cabinetry is…how should I put it? A train wreck. There are numerous areas where there are scratches, and worn areas in the finish, while some areas look great. I have gone through several brands of cleaners to degrease, and finally found one that worked. Once that was complete, I used Howard’s Feed & Wax to at least protect the areas where the seal is either broken down or worn off altogether. The cabinets have never looked better, but I’m in need of major guidance. Obviously the kitchen needs to go-cabinet boxes are poor quality materials, interior shelving is breaking down, and drawers are falling apart by the day. I fix and repair as they come up to keep it functional, but we are nowhere near able to gut and start fresh. So I have two options for making the kitchen *look* more updated- paint the cabinets instead of keeping natural wood (highly intimidated because oak shows wood grain so much), or get it down to bare wood, and stain it a more pleasing color, and properly finish it with an appropriate seal. *loooong sigh*
I go back and forth because to be honest I’d be happy either way. The scale of the project feels overwhelming, but I know I can do it. I just don’t know where to start for either direction. And would it really be worth it? I know you follow renovation husbands- that strip stuff they’ve used on their doors- is that a better route for a project this size if I decide to stain? Sarah, the questions over here are endless!!! HELP😳 Somedays I wake up and tell myself I can live with it, some days I wake up wishing I had a sledgehammer as a hand, and some days I think “yea, that’s a good idea, I can do that!” 😂🤣😂 At least when it does come time to gut, I know exactly what I would want for this kitchen…that’s a relief. In the meantime, I’m going to head off to dream about beautifully stained kitchen cabinetry…and what this kitchen *could* be. Ahhhh…the inspiration struggle is real over here. I hope you have an awesome Thursday, and apologies for the random ramble. Xoxo
Thanks, Lauren! The wood conditioner is really helpful for getting a rich, even color. Since the frame was raw maple, I knew it would take the stain well, so I decided to just go for it with the gel stain. It definitely helps though! You can strip old pieces or sand them (or both). As far as your cabinetry goes, what look are you going for? With the right primer and paint, that should help to cover the majority of the grain! That is probably the route I would take and it might be easier, while disguising some of those imperfections? Then again, the warm natural wood adds is SO nice! Either way- it’s a big project that would make a world of difference! As far as your question about stripping (yes- I’m friends with them!), and you may have to do a combination of both: strip the cabinets first, then go in and sand… that’s usually the case. Whenever you get to it, you’ll be happy you did :) It will make a huge difference from an aesthetic point-of-view. Hope your Easter weekend was fabulous!! xox