How to Install Floor Tile
 The kitchen is cruising right along and I’m happy to announce the floor tile is totally done! Cue the happy dance. Although we had a decent size area to cover (300 square feet, to be exact), it only took Emmett and I four days. The process isn’t as difficult as you’d expect. Click through for a video tutorial on how to install floor tile, as well as a peek at how things turned out!
 Let’s dive right in and get started, shall we? Below you’ll find all of the linked supplies we used in the video…
- Tile
- Grout (we used the color “pecan”)
- Gum Rubber Grout Float
- Tile Leveling Spacers (super helpful for large format tile)
- Horseshoe Tile Spacers
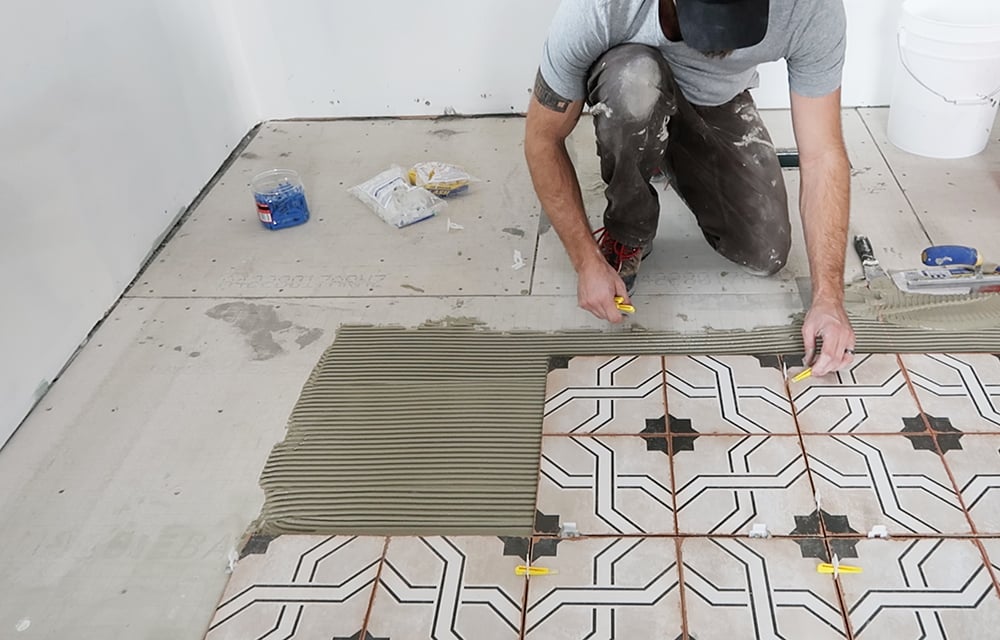
- 1/4″ Trowel
- Buckets
- Power Drill
- Power Drill Mixer Attachment
- Sponge
- Grout Removal Tool
- Carbide Grout Saw
- Grout Brush
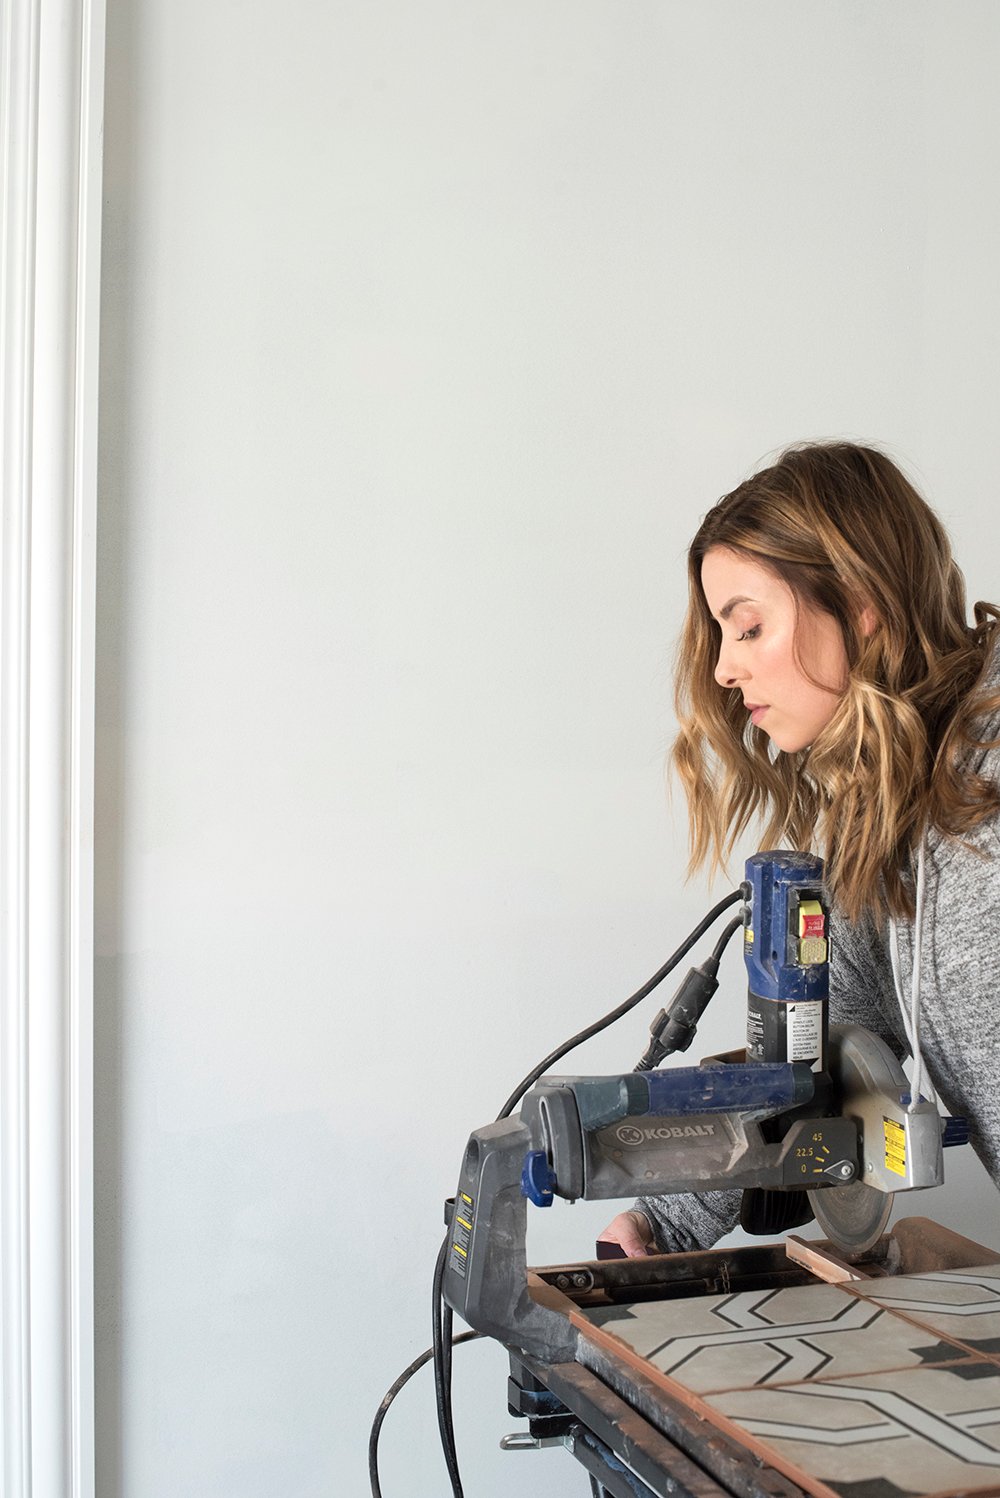
- Tile Saw
 And onto the video tutorial (I’m still perfecting my video skills, argh). If you guys have any questions about the process, just let us know in the comments below! We tried to keep it short, informative, and to-the-point.
What’d you think? Easy enough, right? I promise, it’s one of the more simplistic DIY projects we’ve tackled. Would you try installing your own floor tile?
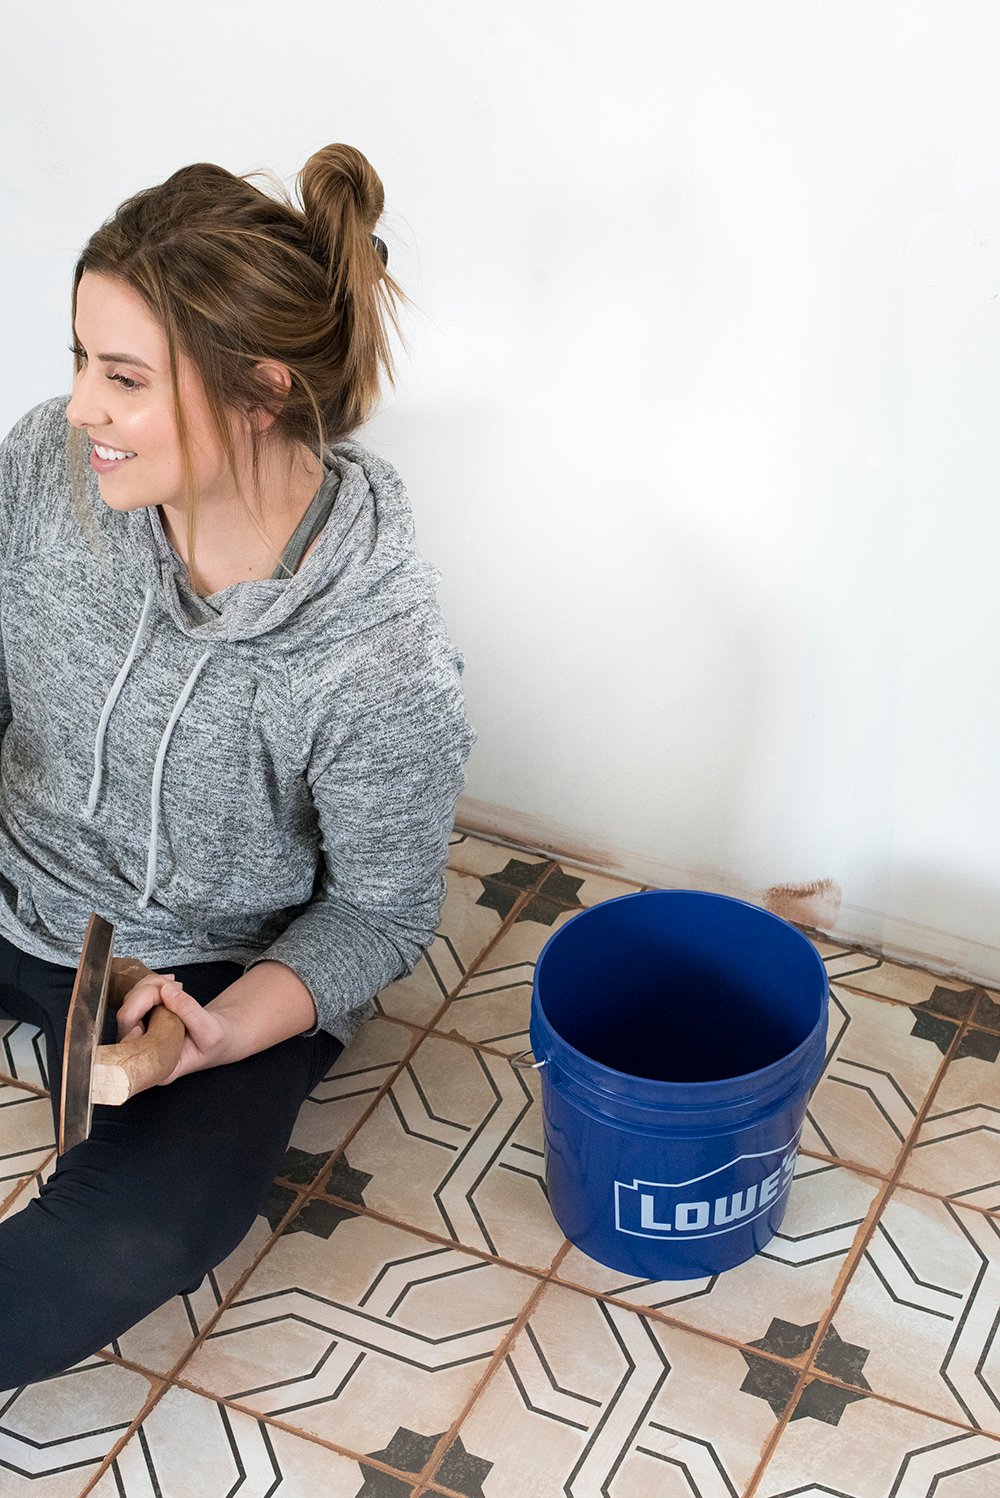 Don’t let the video fool you, I helped as well. Someone just had to man the camera… that’s why I threw in a few photos for proof. Obviously, in the above image, I make grouting look super fun. Ha! But really- anyone can lay floor tile, it’s not overly difficult.
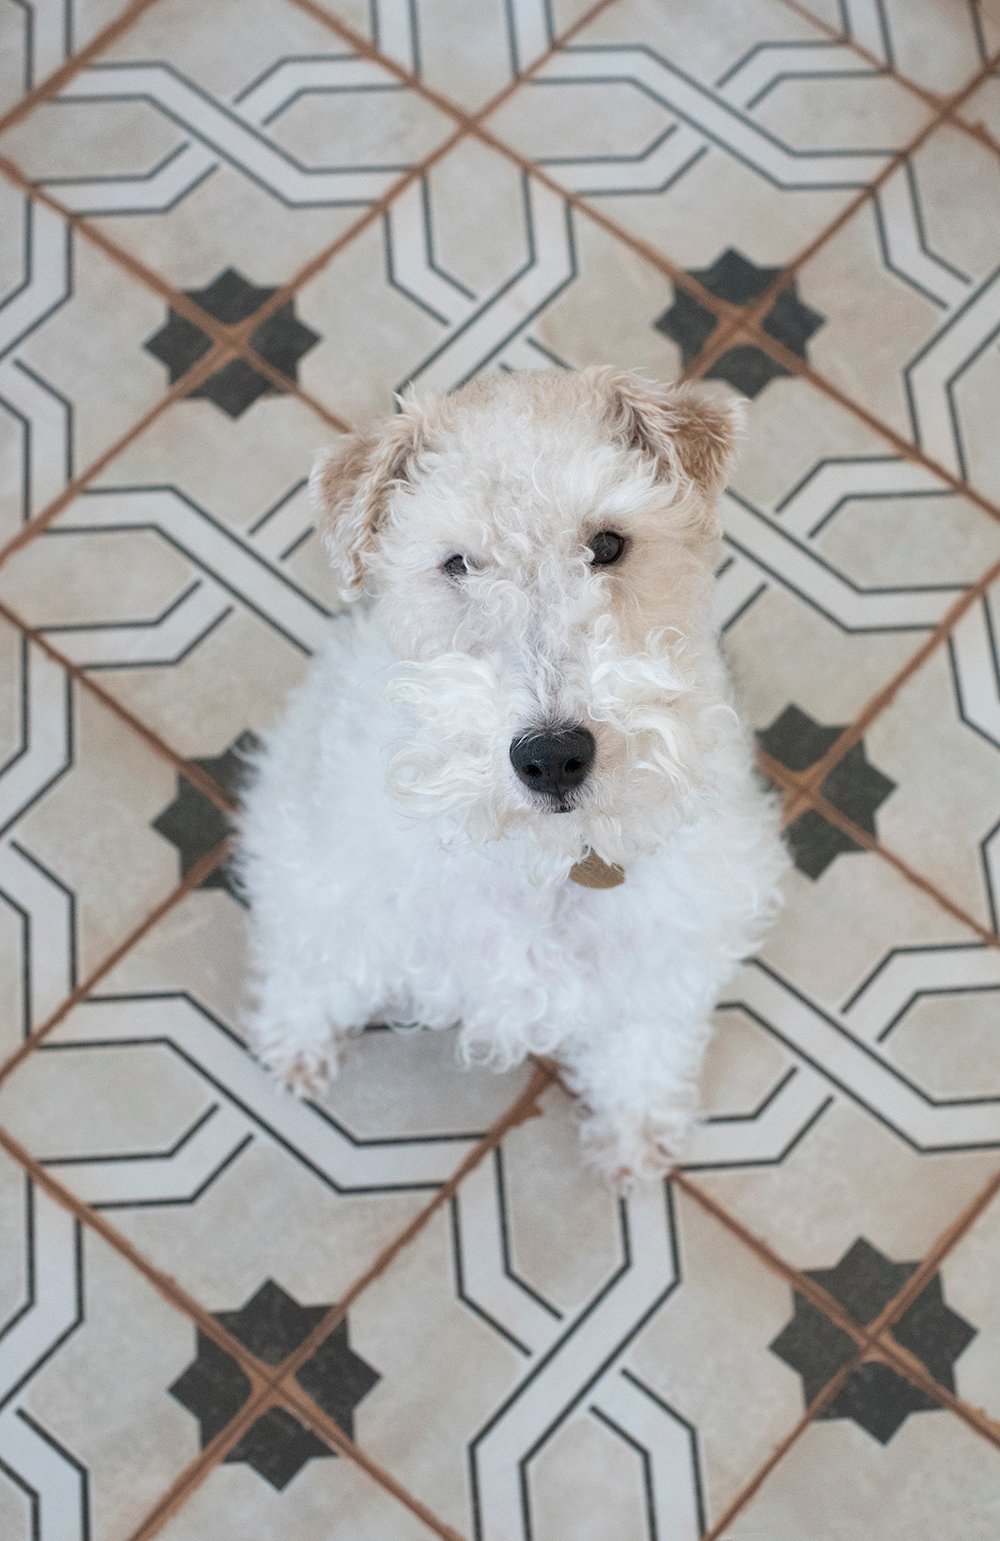
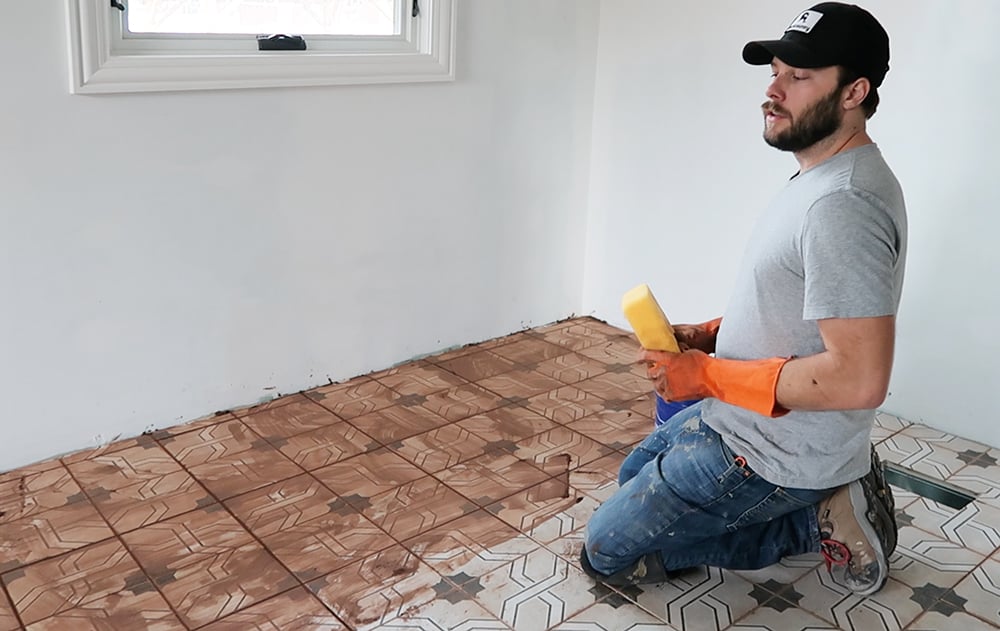 If you’re wondering what the finished tile looks like, I’ll pop in a couple images below! We’re both really excited with how it turned out, and even more stoked that it saved a ton of room in the budget for other items.
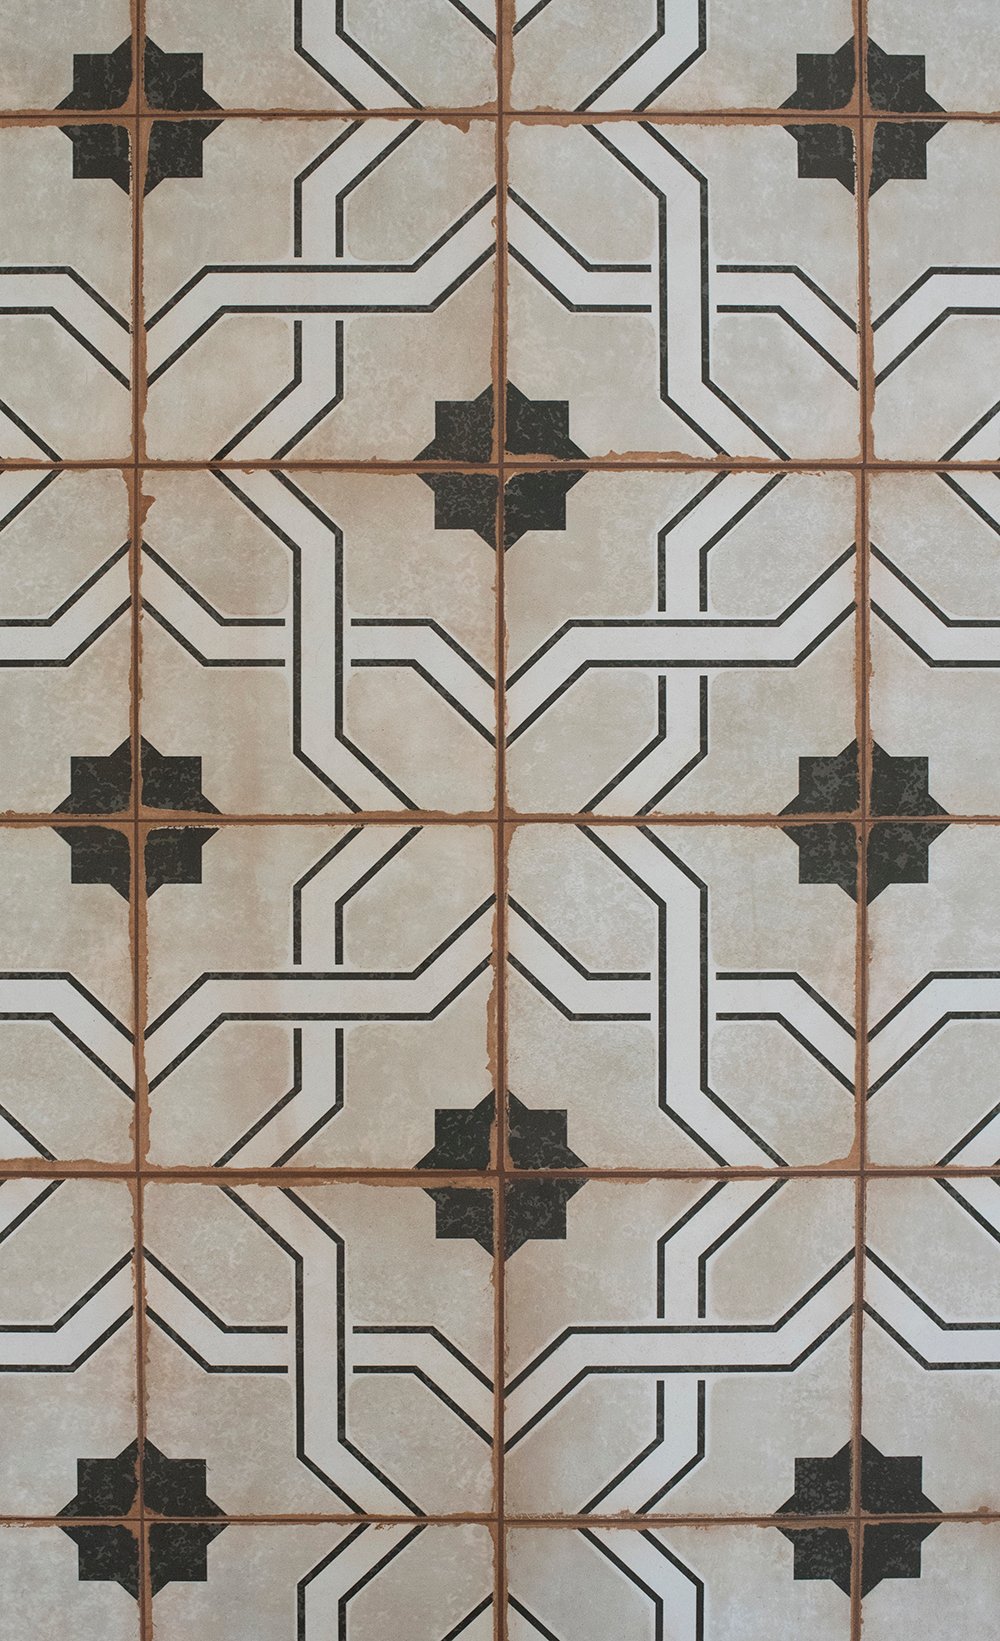 I made Johnny Cash get in one of the photos (yes, he’s adorable) to give you a sense of scale. Know what else I love about this particular floor tile, in addition to the budget? The fact that it’s pet friendly and hides dirt / pet hair easily! That’s a BIG win in my book.
 What other home improvement projects are you anxious to try? If there are any tutorials or videos you’d like us to attempt, leave a comment below!
I have been waiting for this day! Yay! Thanks so much! It looks amazing! The video was very helpful! I don’t think the editing is bad at all. I have only one suggestion after watching all of your videos and that is, step back just a little from the camera when you are talking. Love your hair up by the way in the pic. Thanks so much again! I love your blog!
Thanks so much, Traci! I really appreciate the feedback and kind words! Hopefully this will help you tackle the tile :) xox
That tile is so pretty! And it really compliments your cute pup! ;)
Thanks so much, Robyn! It’s funny- people are pointing out that the floor tile matches both dogs. It was unintentional, but I’m pretending it was on purpose. haha! xo
Johnny Cash complements the tile very nicely. Thanks for the vid and I look forward to the finished project which I know will look gorgeous!
Haha, he does!! I wish I would’ve planned that… but it was totally an accident. Thank you so much, Leslie! xo
I love the floors, you did an amazing job! I had a question for you- we have black and white cement tiles in our powder room, laid with black grout. It looks amazing, but we’ve been living in it for almost 1.5 years, and the black grout is not as black as it used to be. Any tips on how to darken it without ruining the tile? Is there a cleaner i should be using specifically for this? I’ve even gone over the grout with a black sharpie in some places, and while it does look better, it’s a lot of work! thank you :)
Thanks so much, Madhavi! Did you seal the grout after tiling? Sometimes the sealant darkens it and makes it appear richer in color. You could try, scrubbing, cleaning, and resealing! I prefer naturally derived cleaners because I’ve found harsh products that contain bleach or strong chemicals can definitely lighten surfaces and grout. I’m a fan of Method bathroom cleaner, and Norwex products. Hope this helps!! xox
Tile looks great! You make it look so glamorous! I’ve done it before and I think I was a lot messier than you guys! The hardest part is picking the perfect tile and I absolutely love what you picked. It’s graphic but has that natural look too. Just perfect!
Thanks so much, Wendy!! I’m sort of OCD when it comes to cleaning up as we go- whether it’s construction projects or cooking. Ha! The good news is, it always cleans up nicely- even if the process gets really messy. Thanks again! xox
Thanks for the video tutorial! One suggestion– when you mention the tools, maybe show a still pic with close ups with them all labeled? It was hard to tell exactly what some of them looked like on my small screen, which would make them harder to find in the store.
Can’t wait to see how this room all comes together!
Thanks so much, Lori! You can also find the exact tools linked under the “supply” list within the post. Hopefully that makes them easier to find. xo
It looks amazing Sarah, I cannot wait to see it when it is finished!
Thanks so much, Ashley!! xo
I have been trying to find this tile everywhere! Do you happen to remember the name? The link just sends you to wayfair.com
Hi Emily! Unfortunately it was discontinued a few years ago- I’m sorry.