DIY Faux Fur Lumbar Pillow
If you’re hunting for an easy or beginner sewing project this winter- or for your holiday decor… this cozy faux fur lumbar pillow is one to save and try! I’ve had my eye on a few designer versions, but they were all over $100 each and weren’t quite the size or shape I was looking for. I knew it would be easier to make my own for a custom aesthetic. I spent $12 on the fur material, and $6 for each insert, bringing my lumbar pillow total to $12 per pillow / $24 for the pair… which was definitely worth 30 minutes of my time. I love the way they turned out! Click through to check them out and for the complete tutorial.
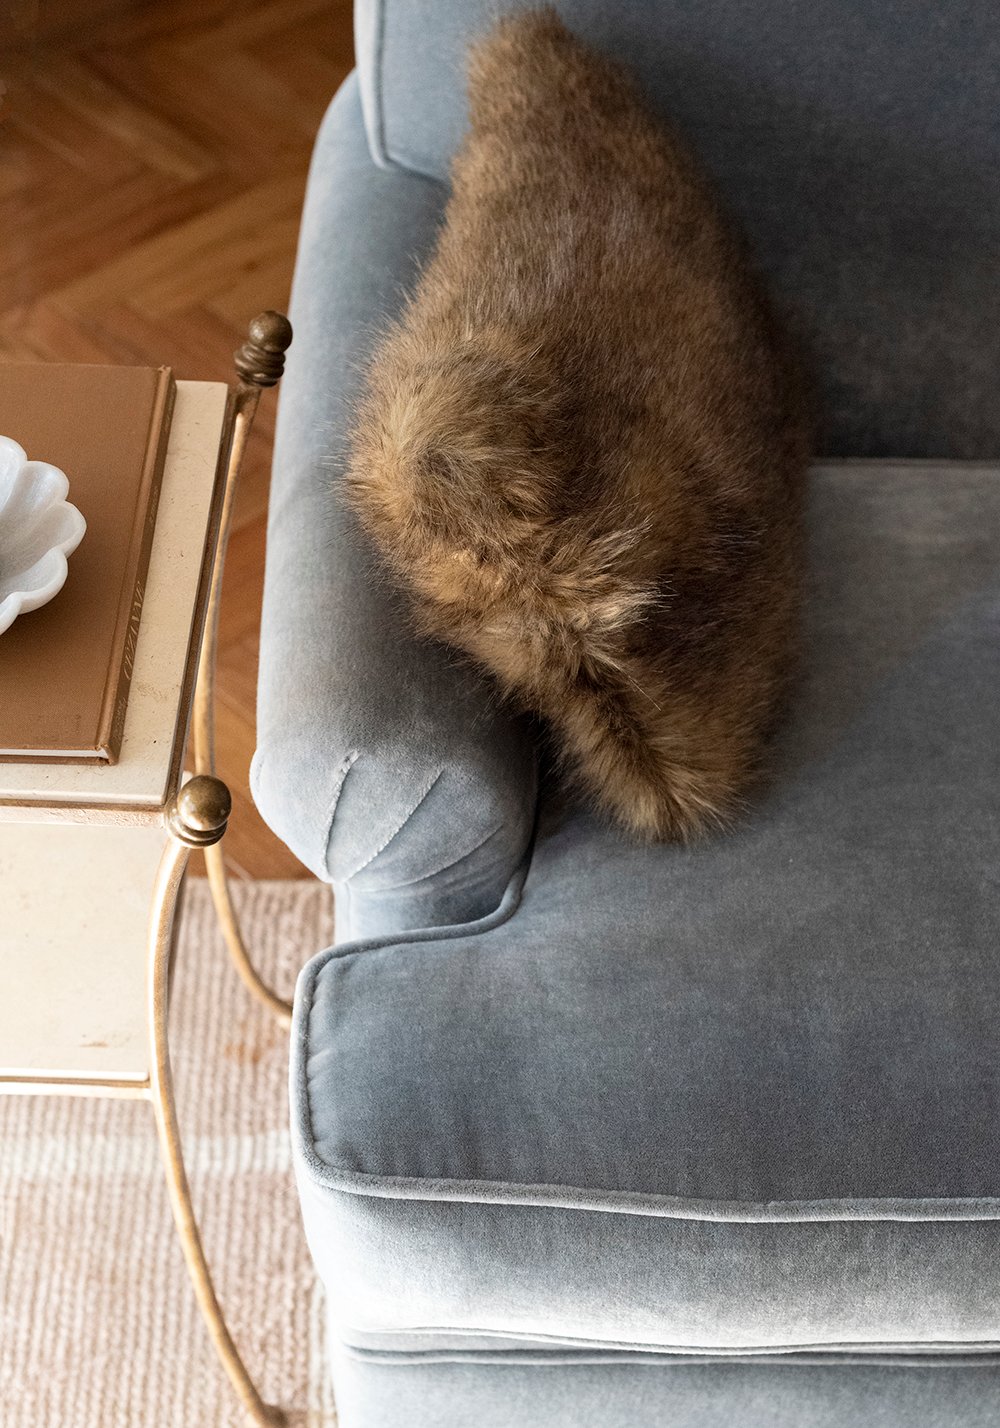
The sofa in our formal living room has smaller rolled English arms and requires lumbar pillows for styling to scale. My interior holiday tour is coming to the blog on Wednesday, but most of you already know I’m going for a traditional look. Fitting the lodge or equestrian aesthetic, fur pillows seemed quite fitting and cozy for the snowy months and holiday season ahead. It also helps to tie in my chestnut brown color palette, which you’ll see later this week. Let’s dive in…
Supplies
To get started, you’ll need:
- Faux Fur Material – I got mine from JoAnn’s (1/4 yard for two lumbars)
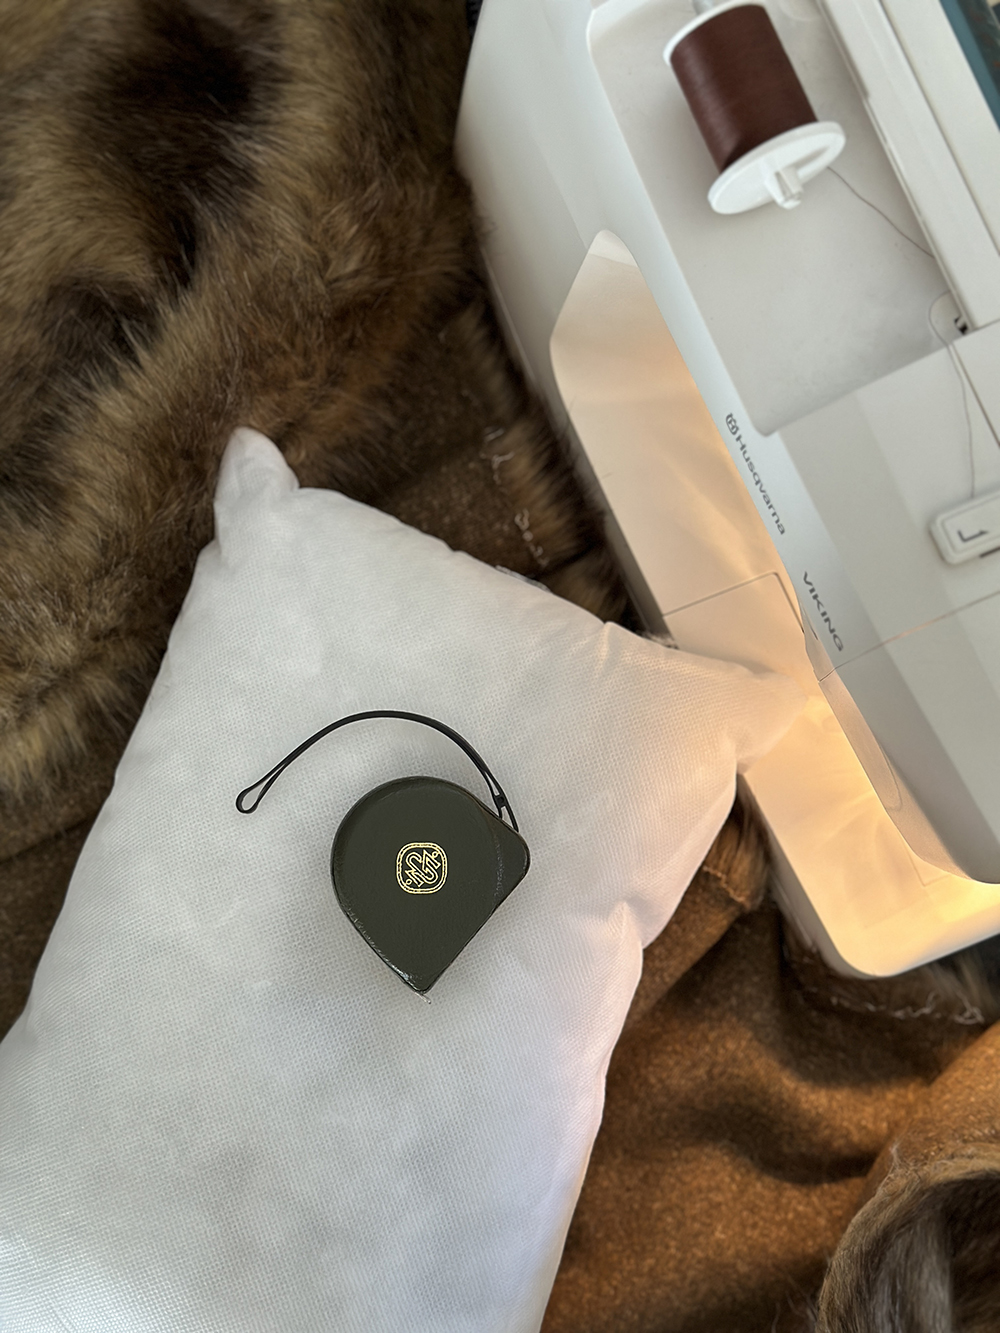
- Pillow Inserts – also from JoAnn’s (mine are roughly 11″ x 14″)
- Matching Thread – make sure it’s upholstery weight
- A Sewing Needle – to finish and close the cushions
- Scissors – whatever you have on hand will work
- Measuring Tape – to measure your fabric
- A Sewing Machine – not necessary, but makes this much faster (mine is a Husqvarna)
Setup Your Workspace
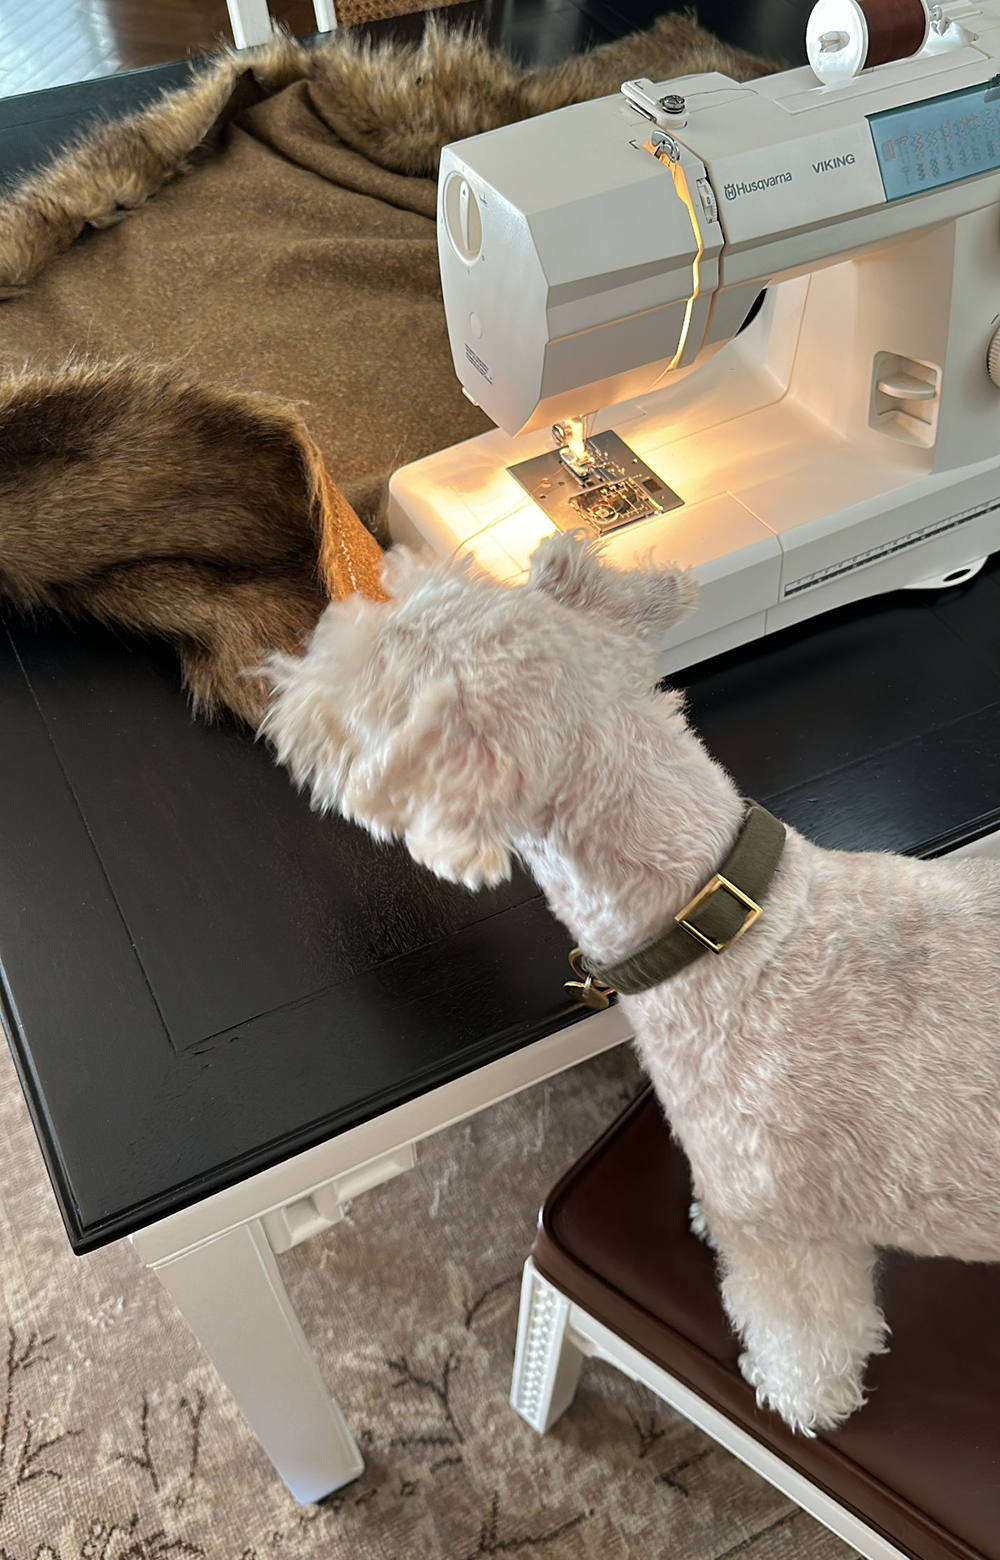
Gather all of your supplies and setup your workspace… thread your needle, load your bobbin, and get everything ready for a quick sewing sesh. Two pillows took me less than 30 minutes- and that included taking photos for this tutorial! Bonus points if you have a cute helper… to be fair, he thought the fur fabric was a toy and kept trying to grab it.
Cut Your Fabric to Size
You can use scissors- or depending on your faux fur, it may be easier to rip the fabric. Mine was a rip situation and it tears surprisingly straight! That also meant less mess. Leave an inch or two around the cushion to account for your seam.
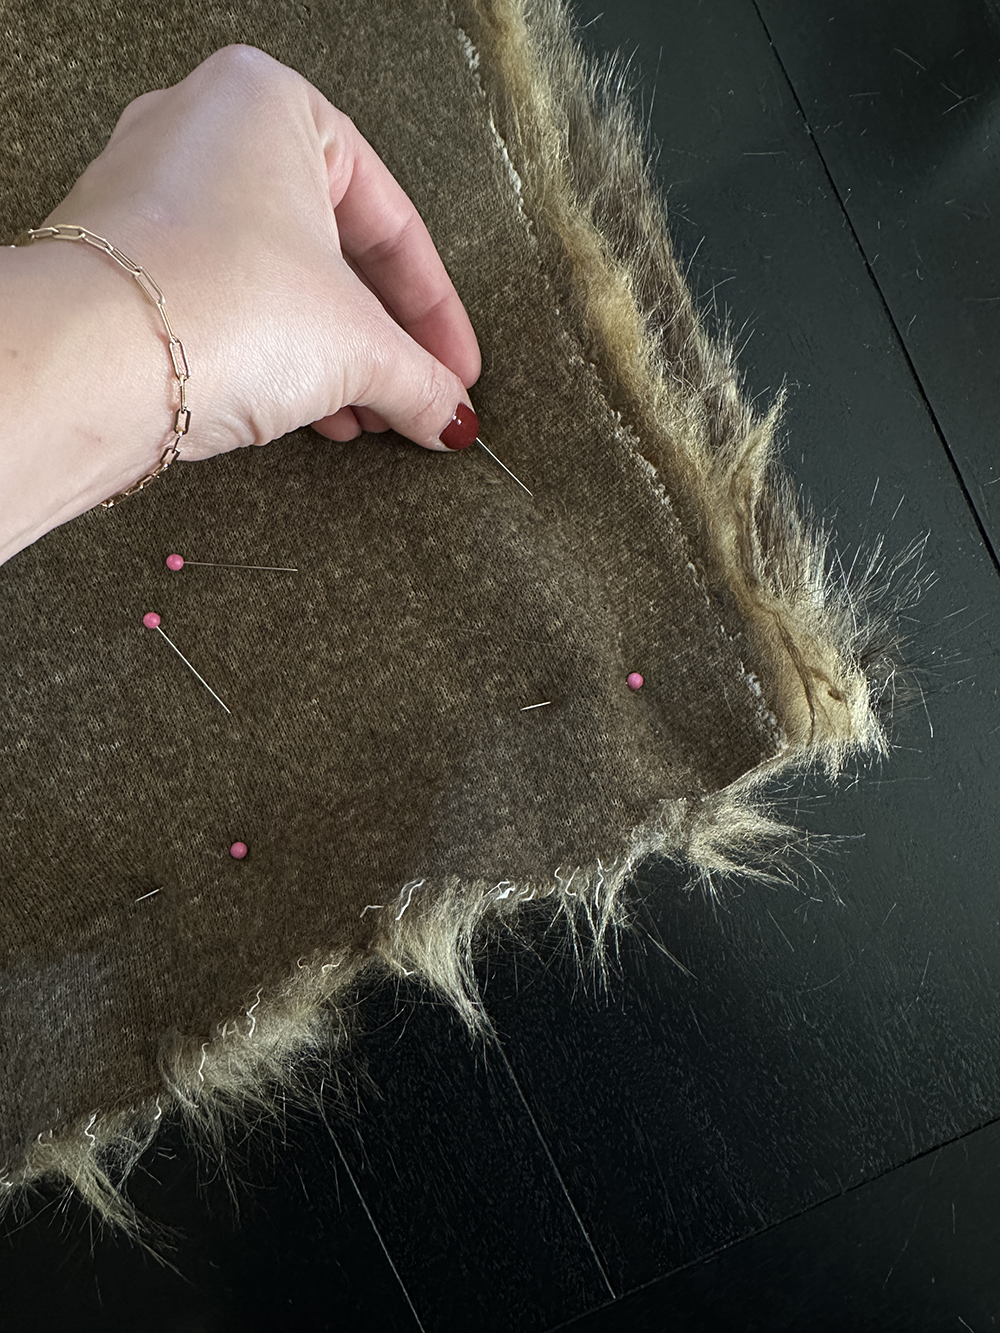
Pin The Fabric
Pin the two pieces of fabric face-to-face to keep it from shifting while sewing. I’m just using plain straight pins…
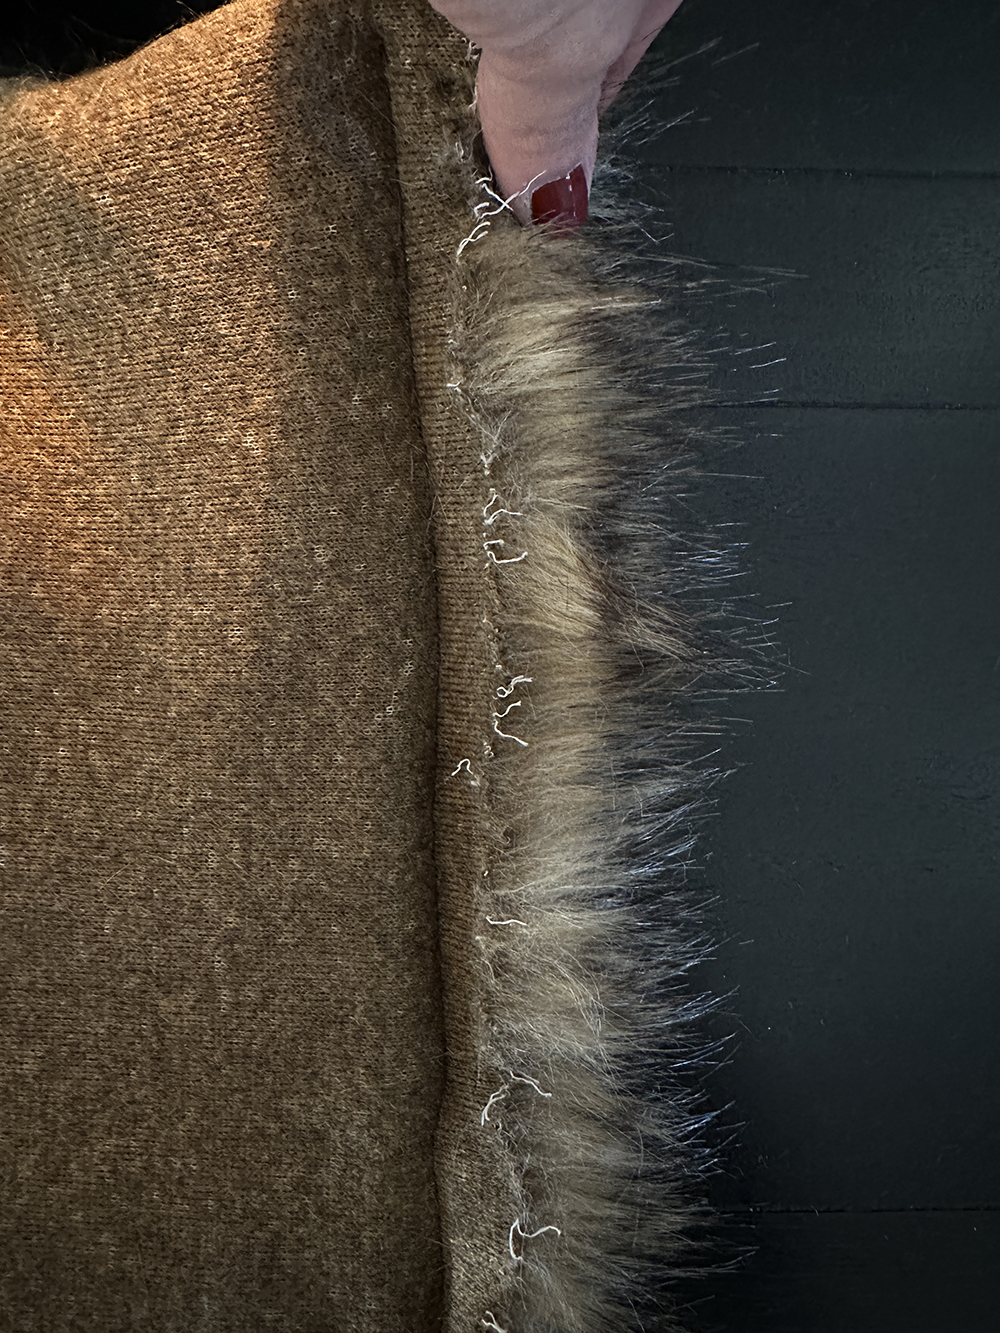
Sew the Material Together
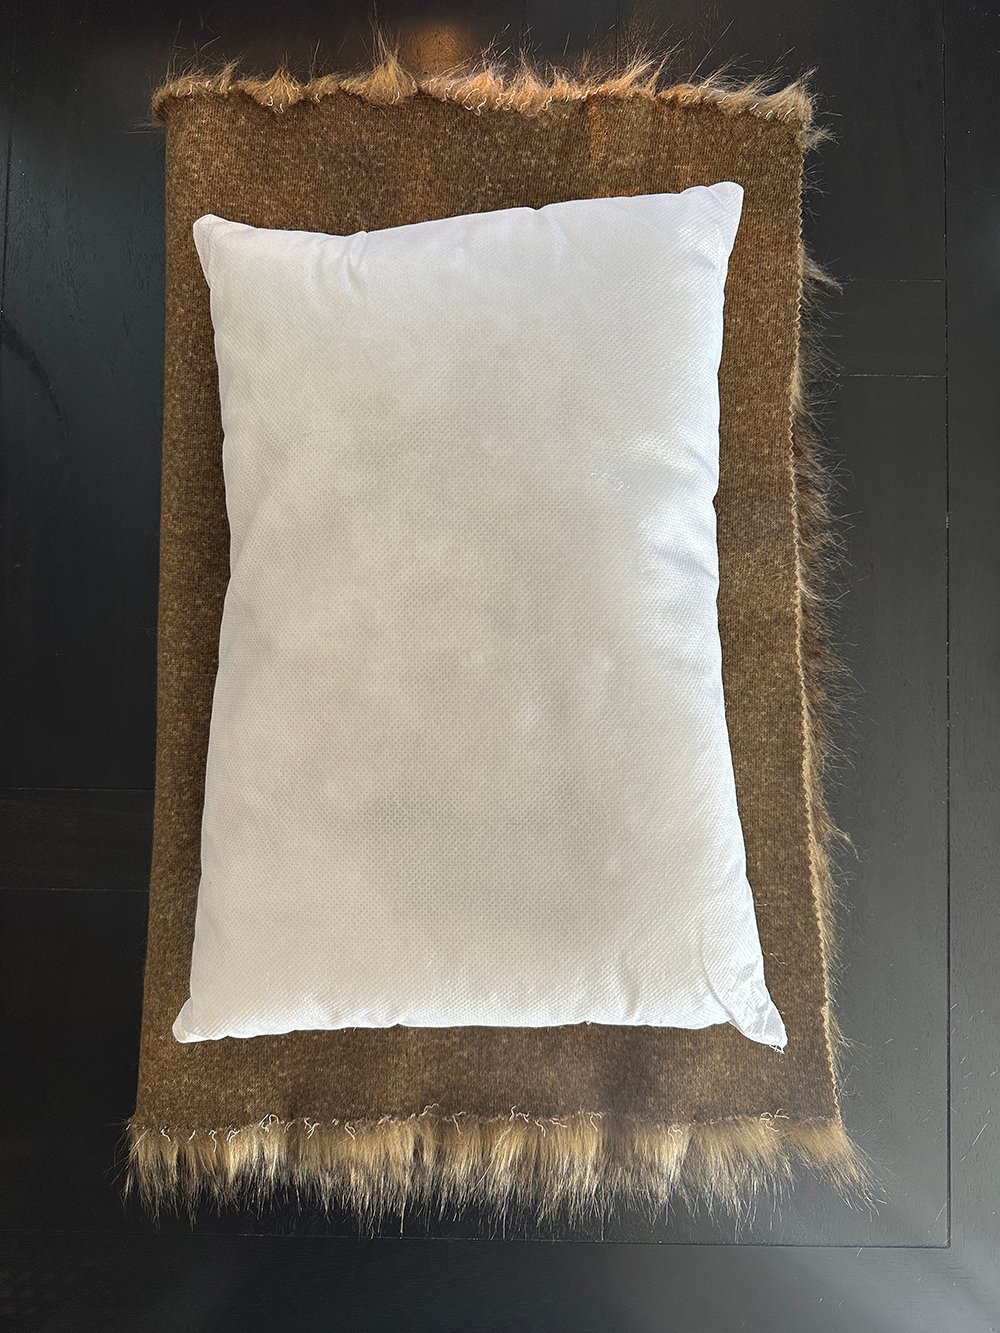
Sew the two pieces of material together, working around one edge, the next, again, and one more… stopping halfway on your last side. Remember- you’ll need a small opening to stuff the pillow insert inside (we’ll close that at the end).
Flip The Pillow & Add the Insert
Next, flip the pillow right side out to see how it looks! If you’re happy with it, carefully stuff the insert inside.
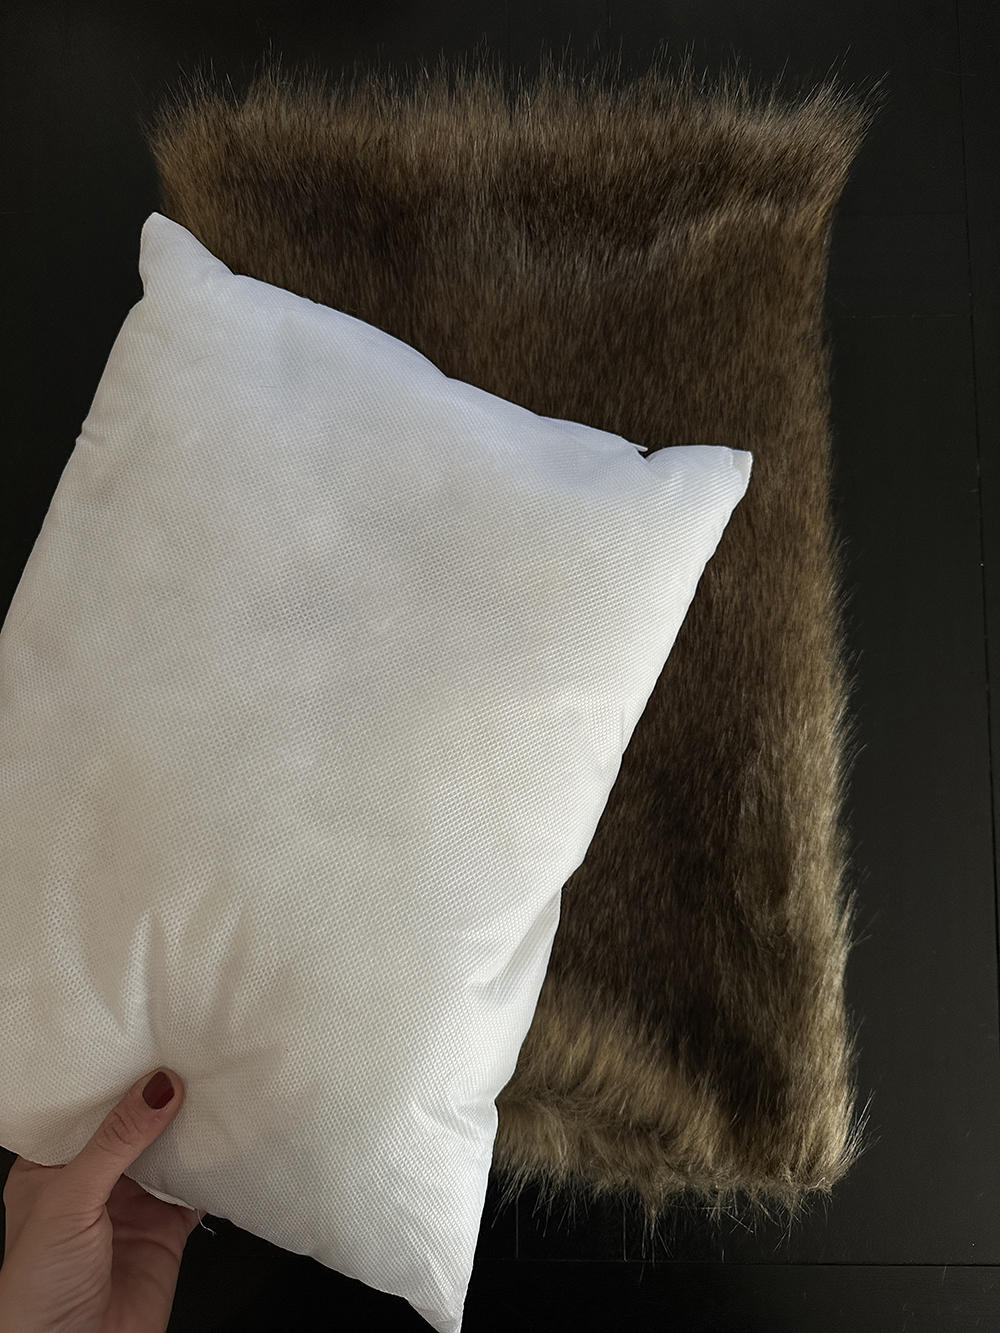
Sometimes it’s takes some effort to squeeze the insert in. I like to sew the pillow pretty tightly, so it requires less hand stitching in the next step. I just wad the insert up until it fits, then shove my arm inside to fluff it and straighten it out. This is how much room I had to work with. A little small, if I’m being honest, but I made it work.
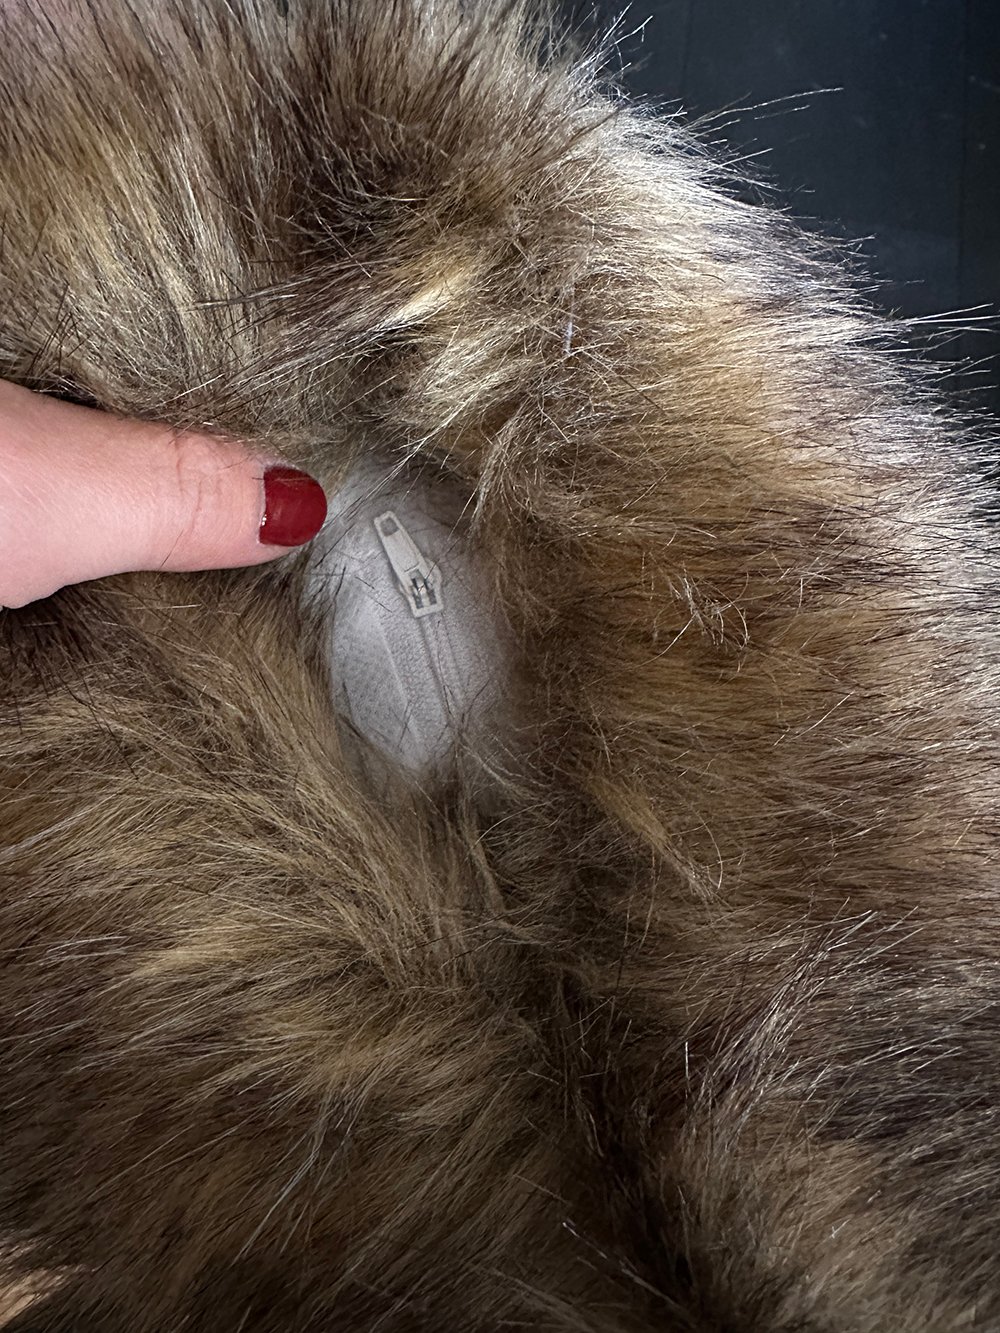
Whip Stitch The Pillow Closed
The last step is to thread a needle with matching thread, then hand stitch the hole closed. I prefer to use a whip stitch… which is a simple stitch that passes over and under on a diagonal. Whipstitching is often used for seams and joining two pieces of material together (like this). It’s a beginner stitch, but any stitch will work for closing the cushion, and the good news? Faux fur is extremely forgiving, so the seam will be totally hidden, regardless.
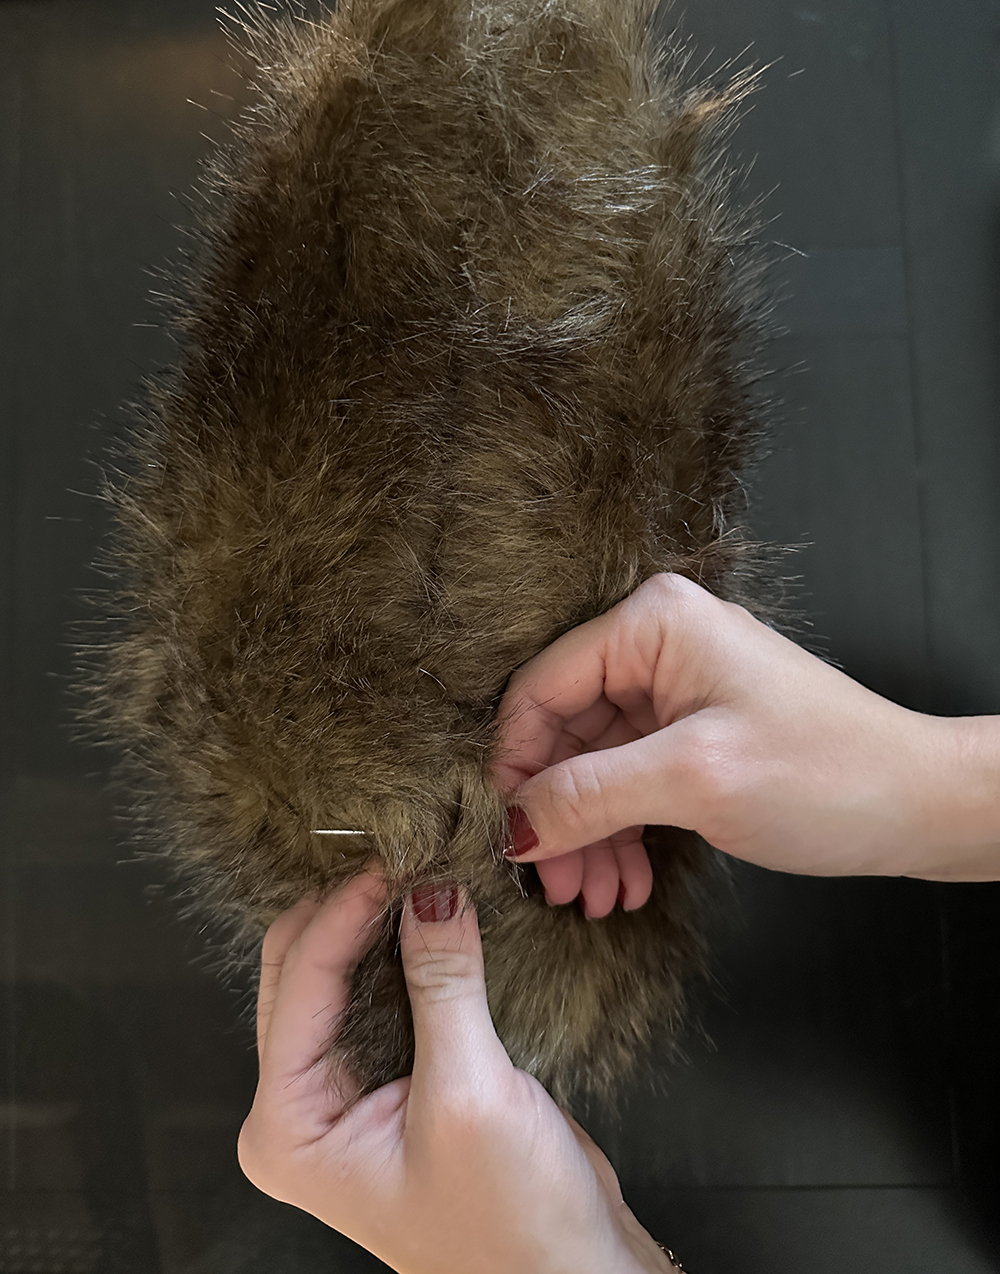
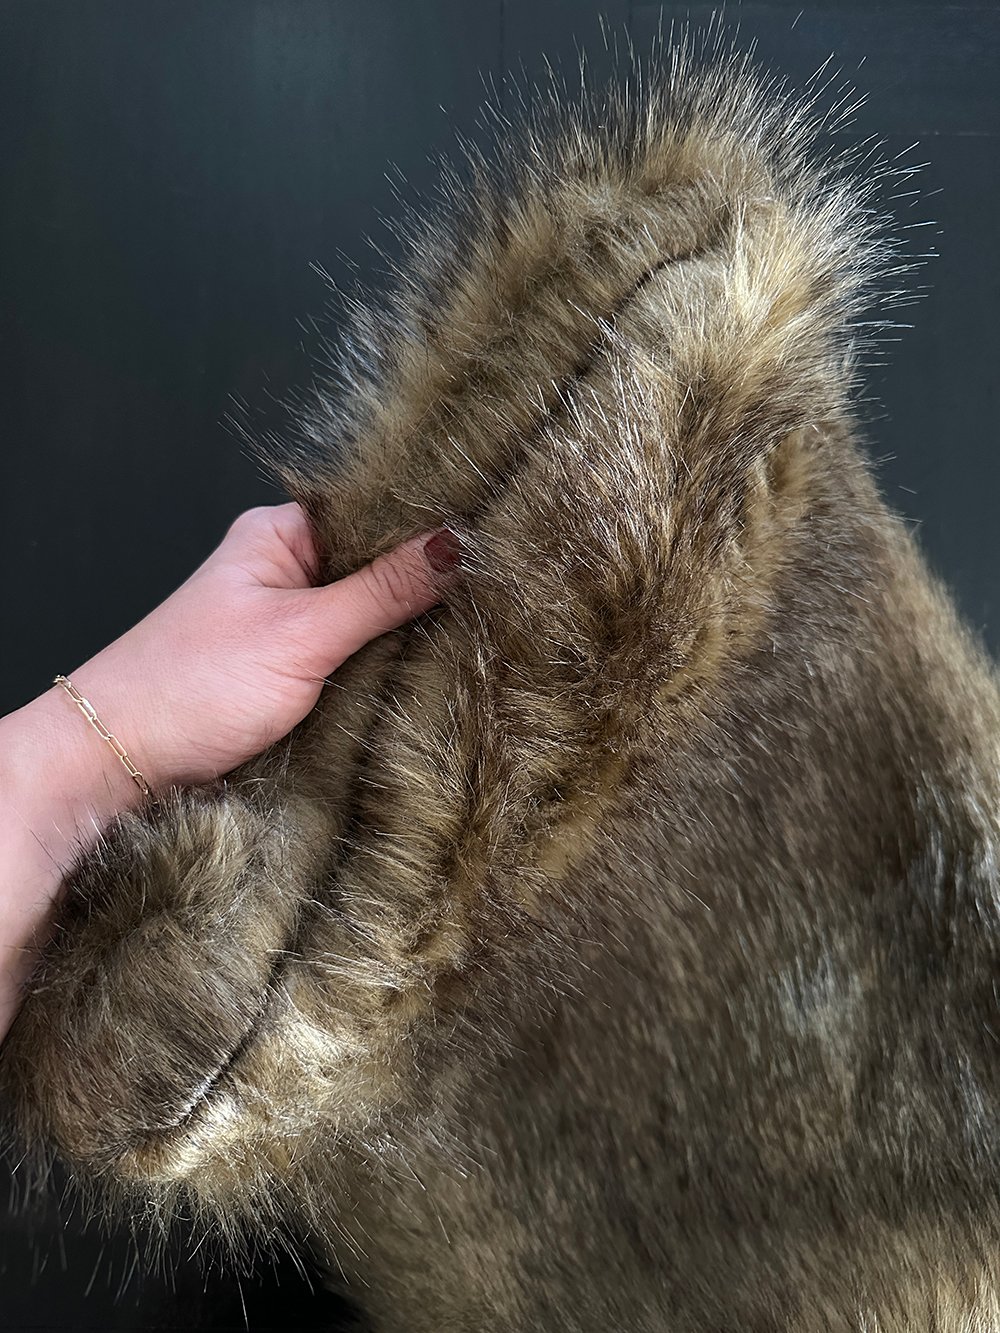
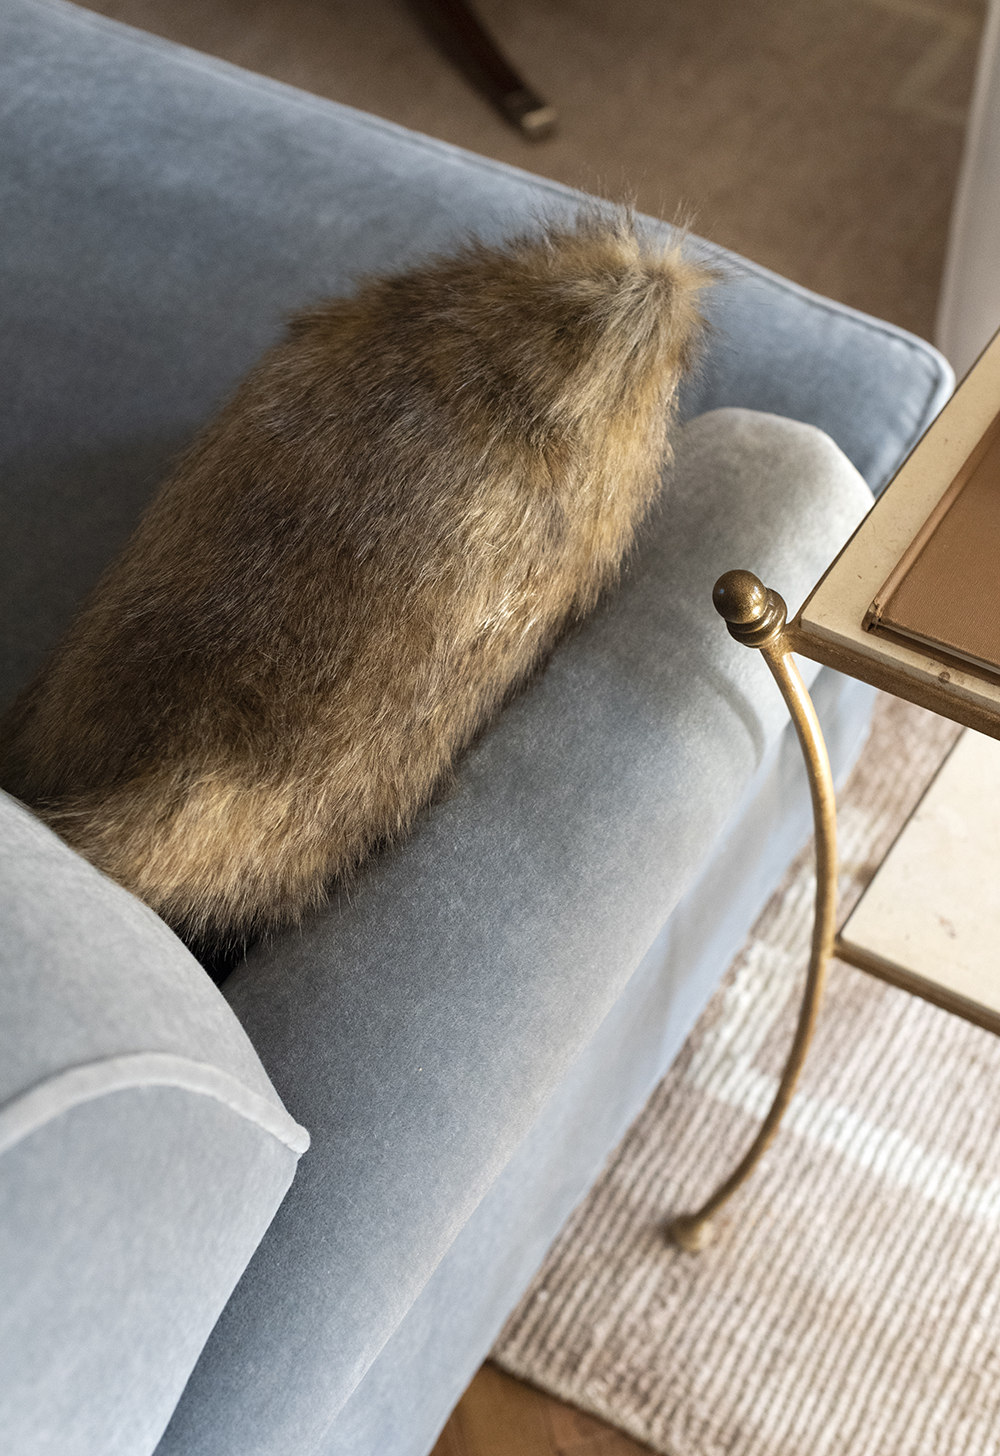
Since faux fur has a backing, you can grab a comb or use your fingers to fluff the fur out of the seam, so it’s hidden. Here’s what it looked like before I fluffed it… see the noticeable seam? It will virtually disappear once you pull the fur out.
How to Style a Faux Fur Pillow
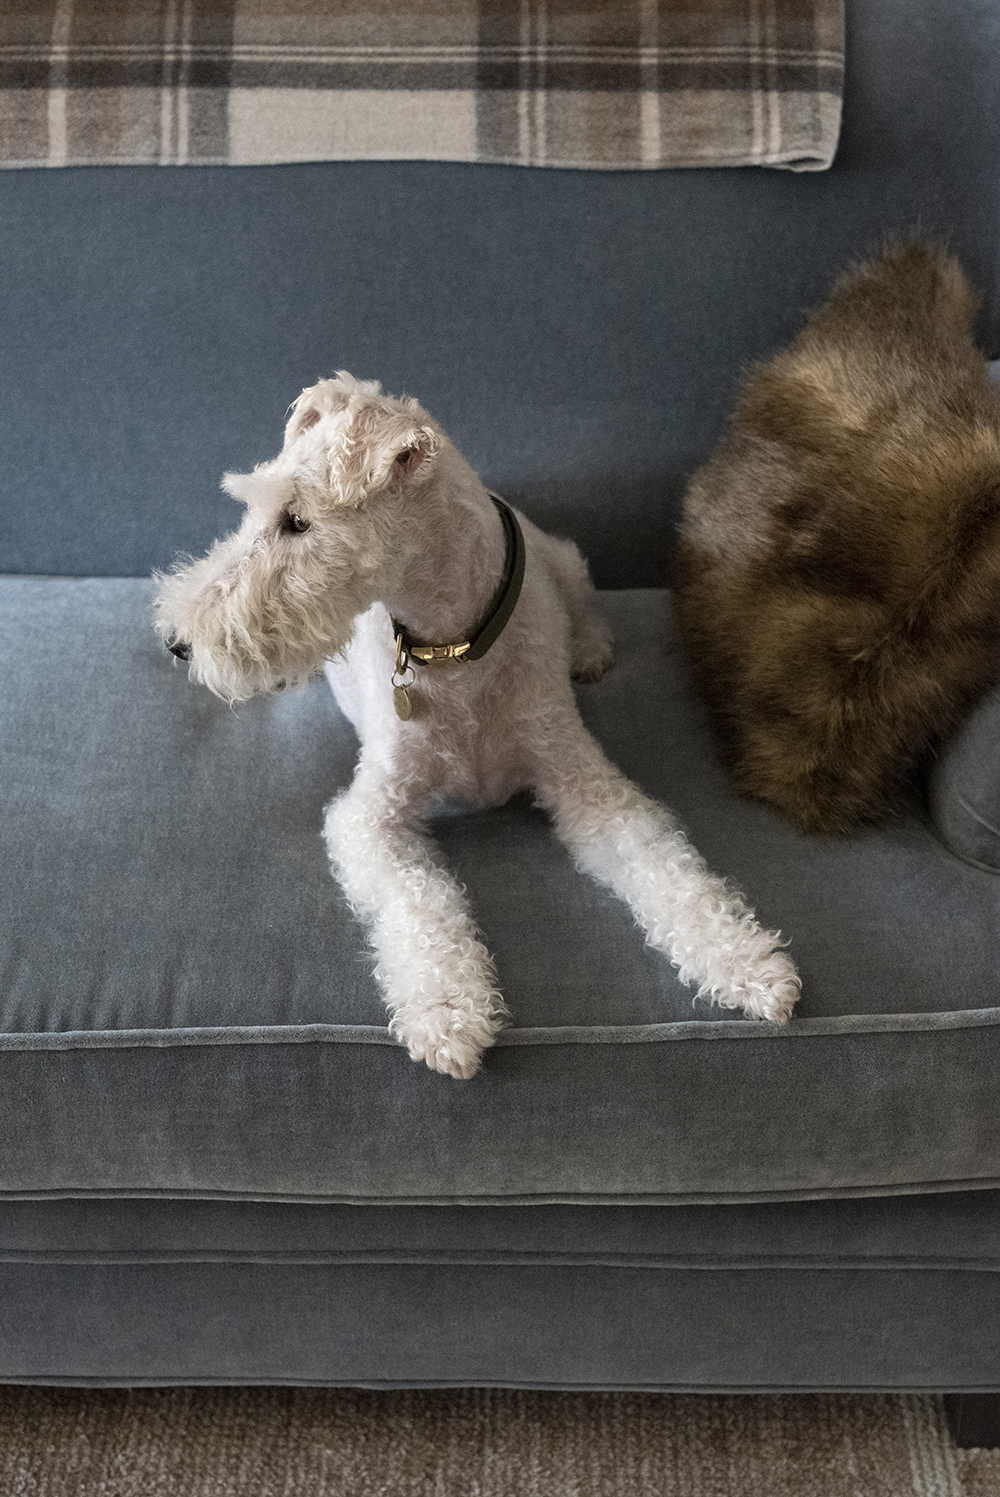
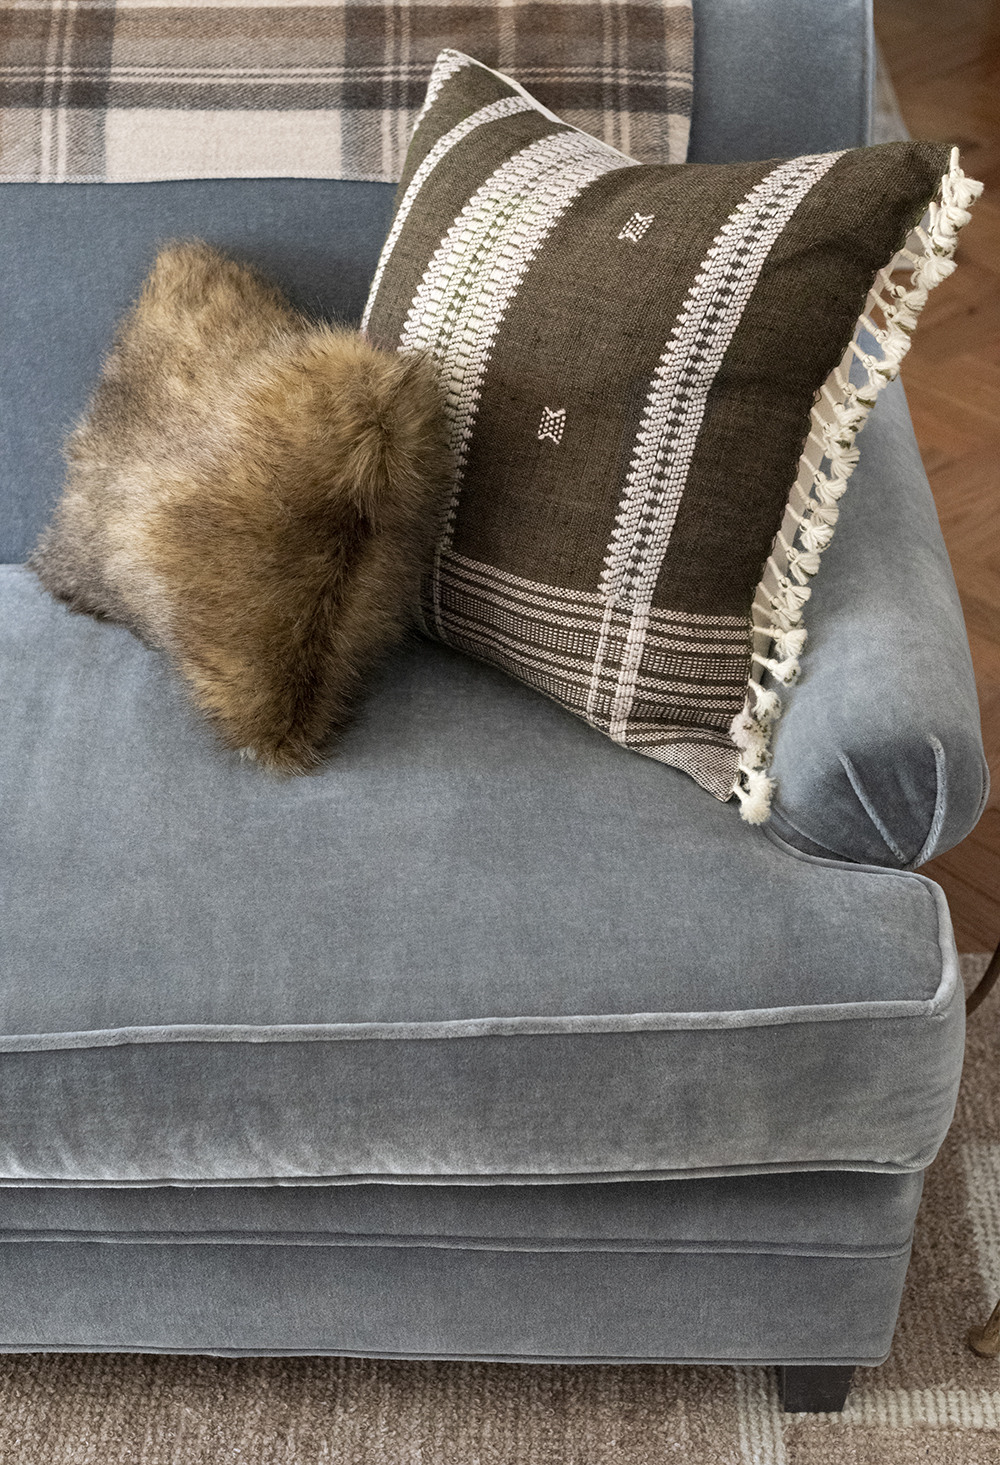
Look how cute these turned out! I put one on each side of our mohair sofa. I actually think for budget friendly faux fur pillows, they’re quite convincing and soft. They definitely give it a designer look.
These can easily be styled with a larger square pillow, a wool throw for winter, or a cozy blanket in another material. They’re super easy to layer and are equally as comfortable to lounge with.
FAQ
Yes! I was actually a little nervous because it’s pretty thick fabric, but it went through without any issues at all. I didn’t have to adjust settings or move the foot either.
At my location, they did! I know every store varies, but I was impressed with their current selection. I also grabbed some brown quilted fabric for my stocking slipcovers (sneak peek of what they look like this year).
Absolutely! Simple pillows like this (without zippers or envelope closures) are easy for beginners. I started sewing around age five- so this is also a great project to share with kids. My grandma taught me how to sew and pillows were always on the agenda as I was learning. In fact, I still enjoy working with my grandmother and we made a pillow collection together! She gifted me my sewing machine in college and it’s still the one I use today.
No. You could definitely hand stitch around the perimeter and achieve the exact same result… it will just take a bit longer.
I love the warmth & texture these add to our sofa, and they’ll be perfect here for the holidays- and all winter long. I’ll link some of the ones I saved (below) before deciding to DIY these. I’m glad I ended up making them myself though, not only to save money, but to get creative with a fun afternoon project. Sometimes these simple crafts and working with our hands are the perfect way to fill a weekend. I hope you had a good weekend as well! Be sure to check back on Wednesday for my complete interior holiday tour. I’m finishing uploading my photos now and will have it all ready for you. I’m excited to hear your thoughts! It’s certainly looking festive around here.

Good morning! So pretty! I am such a fan of fur. I don’t know if it’s deeply buried cavegirl memories or my luxury-loving Leo heart, but I’m a “yes” to pettable pillows. I love them as a cozy winter textile swap. And, of course, my colorful interiors always benefit from a neutral infusion. (Those yummy brown hues on your blue sofa are delish, btw.) I actually have several flokati pillows and a cheeky snow leopard faux fur pair. I haven’t embarked on my winter styling yet, but they’ll all find a spot somewhere. I do have to keep an eagle eye on them though because my pups also think they’re toys! I haven’t dusted off my sewing machine in ages, but I adore a quick creative project. Bonus points if the results save some coins! Thanks for the reminder to get crafty! Now let’s talk about how psyched I am to see you repurpose that hutch for the basement kitchen!! (Sooo psyched.) Such exciting projects happening at the Gibson casa. I’m off to my crack of dawn yoga class, and they’re starting on our fence replacement today. Should be interesting! Happy Monday, Sarah!!💜
Pettable pillows, haha!! I love this so much. There is something really beautiful and fun about them. Your flokati and snow leopard pillows sound amazing! I wondered if the dogs messed with them? So far Cash & Cros have left these alone (thankfully). It was really nice to tackle a quick and creative project last weekend. I can’t wait to get going on the hutch! Emmett & I have lots of ideas for it. I think it’s going to be really awesome while saving room in the budget. Way to go on your crack of dawn yoga class! I need to channel some of your motivation! I hope the fence replacement is going well! xo
Happy Monday and Good Morning! This is a great project and your faux fur pillows are beautiful. Coincidentally I made 2 lumbar pillows for my fall decorating this year. I had been holding on to several fabric swatches since the spring in anticipation of fall and refreshing my pillow palette. Like you, I love changing them up through the seasons. So fun! Your project is a great one to share and completely easy for a beginner 👍 I used my sewing machine too but hand sewing is totally doable. I love the color and texture of the faux fur but there would definitely be some pillow versus dog toy confusion here in this house 😂 I’m afraid they would be ripped to bits, haha! I’m super excited for your Christmas home tour on Wednesday, and as Peggi said the “pet-able” pillows are a wonderful addition and I’m so intrigued to see it all 😍 Exciting! Enjoy your beautifully decorated home Sarah 💖 cheers to a lovely week ahead!
Hi Colleen! Thank you! I love that you also made a couple lumbar pillows recently. It’s such an easy switch that makes a big difference. So far, the dogs haven’t messed with the pillows, but I was worried there for a minute. haha! xo
Good morning! This is my sign to learn to use a sewing machine in the coming year. Fun fact- I have two sewing machines that I’ve had for years, and I’ve never learned to use either one. Terrible I know! I adore the way your pillows turned out, and I’m even more loving all the fun sneak peaks of your holiday look- so far it is screaming Ralph Lauren/stable vibes. This project looks easy enough, and I’ve been itching to try your stocking slipcover hack! That one looks fun and easy too. In other news, Im stoked to see what you do with the hutch for the basement kitchen. I wanted to do this with my own hutch for our kitchen, but sadly it’s both too wide and too tall. Things are getting exciting at the Gibson house! I hope you have a great day Sarah; thank you for sharing your tricks to this diy!
Yess!! I think it would be so fun for you and Brooke to learn together. I have the best memories learning to sew as a kid- I was always making something. The pillow is such an easy project, but the stockings are even easier (no handing stitching required). We haven’t started on the hutch yet, but we have big plans for it. We’ll probably get it going once we’re back from vacation next month. Can’t wait to share though! xo
Those faux fur pillows are adorable! Such a quick project that you will love and use for some time! Can’t wait to see your holiday equestrian decorations. I love faux fur. Give me all the vests, rugs, pillows, blankets, coats. Seeing your fabric reminded me of a vest my aunt made me back in high school. It is in my closet and I will cherish forever…even if I cannot wear it.
The hutch you posted on instagram has me dying to see what you do with it in the basement kitchen. What a great idea for cabinets. Hope your renovation is going well. My daughter and I will be painting my husband’s office bathroom later this week. His reminds me of yours with the ADA sink and hand rails. I wish you were closer, I would love to bounce color ideas off with you.
Have a great Monday!
Thank you so much, Danna! I loved reading about the vest your aunt made for you- that’s so sweet. We haven’t started on the hutch yet (and probably won’t until we’re back from vacation), but it has me SO excited. The kitchen is going to be a huge change down there. I’m so glad to hear it’s going well at your husband’s office. That’s so nice your daughter is helping out. I also wish I were closer- you know I’d be happy to help :) Hope you’re having a good week! xo