Budget Storage Banquette / Bench DIY
 I’ve seen my fair share of amazing IKEA hacks that have been known to save the budget without compromising the aesthetic. I’m here to share one more to add to your interior bag of tricks. This storage banquette or bench DIY is super functional and can be used in so many applications. You could build it in an L-shape for a breakfast nook, use it as a bench seat at a dining table or mudroom, a window seat in an office, or put it in a playroom for your littles. However you decide to use it, one thing is certain… you’ll end up with a piece that looks anything but IKEA and has maximum functionality (because we could all use more storage). Click through for the complete DIY.
I’m helping two of my very best friends renovate their kitchen on a budget. It has an eat-in dining room that is super narrow. Since they had already landed on a “modified” IKEA kitchen, it made sense to create their bench sea at the dining table from the same IKEA product installed in their kitchen so everything would match nicely. As I just mentioned, this thing could pretty much go anywhere! Here’s what you’ll need to get started.
 Supplies:
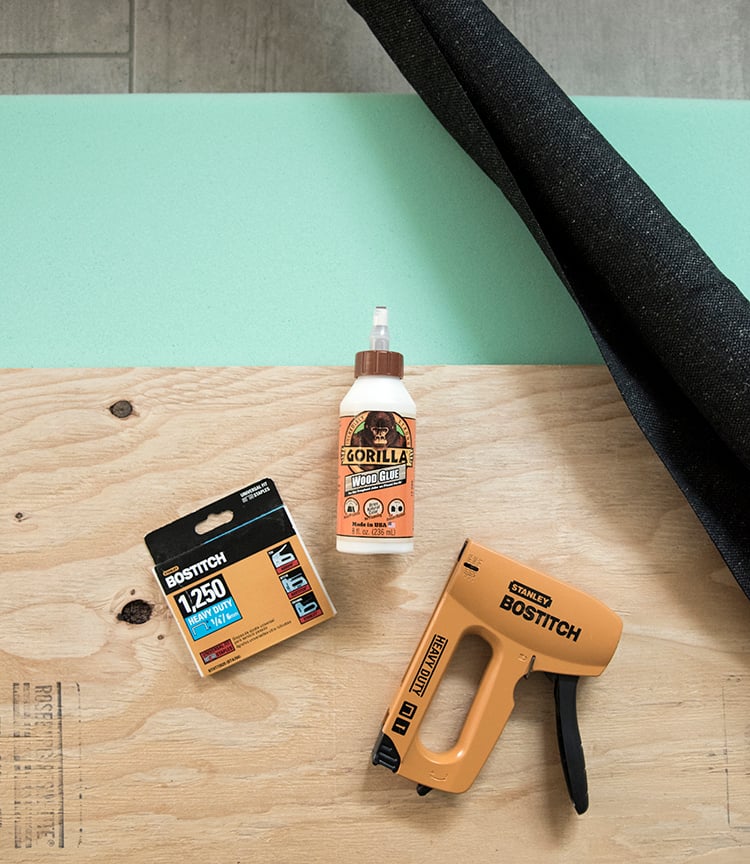
– heavy duty staple gun
– heavy duty staples
– wood or fabric adhesive
– scissors
– a large serrated knife or reciprocating saw
– a sharpie marker
– a piece of plywood, cut to size
– IKEA sektion kitchen product with laxarby veneer (we used two upper 15″h cabinets and replaced their components with shallow depth, maximera drawers)
– a large 3″ piece of high density foam
– durable fabric (we used this one)
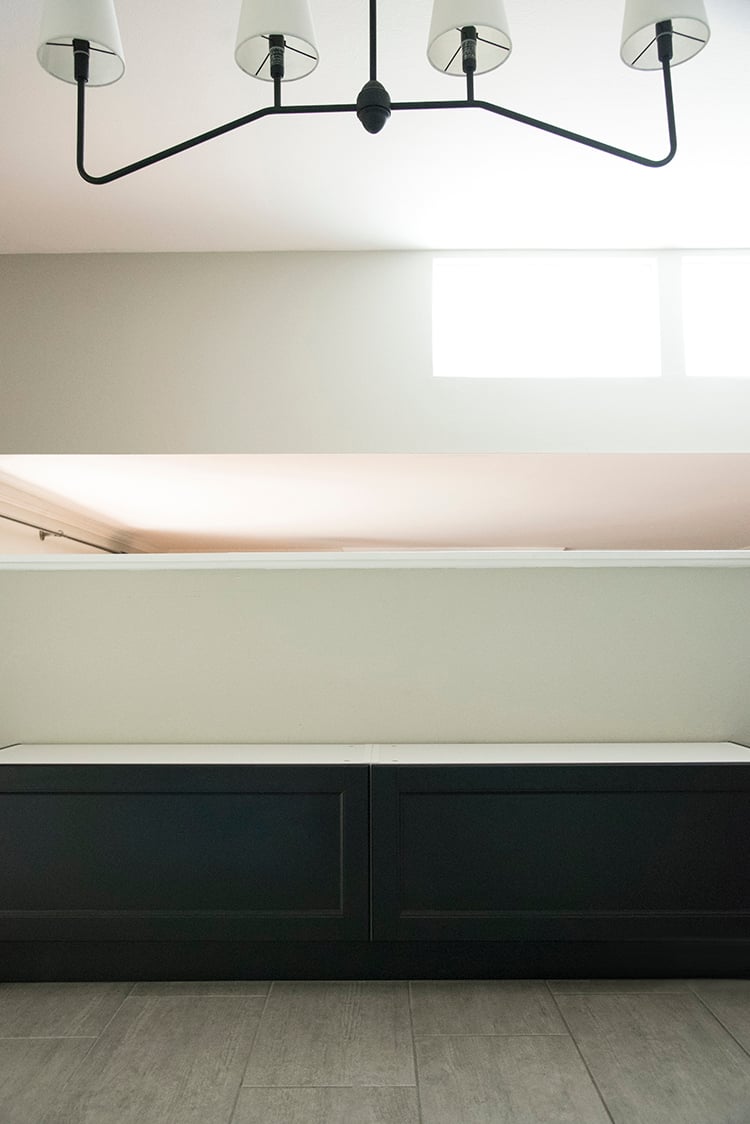 Step 1 // Assemble the IKEA unit. Begin by putting together the IKEA pieces…. I know, I know- we can agree this is always the worst part. You will also have to do a little mixing and matching with the products to get the same result. We purchased two Sektion 15″ upper cabinets with Laxarby (black) veneer. We then replaced their components with shallow depth Maximera drawers. That allows for the amazing, soft-close storage. The two large drawers slide outward making it more functional that a cabinet front.
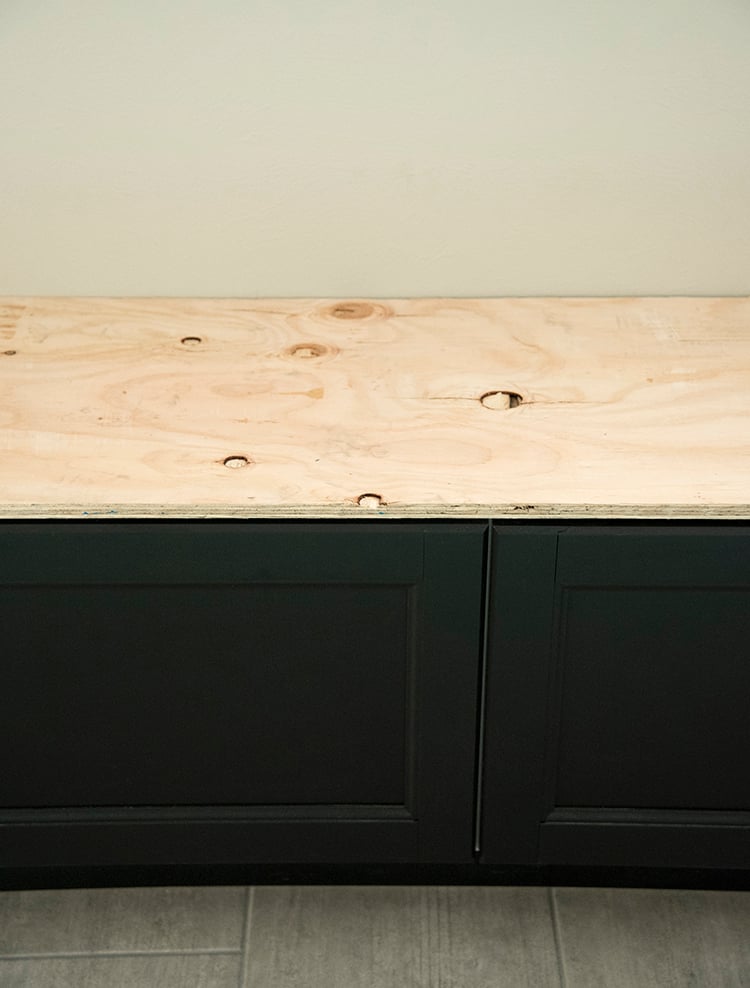 Step 2 // Confirm the wood fits. If you didn’t know this already… you can have your wood cut to size for free at Lowes. They did a great job and cut this piece down to the eighth inch for us and it was a perfect fit. If you’re using the same exact IKEA products, your wood piece should measure 73 1/8″ by 15 1/2″.
 Step 3 // Cut the foam to size. Unlike Lowes, Joann Fabrics won’t cut the high density foam to size for you. Bummer! Lay the wood on top of the foam and trace the shape with a permanent marker. Once your template is ready, begin cutting the foam to size. We used a serrated knife, but a reciprocating saw or an electric carving knife would make this task much easier.
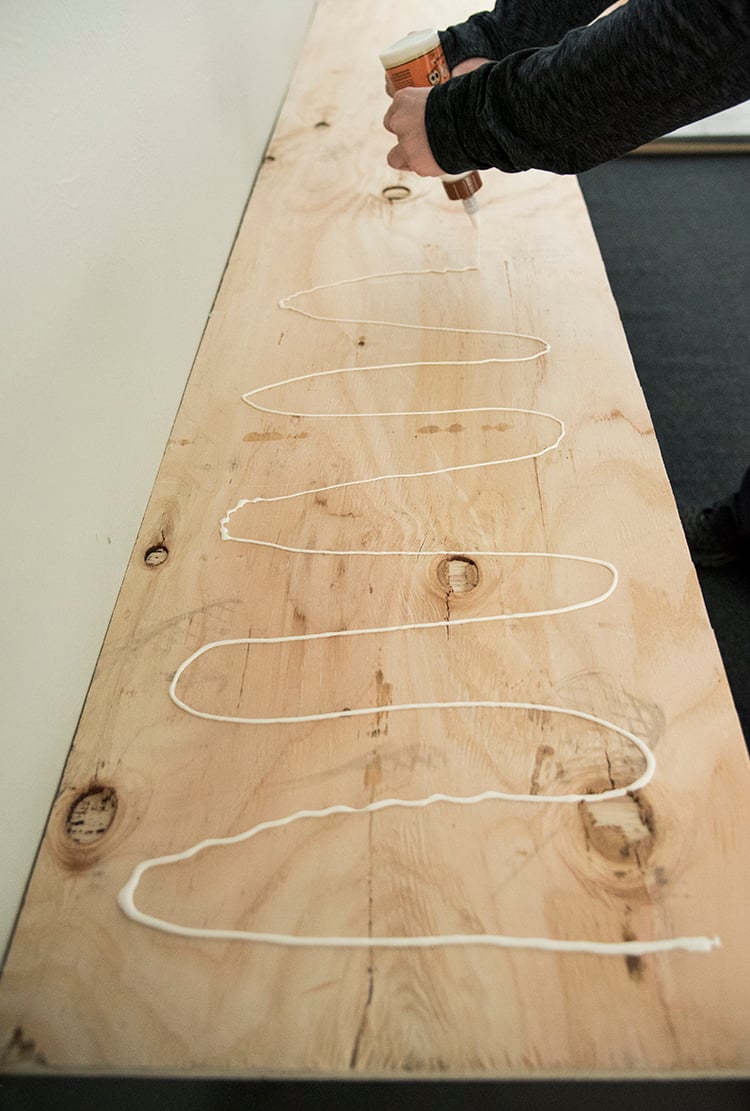 Step 4 // Glue the foam to the wood. Using your favorite adhesive, secure the foam to the wood as best you can. Many glues take awhile to cure, so you might have to move it cautiously.
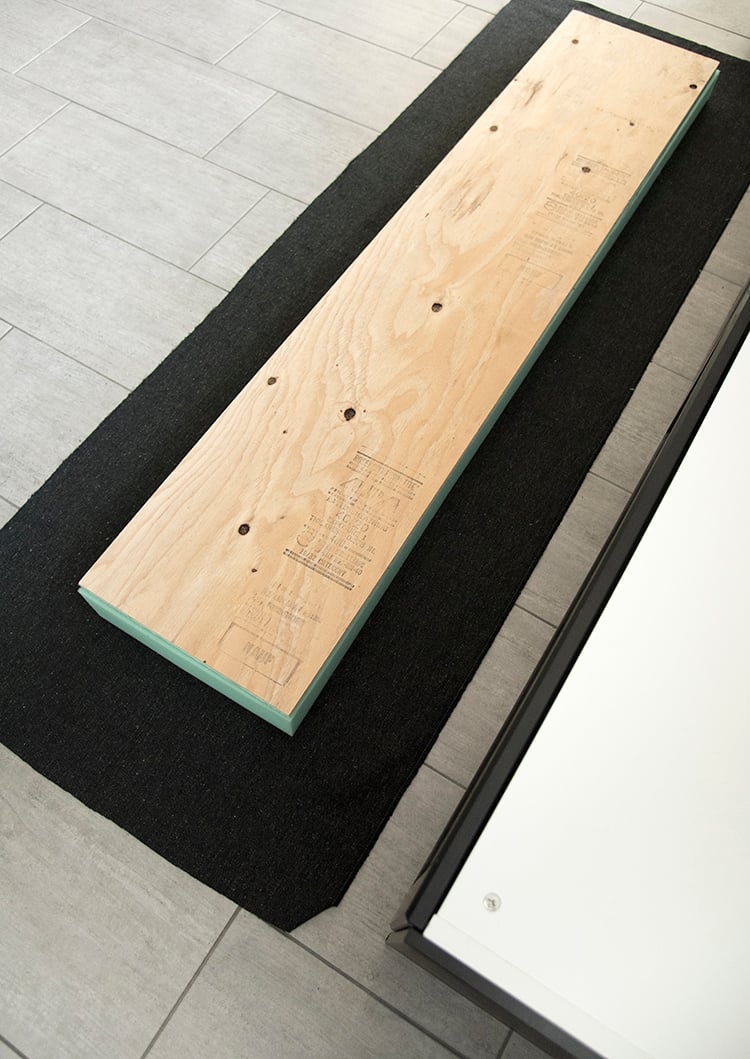 Step 5 // Prep the fabric. Flip the foam and wood sandwich carefully onto the fabric. Trim the fabric, leaving 5 or 6 inches around the entire shape, ensuring you have plenty to staple.
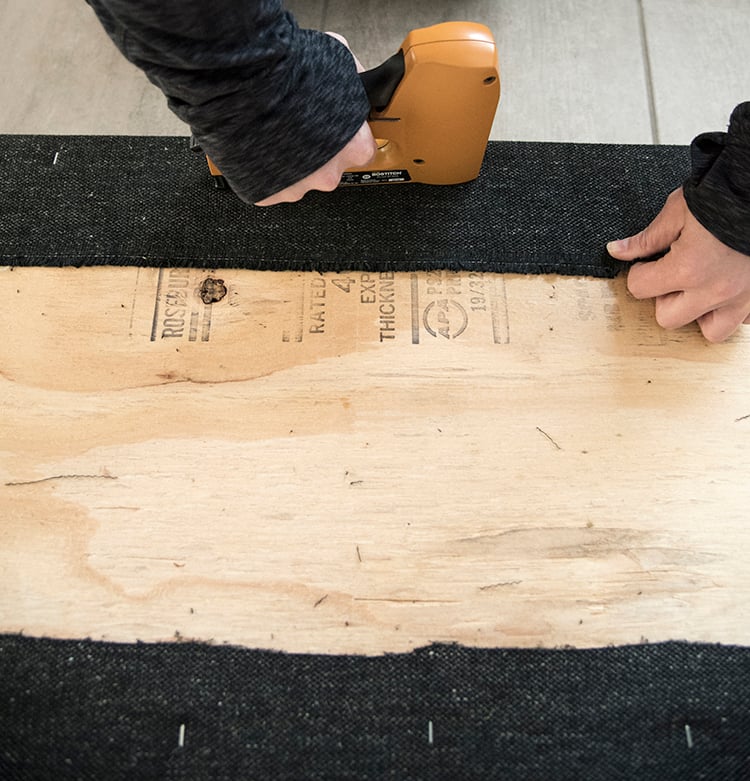 Step 6 // Begin upholstery. Tightly wrap the fabric onto the bottom of the bench, stapling to secure. Do this around the perimeter, leaving 3 inches at each edge. I like go around the perimeter a few times, smoothing the material as I go.
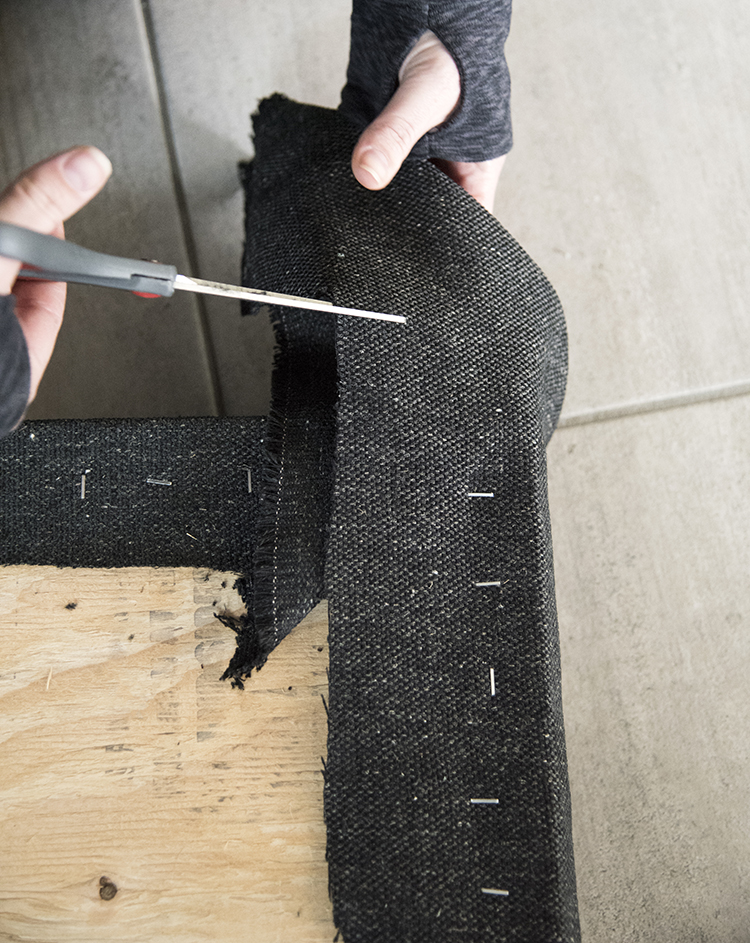 Step 7 // Fold the corners. This is probably the trickiest part of the entire project… securing the corners. I like a nice and neat straight edge. There is already an amazing video about edge finishing out there- watch it! It’s so much easier to watch someone than to try to describe the corner process in text. Basically, you cut the excess material at the corner, then tuck and fold the remaining.
 Step 8 // Secure the bench to the unit. Lastly, screw the upholstered cushion onto the top of the unit. This last step is totally optional, but offers a sturdy, permanent solution. From the inside, top panel of the storage, run a few screws up into the plywood.
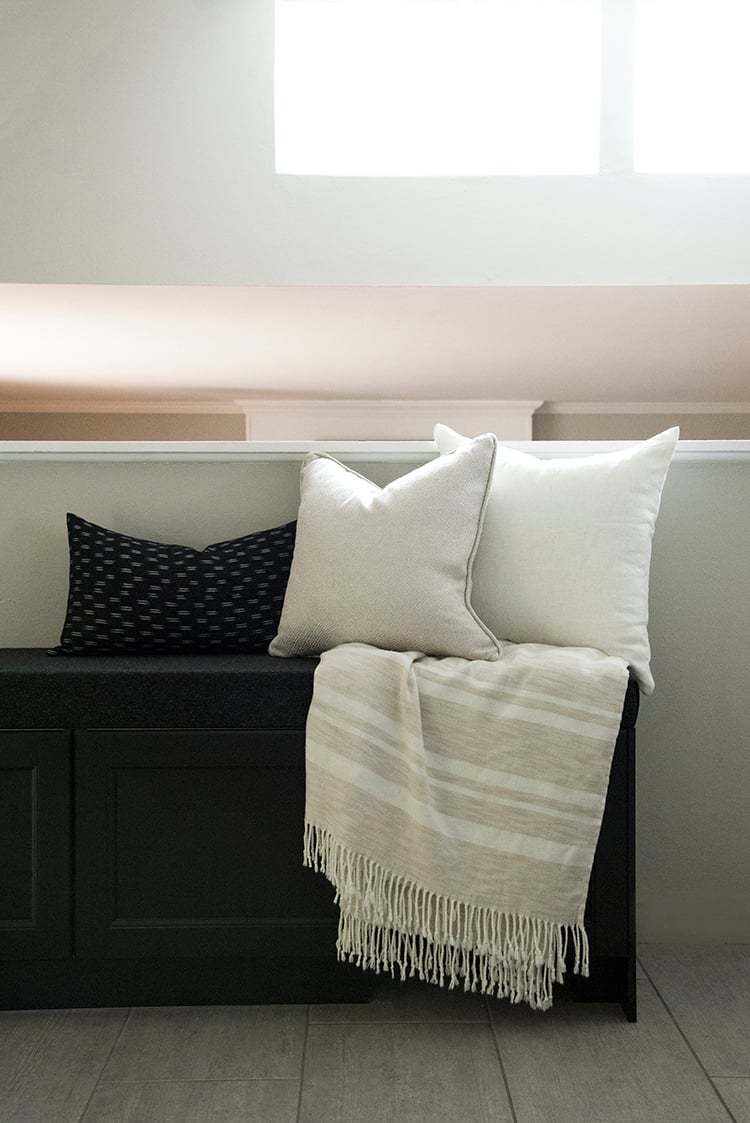
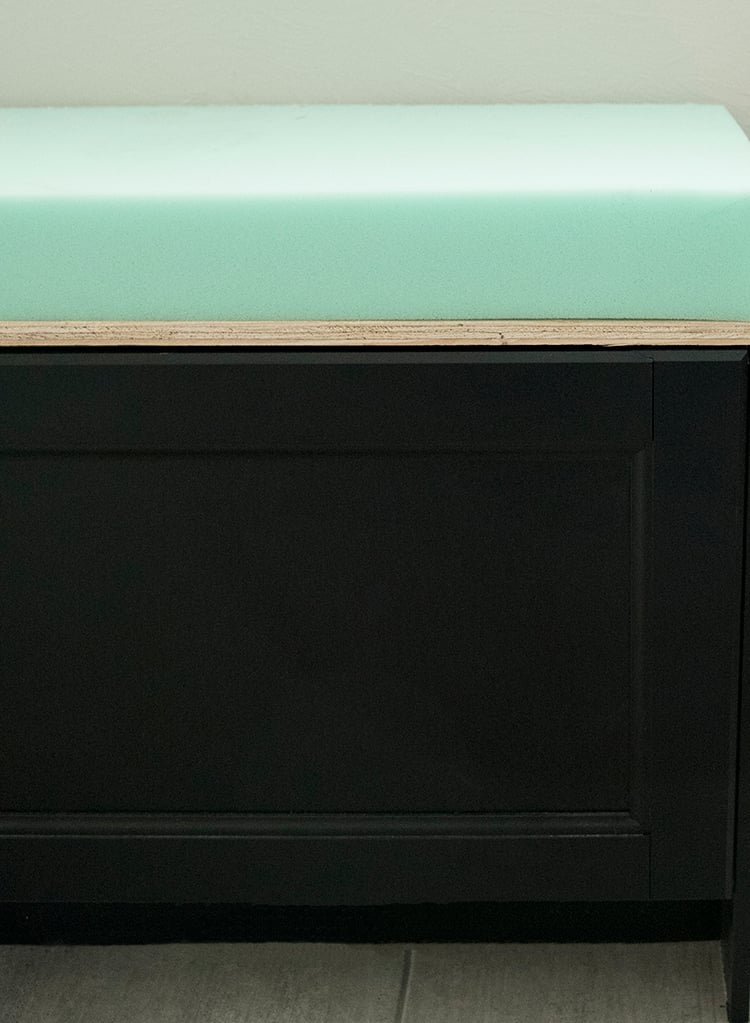
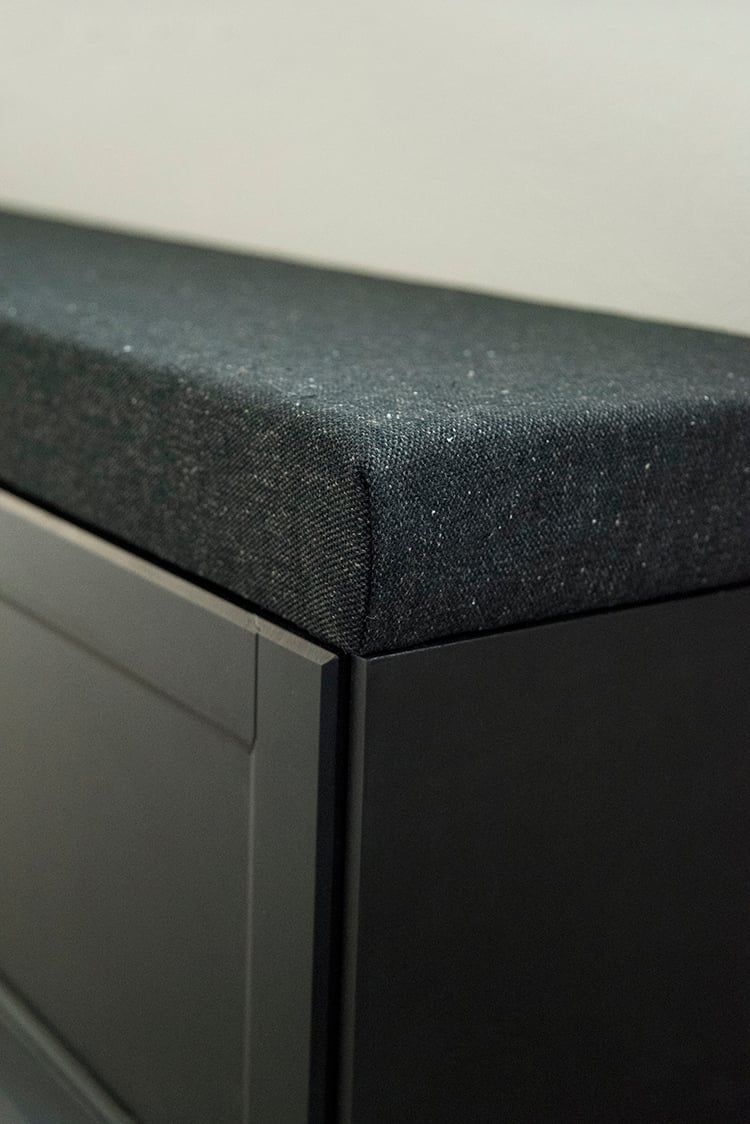
 This upholstered bench cost under $200 and would work perfectly in so many spaces!

 I love the fabric we selected- it’s super durable, easy to spot clean, and will camouflage any sort of spills or stains in the heathered texture.
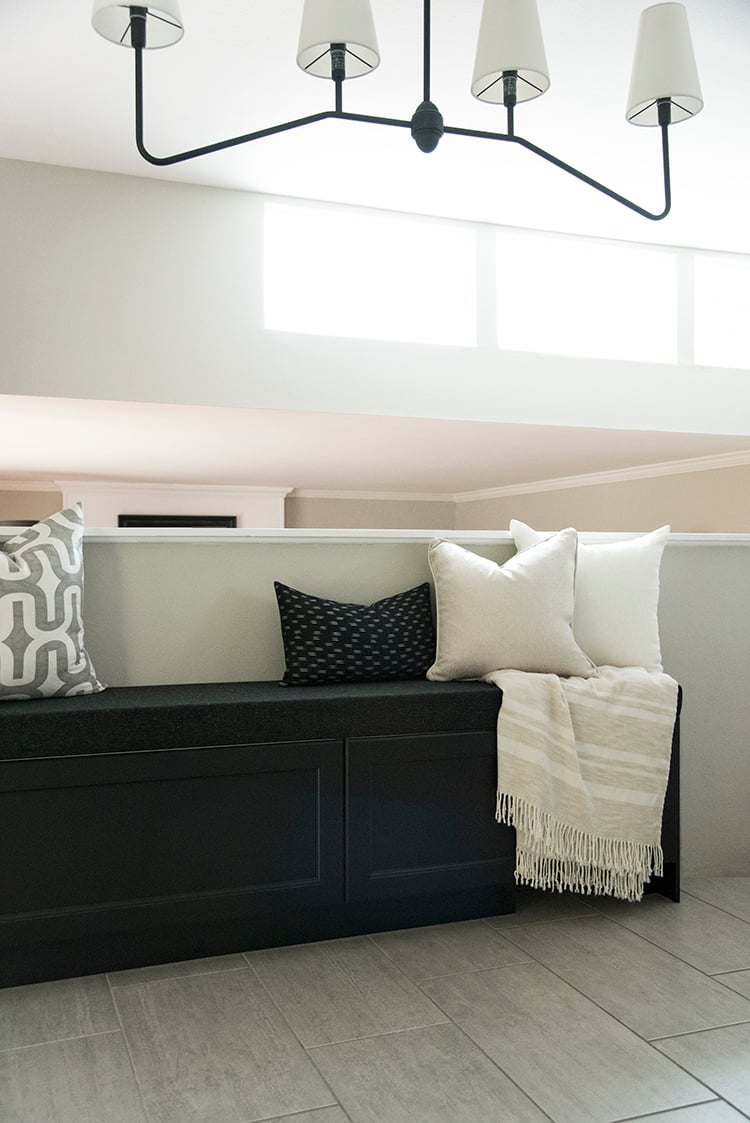 This is a really fantastic option if you’re on a budget and need seating and storage. Rather than paying a contractor to build a custom window seat or banquette for a breakfast nook, I’d definitely recommend this IKEA hack. You could easily add hardware to the storage drawers or a custom kick plate to bottom for a more stylized look.
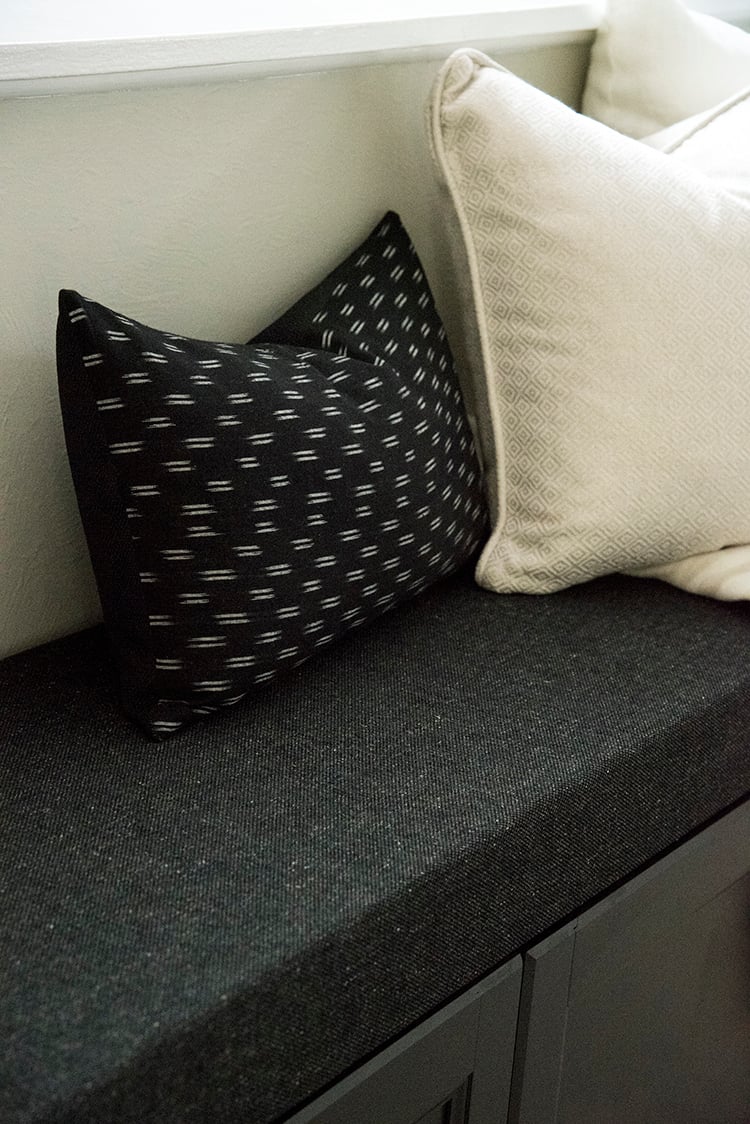
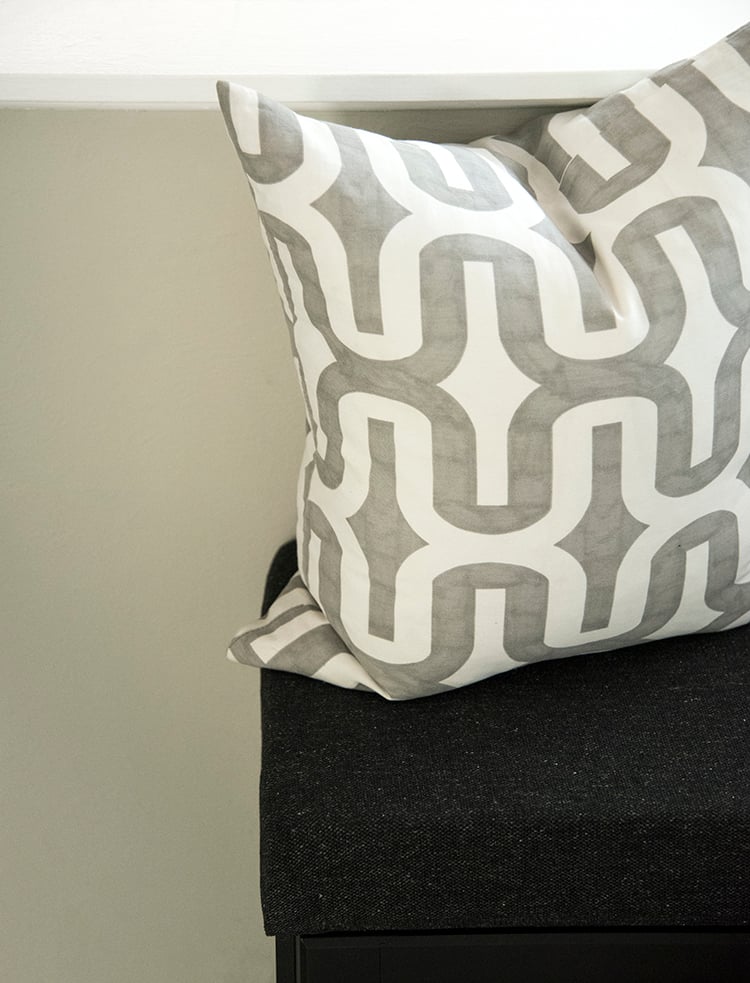 Top it with some cozy pillows and you’re good to go! What do you guys think? Would you try this DIY or would you opt to go the readymade or custom route? I think there’s certainly a time and place for both. If you’re not a DIY type of person, here are a handful of my favorite storage benches on the market today…
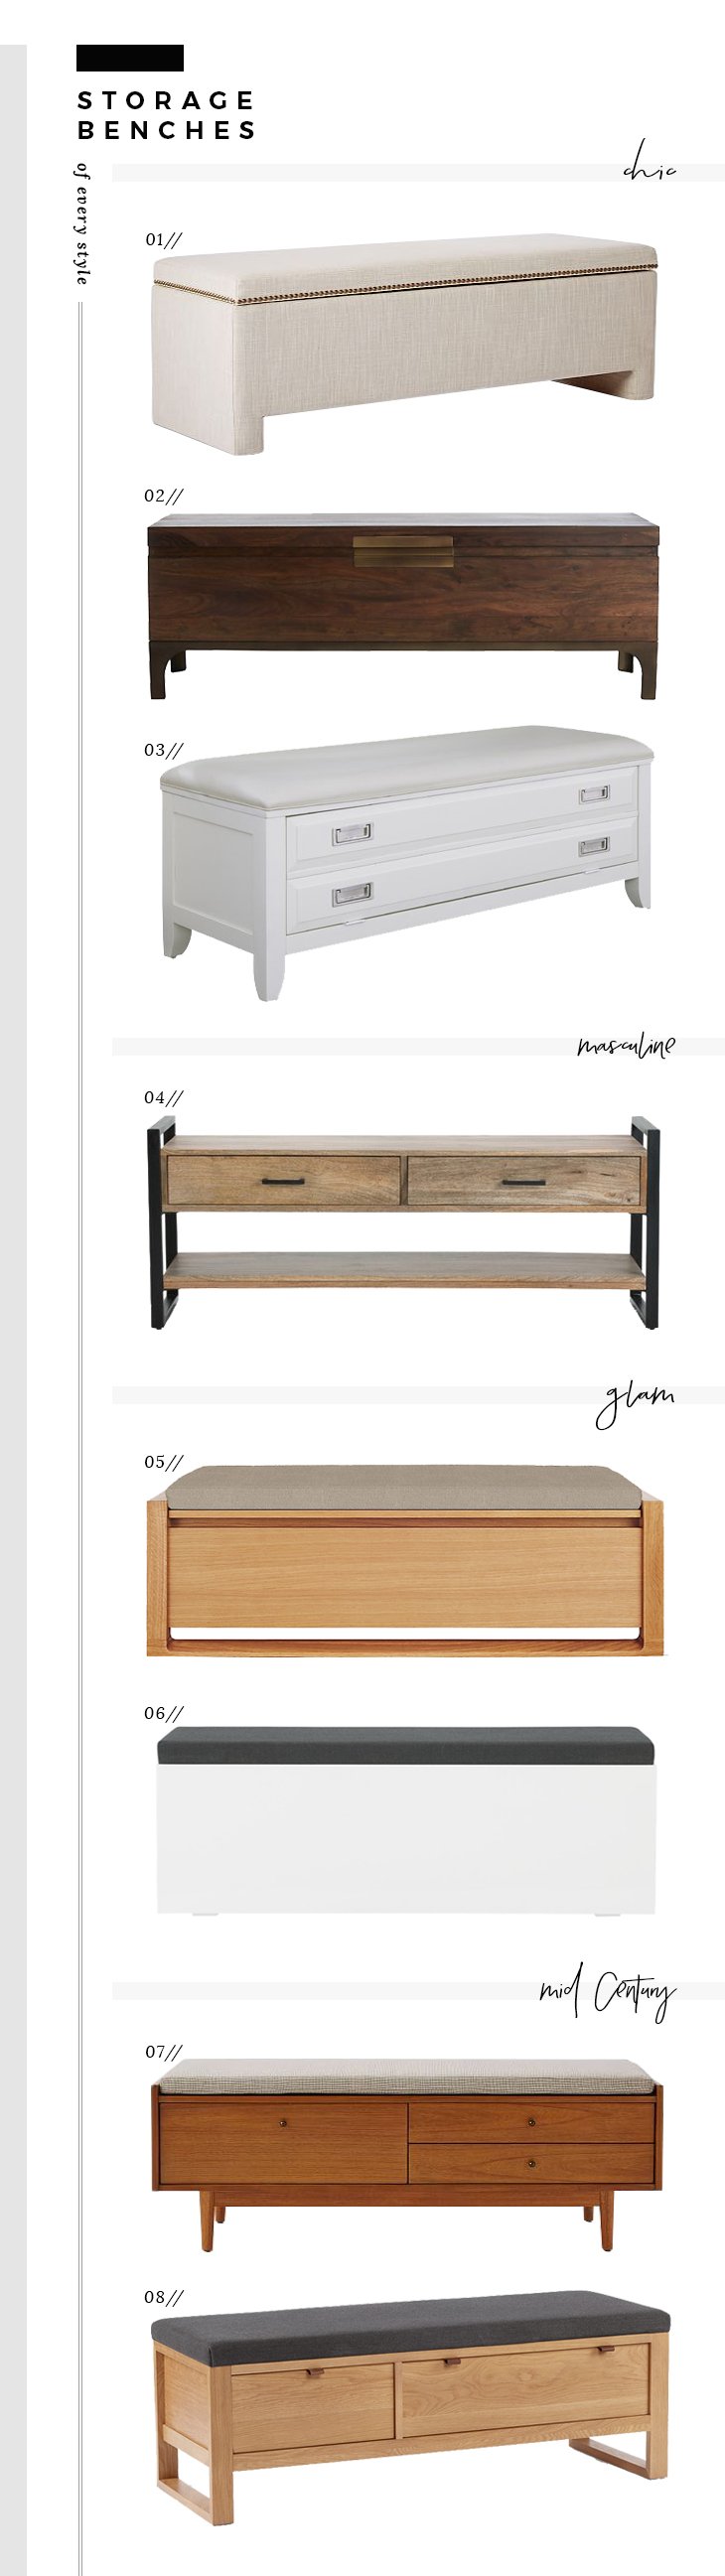 01: nailhead storage bench // 02: jada storage bench // 03: campaign storage bench // 04: wood storage bench // 05: matera storage bench // 06: catch-all storage bench // 07: mid century storage bench // 08: highland storage bench
If you’re wondering about that insanely beautiful chandelier from the post, I’m sharing the entire kitchen at the end of the month… stay tuned! It integrates with the kitchen perfectly.
Love this DIY! And I would never guess by looking at it that it was an Ikea hack! Can’t wait to see the rest of the reveal.
That’s the BEST compliment! Exactly what we were going for ;) xo
Sarah, can you please give the exact links to the cabinets (and drawers) you used? I’m not familiar with Ikea’s cabinetry, and I want to make sure I end up with the right ones when I try this project!
Also, do you have any photos of the inside that you can share? I’m curious to see how the inside looks with drawers!
Ugh, I had the worst customer service experience buying foam at JoAnne’s. I’d rather shop for bread in soviet era Russia.
Oh no! I’ve bought foam online before, too. It’s just as easy! Or maybe try a locally owned fabric store. xo
I too was hoping to see picture of inside and the switching you did of the components. Can you add to the blog post, or comments??? Great job, looks wonderful.
Hi Maggie! I totally should’ve shot the inside. Next time I get over to my friend’s house… I’ll swipe a few shots and edit the post! Sorry about that… I’ll add more details soon. xo
I’m embarking on a kitchen nook diy adventure and would also love to see interior photos! Did you add any legs to this? It looks like it might be a bit elevated from the ground. Thank you!
No legs… just the modified cabinet! I haven’t been over to that particular job site in awhile, but if I go back- I’ll try to remember to take photos. Thanks, Mary!
This looks great! Did you have to mount the fridge cabinets on some sort of “frame” to make sure the drawers slide out properly? Are they the 24″ deep cabinets? Thanks.
This is an amazing hack, exactly what I have been looking for to do in my own kitchen. Can you clarify the size of the cabinets you used as well as the size of the Maximera drawers?
Thanks, Deb
Hi Sarah- I want to try this hack, looks amazing!
I’m not a DIY’er so just want to make sure I’ve got it straight – looks like you purchased 2 -36″ wide Sektion cabinets- but which Maximera drawers did you buy? I’d like to make the exact same dimensions as yours ( 73 1/8″ by 15 1/2″).
Thank you!!
Hi Sarah, I’m going to attempt this diy (my first) and I have a lot of the same questions as above. Mainly, did you mount the cabinets on a “frame”? Most of the other diys I’ve looked at have done this so I’m assuming this are mounted on 2×4’s, right? Sorry, I know you posted this awhile ago so I appreciate your response!
Hi Marie! Yep- no 2×4 frame needed for this one. We anchored it the wall instead. Hope this helps :)
Also, you used cover panels on either side of this bench correct? Or did you just paint the sides?
Cover panels! It’s all from the IKEA kitchen cabinetry section!
Hi Sarah! What a great tutorial! Definitely interested in making something like this for my tiny dining area. I’m wondering how/what product you used to raise the banquet off the ground so the cabinets aren’t sliding on the ground when they open. It also gives the banquet some depth, which I love. Thank you so much!!
Thank you, Grace! I believe that was just the standard Ikea base! I don’t remember the exact product name because it has been years- but it would be just like installing base cabinetry. I hope that helps!