The Bathroom : One Room Challenge – Week 4
 We’re officially into Week 4 of the One Room Challenge and I’m honestly feeling pretty good about it! We also received word yesterday that they’re extending the challenge by one week. That gives everyone a little more time to complete and style their spaces. Honestly, the only thing I have yet to nail down is framing the artwork. That’s my plan for today. Everything else has already arrived and is set for installation. I’m patting myself on the back over here for getting my sh** together and being organized this time around. So, what’s happening this week? Click through to find out!
In case you missed the first few weeks, no worries… catch up here: Week 1 (before images and the design plan) // Week 2 (demo and prep) // Week 3 (tile) .
Last week we tiled the bathroom and right after that wrapped up, we had the bathtub professionally resurfaced. That wasn’t exactly apart of the plan, because the original bathtub was in great shape- but Emmett dropped a hammer while tiling and it totally dented the bathtub (in a very bad way)… see the below image.
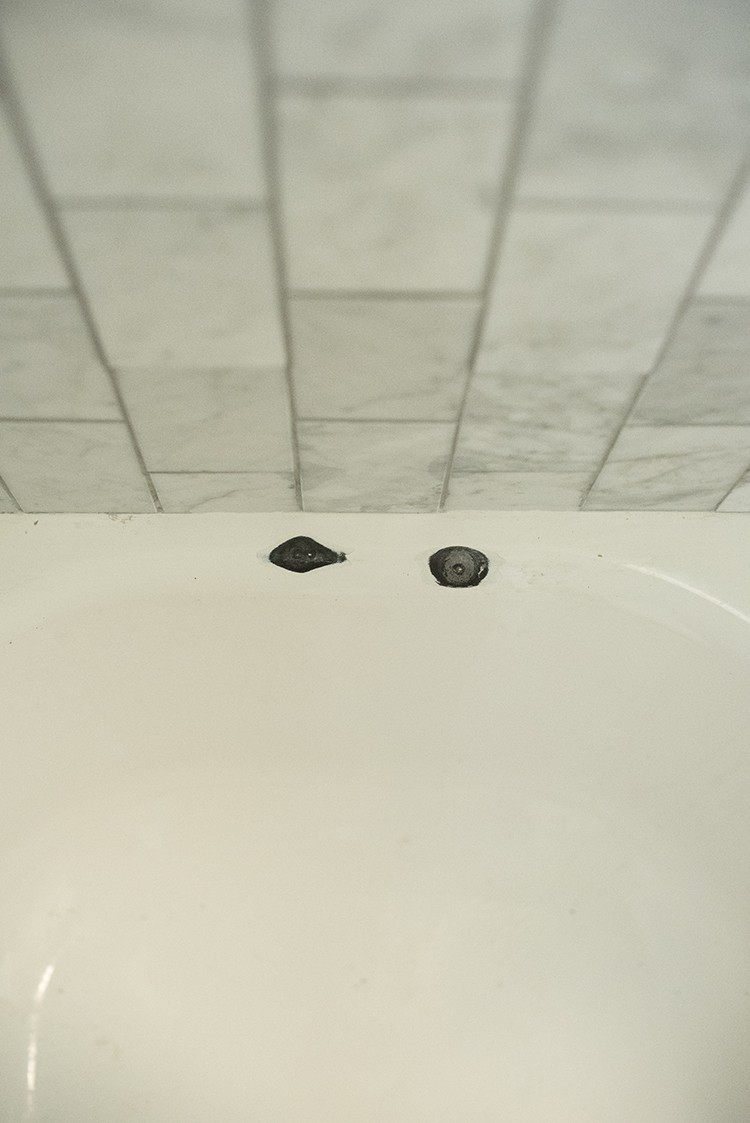 Don’t worry folks, those little chips can be fixed… but for a pretty penny.
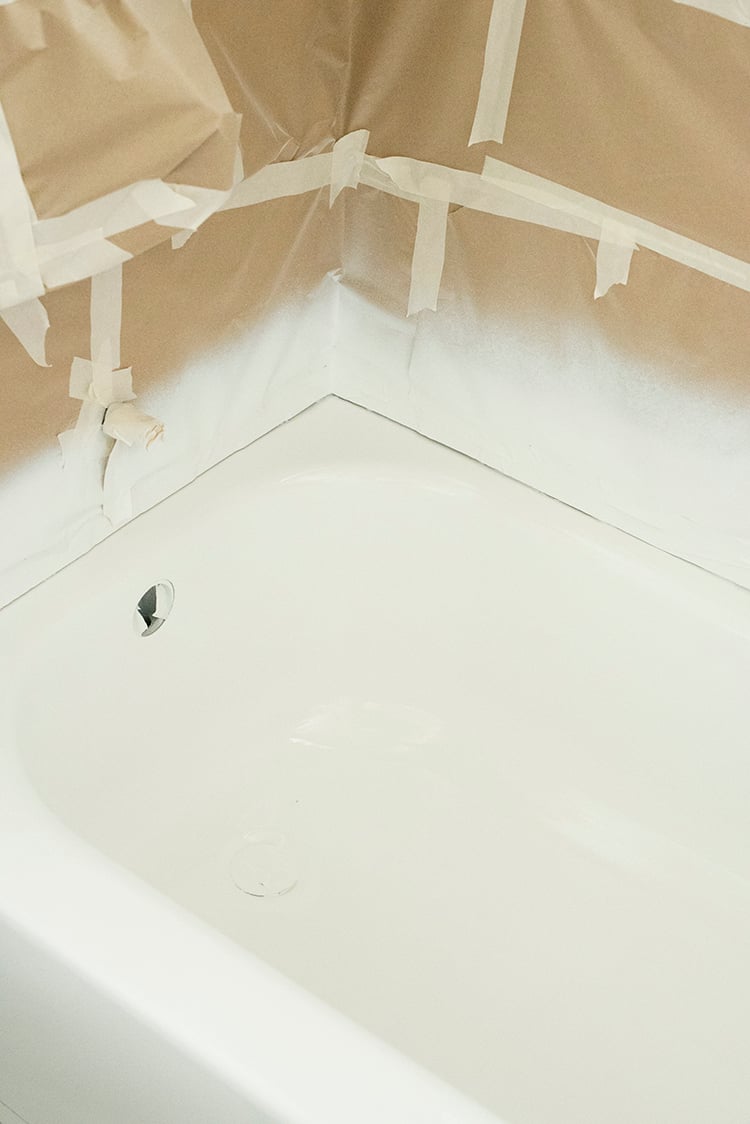
 This added about $500 to the project, but it was necessary to repair the tub and resurface the material back to a bright white. They basically mask everything off, then re-coat the entire bathtub with porcelain spray.
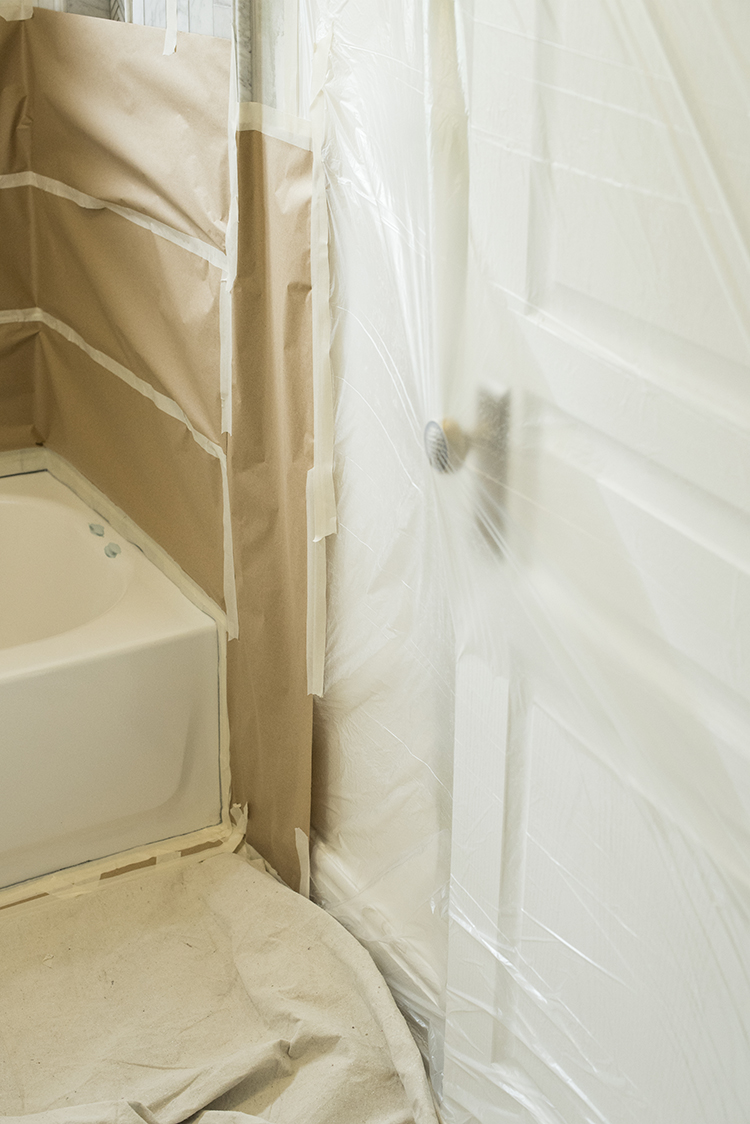
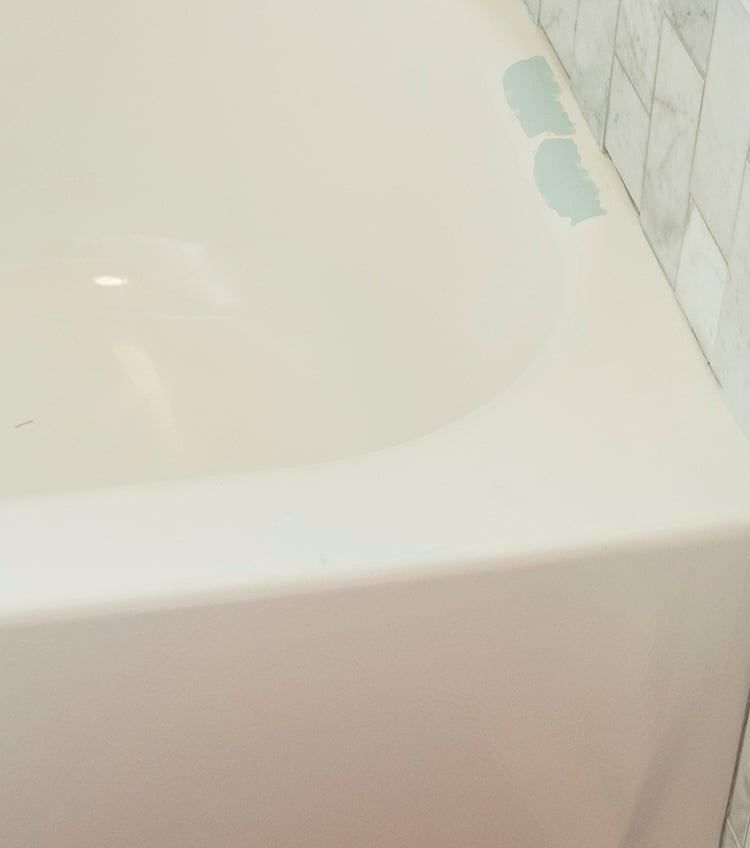
 We pretty much DIY and renovate everything in our home ourselves, but this is a project I would never take on. I wanted to make sure the bathtub was protected from cracking, chipping, and discoloration in the future, so we relied on a professional. It turned out really great and was probably for the better.
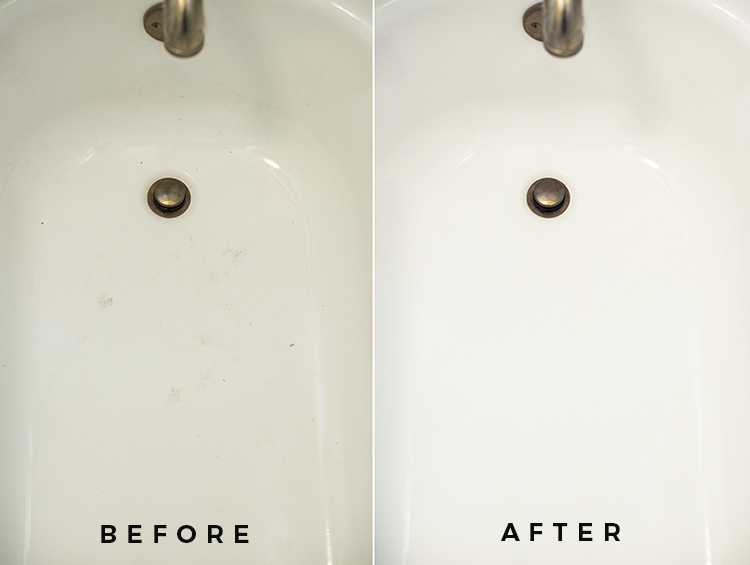 You can read more about the bathtub refinishing process in this post.
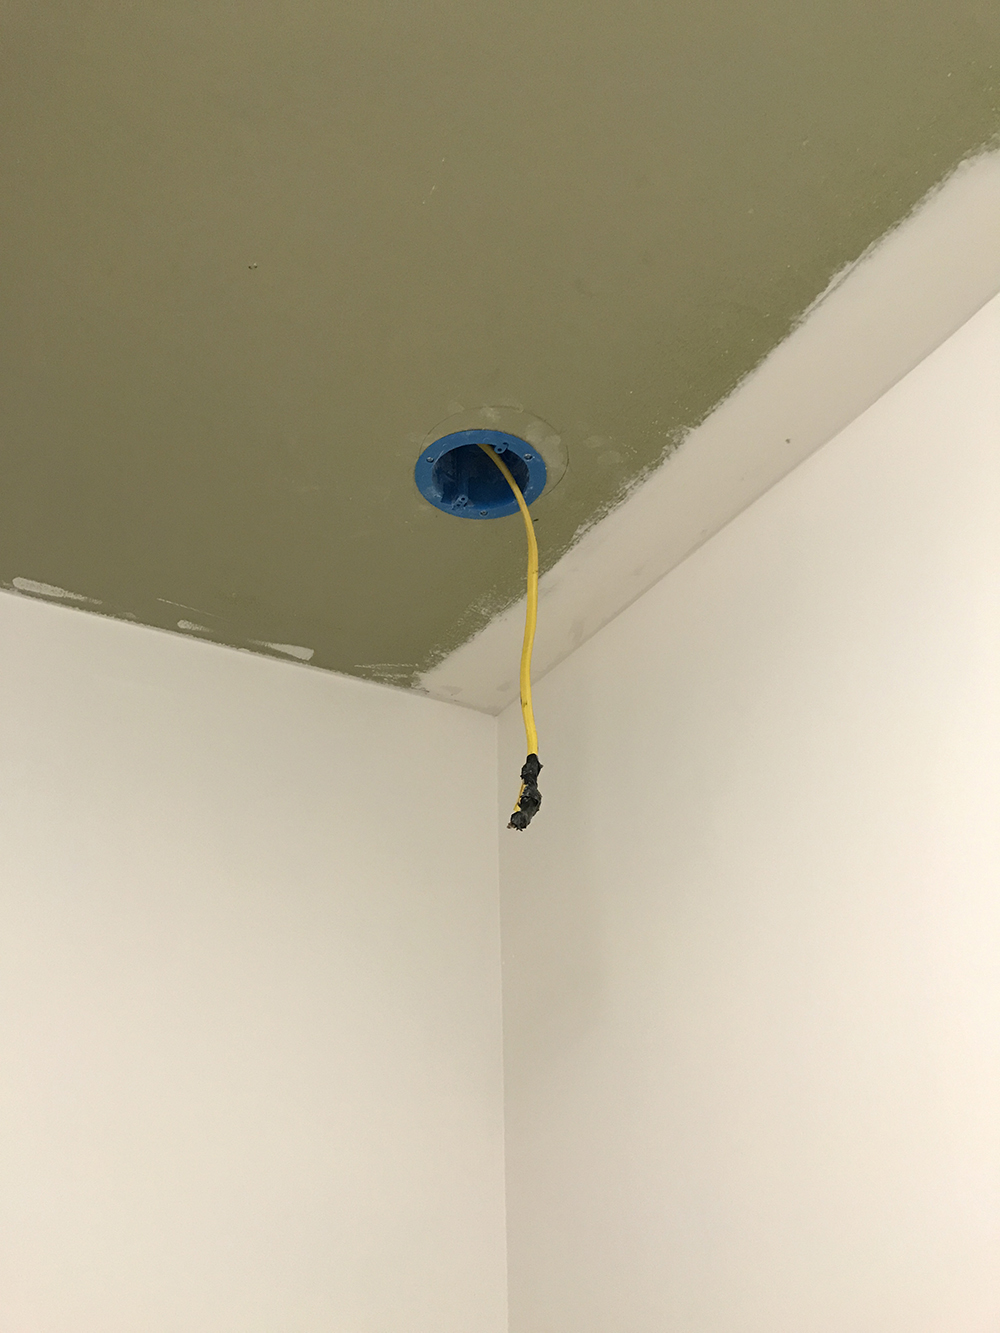
Aside from the bathtub being resurfaced, we’ve been working on electrical. The old light switch was super dated and had to go- it also wasn’t to code (or very safe).
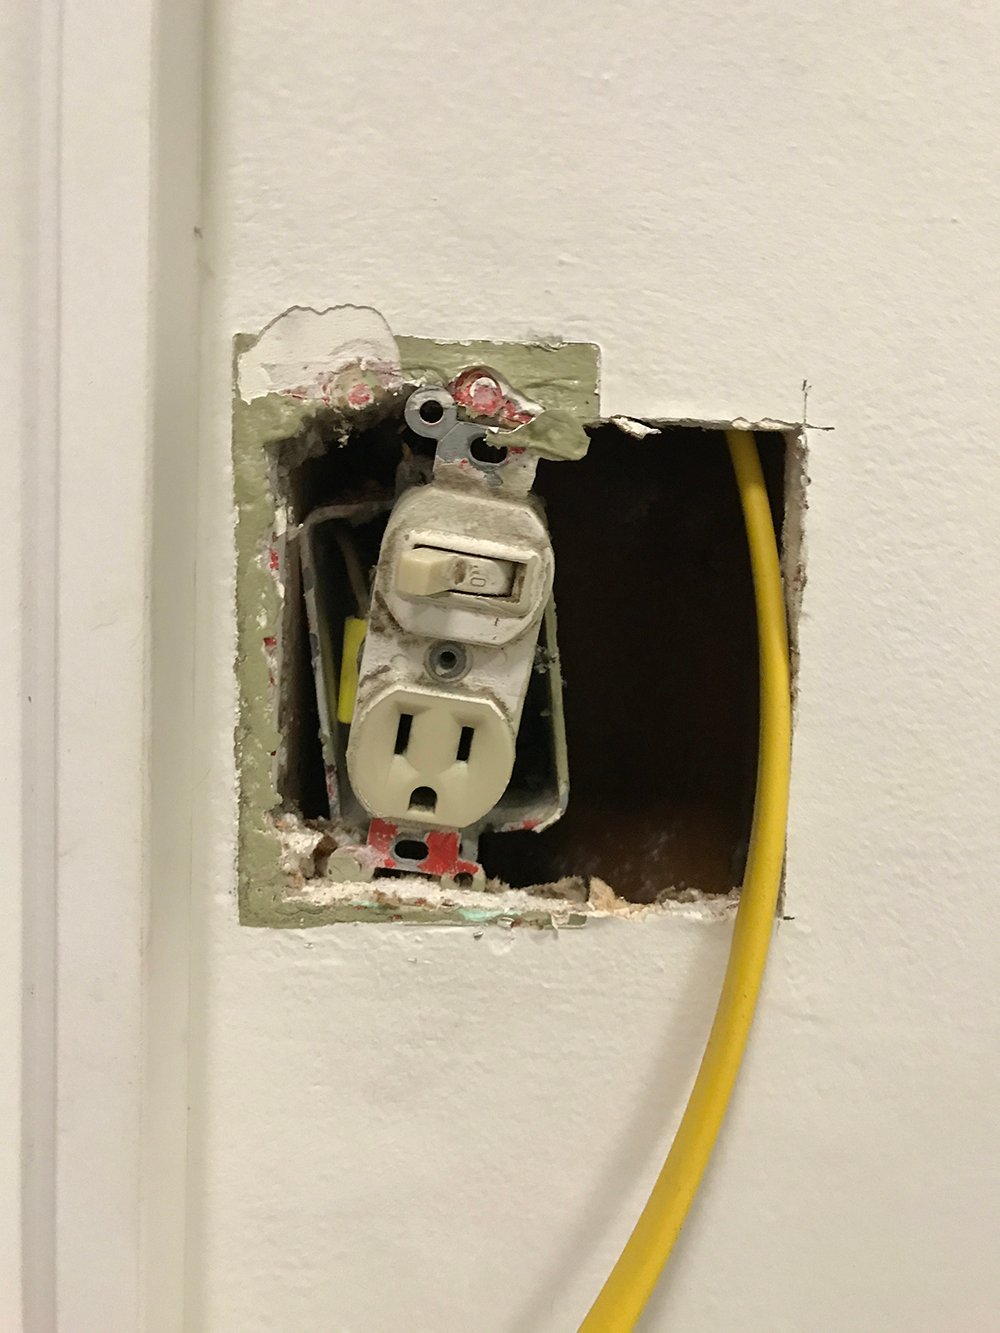
 Emmett replaced the entire box and I picked out a new, modern looking backplate that was fitted for two light controls and outlets (rather than one of each).
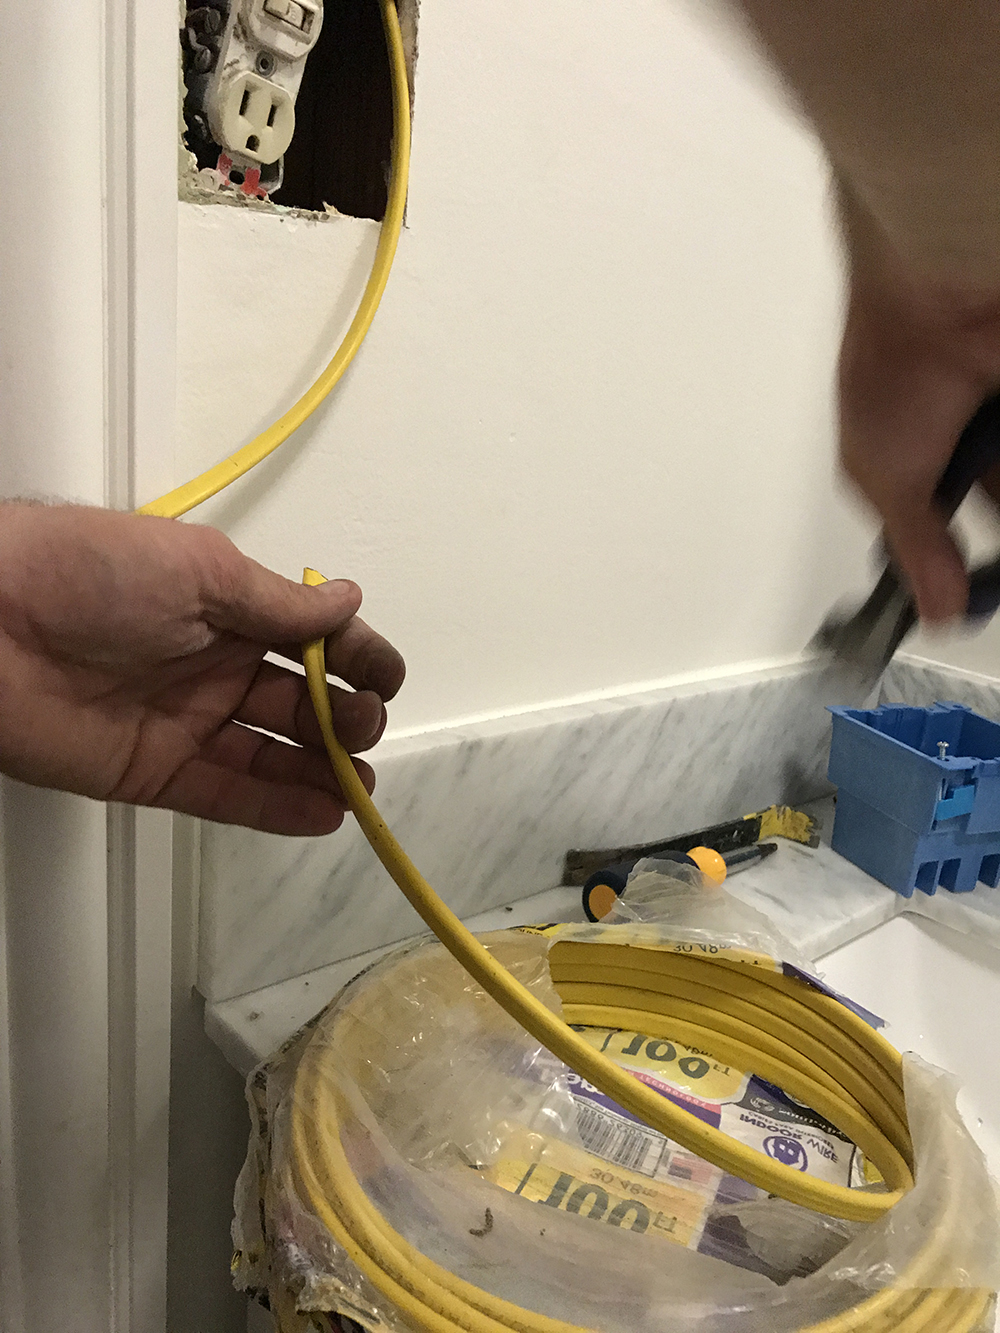
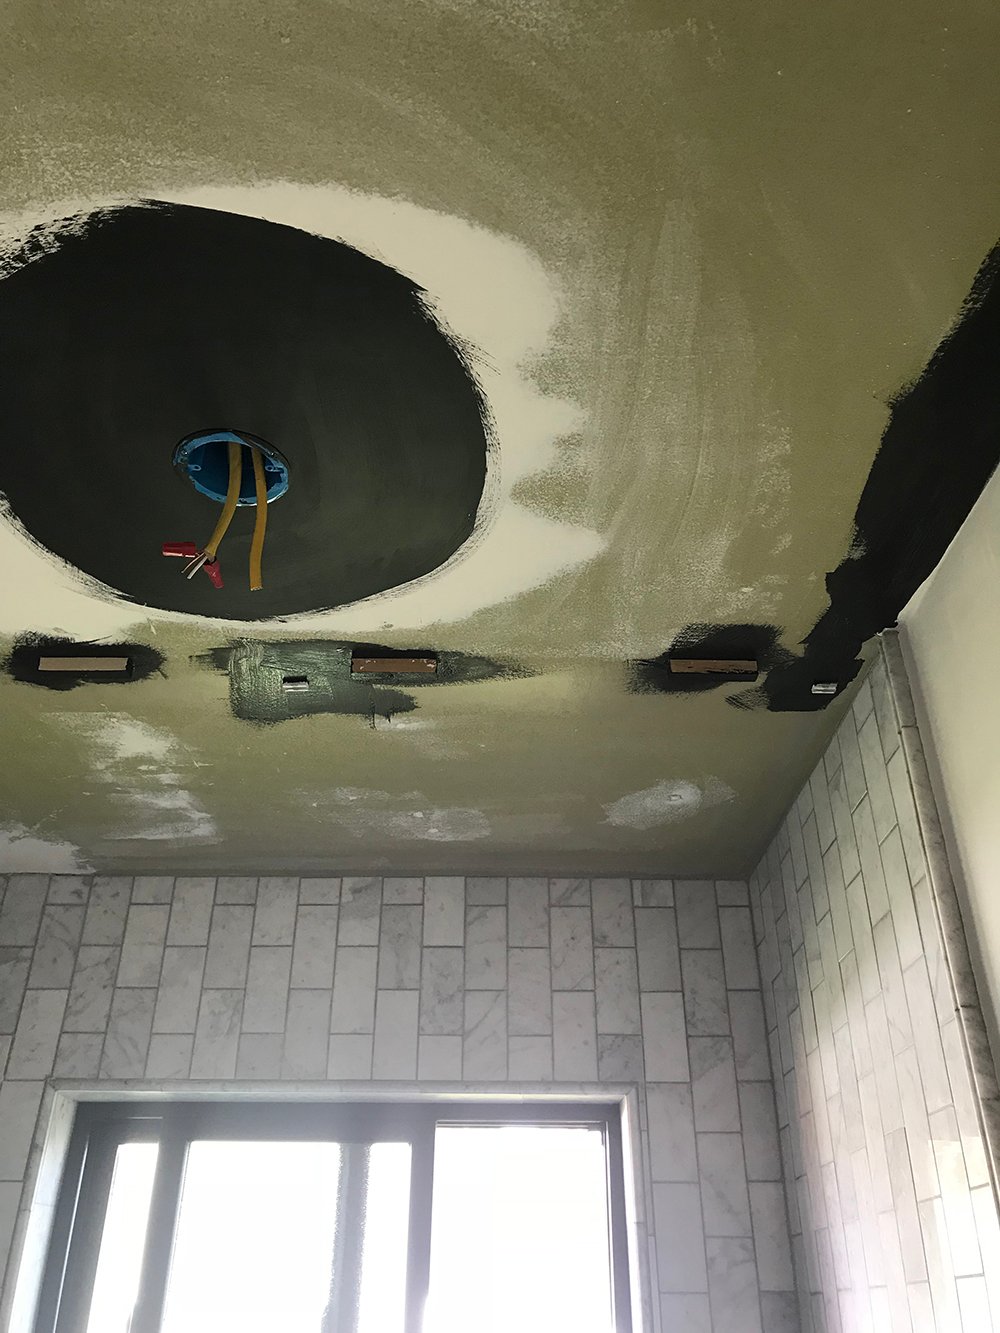
 Emmett also removed the existing lights, added brand new wiring, repositioned the flush mount (because it wasn’t centered in the room), and installed a new fixture. The part you can’t see? The new wiring in the attic. He was honestly surprised our house hadn’t caught fire, because apparently it was a mess and not to code up there either. Luckily, he spent hours in the attic fixing and replacing everything.
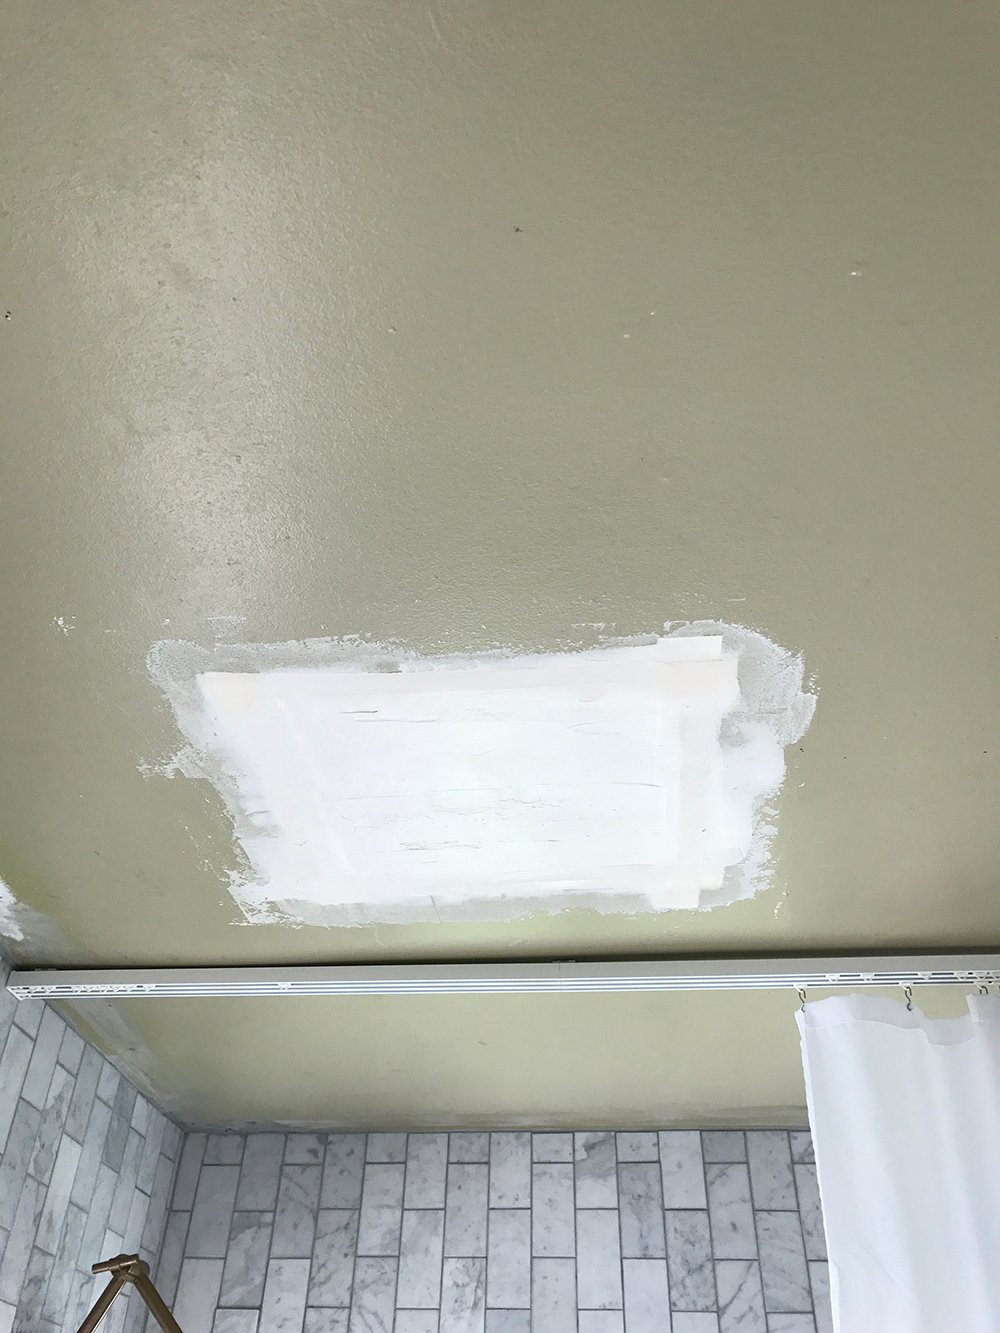

 Check out what the new light fixture looks like…. although we still have lots of painting left to do.
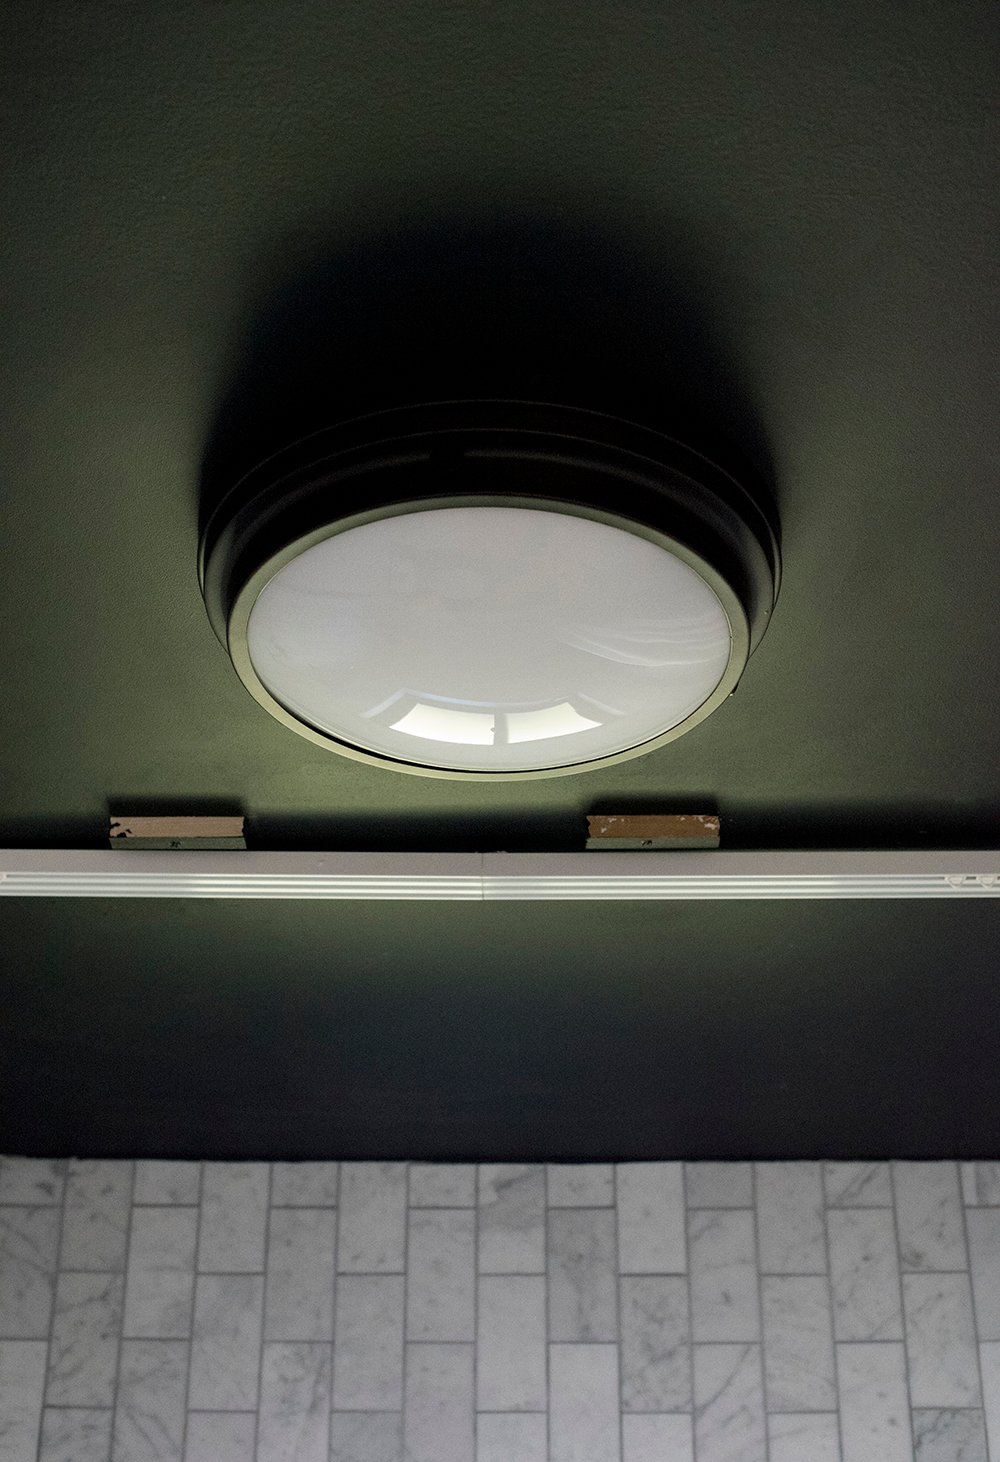 My goal for the flush mount fixture, centered on the ceiling, was to have it blend in with the black ceiling paint, looking less noticeable. It was necessary because this space needs to be bright. It’s our one and only bathroom. Although it gets tons of natural light during the day, it’s really dark in the evening once the sun sets.
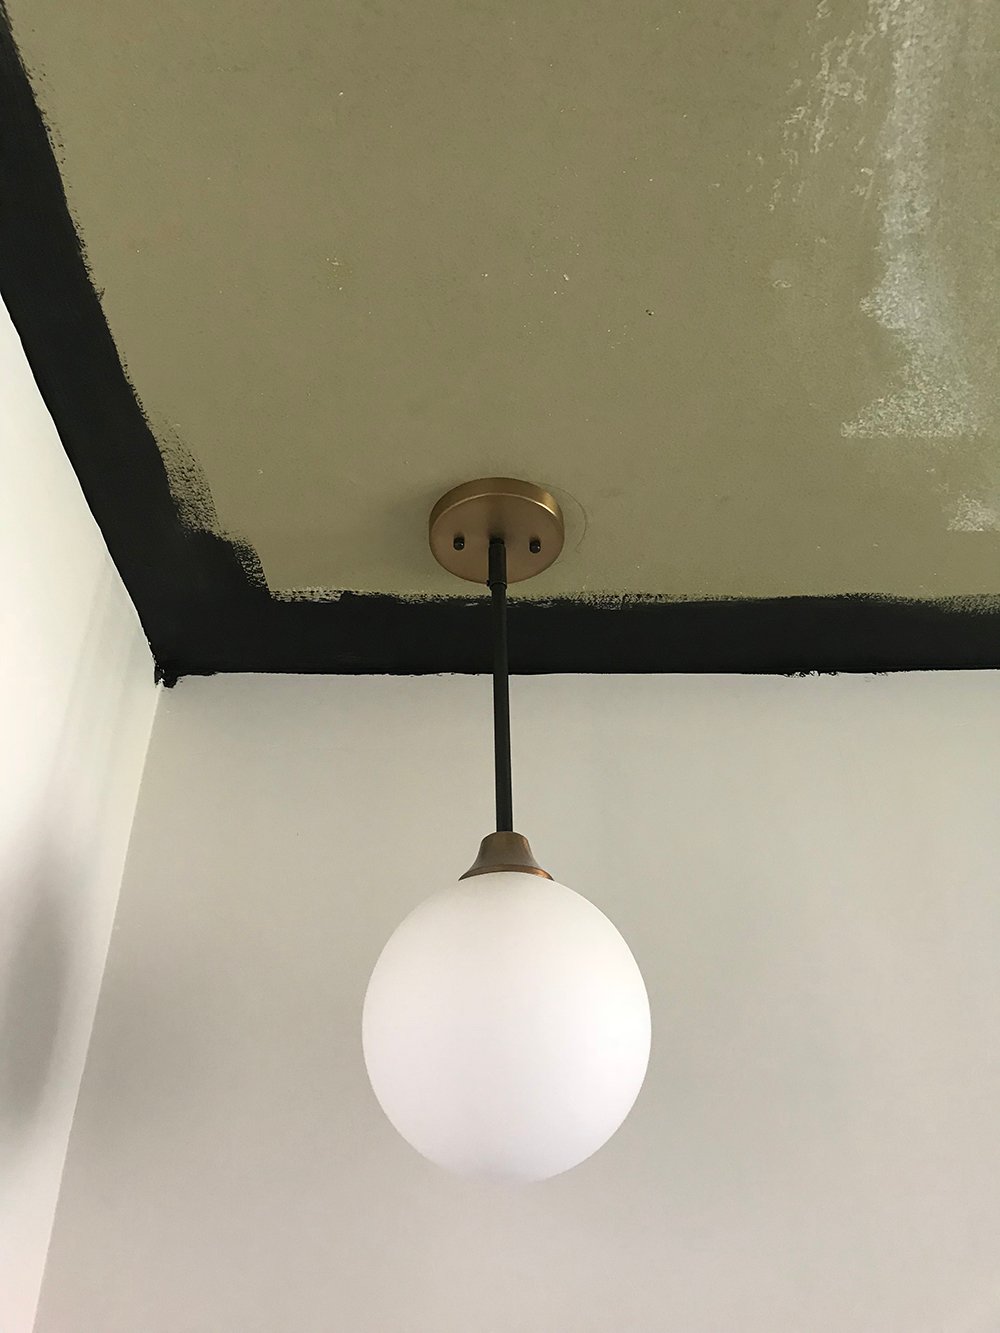
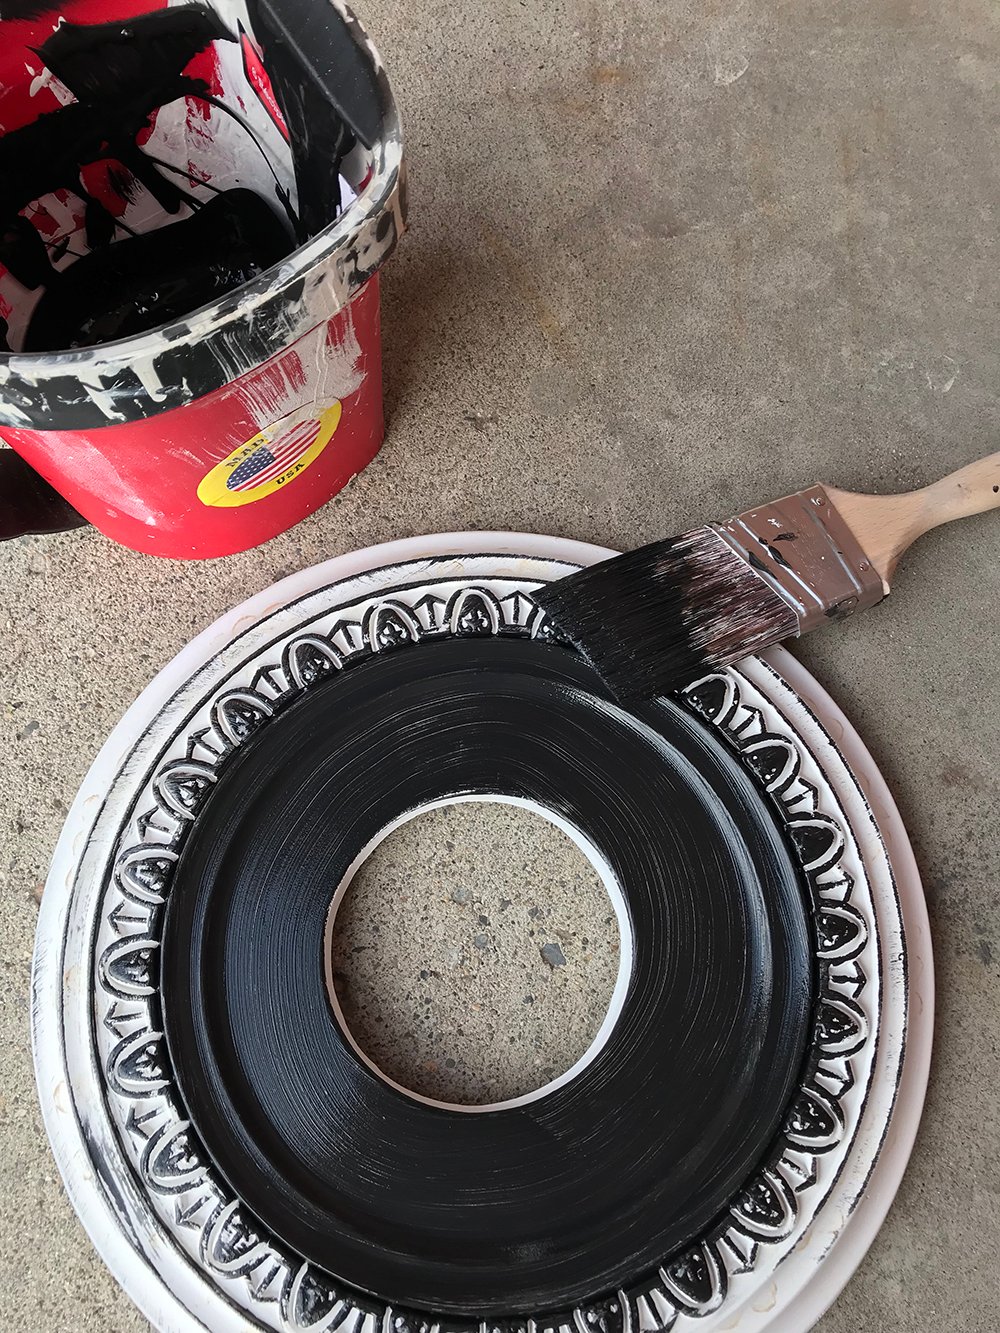
I opted for a pendant over the sink (as shown in the intro)… I also worked on painting the ceiling medallion that it will be paired with.
 Next week you should be seeing finished paint, trim, and a special detail related to the shower curtain! Stay tuned…
Click the logo below to see the other talented guest designers participating: