How To Repot A Fiddle Leaf Fig Tree
With spring in the air, I’ve received more plant inquiries than normal and one question in specific… you guys want to know how to repot a fiddle leaf fig tree. They really can be tricky plants and you don’t want to shock them (or worse, kill them).
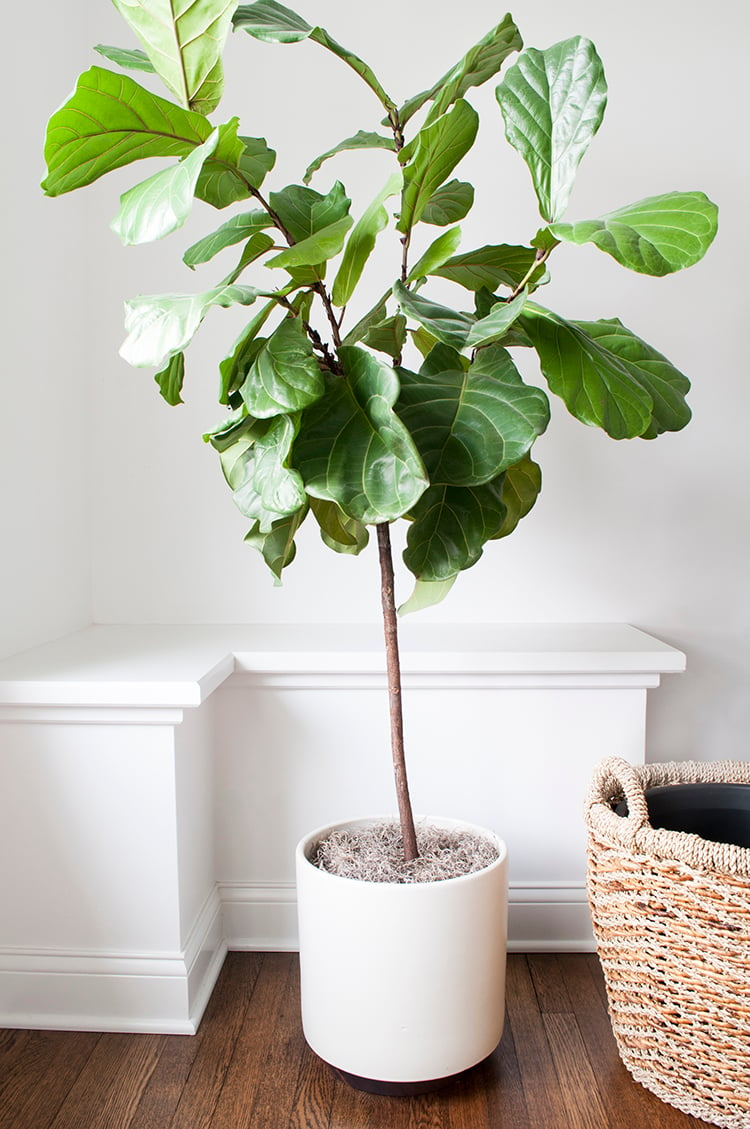
It just happens to be perfect timing because my tree is ready to be repotted, and I’m going to show you step-by-step photos of the process I use to upgrade planters. I’m moving this guy from the modernica pot to a larger basket.
Alright, let’s get to it! First of all, now is the time to replant… I’m giving you the green light. Remember this post: tips for healthy houseplants? I urged you not to repot your houseplants in the winter because they are in a dormant stage. Well, the best time to encourage growth is to replant in the spring during a plant’s natural growth cycle- that’s happening right now.
STEP ONE: find a planter. Be sure to buy a planter that is 2″ – 3″ larger in diameter than your existing pot. Drainage or no drainage… it truly doesn’t matter. I personally prefer no drainage hole because it’s less messy.
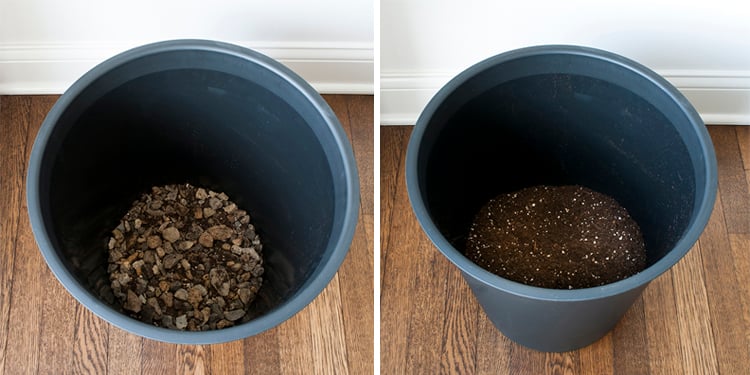
STEP TWO: if you’ve purchased a pot without drainage, fill your planter 1″ – 2″ full of rocks or gravel. Once the gravel is in place, top with soil.
STEP THREE: What type of potting soil is best? You guys know I have a serious obsession with houseplants, so I have a lot of gardening supplies in my garage. I actually prefer to mix soils….
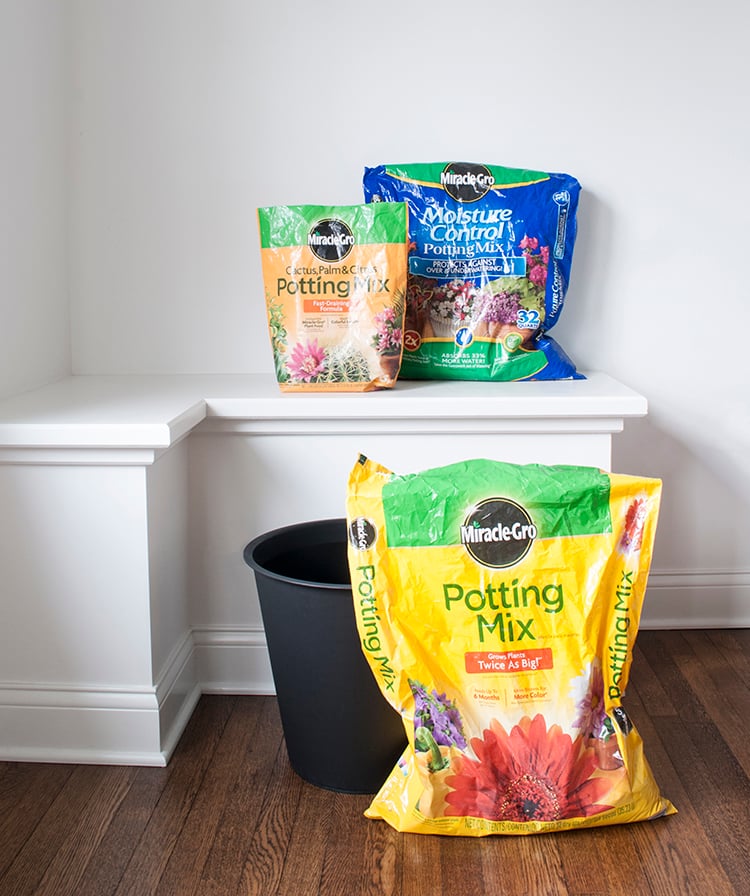
I combined three Miracle Grow products: Cactus, Palm, & Citrus Potting Mix, Moisture Control Potting Mix, and Twice As Big Potting Mix. I used equal parts of each. You obviously don’t have to go to the trouble of combing a million different containers of dirt, but it’s what I had on hand and what works for my tree. If I had to choose just one, it’d probably be the Moisture Control.
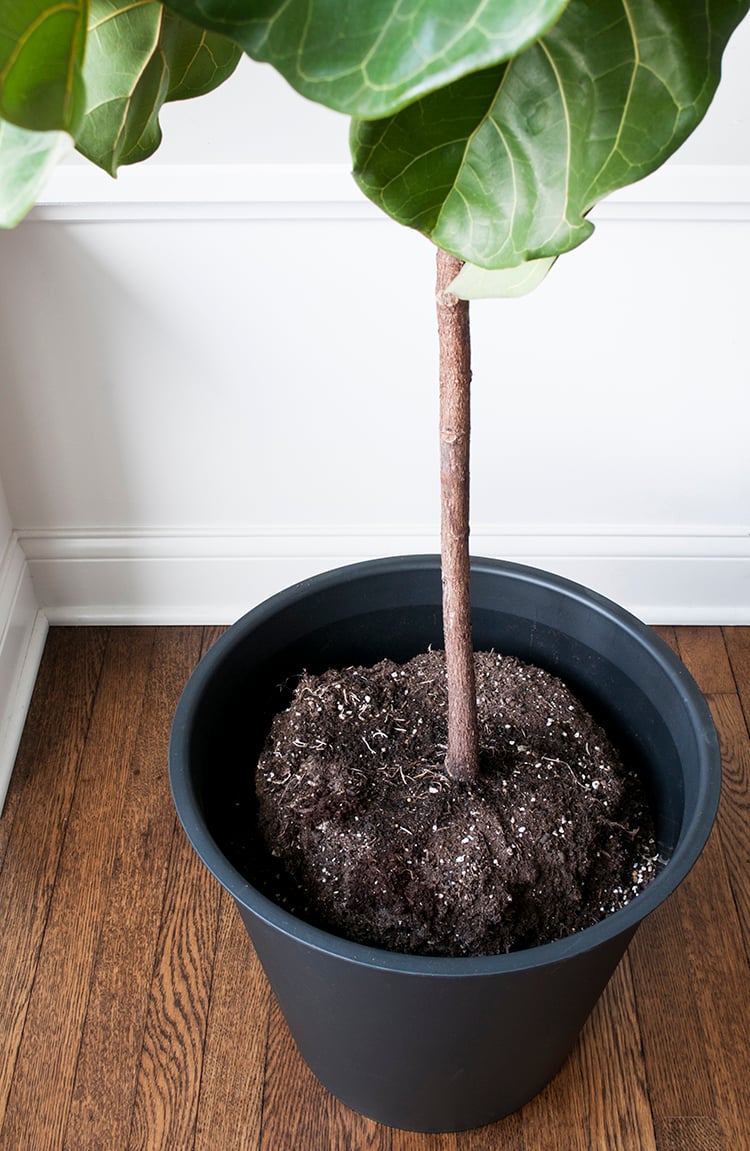
STEP FOUR: Remove your tree from the existing pot. I’d recommend doing this outside; it definitely takes a lot of clean up later. Gently pull on the base of the trunk; if the tree is ready to be repotted, the entire rootball should come out, as shown below.
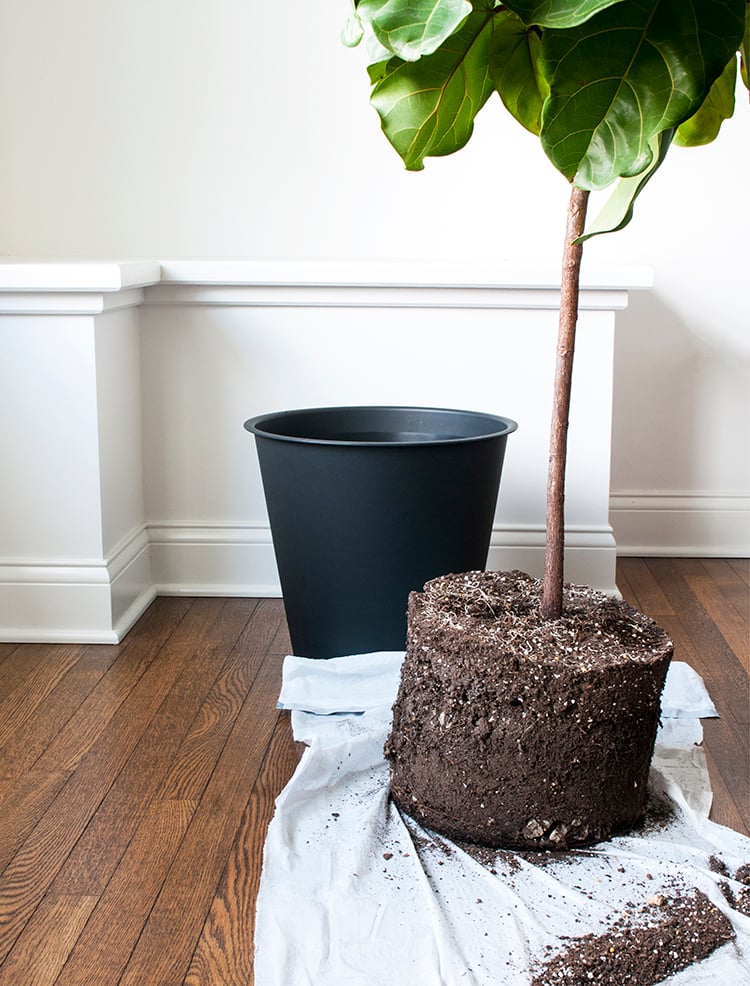
STEP FIVE: Position the tree into the new planter. Center the trunk and make sure there are 2″ – 3″ of negative space around the root ball.
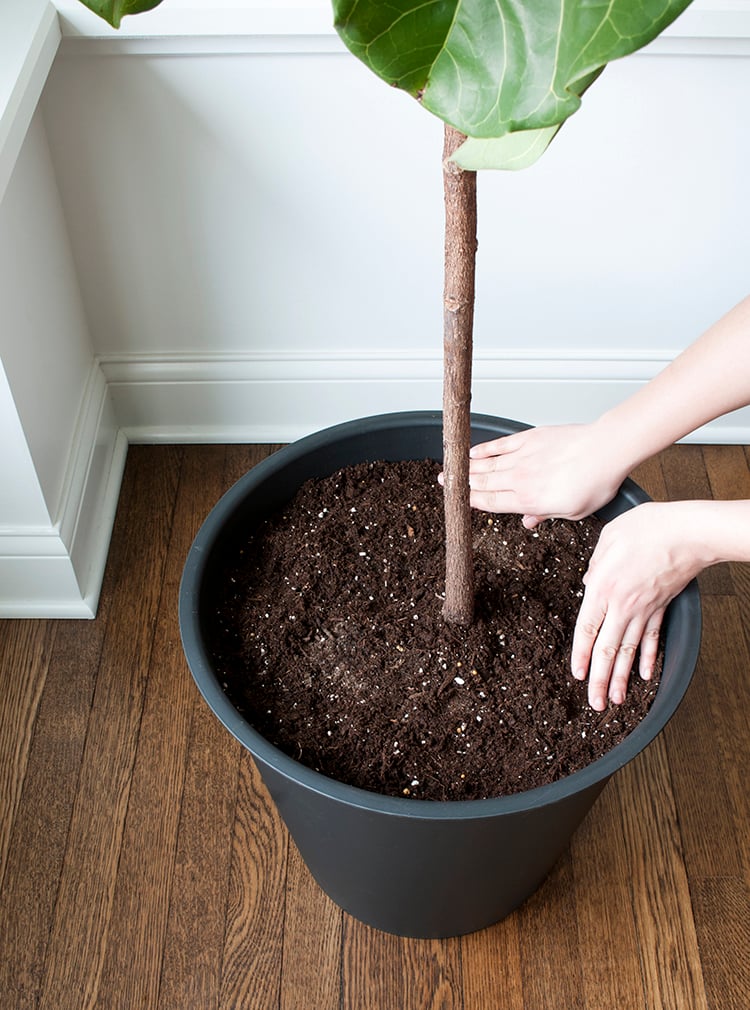
STEP SIX: Backfill the edges with potting soil and gently press until firm. If the soil isn’t well compacted, once watering the tree, you might have to add additional soil around the outer edge as it settles.
STEP SEVEN: Prune any leaves that are yellowing. On my tree, these leaves are usually very small and located at the bottom… they pluck off very easily.

STEP EIGHT: Clean the leaves with a damp sponge or towel. I usually use warm water and a dish towel- no soap required! Removing the dust will allow the plant to absorb more sunlight and promote growth.

STEP NINE: Wait and water. I usually wait a day prior to watering my tree after repotting. This is a debated topic, it’s just what I’ve always done and what has worked for me. I know a lot of people like to water immediately after planting and that’s ok too! My friend Ashley posted a good guide on how to water a fiddle leaf fig tree. Whatever works for your plant. Most definitely wait a day before placing it back in direct sunlight because the sun can be harsh on a weakened plant.

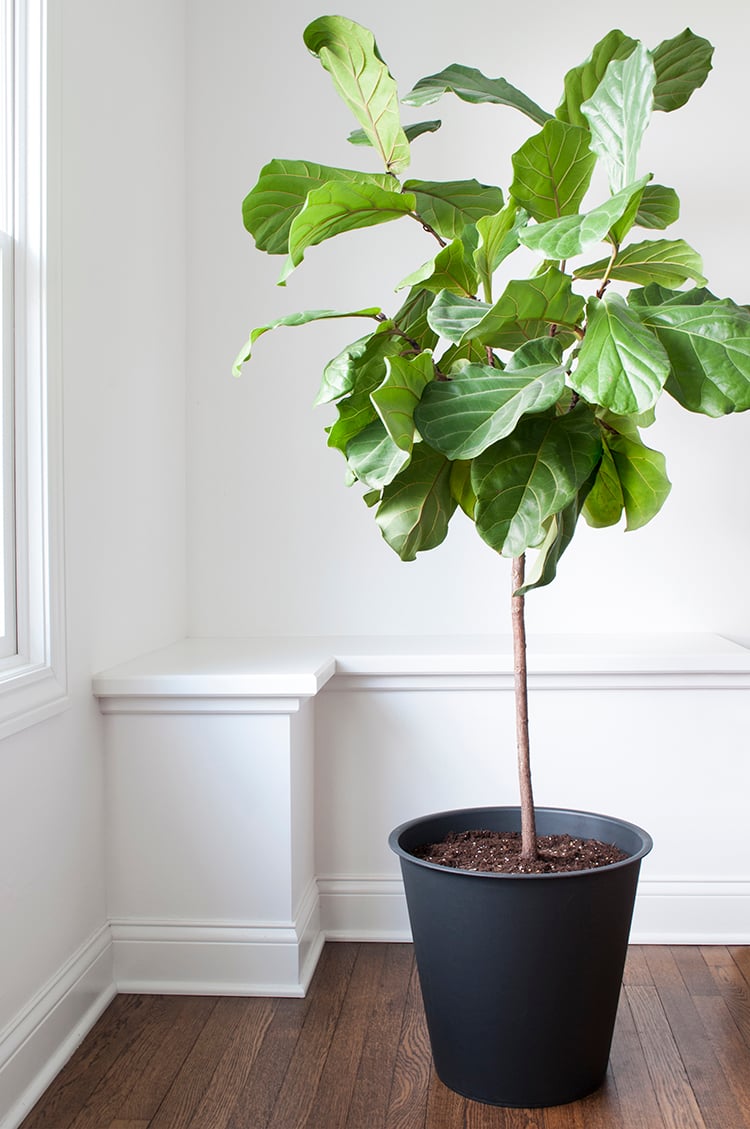
That’s all there is to it! For those of you wondering about the basket, I just bought a cheap plastic planter to sit inside it… they didn’t come together. I hope my detailed notes are helpful once you’re ready to repot your fiddle leaf fig. Isn’t it funny how this is the same tree, but it looks different in every photo? My tree definitely has a good side. Ha! I should probably spend more time rotating it.
The ficus lyrata remains a staple in design and isn’t going anywhere anytime soon, but I’ve been keeping an eye on other trendy interior plants (I’m looking at you, palms). Check out my pinterest board for more.
If you’re looking for cool planters, here’s a roundup of my favorites (of all prices)…
