Breuer Chair Update / Upholstery DIY
If you follow along on Instagram, you might remember seeing these chairs I just couldn’t pass up. I scored a set of six mid century Breuer chairs at a local thrift store. Here they are the day I brought them home:
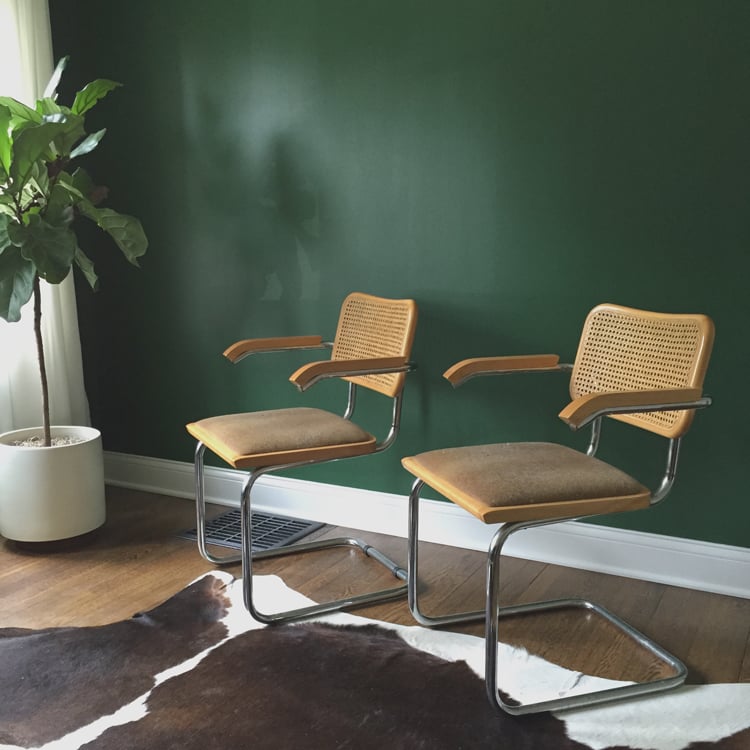
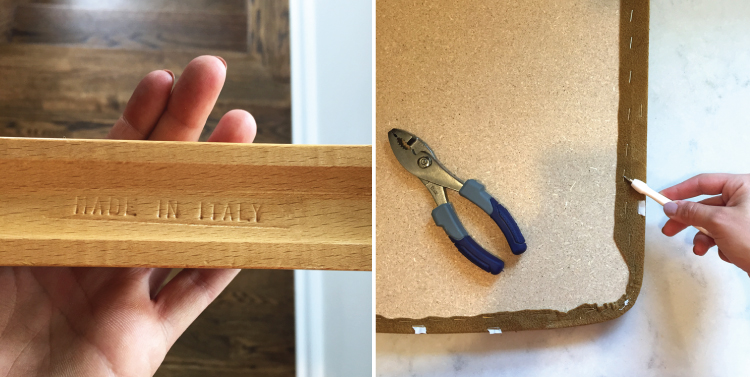
At the time, I wasn’t sure if they were the designer version or a replication. I’m pretty sure I hit the jackpot because not only were they in decent shape, but I found the “Made in Italy” stamp engraved in the wood- just what I was looking for! Here’s the transformation and my restoration process, along with a few tips and tricks.
Step one: disassemble the chairs completely and carefully. This means removing the existing fabric and even the old staples; trust me- I know it’s terrible, but worth it! I like to number each piece 1a, 1b, 1c, etc…. this will keep all components for each chair together and organized. Sometimes vintage pieces don’t always fit together as easily as they’re disassembled. If you’re going to restore a vintage piece of furniture, don’t take any shortcuts. You want the piece to hold it’s value and cutting corners won’t fly.
Step two: now that everything is in pieces, polish the chrome, discard the existing hardware and replace with shiny new hardware. I have to say, my new favorite product is this stuff, Nevr-Dull. Yes, the name is stupid and the tin looks old and rusty, but it really works. My father-in-law gave me this product; he uses it to polish and restore chrome on vintage motorcycles and swears by it. It’s pretty much a miracle. It rubs off rust. I repeat, IT REMOVES RUST. Flawlessly. It looks and feels like a piece of insulation; you rub it onto the chrome and suddenly it’s polished and looking new again. I was really impressed!
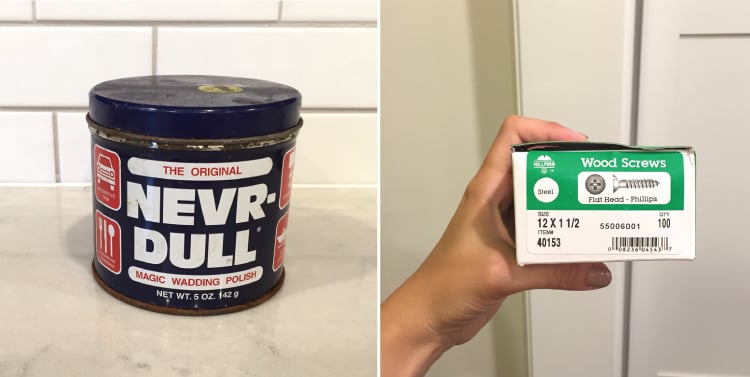
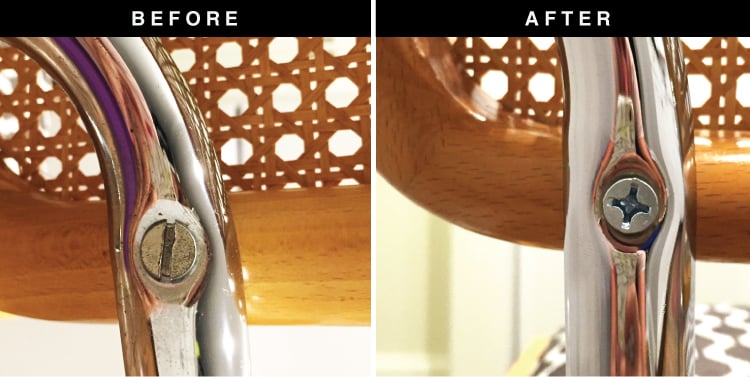
Don’t forget to trade out the hardware when you’re ready for reassembly. This is a step most people forget, but it makes a huge difference. Check out the before and after from polishing the chrome and replacing the screws:
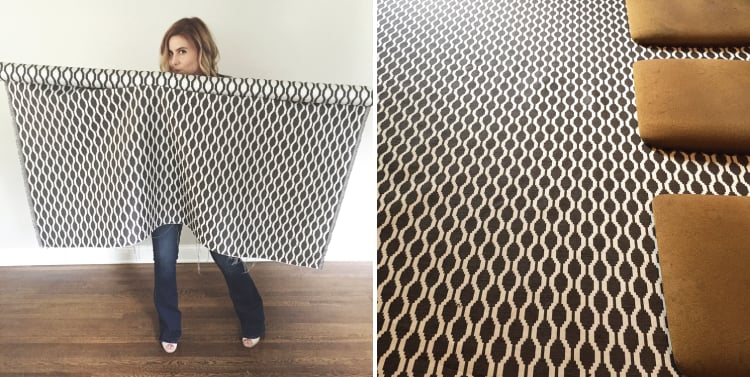
Step three: by now, you should have picked out and received a fabulous fabric for reupholstery. Obviously this is my favorite part of the entire process, other than the “after” photo, ha! This time I selected a geometric print from one of my favorite Paris-based fabric companies, Nobilis. I had to be careful to choose a pattern that didn’t compete with the cane back. Good fabric makes a difference, especially on a high-quality vintage piece; I’m glad I splurged for this bolt because it was so worth it. Next, set the cushions directly onto the fabric as templates and begin to cut fabric for each seat.
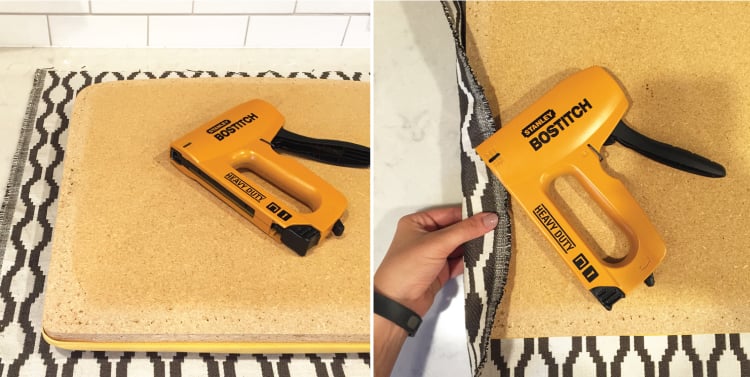
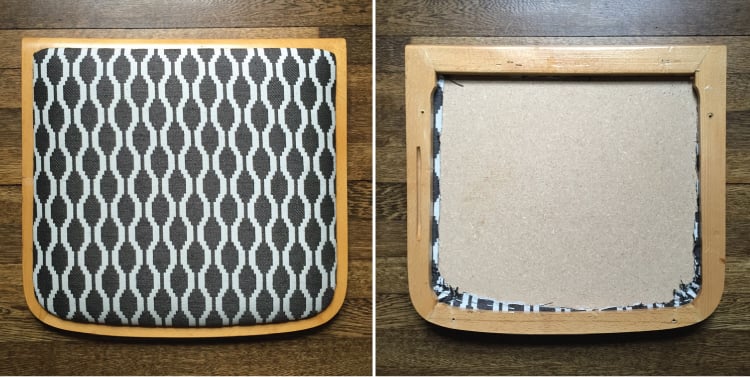
Step four: Begin reupholstering. Make sure your fabric is facing the correct direction, consistent with the other seats. Pull the fabric tight and begin stapling it around the wooden form. I prefer a heavy duty staple gun.
Step five: Pop your seat cushion back into the frame and secure it. Now you’re ready to assemble the entire chair. Finally!
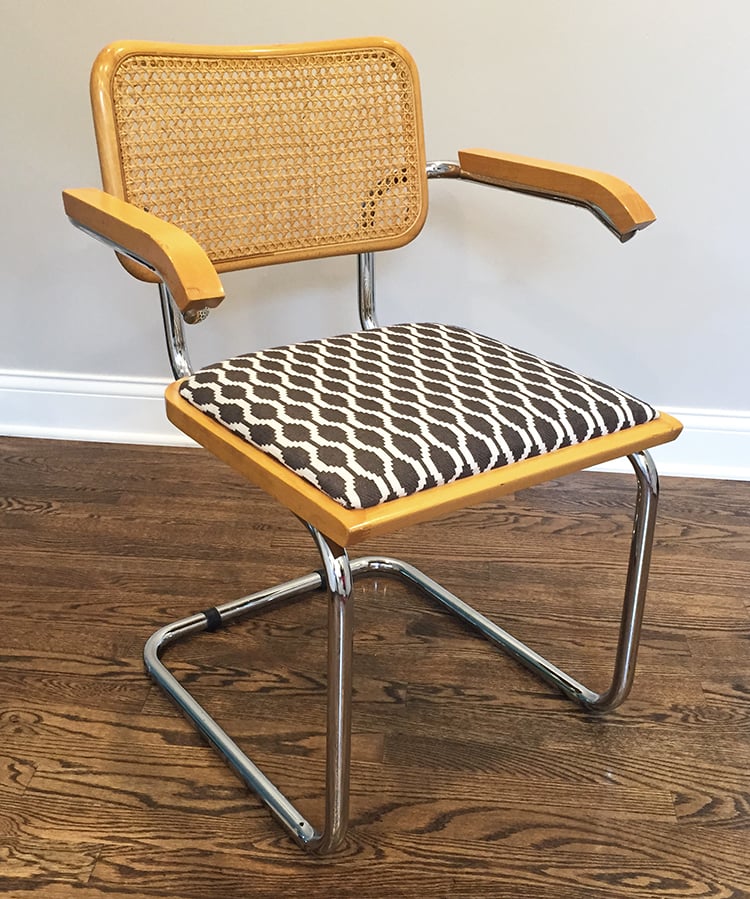
Check out the finished product. What do you think of the overall transformation?
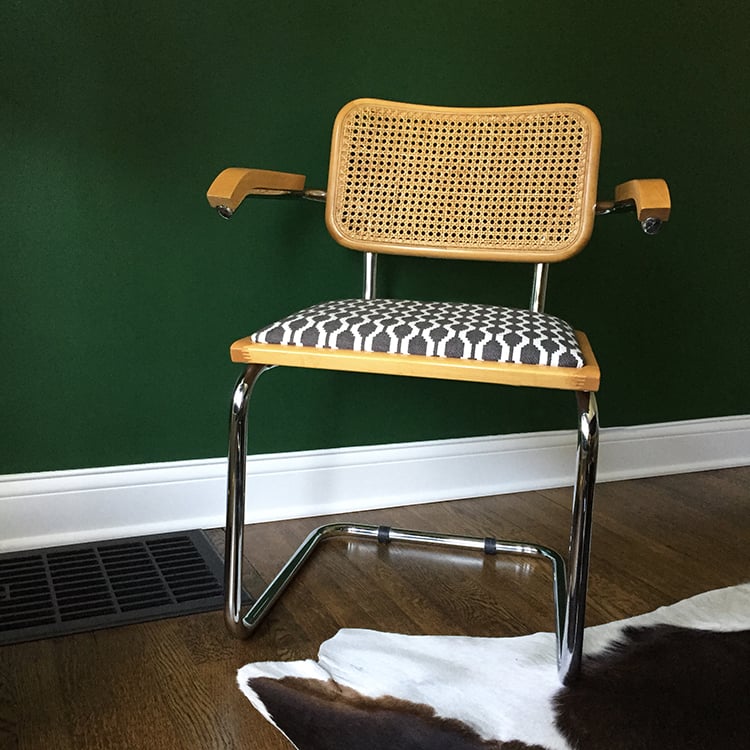
I’m thrilled with the way these dining chairs turned out. Do you have any tips for upholstering furniture or do you leave it to the professionals? I can handle small projects such as a dining chair, but anything too complex, I leave to the experts. Look for a dining room reveal featuring this dining set in the near future- stay tuned!