How to Wallpaper Built-Ins + My Favorite Grasscloth
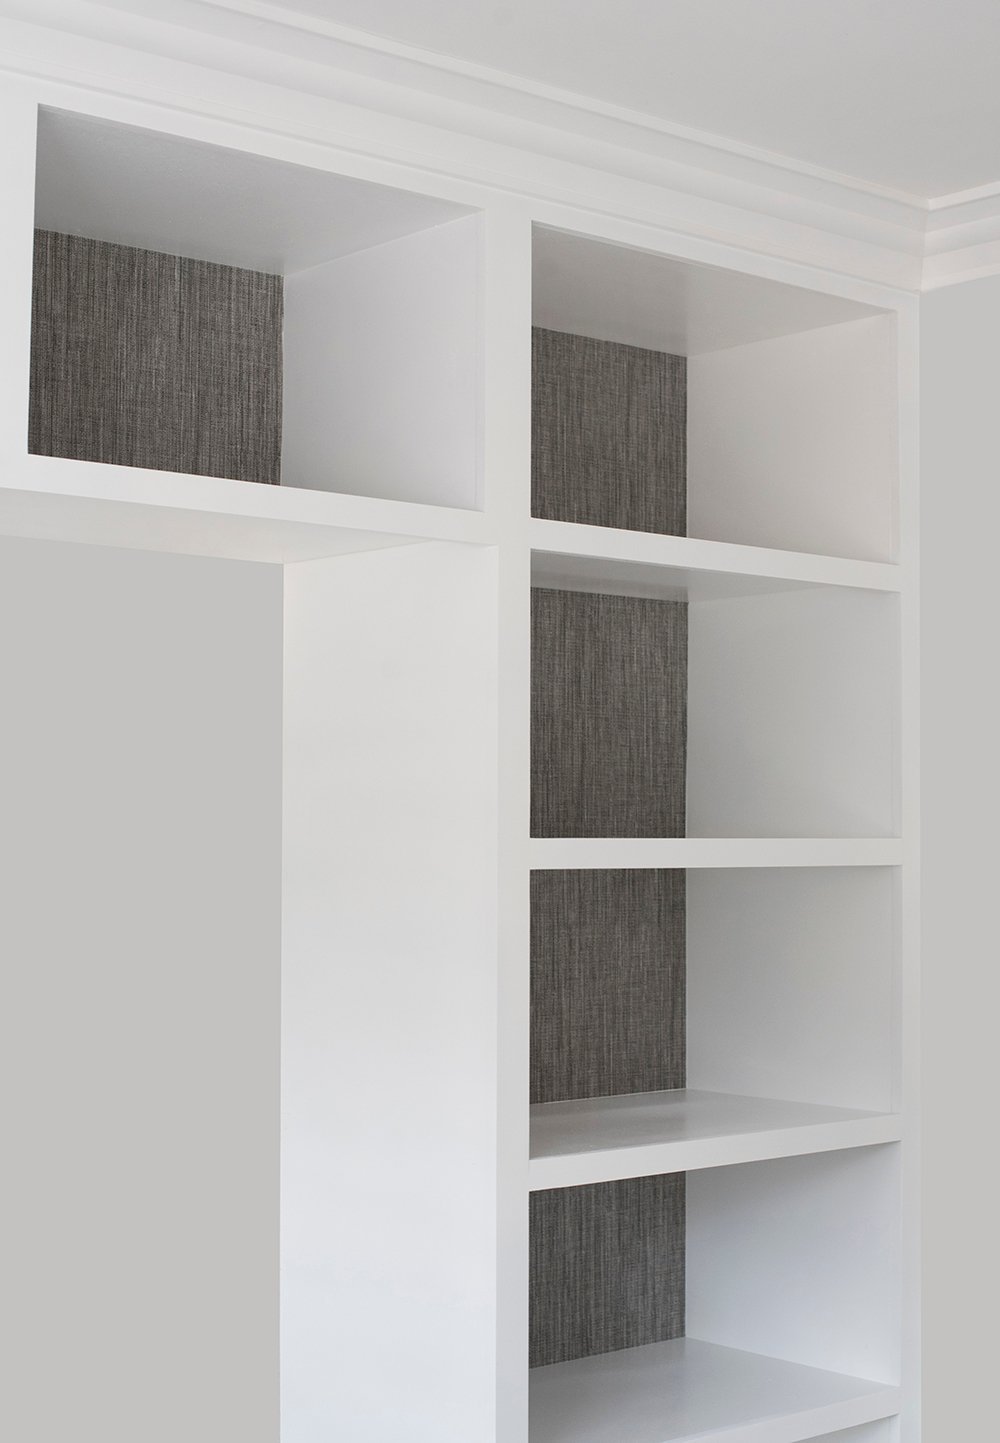
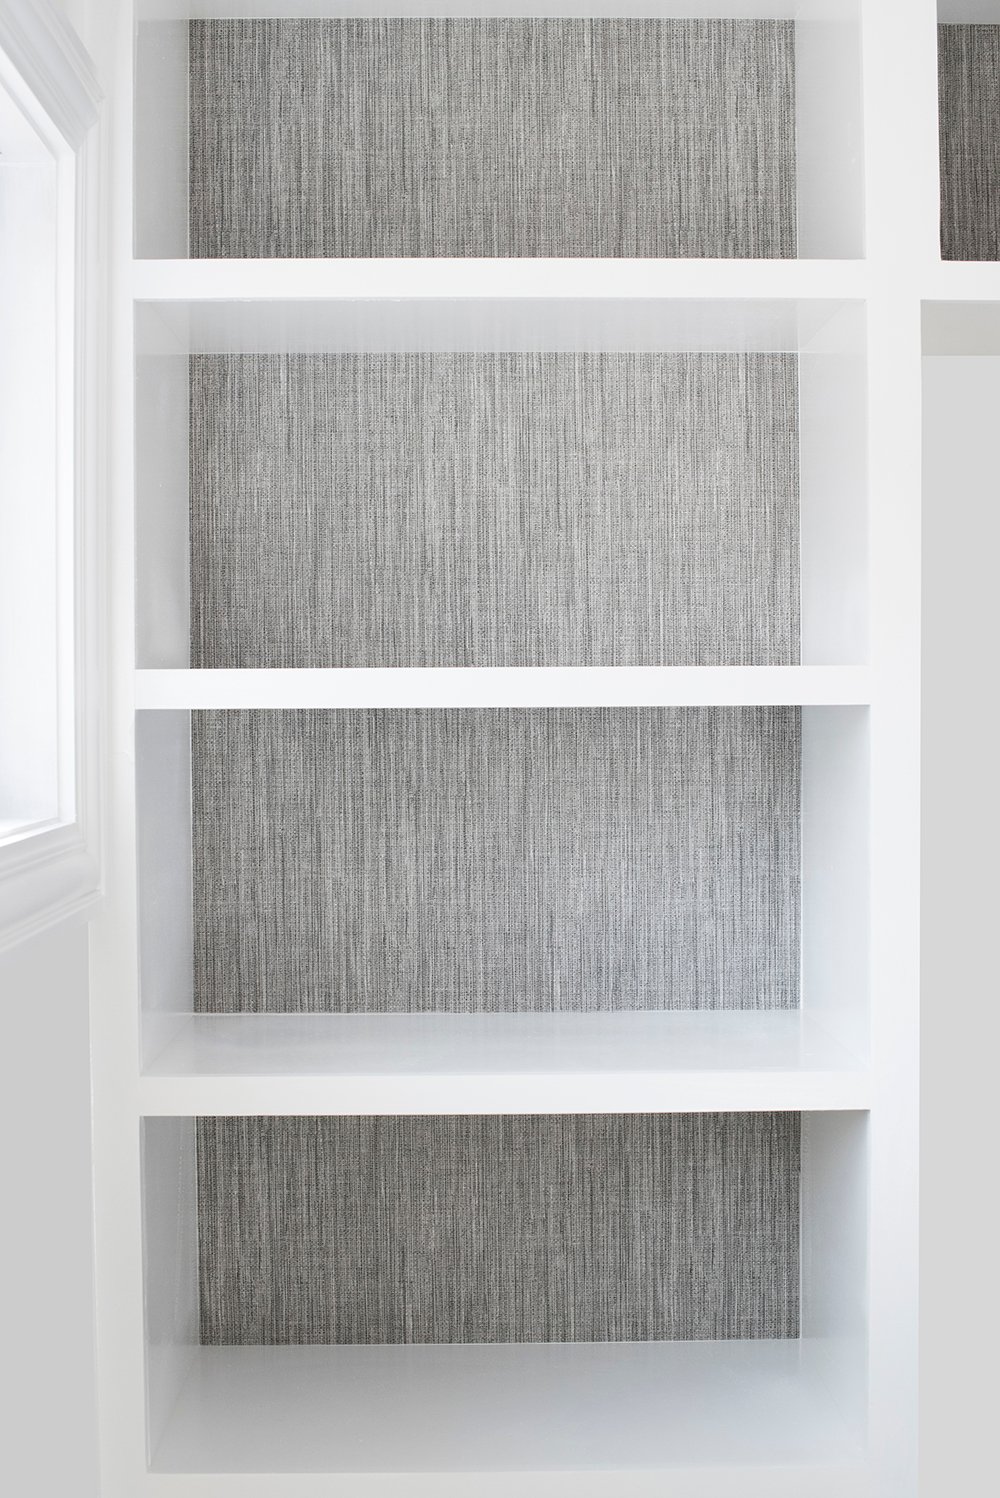 I got a TON of questions regarding the grasscloth wallpaper I selected for my office built-ins (shown above). I thought it was worth rounding up a bunch of my favorite swatches for you, as well as sharing a tutorial and my reasoning for wallpapering the back of the shelving in the first place. It really adds a ton of texture, character, and makes an ordinary built-in look even more stylized. The built-in DIY is hopefully coming to the blog next week- so stay tuned for that. Click through for the post!
S U P P L I E S + T O O L S
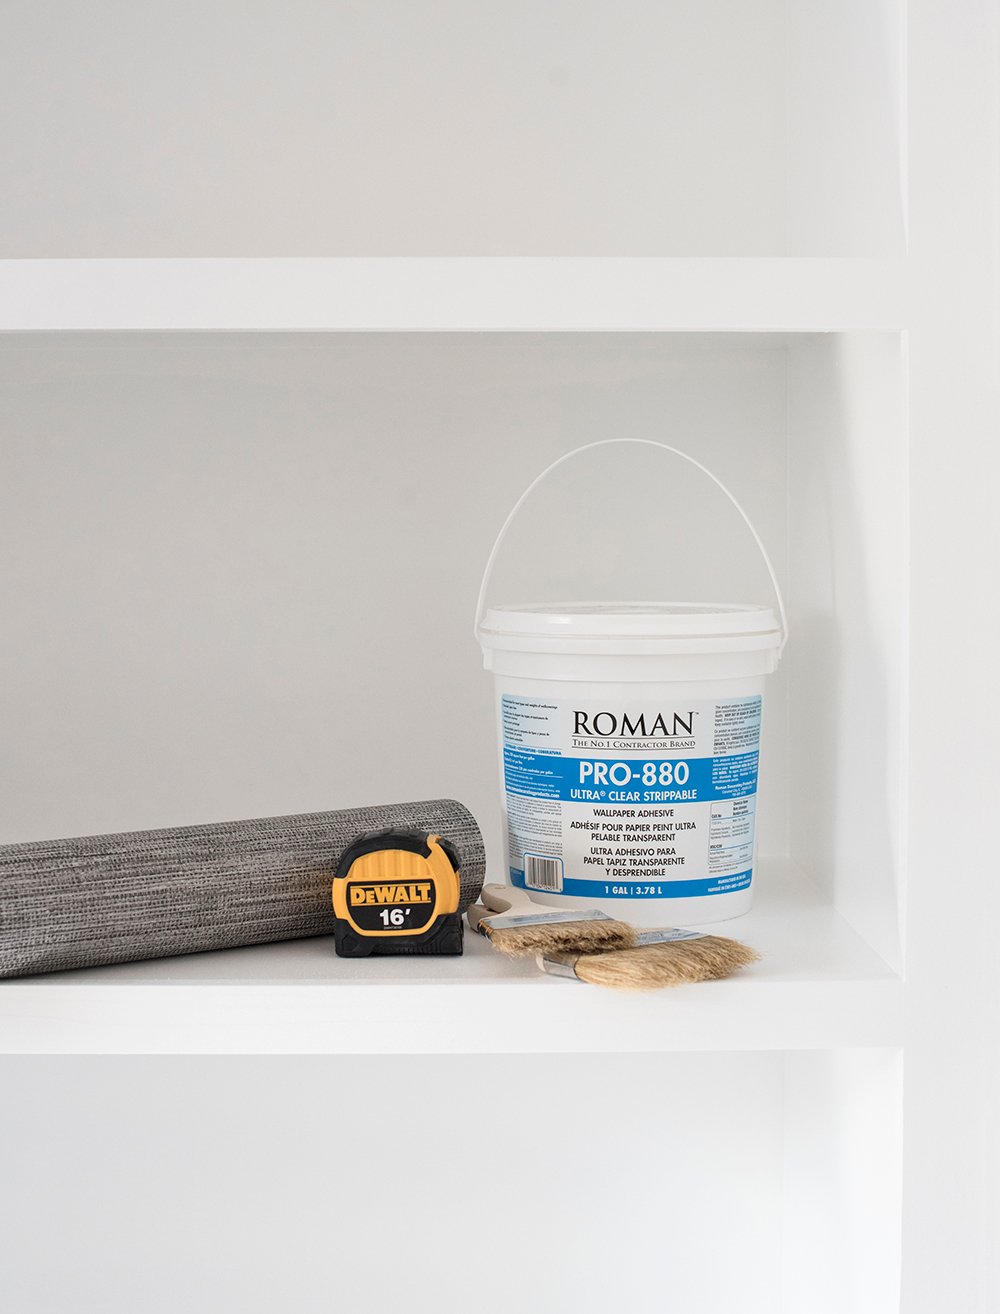 Here’s what you’ll need to get started…
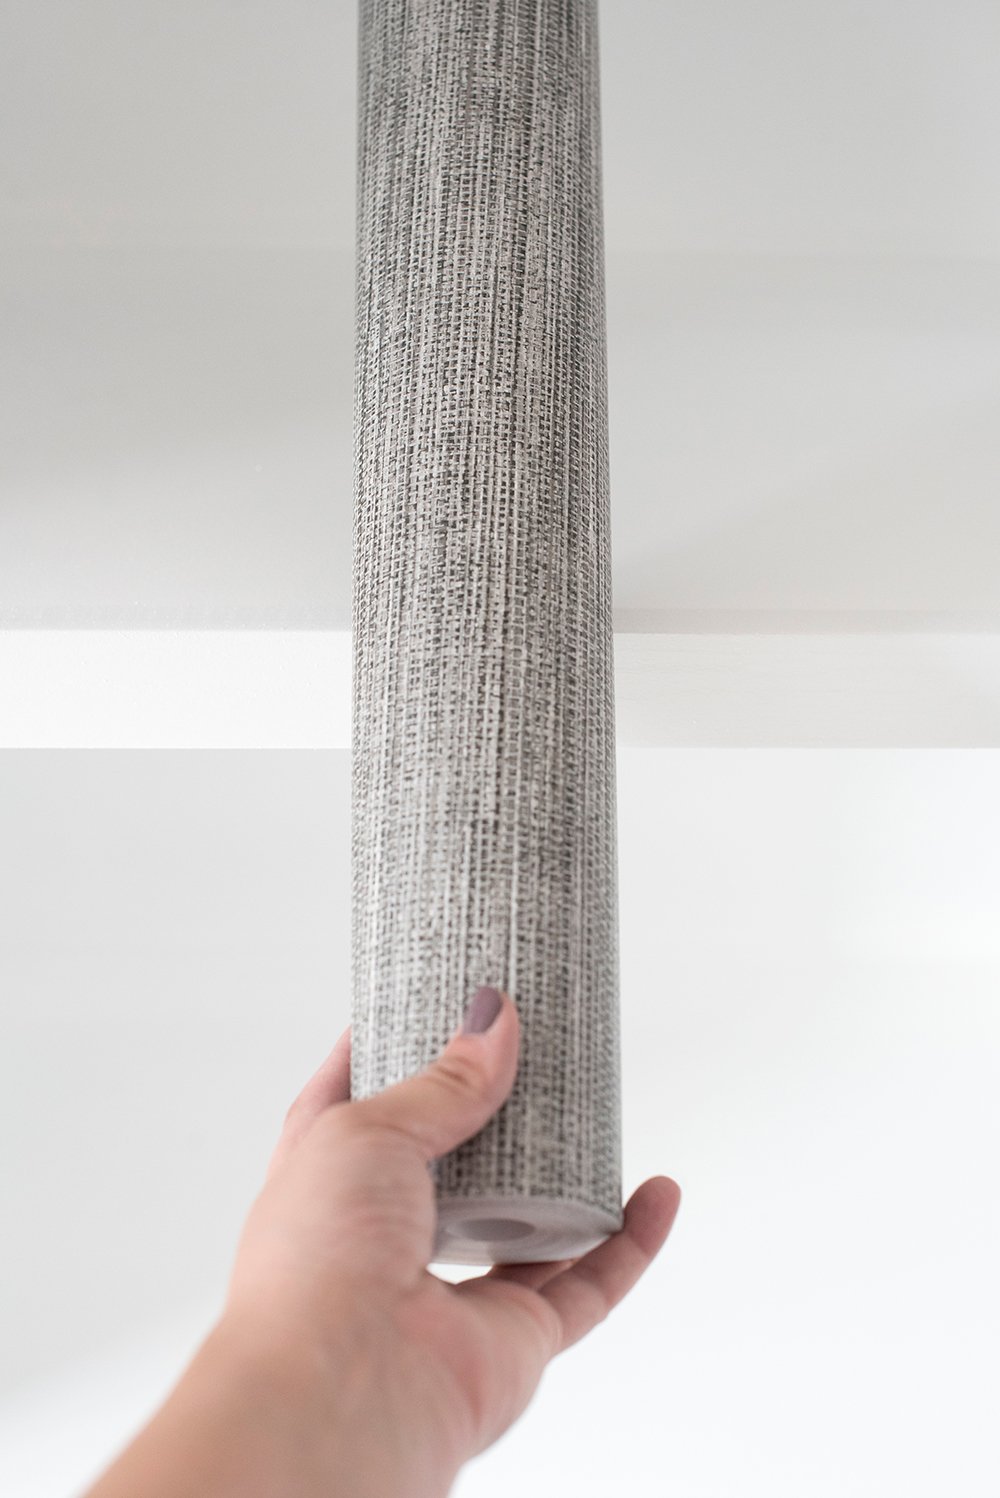
- grasscloth (or another preferred wallpaper)
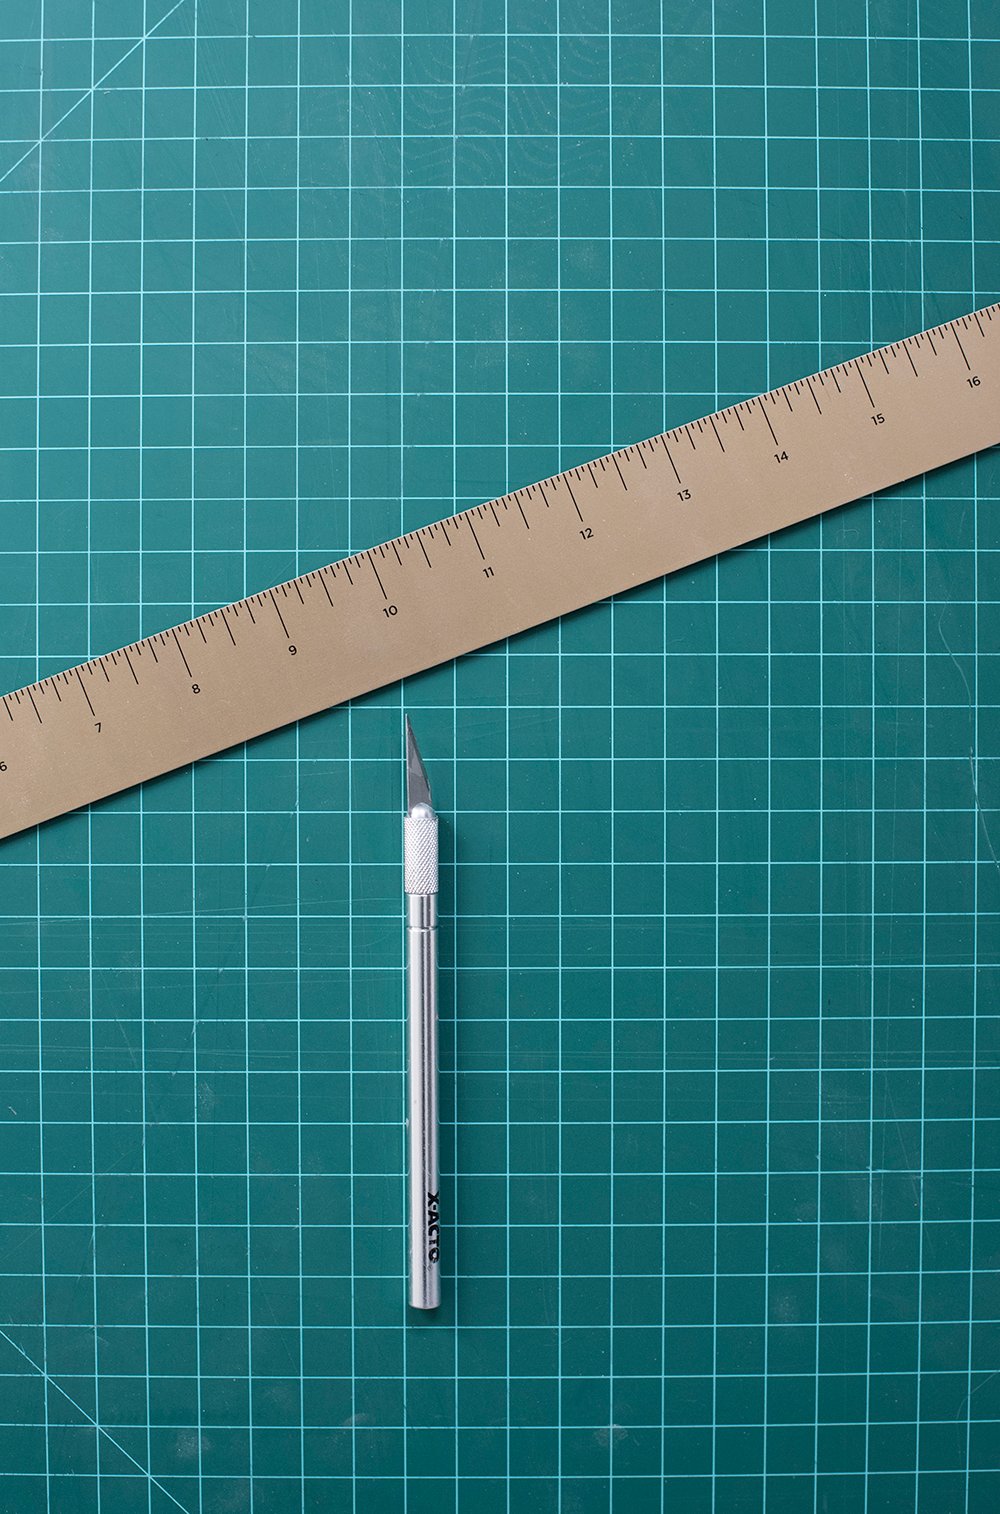
- tape measure
- long ruler or yardstick
- cheap paint brushes
- wallpaper adhesive
- scissors
- self healing cutting mat
- x-acto knife
- squeegee
- shop rags or paper towels
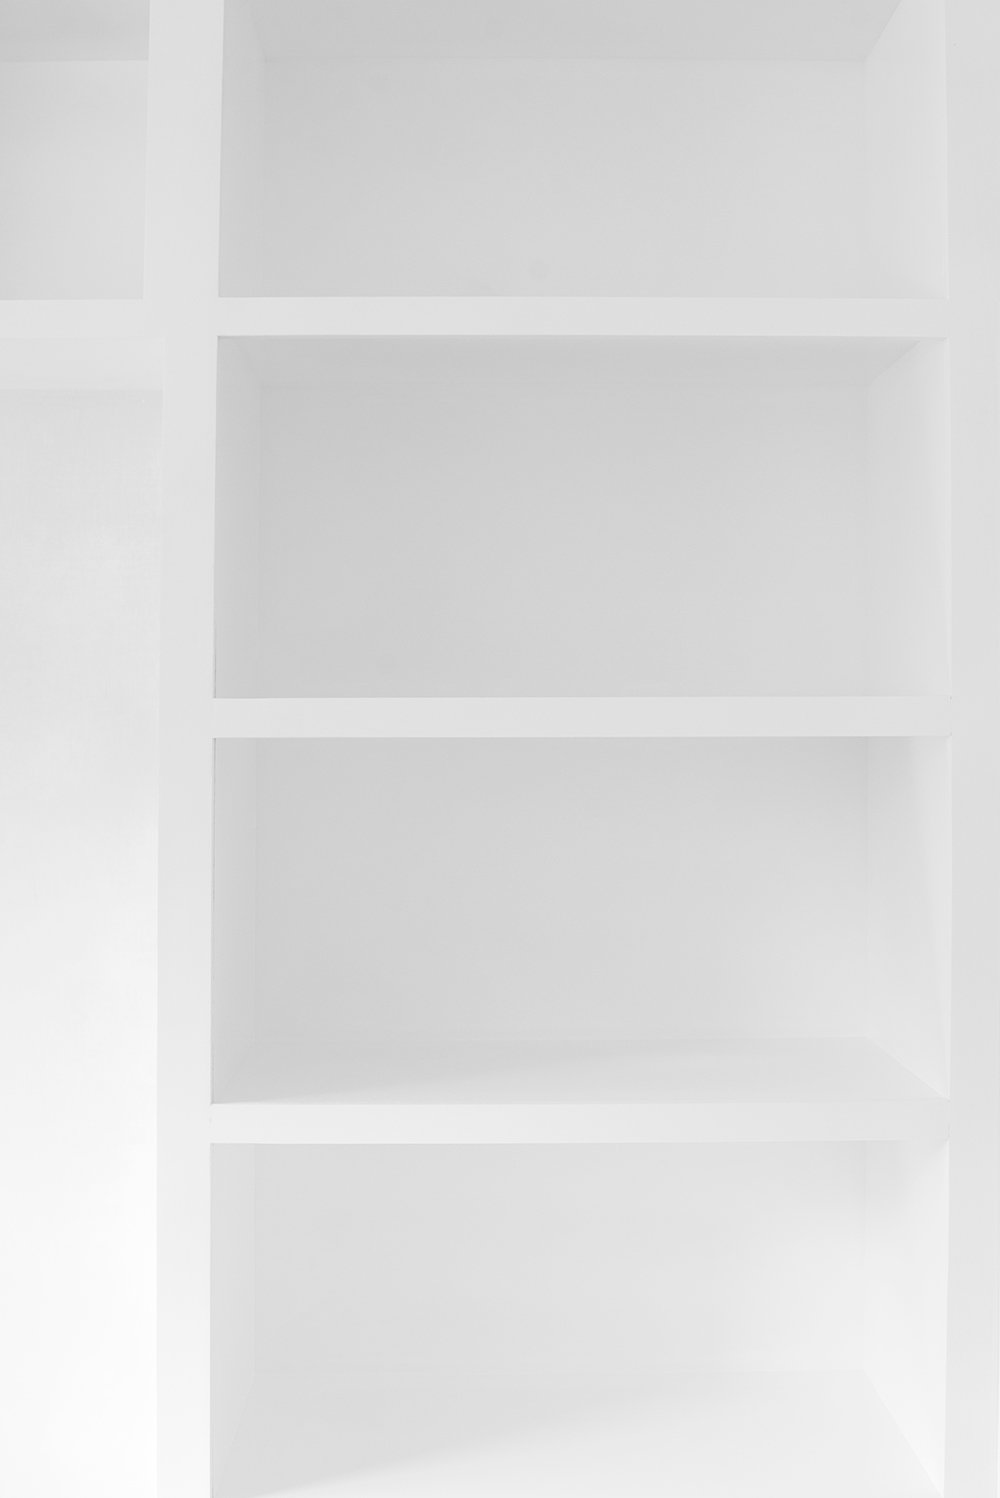
Let’s dive in, shall we? This is what my “naked” built-ins looked like before I wallpapered. Again- the built-in tutorial is coming to the blog soon!
 Step 1 // Measure. Depending on the size of your shelf or built-in- and the type of grasscloth or wallpaper you selected, you’ll need to determine how many rolls it will take. Consider the pattern repeat, length, and width. I only needed one roll for my entire wall of built-ins. Typically this is an inexpensive project that makes a big impact!
 Step 2 // Prep and measure again. To get started, wipe your built-ins, removing any dust or debris. You’ll want a smooth, clean surface to work with.
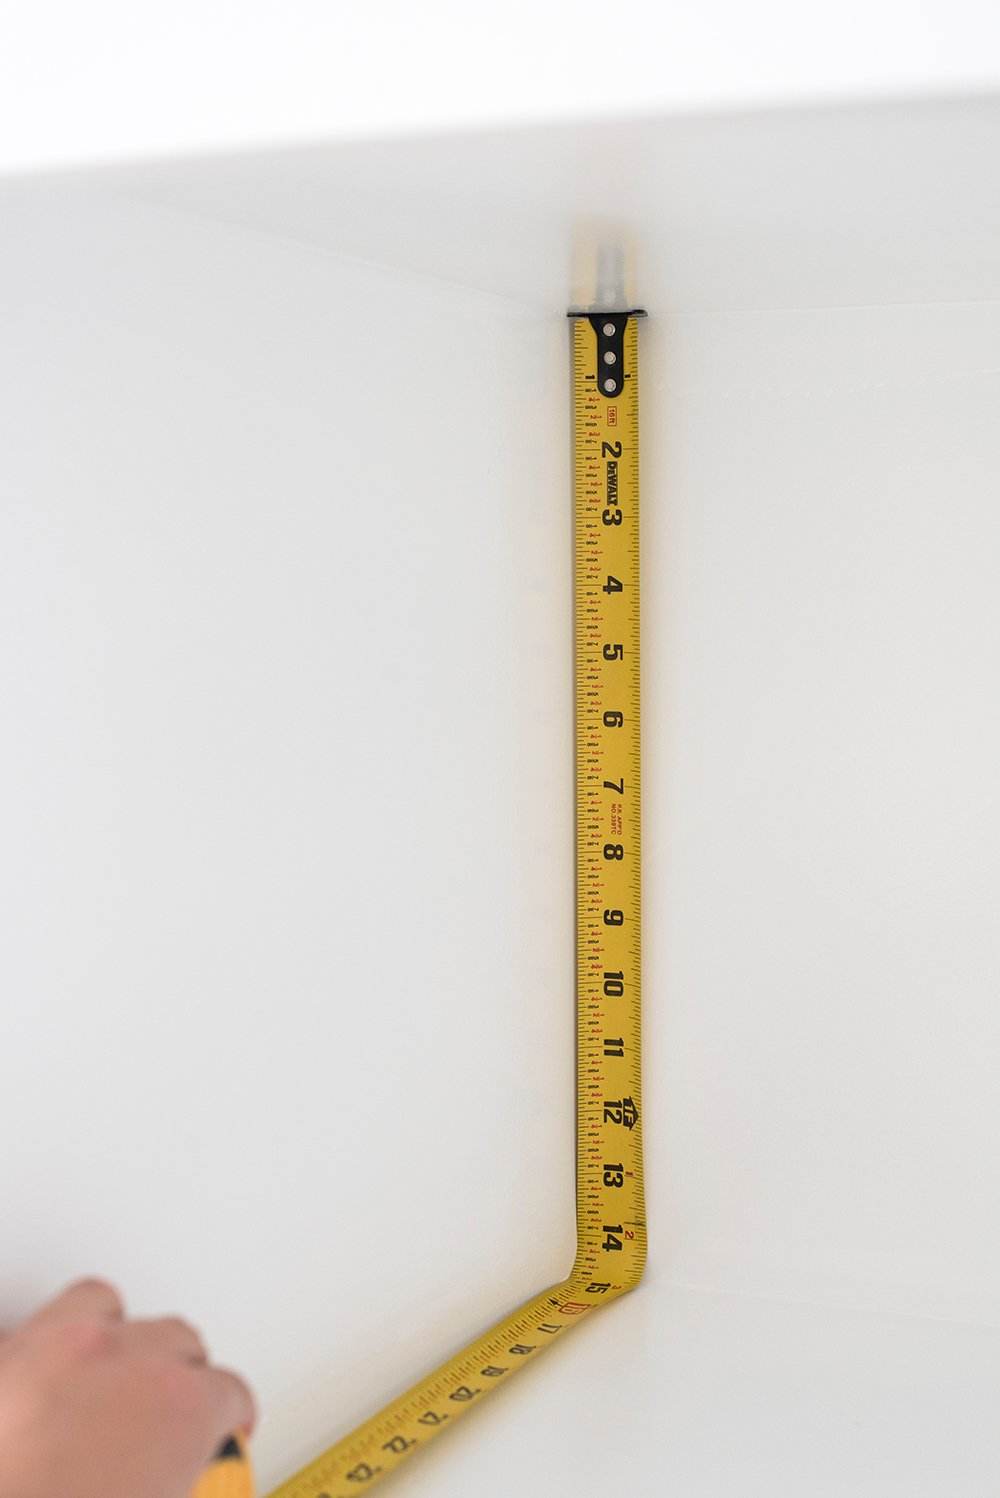 I decided to paper the back panel of my shelving, so I only needed to measure the back rectangle- it was nice not having to worry about the sides.
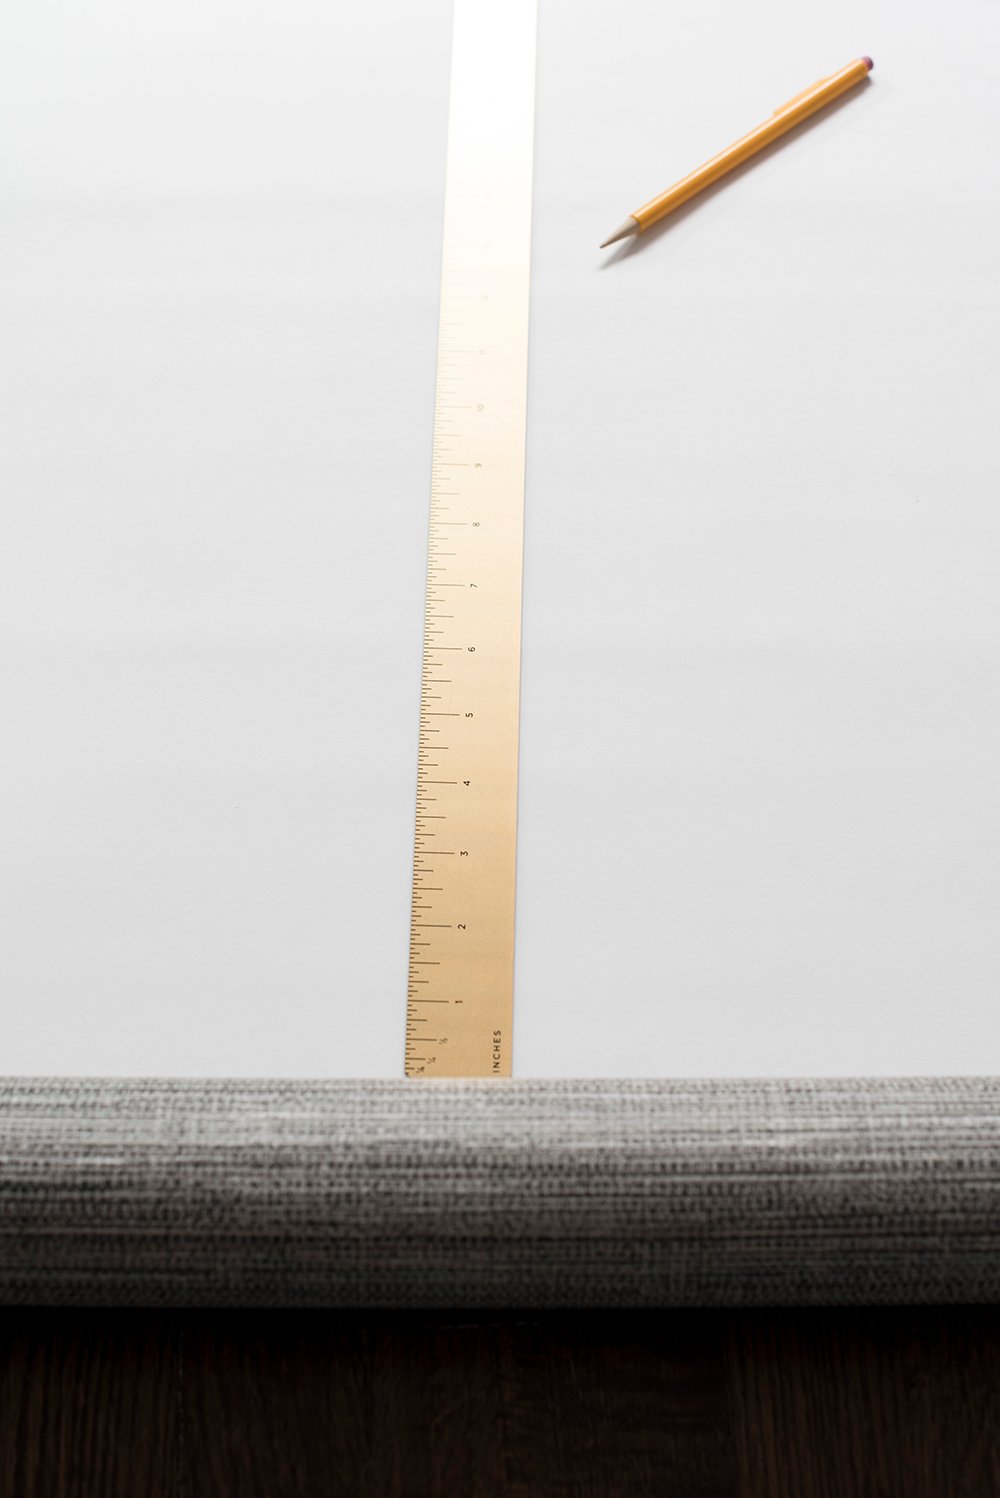 Step 3 // Cut the wallpaper. I traced the basic measurements onto the backside of the grasscloth, then rough cut a piece of material from the roll, making it easier to work with.
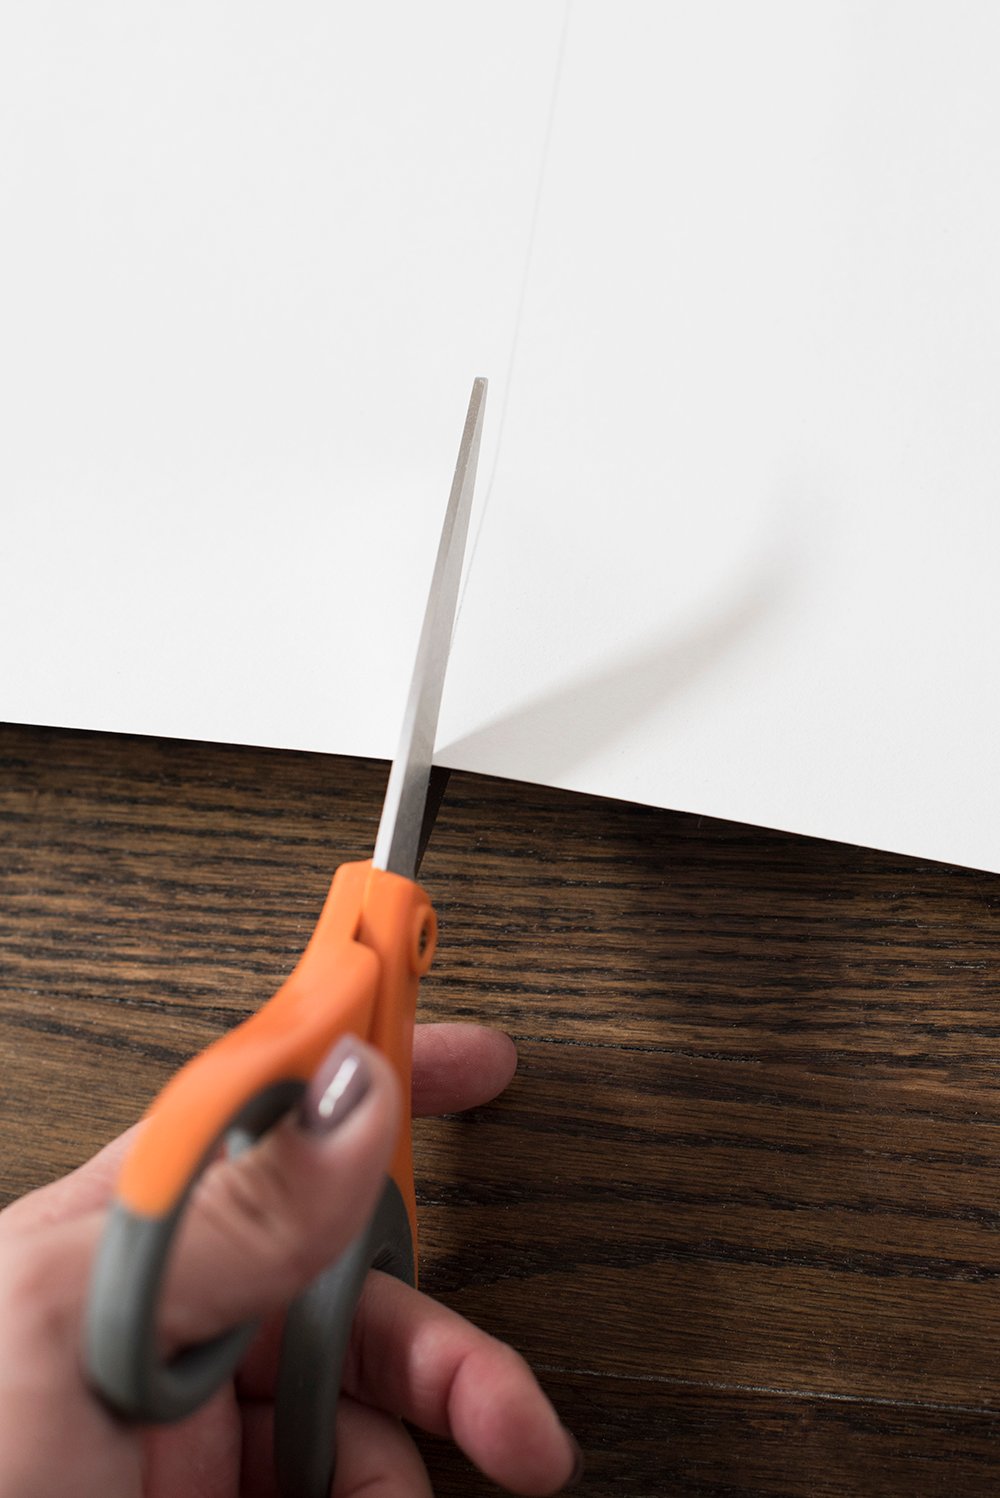 After rough cutting, I moved the material to my cutting mat and used an X-acto knife to cut as precisely as possible.
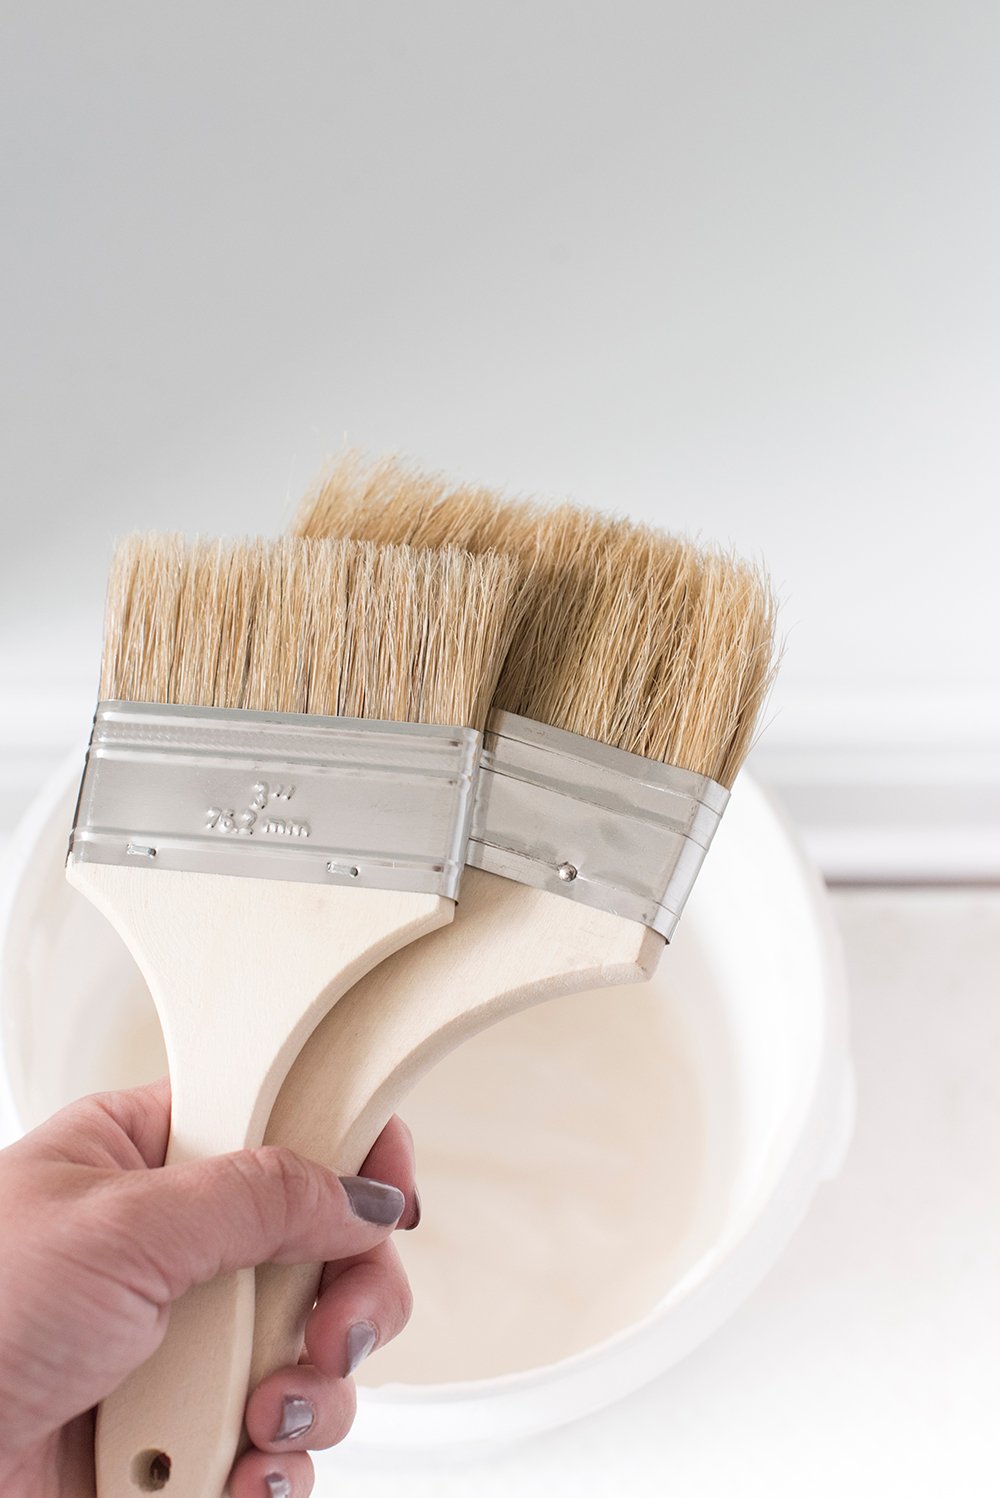
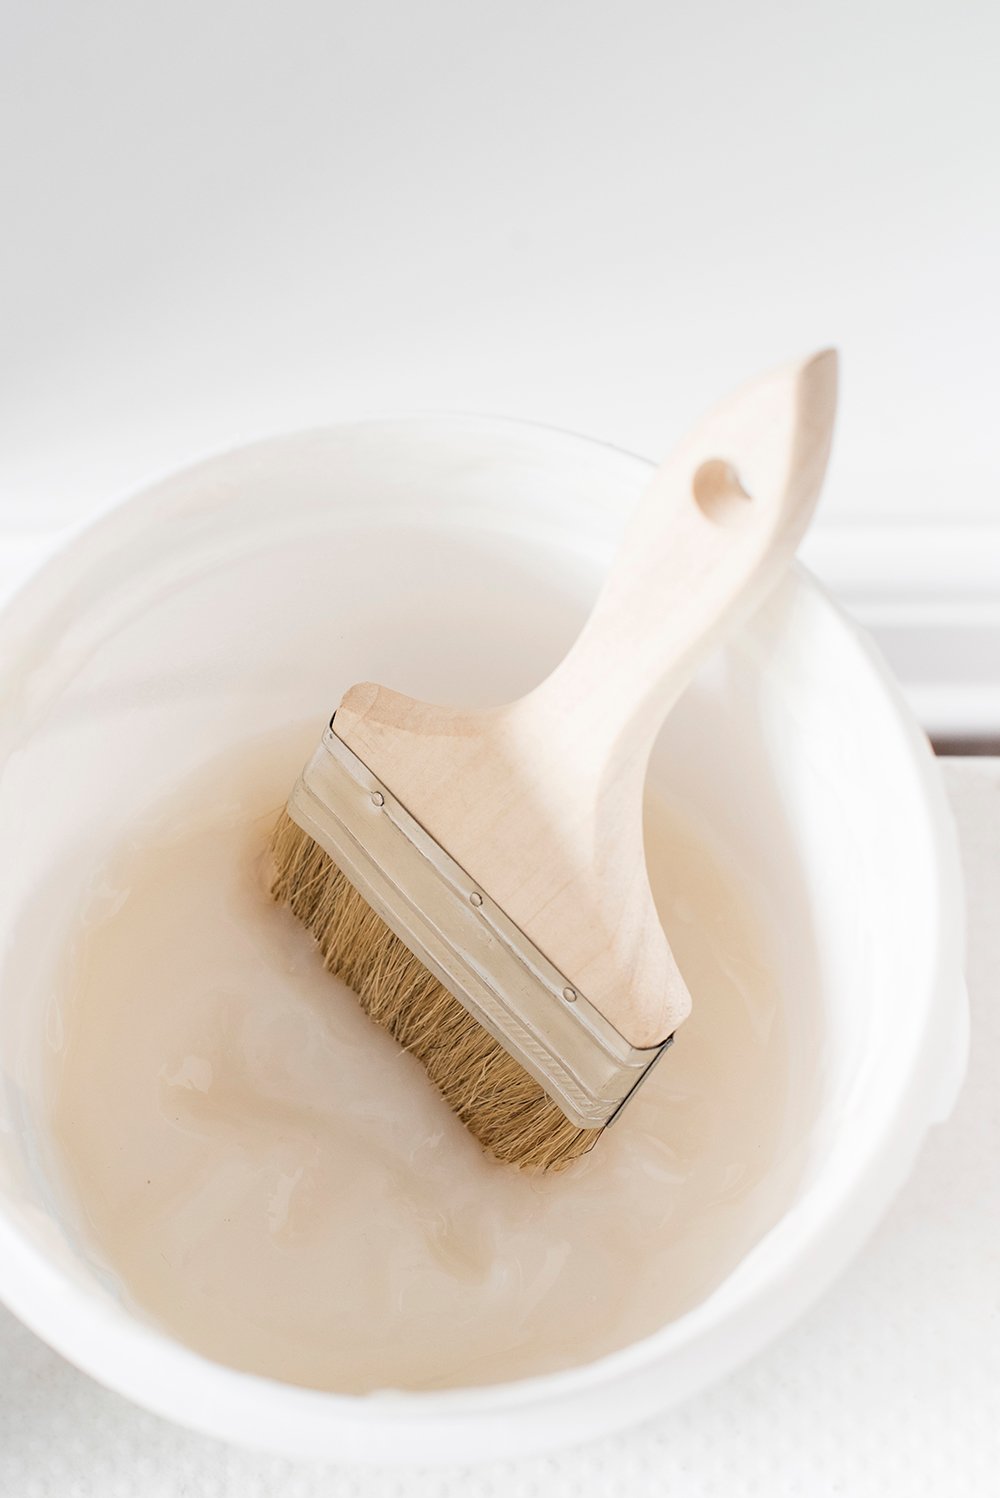
 Step 4 // Apply the adhesive. I prefer to use a cheap, inexpensive glue brushes to apply the adhesive. It goes on quickly and you can just toss the brush once you’re finished.
 Dip the brush into the adhesive and apply the glue directly to the back of the primed built-in. You don’t have go all the way to the edge because the glue spreads outward once the wallpapered is pressed down. I typically stay within 1/4″ inch to the edge.
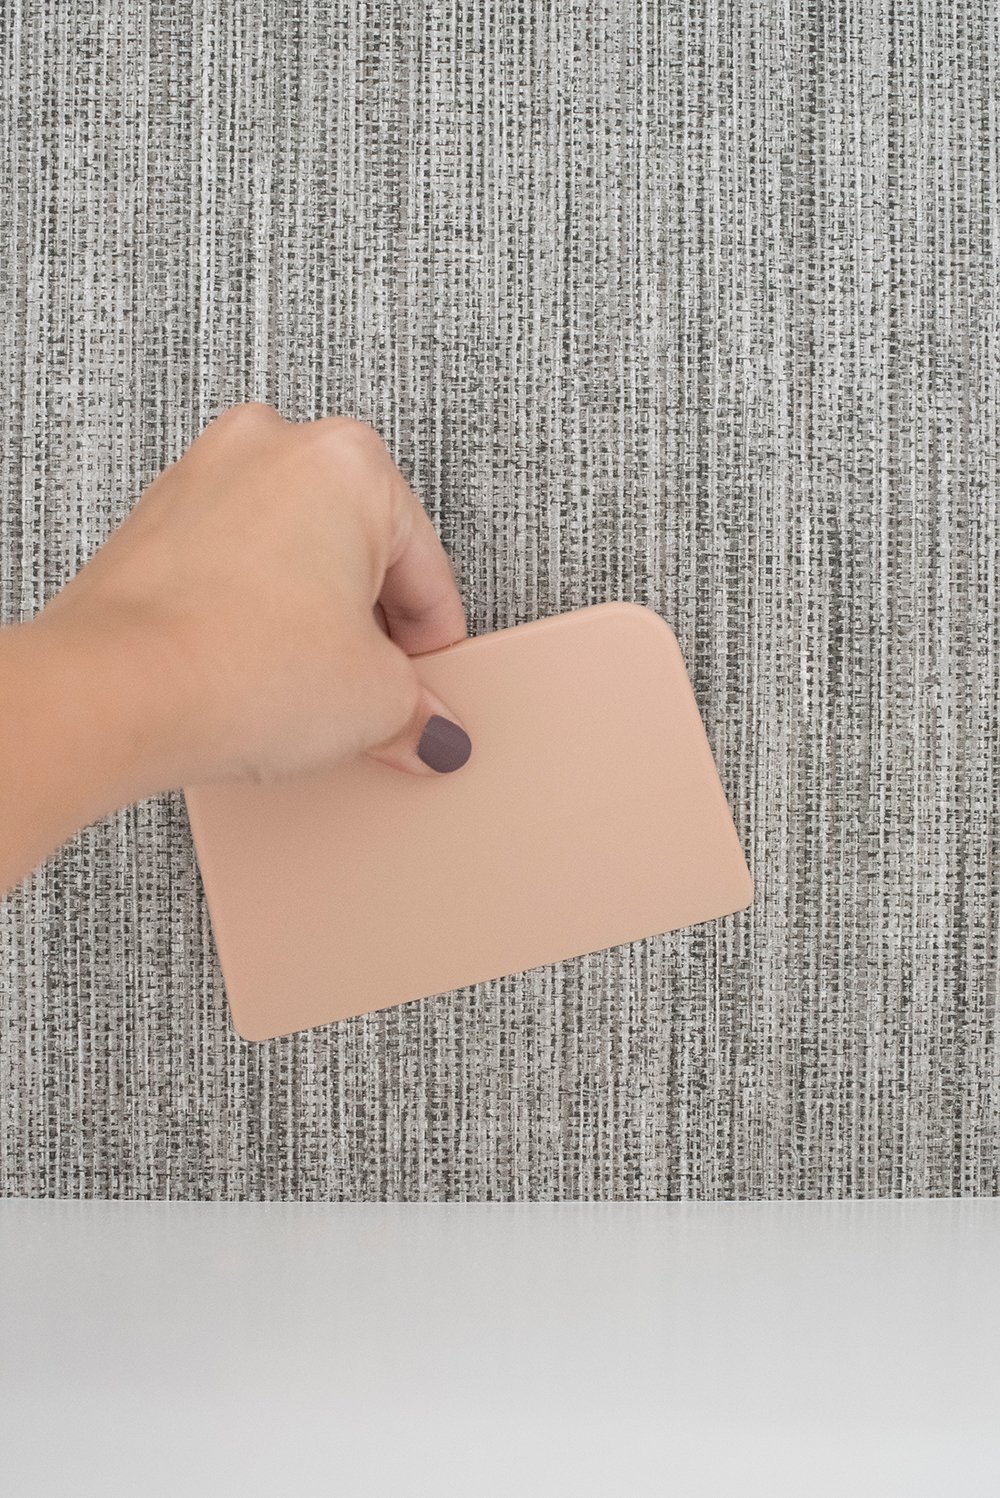
 Step 5 // Squeegee the paper. Once you have the paper lined up in position and stuck to the adhesive, it’s time to squeegee it down for the permanent placement!
 That’s it! It’s really an easy process that yields immediate results. Once the adhesive dries, you’re good to go! Style those shelves and enjoy the texture, color, and hint of pattern.
 I have yet to style my shelves, because we’re still wrapping up construction and I like to dust once it’s all said and done, but I’m already loving the look of the grasscloth! This is the exact paper I used, but I’m sharing 16 of my other favorites below. I always recommend ordering a swatch or a single roll prior to committing. Click the swatches below to shop.

What are your thoughts on grasscloth? Wallpaper, in general? I think if you’re going to install wallpaper- grasscloth is about as timeless and classic as it gets. It’s typically a very safe bet! I enjoy seeing it installed in interesting places with unique applications- built-ins, closets, ceilings, fireplaces, etc… this textural material can really enhance so many vignettes! Let me know if you have installation questions in the comments below.

Those built-ins already look smashing! I really love the grasscloth. My brain was spinning trying to think of a spot in my house that needed it. I’m intrigued at how the dark background will affect your styling (dork), so I eagerly await the reveal.
Thanks so much Peggi! Grasscloth is definitely my favorite wallpaper. I’m also anxiously awaiting the day I get to fill the shelves :)
Hi, I’m thinking about doing this with our built-in Billy bookshelves. Admittedly, I’m not a great DIY-er and I TaskRabbit anything I can these days! How tricky is it to get the wallpaper cut and fit to corners and edges precisely? Did you have to cut and recut? I’m worried about having little gaps or messy edges if some of the corners are not precisely 90 degrees.
Also, I”m going to have to move about 600 books to get going! Further cause for delay. Thanks for any input you have.
–Sam
Hi Sam! The wallpaper is really easy to work with. Grasscloth is pretty forgiving, so if you could the wrong size, you could easily add a strip on the edge. I promise- you can’t mess it up. Good luck! xox
Thanks for the feedback. I was going to call a wallpaper hanger I’ve used but I want to keep this particular project low-budget. I think I’ll give it a shot. Now to pick the grasscloth1
You’ve got this!! Can’t wait to see how it turns out- you’ll have to send an update once it’s finished :) xo
LOVE IT! I’m going to do this with my built in in my office. Do you think it’s too much to also put it on an accent wall adjacent to the built in behind my desk?
Sarah – did you soak or apply water to the unpasted grasscloth to make it more flexible? Some just say “don’t over soak” but I didn’t see you applied water at all in your details and wondering if it’s necessary or if paste is all that’s needed.
No water necessary, JoAnne! You can let the paste sit for up to five minutes to soften the grasscloth (that’s what we did).
I have purchased Candice Olson’s Pattern CP1276 for the back of my wet bar cabinets. It is super thick and inflexible (which may be standard with grasscloth?) I’m considering applying the paper first to some type of board or poster, in order to just pop out and change without a difficult and potentially damaging removable process. Have you done this before or would you just keep it simple and apply to actual backing? I have thought…if I stick it to some type of board first, I will have to cut down the shelving about a 1/4″ in order for cabinetry to close properly. Thanks for any direction!
Hi Lila, I haven’t done that before. I’d recommend applying it directly to the backing. Depending on the type of grasscloth, it may need to be soaked first. Hope this helps!
Hi Lila,
I just saw your comments and I have been considering doing the same. I was wondering if you tried it? And if you have any tips?
Mandy
Try foam board?
Hey Sarah! I am about to begin my bookshelves. I’m indecisive about where to put the seams. My bookshelves are 50.5″ wide and my paper is 38″ wide. Should I put the seam directly down the middle, should I put one whole sheet down the middle and then have 2 seams on either side or should I start the wallpaper on one side and just have an off center seam?
Hi Weezie! Depending on your pattern or texture of the wallpaper, most seams go unnoticed… especially if you style your bookshelves with books, decor, or other objects. I’ve found they’re easy to disguise! To make installation easier, I’d just opt for a single seam that is offset (and hopefully not very noticeable). Hope that helps!