A Big Design Battle : Surround Sound
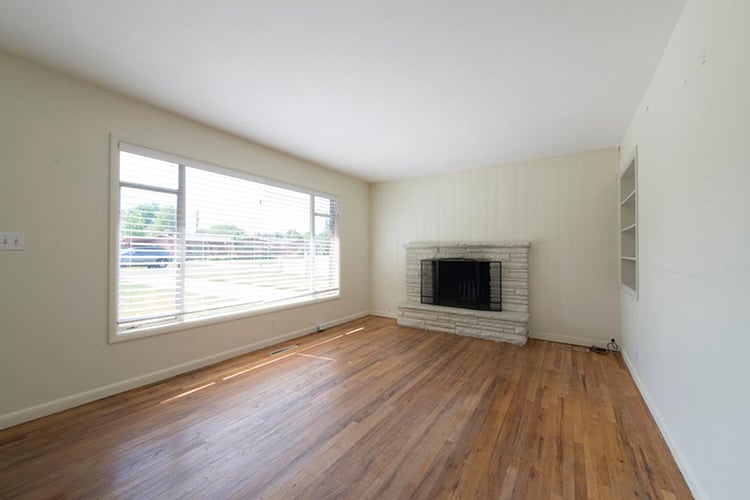 So here we are. Sarah and I have just sold our current home and have bought a new one in SLC (she’s officially posting allllll about that next week). I couldn’t wait to share a little project I’ve been scheming for our new house- so here’s your very first peek into our new living room. I definitely have big plans for this space! In the past few years we have really made subtle upgrades to our current house that truly makes me happy. Little things that one takes for granted, like dimmer switches on certain lights (I kind of have an addiction to dimmers), outlets in specific locations- like on the fireplace mantle or the floor below our nightstands for phone chargers, custom built-in shelves that are tall enough for a particular piece of art, etc. All of these things were created around a specific desire/need to accommodate what Sarah and I wanted out of our home. So here were are. And if you are asking yourself where “here” might be- I’ll give you a break down.
We’re leaving a perfectly tailored home that fits our (almost) every need to move across the country into a house that doesn’t even have the basic necessities- seriously, the new place doesn’t even have air conditioning! With all that being said, and still having a week before closing on our new house, Sarah and I have already began designing/planning and even ordering materials to turn our house into a home. While Sarah is picking out tile, cabinets, and paint colors… I am doing the practical planning. The little things that go unnoticed but are very much appreciated.
However, when one’s spouse has a very strong opinion on what everything looks like, it requires thinking outside the box! One thing I’d really like to incorporate into our new place is definitely on Sarah’s “not-so-pretty” list, but my latest objective is to win her vote by keeping the project “easy on the eyes”. This one’s for the guys with the picky wives- surround sound and home entertainment.
What does every guy want? The ultimate theater surround sound. Designers cringe at the idea of big ugly blocks hanging off the side of a wall or taking up an entire shelf. Luckily for my fellow audio lovers, I found a compromise. Consider this your basic guide to creating a theater system that looks as good as it sounds.
A general rule with speaker technology is that if you want small and inconspicuous while still holding onto sound quality, be prepared to spend some dollars. Bose makes speakers that are about 3 inch squares and they sound better than your grandpa’s 6 ft. tall speakers from 1970. These can easily blend into your entertainment unit or a be styled inconspicuously into a built-in anchoring your tv. Generally the speakers at the front of the room are not a big argument in our house, but when I start talking about adding a subwoofer (the huge guy) and the speakers that go behind the sofa, the discussion becomes a little more heated. Here is my solution to designing an aesthetically pleasing surround sound, that meets my criteria, Sarah’s design standards, and our mediocre budget.
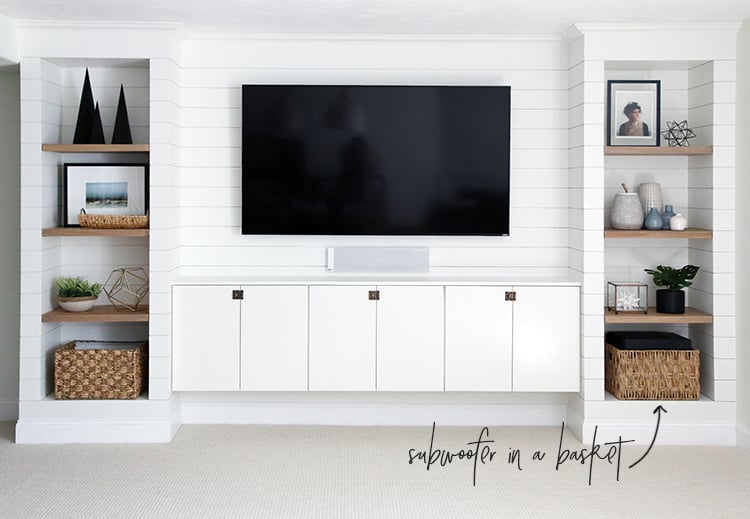
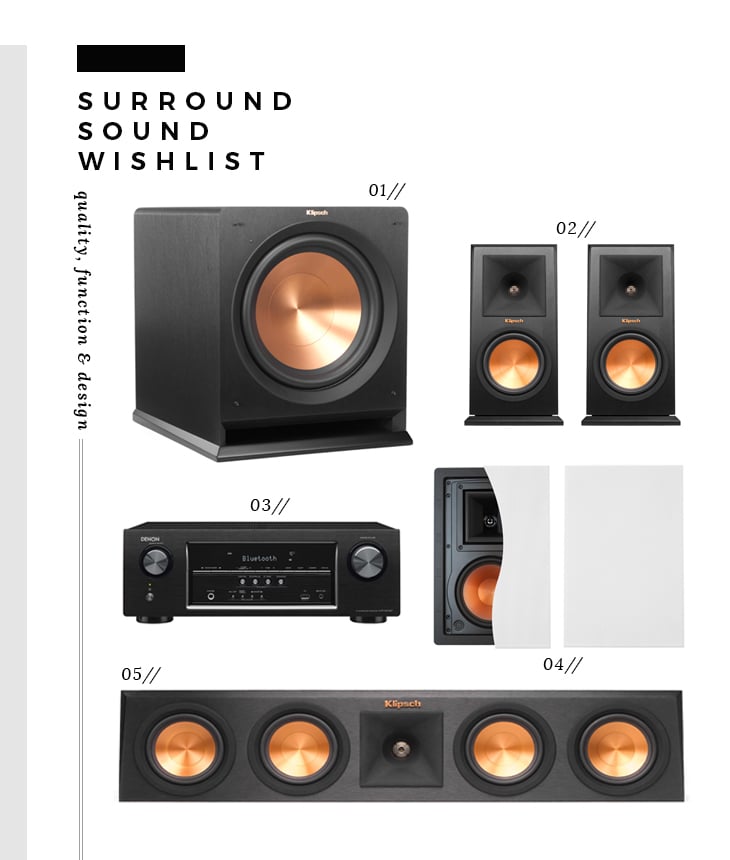 01: subwoofer // 02: bookshelf speakers // 03: theater receiver // 04: recessed wall speaker // 05: central channel speaker
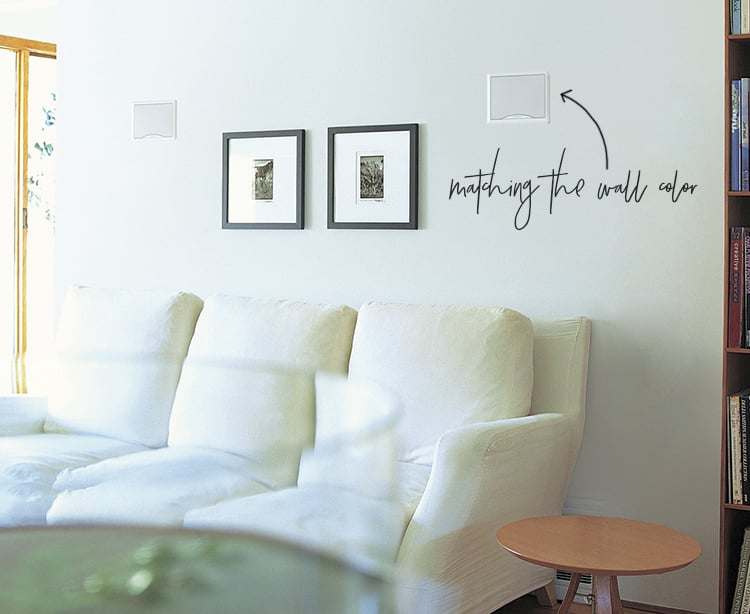
I have already ordered the recessed wall speakers as they are our primary focus with this plan. They will be mounted inside of the wall on each side of our sofa, and the wires will also be hidden in the wall and ran through the crawlspace to the front of the room to the receiver. Typically in-wall speaker options have less quality than their standard counterparts, so for these I splurged for exceptionally well-built speakers. They mount flush in the wall and come with a paintable metal mesh grill cover. Sarah’s advice is to paint the grill cover the same color as the wall. That piece of advice might sound like a no-brainer, but I’m a guy and I probably would have left them the original primer white color. These are the hardest speakers to “hide” and this is absolutely the best solution! Note: They do make wireless speakers, but I prefer hardwired over wireless any day. Better quality, less headache.
 The second hardest speaker to deal with is the subwoofer. You might be asking yourself, why isn’t THIS the hardest speaker to hide given it’s size… because they really are massive! Unlike the rear speakers or any of the other units in a 5.1 system, a subwoofer is not directional- meaning it can be hidden or pointed in any direction. Essentially as long as it’s in the same room and is not completely enclosed, you’re good to go! My three best solutions for a disguising a subwoofer are…
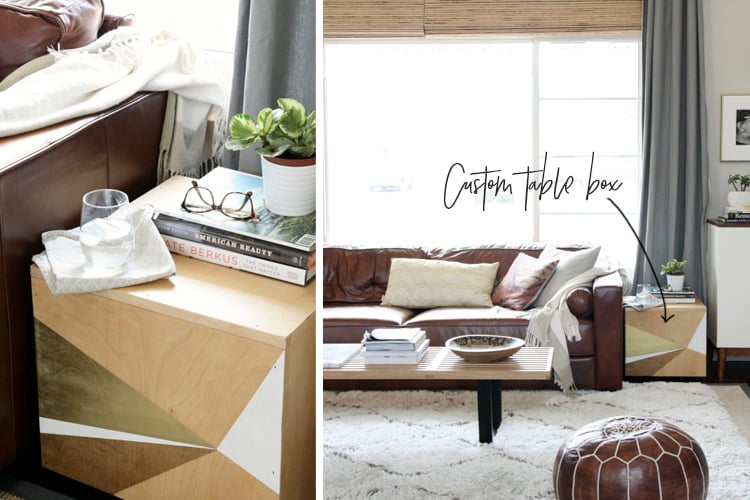
1. // Source a great piece of furniture like an end-table that the speaker nests beneath- or create a custom piece, like Sarah’s friend Dana has done below…
 2. // Find an extra large basket to disguise the subwoofer. Most woven baskets are organic and act much like speaker cloth or material would do, filtering the sound without issues.
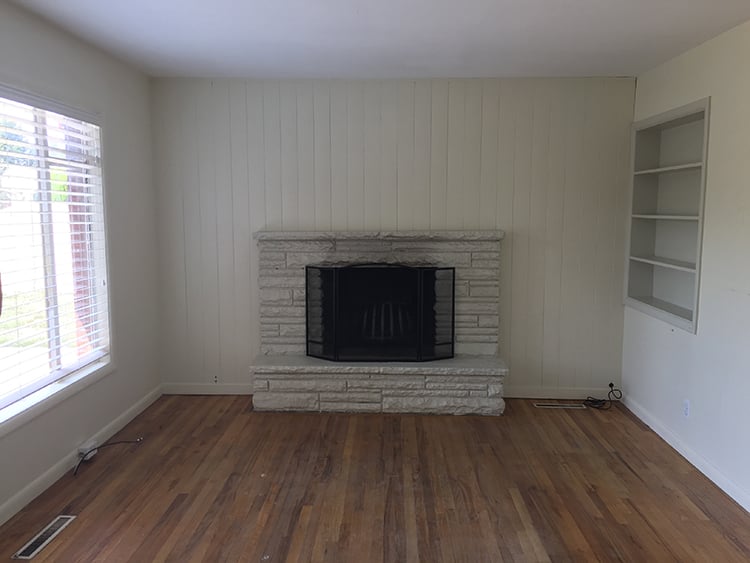
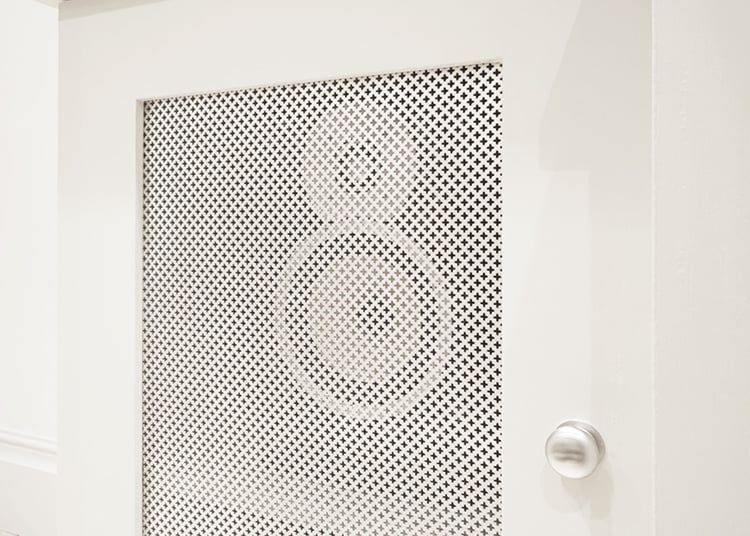
 3. // Alter a built-in bookshelf to accommodate the box. This method allows for completely hiding the subwoofer. If your subwoofer fits into an existing built-in, or open shelf, it’s easy to construct basic doors to hide the shelf. However, keep in mind, solid doors won’t work. A wood framed door should be stretched with speaker cloth or at most, a wire grill. I’m building a monster built-in bookcase from wall-to-wall and floor-to-ceiling which wraps around the fireplace of our new home (before sneak peek below). Prior to beginning construction on the custom shelf, I plan to run all of the speaker wire behind the structure, as well as build a substantial bottom shelf to house a subwoofer.
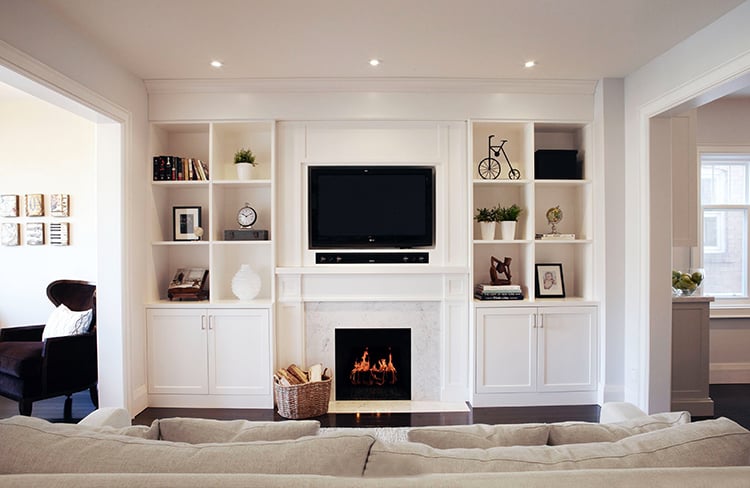
 I’m planning to build something similar to the below image, which will house a subwoofer in the lower section… but with mesh or perforated doors.
 For the remaining two front speakers and the center speaker, they will simply sit upon the shelf around 3ft.-4ft. from the floor with the center speaker aligned and balanced on the fireplace mantle. Knowing Sarah, the smaller speakers will be perfectly styled into the built-in, certainly appearing less obvious- if noticeable at all.
Stayed tuned throughout our renovation… I’ll be sure to post the entire project and the final result! In the meantime, let me know if you guys have audio or DIY questions.
additional images used from: bose | house*tweaking | chrislovesjulia | ali budd
I love this! My husband is obsessed with his sound system. I just let him have it now, in our starter home, knowing and hoping that some day he will have his own designated space in our next house or will be thoughtful in creating a plan like yours, Emmett.
So glad you liked this one, Elizabeth! xo
I am obcessed with dimmers and hiding ugly speakers too!!!! Can’t wait to see it come together!!!
Dimmers are great. And they are easy to install! I just can’t wait to have surround sound again. Have not had it since the college years!
So glad to hear someone else had to fight this battle. Your solutions are exactly what we did except the center speaker. I put my foot down and it is behind a door with speaker cloth. I can’t wait to see another house transformation!
Ann- The battle has been fought, and until now, I thought I lost. I actually had given up the idea in our previous home. But now I am putting in a little more effort in attempt to get what I want! I don’t mind the speaker cloth doors, but I really like the stamped metal patterns like the picture above. I’m only hesitant on the metal because of rattling- and if there is one thing that drives me crazy is when things rattle. haha. At least you have a surround sound-enjoy.
Oh yes, hate rattling. Right now one of our air returns rattles when the a/c fan is on. I put a shoe next to it – ha ha! I have the metal grill type speakers on the wall behind the sofa and on the walls on the side of the sofa — left them white for now – the walls are a tan color. I don’t want to paint them too many times before we move. When we are ready to sell I’ll paint them to match. They don’t rattle.
All this is in our (gasp) Living Room! with a 73- inch tv. The living room occupied the most space in the house and we never used it. On holidays, everyone sat around the tree while the kids opened presents then skedaddled back to the kitchen. HA! Now everyone is in the living room all the time. Sometimes when they eat! lol
Oh yes. Ha! Thanks, Ann!! xo
Do you know, can you keep modems and routers in a drawer or will they get too hot? We just bought a campaign dresser that we are using as a tv stand and I want to drill holes in the back and stash our modem/router in the drawer.
Thanks for the tips! Cant wait to see what y’all do to the new house.
Maggie- modems and routers typically do not generate too much heat. I would not encourage putting them in a really small drawer where there is minimum air space. Putting them in a larger cabinet however wouldn’t be a huge deal. Even without airflow a larger cabinet would have enough air that the equipment would never heat it all up before the ambient temperature returned it to normal. Keep in mind for your WiFi router-the more objects it has to pass through the weaker your signal will become!
what is that white cover you used to hide the speakers behind the cabinet door?
It is painted perforated metal!