The Bathroom : One Room Challenge – Week 5
 We’re halfway into Week 5 of the One Room Challenge and we’re making pretty decent progress. The bulk of the construction is finished and now most of the stress is on me (rather than Emmett) to tie up loose ends. Click through for the latest update and to see what’s ahead. There’s also a good shower curtain DIY within the post for anyone looking to add height to their bathroom!
In case you missed the first four weeks, no worries… catch up here: Week 1 (before images and the design plan) // Week 2 (demo and prep) // Week 3 (tile) // Week 4 (bathtub resurfacing and electrical)
This week we focused on lots of smaller details… for starters, we put the first coat of paint on everything (we still have one coat to go) and began installing hardware.
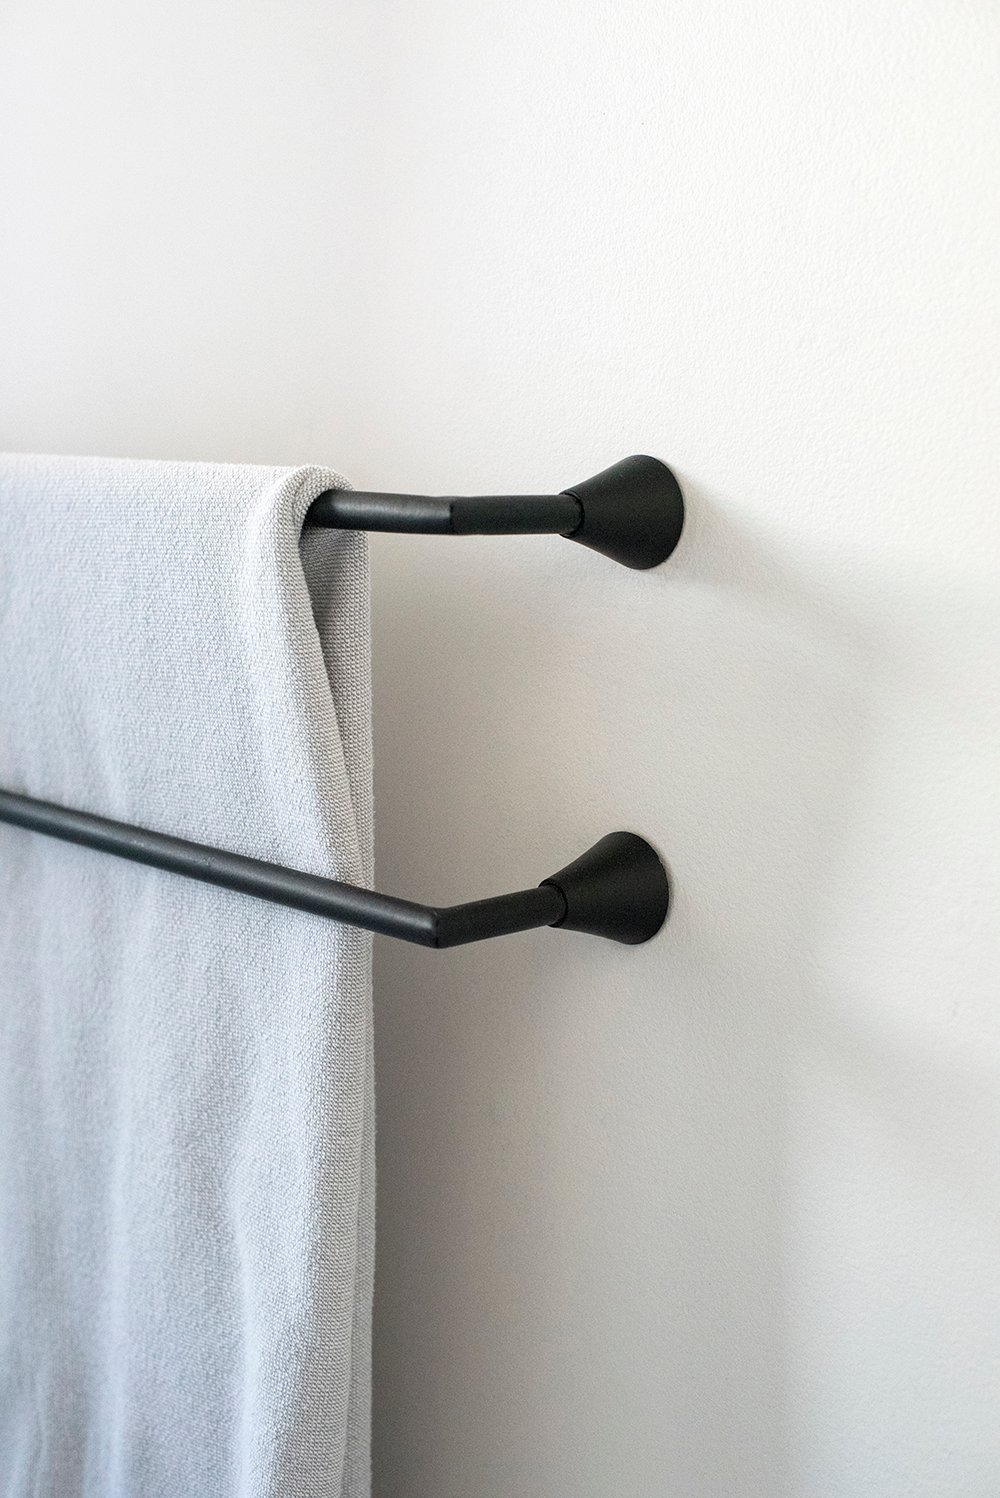 The towel bars are up, but they’ll come back down for the last paint roll. I’m happy with the high contrast look against the Sherwin Williams Origami White walls.
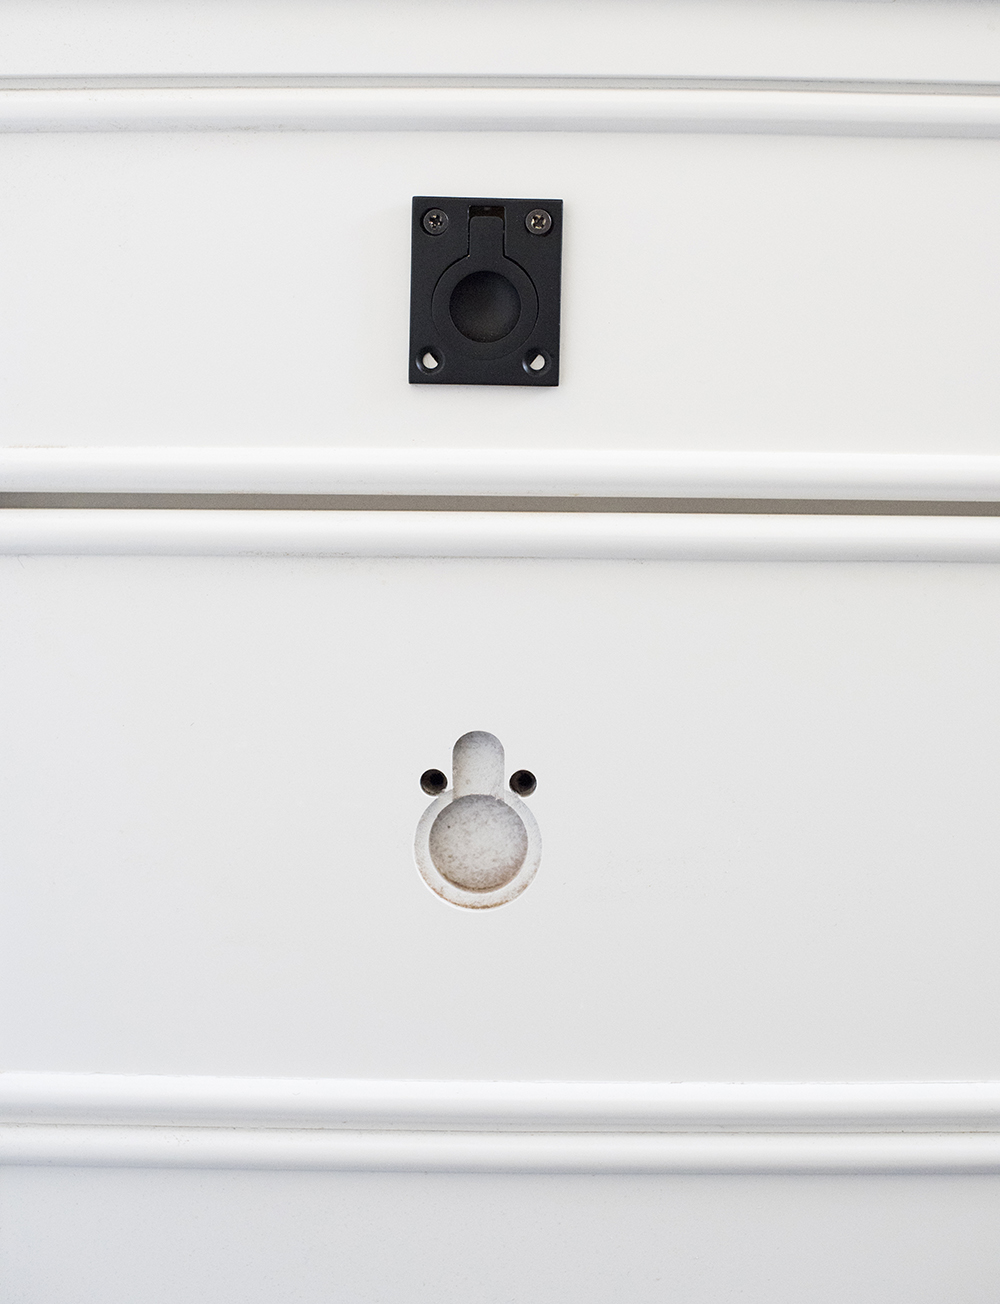
Speaking of hardware, we started swapping out the hardware on the bathroom vanity and ran into an issue.
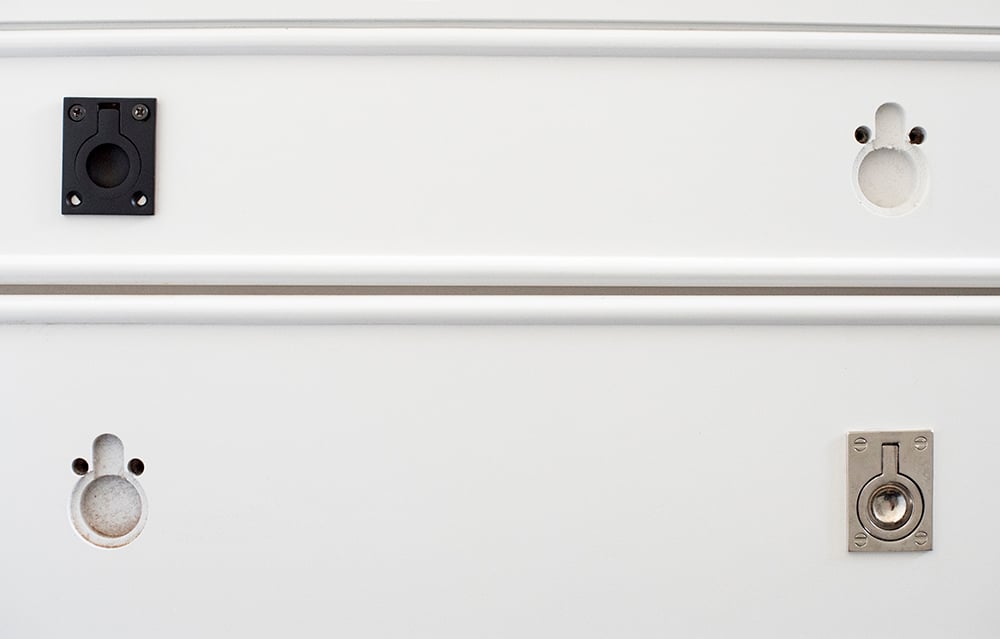 The size is slightly different. The existing chrome hardware had dummy screws at the bottom, meaning Emmett is having to router the shape and add two additional screw holes per piece of hardware. It’s time consuming and not as easy as it should’ve been, but it will be fine in the long rung! It’s just taking more time than anticipated.
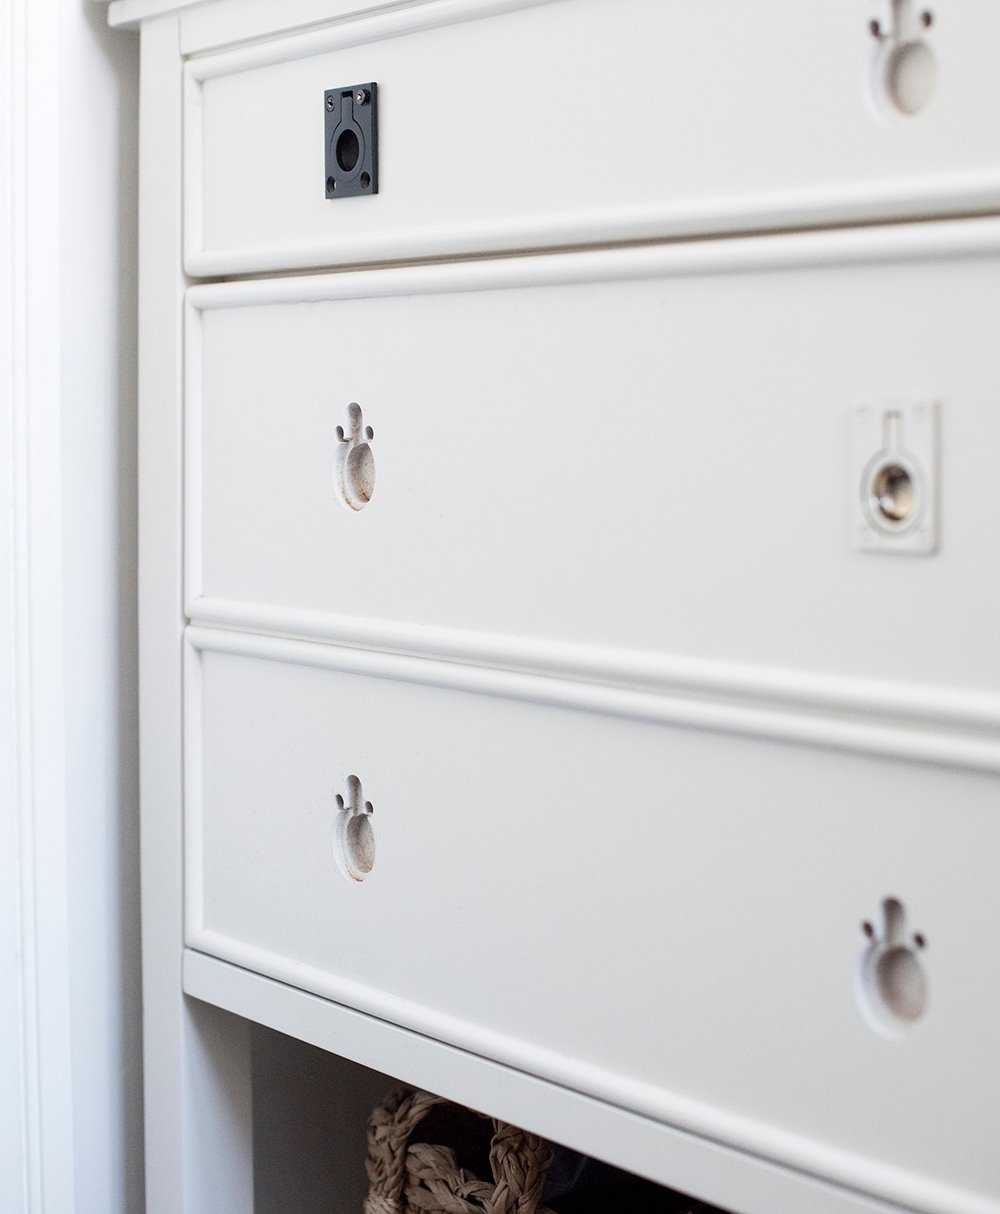 I do like the black much better in this space. I’m all about mixing finishes and hardware, but we have so much happening in this small space, the last thing I wanted to do was throw in a touch of chrome. That would’ve been a surefire way to make it look busier than it needed to be.
Which do you guys prefer… the black or the chrome hardware? I really liked the shape of the hardware, it was only the color that was bothering me.
 Last week we also addressing the lighting. I finished painting my ceiling medallion and Emmett installed it this week, so you’ll also notice that addition!
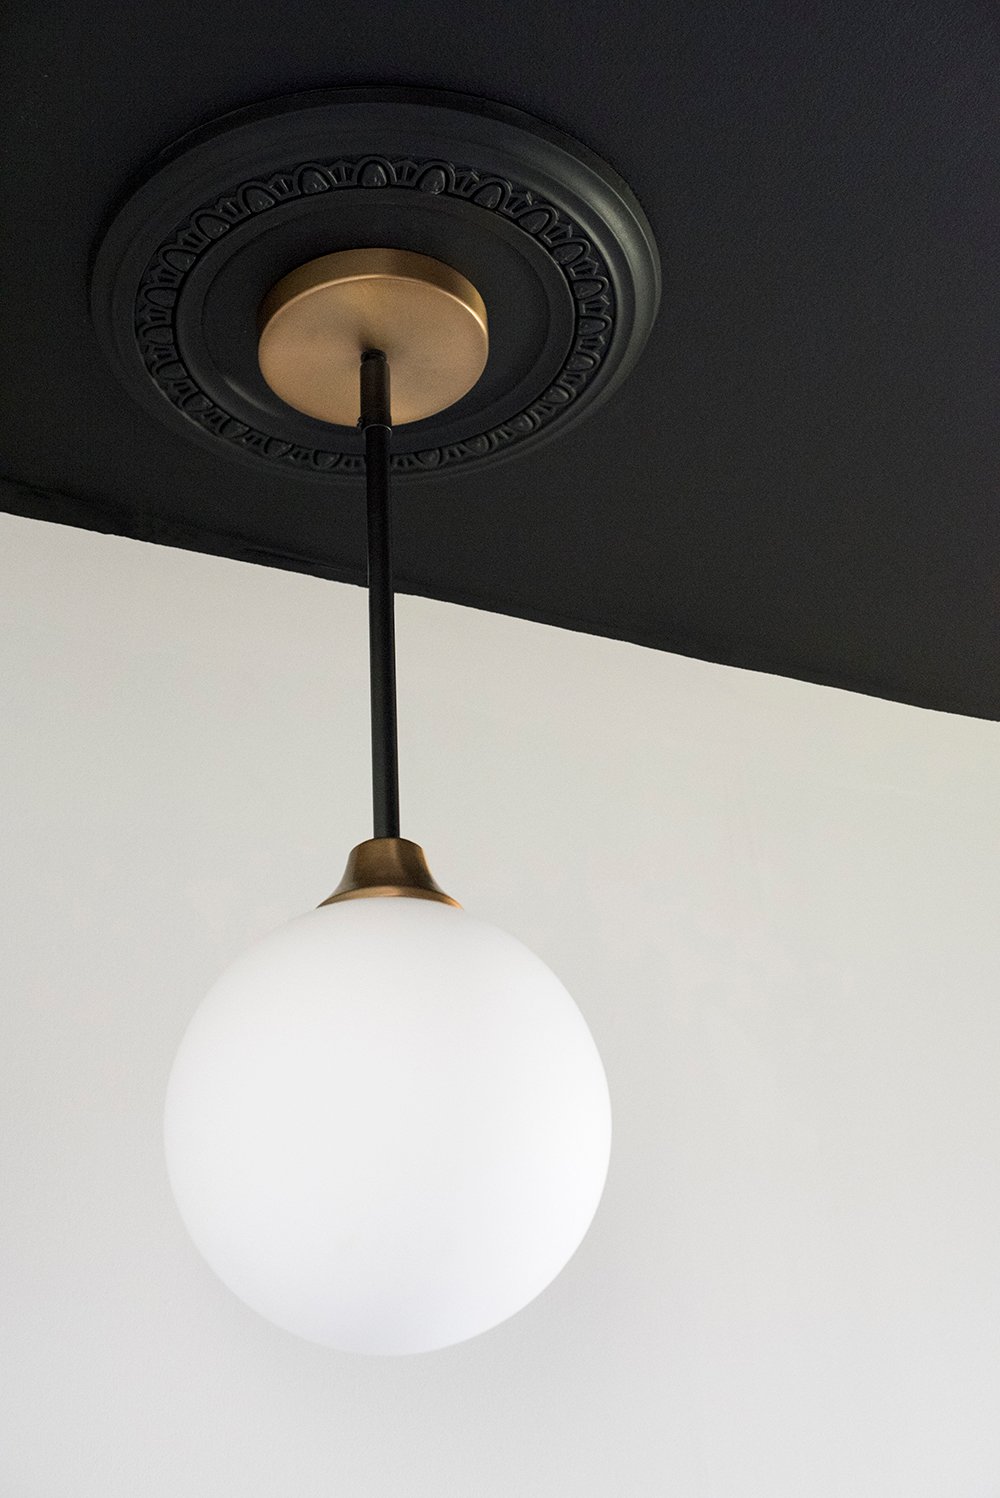 There’s something about ceiling medallions and pendants that really do it for me. This is the first time I’ve paired a medallion with a black ceiling and I have to say… I’m loving the drama it adds!
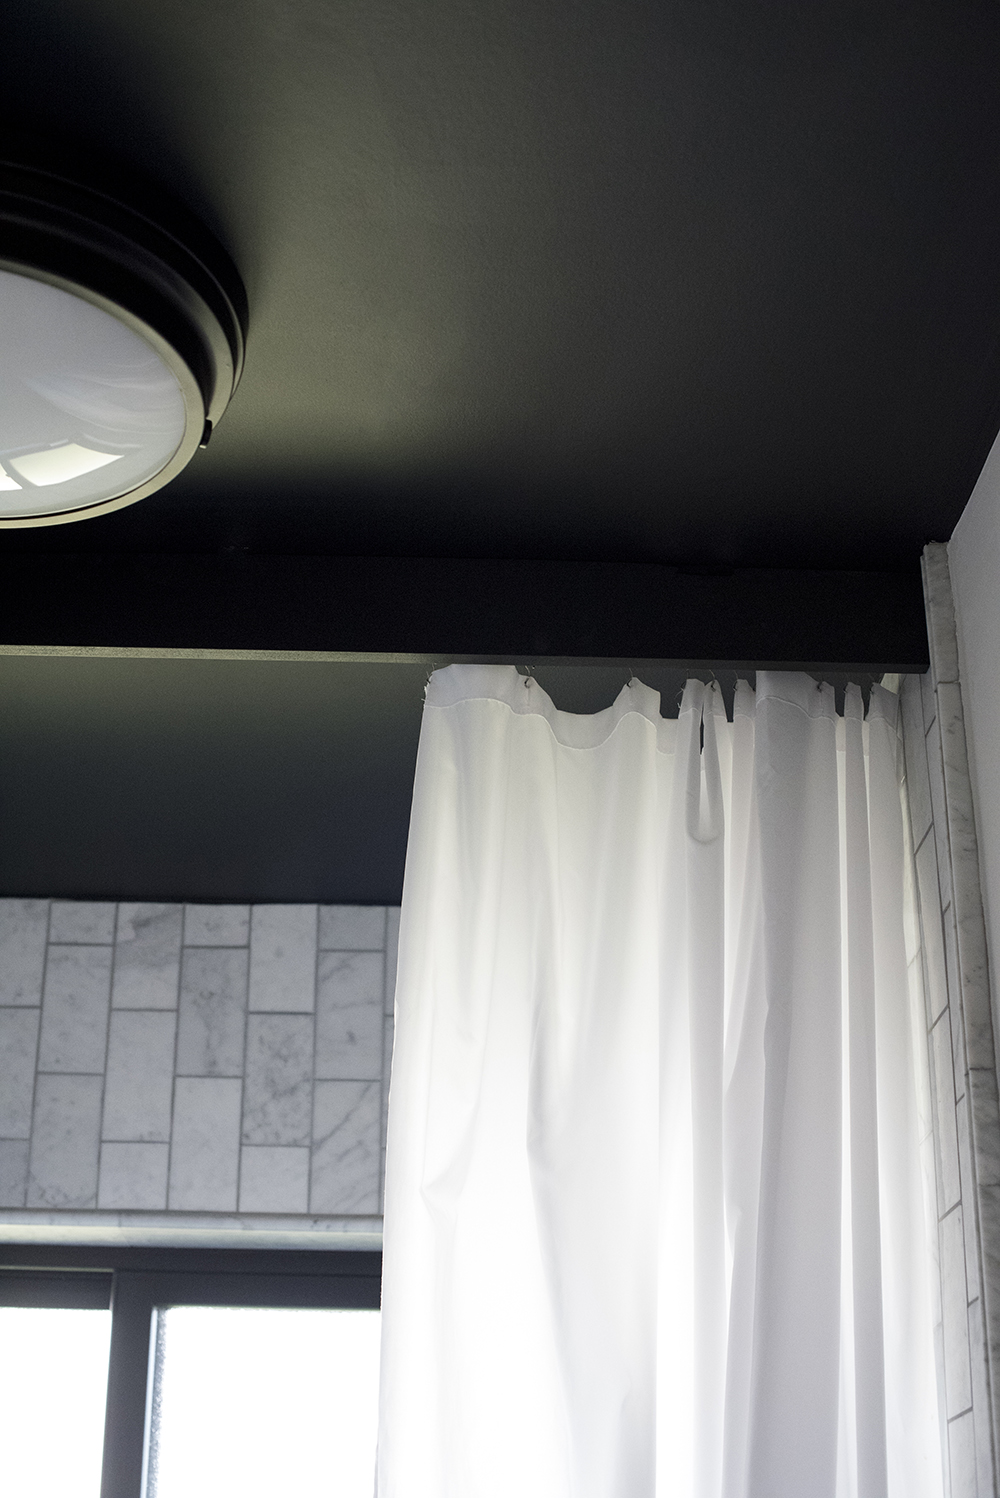
Also related to the ceiling, let’s talk about the shower curtain. From the very beginning, I knew I wanted to mount the shower curtain to the ceiling on a sliding track. It makes the ceiling height look so much taller and elongates the space (the black ceiling also helps with that).
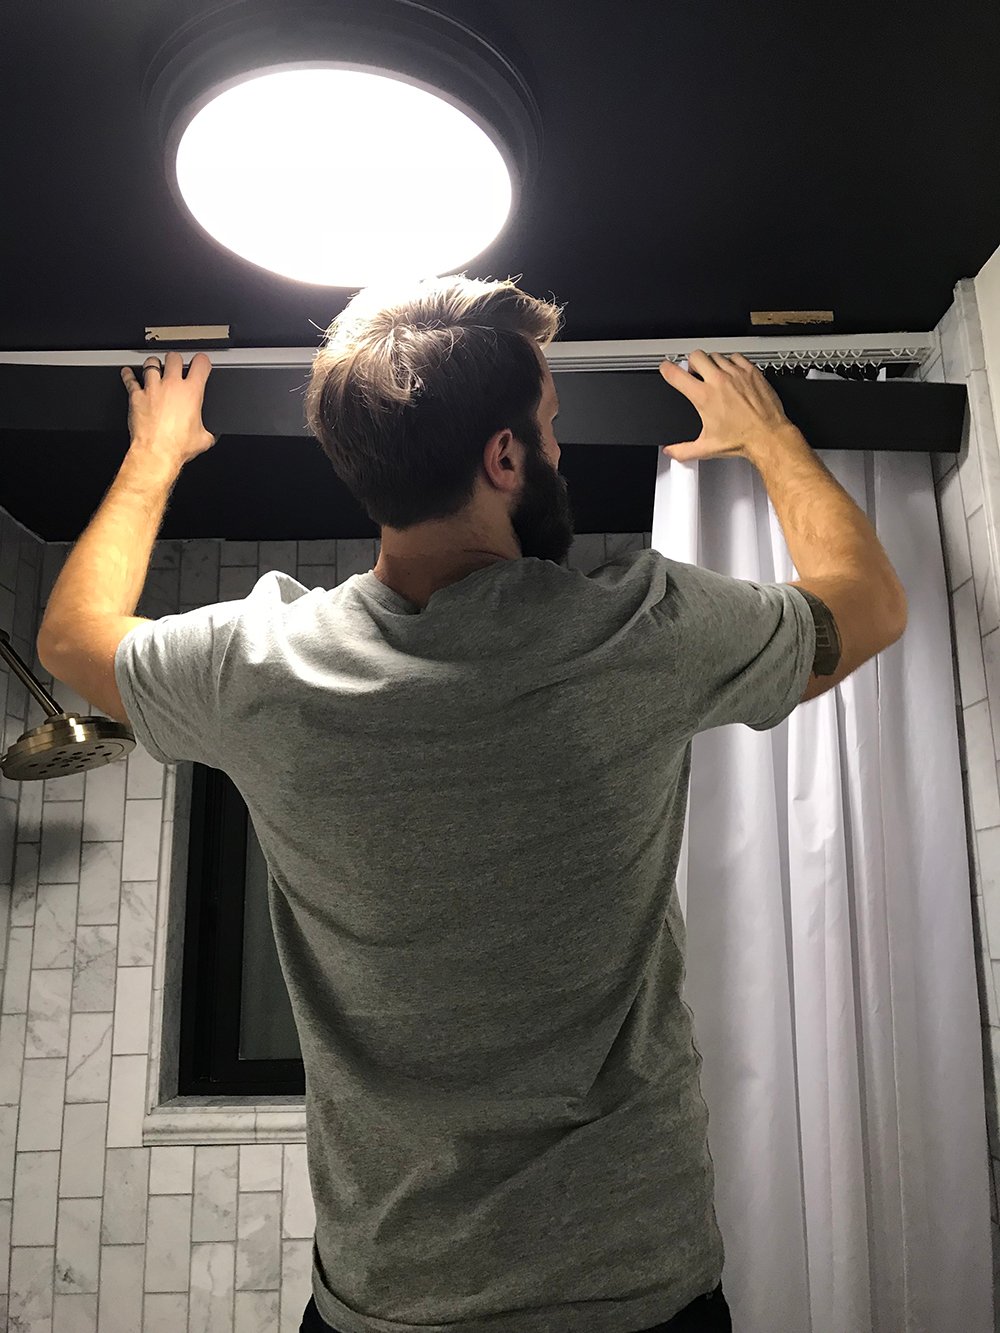
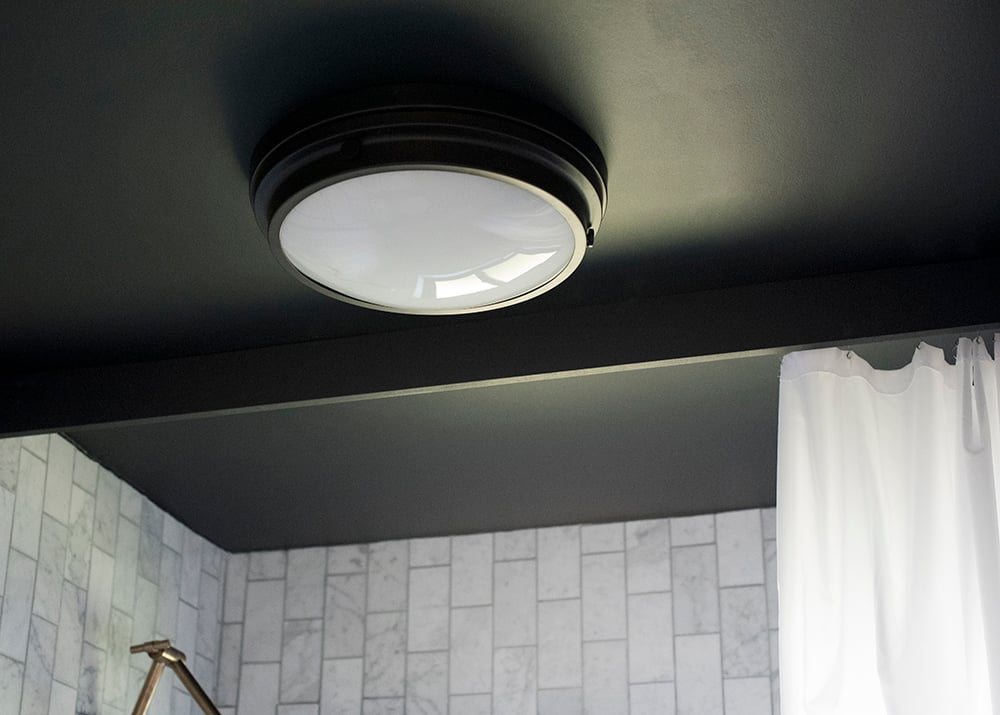 Emmett added a plain black valence that will hide the curtain track and make it look a bit more tidy. Right now we only have the shower curtain liner on the track, but we’ll be adding the outer curtain as soon as I get them hemmed and ironed. You’ll notice there are two tracks on the image below and one is missing a curtain… that’s why!
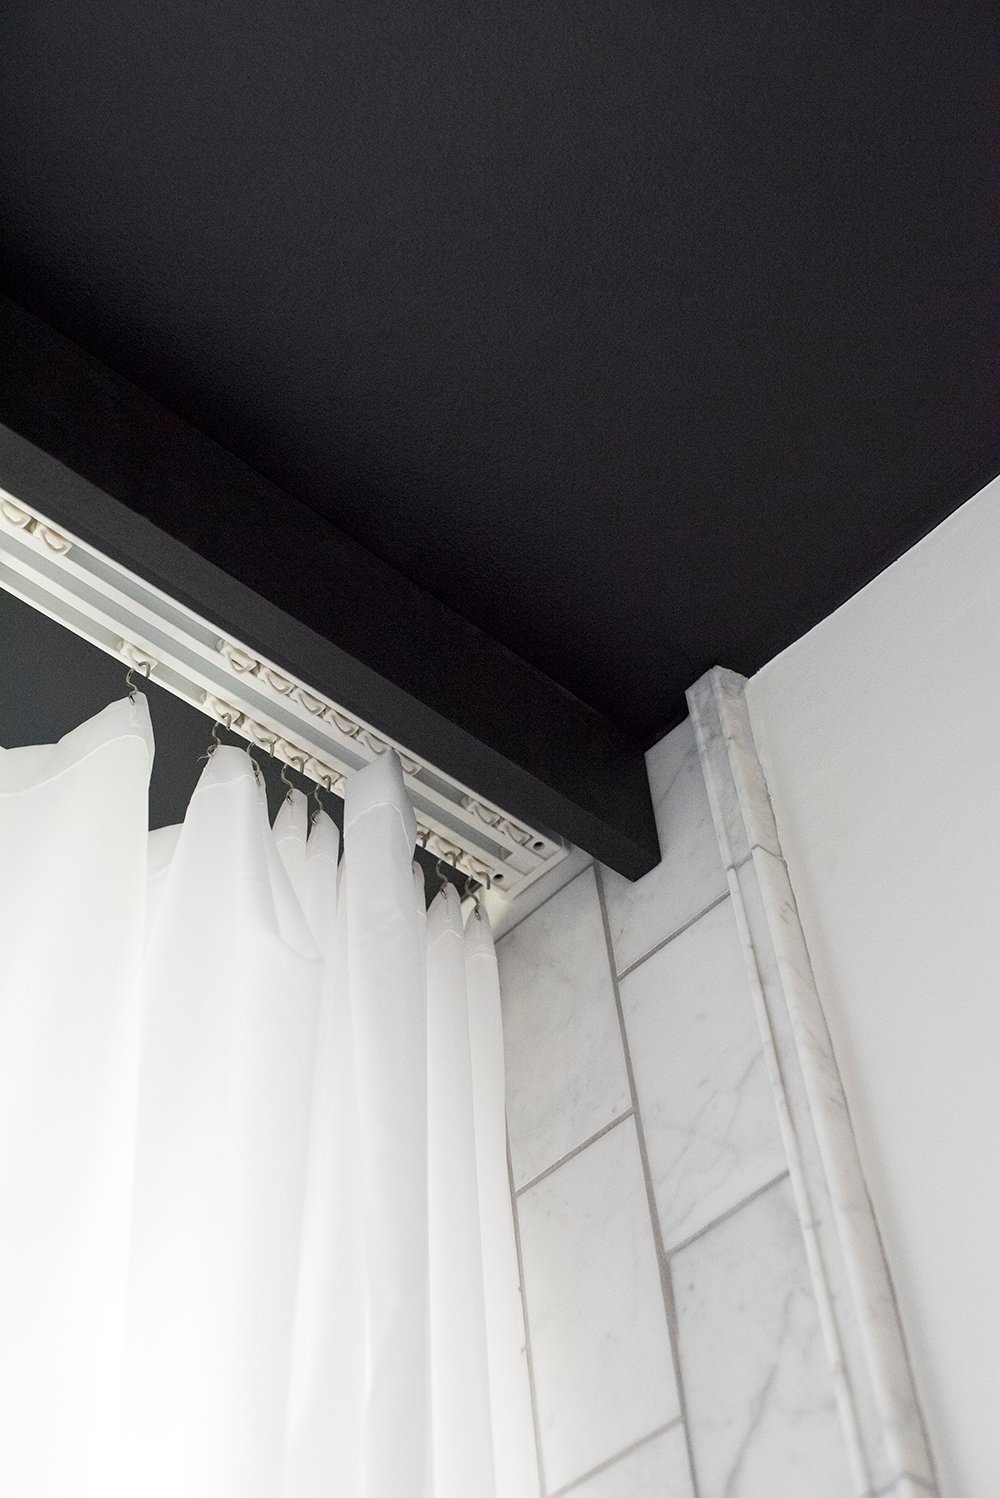 The ceiling track is from IKEA and was super inexpensive. I really like that you won’t ever see it because of the valence, and it works just fine. It didn’t need to be fancy, just functional! I toyed with the idea of spraying it black, but decided the valence was probably a better longterm / durable solution- especially in a shower setting.
 So if you’re wondering what’s left on our to-do list, this is what we’re looking at:
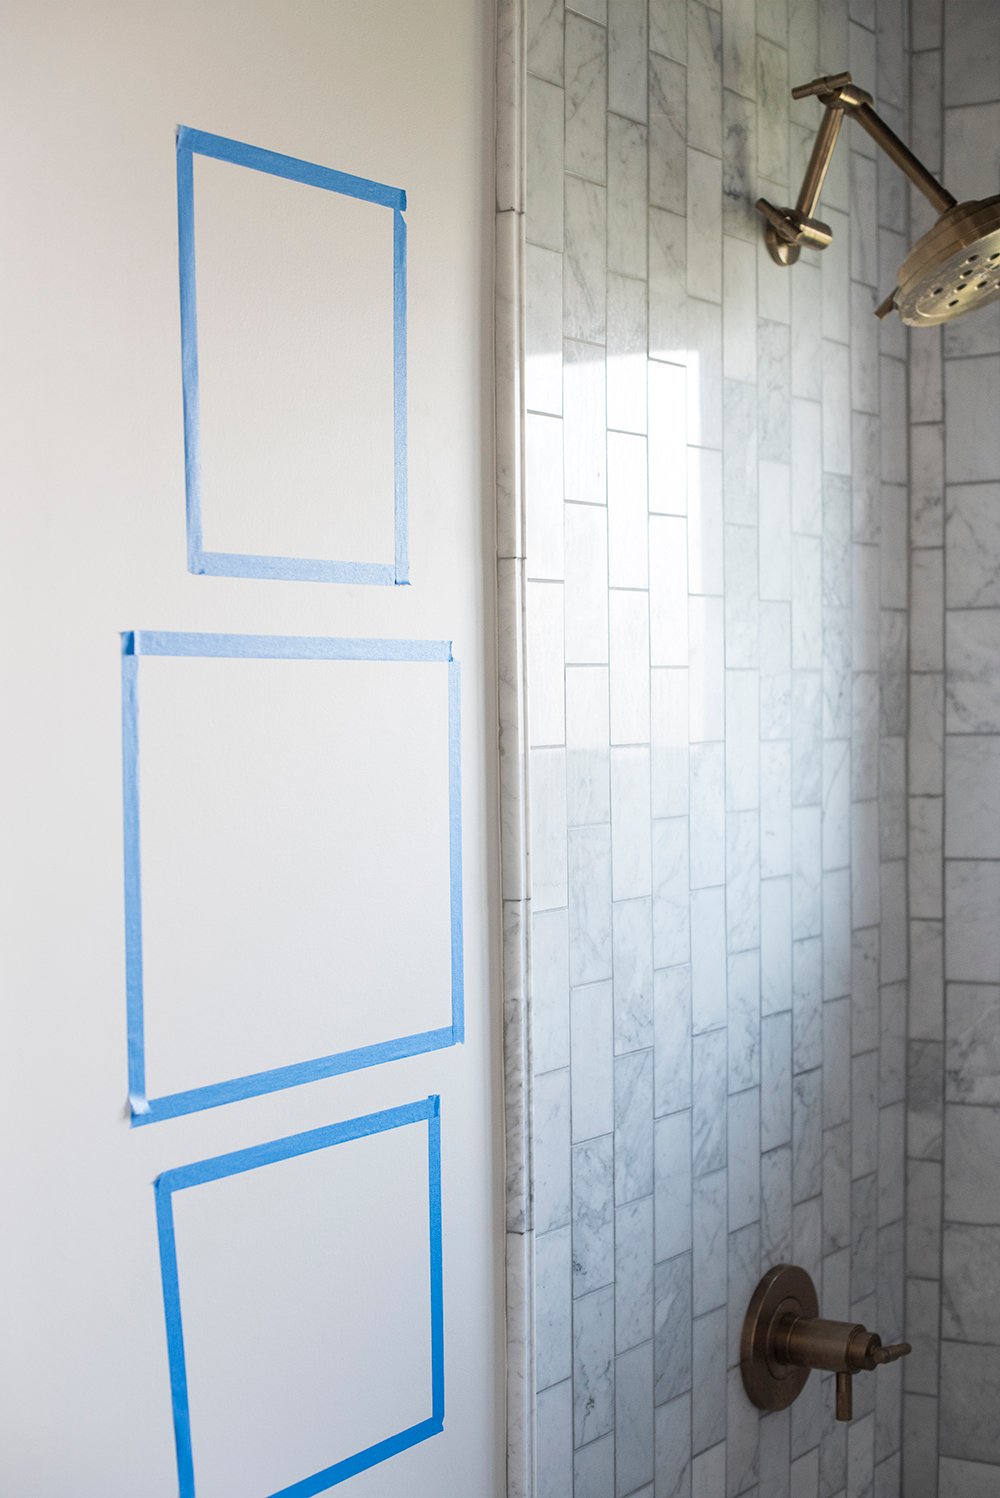
demonew sub floornew plumbingnew electricalnew dry wallnew toiletbuild shower nichetileadd plumbing fixtures (faucet, shower trim, etc)add new triminstall pendant lightinstall ceiling medallioninstall flush mount fixtureapply first coat of paintinstall towel barsswap register cover… white to blackorder & frame artwork- install toilet paper holder
- swap vanity hardware
- apply second coat of paint
- trim out exterior bathroom door
- install back of door hook
- install artwork
- clean
- style space
- shoot
We’re definitely on the home stretch, but we still have a good amount of items to cross of the list. If you have any questions about our process, design, or the overall project up to this point, drop us a comment below!
Click the logo below to see the other talented guest designers participating: