Stair Runner DIY
 If you follow my Insta stories, you have already seen some behind-the-scenes footage of our most recent house project. You know those projects you think you will get to right away and they end up taking wayyy longer than expected? Yep – this is one of them. When we first looked at this house three years ago there were three things I absolutely despised: the ugly stair runner, the first floor half bath and the kitchen floor tile. Funny enough, all three of those things remained in our home until about a month ago. As I have explained before, life doesn’t always go as planned and things get put off… which can be very hard (especially for me because I’m SUCH a planner). Sometimes real life is living through the ugly and getting to it when you have the time and resources. Needless to say, I am ecstatic to finally share this easy, DIY stair runner with you. Click through to see the process from start to finish!
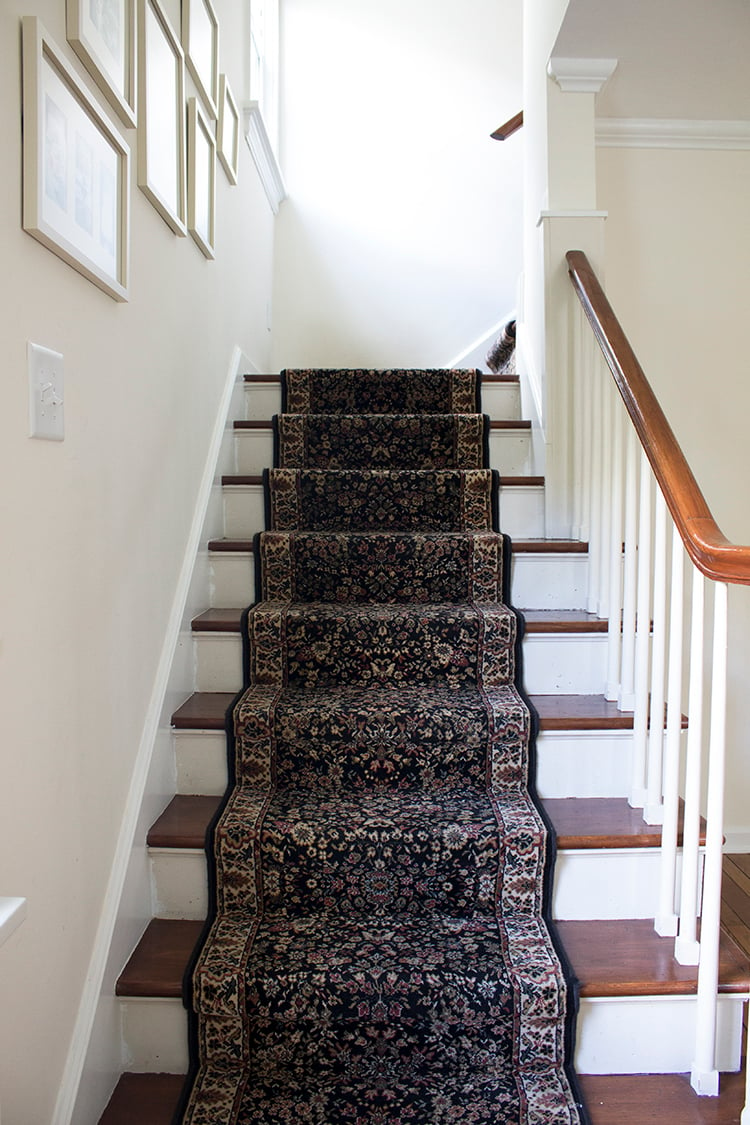 Drumroll please…here is what the staircase looked like before. Such an eyesore, right? I walked up and down these stairs multiple times a day and I used to cringe. Quite honestly, I think I got to the point where I would refuse to look at the carpet or even close my eyes as I was walking up the stairs. Ha! The home was owned by an elderly couple before we moved in, and the runner might have been fitting with their decor, but it completely stood out in our home. Now the classic sisal runner fits so nicely and compliments the other aspects of our home in a way it never has before.
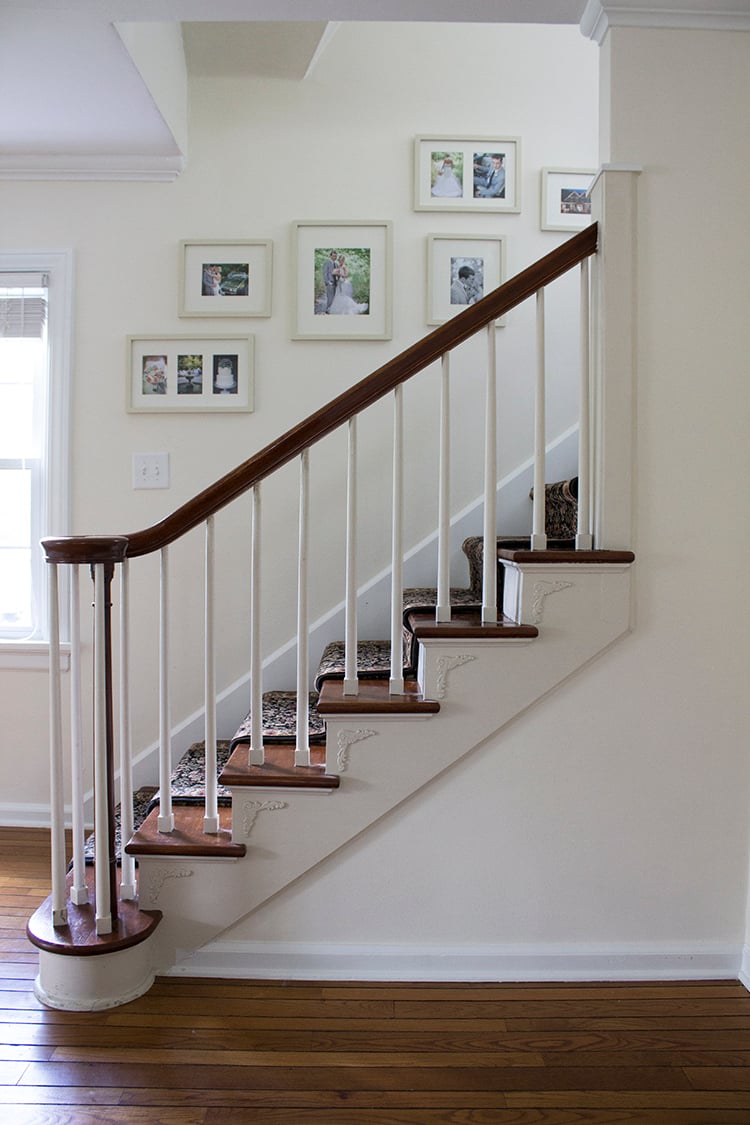 After removing the old runner, padding and tack strips our first job was to patch existing holes and sand down the backs of the stairs, spindles and railing. Dan was a huge help in this area! He pretty much did most of the grunt work at the beginning before I came in to paint and make things look pretty again. Which leads us to our next step…painting. I went back and forth on what to do with the stair railing. Sarah and I discussed a few options and my favorite was all white (are you surprised?). The white railing complimented the other light aspects of the room so I decided that was the obvious winner. After Dan removed the stain on the railing, I added one coat of primer prior to painting. I then added two coats of paint to the back of all the stairs, spindles and railing – not a fun job at all, but SO worth it in the end! You can see how much the stairs pop with the new white paint versus the creamy beige that was there before. You can tell from the photo below that the previous owners never finished staining the stairs, so we had a nice stripe running down our naked stairs. Since we were going to be covering them up with a new runner anyway, we decided to leave it as is. Otherwise we would have needed to refinish them.
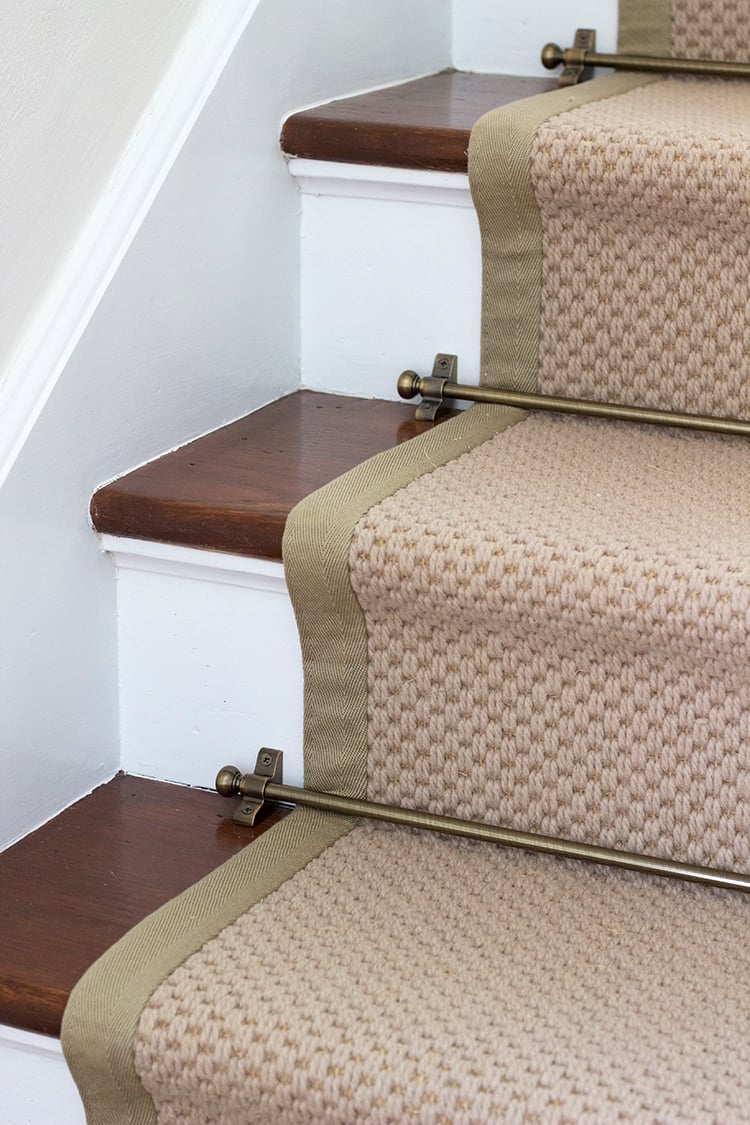
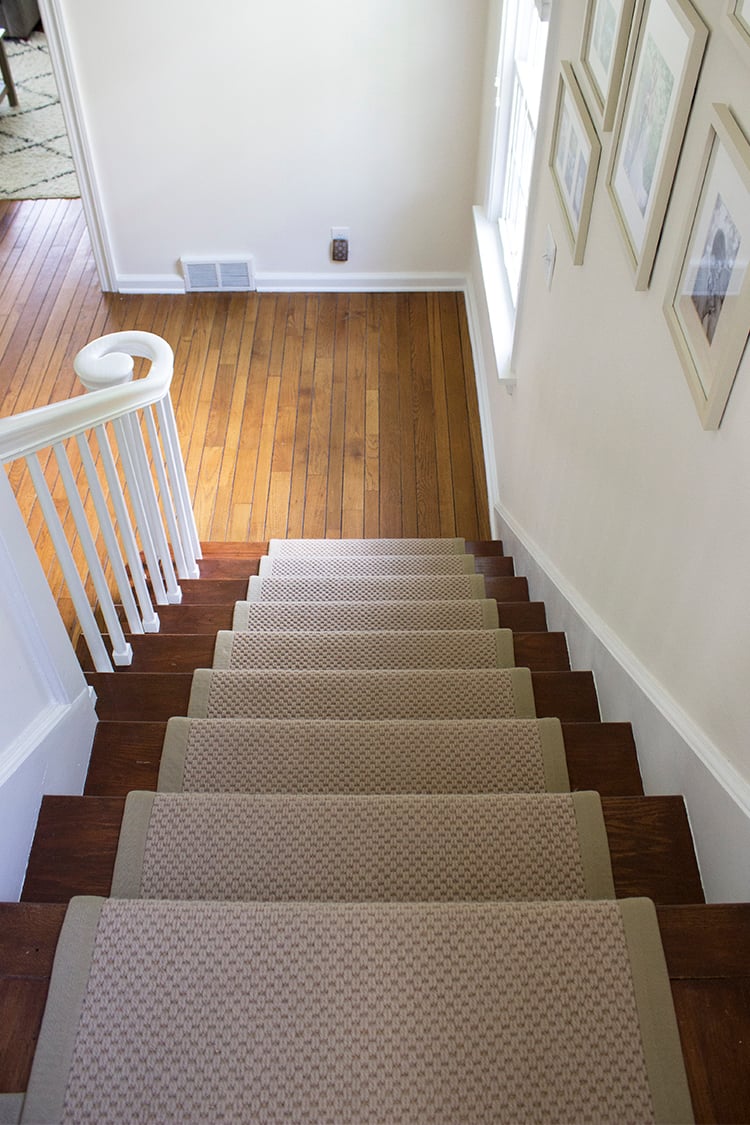
If you’re ordering a runner online, be sure to request samples! I ordered tons from Sisal Rugs Direct and it was so much easier to narrow down the color, material, and texture. They even sent me a bunch of rug and border samples so we could see exactly what would work best in our home. We ended up going with the Sisal Wool Collection because it was plush and one of the softest on our feet (much needed for a high traffic area). We landed on the cashmere color with a wide canvas border in khaki/tan. The taped edge really adds a polished, tailored look.
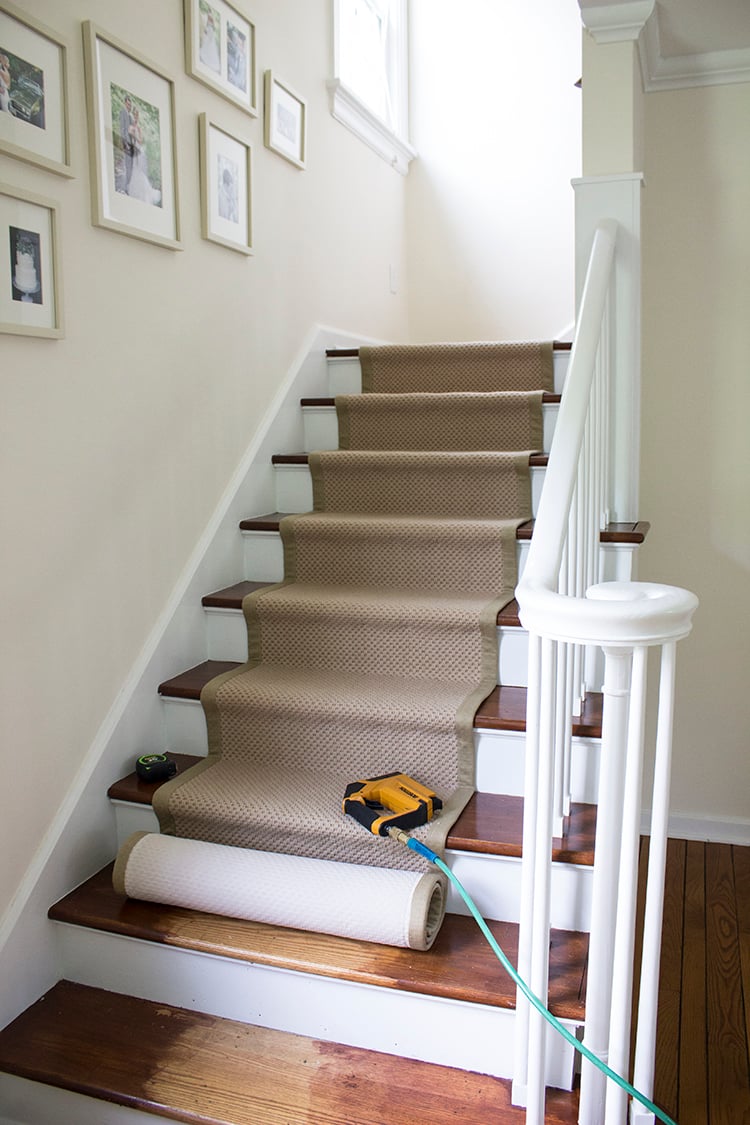

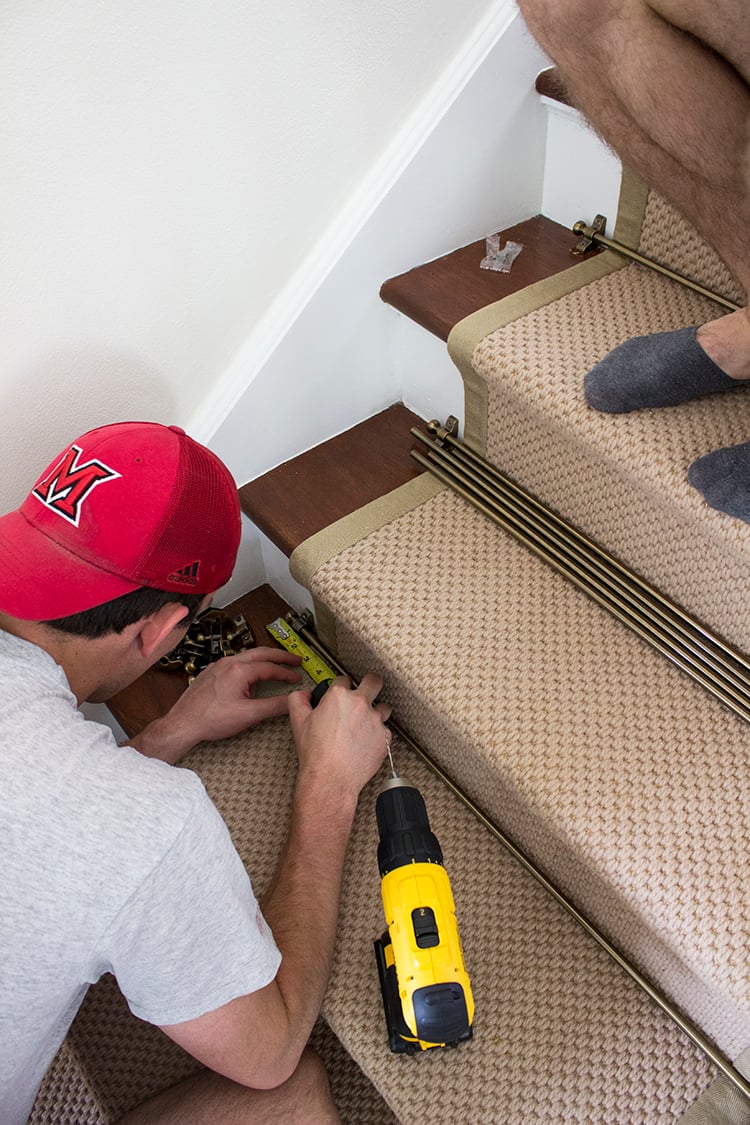 Next up…carpet install! We originally planned on adding padding underneath the new runner to give it a little more cushion on our feet, but quickly found out the height of the padding and the runner was going to be too tall once we tried installing the stair rods (rookie move). The runner itself already had a padded backing on it to help secure it in place without sliding around on the stairs so we decided to forego the extra padding. My brother was generous enough to come over and help us with the install, which made our job much easier and more fun (the more the merrier, right?). We used a staple gun with a compressor to secure the runner at the base of the stairs (where the rods go) and underneath the nose. Lastly, the brass rods were installed using a drill.
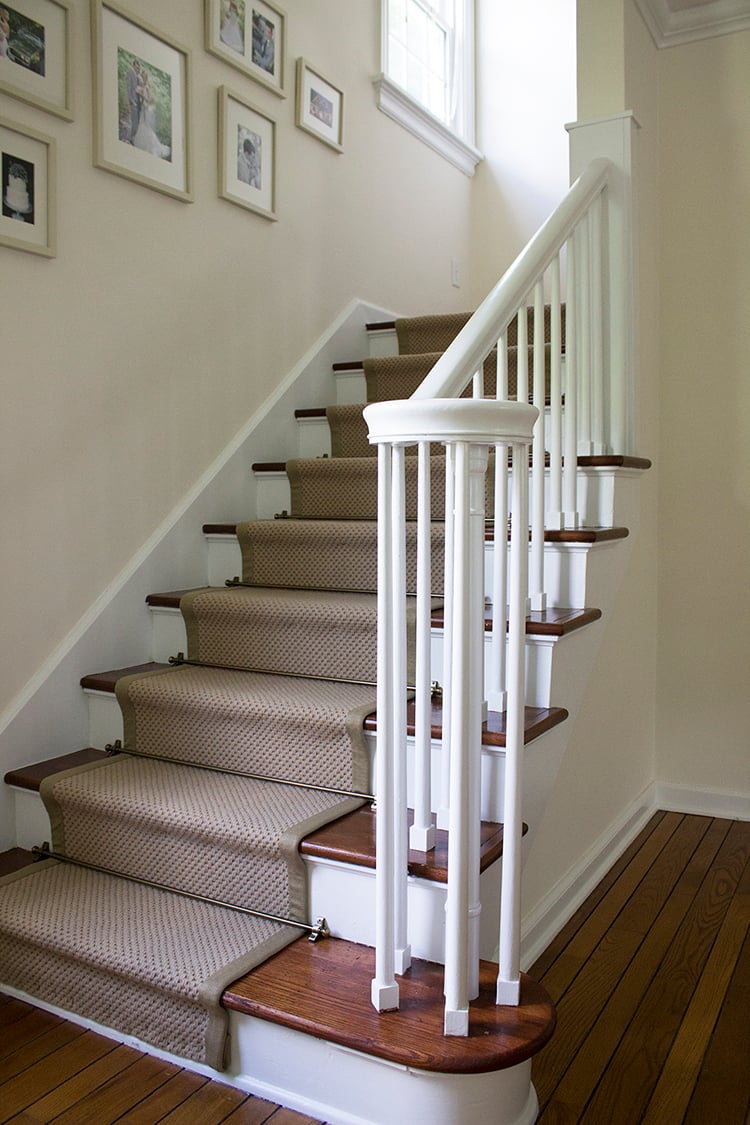
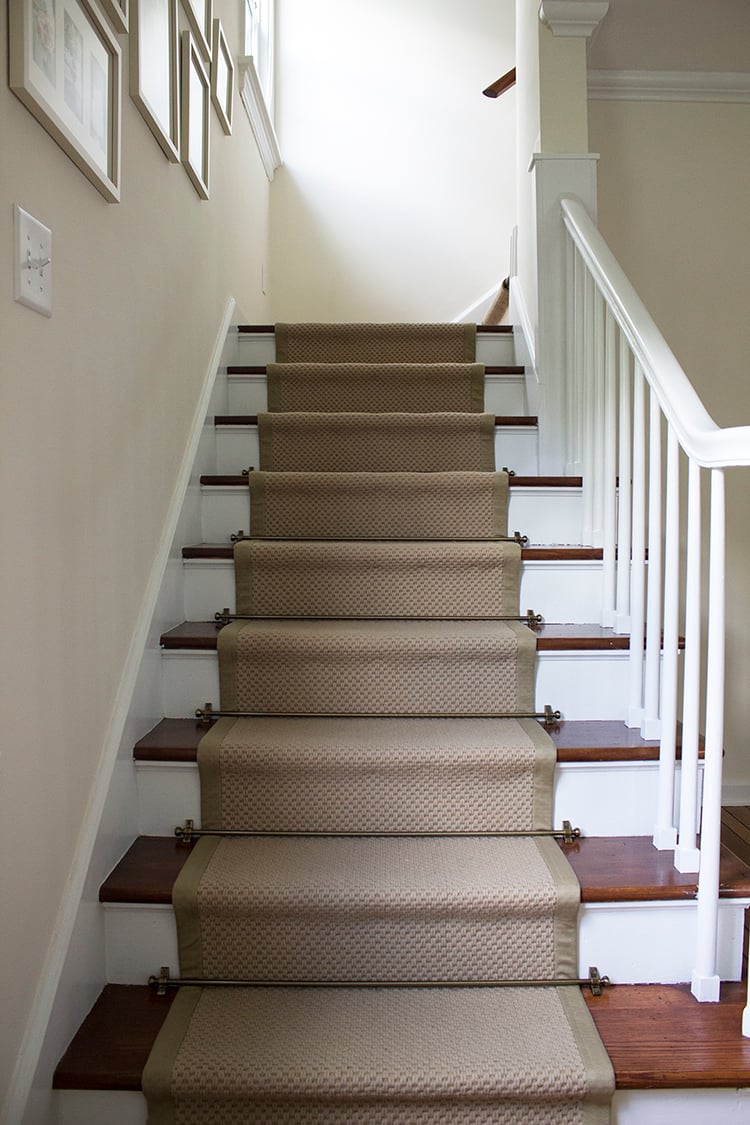 Here is what the staircase looked like once we were done! Much, much better if I do say so myself. The antique brass stair rods are the perfect finishing touch with the classic sisal rug. They both compliment each other nicely.
 For those of you looking to add stair rails…these were definitely more decorative and less functional- which is why we secured the runner with staples first. Some rods may be more conventional in that they will hold the carpet in place on their own. We went with the approach that it never hurts to be more careful. Plus, the rods completely hide any staples that could be seen otherwise!
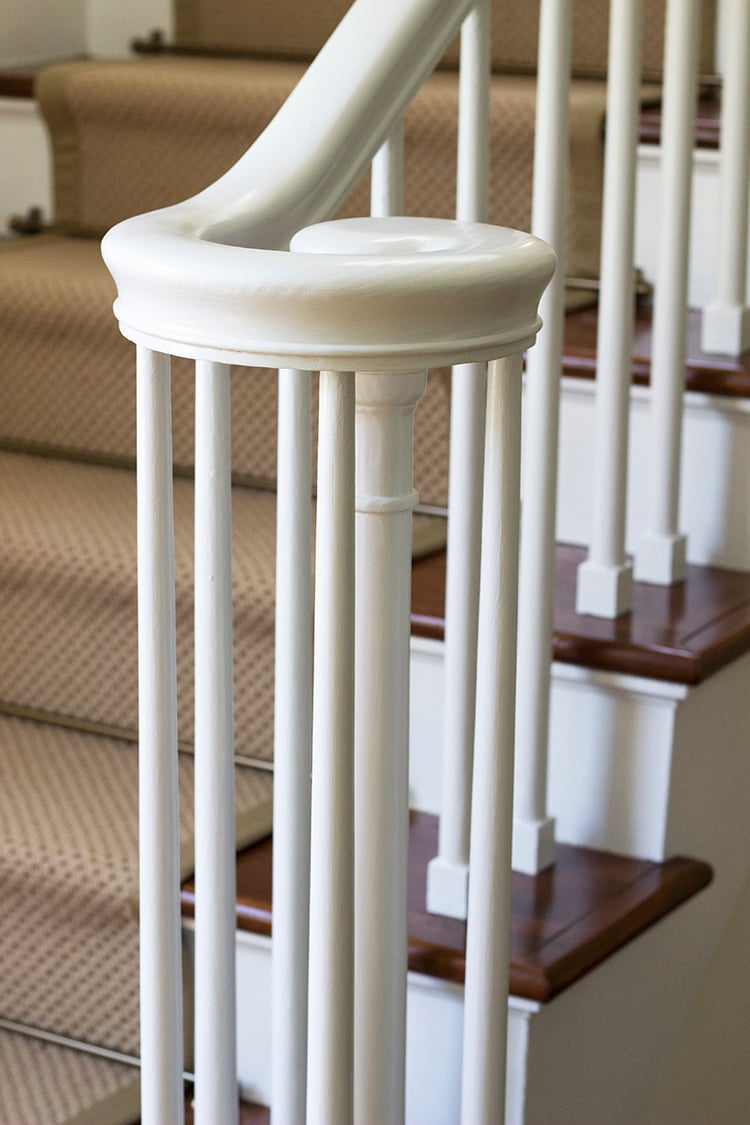
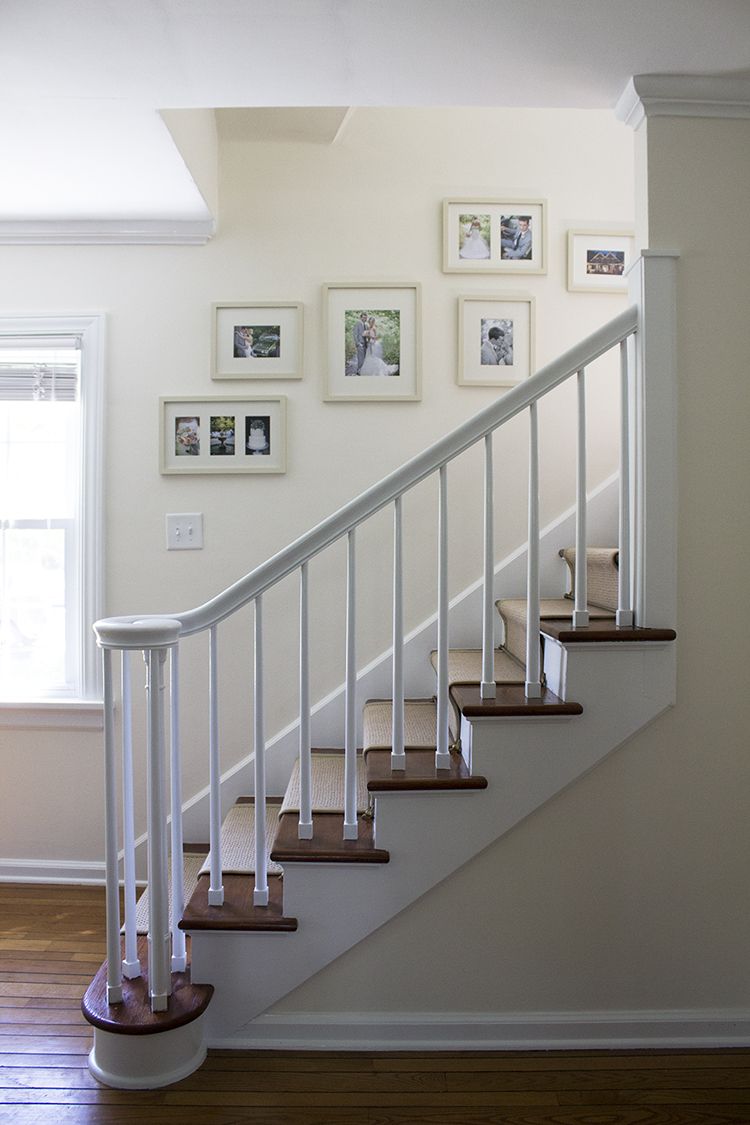 I’m so content with my decision to paint the stair railing white. Dan was a bit hesitant in allowing me to paint such pretty wood, but in the end we are both really happy with the result.
Part of what took us so long to complete this project was simply wanting to save money by doing it ourselves versus paying someone to do it. We went back and forth on the style of rug we wanted to use and couldn’t make up our minds. When I found Sisal Rugs Direct’s website, I noticed they offered custom sisal stair runners and I was sold! We had a custom runner made out of natural fibers to fit our exact space, which made this project SO much easier- especially to DIY. After measuring our stairs, their experts suggested we add an additional 6″ of rug length to the order. Overage is never a bad thing. We ended up trimming a bit off the first piece with a carpet knife (which worked wonderfully), then tucked and stapled the extra portion of the second piece to reveal a nice clean edge along the bottom – it turned out perfect!
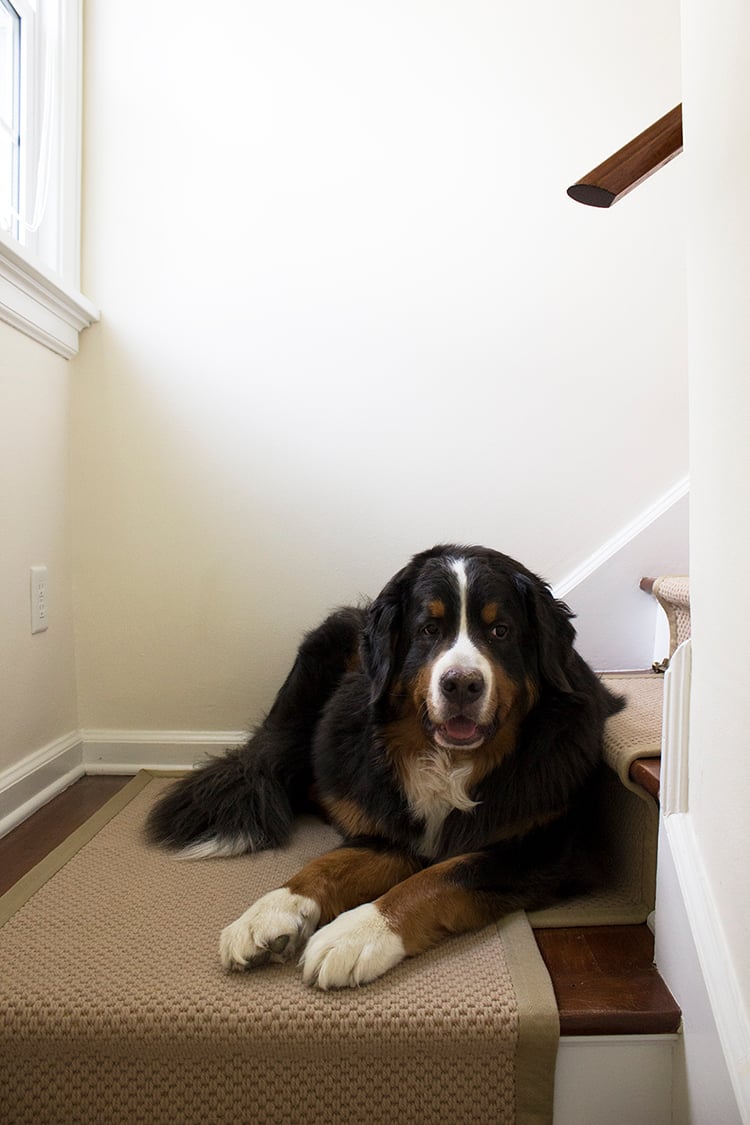 Overall, we couldn’t be more pleased with how this project turned out. Our living room is starting to feel more and more complete as time goes on and now we finally have a gorgeous staircase to look at and walk on…a definite bonus! Piper is also thrilled to have her favorite spot back on the landing. Most nights, this is where she sleeps and it also serves as her safe space during storms. As you can see, it didn’t take long for her to warm up to the new runner. I think it’s safe to say she’s a fan!
*This post is brought to you in collaboration with Sisal Rugs Direct. All content, ideas, and words are my own. Thank you for supporting the sponsors that allow us to create unique content while featuring products we actually use and enjoy!