Shibori DIY
During college, I crammed as many textile classes, including shibori, into my fine arts schedule as I could possibly fit. I’d spend hours in the studio weaving, dying, felting, and silk screening fabric. Last week during a basement clean out, I came across a box of old art supplies. It sparked an idea to have a creative day dying fabric. My excuse was a DIY shibori blog post, so I hope you have as much fun with this as I did!
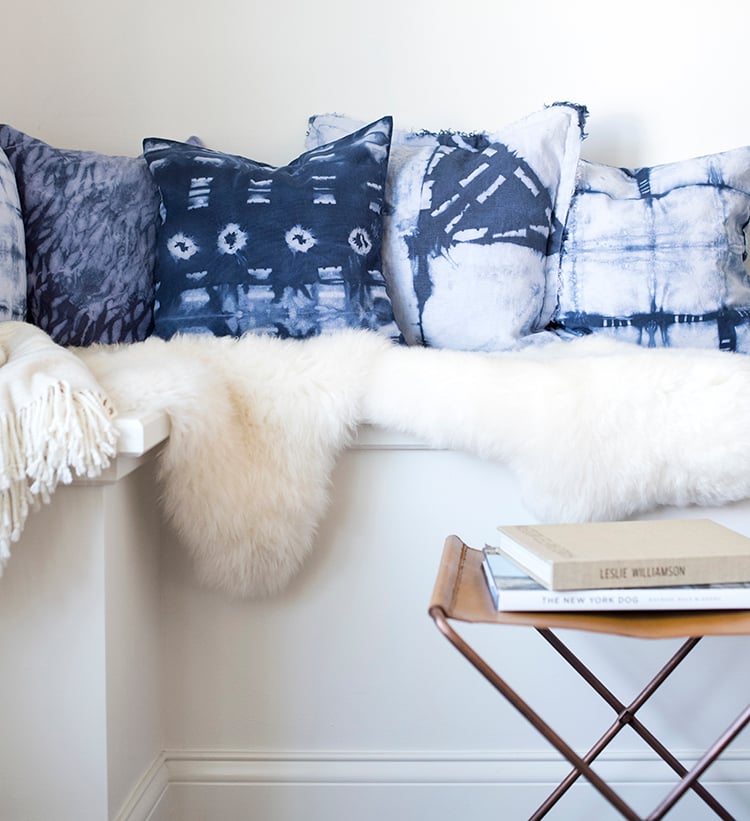
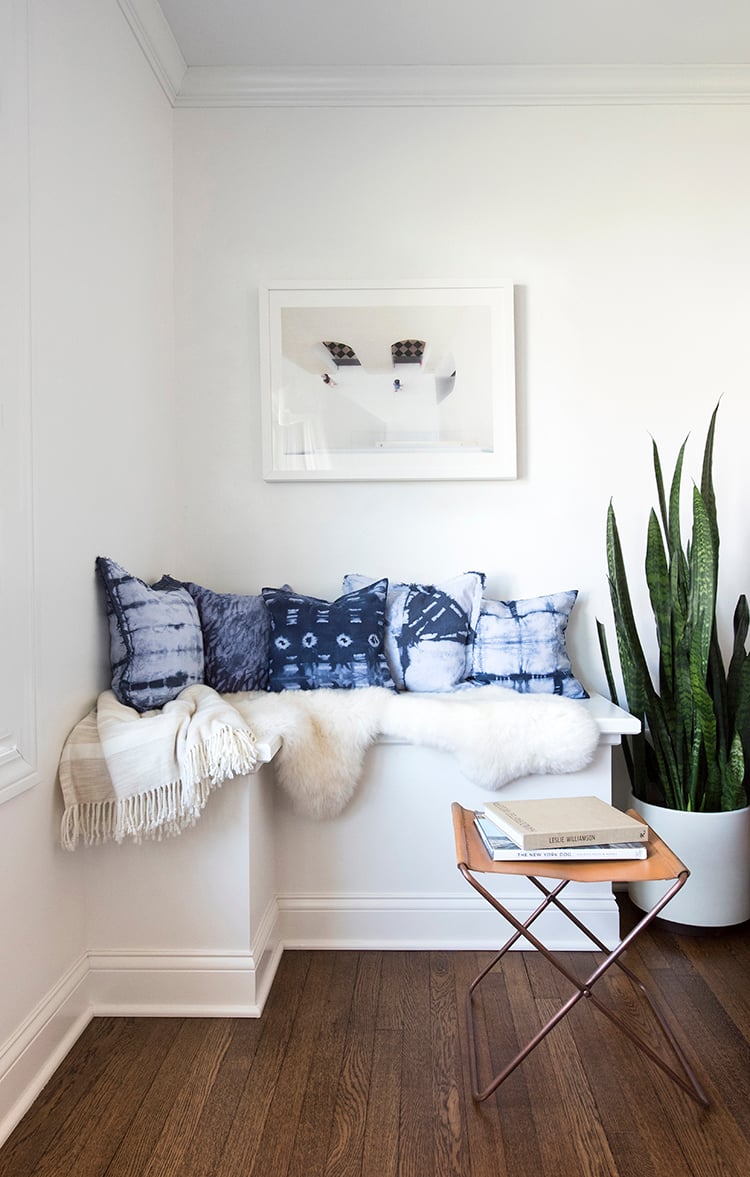
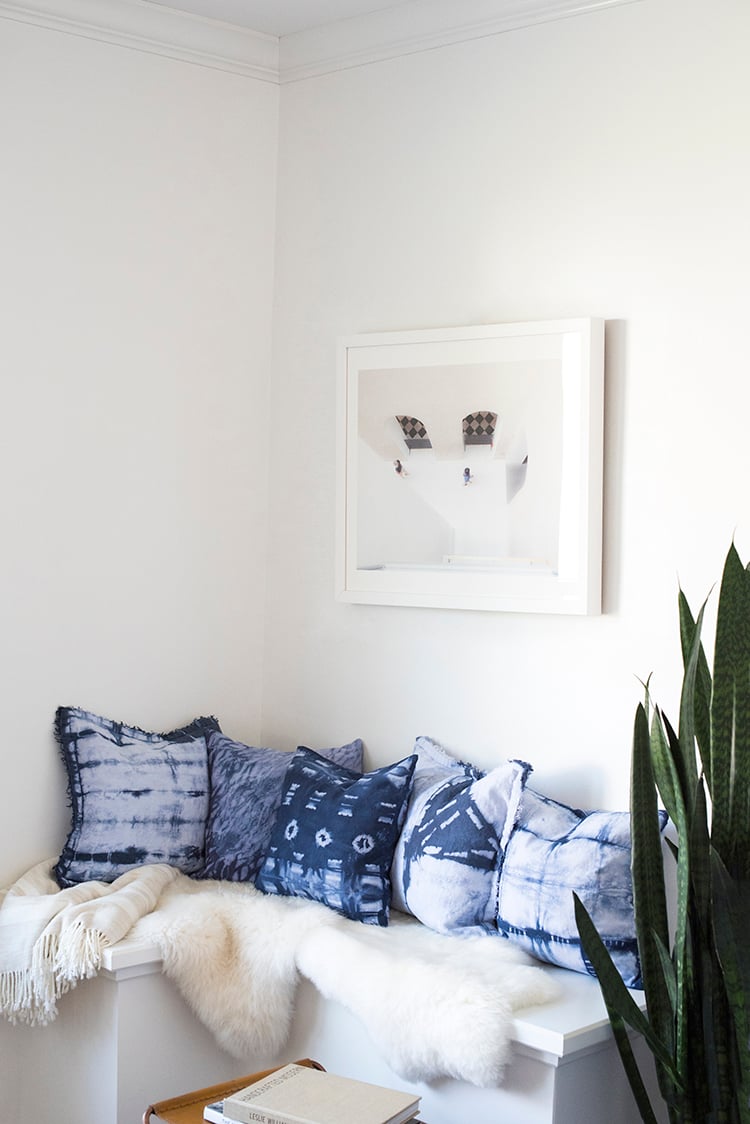
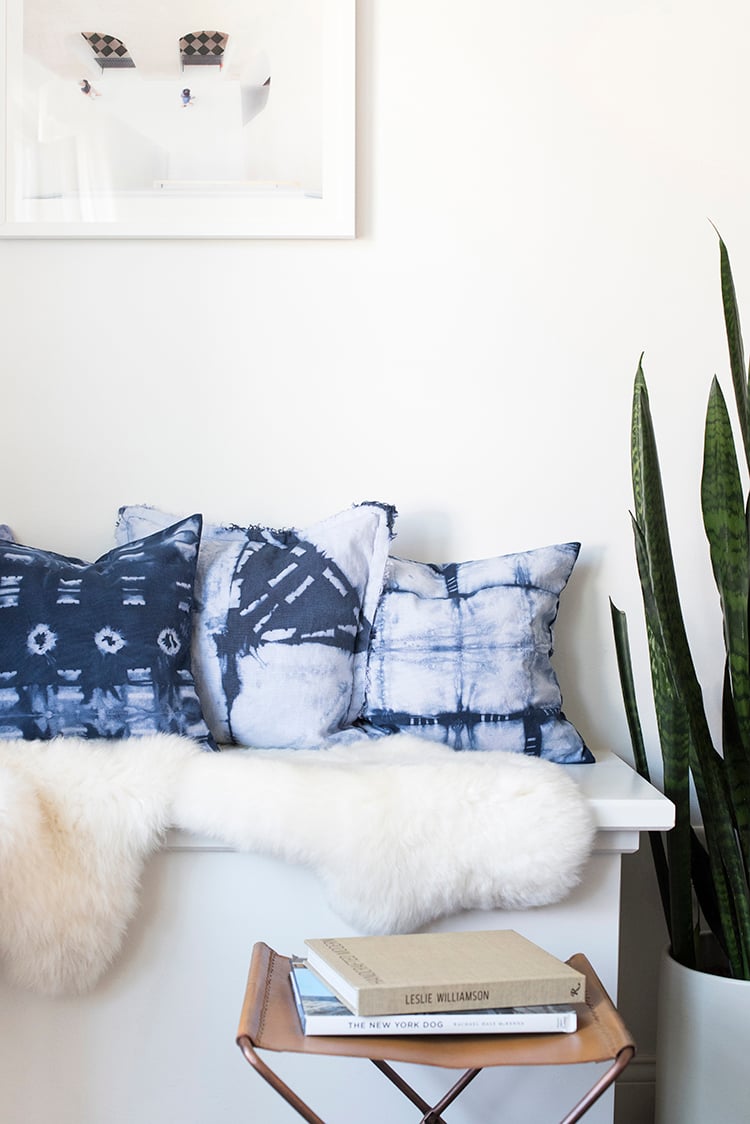
I styled this little corner seat with shibori cushions and it feels much more appropriate for spring and summer. I love the way it turned out! The only thing left to add is a sconce on the left wall. Wouldn’t it be nice to spend a rainy day here reading?
Believe it or not, these pillows were really easy and inexpensive to make! This is what you’ll need to get started…
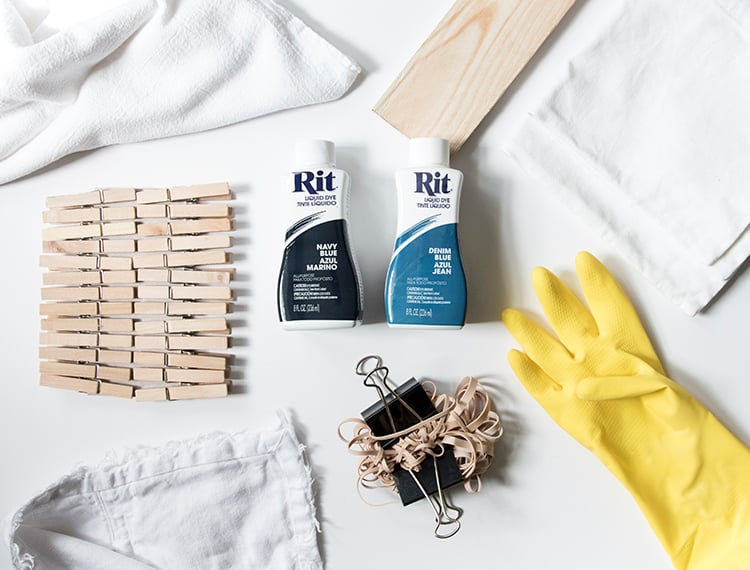
Supplies:
2 bottles of Rit Dye (in colors navy and denim)
White Vinegar
Epson Salt
White Items to Dye
Water, boiling temperature
Bucket or container
Rubber Gloves
Items for binding (rubber bands, clothes pins, blocks, PVC pipe, etc)
Large Spoon, for stirring and mixing
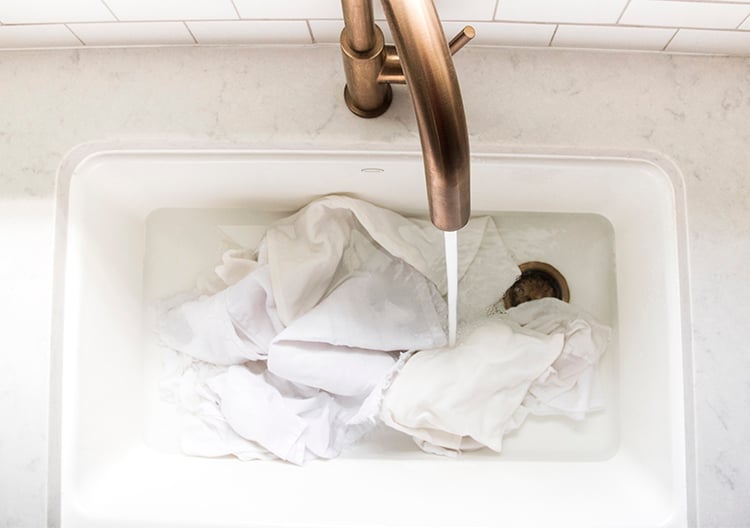
Step 1 // Wash anything you’d like to dye a day or two in advance. Once you’re ready to begin, soak the fabric in warm water for about 10 minutes. Different fabrics take the dye differently, but natural fabrics works best (wool, cotton, linen, etc.)
If you’re looking for white products to dye, I purchased everything from H&M because it’s inexpensive and if something doesn’t turn out, no harm done! The following would be perfect: linen fringe cushion cover, linen pillowcase, linen bed pillow cover, cotton pillowcase, linen tea towel, cotton tablecloth, linen napkin, or a white laundry hamper.
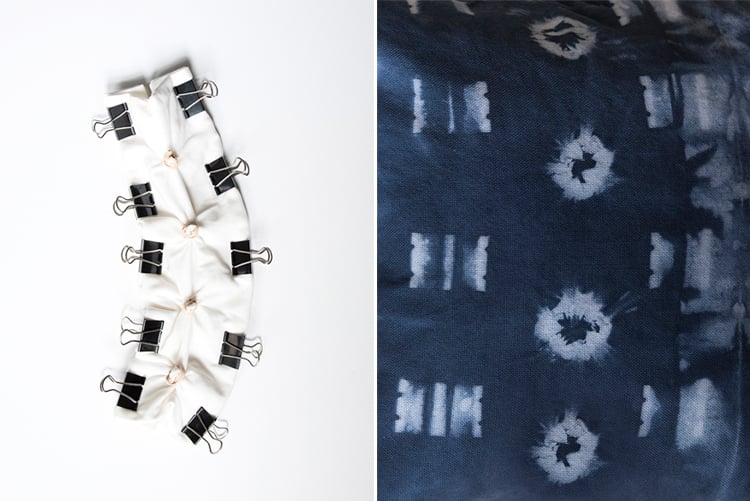
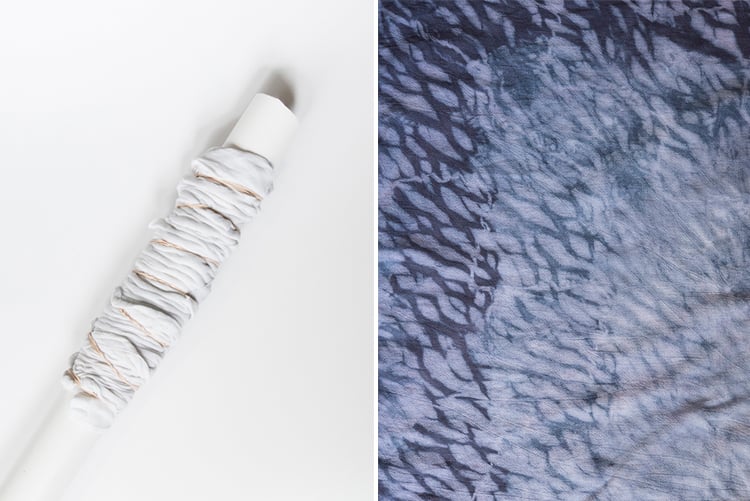
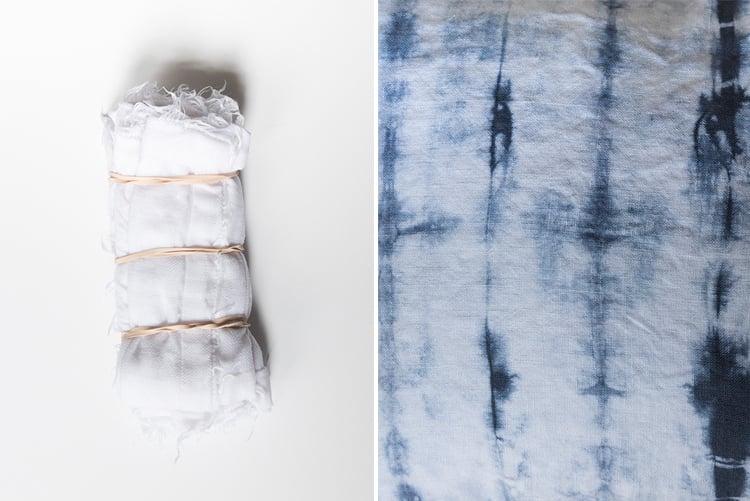
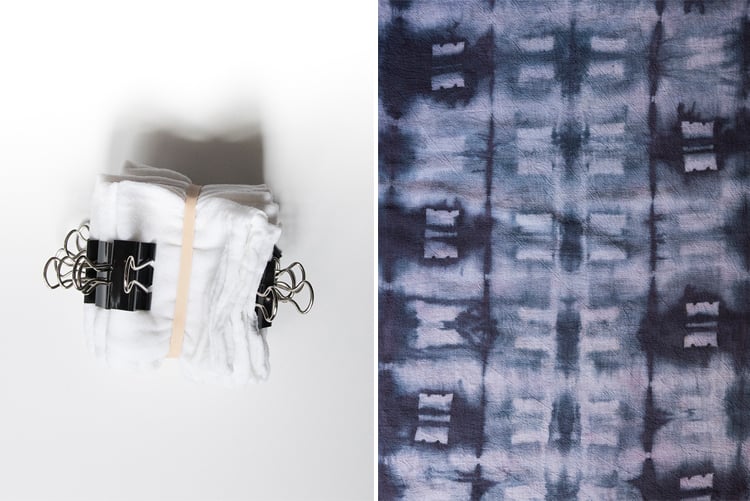
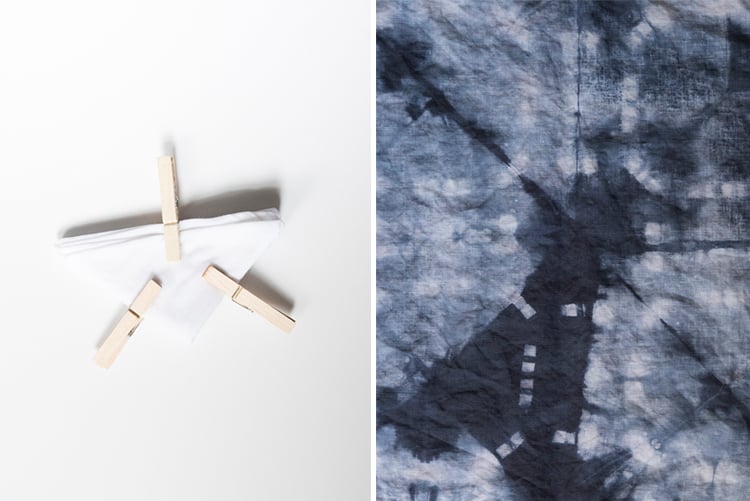
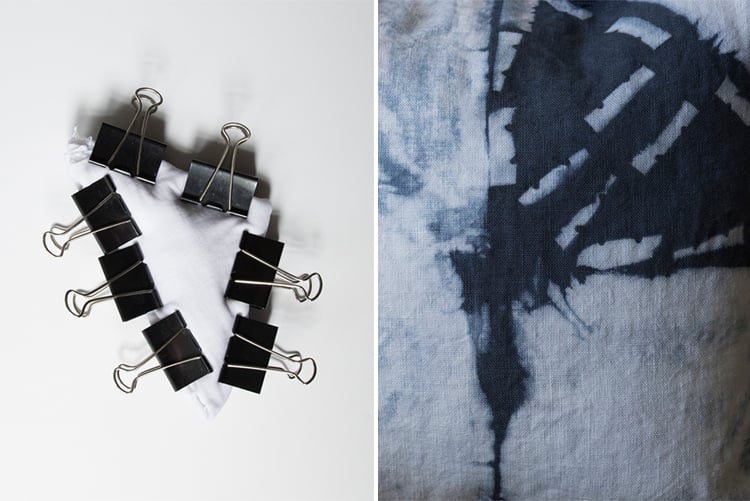
Step 2 // Fold the fabric anyway you’d like, using objects to bind each piece. This creates a resist that dye isn’t able to penetrate. There really isn’t a specific method for doing this… it’s just one big experiment. Here are seven ways I bound the fabric, and the outcome of each:

Step 3 // Boil water and mix the dye according to instructions on the back of the bottle; your fabric weight will influence the amount used. Keep in mind, the more dye you add, the deeper color you’ll get. I used 1 full bottle of denim and 1/2 bottle of navy. Test a paper towel or scrap piece of fabric before adjusting the color. Add a generous amount of salt (about 1 cup), stir, and gently add your fabric to the dye bath. Ten minutes later, add 1/2 cup of vinegar, making sure to mix well. Let the fabric sit in the dye for around 1 hour, agitating every 10-15 minutes.
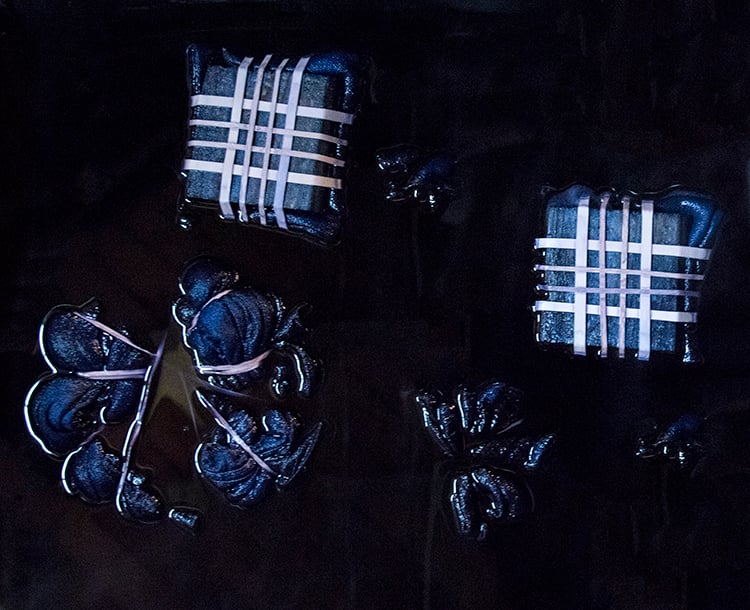
Step 4 // Rinse the fabric in warm water first, followed by cold water until the water runs clear. Hang to dry overnight. Word to the wise… although you rinsed the fabric really well, you’ll probably still end up with a little blue puddle under your fabric while it’s drying. I’d recommend using a drying rack outside or an outdoor clothesline. Once your shibori items are dry, wash them together on a cold, delicate cycle with regular detergent. I tumbled mine dry on extra low. That’s all there is to it!
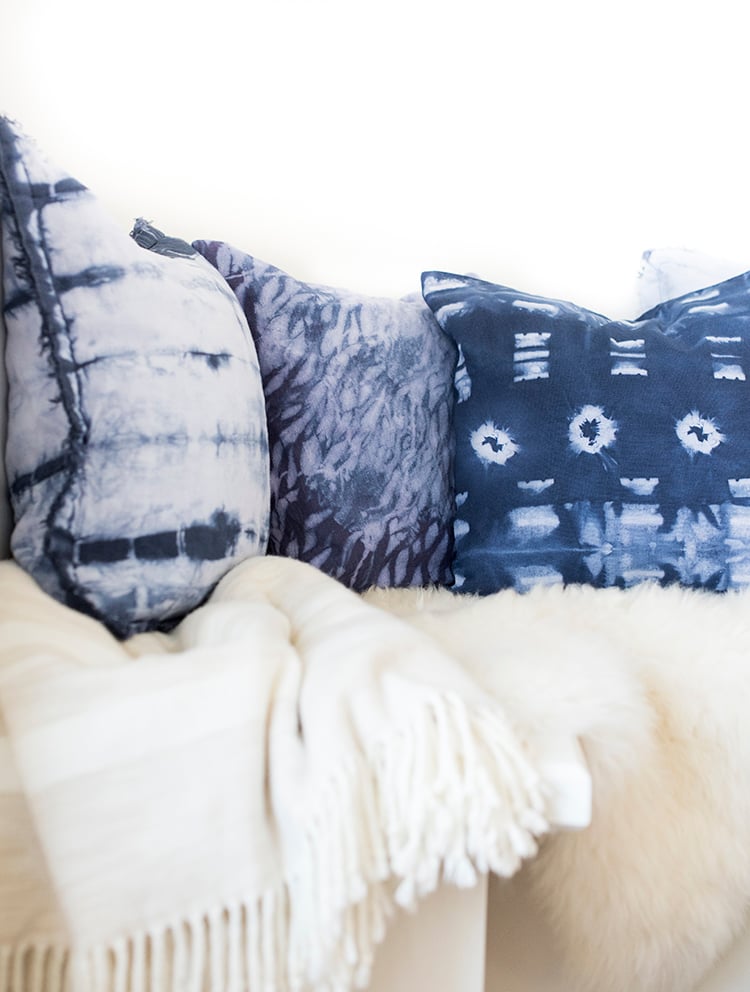
Hand-made shibori pieces make great hostess gifts, home decor, and help transition your home for spring and summer. For inspiration (or if you’re not into a DIY project), check out these fun shibori finds…
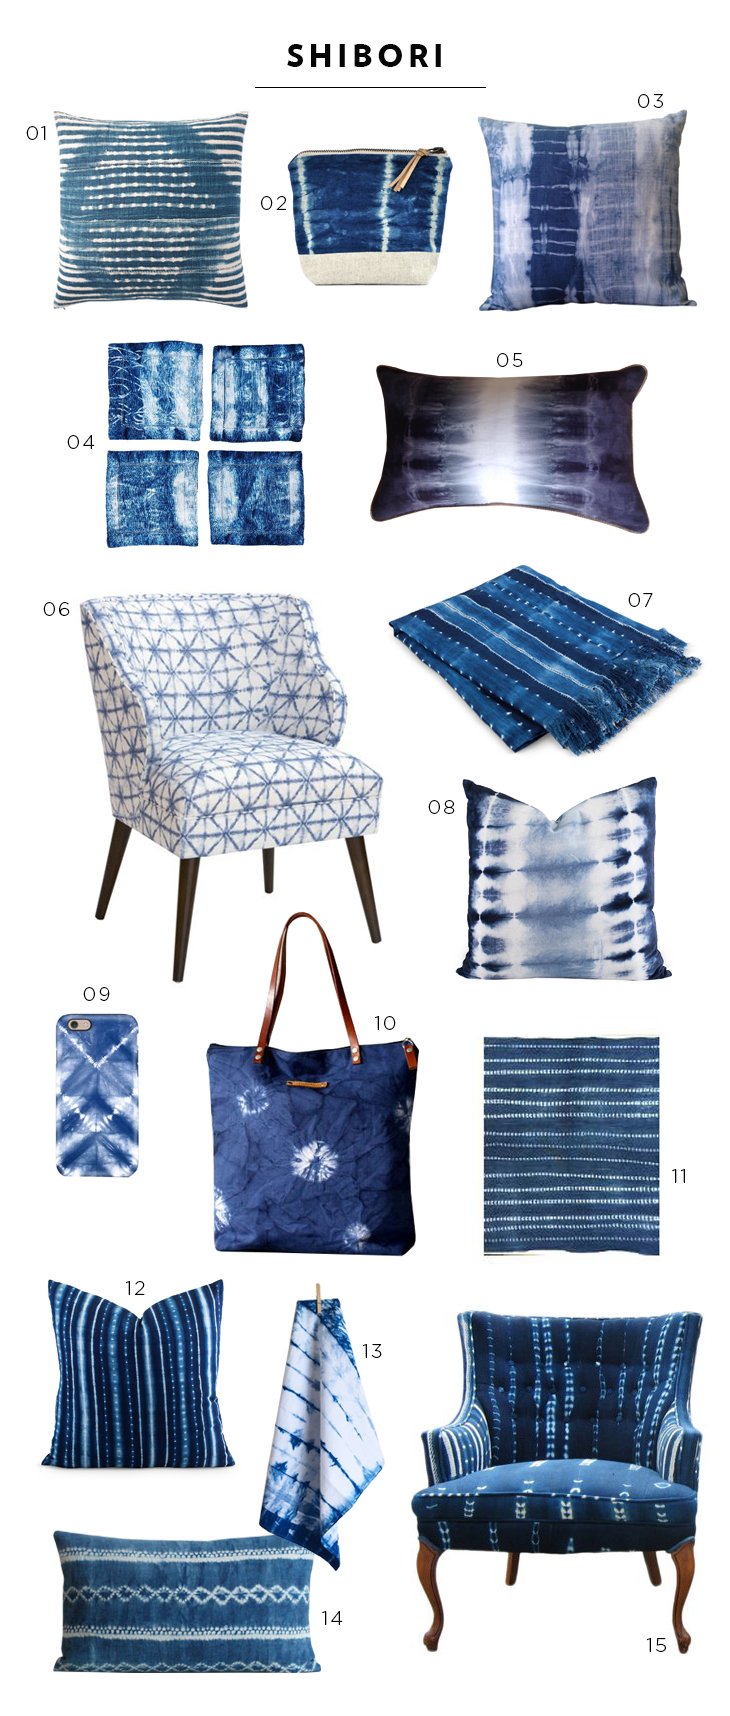
01: diamond shibori pillow cover // 02: shibori zipper pouch // 03: hand-dyed pillow cover // 04: cocktail napkins // 05: hand painted shibori pillow cover // 06: azure mid century chair // 07: shibori fringe throw // 08: india ink shibori pillow // 09: shibori phone case // 10: shibori leather tote // 11: shibori fabric (would be great framed!) // 12: shibori euro sham // 13: linear tea towel // 14: indigo cushion cover // 15: indigo armchair
So, what would you dye? I’m already on the hunt for additional white items, so I can plan this project again. It’s so much fun!
As seen on the Interior Collective.