Your Complete Guide to Replacing Cabinetry Hardware
 After what seems like the longest renovation EVER we are finally starting to put the finishing touches on our kitchen! Obviously, one of the last steps (that arguably makes the biggest impact) is switching out the hardware. Unfortunately, sometimes that is easier said than done. There are so many things to consider before jumping in… how do you remove existing hardware? Is sanding and painting necessary? In what position should the hardware be mounted? What type of hardware makes the most sense for a given cabinet or drawer? These are all valid questions that deserve an answer, because sometimes this stuff isn’t common knowledge. After lots of researching, I’m sharing a complete guide to replacing cabinetry hardware, including cheat diagrams as to where hardware should be positioned.
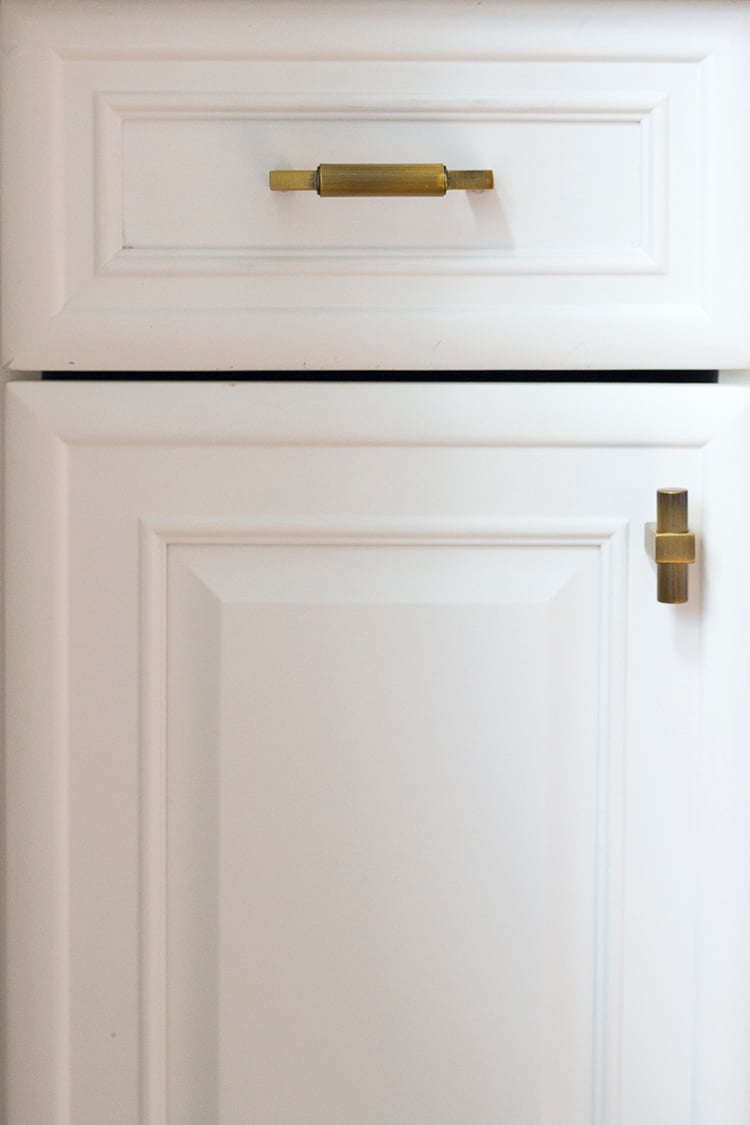
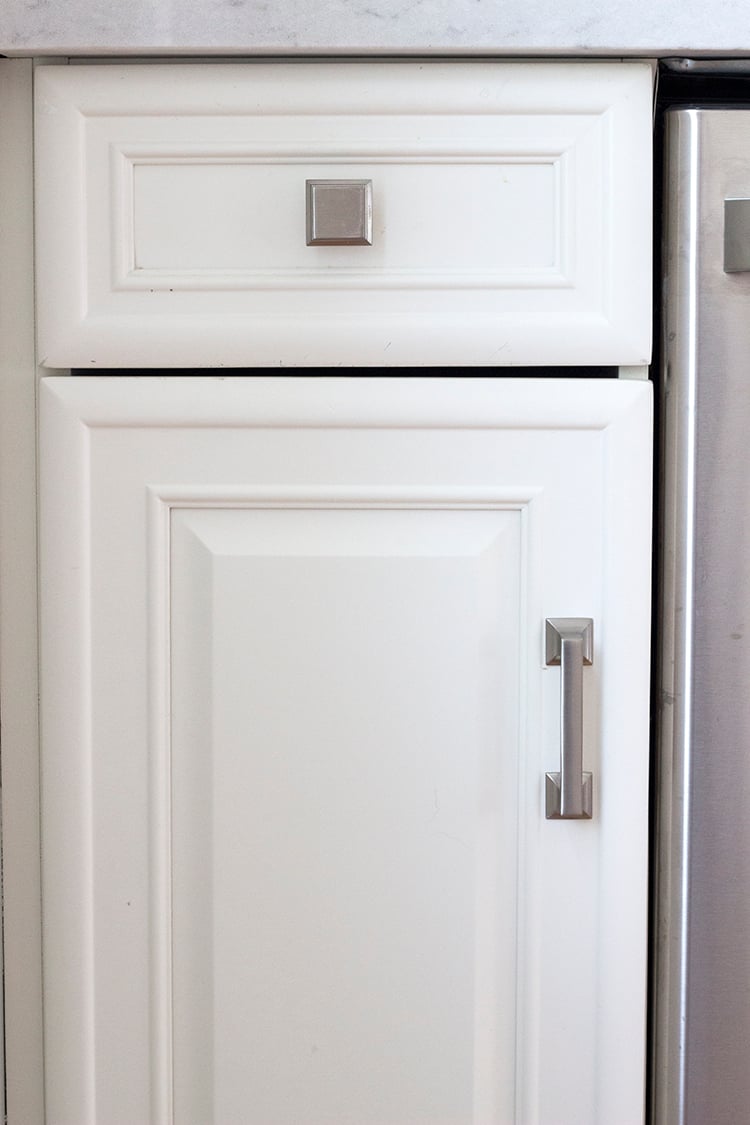 The above and below examples of my existing hardware perfectly depicts WHAT NOT TO DO.
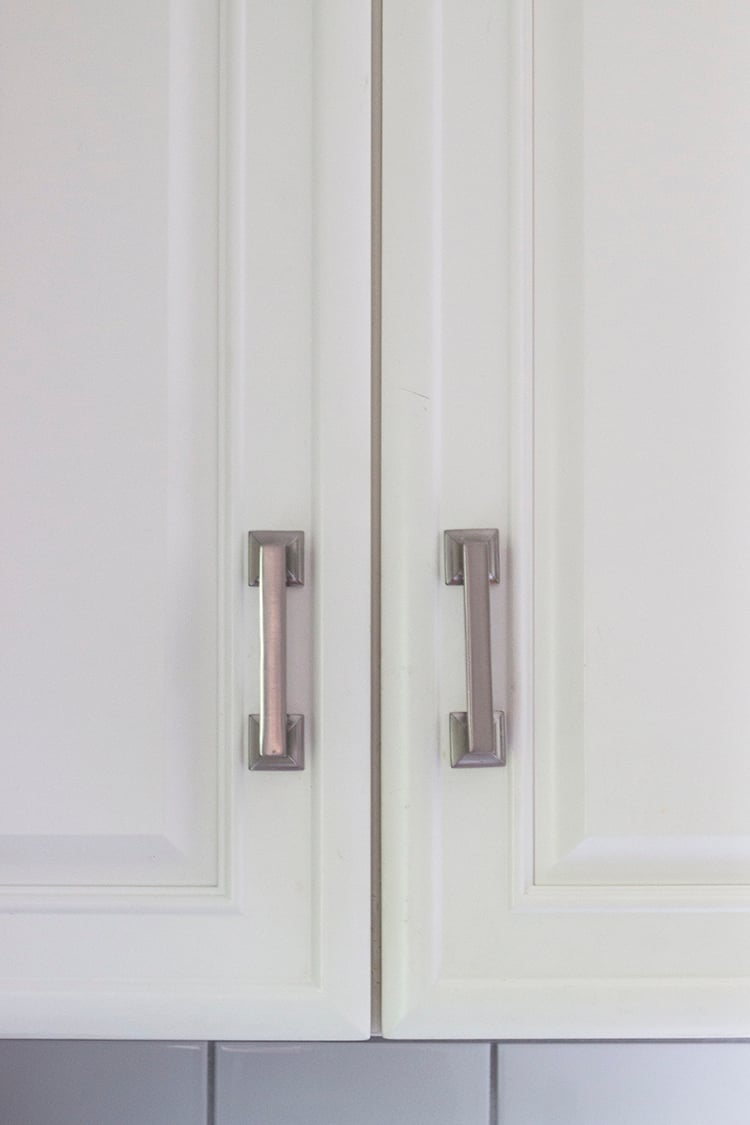 You may not notice right away, but the original hardware on these cabinets has been installed TOTALLY wrong. Not only is the placement in an extremely strange spot, someone thought it would be a smart idea to install pulls on the doors (rather than knobs), and use knobs on the drawers (rather than pulls). If it would have been done correctly, everything would be reversed. This can be an easy detail to miss and I appreciate Sarah helping me realize we needed a complete redo, not just a replacement of hardware. Before I jump into the tutorial, I wanted to share a few diagrams that make positioning hardware easier (pin these for later!!).
The following diagrams work for about 95% of cabinetry styles… I wanted to show you different scenarios and ways to mount hardware. Everything should feel nice and balanced, as well as functional.
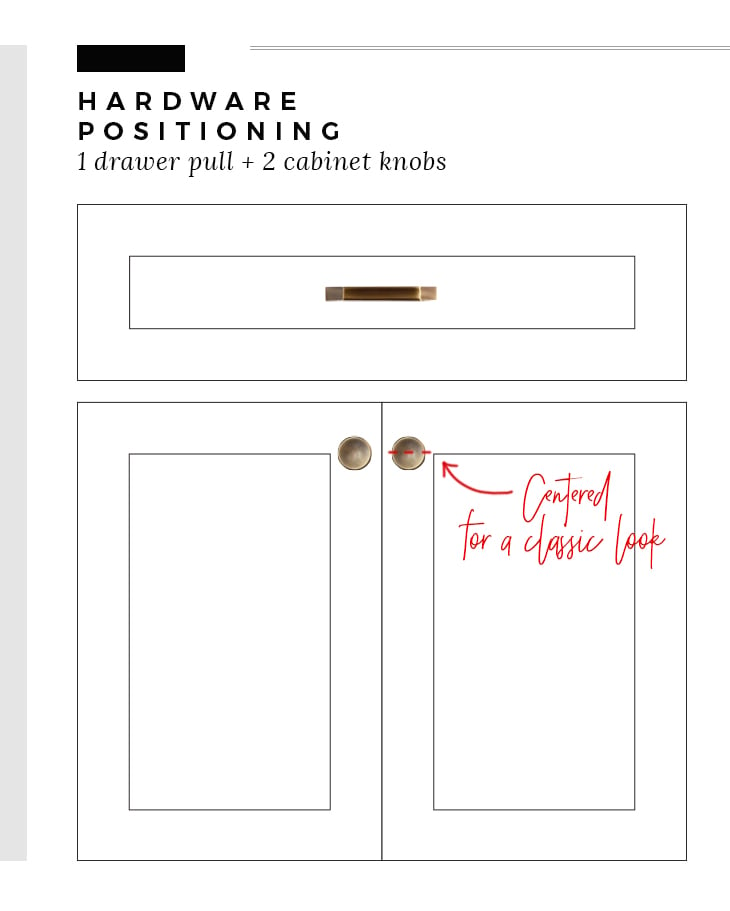 This above rendering perfectly depicts how I chose to position my hardware. It’s a classic look that is perfectly symmetrical.
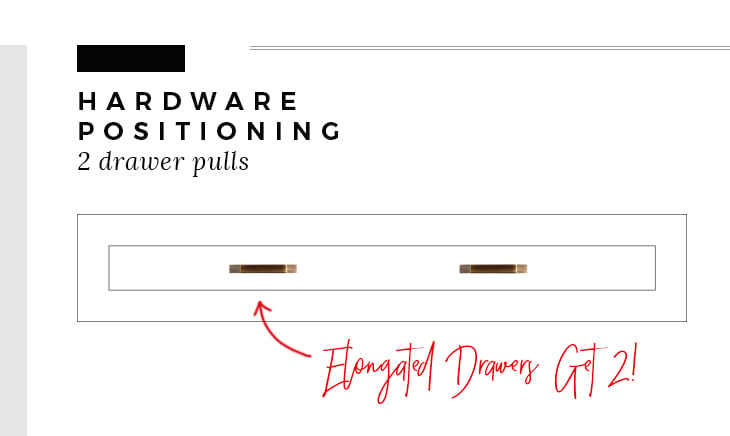 Some long and skinny drawers may require 2 pulls. Divide the drawer into thirds and mount each pull centered on the line.
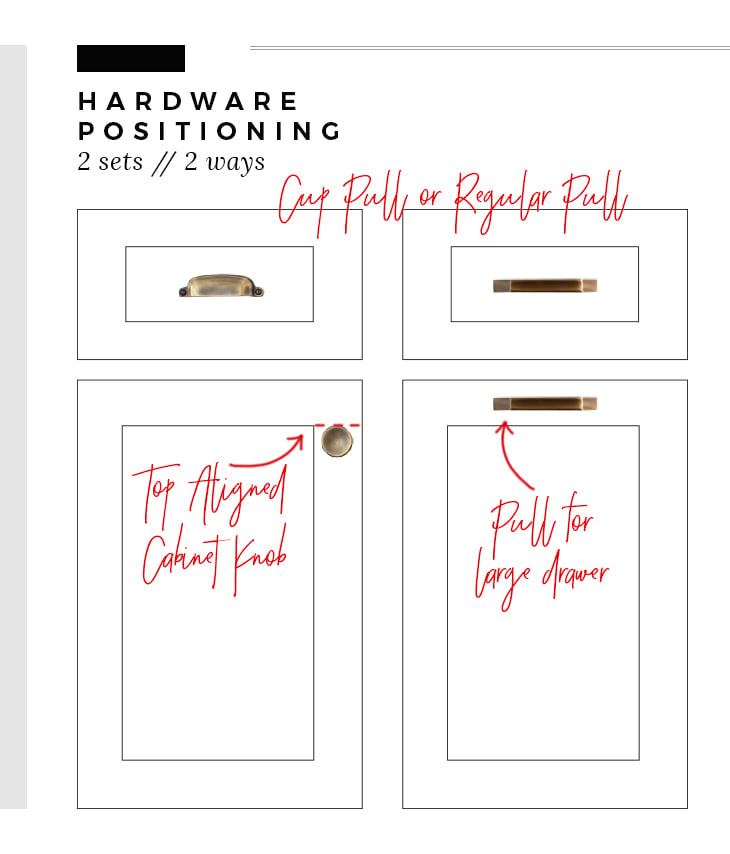 Set one depicts Sarah’s kitchen hardware. She preferred to mount the top of the knob flush with the cabinetry detailing. She also opted for a cup pull rather than a traditional drawer pull. These are great for small cabinets! Set 2 would be ideal for a pull out trash bin or a large bottom drawer.
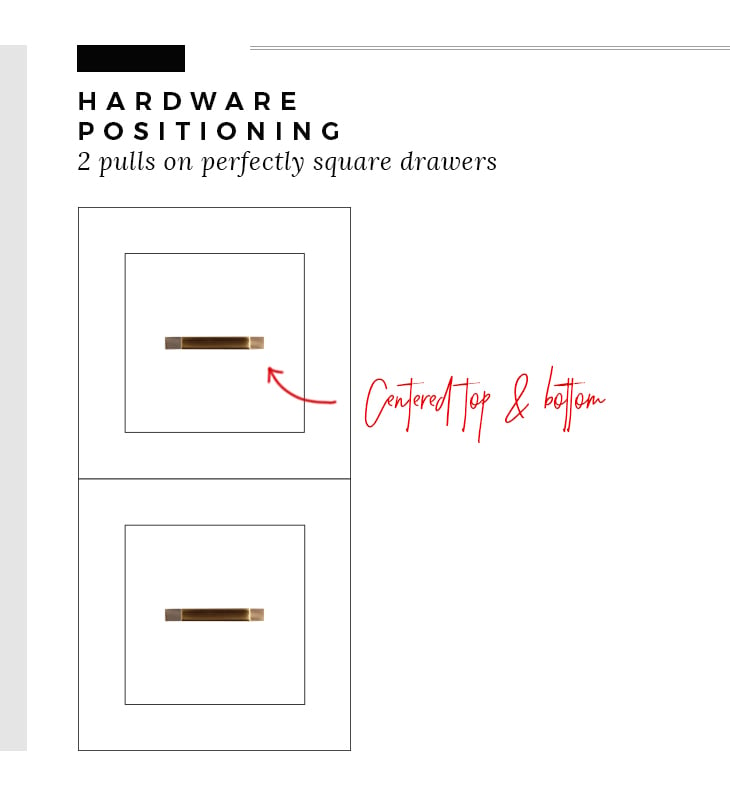 Every once in awhile, you come across a square drawer. These always stump people when it comes to installing hardware. I prefer the look of 2 pulls mounted directly in the center.
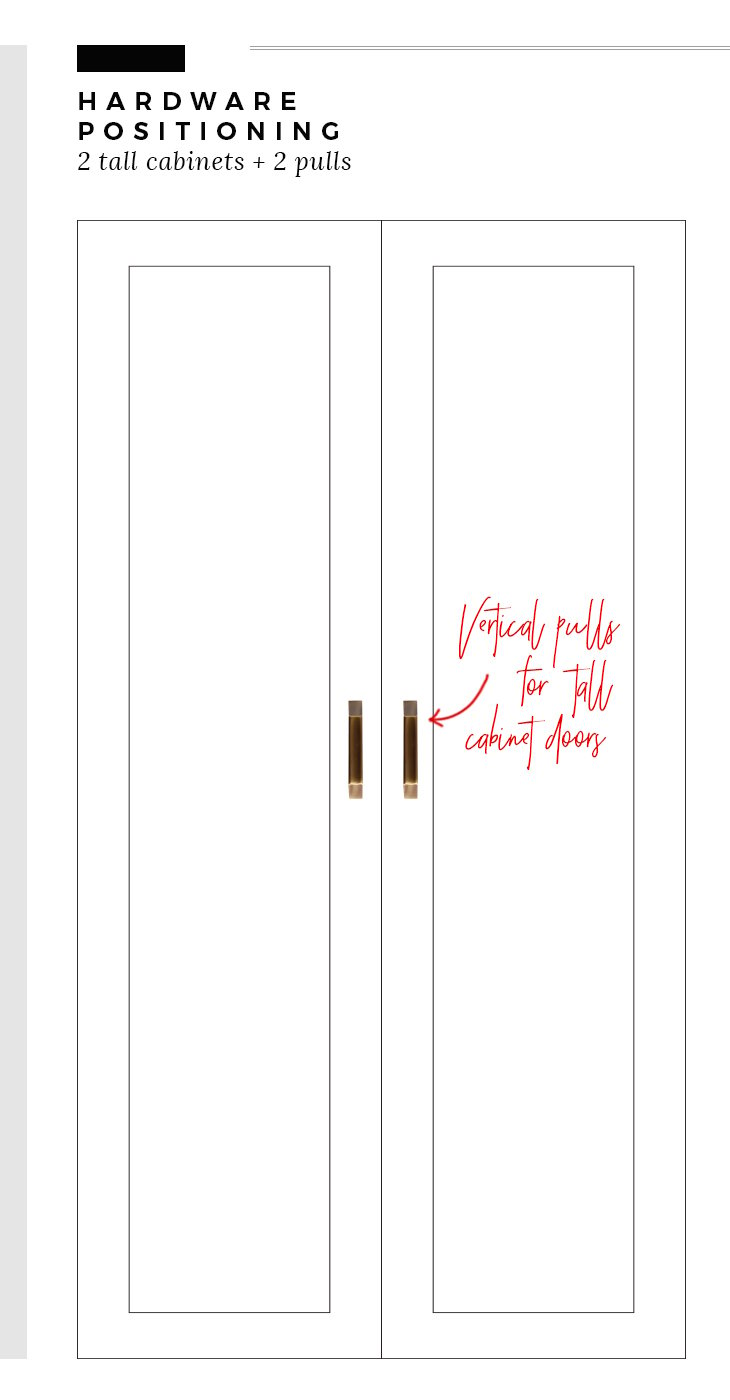 Last, but not least… large doors should be paired with vertical pulls. Obviously for extra large or heavy doors (like a built-in fridge or dishwasher), swap your regular hardware for an elongated appliance pull in the same finish. Ok, onto the actual tutorial…
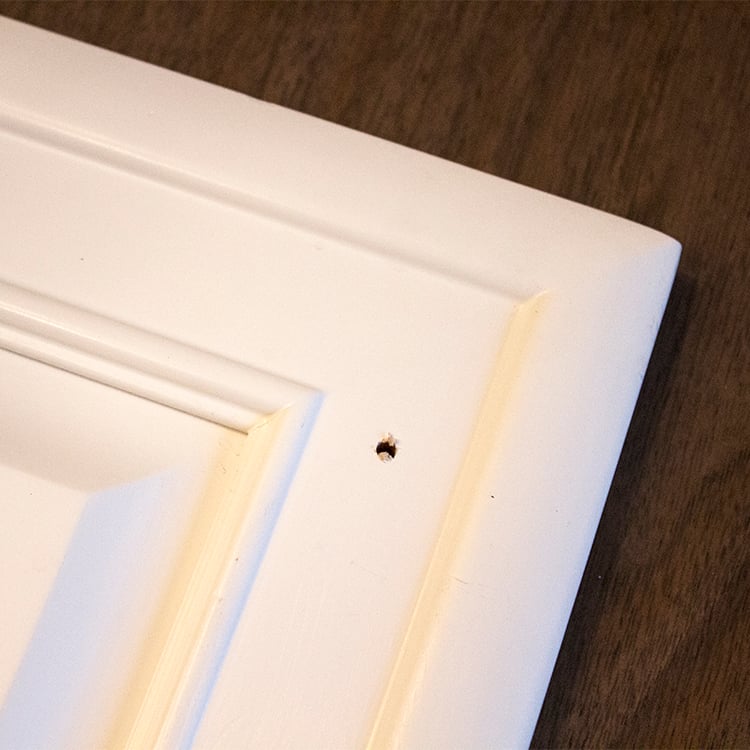
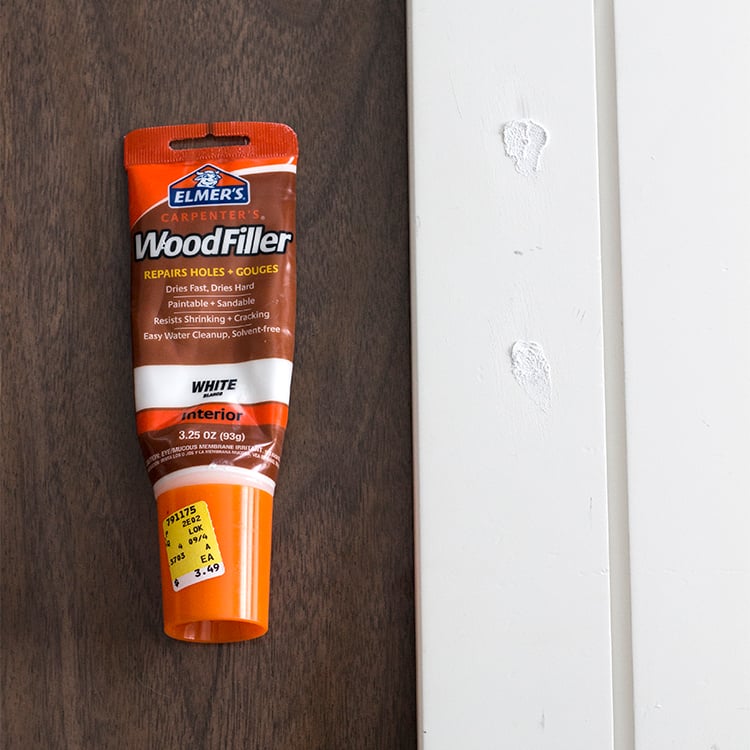 Step 1 // After removing the current hardware on each cabinet door and drawer, I used Elmer’s Carpenter’s Wood Filler in white to completely fill each of the existing holes using my finger and wiping away excess filler. Allow this to sit overnight. Depending on how deep the holes are, you may only need to fill once, but I had to repeat this step twice.
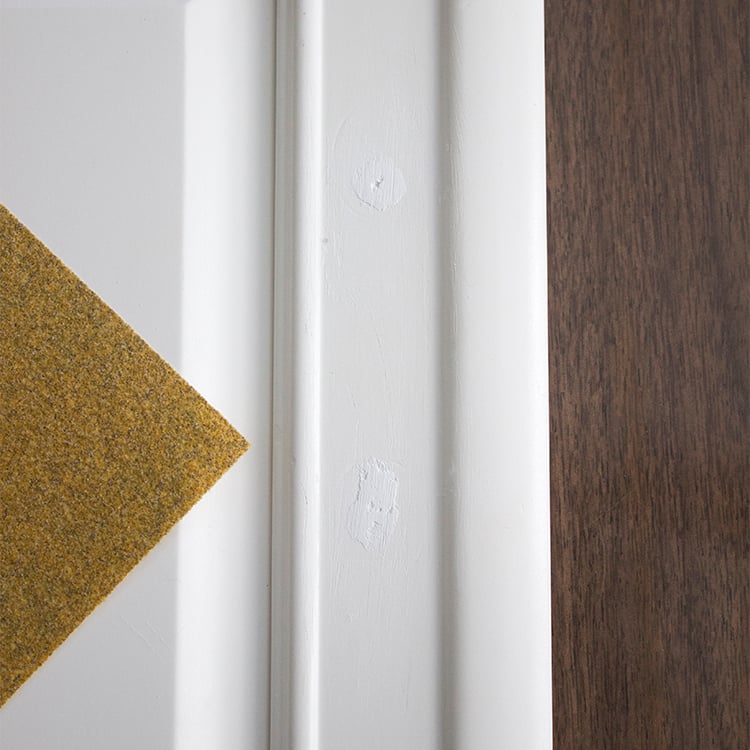
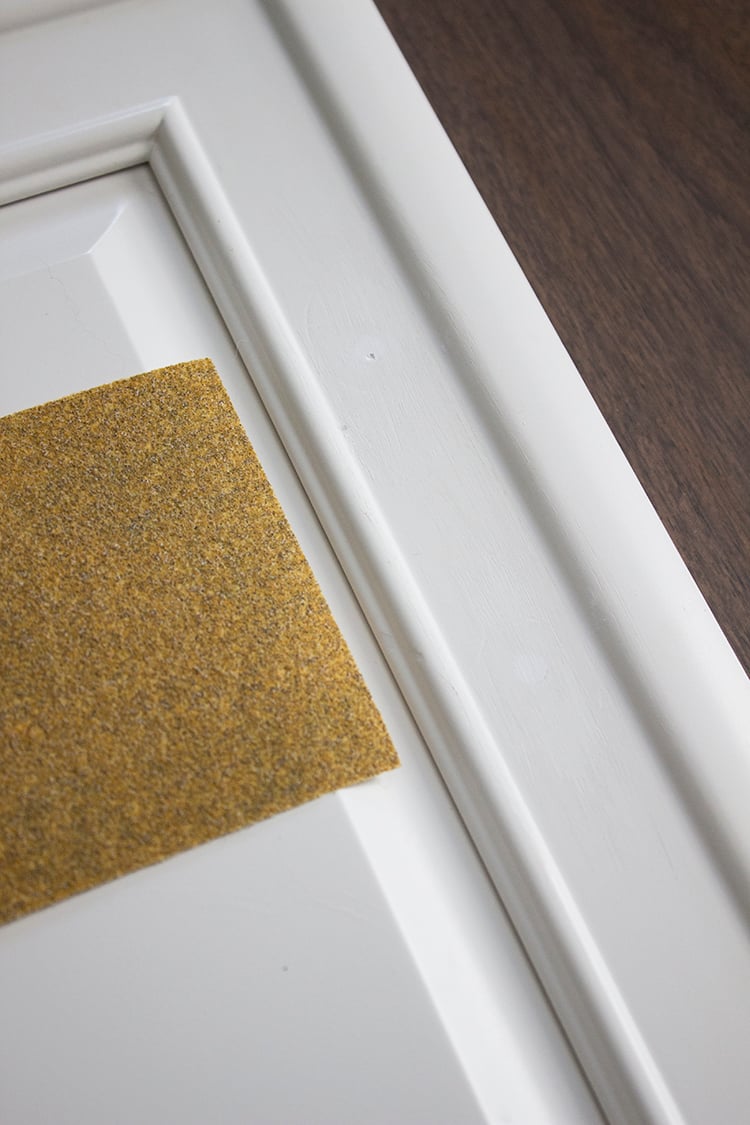 Step 2 // Since I filled twice, I sanded between each filling using a simple piece of sand paper. Once you have a smooth edge that is completely flush, you’re ready to proceed.
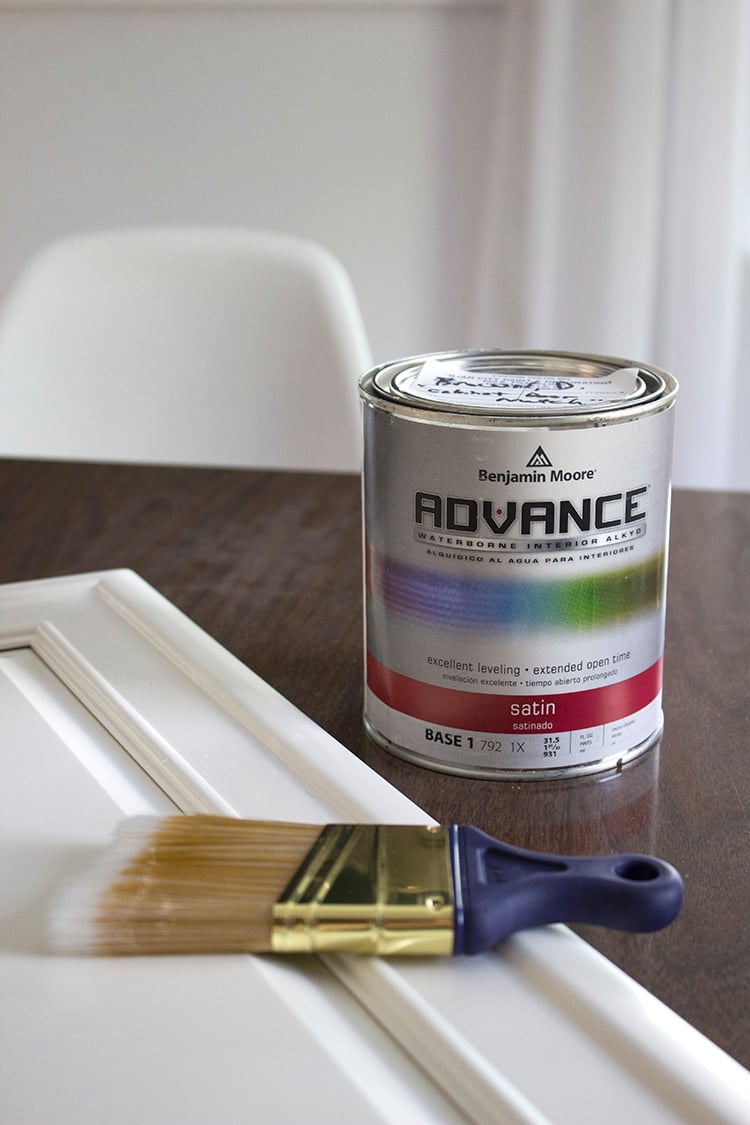
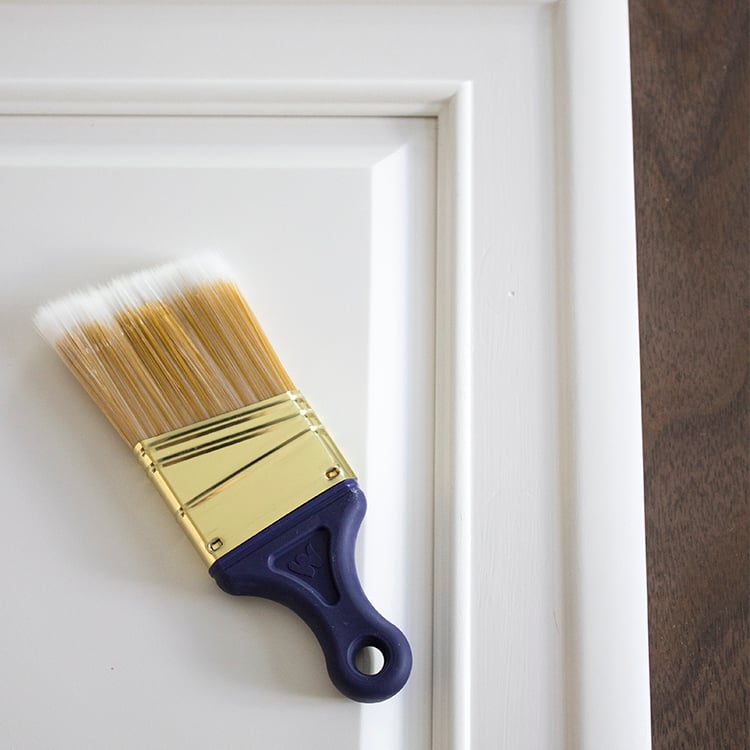 Step 3 // In my opinion this is the most difficult step. Since this was already a long and tedious project, I wanted to keep it as minimal as possible. I did NOT want to repaint all the cabinets over again. So, I took one of our cabinets to the local paint shop and had them create a match for our cabinet’s color and finish. I used Benjamin Moore’s Advance Waterborne Interior Alkyd in a satin finish. The paint contained a self-leveler so once it dried it looked smooth and seamless. I painted over the holes using a small hand brush. For the drawers, I painted the entire inner rectangle. On the doors I painted the inner strip where the hardware attached, so it wouldn’t be too obvious.
 Step 4 // Next, it’s time to measure and mark your holes for the new hardware. I measured center-to-center on the pulls and marked where I wanted to drill each hole on the cabinet. For the knobs, I just marked a hole in the center of the door where it should be placed. Then, I used a hand drill to drill the holes and insert the hardware. Waalaa!
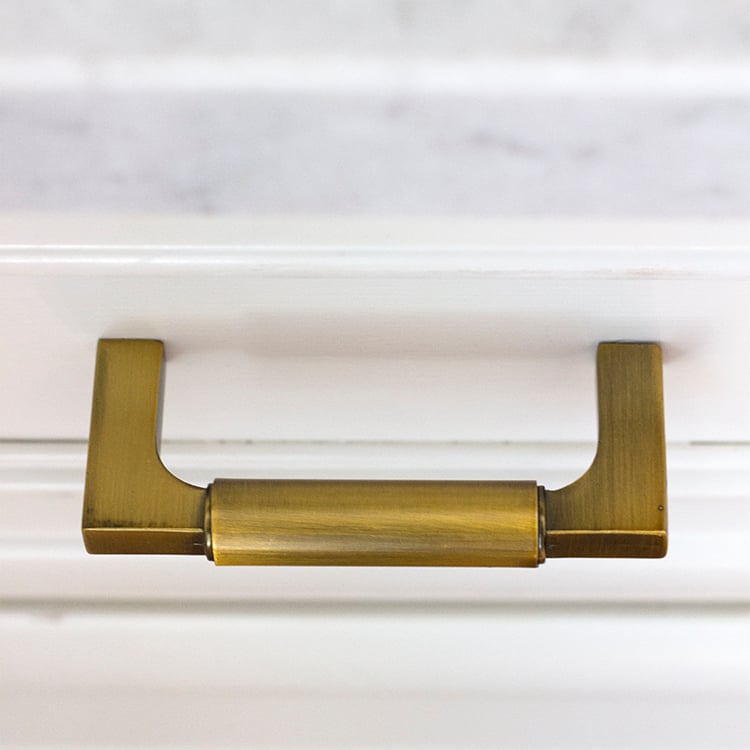
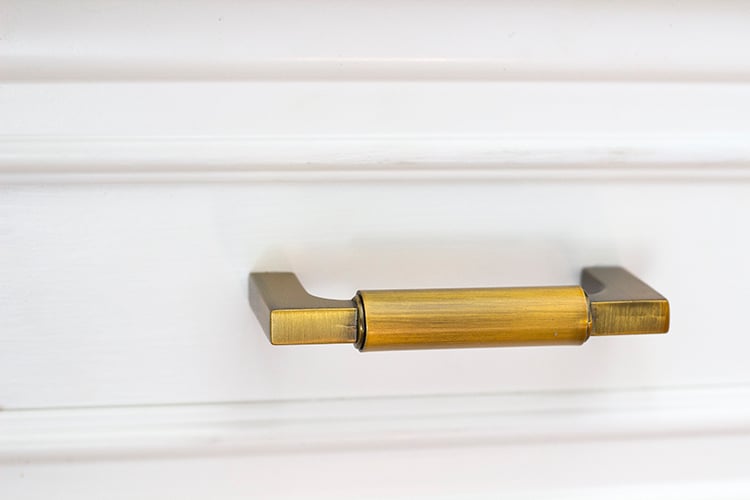
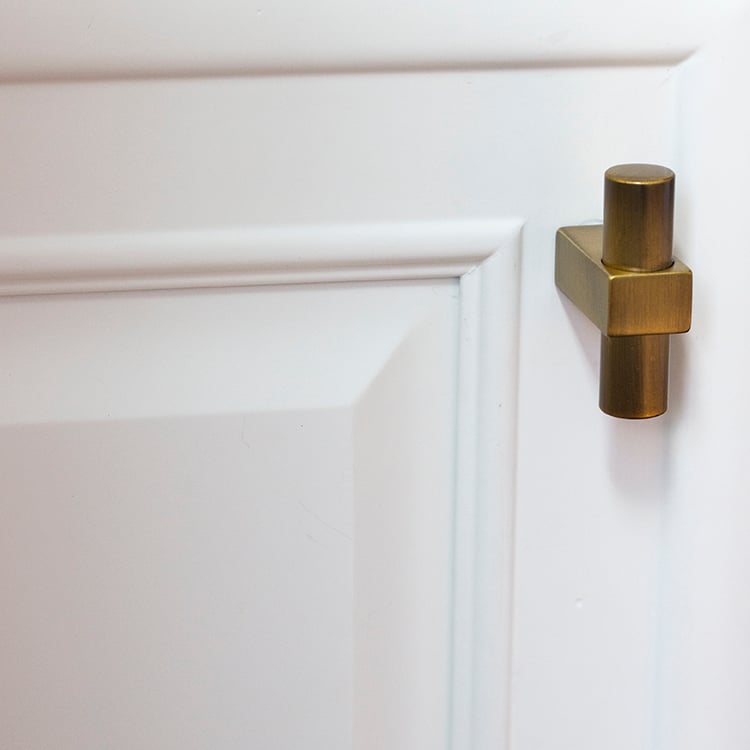 If you’re interested in this exact hardware (they were one of my best Etsy finds!), here are the brass cabinet pulls and brass knobs. They’re good heavy hardware and I love the perfect warm brass tone.
 Although we are still in the middle of this project, I’m really happy with the transformation a simple hardware replacement has made! Has anyone else taken on a similar project? For more brass kitchen cabinetry hardware, see the roundup I shared a few months ago!