How to Install Mosaic Floor Tile + My Favorite Marble Mosaics
 Emmett and I spent the weekend laying the floor tile in the guest bath and it turned out even better than I could have imagined. It’s SO so beautiful! I’m obviously smitten and am even more excited for this space to come to fruition than before. If you’re in the market for tile or are planning a renovation, I rounded up my favorite marble mosaics from Lowe’s and wanted to share a tutorial on installing mosaic floor tile. It’s not as difficult as you might expect. Click through for more…
*This post is sponsored by Lowe’s. All content, ideas, and words are my own. Thank you for supporting the brands that allow us to create unique content while featuring products we actually use & enjoy!
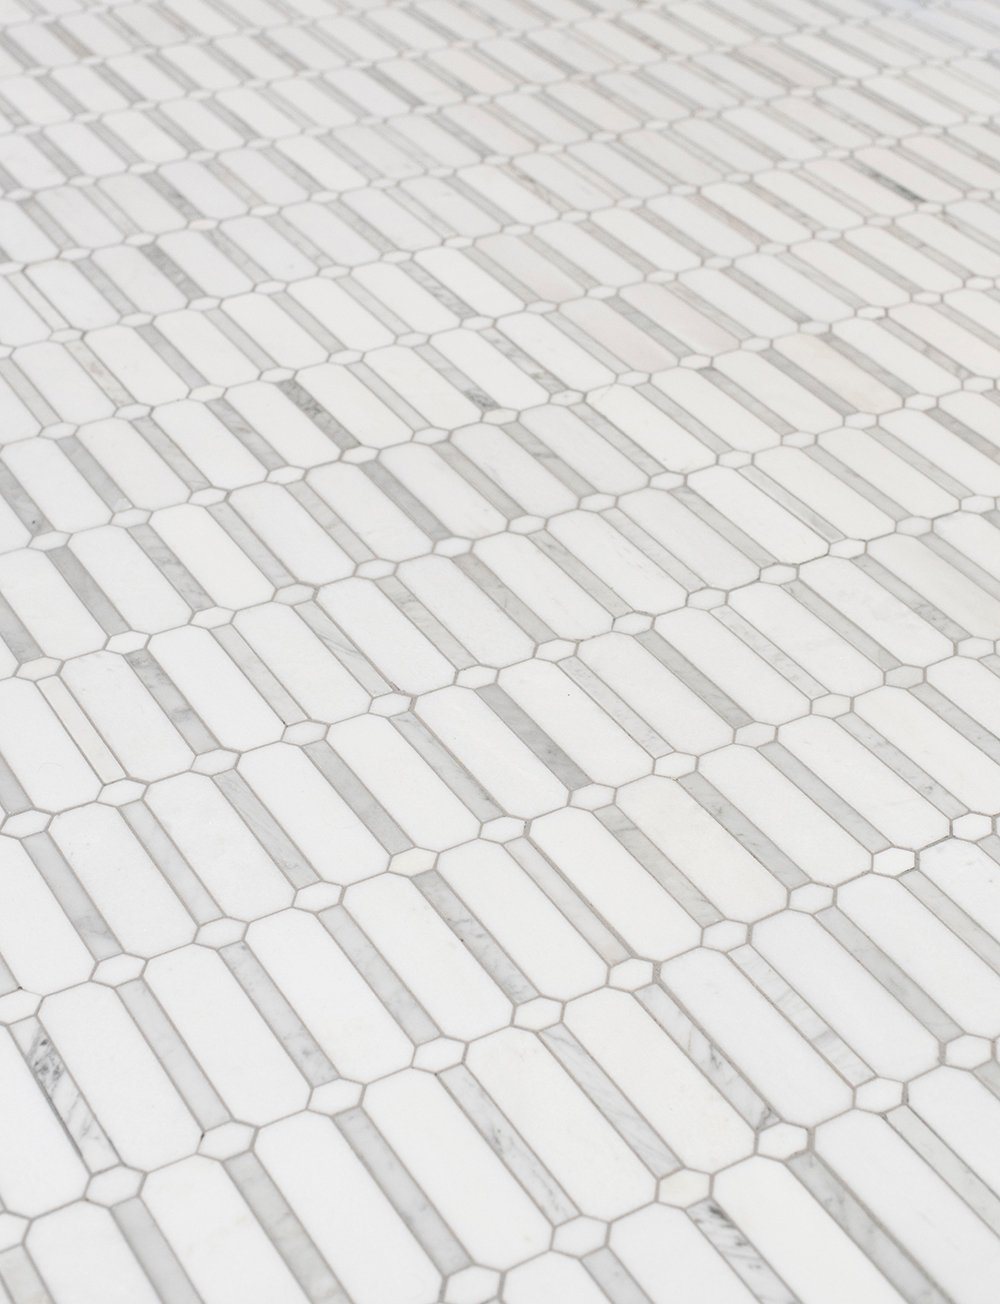
 Before I dive into the DIY and installation part of this post, I figured I’d shed some light on why and how I selected this gorgeous geo marble mosaic floor tile. I really wanted to find something that felt classic (marble), a bit more modern (geometric), textural (patterned), and interesting (something I hadn’t seen a thousand times before). I also had a strict budget and wanted to keep it under $20 a square foot. I stumbled across this option and knew it would be perfect… plus I figured it would be an easy pattern to install (I was right). Lowe’s has plenty of easy-to-install floor tile options that allows you to save money without sacrificing style. Here are some swatches I saved while designing the guest bath, that also fit the bill:
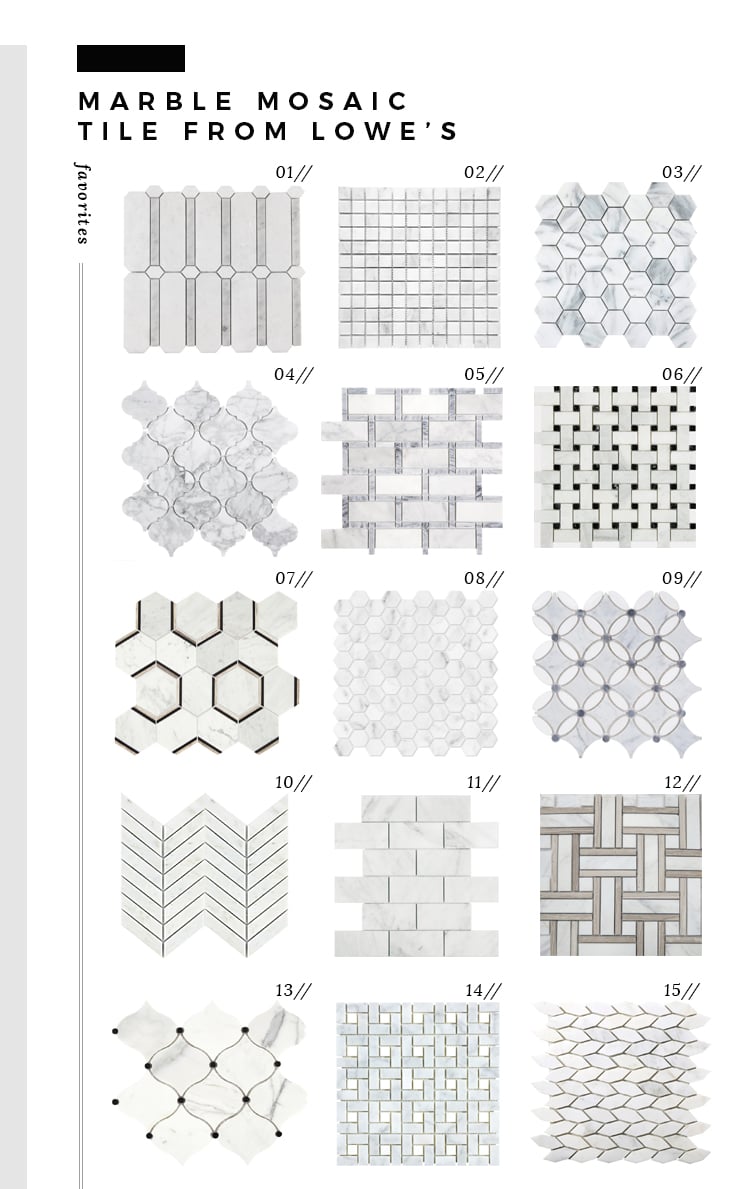 01: elite ceramica savy light geo marble mosaic tile // 02: anatolia tile venation uniform squares marble mosaic // 03: emser winter frost marble border tile // 04: elida ceramica white marble arabesque mosaic // 05: anatolia carrara grigio brick marble mosaic tile // 06: anatolia venatino polished basketweave marble mosaic // 07: american olean genuine stone carrara honeycomb marble mosaic // 08: anatolia venatino honeycomb marble mosaic // 09: anatolia tile flower marble mosaic // 10: emser winter frost marble chevron tile // 11: allen + roth venatino polished brick marble mosaic subway tile // 12: style selections aura taupe basketweave marble mosaic // 13: american olean stone pearl white lantern marble mosaic // 14: anatolia carrara pinwheel basketweave marble mosaic // 15: emser white frost marble mosaic tile
Alright, onto the DIY and installation process! Here’s what you’ll need for the project if you’re starting from scratch with new cement board (like we did)…
SUPPLIES + TOOLS
- cement board
- thinset mortar
- cement board tape
- buckets
- flooring trowel
- grout saw
- mixing arm drill attachment
- mosaic tile (again, this is the one I used)
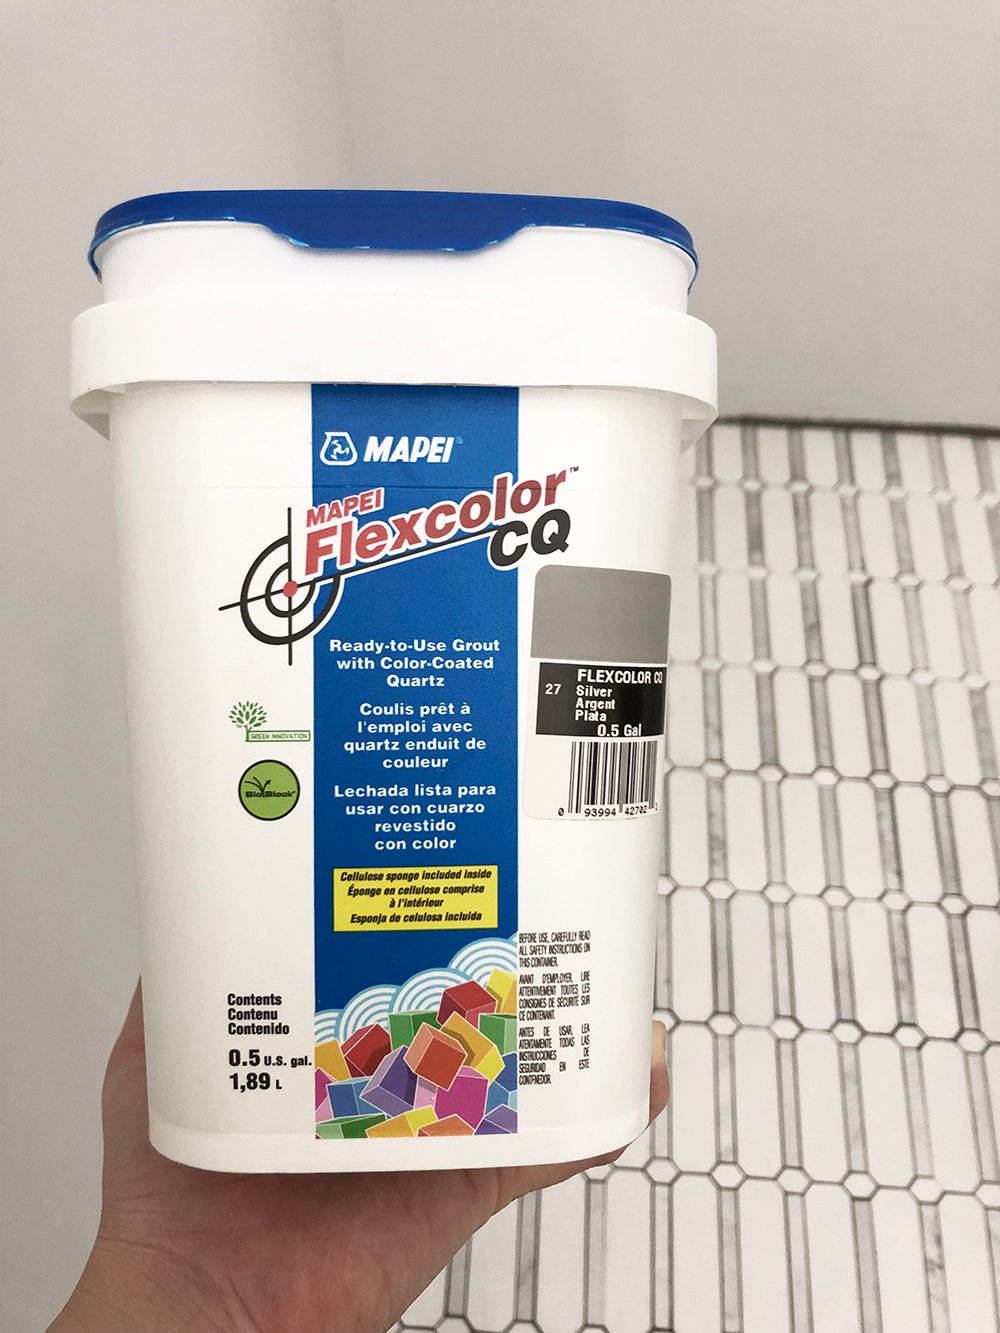
- grout (I used the color “silver“)
- grout float
- craftsman shop vac
- sponge
- screws
- dewalt power drill
- bosch laser level
- dewalt tile saw
- bosch table saw
- flat trowel
To give you an idea of how much time this project will take… our bathroom is about 100 square feet and we finished over the course of a weekend- with both of us working on it. The savings were well worth the effort and given the gorgeous result, I wouldn’t have done it any other way! It’s an easy project if you’re willing to put in the elbow grease.
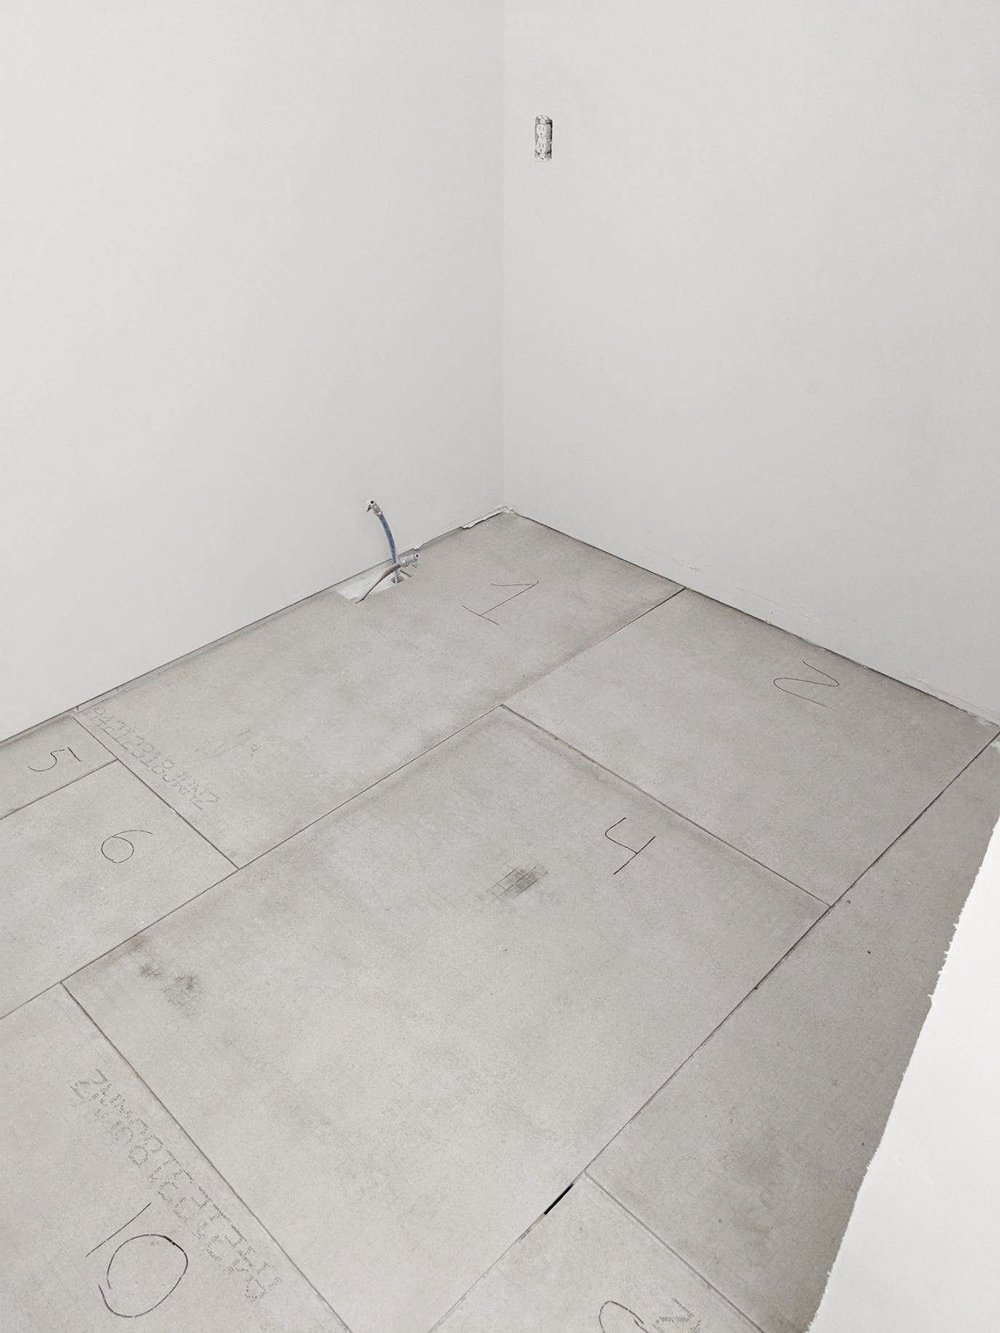 Step 1 // Plan and cut the cement board. Before nailing anything in permanently, we like to dry fit the cement board pieces like a puzzle. This will ensure everything fits properly and will give the tile a nice, flat surface to bond to. If you don’t have a table saw, I believe you can even have these boards cut at your local store before bringing them home!
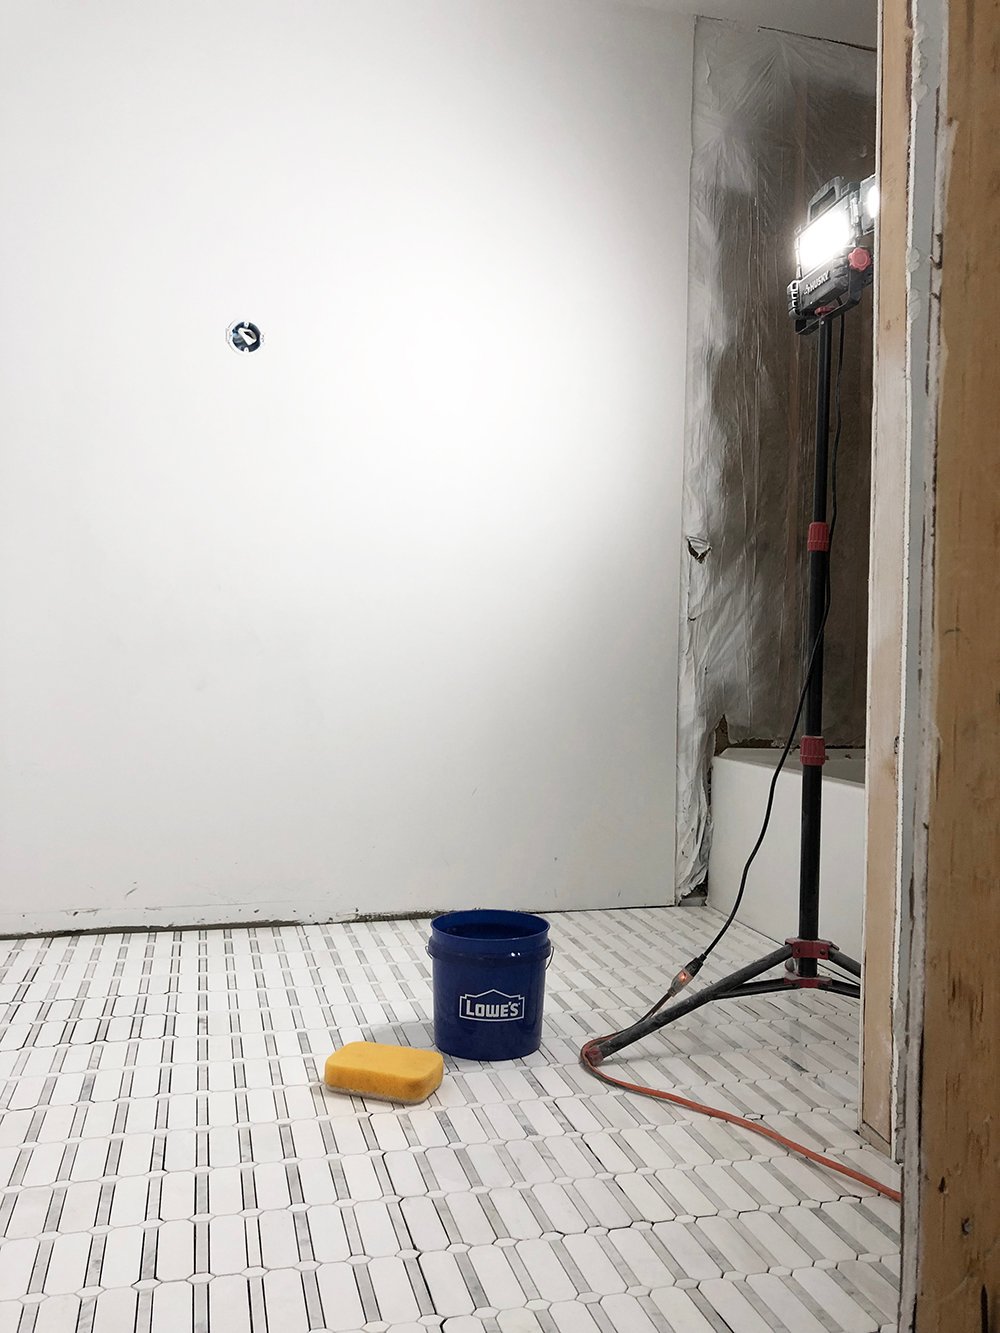
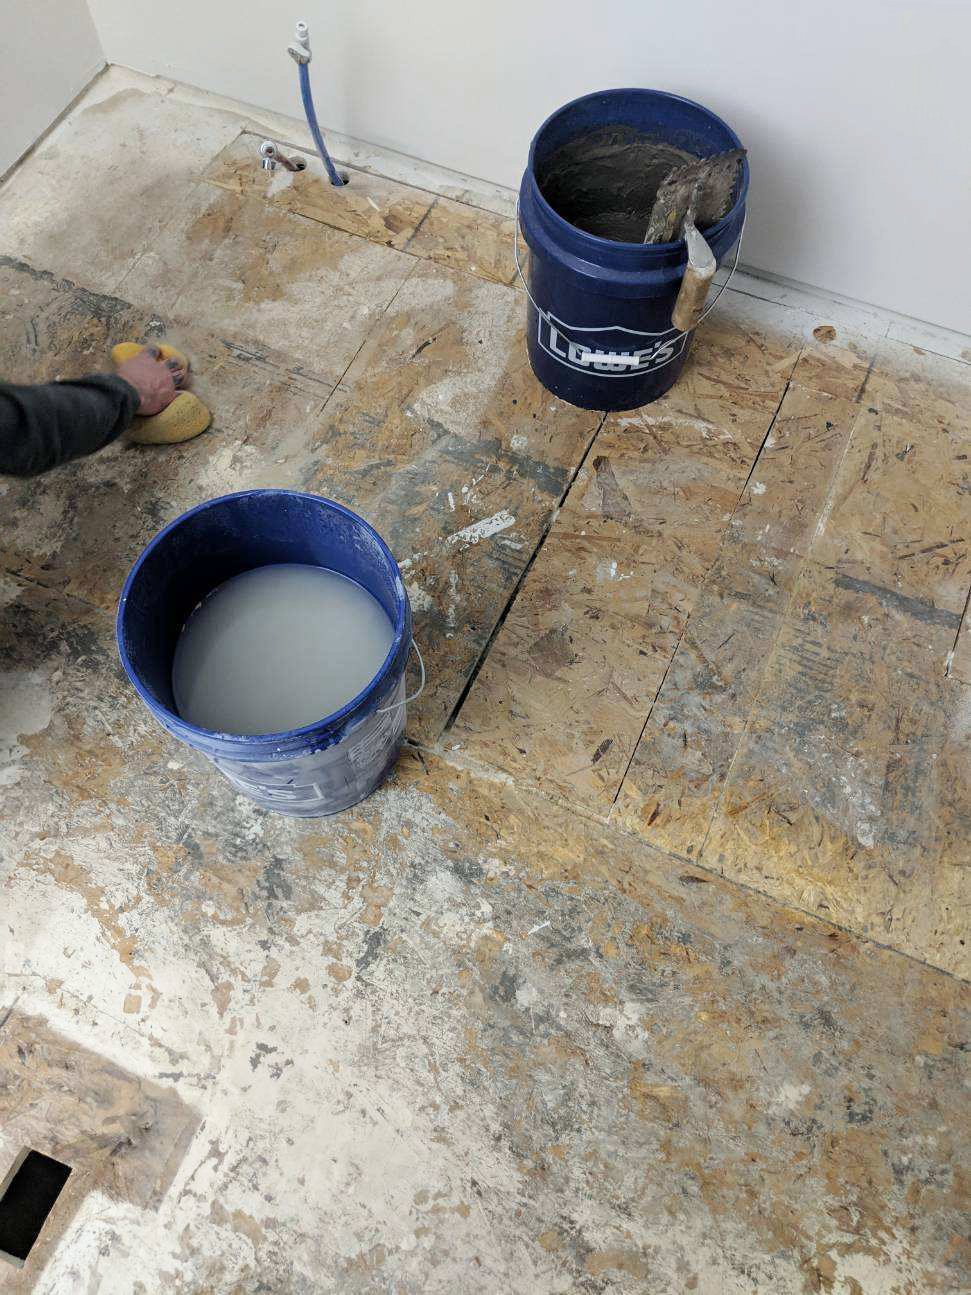 Step 2 // Clean the floor surface. Your floor probably isn’t as gross and dusty as ours, but we had just finished sanding new drywall and everything was white and chalky. It’s important to clean the subfloor before proceeding to the next step.
 To give you a visual (above)… this is what our floor looked like BEFORE we sponged it off and cleaned. The mortar isn’t designed to bond to a layer of dust. Ha! I’m sure that’s obvious, but I wanted to call it out- just in case.
 Step 3 // Install the cement board. After the floor has been cleaned, mix up the mortar (per the instructions on the package) and apply a thin, even layer with your flooring trowel directly on top of the subfloor.
 Begin dropping the cement board “puzzle” pieces into place, evenly (and gently) pressing them into the mortar. Once they’re all in position, screw them into the subfloor to secure permanently with the Dewalt power drill.
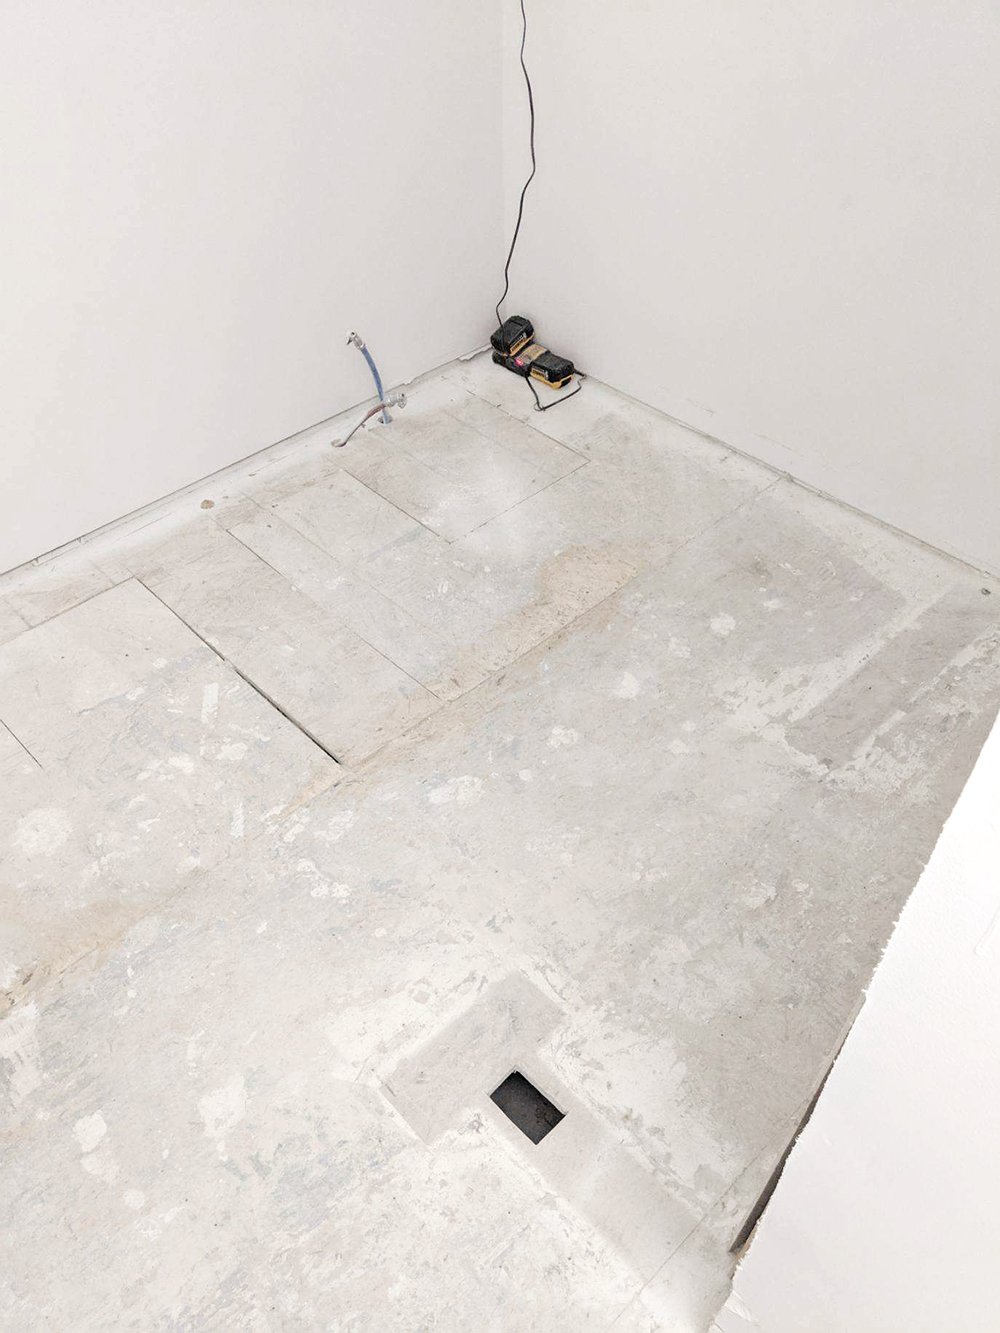
 Step 4 // Tape the seams. After they’ve been screwed down, using a wide putty knife or flat trowel– spread a thin line of mortar over each seam. Follow the mortar with the mesh tape, then once everything has been taped, spread additional mortar on top of the tape, making sure to knock down any ridges or high spots.
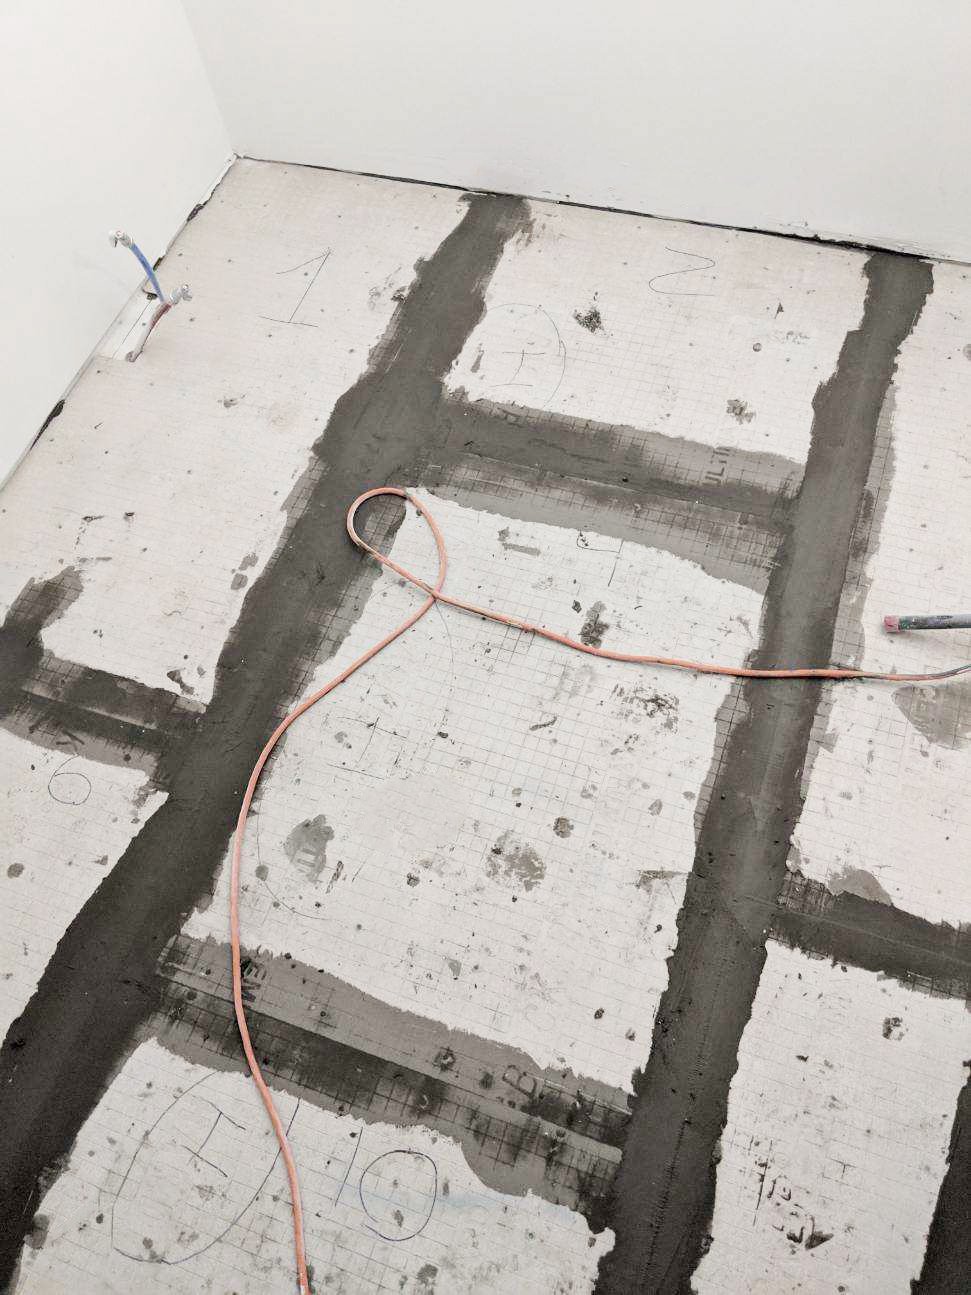 Above, you’ll see what our cement board looked like once we were finished taping and mudding the seams. Once you’ve finished the installation process, allow it to cure or harden overnight.
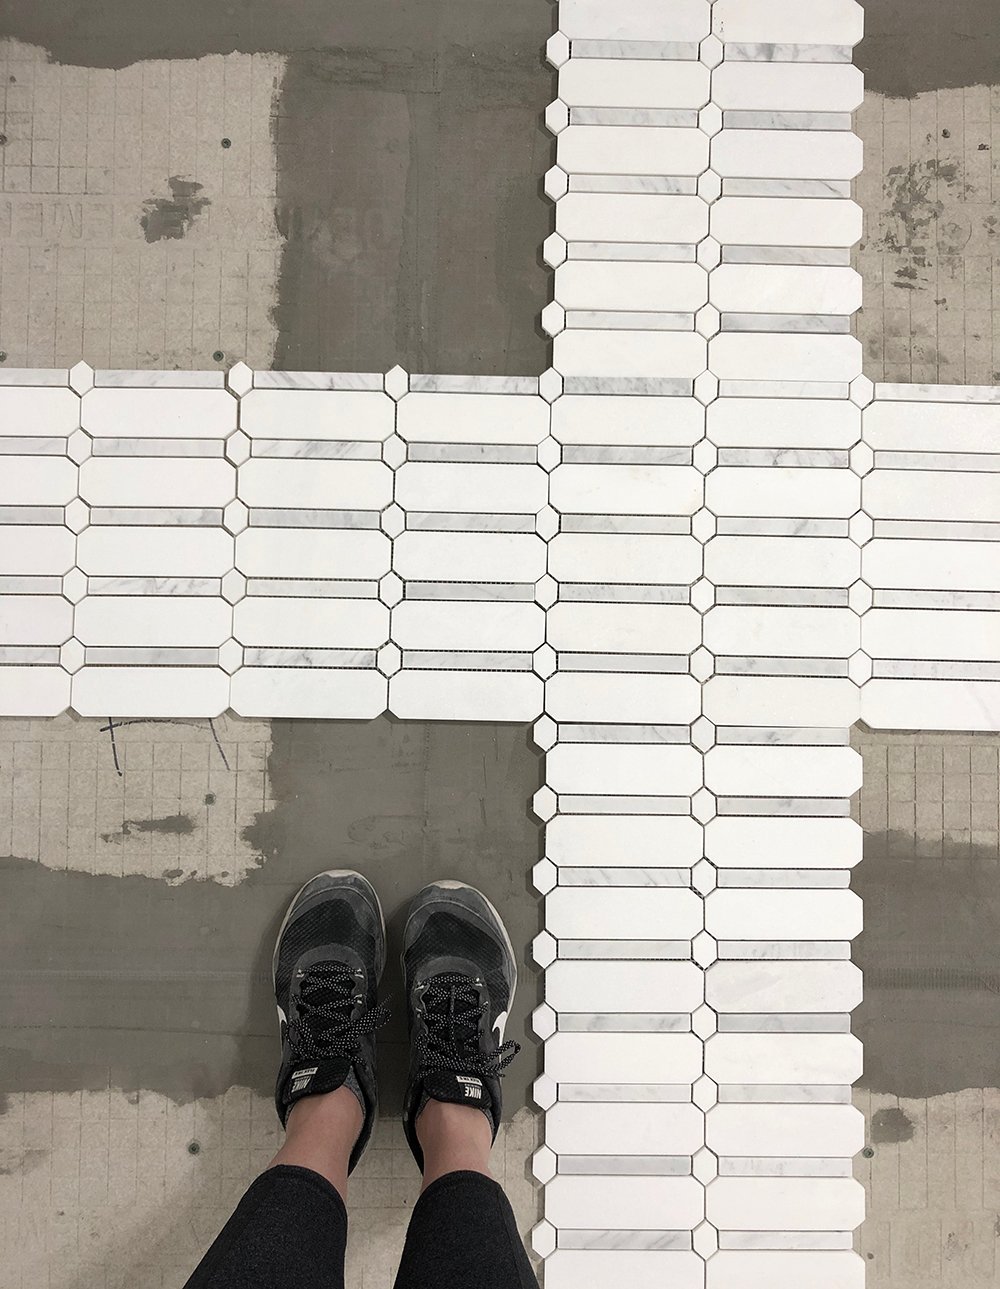 Step 5 // Determine the tile layout. Now for the fun part… the tile! Before I got started the next morning, I used my Craftsman shop vac to carefully clean any loose pieces of dust, debris, and mortar. After that, I dry fit two lines of tile, running horizontally and vertically. This was to ensure the tile started and stopped where I wanted it to.
My pet peeve is seeing a sliver of tile against a bathtub or wall- or tile that isn’t centered in a room. Rather than dealing with tiny pieces as an afterthought, it’s best to arrange the layout to avoid any weird slivers when you get to the end of the wall or a corner.
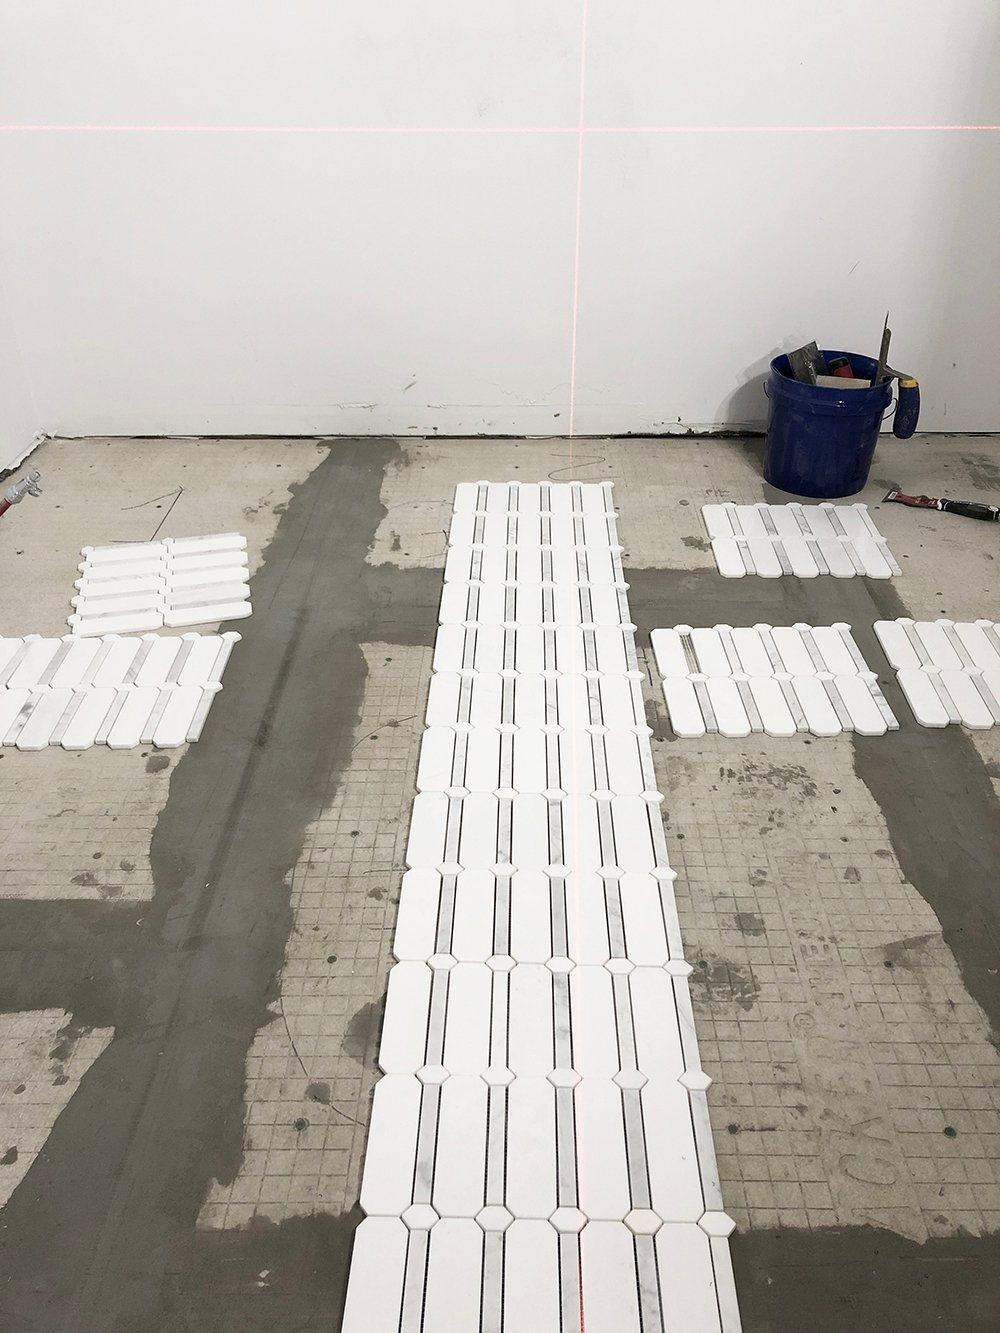 Step 6 // Set up, level, and straighten your first row. Once you have the general layout figured out, you’ll want to make sure your first guide row is perfectly straight and level. I used my Bosch laser level to make quick work of this. The above image shows how far off I was by eyeballing the tile row. It’s a good thing I pulled out the laser to double check because I wasn’t even close! Once you have your guide row perfectly straight, you can begin permanently setting the tile.
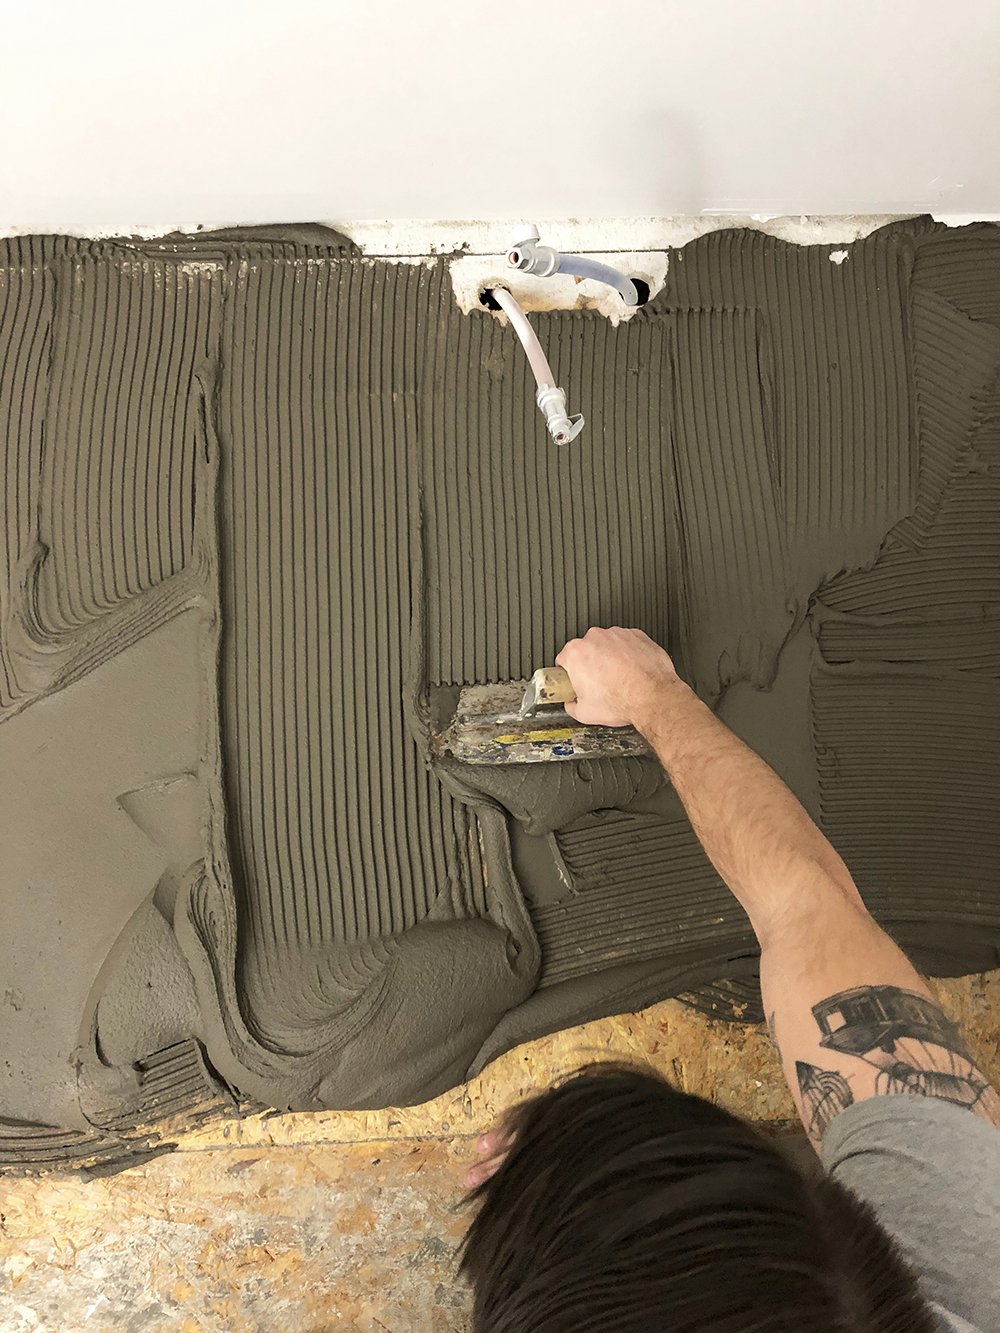
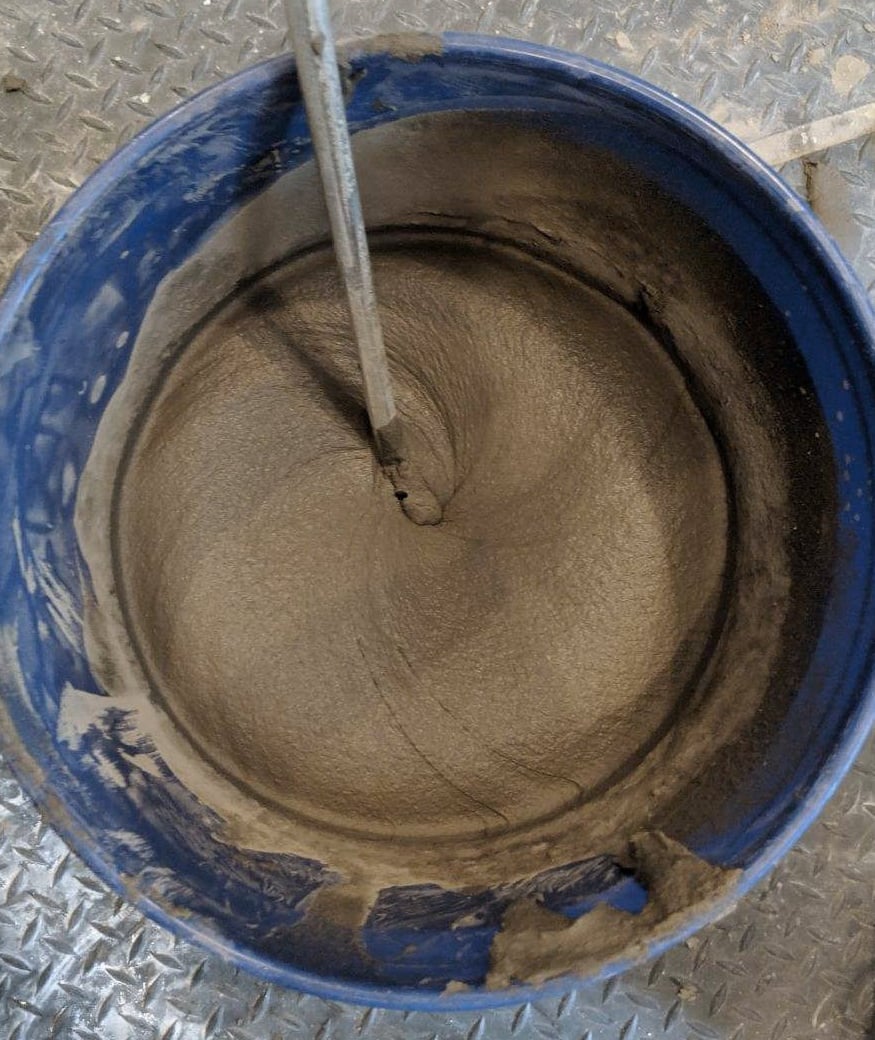 Step 7 // Start tiling! This is the rewarding step… setting the tile! Using the power drill with the mixer attachment, mix up the same mortar you used for the cement board base. It should look like the above consistency.
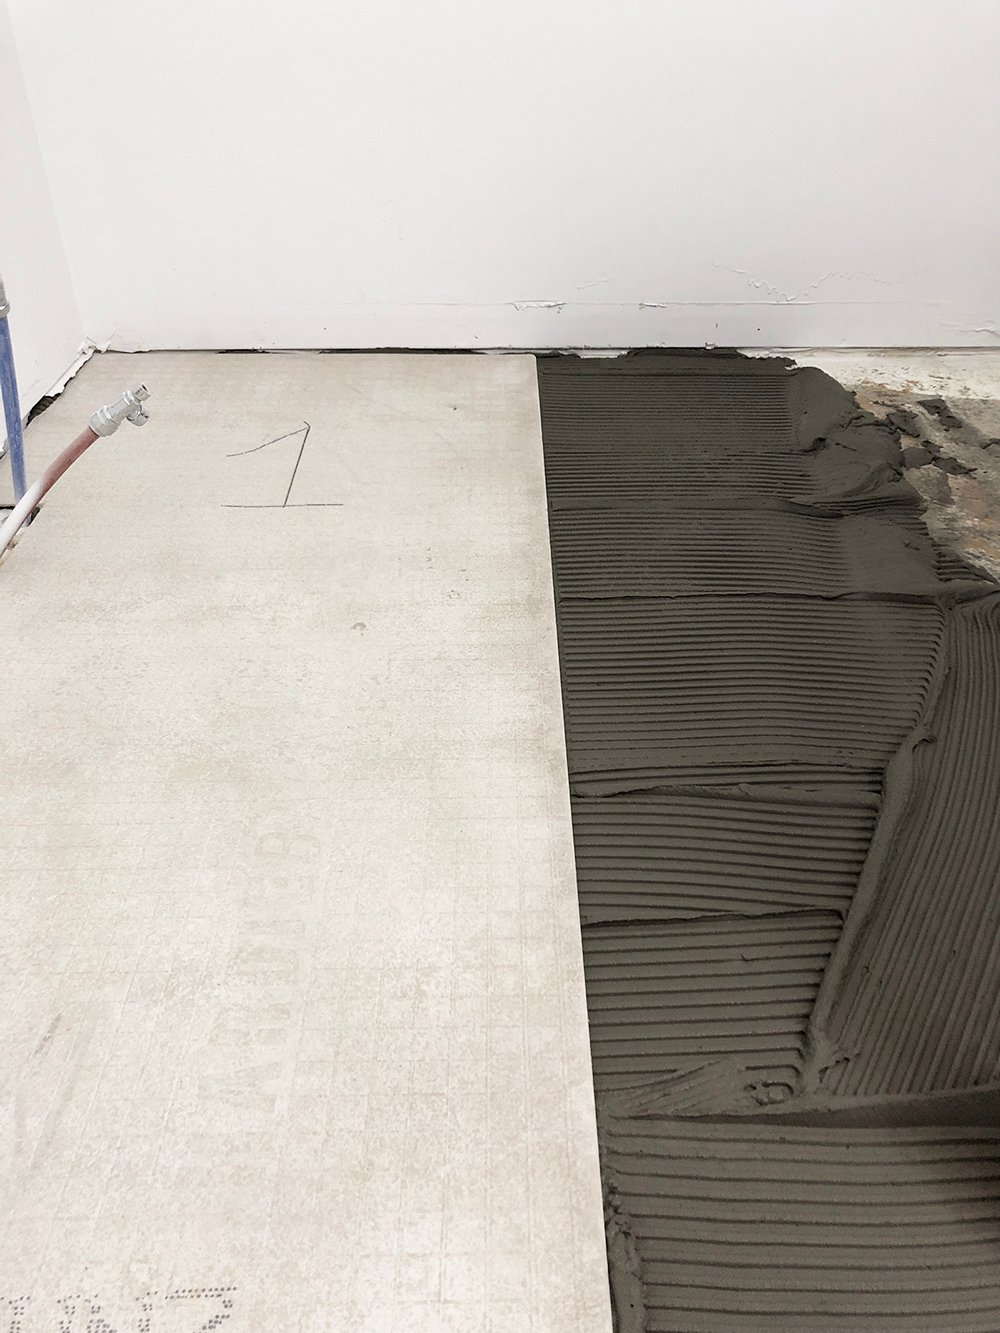
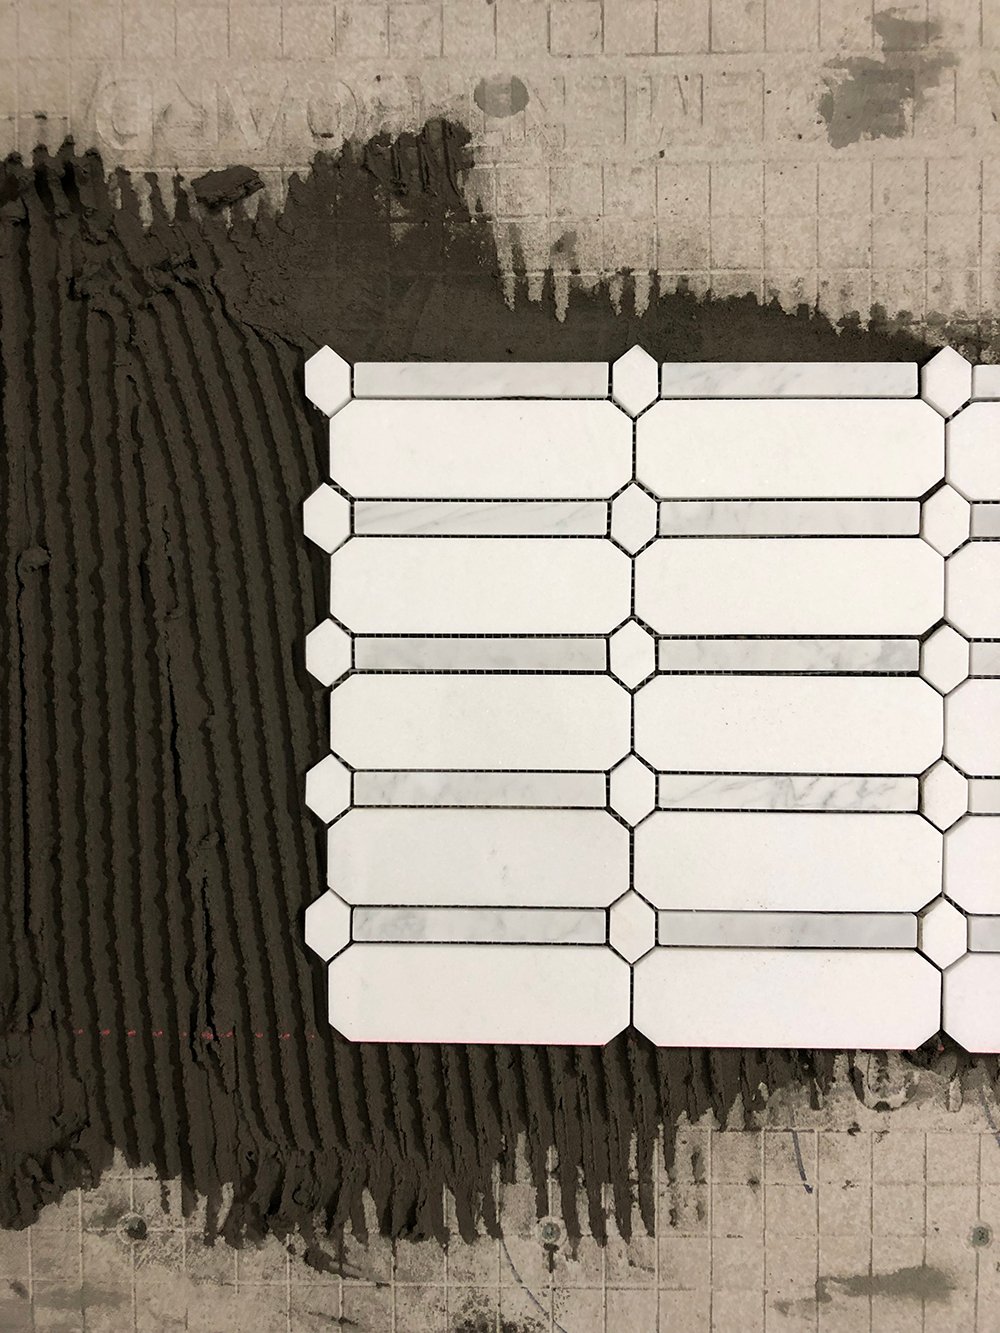
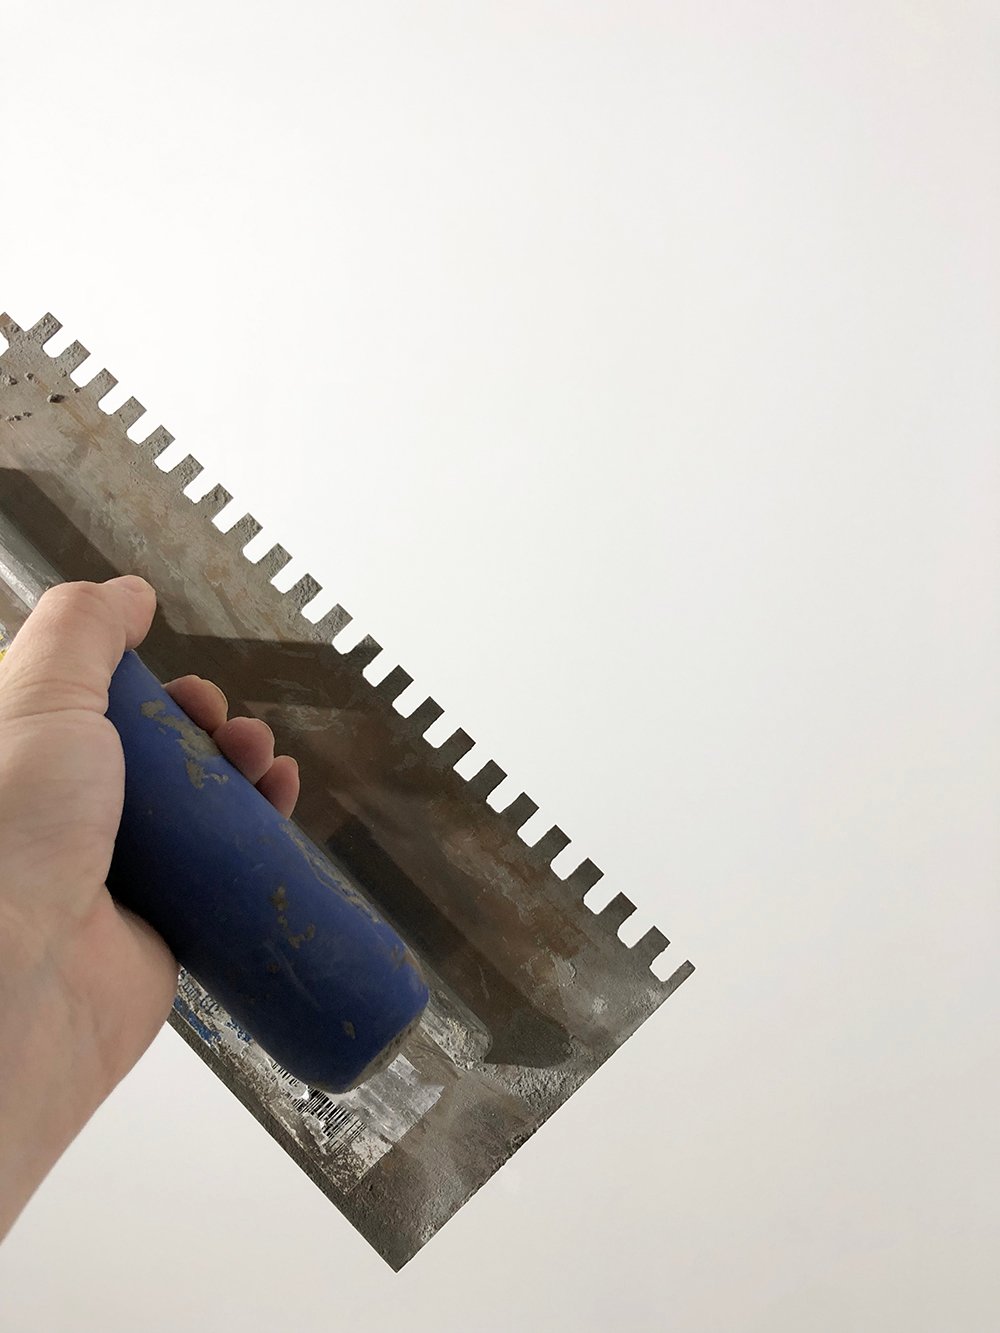 Slather the mortar onto the floor in sections using a 1/4″ notch flooring trowel. I like to put down enough mortar to lay 3 – 4 tiles at a time. Gently press and wiggle the mosaic into the mortar using the grout float (rather than your hands) to ensure it stays nice and level as you press. You’ll also notice I’m still using my laser level as a guide for the first couple rows… just until I get going.
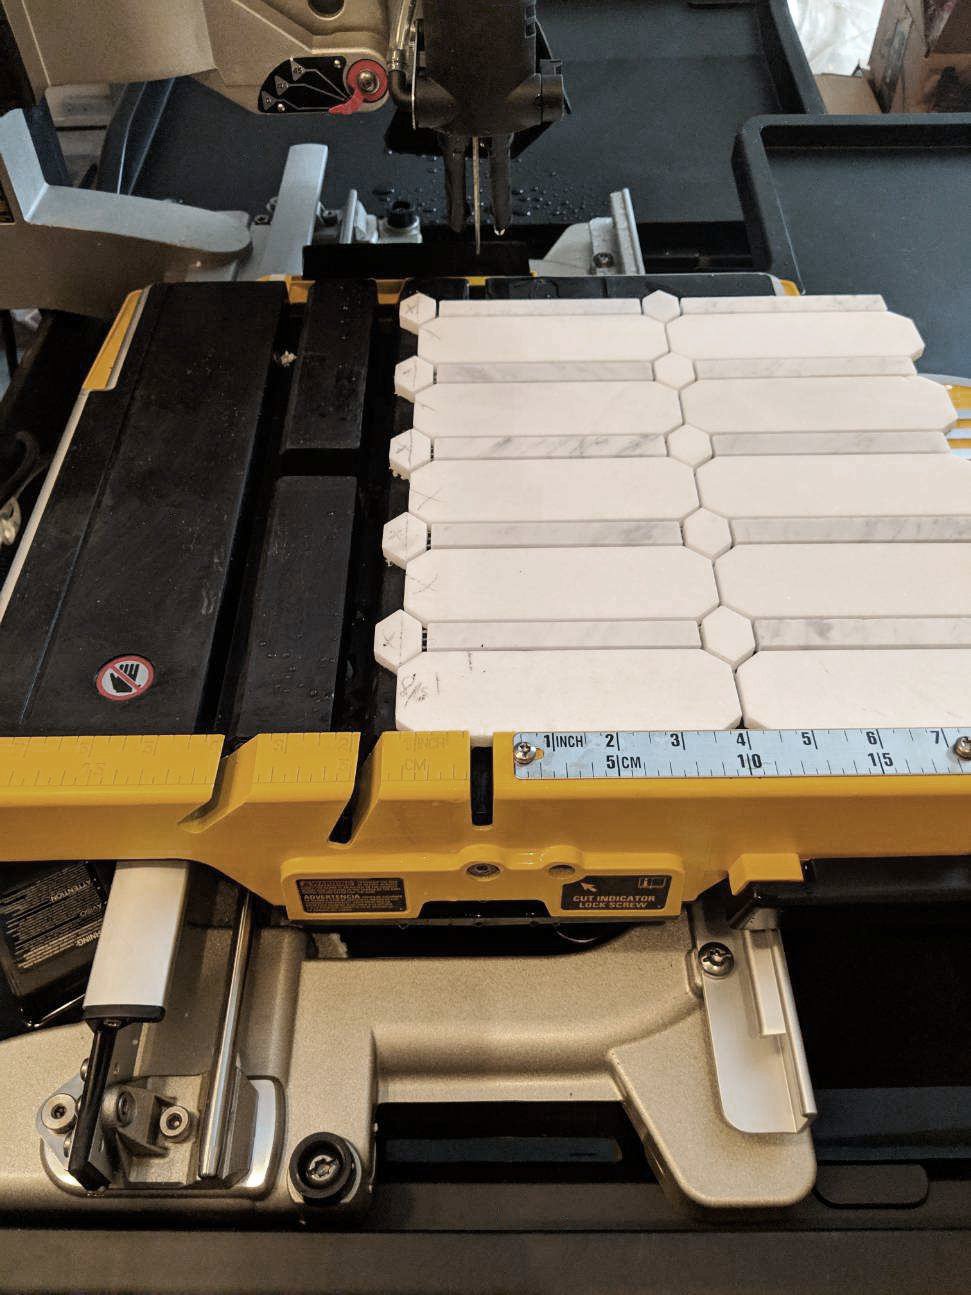
 Step 8 // Continue laying tile and make any cuts needed. Once you get the hang of laying the tile, it goes pretty fast. If you’re working with a partner, Emmett and I have a system that works well for us… I lay the mortar and floor tile, while he makes the cuts on the Dewalt tile saw and delivers them to me.
 Once the entire floor is covered in tile, allow it to sit and cure overnight. Do NOT walk on the tile once you’ve installed it, until it’s totally hardened.
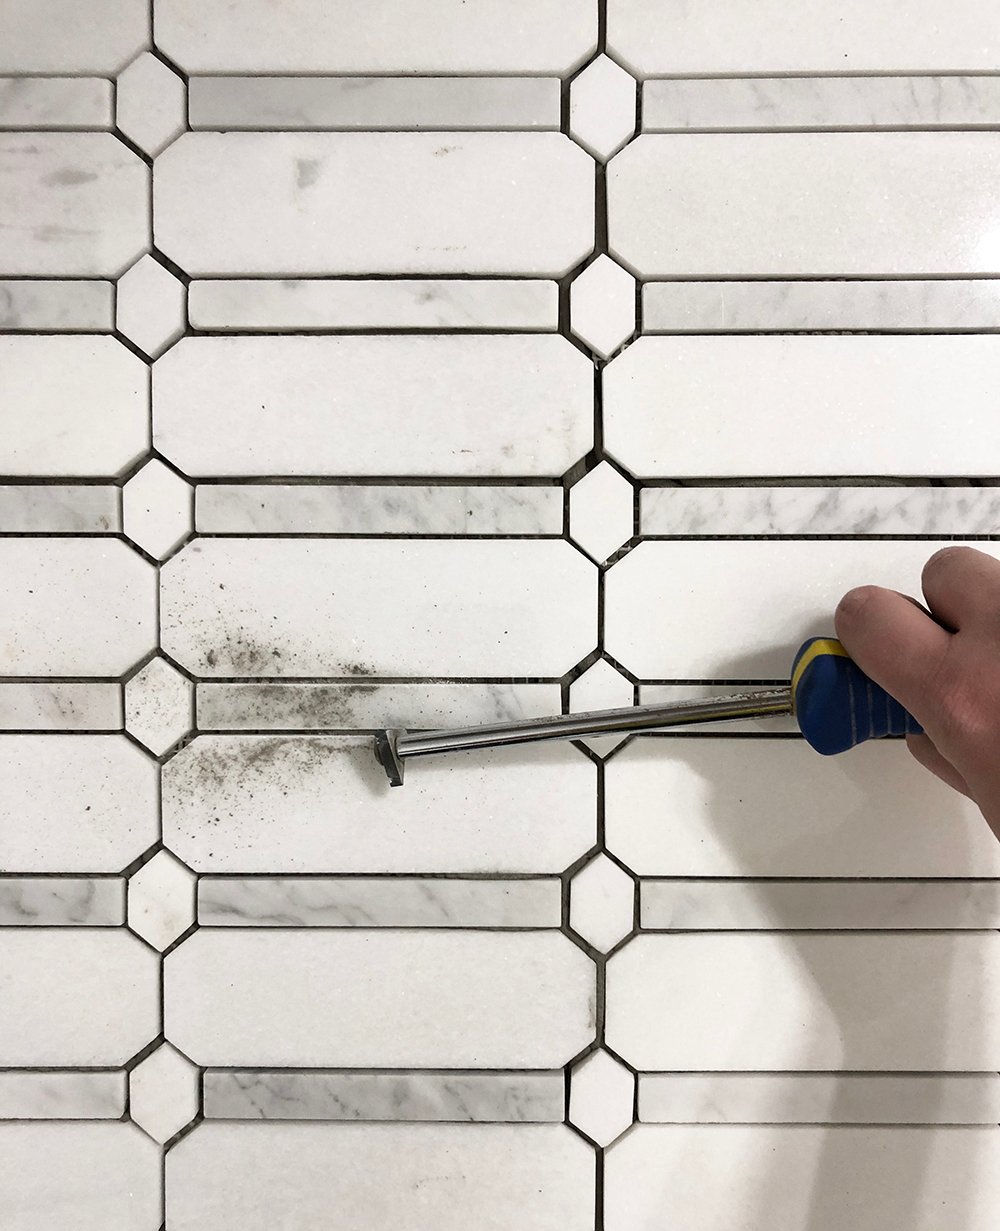 Step 9 // Clean the floor in preparation for grout. The next day you’ll be able to grout, but first you need to clean and prep the surface! If any mortar seeped through the mosaic cracks, you’ll need to remove it with a grout saw.
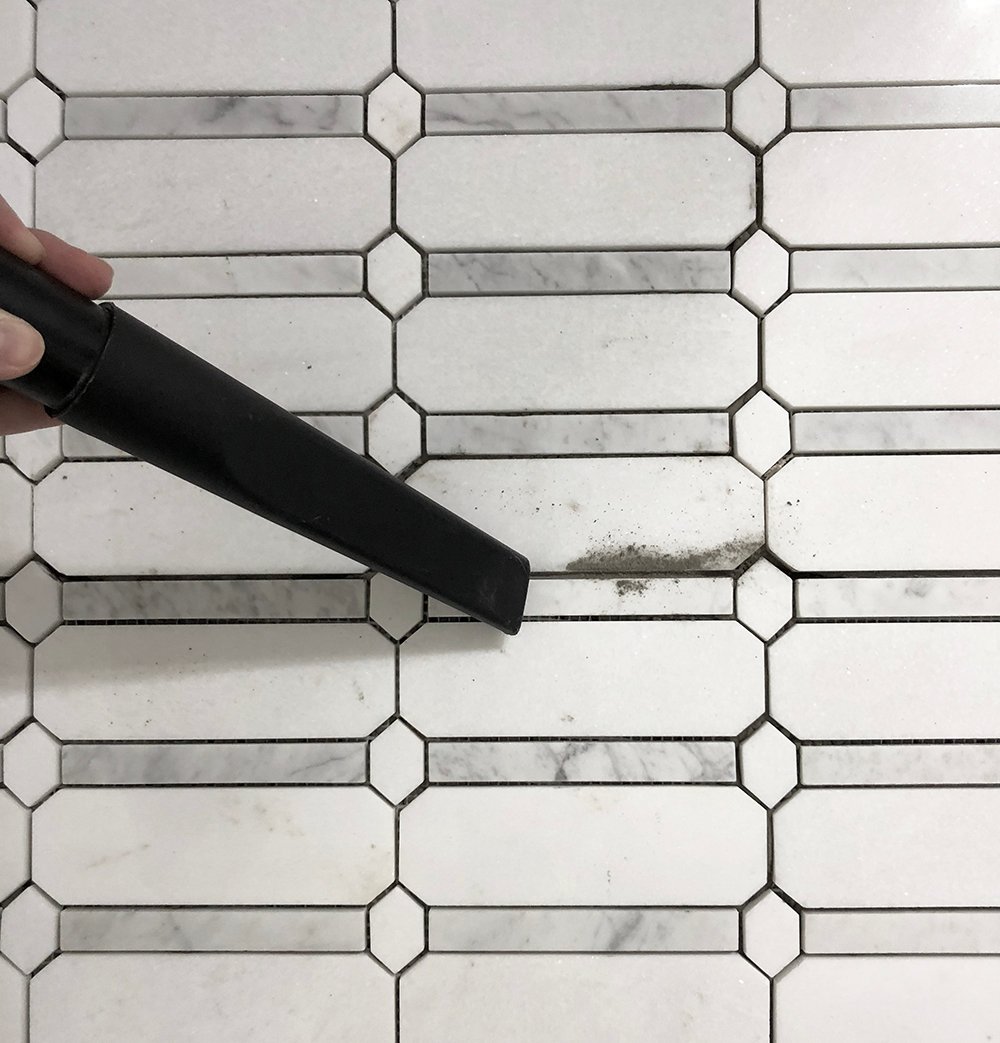 Once all of the lines have been cleaned, vacuum any debris and dust. I just use my shop vac and do this as I go. Luckily, we didn’t have a lot of mortar that seeped through (a job well done), so this only took me about an hour to complete.
After that task is finished, use a damp sponge to completely clean the tile surface of any dust particles.
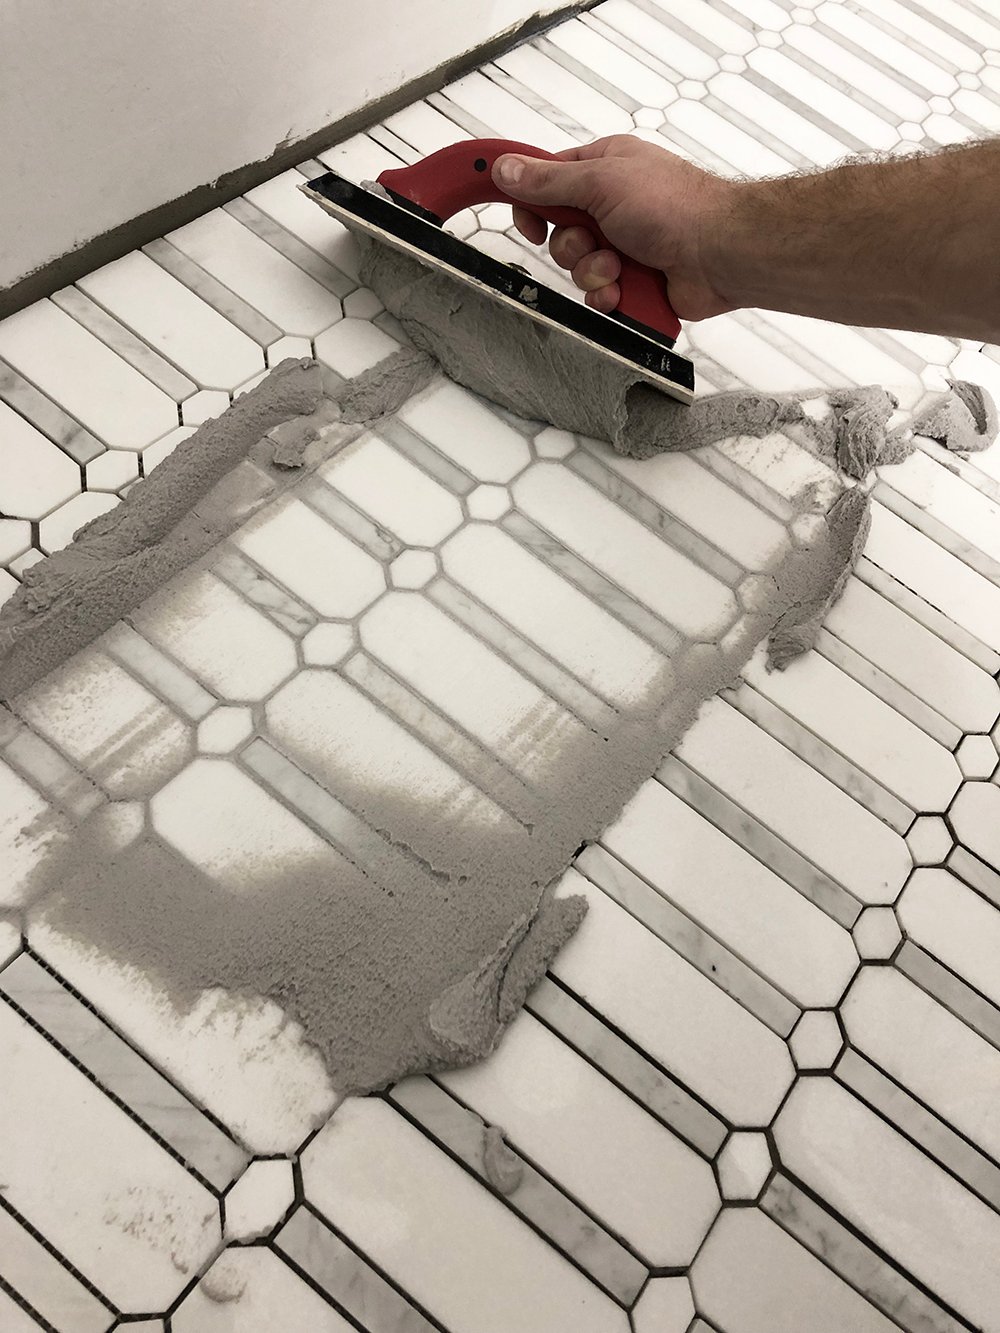
 Step 10 // Grout! Now you’re finally ready to grout. We used this premixed sanded Mapei flexcolor in silver to make things easy. It’s also the best product to ensure the color and texture is consistent throughout… which is ideal if you’re doing a larger space that would require lots of mixing.
 Since our space is so large, Emmett just dumped half a bucket at a time, pressing it into the tile crevices with the grout float. I’d recommend working in sections for larger rooms!
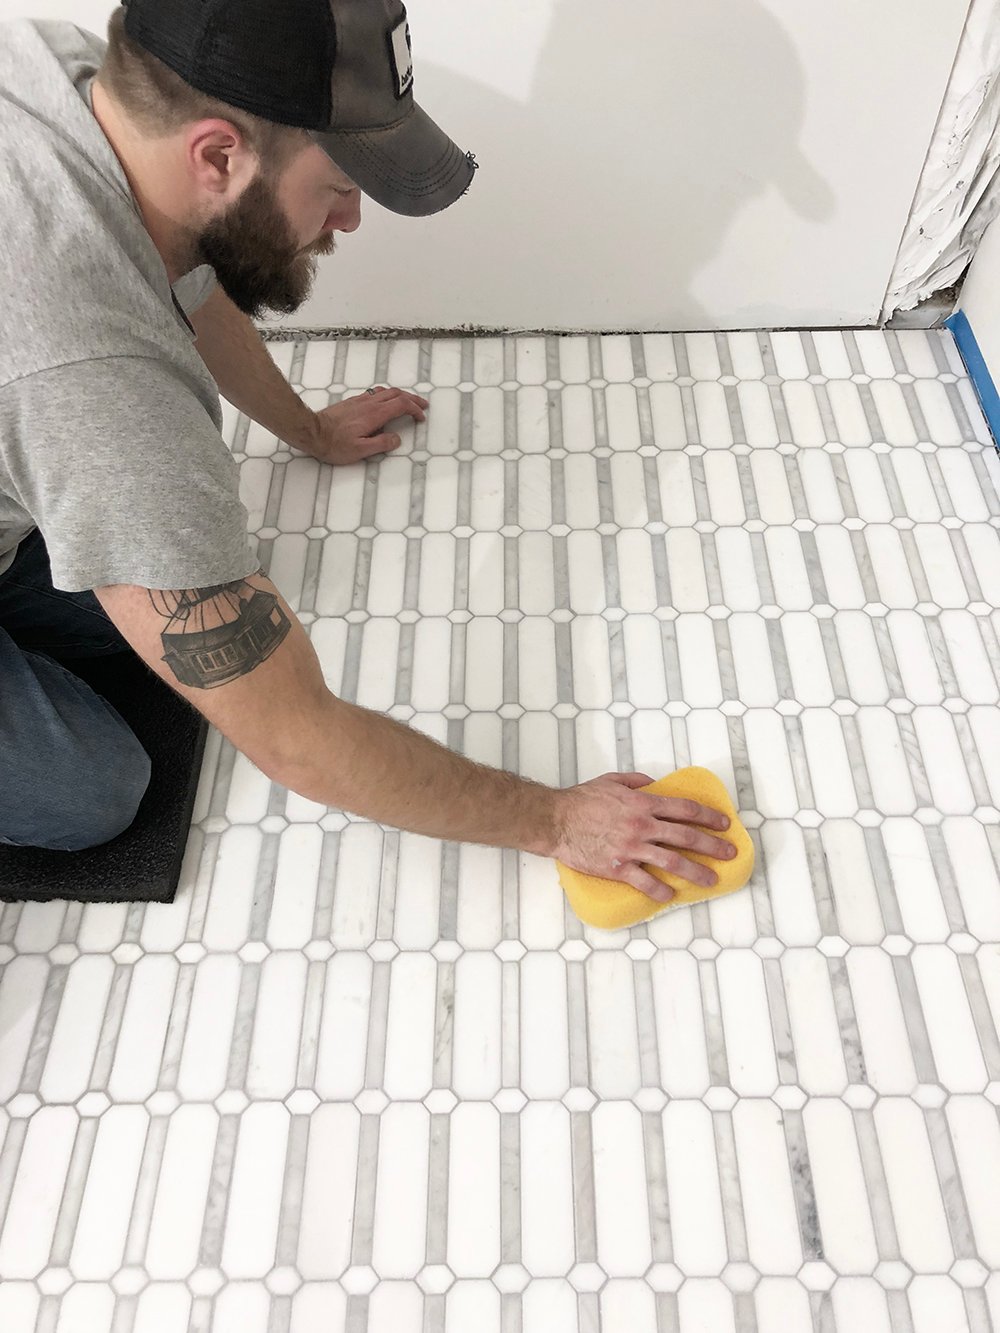
 Give the grout 5 – 10 minutes to rest, then use a damp sponge to wipe the haze. It will take several wipes and clean water changes to remove the haze completely… that’s totally normal! Just be patient and keep at it.
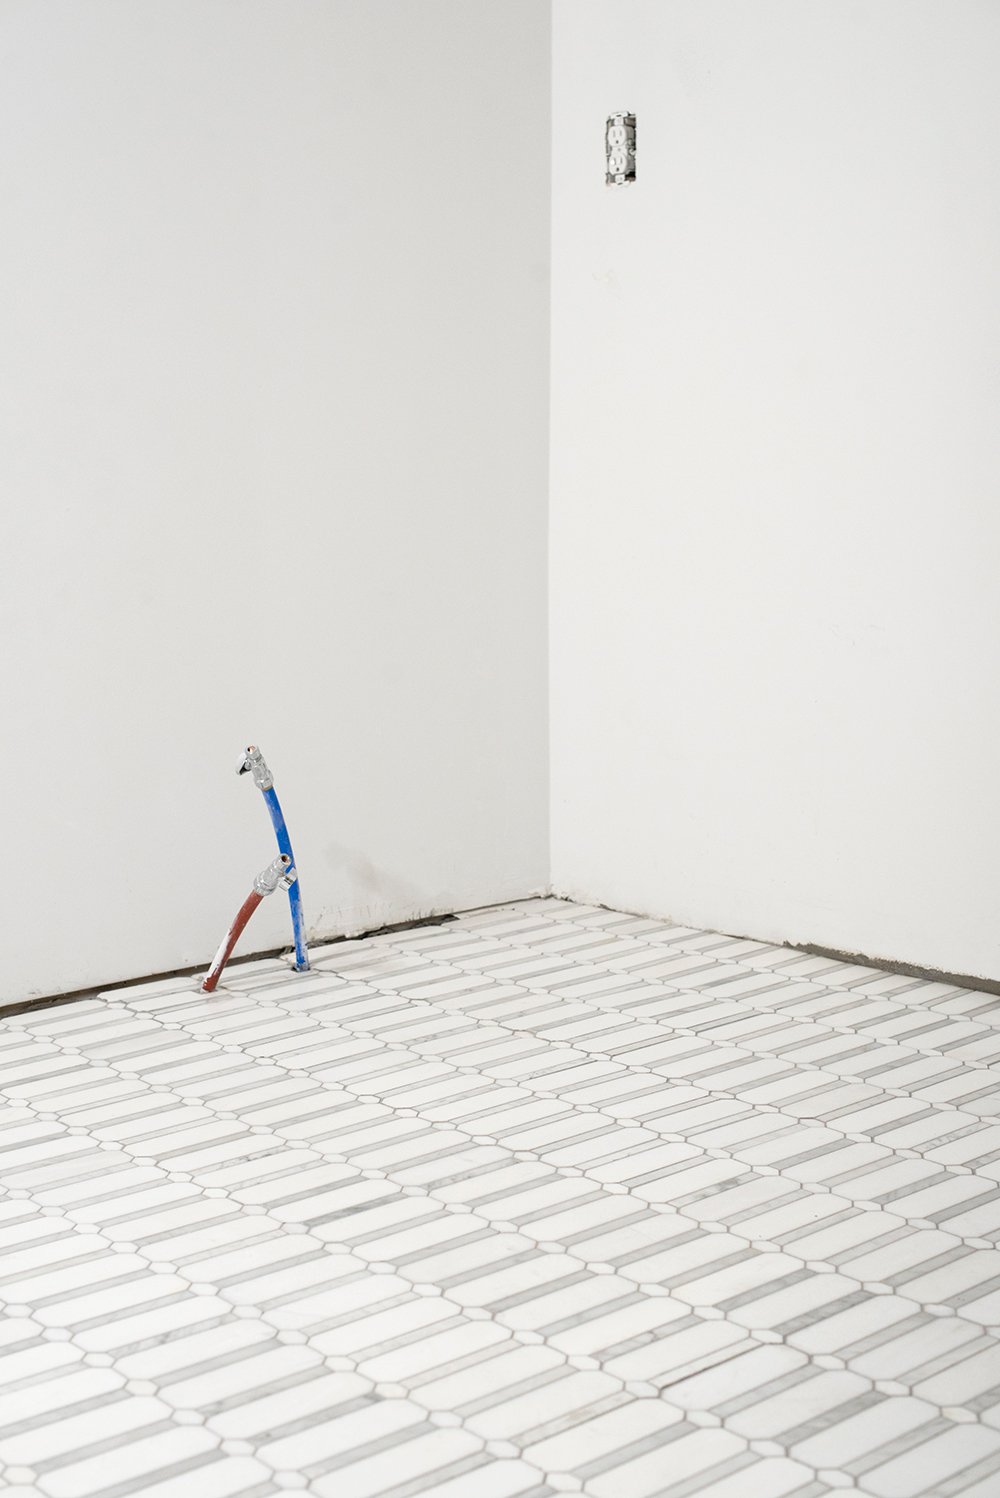
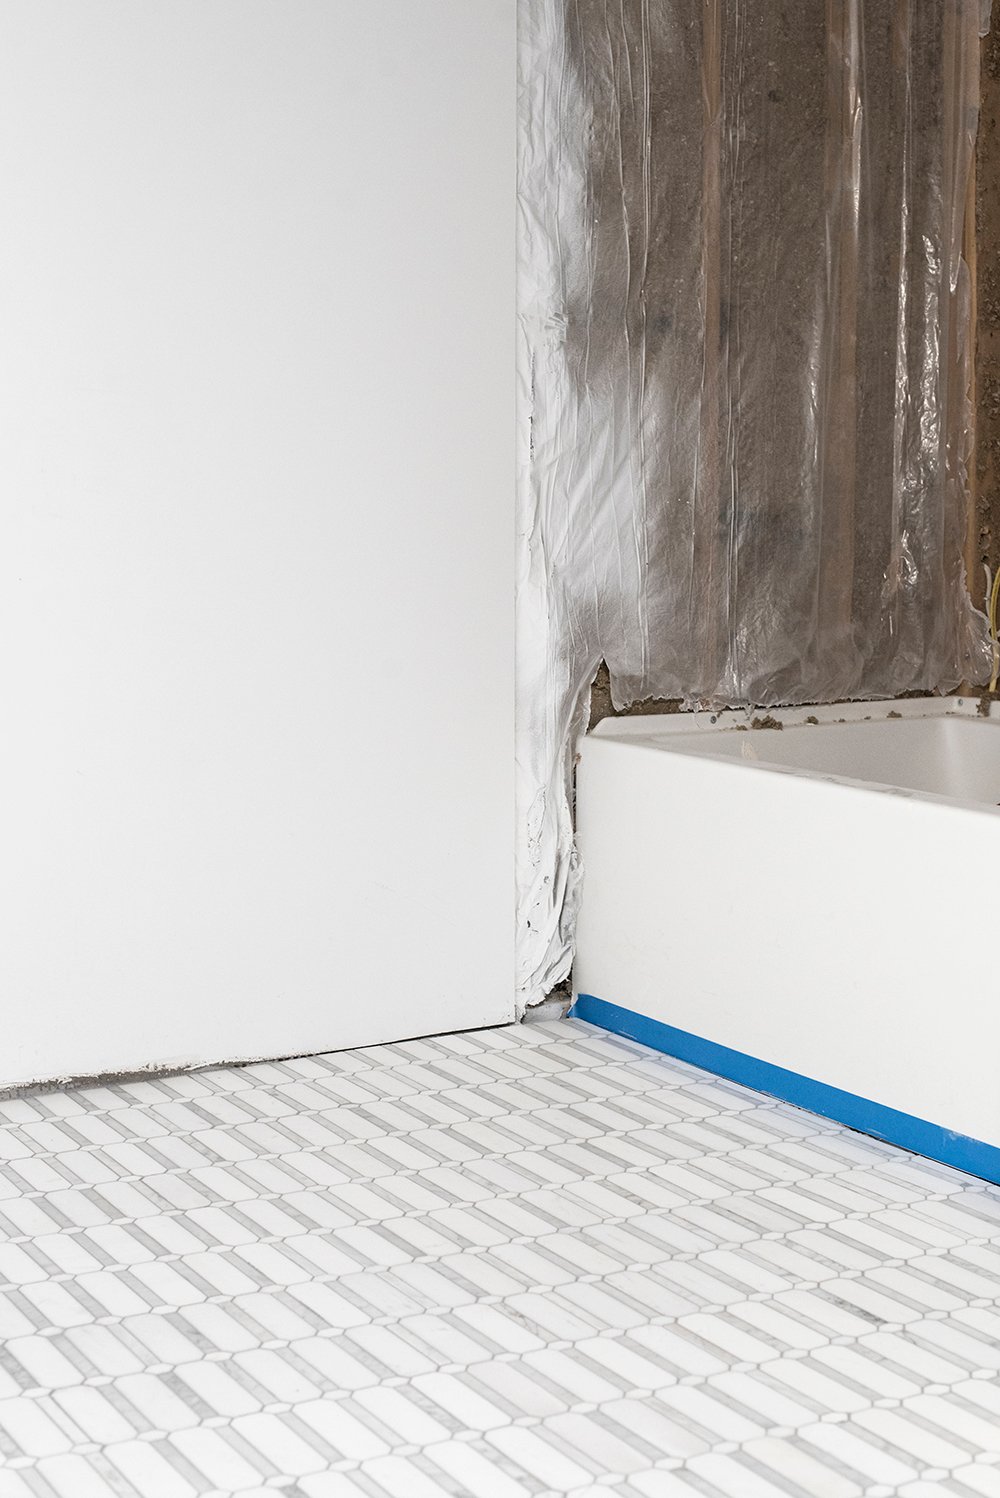
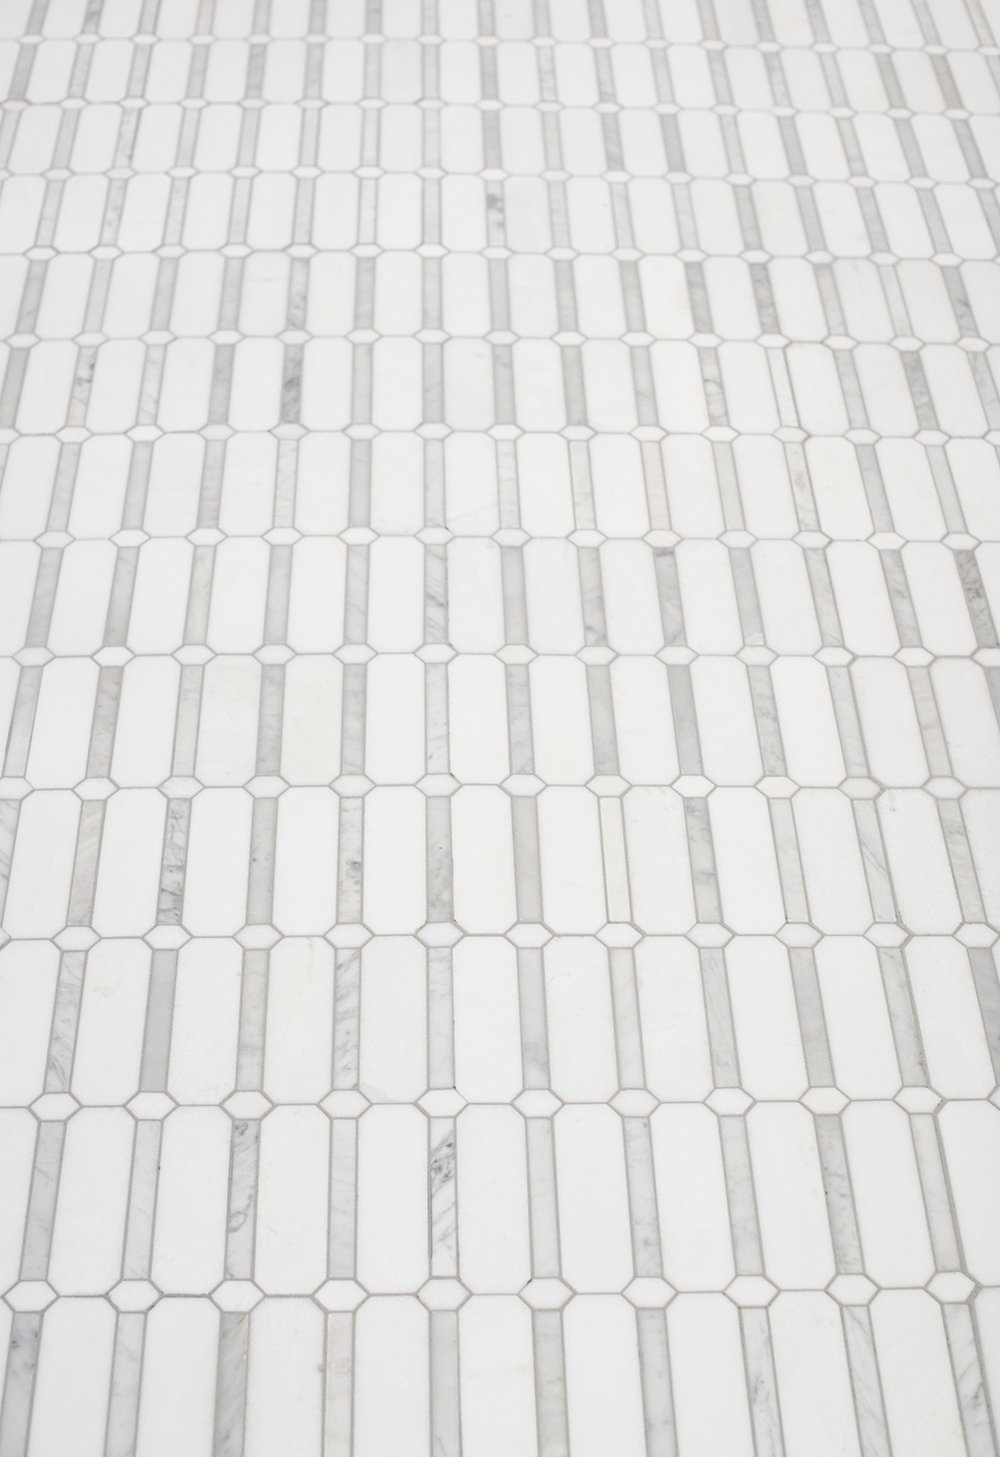
 Again, leave the grout overnight before walking on the tile. You want to make sure everything is cured and completely set or secure after wiping! The process might seem long, but it’s really very easy once you get into a rhythm. Here’s how our finished floor tile looks…
 I’m excited to start on the wall tile later this week! The guest bathroom is really coming along and I’m always super proud that we do things ourselves. This project was no exception- I love the look!
 Let me know if you have any questions in the comments below. Do you like the tile I selected? I’m pretty smitten! In case you missed the design plan for this space, find that here. You can also see the plumbing fixtures I went with, in this post.