How To Charcuterie This Holiday + A Giveaway!
 This post is tricky because it’s a hybrid between entertaining, food, art, and a giveaway! Initially, I set it up as an artist spotlight post because just wait until you see my new friend Naomi’s woodworking skills. Long story short, since it’s the season of gathering we’re featuring handmade cheese and charcuterie boards, with an easy how-to guide for making one this holiday season. Click through to get the details, meet a talented woodworker, and enter the giveaway!
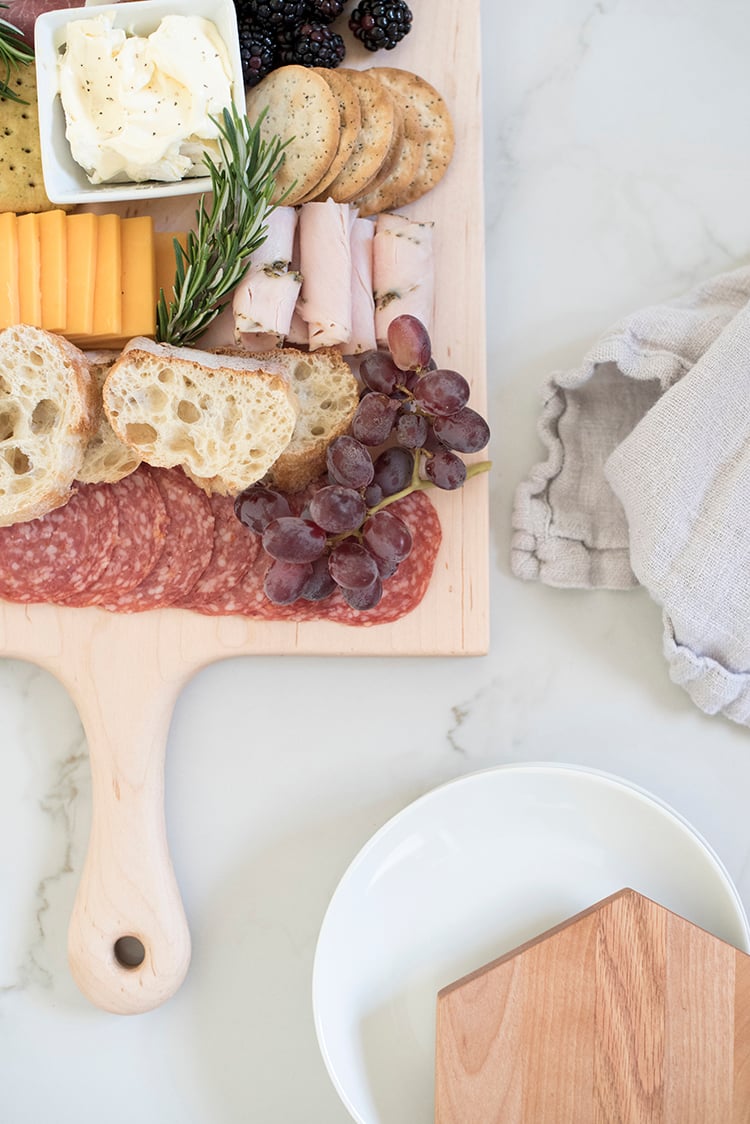
 Charcuterie boards are always a hit amongst my friends and family. They’re easy to assemble, require minimal prep, and are a definite crowd pleaser. Sometimes I use them as an appetizer during cocktail hour, while other times- it’s good to have something for folks to nibble and snack on during a gathering or event. Regardless, they can look intimidating if you’ve never assembled one before. I’m going to show you how to throw together one of my easy favorites- using all ingredients from a quick trip to Trader Joe’s.
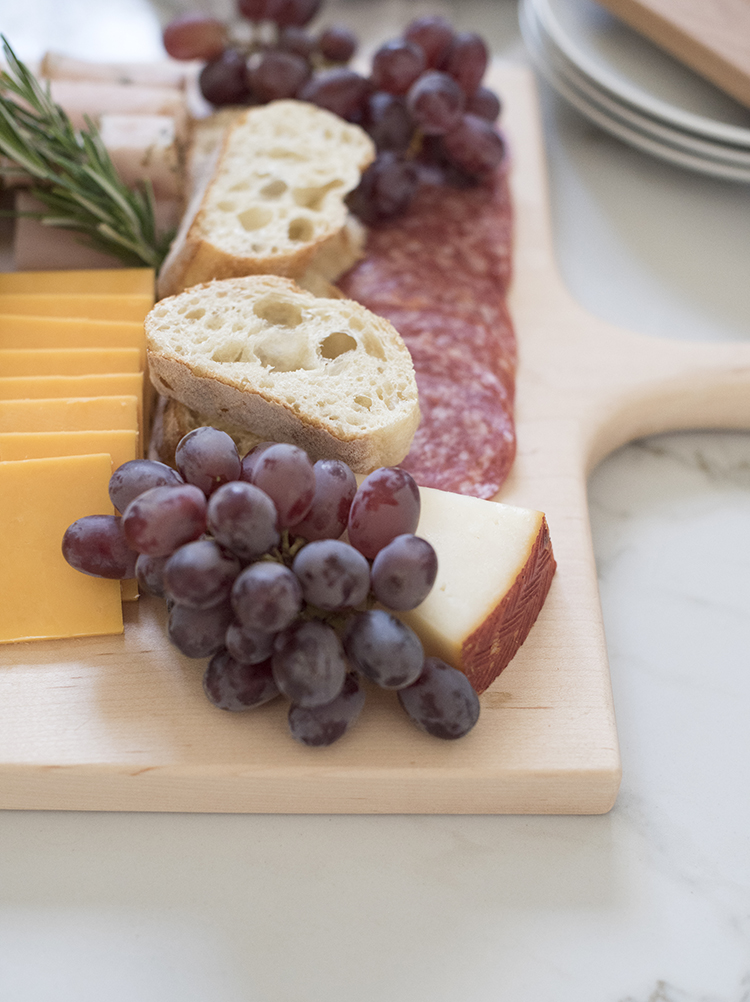
 To keep things less expensive, I prefer to look for cheeses in sampler packs. My recent trip ended with a Spanish style cheese sampler that included iberico, manchego, and cabra al vino cheese. I like these because it adds variety to your board without the price tag of having to buy multiples. The key is to mix a variety of meats, cheeses, fruits, and spreads… so there’s something for everyone. There’s really no right or wrong way to do it.
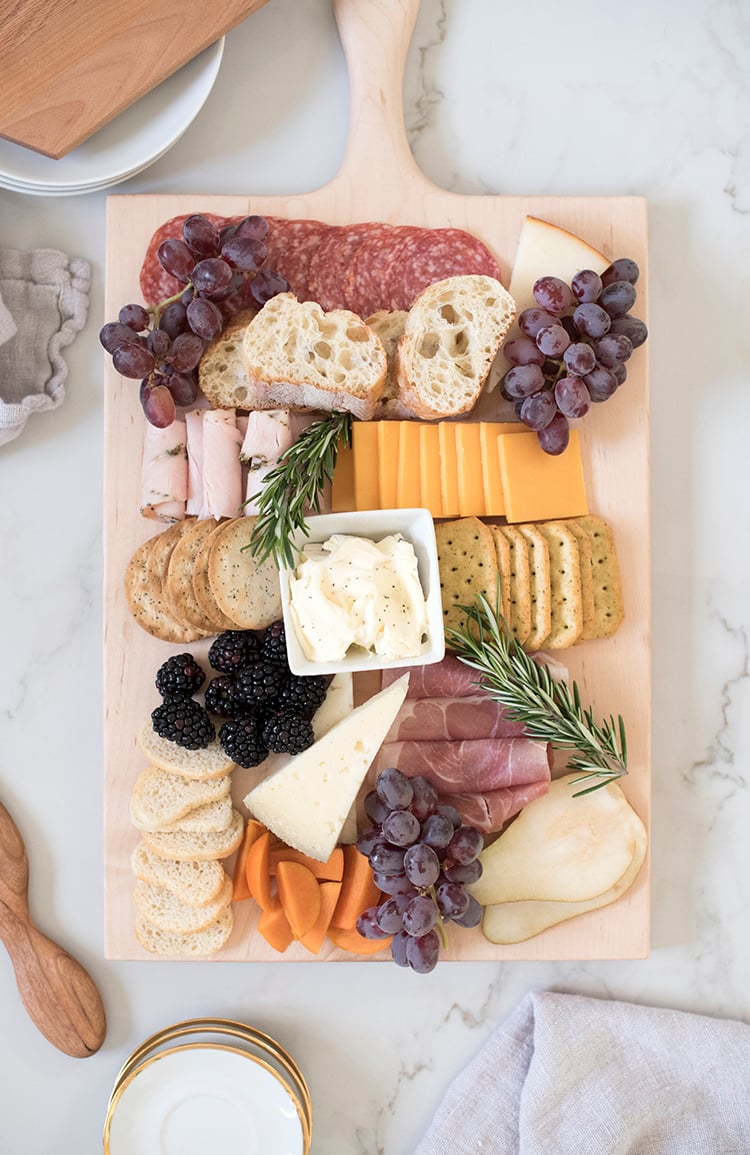
 In regards to assembly, I typically begin in the center of the board and work my way out. Think of the board as a grid and fill up the quadrants, keeping texture and color in mind. Once the board is completely filled, add a couple sprigs of rosemary for garnish, then cover or serve the board! Grab a couple bottles of red wine and you’ve got yourself a pretty fancy schmancy (and delicious!) presentation. Easy enough? No baking or cooking required! The good news is this- you can make multiple boards with the ingredients! I’ll buy the items and get three or four charcuterie platters from them. It’s especially nice during the holidays when you have multiple parties in one week.
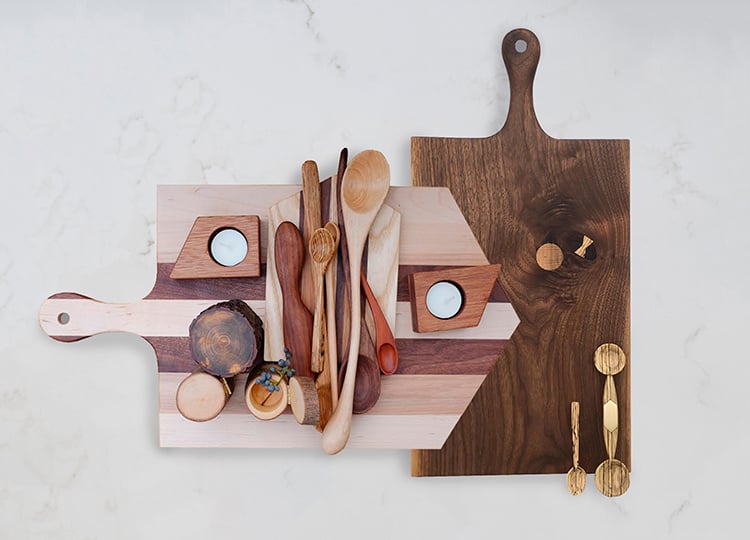
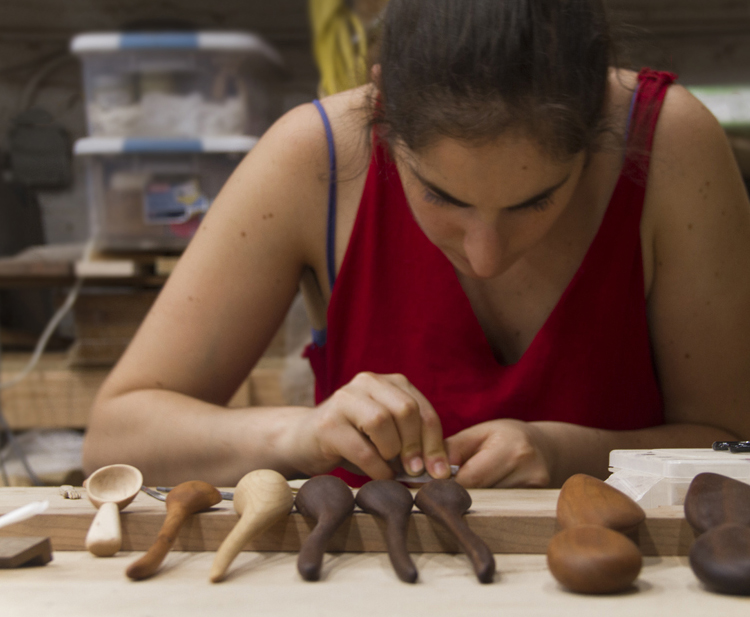
Alright, now for the fun part- let’s talk about where you can find gorgeous, handmade cheese and charcuterie boards! I asked my friend Naomi, of Overlook Woods, a few things about her beautiful wooden works of art.
 S: When did you begin woodworking? How long does it take you to make a full size charcuterie board?
N: I started woodworking in college. The woodshop was just the coolest place on campus—big tools, cute boys, and good music—so I took Woodworking 101 and worked as an assistant helping other students and maintaining the tools in the shop. I had an amazing professor/boss who was this powerful female woodworker. She gave me such respect and awe for wood as a material, and showed me how to use big saws and small hand tools. She taught with enthusiasm, recognized my innate skill, and pushed me to succeed. Because of her guidance I fell in love with woodworking.
Timing is one of those things that can vary day to day, piece to piece. Like anything, there are times when everything goes perfectly, and times when that just does not happen. The designing usually takes about an hour, and then for the solid piece boards, from start to finish, can be anywhere from three to ten hours, depending how finicky the wood is and how in tune with the wood I am. With the smaller boards with multiple pieces, they take at least a day because of the time I have to wait for the glue to dry, and then to clean them up.
 S: What makes your pieces special and unique? What is your favorite thing to create out of wood?
N: The pieces I make are special and unique because I put my love into them. They’re made by hand, so I’m really putting myself into each piece. Also, working in a very male dominated industry, being a female woodworker automatically sets my work apart. I have a more delicate hand that allows me to push wood to its extreme, resulting in lighter, smoother and more refined pieces.
My favorite things to make are spoons. The process is time consuming, but relaxing and meditative, and I feel really connected to the wood. Also, though not a product, I love bending wood. The process I enjoy the most is steam bending. You heat the wood with steam and –like in a facial– it opens the pores in the wood, and it becomes pliable and elastic. It’s amazing seeing this strong, rigid, and straight piece of wood suddenly bend in your hands.
S: Do you have any advice for 3-D artists with a similar passion?
N: If you don’t have one, find yourself a mentor. That could be someone to teach you your desired skill/craft, someone to teach you business, or someone who just inspires you. Surround yourself with supportive people who will help you past your fears and doubts. Don’t feel bad if you need a full time or part time job in addition to pursuing your passion. Plan ahead, and take things one step at a time. And finally, be safe and work smart! Don’t use sharp tools when you’re tired. Deadlines are not worth your fingers. And of course have fun and don’t stop learning!
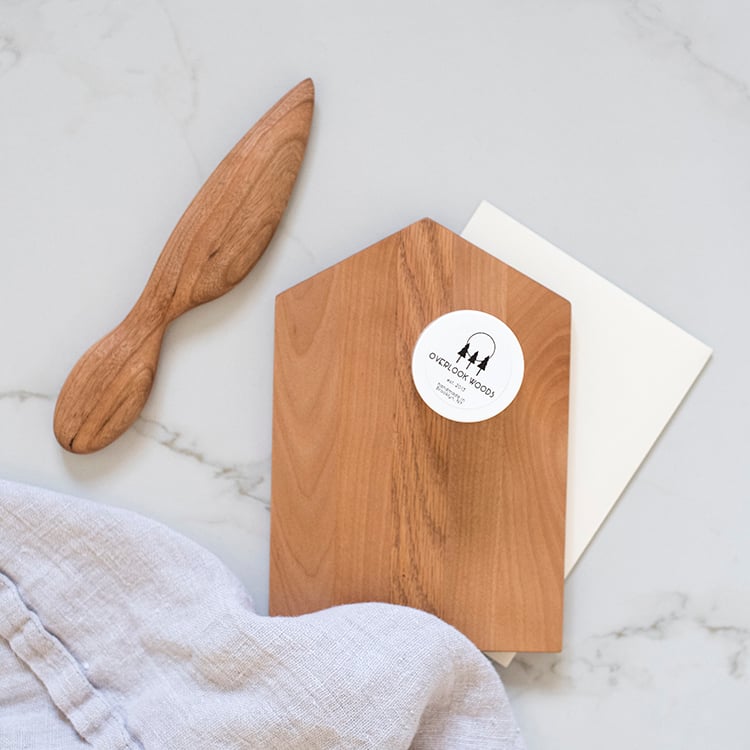 Enter to Win The Above Gift Set (CLOSED)…
1. Follow @overlookwoods on Instagram
2. Comment below and tell us how you’d charcuterie… holiday parties, girls night, brunch, etc?
We’ll announce the winner of the cheese board, spreading knife, board oil, and muslin cloth in THREE days… so you can have plenty of opportunities to entertain before Christmas!
UPDATE: This giveaway is now closed. Thank you for entering and congratulations to Heidi for winning the charcuterie items!
images 5 & 6 via : Stephany Kaye and Naomi Feuerstein