Gallery Wall
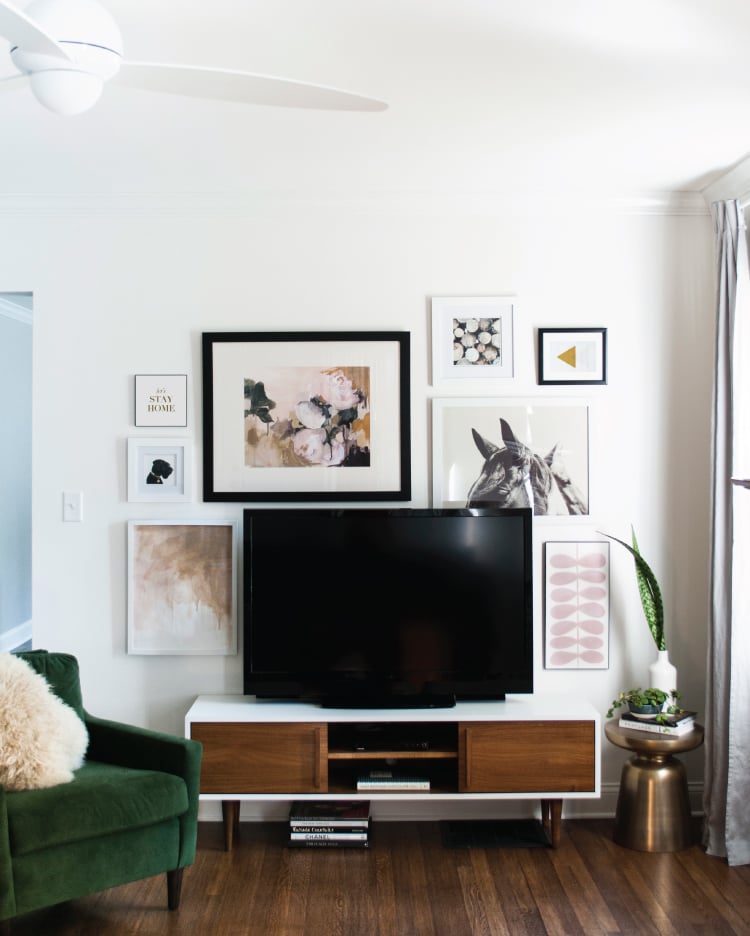
You might remember reading about my issue with our bulky TV and my plan to hide it. I’m happy to say we finally installed our gallery wall around the entertainment area. I might add a few small works here and there, but for the most part this project is wrapped up. Sourcing art is one of my favorite design tasks and this project was no exception; I was happy to purchase a few things from really talented, local artists.
Before reaching for the power tools, I planned the layout in photoshop to make sure the installation felt balanced. Even if you don’t have editing software- take a quick photo with your phone and print out each piece of art on a smaller scale. Lay the artwork onto a piece of paper printed with the wall you plan to use, arranging the “mini” pieces as desired. It’s actually kind of a fun, especially if you liked playing with paper dolls back in the day, but definitely a really simple and sure fire way to begin your project. I like building from the inside out, allowing the heavier pieces to anchor the center. See my thought process and order below:
Art Sources: 1. Peonie Print Study by Katie Stratton | 2. Partner by F2 Images | 3. Untitled, self-made | 4. Mid century pattern, self-made | 5. Stacked Firewood, taken by me| 6. Let’s Stay Home print by The Motivated Type (but I did mine in brush pen) | 7. Portrait of Finn, taken by me | 8. Triangles, self-made | Media Stand: Kasse Media Stand by STORnewyork | Green Chair: Everett Armchair by West Elm | Side Table: Martini Side Table by West elm | Pillow: Mongolian Lamb Pillow by West Elm
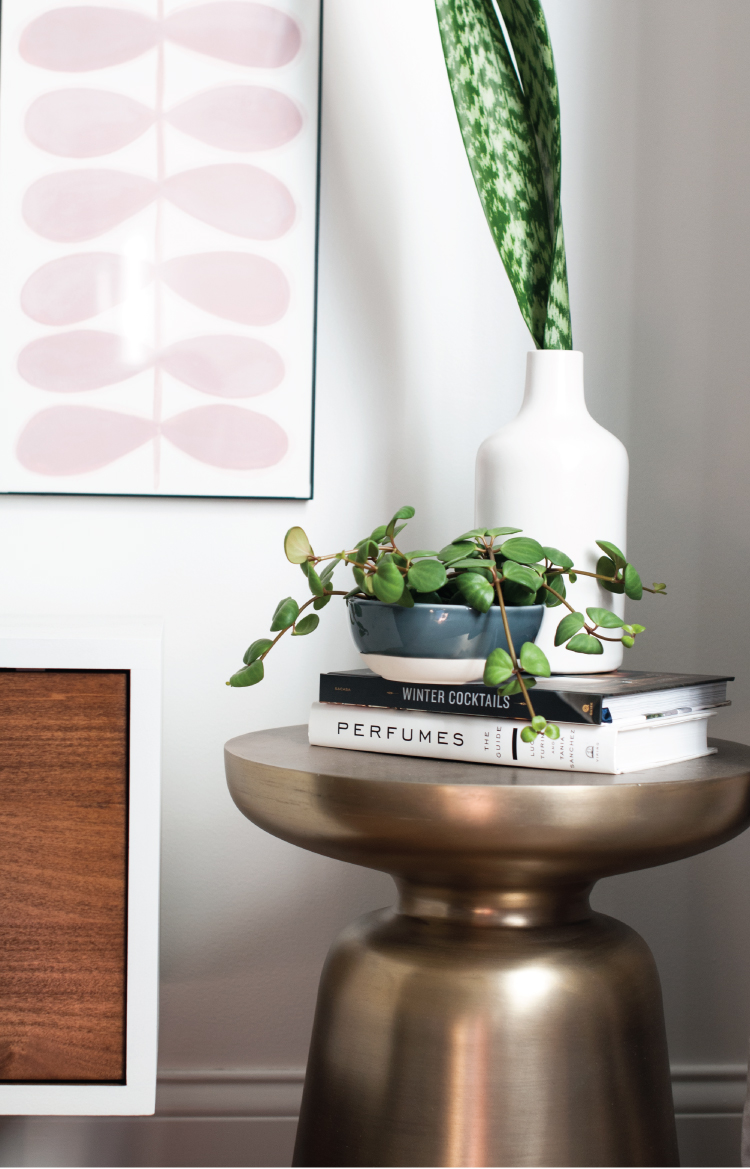
After my gallery wall was finished, thanks to Kalyn’s handy skills, the last step was styling. We still need to find an area rug, but the living room is finally coming together. I’m hoping to feature the entire room, as soon as the last few items find their way into our house.